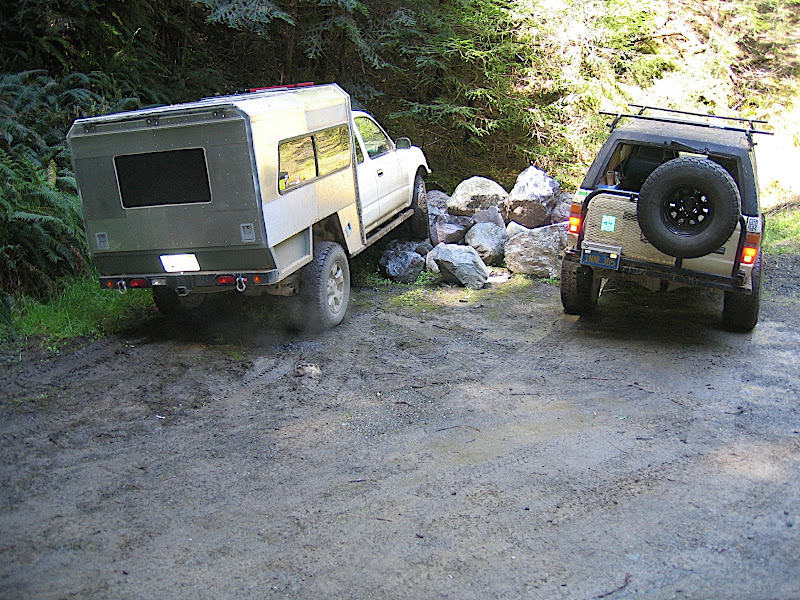
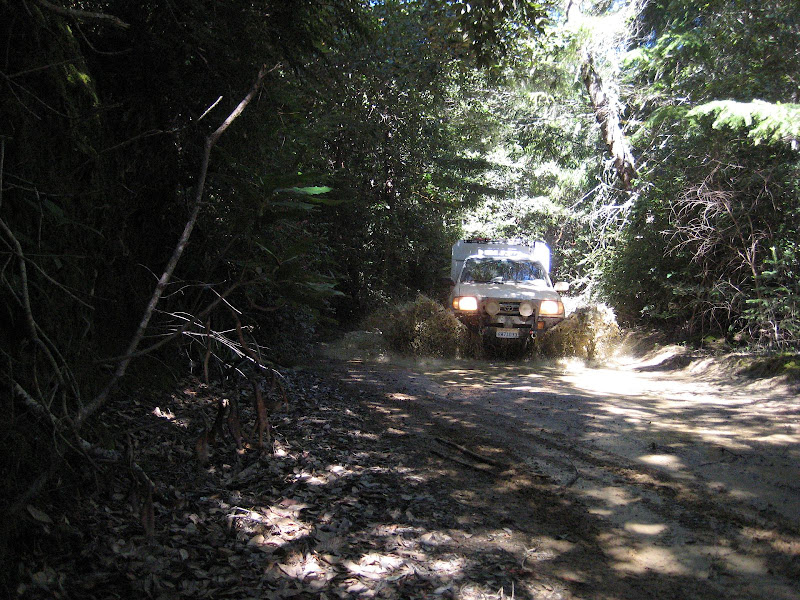
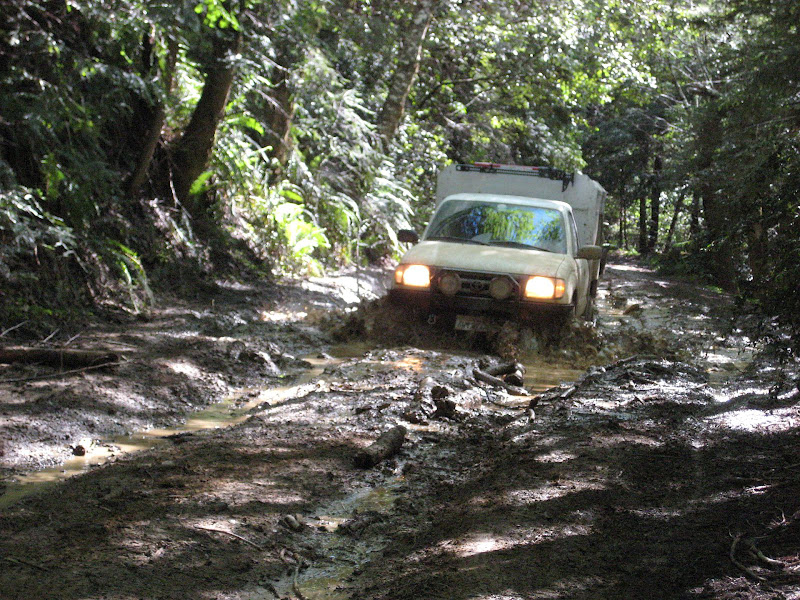
dustboy wants to build a camper...

dustboy

Explorer
Cool Build!

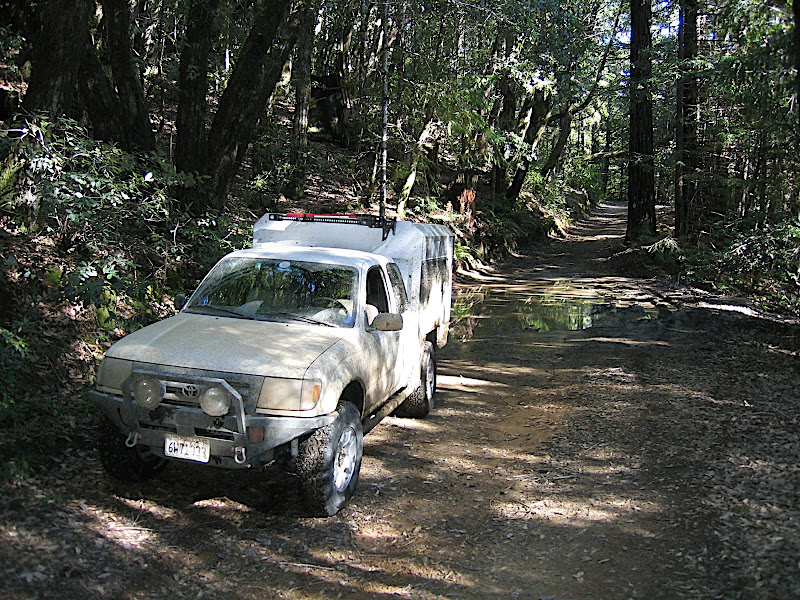
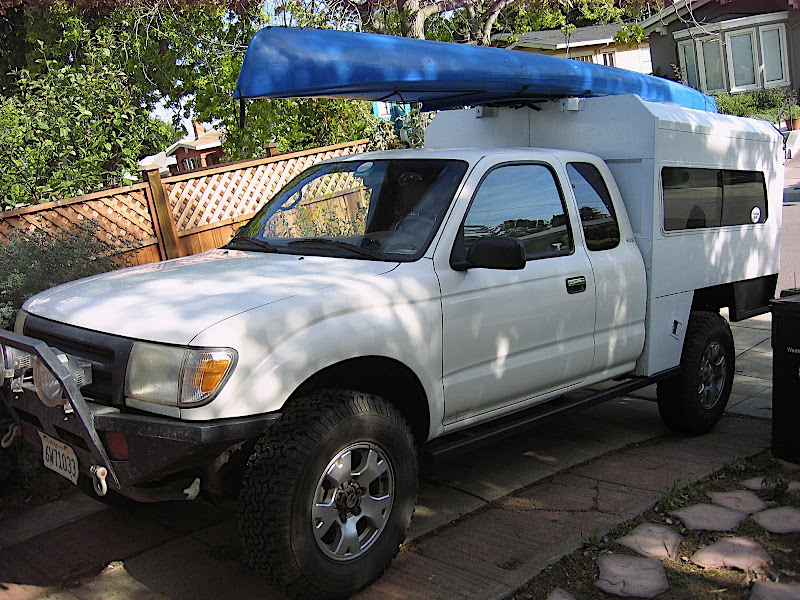
Just a thought on the tire rub issue. I think you can offset the centering pin on the axle and leaf springs, moving the axle back. I think waggy's did this. 1/2" straight back would make a big difference and if your changing springs anyhow it would be easy at that point. If it is less than an inch the driveshaft should be ok.

Now why did I sell that welder... darn apartment livin,

Dennis

Hmm, I've had the springs apart before, can't remember how this might work. I flexed it yesterday, and a half inch would probably do the trick. Any more info?
 

dustboy

Explorer
Dennis, I think something like that would be pretty easy to make for the yota. When I put the overload leafs back on, they might offer an easy way to tack on a new locator bump.
 

ntsqd

Heretic Car Camper
Dennis, I think something like that would be pretty easy to make for the yota. When I put the overload leafs back on, they might offer an easy way to tack on a new locator bump.
Or you could just drill the spring perches on the axle housing and the spring plates to have the correct sized holes for the centering pin and nut clearance, but offset by 1/2"
 

VicHanson

Adventurer
Evan, great job on your camper. I just ordered the aluminum sheeting for my camper today, should be here by Wednesday. I'm still debating on how to do the doors for the bike garage, top or bottom opening. Where did you get the lift struts and how much were they?

If you decide to insulate, you might consider the RMax rigid insulation. It comes in 1/2 or 3/4 inch thickness, 4x8 sheets. I got the 3/4", is rated at R-5, was about $12 a sheet at Home Depot, a little more at Lowes.

Looking forward to seeing your continued progress and final rig!

Vic
 

dustboy

Explorer
Vic, the lift struts came from Pep Boys, made by Sachs. I would strongly recommend getting your struts from McMaster-Carr, because they have a very helpful explanation on how to choose the right struts. They make it easy to engineer for predictable results. There are even struts that allow you to bleed off some pressure to reduce the force!

For my struts, I had no spring rate info, etc, so it was all guess and test.

That RMax insulation is exactly what I was thinking of. Now I just have to find time to install it!
 

dustboy

Explorer
Did some good exploring this weekend on the backroads between Anderson Valley and Shelter Cove. Navarro Ridge road to Mendo county road 408 to hwy 20 to Willits to Sherwood Road to hwy 1 to Usal Road to Shelter Cove. The springs do a great job of handling the load, and the TrueTrac rear LSD lets me go slow into the puddles without fear of getting stuck. The only time the rear tire made contact with the wheel well was when I got it on two wheels..slipped sideways into a deep underwater track and tipped waaay over..but no flop..whew!

The water tank is now plumbed out the galley pullout, with a veggie sprayer. What a great idea! I used to waste so much water with the old set up, because it would just keep running until you turned the valve off. On the sprayer, you have to hold the valve down, so you only use as much as you need, and the spray does the job faster than a slow trickle.

Okay, now the pix! Caution, if mud makes you queasy, click the 'back' button.

Requisite poser pic:

IMG_2870.JPG


The view from Usal Road:
IMG_2893.JPG


Trailside:
IMG_2895.JPG


IMG_1236.JPG


IMG_1237.JPG


IMG_1288.JPG


IMG_1294.JPG


Axle deep ruts! My friend waved me toward the bail-out, but I hit it anyway. The truck just shrugged and cruised through, no drama.

IMG_1297.JPG


IMG_1301.JPG


Pulling out a buddy's stuck V-Strom 1200:
IMG_1256.JPG
 

dustboy

Explorer
The Escapegoat (that's what I'm calling it, my brother suggested "Monkey Smuggler") got a new accessory today. :wings:

IMG_2902.JPG


It's an Old Town 17' tandem kayak. Just bought it from a friend, and got to paddle it around Sausalito harbor. Very stoked on this acquisition.

IMG_2903.jpg


Oh, and the shell is insulated with 1" pink foam sheet (corning product from Home depot, $12 for a 4x8 sheet), and the exterior has received a paint job, as sloppy as it may be. With a wire brush in the angle grinder, I brushed the whole shell and then sanded it, and quickly brushed on some Rust-Oleum Aluminum Primer (I know it's not self-etching blah blah, but it was cheap and available, we'll see how it sticks over time). Next coat was sprayed on Rust-Oleum metal primer, and then a coat of white enamel. The lower rails, wheel wells and rear pullout got two coats of brush-on bedliner.

I also straightened out the rear door, I wedged a 4x4 in the right lower corner, and used a big bar clamp to pull the left lower corner closer to the body, it flexed 3" before it finally stayed flat.
 

dustboy

Explorer
Thanks for the props, 4x4greg.

Here's last weekend's camping trip, Friday night on the bank of the Yuba River near the town of Washington, and Saturday night at the Backwoods Bluegrass Bash near Truckee.

Wheeling out of the campsite:
IMG_2933.JPG


The amazing campsite, with the Yuba River blasting away just a few yards from our campfire:
IMG_2919.JPG


IMG_2923.JPG


sunrise over the Yuba:
IMG_2926.jpg


My new shovel/axe mount on the rear door (close-ups to follow):
IMG_2945.JPG


Good times at the Lost Trail Lodge's annual Backwoods Bluegrass Bash:
IMG_2951.JPG
 

jeep4x4greg

Observer
do you have any interior photos?

I went through all the pages the other day and now that i'm thinking about it....I don't recall seeing any.
 

LimaMikeMike

Observer
Just found this thread as well, it was a great read.

I'm glad there is lot of creativity and innovation on expo portal, this build looks awesome.
 

Forum statistics

Threads
187,665
Messages
2,896,417
Members
228,596
Latest member
donaldsonmp3
Top