dustboy wants to build a camper...

dustboy

Explorer
Here's some interior pix, didn't think there was much to look at, and yes, it's PINK! This stuff:

4fca3f48-e3e5-402b-80e8-313d2554b315_300.jpg


IMG_0700.JPG


The interior will get lined out with some 1/4" Luan (cheap) plywood. I think I'll add some tie-down points, and rub rails for when I haul cabinets.

IMG_0701.JPG


Detail of the shovel and axe mount:

IMG_0702.JPG


Note the set screw to dial out the rattle:
IMG_0703.jpg


IMG_0704.JPG


IMG_0705.jpg
 

Dale

Adventurer
I am planning on using the same insulation on my LEER Contractor cap, which adhesive did you use? Are you planning to cover the aluminum framing or are you going to screw directly to the aluminum. I wasn't sure if you are concerned about thermal bridging.
 

dustboy

Explorer
The only thing between the steel frame and the aluminum sheetmetal is primer and a bead of sikabond. The frame does sweat a little, but once the interior is lined, the ply should provide enough of a vapor barrier to prevent that.

The sikabond sticks okay to the foam, but I haven't found anything that sticks really well. I'm not too worried about it since the lining will hold it in.
 

rdraider

Adventurer
really cool build! I like the overall design. I'd like to do the same thing except keep it a slide out for a '08 f150 short bed.
 

dustboy

Explorer
Since the project is as finished as it will ever be (there will always be something to improve!), I haven't posted any updates here, and I've been spending more time camping instead!

Here are the finishing touches:

The interior is lined with 1/4" Luan plywood, and maple rub rails are installed for tying down loads. Reading lights at the front end (self-powered LED tap lights). Under the front window, the plywood is 1/2" to resist loads that slide forward. Also the curtains are hung from velcro squares around the windows.
IMG_1122.JPG


A load bar up top makes it easier to load and tie the kayak or lumber.
IMG_1123.JPG


The load bar has bronze bushings at either end to allow it to roll when loading. I welded a link of 3/8" chain for the tie-down hooks.
IMG_1124.JPG


The pullout now has the campstove, utensils drawer, and washbasin permanently mounted. A plastic cutting board sits on top of the utensil insert.
IMG_1126.JPG


IMG_1127.JPG


IMG_1128.JPG


Added turn signals to the side of the box, so nobody can claim they didn't see my blinker!
IMG_1129.JPG


Also added a 3rd brakelight on the rear door, another safety factor.
IMG_1130.JPG


My next improvement will be to the aerodynamics of the box..I'm thinking some sort of fairing or cabover. It needs to be lightweight if it is going to help my fuel economy. I'm pretty disappointed with the hit I've taken, and especially regarding my range. I used to get 320 highway miles on a tank, now I'm lucky to get 250. City driving is even worse.
 
Last edited:

Every Miles A Memory

Expedition Leader
I remember this thread right when you were asking for suggestions because you were thinking about building it!

Congrats on such a cool camper that is so versatile when it comes to using it as a daily driver and still being able to pack up and head out for the weekend camping trip.

It turned out awesome and I love the hidden drawers.
 

dustboy

Explorer
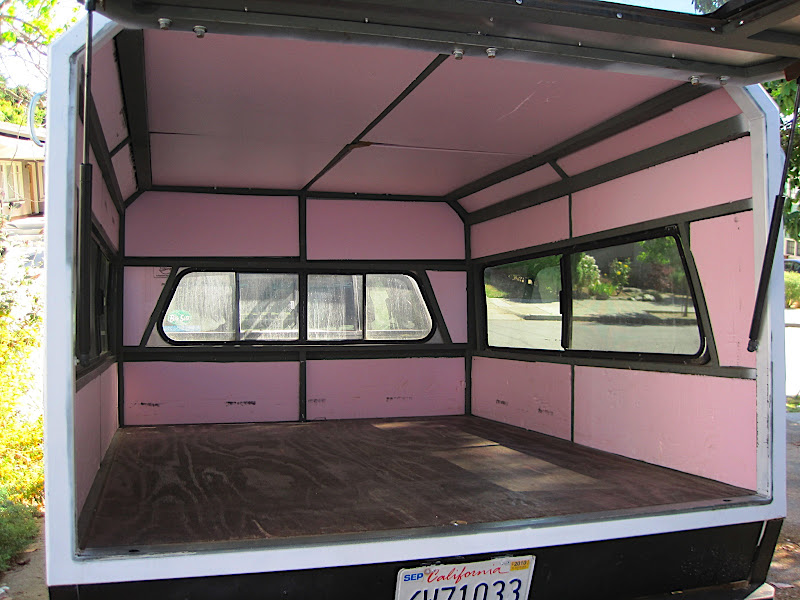
The camper has been in use for about a year now..time for a report.

I've chased some leaks, I think mostly they were coming through the rivets. I smeared a dab of caulk on all of them and it seems like most of the moisture has stopped, although there is some remaining mold on the interior panels.

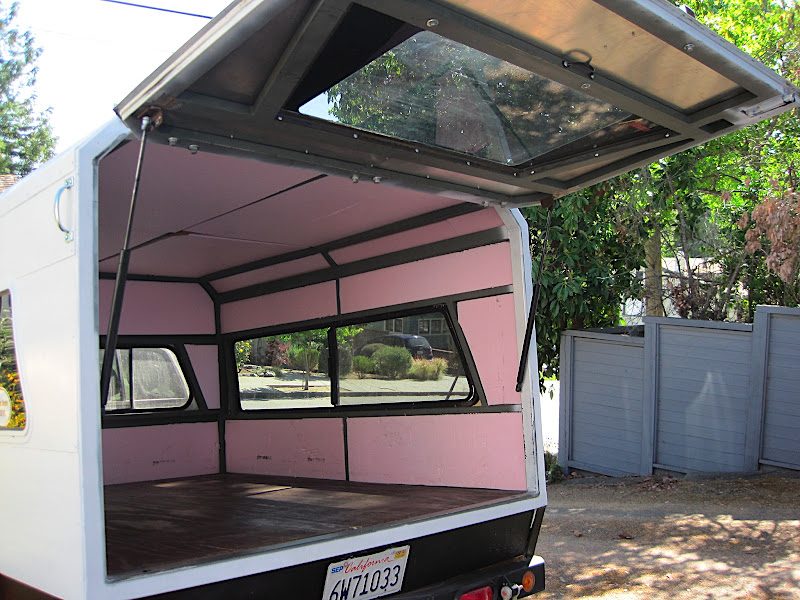
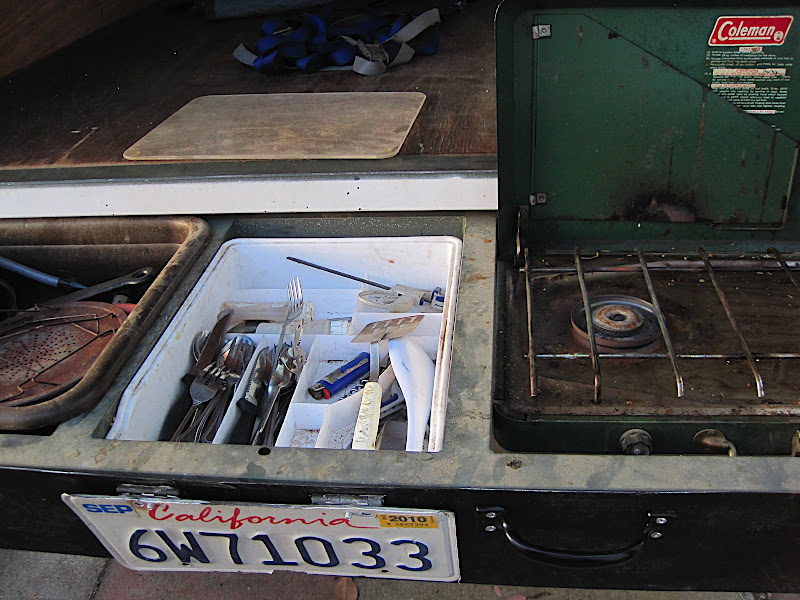
The flip-up door has been a great decision, in the rain and sun it has been very nice to have instant coverage when cooking etc. It's tricky to get in and out of the camper when the galley drawer is extended, but what are ya gonna do? I guess my wife will have to stay in bed until the coffee is ready.

Last week we made it down to Anza Borrego desert. The truck handled some pretty decent rock crawling and I came through "The Squeeze" (both ways!) with only scratches on the sliders and rear bumper (where they belong!).

IMG_0033.JPG


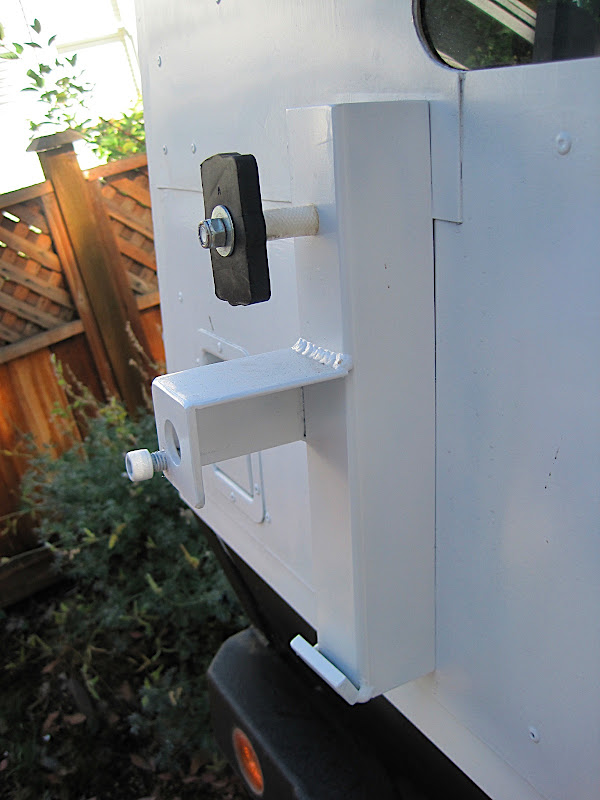
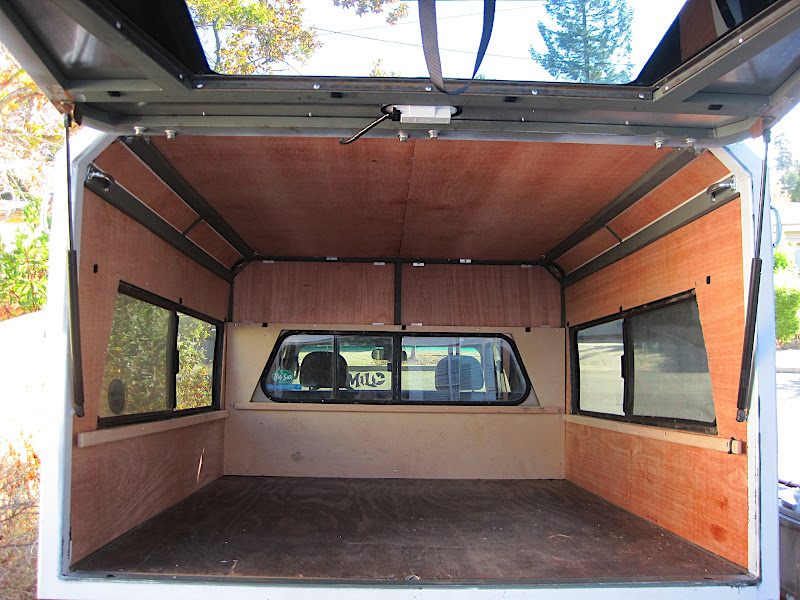
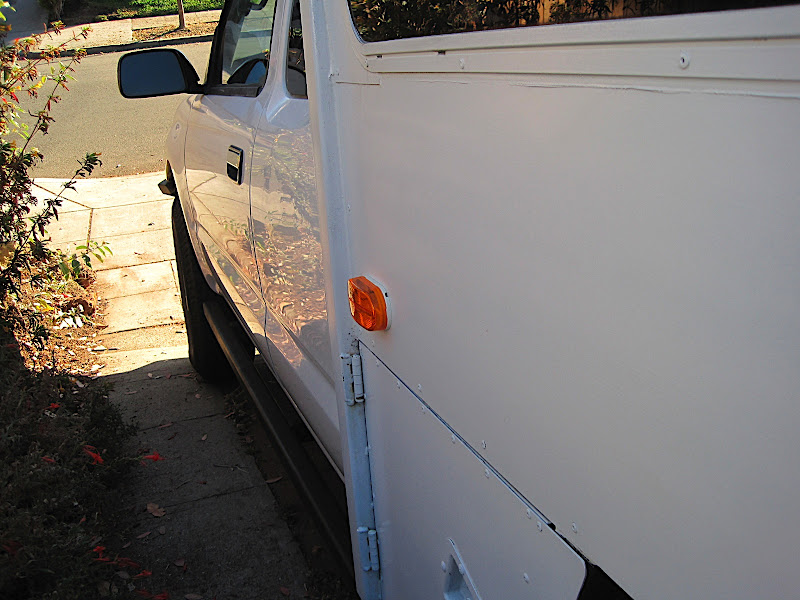
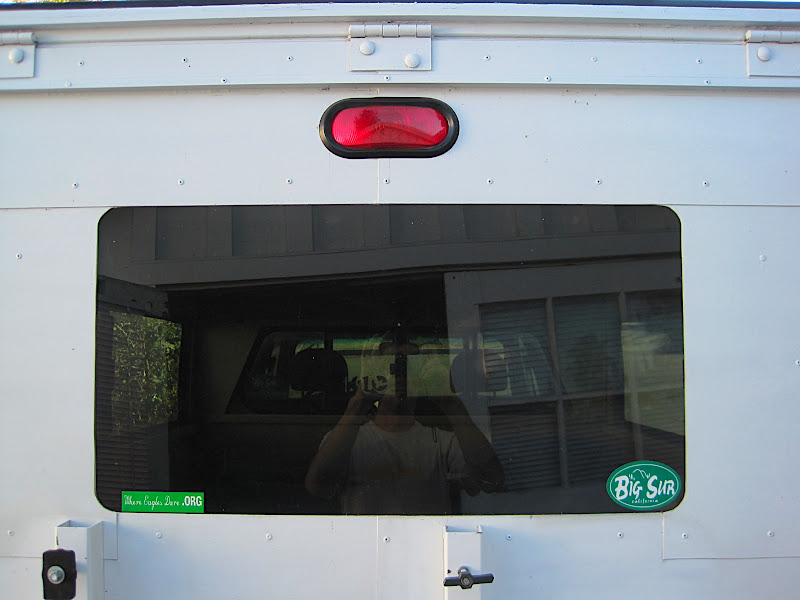
But when I started up Heart Attack Hill I blew out my camper window on a high rock. Although I have been a little disappointed with the weight of the camper, the robust construction survived a big hit with relatively little damage:

IMG_0233.JPG


I had considered using .032" sheet aluminum, but at the time it seemed flimsy. The .063" took a dent where maybe the thinner stuff would have torn. You can barely dent that stuff with a hammer. Also, I've put a lot of heavy loads up top without thinking twice.

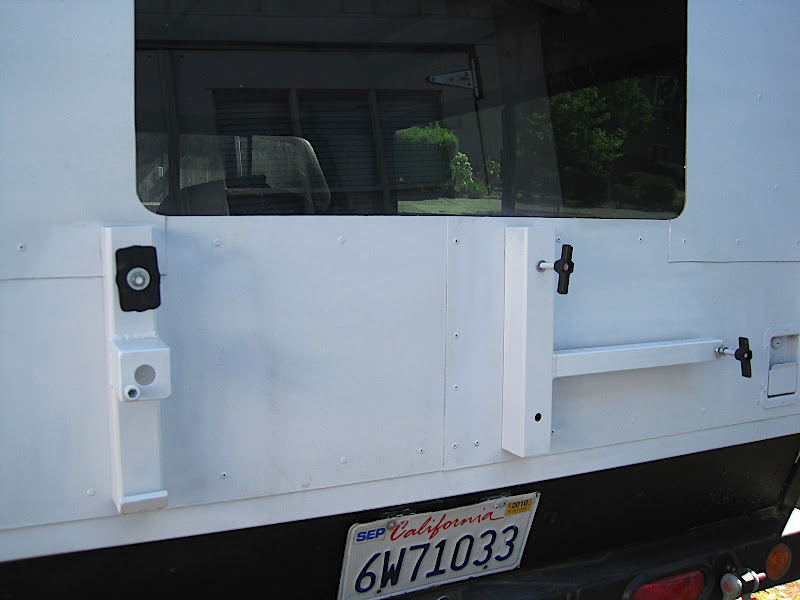
Rather than spend $300+ on a new window from SnugTop, I just cut one out of Lexan and caulked it in place. It's a temporary solution until I decide to just make the whole left side into a door. :Wow1:

The paint has been a bit of a saga, I haven't been happy with the appearance of the Rust-Oleum. It stains easily and doesn't release dirt like an automotive urethane. I tried an elastomeric sealer on the roof, but it dried so slow that the next morning's dew caused it to peel and run off all over the driveway! The next project will be to hit the shell with the angle grinder and try again with the paint.

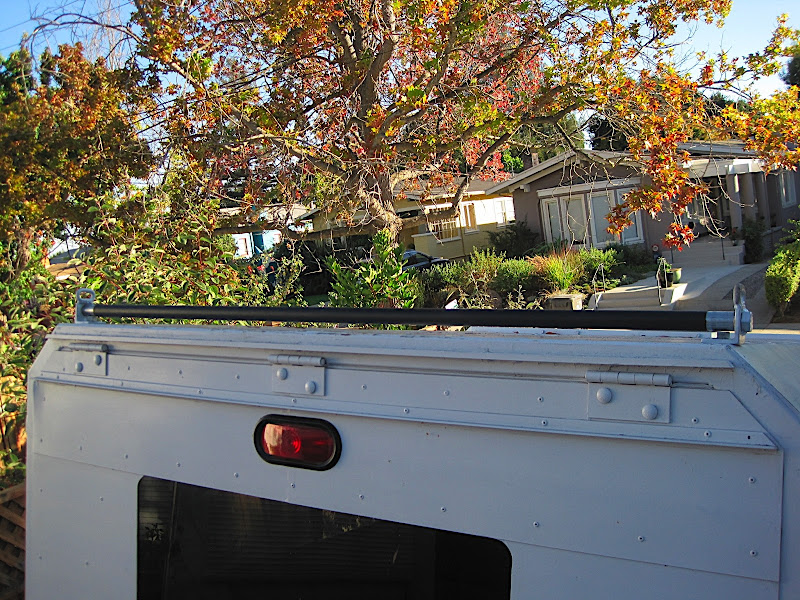
I'm still thinking about building a rack w/ fairing over the cab. Also, I still haven't filled the empty space between the wheels...open for suggestions!
 

dustboy

Explorer
Hmm, I didn't know waterproof rivets existed before I started. It's really hard to know where the water leaked in, it seemed like I caulked every gap and the rivets were the last possibility.
 

AeroNautiCal

Explorer
On the subject of using a clay flower pot as a stove top heater, this type, used with a candle, is quite popular (and doesn't use gas).

The candle is positioned so that the flame is directly below the nut, the designer recommends a jar candle. Designer's website, here.

K-H%20008%20CROP%20CUTOUT%202009%20Res%20Web%20Hi.jpg


For stove top use, the Bright Spark Heater Adapter works well, has no moving parts and is more robust than flower pots.

14.jpg
79.jpg
 
I love your custom build thread...:wings:.. just found it tonight and read the whole thing...... I am plotting and planning my own custom build and have gathered sooooo much info and ideas from folks like yourself..... thanks for the posts.

RO&M
 

dustboy

Explorer
changing needs

The latest news around here is that our son was born three weeks ago. That means a lot of different things, in terms of our lifestyle and how my camper will be used.

Most of all, the seating arrangement is all wrong. The only place that the infant seat will fit is in the passenger seat, and even if it did fit in the extra-cab, it would be a bear to get in and out. So that means, the truck can't carry the whole family until the kid is big enough for a different child seat.

The truck is still an excellent work truck, better than anything I could buy. If I had the money, I'd keep it and buy a 4-door Tacoma. The idea of selling it has crossed my mind, but I think it's worth more to me than anyone else would offer. Is it?

Maybe the next step is to build a different cab on the chassis, heh heh. I'm only half kidding.

An easier question: With all the caulking and rust-oleum paintjobs I've done on the camper, it's starting to look pretty sketchy. I'm getting about ready to repaint it, any ideas on what I could paint it with and where to find it?
 

Forum statistics

Threads
187,665
Messages
2,896,418
Members
228,596
Latest member
donaldsonmp3
Top