Elmo's Camper Build

elmo_4_vt

Explorer
That was a great suggestion, I never even thought about the supply houses... I've been looking on Ebay for awhile and haven't come up with anything. I found exactly what I needed at MSC Direct (Part #86762028) and it shouldn't require much fitting to work. Thanks again for the reply. I'll order this within the next couple weeks and start on my kitchen slide out. Price is good too with my discount. Sweet, one less thing I can obsess over. :eek:)

Don

-
 
Last edited:

elmo_4_vt

Explorer
did you ever consider using a light aluminum frame w/ fiberglass encapsulated foam for the lid instead of the heavy wood?

Yeah, after seeing how heavy my wooded top was, I certianly looked at different materials. The fact that I don't have a alum. welder was one setback, because it would have been expensive to pay someone for all the little welds. Secondly, I still had the problem with the custom tent. So it really wouldn't have fixed many of my issues.

That does bring me to my next post though...

-
 

elmo_4_vt

Explorer
New Tent

Picked up my new tent yesterday. :wings:

Didn't get much of chance to play with it yet, but I will this weekend as it's supposed to be pretty nice.

For now, I'll just post a couple of pics, and fill in more after this weekend..

Took the wife's car and the little trailer for the pickup...

img_5133.jpg


Little bit of damage to the box, but I don't think any part of the tent was hurt. (I cut the plastic holding straps)

img_5124.jpg


Once uncovered, I moved all the pieces into the garage and I'll pick up there this weekend.

img_5138.jpg


img_5135.jpg


-
 

elmo_4_vt

Explorer
Got some stuff done on the camper over the last two weekends, though progress has been hampered a bit by the snow.

I received the sink and stove that I'm going to use on the pull out kitchen...

Smev-2-Burner-ss-stove.jpg


017668.jpg


Got the frame completed that the new tent will sit on just have to bolt it to the top of the trailer this weekend. I have two coats of CPES and three coats of Spar Urethane... It should do pretty well in the rain, at least for what it sees. It will be stored under a carport when not camping.

img_5260.jpg


Got the kitchen door mocked into place by cutting a big hole in my tool box. This weekend I should be able to get it screwed into place permanently.

img_5263.jpg


img_5262.jpg


So once hopefully after this weekend I'll be able to make the modifications to the tent frame and get it mounted on the trailer. That will allow me to get some more room in the garage and start moving a little faster on the other wood work, like the kitchen box.

I've decided against using drawer slides for the kitchen as I think they will just take away more space then they're worth. Instead I'm going to use one of the pairs of adjustable table legs I purchased a while back. That should make things a little easier and allow me to make the kitchen box a little longer. Hopefully I'll get that designed this next week and start the cutting.

Hope you like the pictures.

Don

-
 

elmo_4_vt

Explorer
Got a little more done this weekend... Man this stuff can suck up time.

The wooden base frame on the top of the trailer is finally bolted down. Had some fitment issues because I wasn't careful enough when gluing/screwing all the corners together, so I had to play some games with a power hand planer. Hate that. But it's all good now, and bolted down. Got all the inner supports for the tent done. And got the kitchen box door secured in place. I'm still a little concerned about it being able to leak some water in because it's not made to be a weather tight door, but I'm not sure what I can do about it. The tolerances are really tight, so any gasketing will have to be very think.

I had to cut off one of the extruded aluminum braces that ran lengthwise under the tent base. It was too close the the edge and interfered with the base frame. I'll just move it in a couple of inches and it should work fine. I'll bolt down the tent to the base frame with a couple 1/4" lag bolts and some deck screws. It's just mocked into place at the moment. I still have to add the weather striping (a thin rubber bulb type gasket) between the tent and the frame. I have about 1 1/4" around the whole perimeter.

On with the pics... They'll describe things better than I can anyway:

Base frame bolted down with the supports inside. They're recessed to mate with the extruded aluminum that hangs below the floor of the tent.

img_5271.jpg


A piece of extrusion (like the one on the left) ran the whole length. You can just see the wholes from the rivets. I've moved this piece to the left a few inches for clearance.

img_5266.jpg


And here are a couple of the tent up on top

img_5284.jpg


img_5279.jpg


img_5280.jpg


img_5281.jpg


img_5282.jpg


And from the inside

img_5283.jpg


And a couple of the kitchen box door mounted

img_5262.jpg


img_5277.jpg


Next weekend I should have everything on the tent mounted and be able to start on the kitchen box.

At least there was a little progress. It'll be nice when I can move some of the work outside.

Don

-
 

elmo_4_vt

Explorer
Didn't get all that much done this weekend and the whole family was sick, so I spent most of my time taking care of them, and was just able to sneak out for a few hours while everyone slept. I did get everything bolted down, and got to open the tent up for the first time on the trailer. I used thirteen 1/4"x2" lag bolts to hold everything down to the wooden frame. I used some foam "camper shell" seal around the inside, and a small bulb seal around the edge to keep any water from getting under the tent base and keep the inside storage dry.

One nice thing is that the tent weighs less than my old top did, so the trailer should have a lower center of gravity now too. It wasn't too bad before, but I noticed a lot of lean on corners because the springs are so soft.

I also will have to lower the trailer a few inches. Right now, the base of the tent is 62" above the ground with the jacks just lifting the trailer to make everything level. I currently have some lift shackles installed, so they'll come off and should lower everything by 2". The only problem is that I'm pretty sure I"ll have some tire clearance issues, and the wheel won't be centered any longer. Not sure what I'll do about that, but I'll probably just cut the fenders some. The metal there isn't structural, so it should hurt anything. Just nervous because it's not something that will easily go back.

I bought some single stage auto paint to match my Bronco, so all I have to do is figure out the wheel wells and I should be ready to start paint prep. I'm not going to spend a lot of time on body imperfections, but I'll throw a little filler here and there.

I spent some time up inside while the tent was up and it's super nice, and I ended up almost falling asleep in the tent while trying it on for size. This is going to be so nice camping compared to my ground tent and sleep pad.

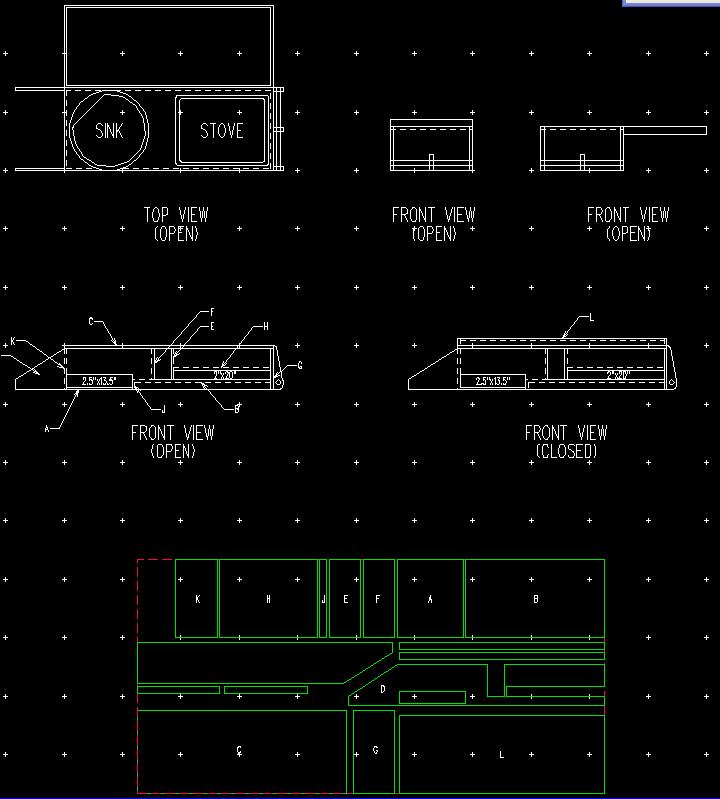
On with the pictures:

img_5292.jpg


img_5293.jpg


img_5294.jpg


img_5297.jpg


img_5299.jpg


Like my choice of ballast?


img_5301.jpg


I think it came out pretty nice. Can't wait to break it in.

What do you think?

Don

-
 

elmo_4_vt

Explorer
Kitchen

I also got my kitchen designed. Didn't come out like I wanted, but I just don't have much space, just 11"x17"x45". Unfortunately, I can't change those constraints because of door and box sizes.

Anyway, here is what I've come up with so far. It's kind of hard to tell, but there are just three openings, and they're all small. One will be for a large silverware tray on slides. One will be for box stuff like foil, saran-wrap, wax paper, etc. And the taller one will probably be for spices, salt, pepper, soap, etc.

The wings on the left are so that it will clear my 20lb propane tank when stored, but allow me to pull it out a couple extra inches when in use. Everything will slide wood on wood and the ply will fit in channels in the storage box to stay aligned. I'll be using adjustable table legs to support the outside edge.

The top will swing open and give more counter space on the back of everything. It's going to be supported by a post and cable setup. So when you open the top, the post will pivot on the back of the table and tension two cables, one going forward to the front of the kitchen, one going backwards to the back of the lid. Sorry, wasn't very clear.

On with my drawing:

kitchen-plan1.jpg


Think it will work?
 
Last edited:

cj454

Observer
WOw this looks really nice. Keep up the good work. I want to make somehting like this at come point. but on a military trailer or truck platform
 

Snowrydr01

Observer
Got some stuff done on the camper over the last two weekends, though progress has been hampered a bit by the snow.

I received the sink and stove that I'm going to use on the pull out kitchen...

Smev-2-Burner-ss-stove.jpg


017668.jpg


-


That stove and sink are great, where did you get them from
 

elmo_4_vt

Explorer
WOw this looks really nice. Keep up the good work. I want to make somehting like this at come point. but on a military trailer or truck platform

Thank you for the compliment... Now get started on yours! :eek:

That stove and sink are great, where did you get them from

I found them on Ebay, and they seemed to be the best price around on this type of unit.

Don

-
 
Last edited:

woodeye

Observer
Don I like it but I think that cut off saw is a bit over kill for trimming rope and
tent fabric don't you think LOL

But nice mite do something similar to my trailer

Woody
 

elmo_4_vt

Explorer
What can I say... Ballast is ballast. Although we'd probably be surprised how well an abrasive cutoff wheel would work with rope and fabric pieces.

-
 

Forum statistics

Threads
186,491
Messages
2,886,623
Members
226,515
Latest member
clearwater
Top