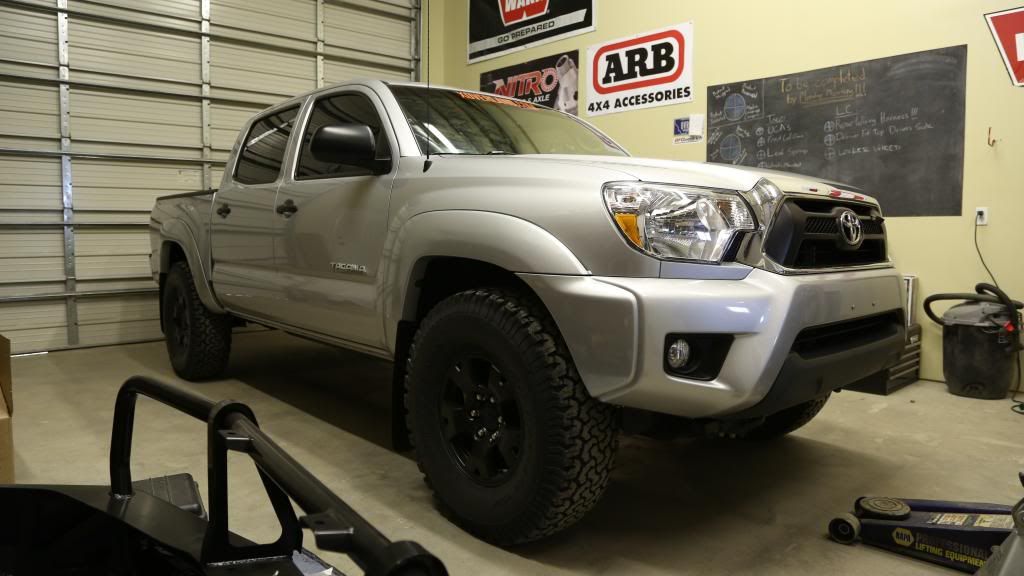
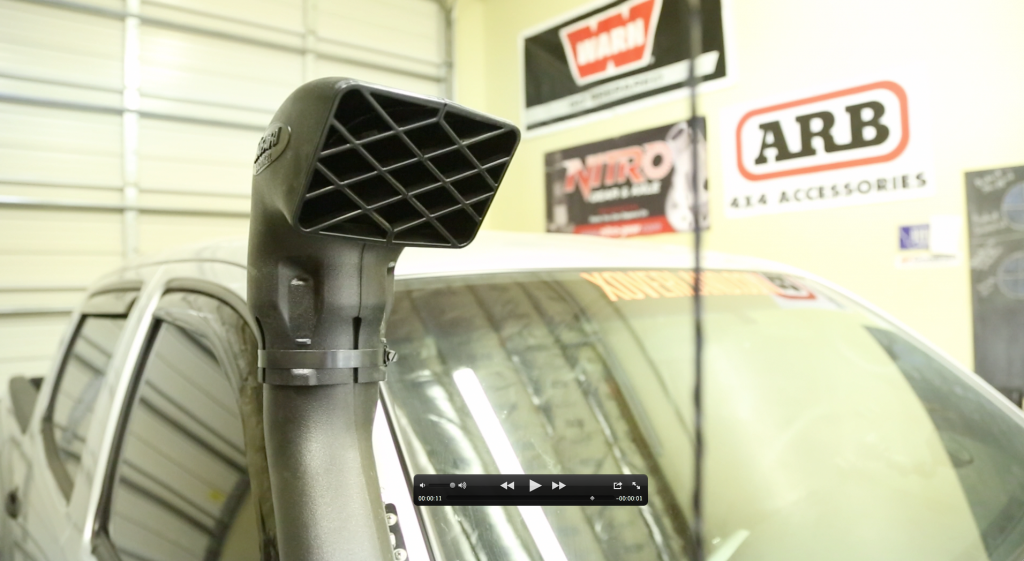
HILUX snorkel on the 2013 Tacoma.
We did a great deal of looking around when it came to this install and there are a lot of ways to skin this cat. First off this snorkel is designed for the R.O.W. Hilux. NOT THE TACOMA. ARB has not made one for this generation Tacoma so a Hilux snorkel that you modify to fit is your only option in way of the Safari Snorkel brand. We turned to CruiserOutfitters.com to supply us with the Hilux snorkel. With the help of Taco Docs instructions and the template that he helped develop for Cruiser-outfitters (which is found on cruiseroutfitters.com site) the install was much less involved. Until we decided to do it differently.
Cruiser outfitters site for snorkels and templates.
http://www.cruiseroutfitters.com/safarisnorkel.html
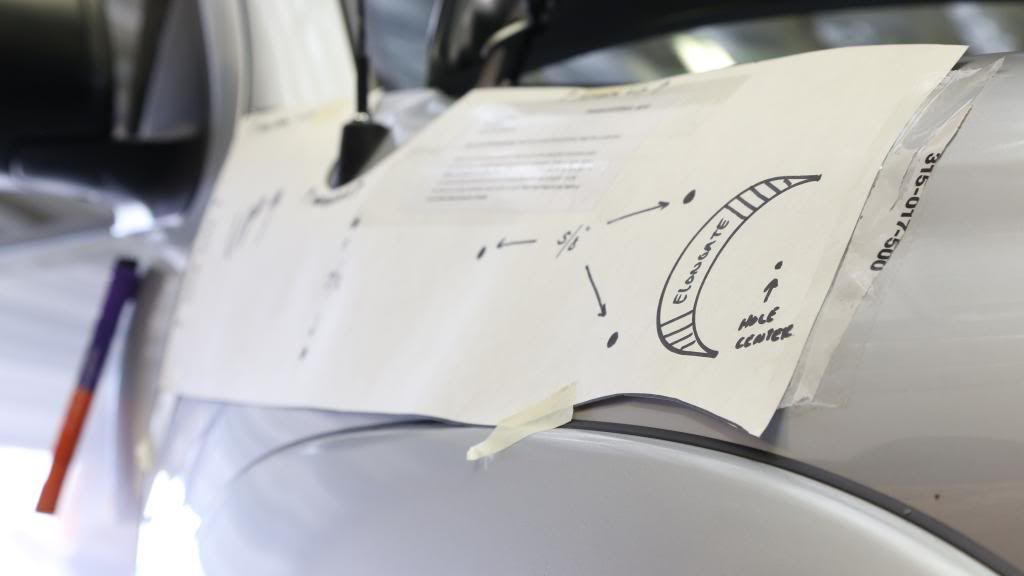
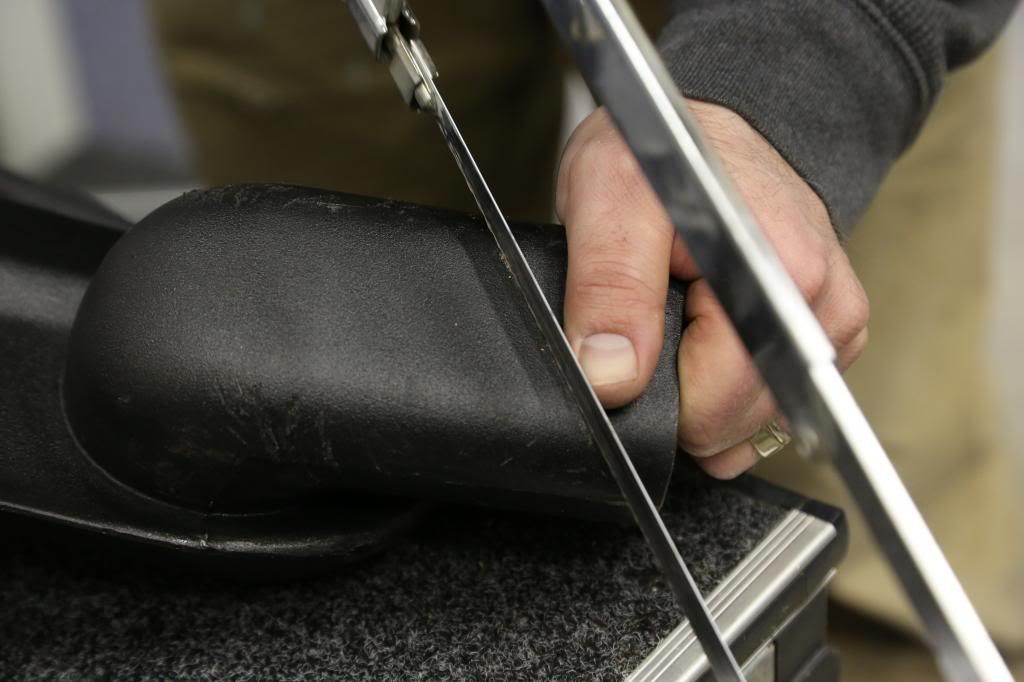
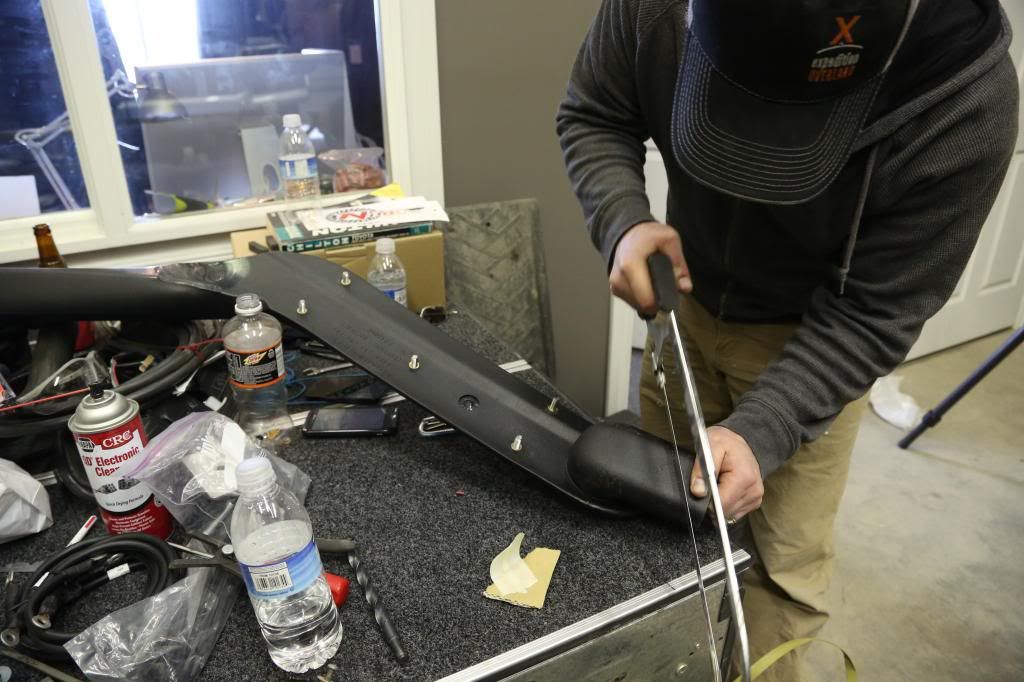
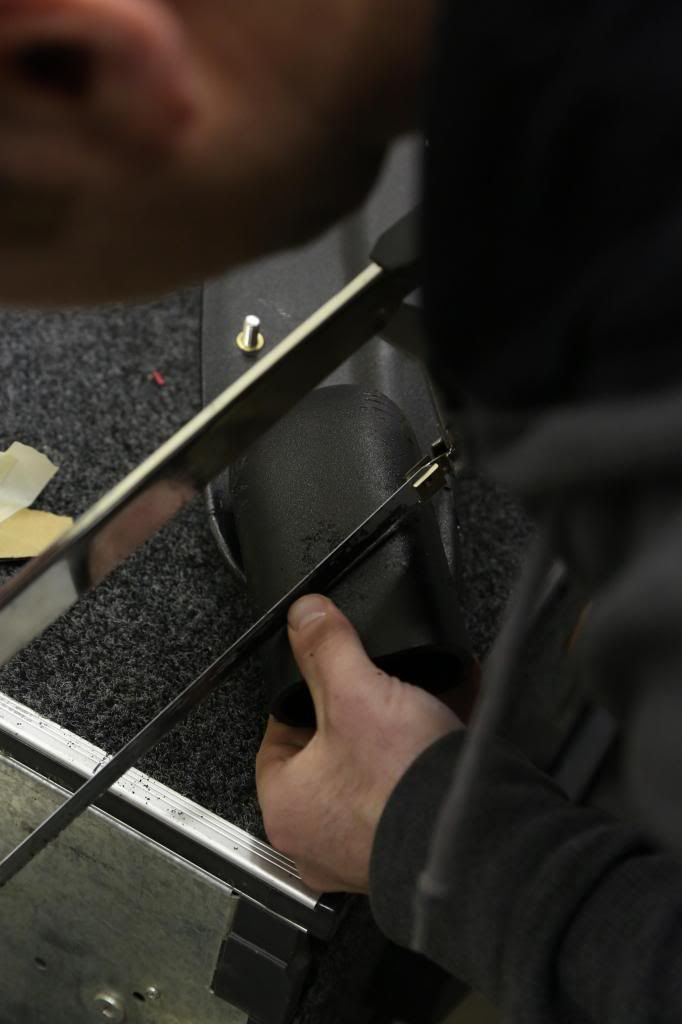
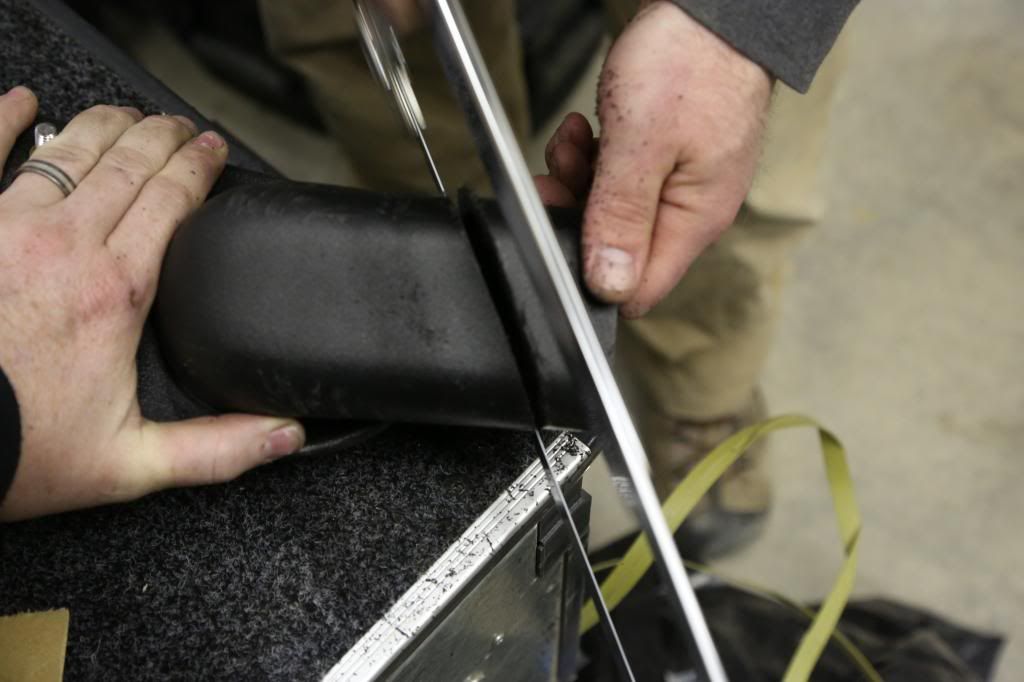
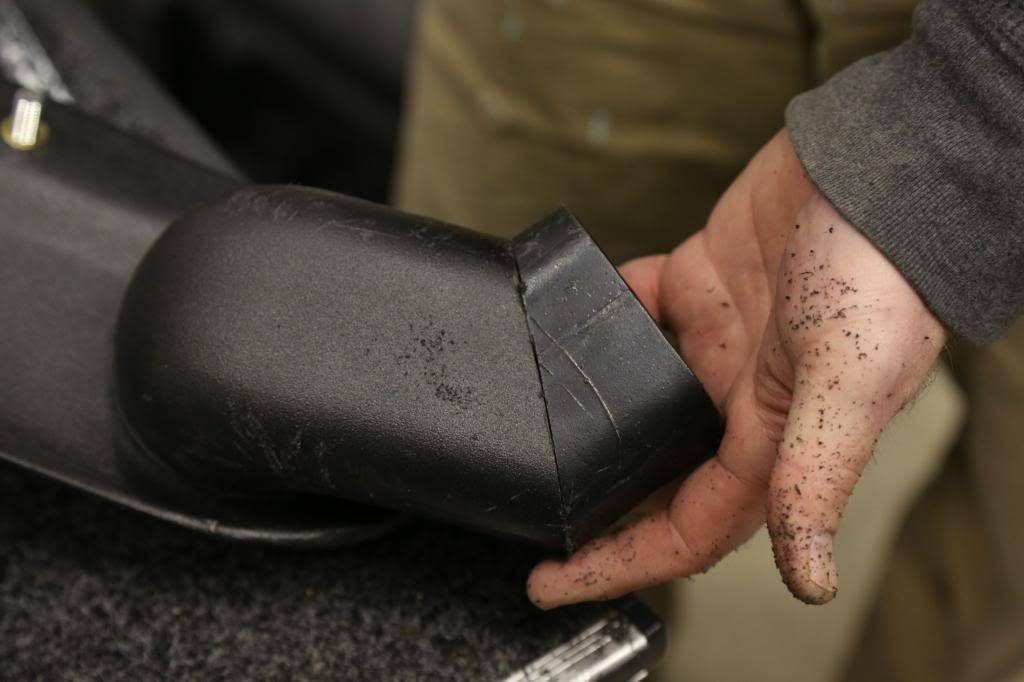
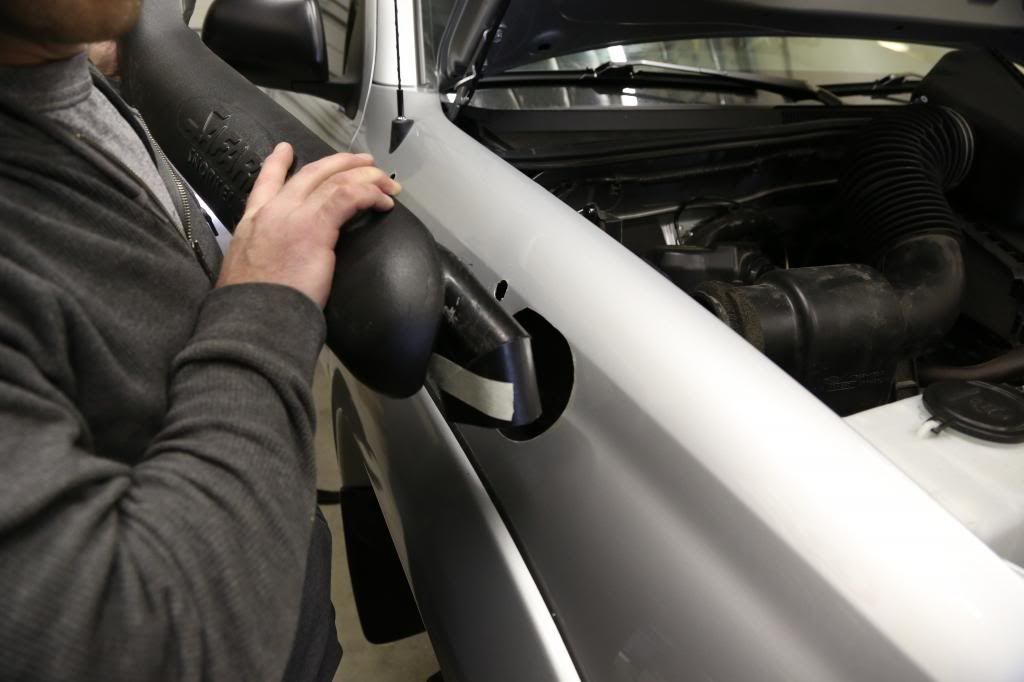
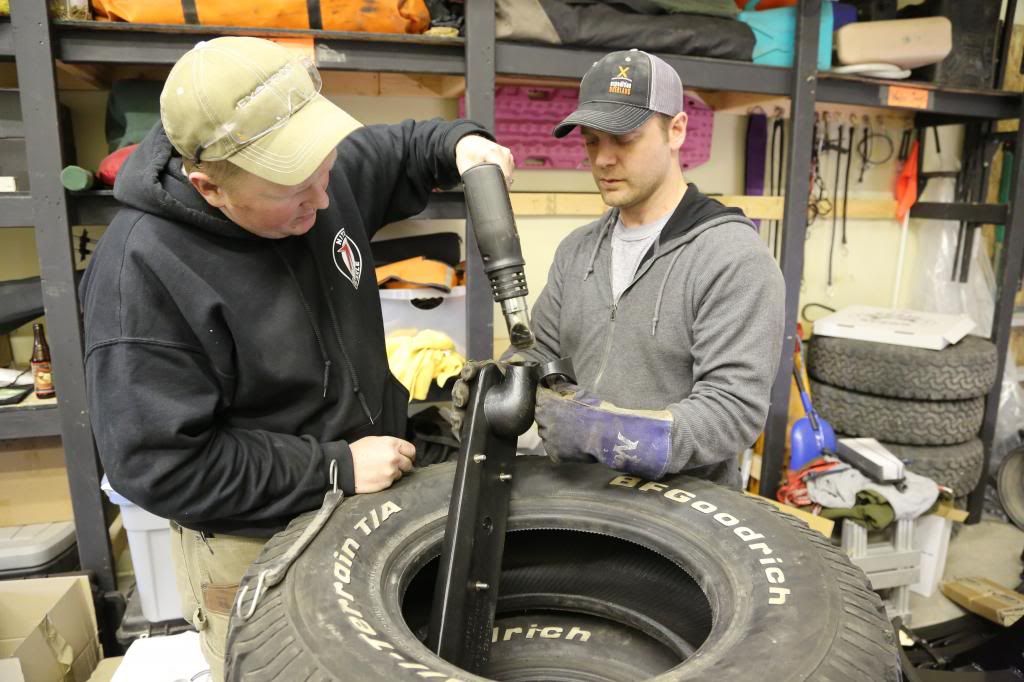
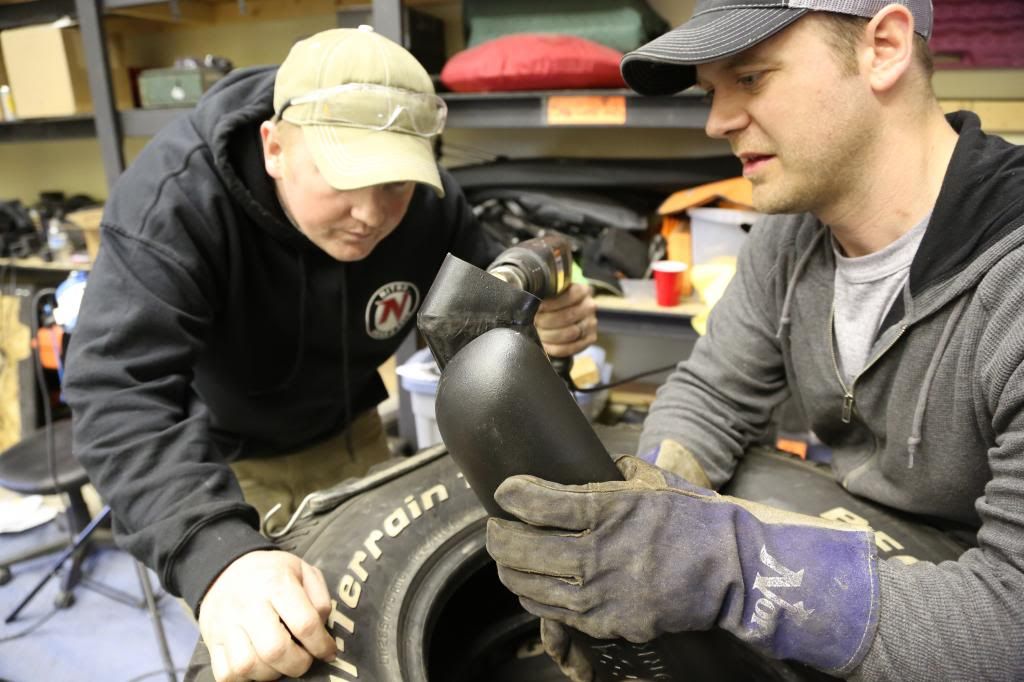
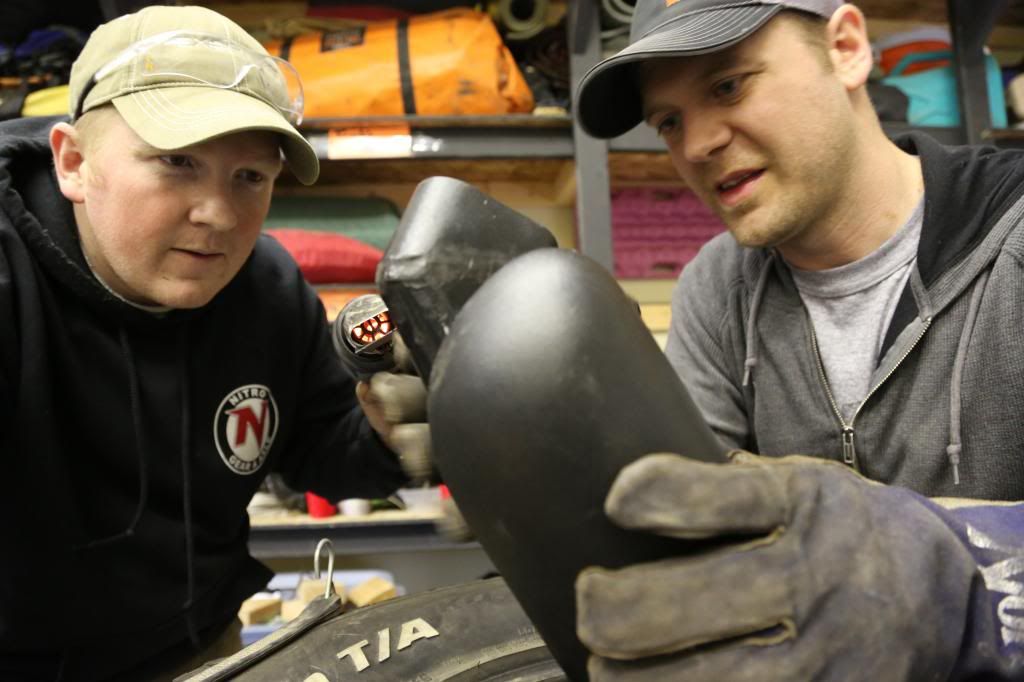
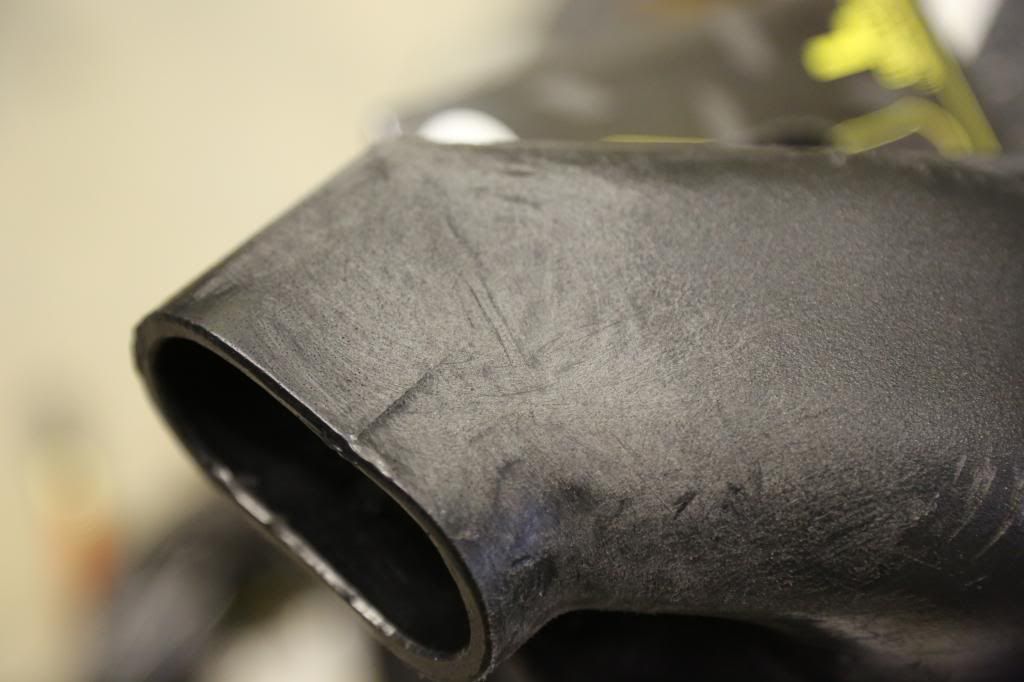
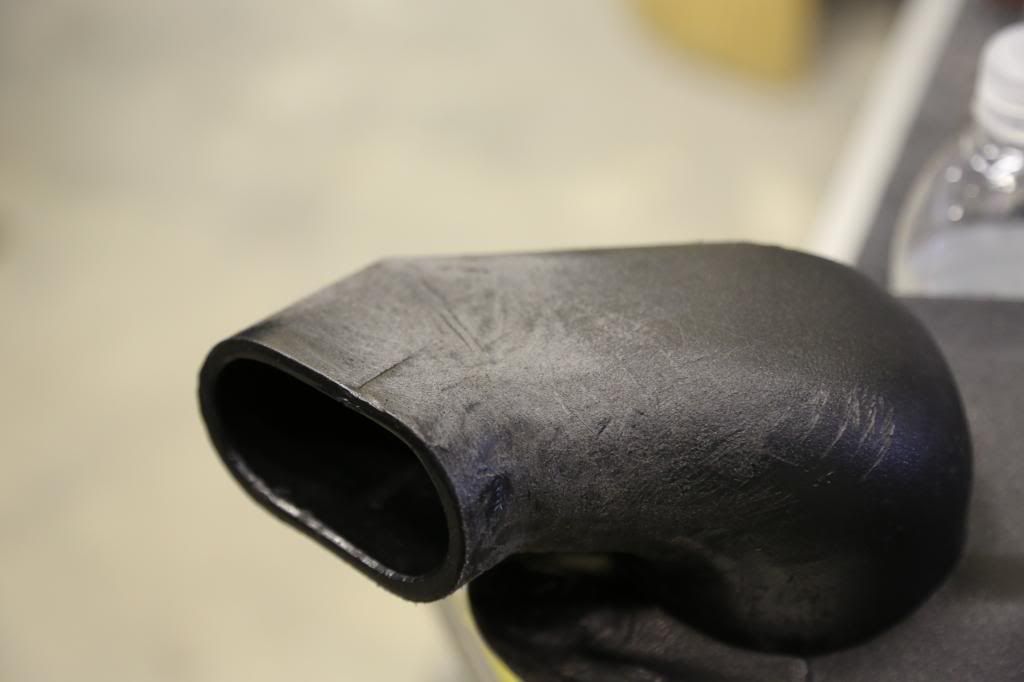
We followed the template so that we knew were to drill our mounting holes. That was all fine and dandy. It was the standard measure/check/Recheck/Re-recheck then cut once scenario. This mod is significant and honestly we really enjoyed the process. We think snorkels are cool and with the thousands of dusty miles ahead and the certainty of many river crossings the importance of this mod speaks for itself. The issue came after the snorkel is fitted to the fender. One will find that the air intake on the snorkel does not match up with the factory air intake hole. We came up with a unique solution to this. One that we hadnt seen before and took a little guts. We decided to cut the snorkels air intake near the end at about a 20-25 degree angle and then flip it over. Effectively making a 45 Degree down facing air intake. from this mod the fender does not need to be cut ( like you may find on some other installs) and the air intake does not have to be jimmy rigged through the hole at a sketchy angle; instead it comes into the engine bay like it should...Straight. We used a hack saw (thats what we had), a heat gun, and some plastic repair to strengthen the plastic after the cut.
Steps.
-Cut the snorkel at a 20-25 degree angles so that the cut out piece when flipped will face down when your remelt it together. Make sure to leave enough room on the end to attach the rubber piece with a hose clamp.
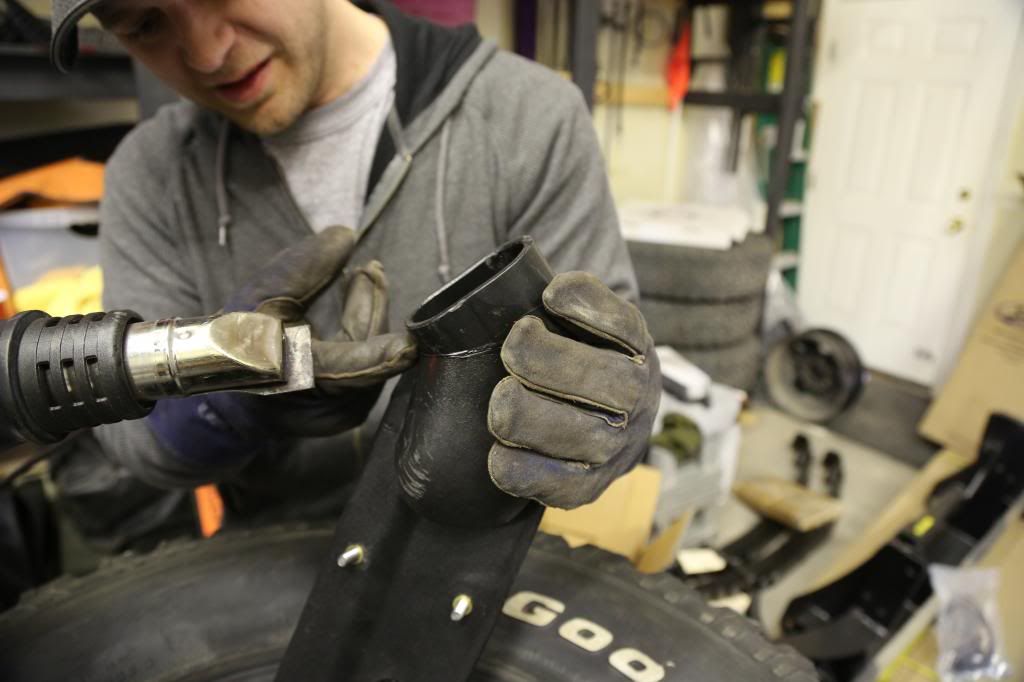
-Heat the plastic (heat gun highly recommended!!)
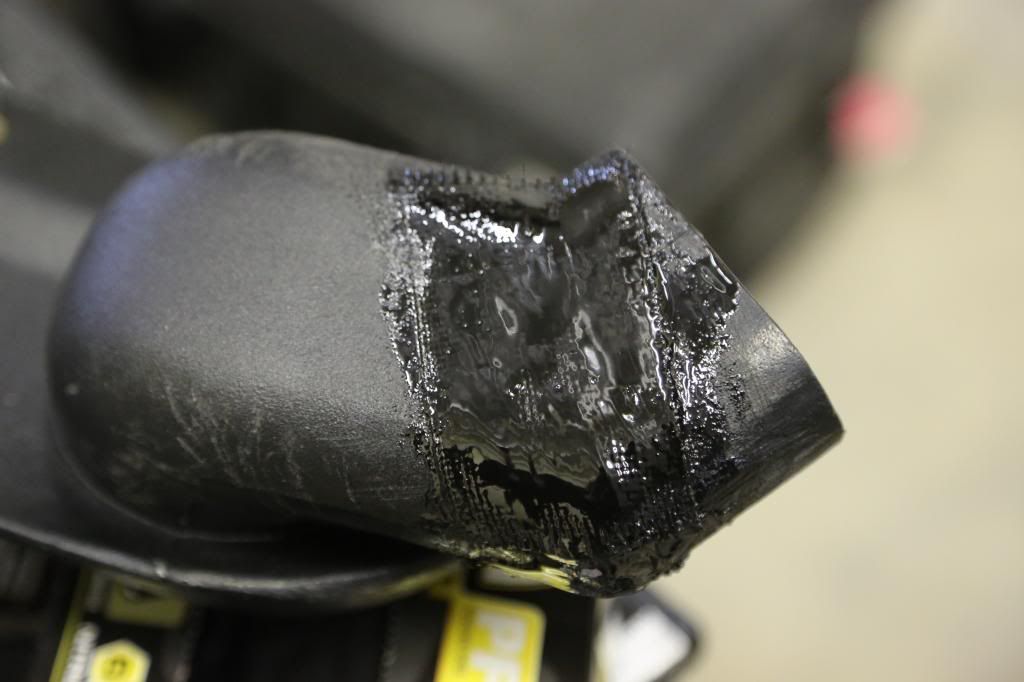
-Push the plastic back together and use the displaced melted plastic to "weld" the plastic together. We smeared it along the seam with a leather gloved finger.
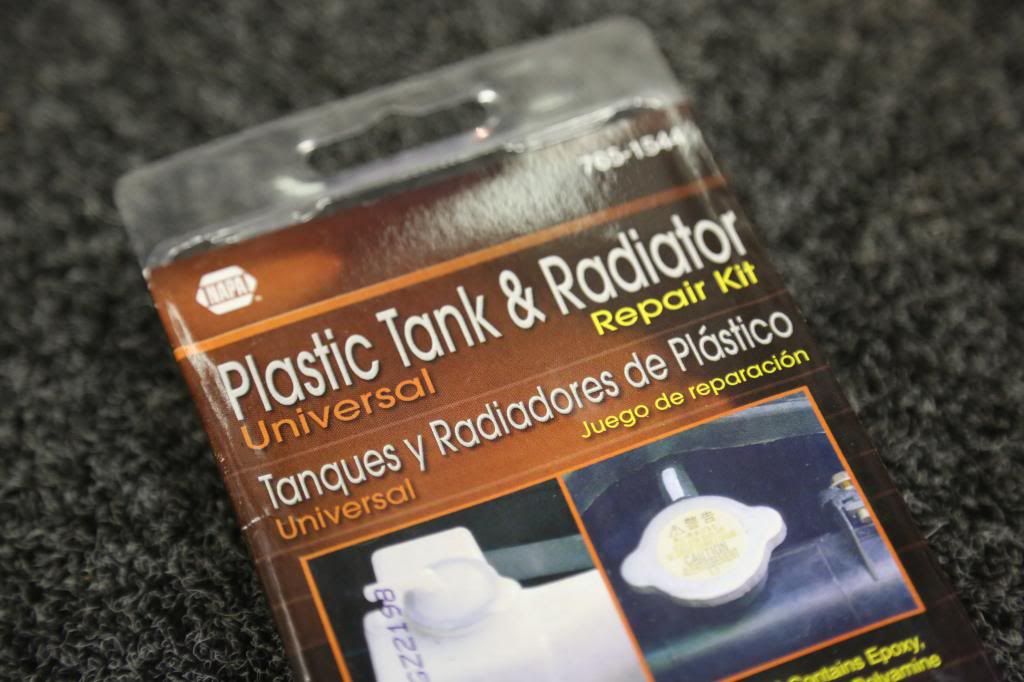
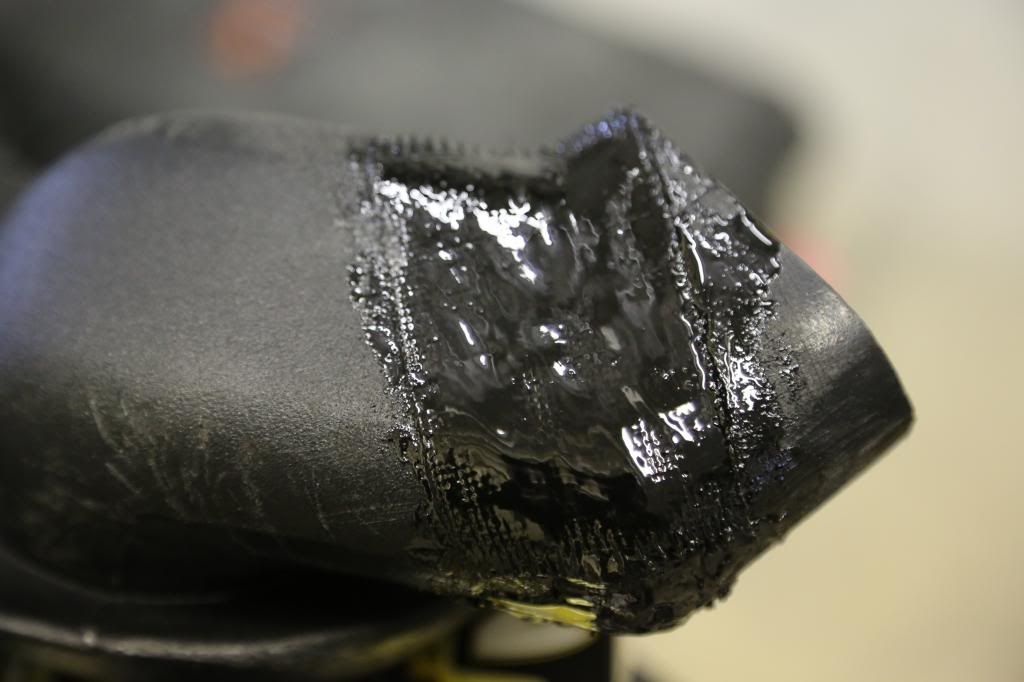
-Follow the plastic repair kit instructions to reinforce the cut area. ( this stuff heats up super hot and you only have a limited time to get it on. Be prepared before you start)
-Now your curved rubber tube will come in straight.
Next:
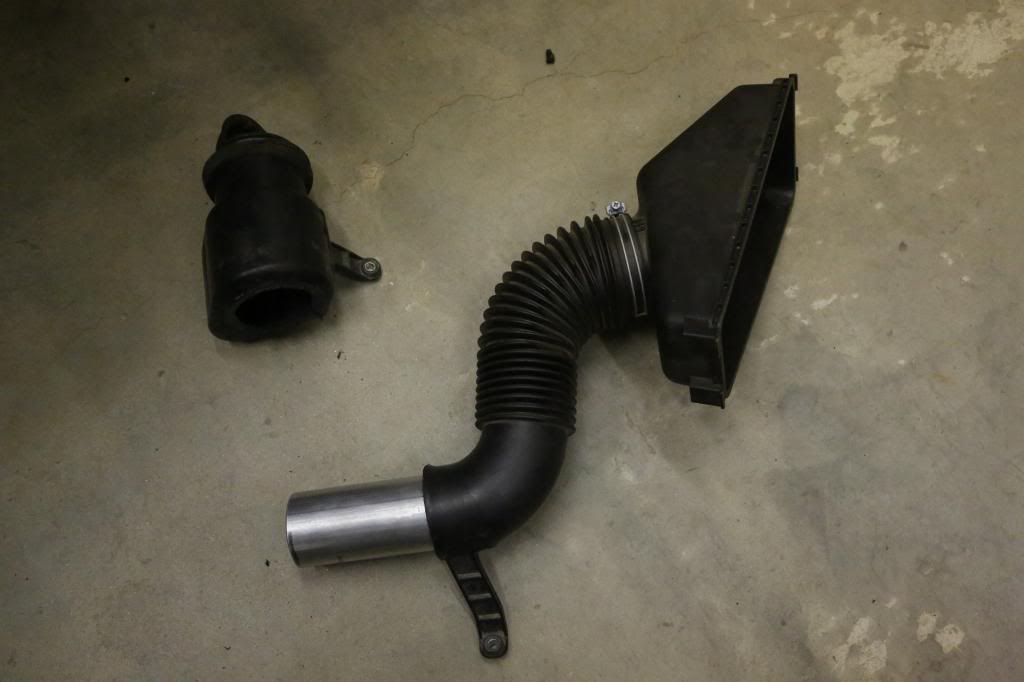
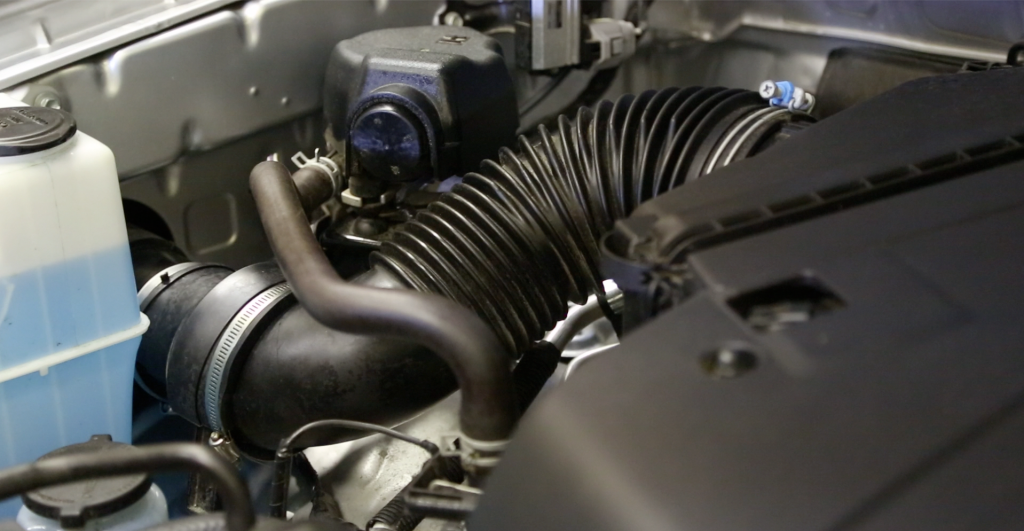
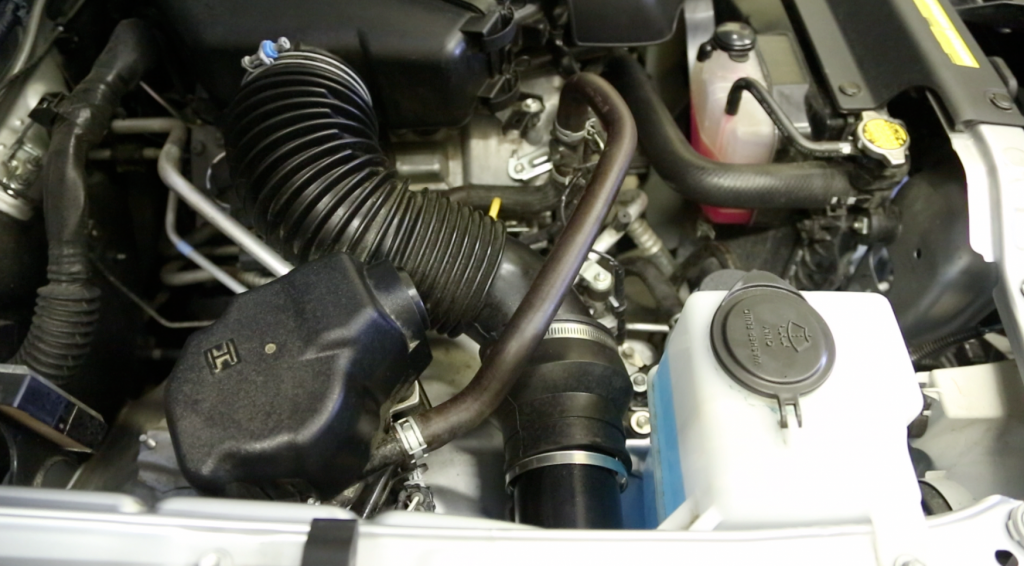
We cut the factory tube out, but left the mounting brace on. This allowed for a stronger mount and less vibration from the motor to the air connections to the snorkel.
If you do this right we found that you could only cut the one piece where it goes thought the fender and have a near perfect looking stock air intake. ( had we figured this a little sooner we would not of cut our stock intake tube the way we did.)
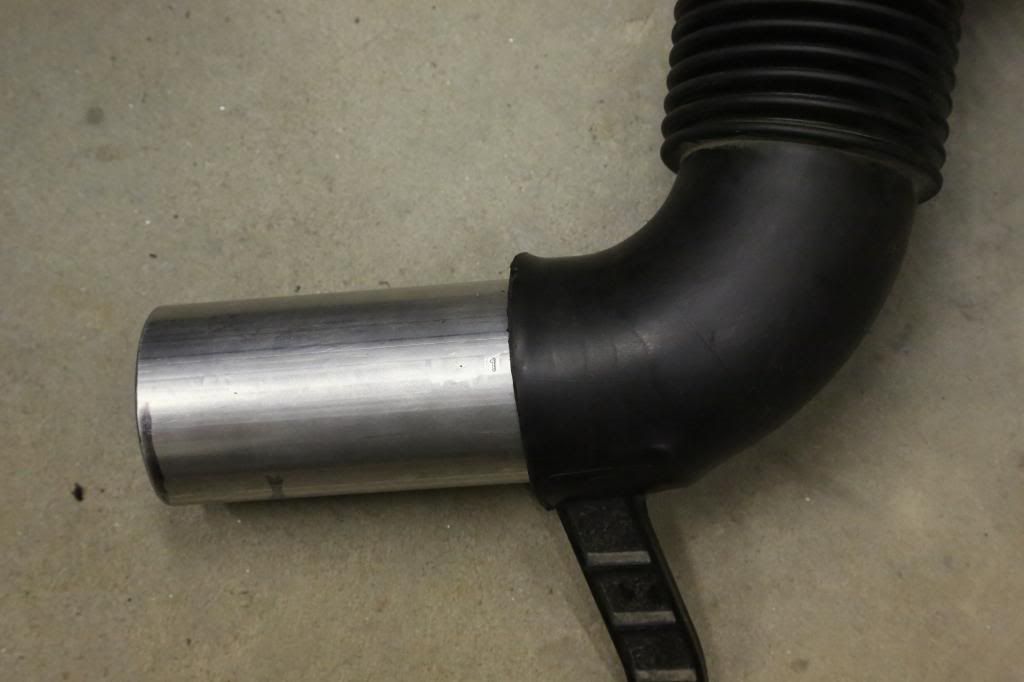
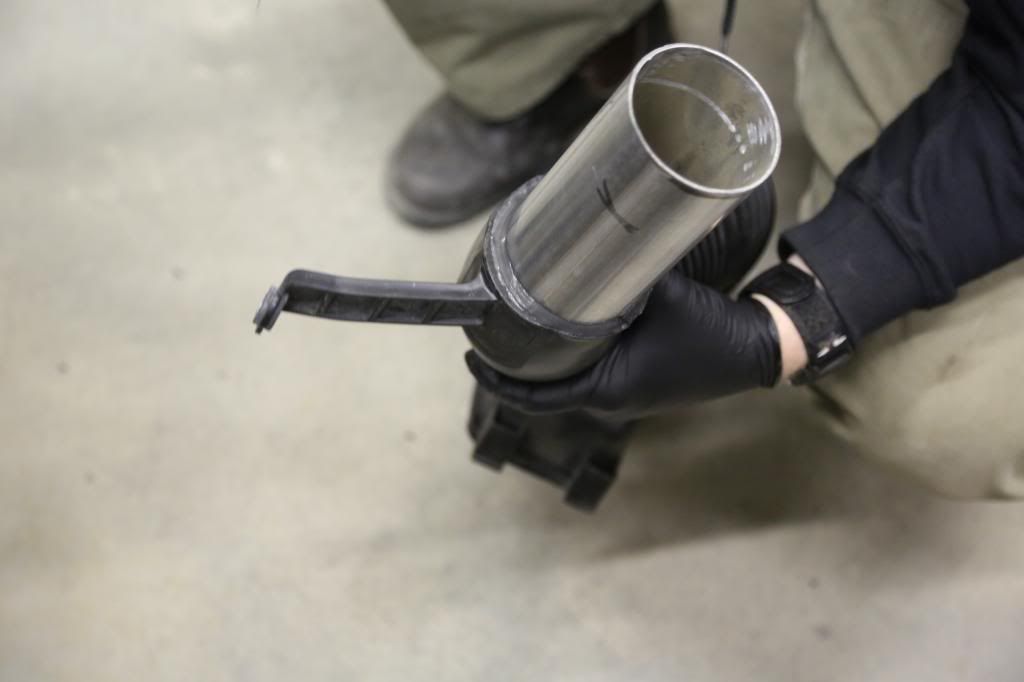
We painted the exhaust pipe (included with the Cruiser outfitters kit) and pressed the pipe into a the stock air intake. We first heated this stock air piece so that we could press the pipe in as securely as possible.
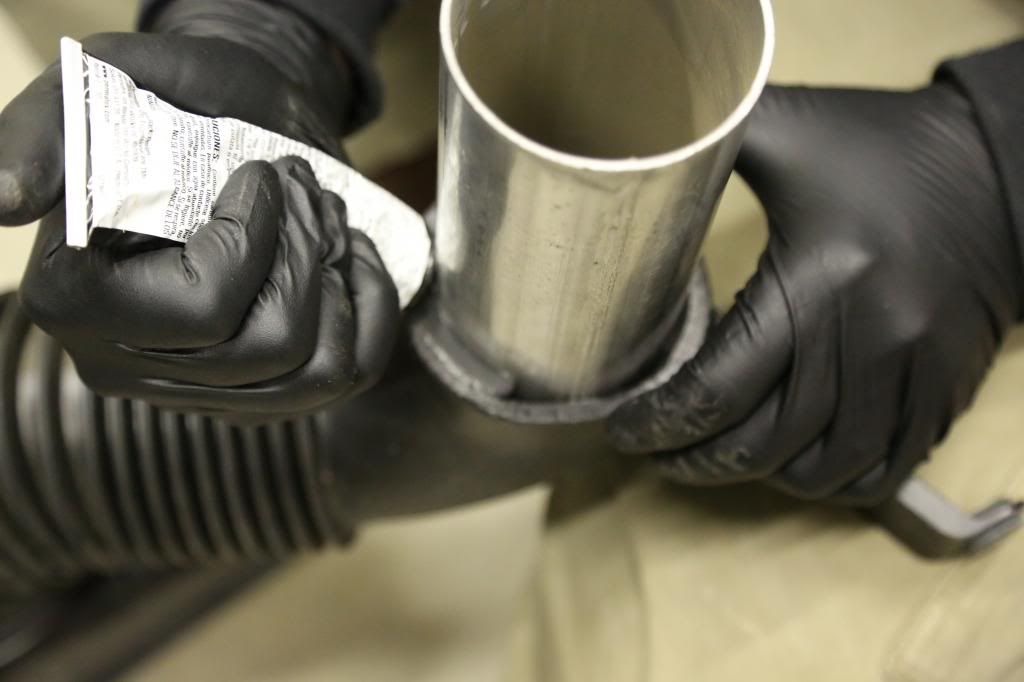
Then we put in some gasket sealer to make sure we had a airtight connection and placed a rubber dryer type rubber reducer that we cut at the seam to form an additional brace for good measure.
We bolted it all back together and we had a snorkel with a very clean look.
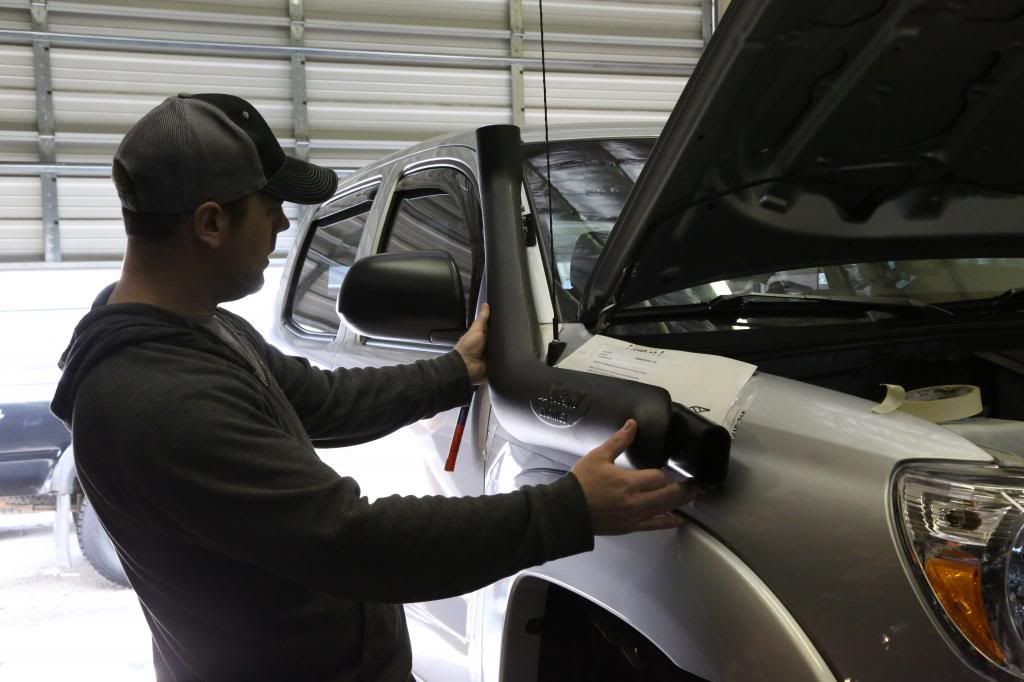
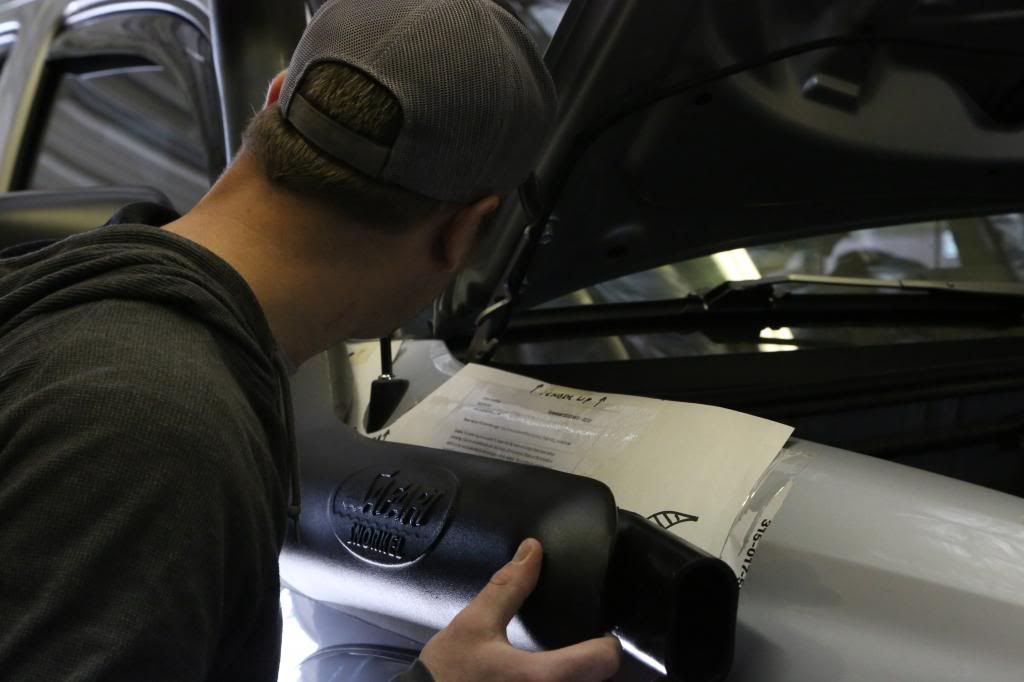
Scott doing the initial fitment and lookover
The template from cruiser outfitters placed on the fender.
The Cut
Flipped and staged for remounting.
The check:
Reheat of the two pieces:
Smearing the "weld"
After it cooled
Time for reinforcements.
Repair applied- This stuff works fast and so must you!
The air intake cut and fitted with the provided exhaust pipe.
Gasket sealer applied:
The final product.
Killer!!

