Expedition Overland 2013 Tacoma Build

ExpeditionOverland

Supporting Sponsor
EGR Window Visors.

Well, just another quick upgrade was performed to the tacoma. The very simple to install EGR window Visors. The tacomas window when raining has a tendency to dump rain water right onto your window switchs when driving or parked in the rain. The top of the window is actually inside the door so when you open it, the rain just drips right in. This is not good when you need to emergency evac the air in a truck if you know what we mean (wink wink...nudge nudge). The Visor is great because it allows you to open the window when raining and not get soaked! This will be important in Alaskan weather. The other benefit is in hot weather you can leave the windows cracked and the "passerby" is none the wiser. http://egrusa.com/

They squeaked initially do to the tight fit but now have seated in and are good to go.

Here are a few pics:
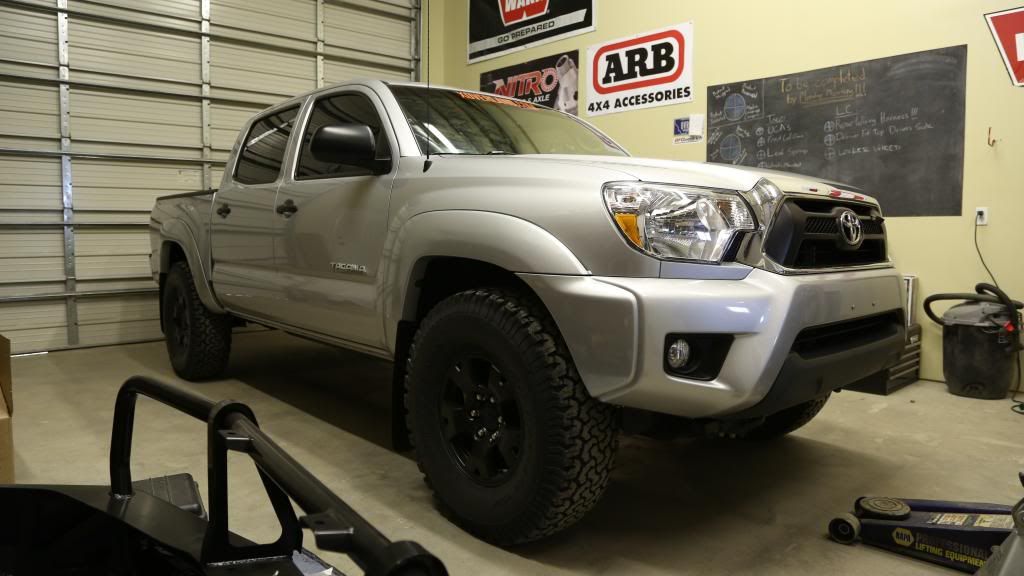
Before the install
4K4A8133_zps522f94c4.jpg

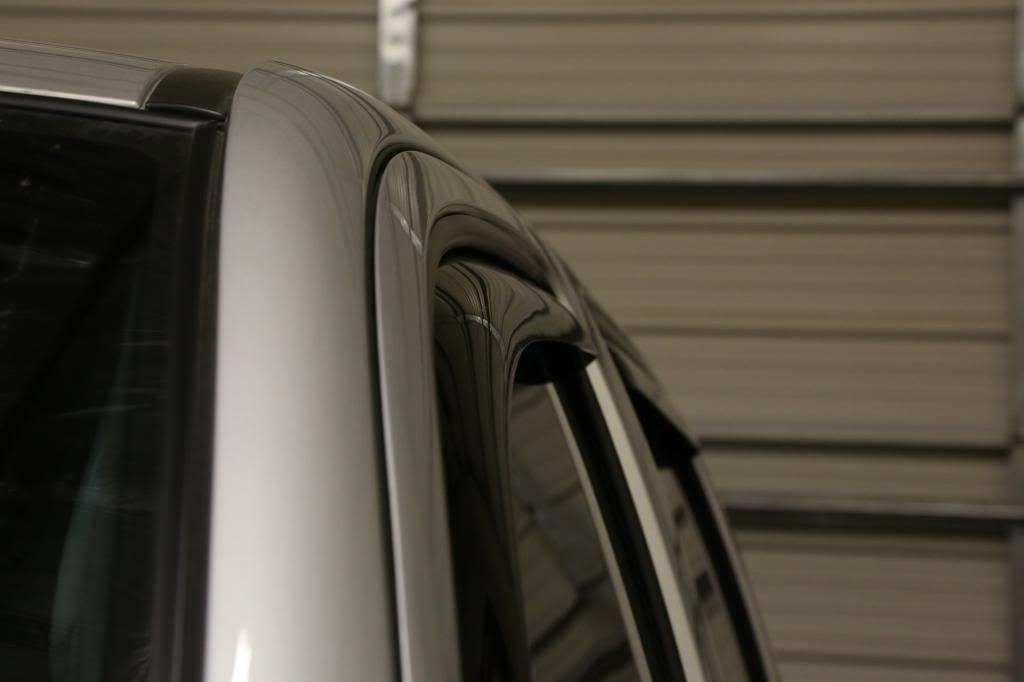
Slim line fit: We have not noticed any wind noise from this upgrade.
4K4A8145_zps319d8f39.jpg

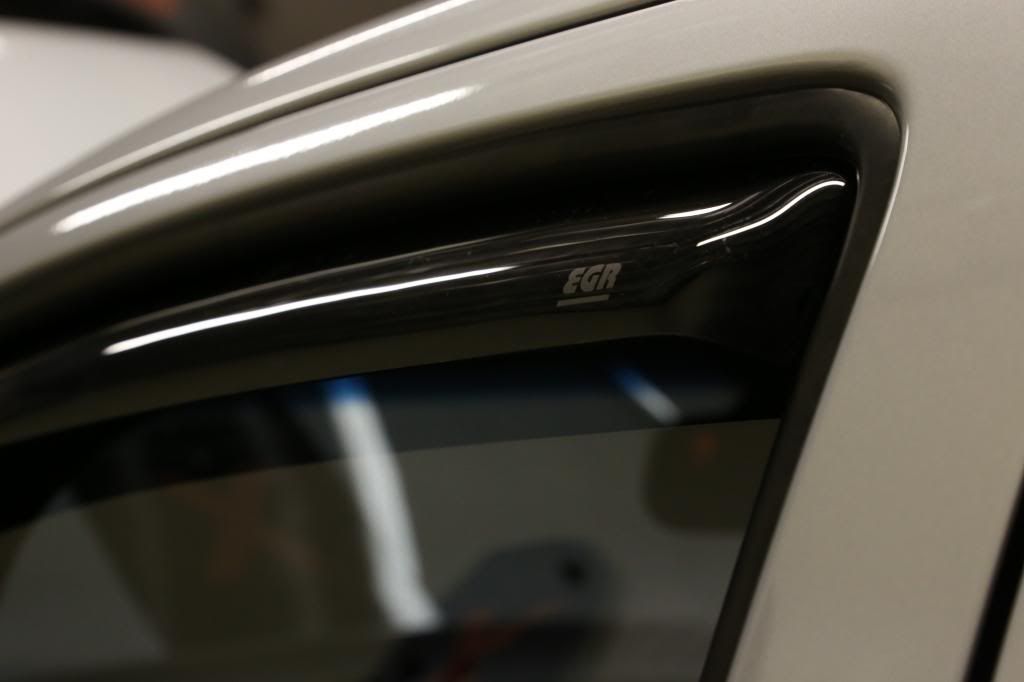
Good looking product.
4K4A8148_zpse95f2d46.jpg
 
Last edited:

sumnrfam

Active member
WOOT!!!

Clay,, what is the diamond plate thingy (technical term :sombrero:), in the photo with the tires and fuel cans?? (Tailgate cap?),,

Do tell,,, also, Factory E locker right?,, do the 4:56 gears fit in the 8 rear ok?

Keep it coming!,

Wade
 

ExpeditionOverland

Supporting Sponsor
HILUX snorkel on the 2013 Tacoma.

We did a great deal of looking around when it came to this install and there are a lot of ways to skin this cat. First off this snorkel is designed for the R.O.W. Hilux. NOT THE TACOMA. ARB has not made one for this generation Tacoma so a Hilux snorkel that you modify to fit is your only option in way of the Safari Snorkel brand. We turned to CruiserOutfitters.com to supply us with the Hilux snorkel. With the help of Taco Docs instructions and the template that he helped develop for Cruiser-outfitters (which is found on cruiseroutfitters.com site) the install was much less involved. Until we decided to do it differently.
Cruiser outfitters site for snorkels and templates.
http://www.cruiseroutfitters.com/safarisnorkel.html

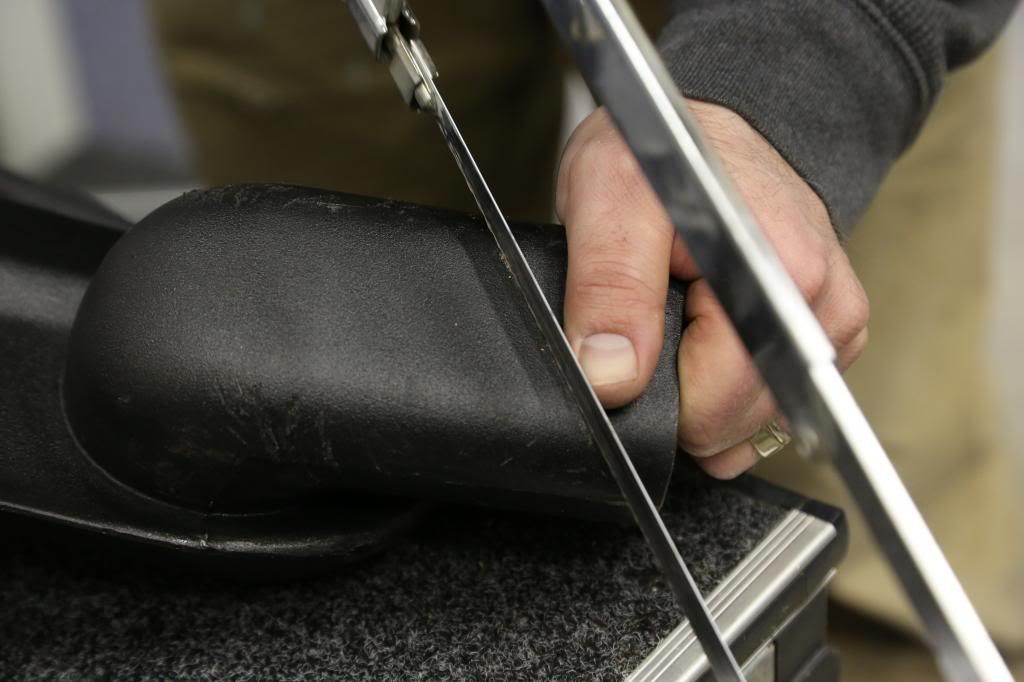
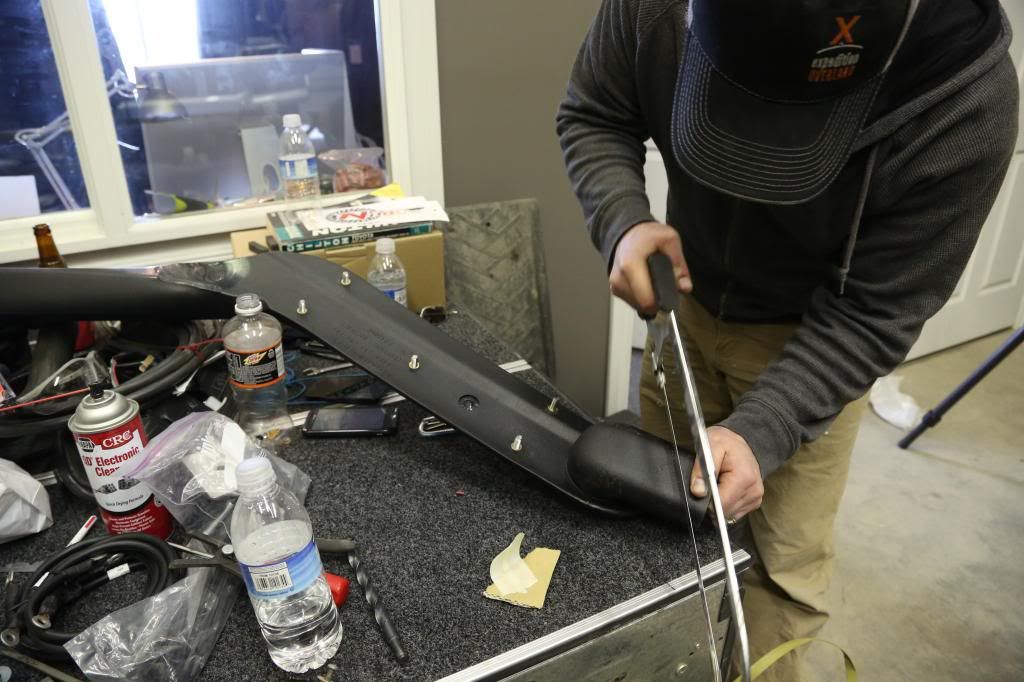
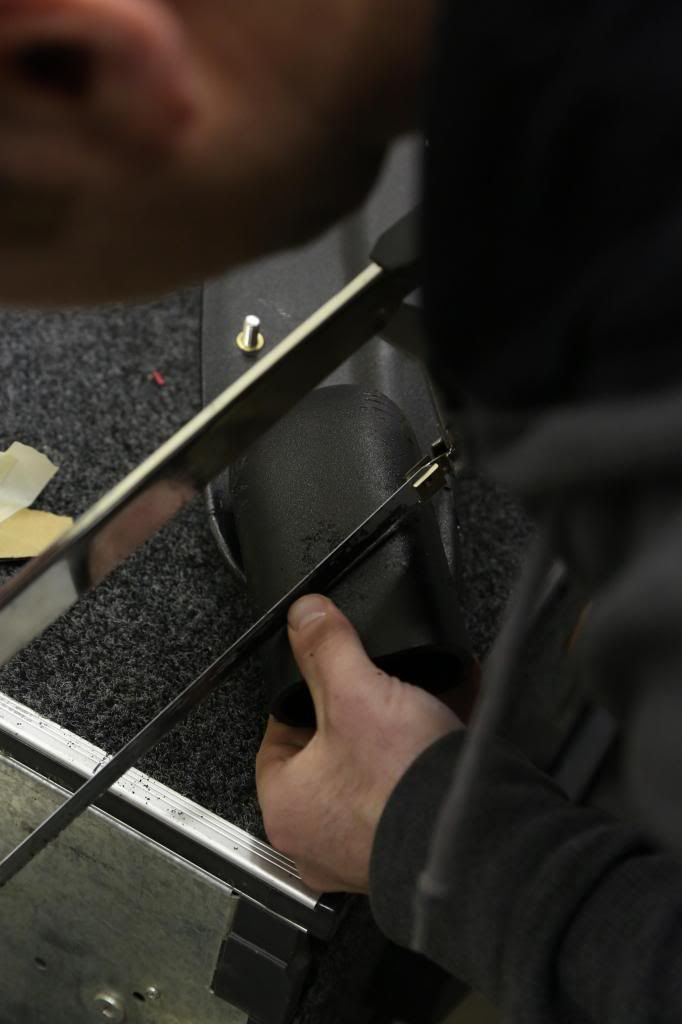
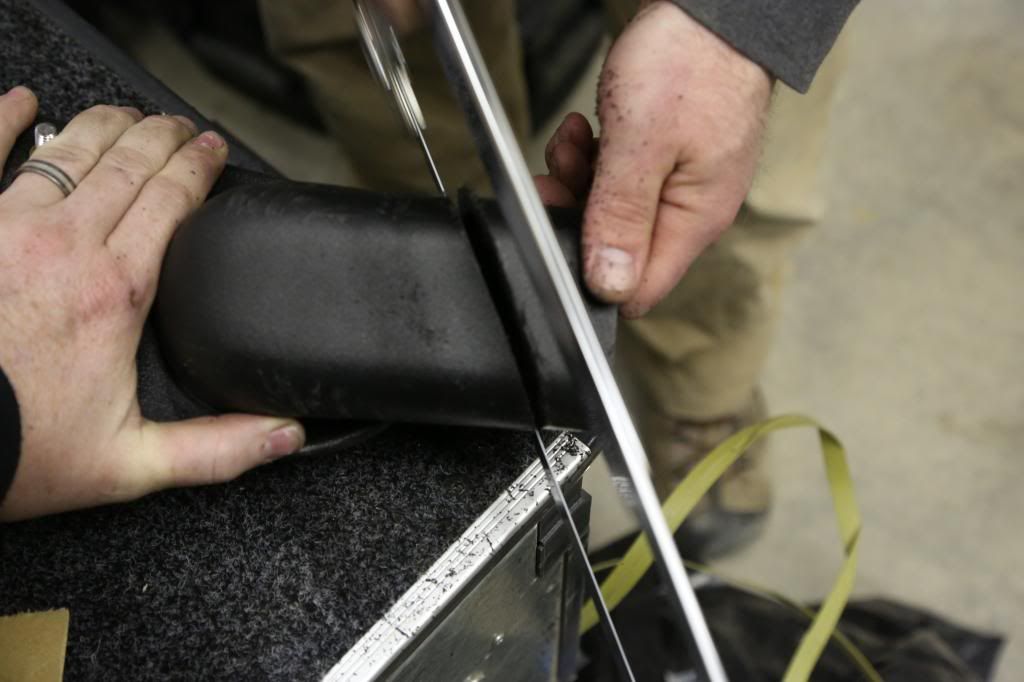
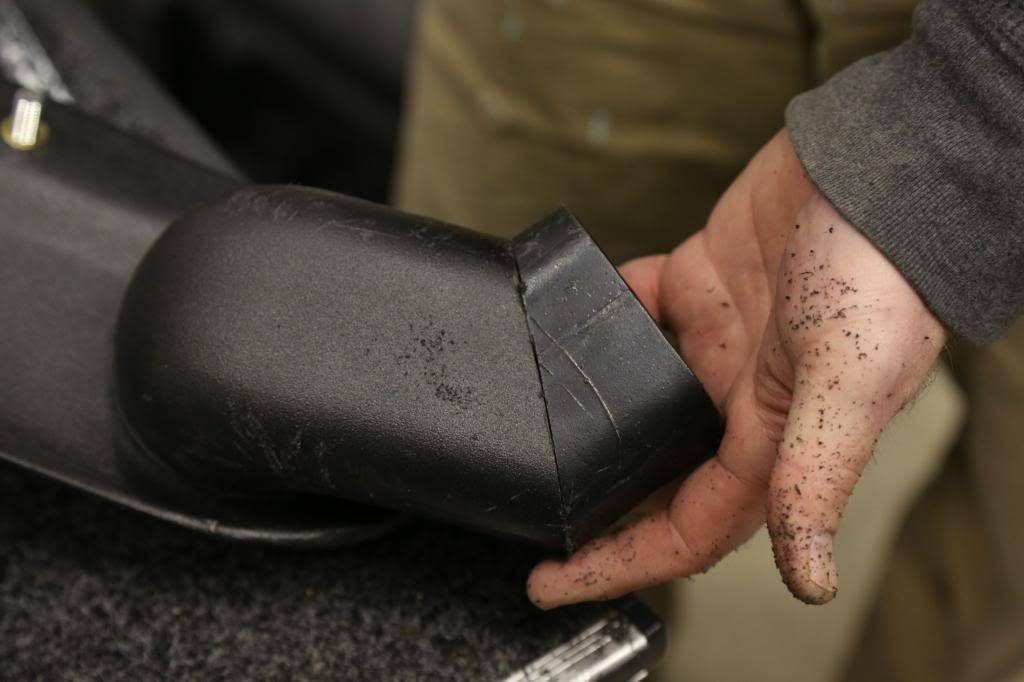
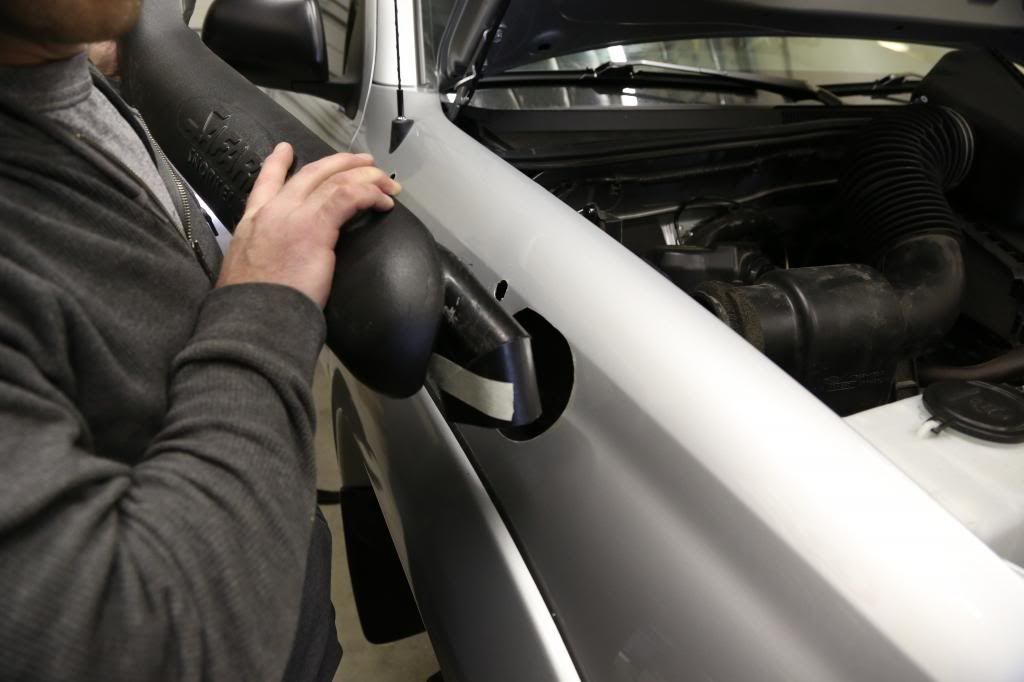
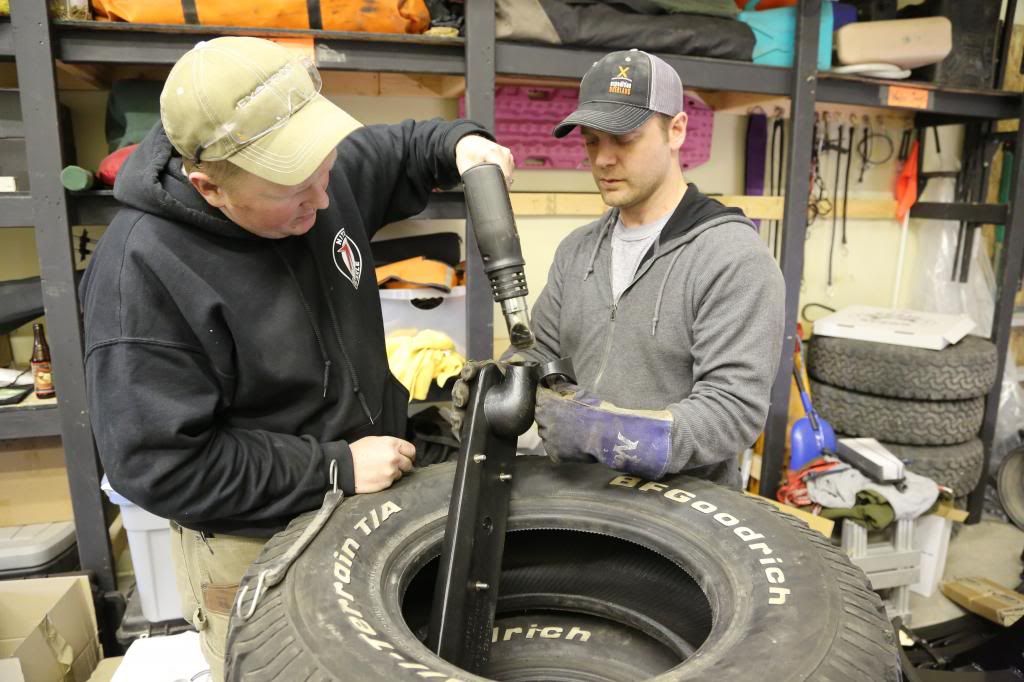
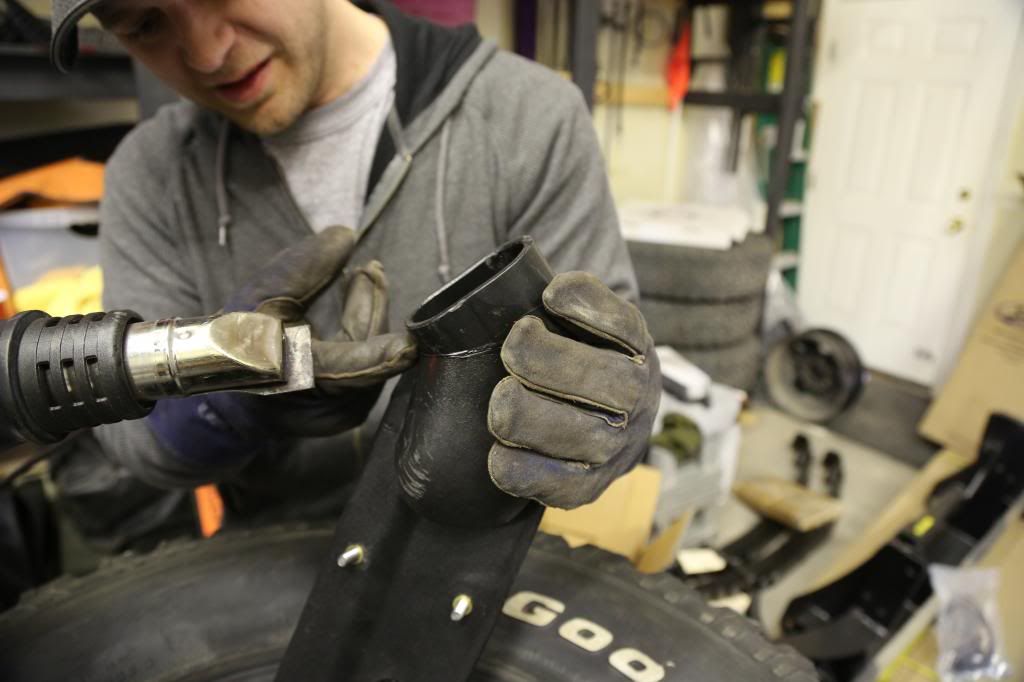
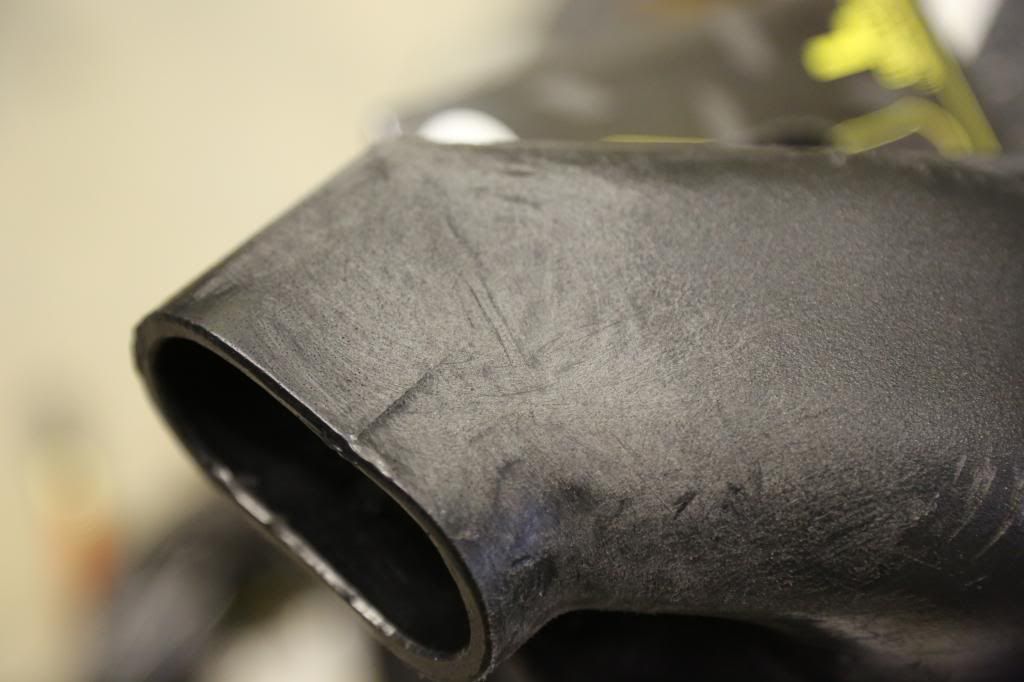
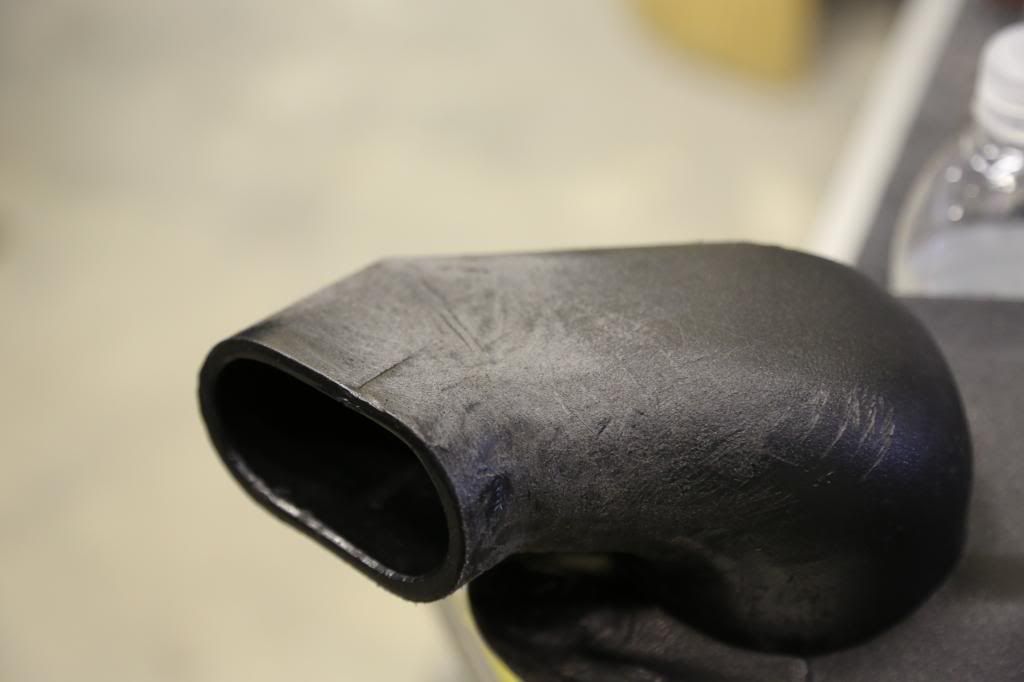
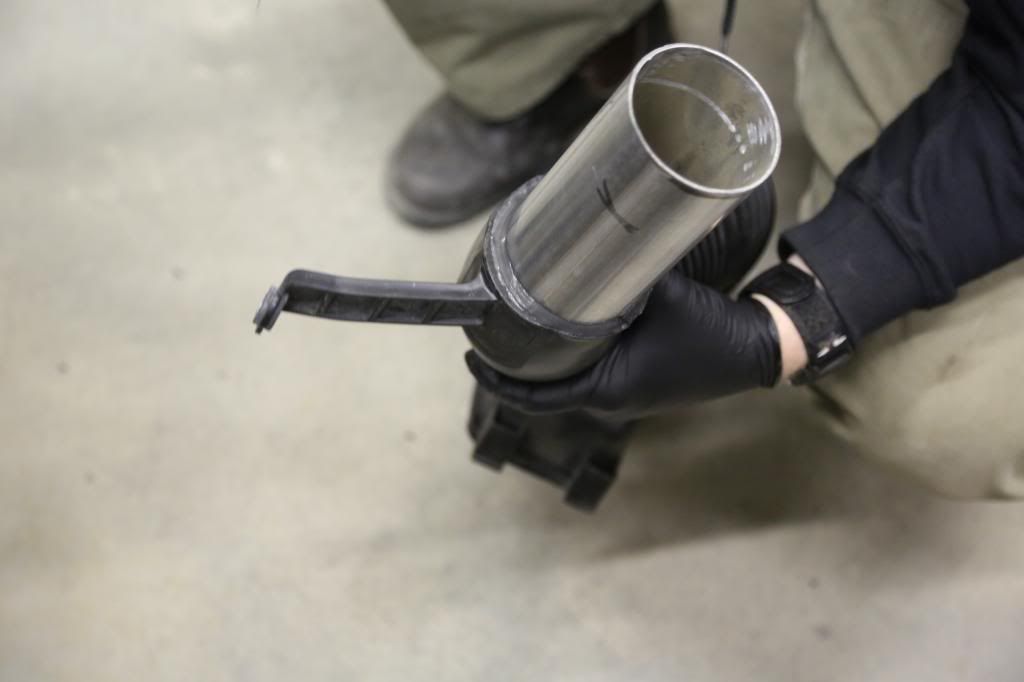
We followed the template so that we knew were to drill our mounting holes. That was all fine and dandy. It was the standard measure/check/Recheck/Re-recheck then cut once scenario. This mod is significant and honestly we really enjoyed the process. We think snorkels are cool and with the thousands of dusty miles ahead and the certainty of many river crossings the importance of this mod speaks for itself. The issue came after the snorkel is fitted to the fender. One will find that the air intake on the snorkel does not match up with the factory air intake hole. We came up with a unique solution to this. One that we hadnt seen before and took a little guts. We decided to cut the snorkels air intake near the end at about a 20-25 degree angle and then flip it over. Effectively making a 45 Degree down facing air intake. from this mod the fender does not need to be cut ( like you may find on some other installs) and the air intake does not have to be jimmy rigged through the hole at a sketchy angle; instead it comes into the engine bay like it should...Straight. We used a hack saw (thats what we had), a heat gun, and some plastic repair to strengthen the plastic after the cut.

Steps.
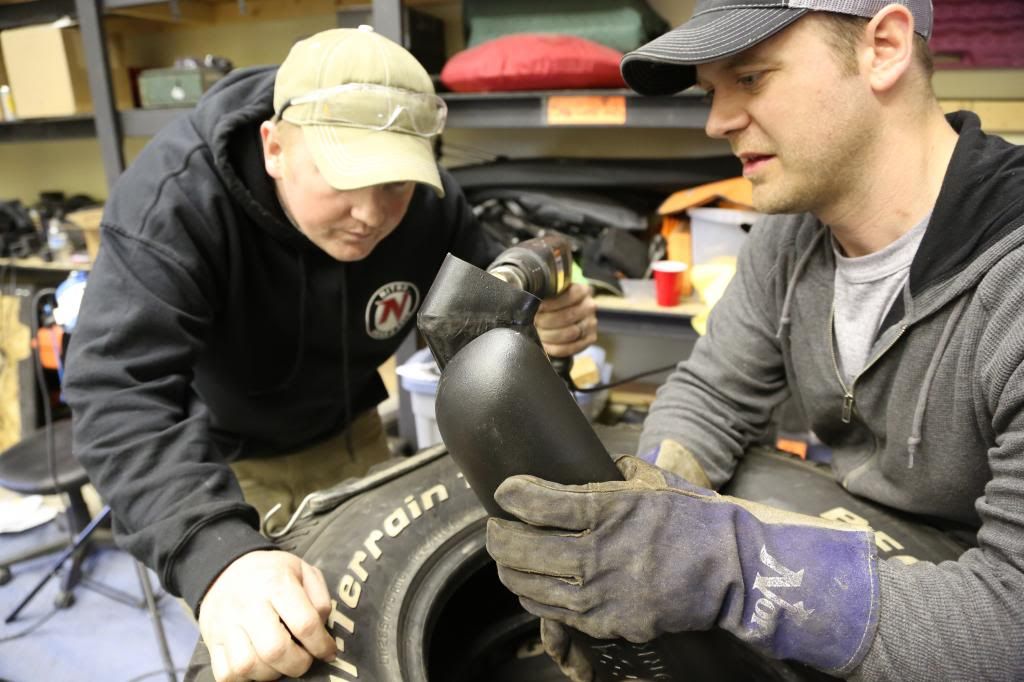
-Cut the snorkel at a 20-25 degree angles so that the cut out piece when flipped will face down when your remelt it together. Make sure to leave enough room on the end to attach the rubber piece with a hose clamp.
-Heat the plastic (heat gun highly recommended!!)
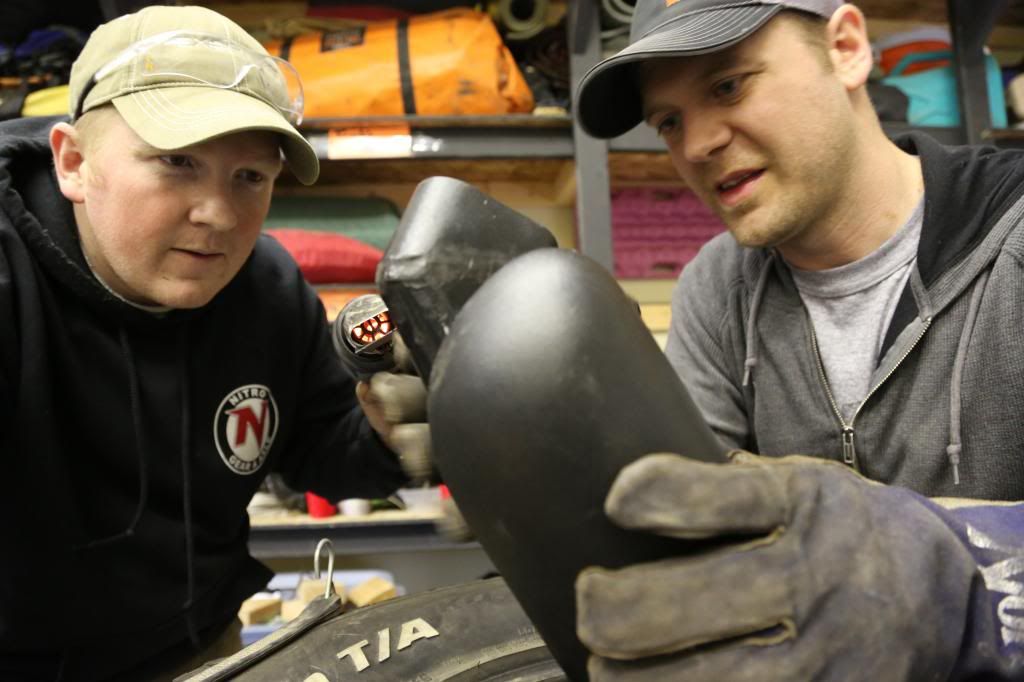
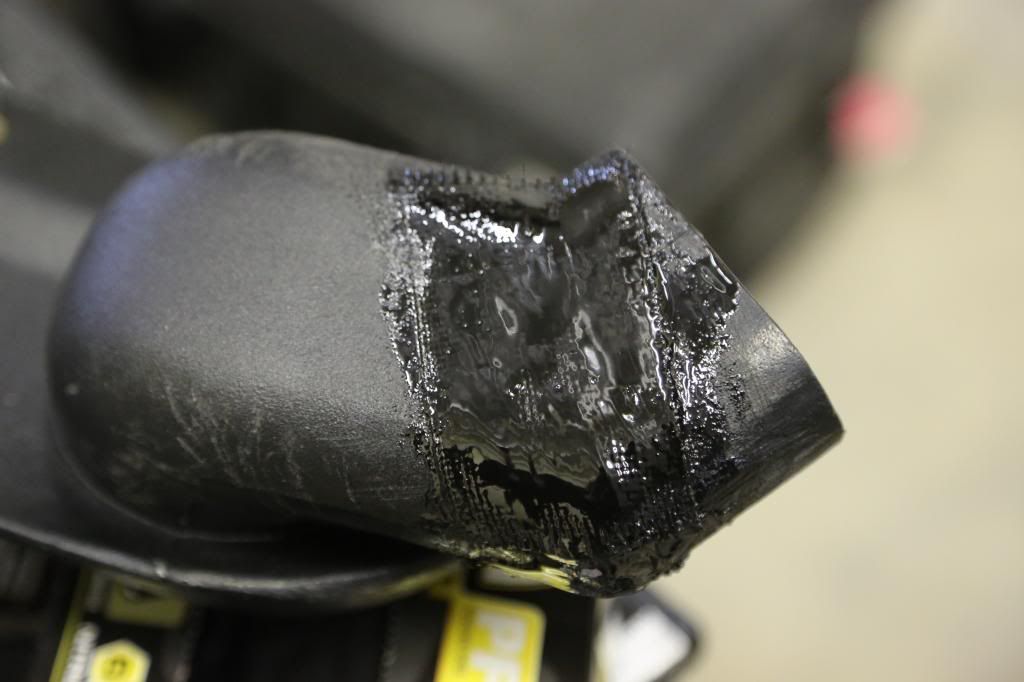
-Push the plastic back together and use the displaced melted plastic to "weld" the plastic together. We smeared it along the seam with a leather gloved finger.
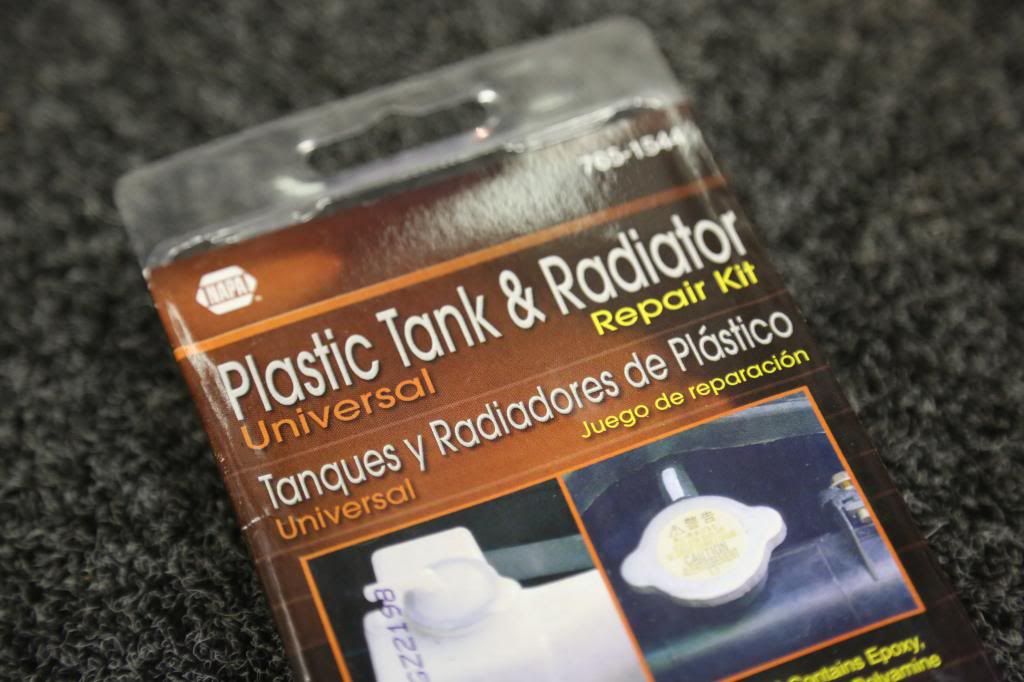
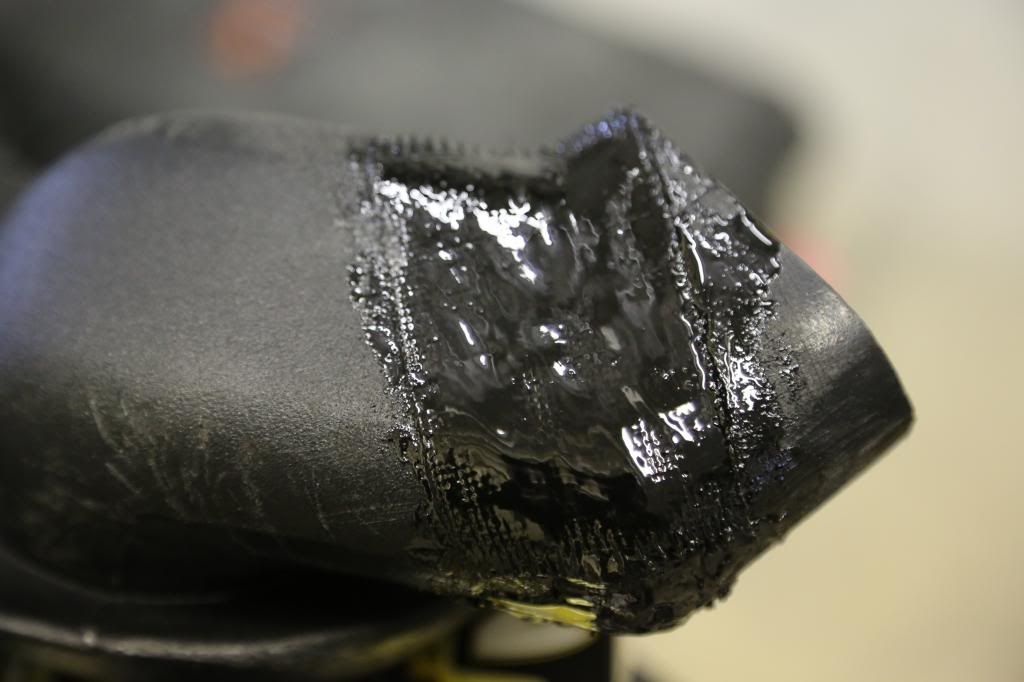
-Follow the plastic repair kit instructions to reinforce the cut area. ( this stuff heats up super hot and you only have a limited time to get it on. Be prepared before you start)
-Now your curved rubber tube will come in straight.

Next:
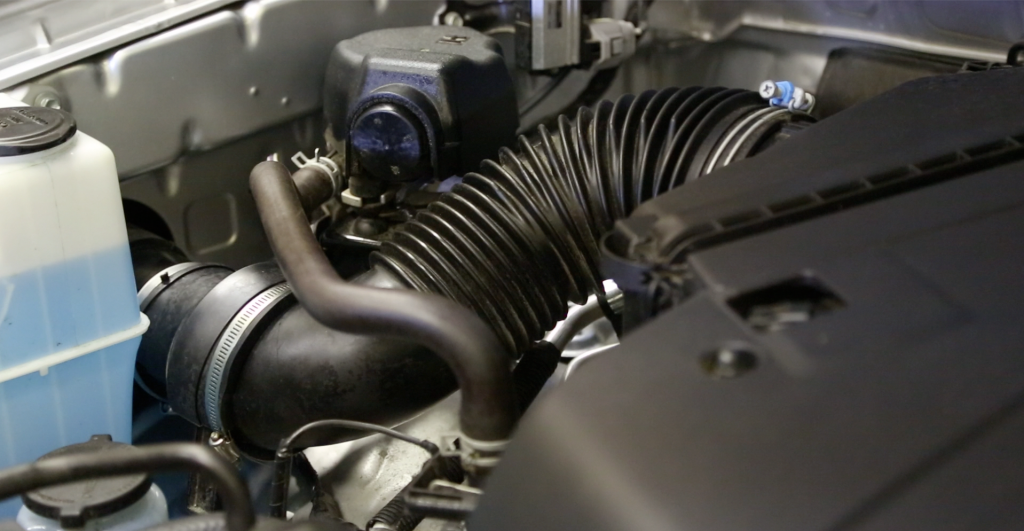
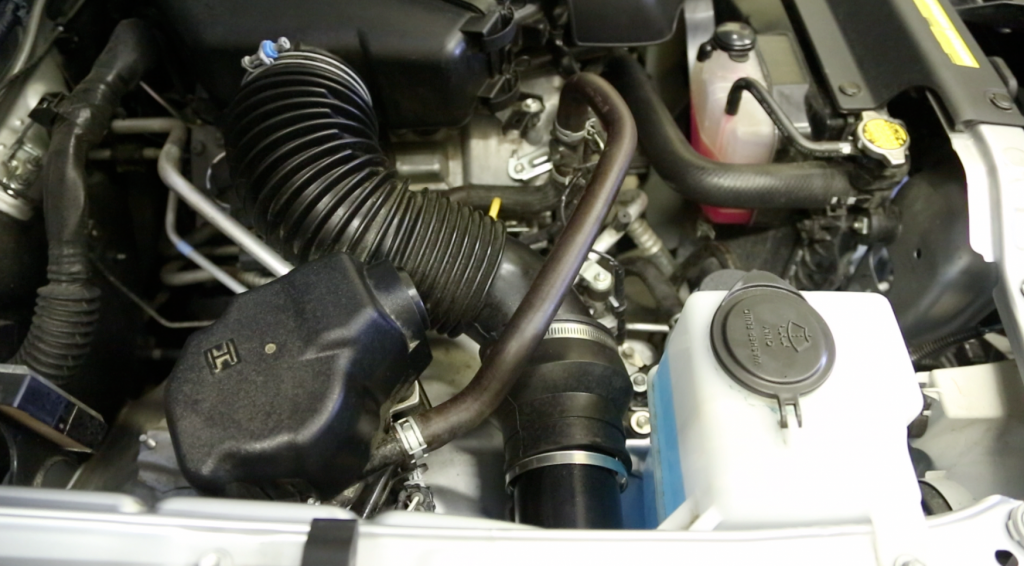
We cut the factory tube out, but left the mounting brace on. This allowed for a stronger mount and less vibration from the motor to the air connections to the snorkel.
If you do this right we found that you could only cut the one piece where it goes thought the fender and have a near perfect looking stock air intake. ( had we figured this a little sooner we would not of cut our stock intake tube the way we did.)

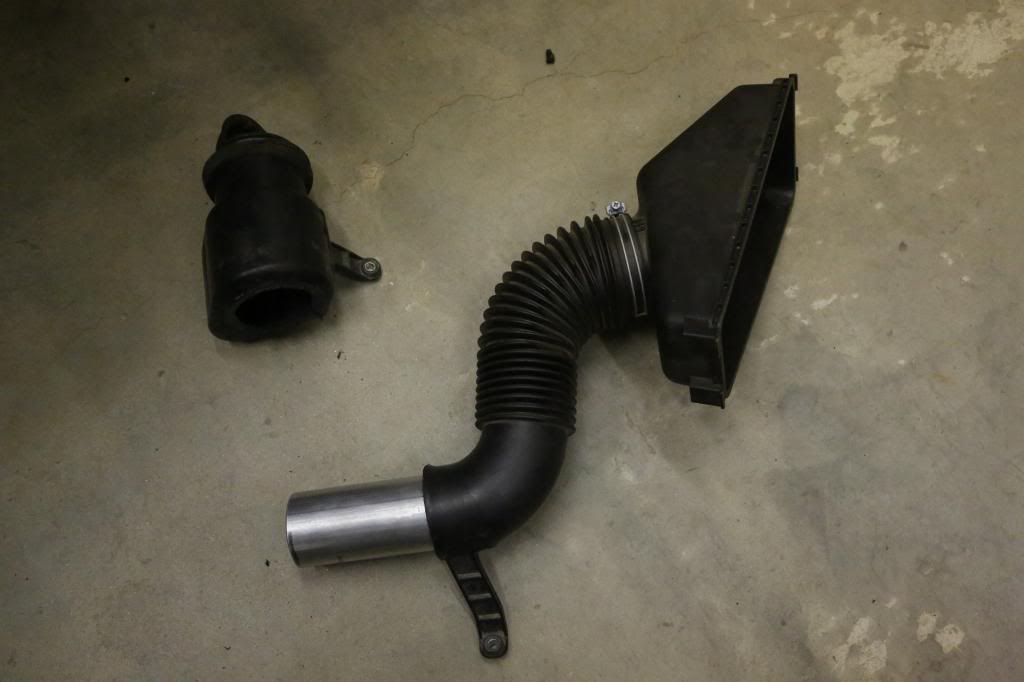
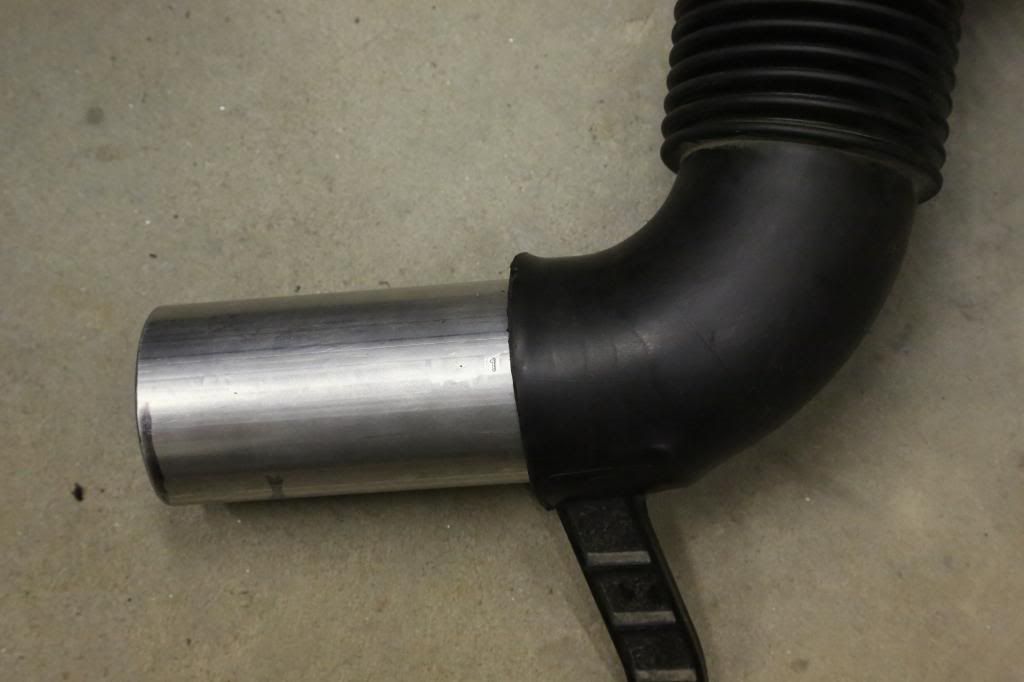
We painted the exhaust pipe (included with the Cruiser outfitters kit) and pressed the pipe into a the stock air intake. We first heated this stock air piece so that we could press the pipe in as securely as possible.

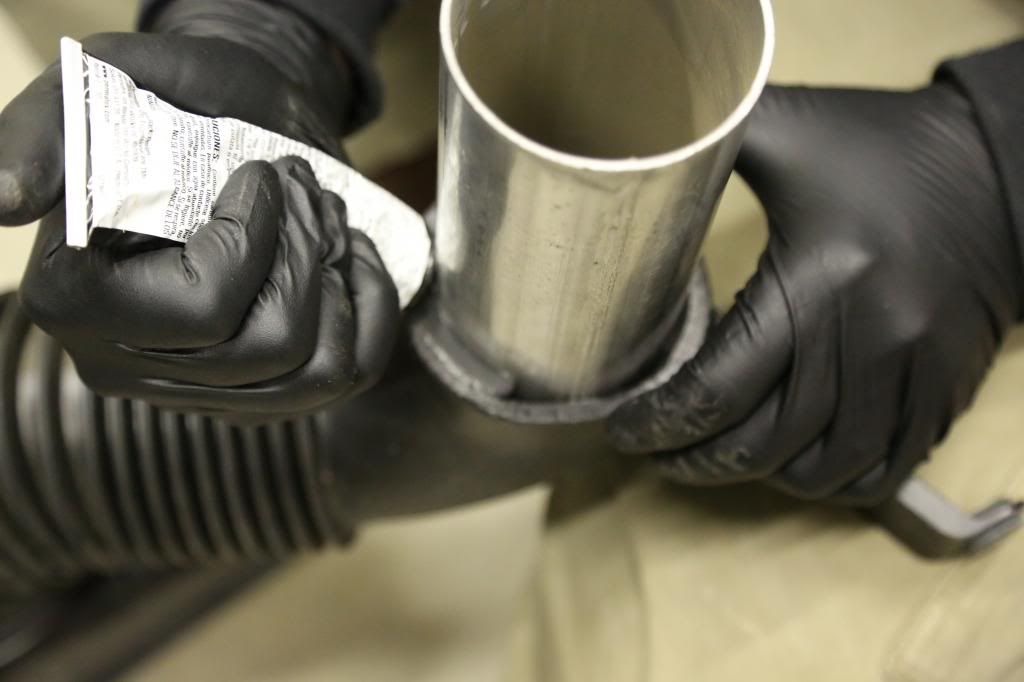
Then we put in some gasket sealer to make sure we had a airtight connection and placed a rubber dryer type rubber reducer that we cut at the seam to form an additional brace for good measure.

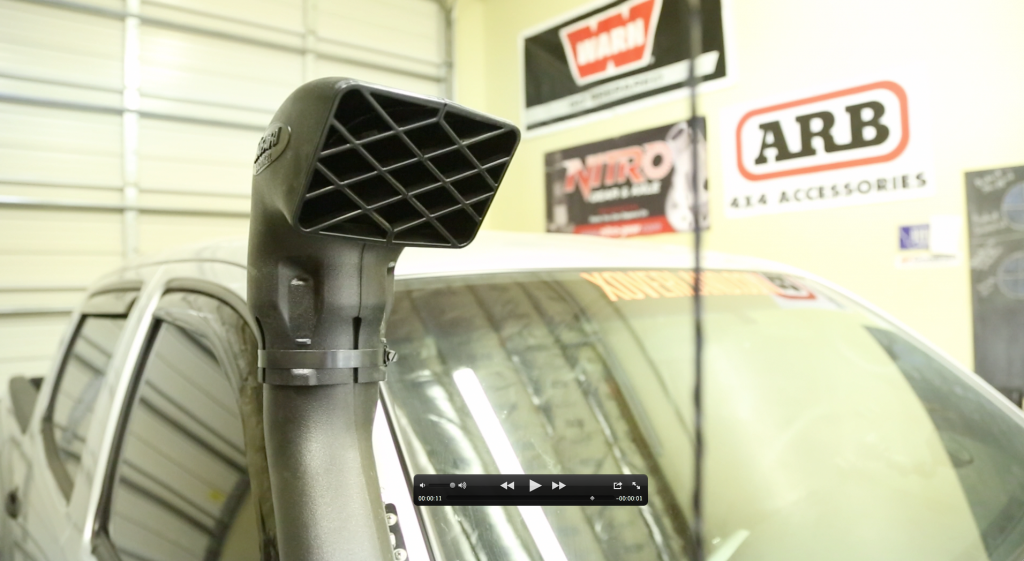
We bolted it all back together and we had a snorkel with a very clean look.

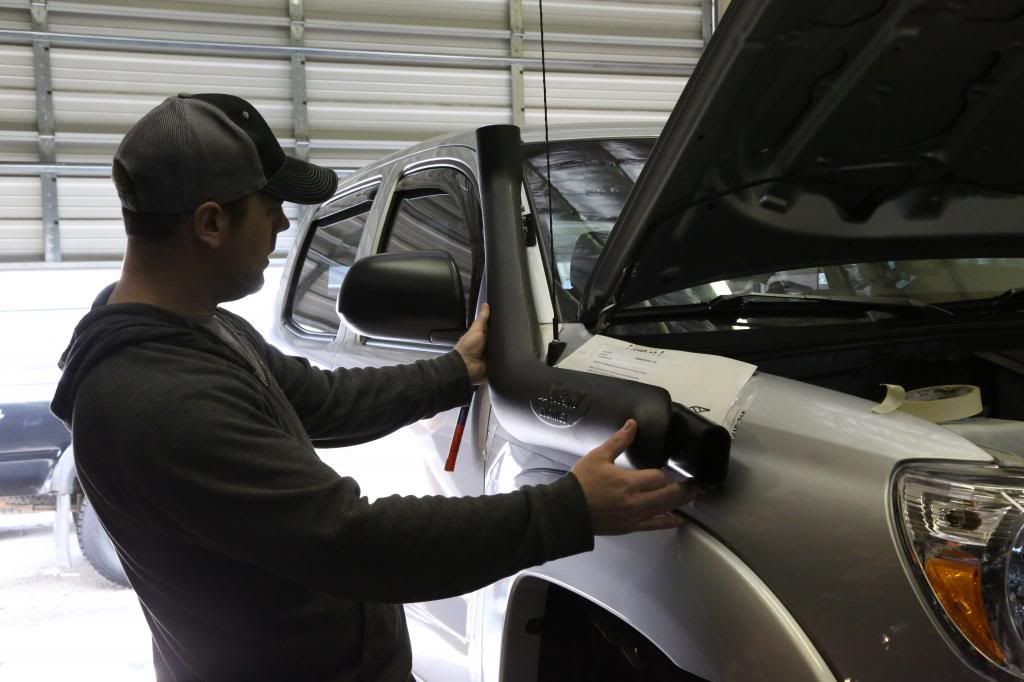
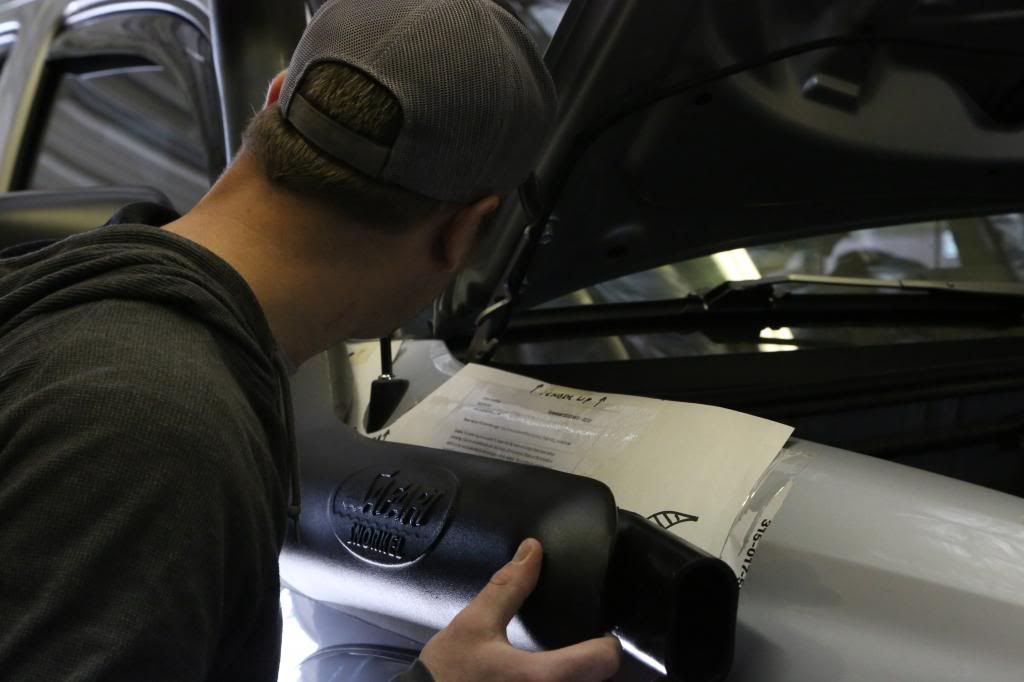
Scott doing the initial fitment and lookover
4K4A8197_zps4ce5de68.jpg


4K4A8200_zps96d7cbe3.jpg

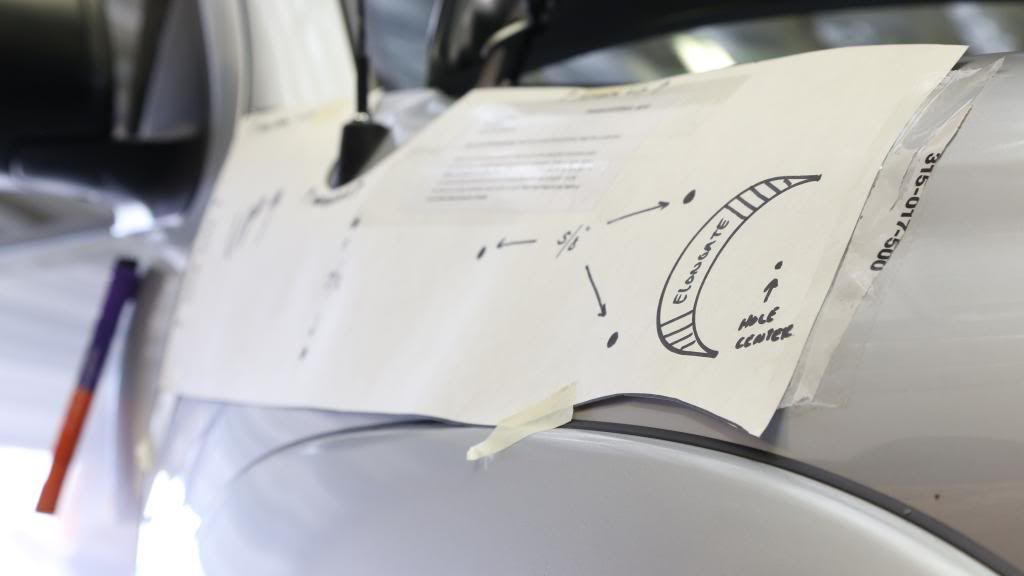
The template from cruiser outfitters placed on the fender.
4K4A8203_zps7ac0d04e.jpg

The Cut
4K4A8220_zpse81391bc.jpg

4K4A8221_zpsdea0390b.jpg

4K4A8222_zps8e9977f0.jpg

4K4A8223_zps39733c9d.jpg

Flipped and staged for remounting.
4K4A8226_zps3f9ad6c7.jpg

The check:
4K4A8229_zps4d7e0c10.jpg

Reheat of the two pieces:
4K4A8232_zps4fc62290.jpg

4K4A8234_zps21b14361.jpg

4K4A8235_zpscaa5f203.jpg

Smearing the "weld"
4K4A8236_zps129578da.jpg

After it cooled
4K4A8240_zps1522a647.jpg

4K4A8241_zps6d3e5d0d.jpg

Time for reinforcements.
4K4A8237_zps037b6ed4.jpg

Repair applied- This stuff works fast and so must you!
4K4A8243_zps25ee8df1.jpg

4K4A8244_zpsd21511ba.jpg

The air intake cut and fitted with the provided exhaust pipe.
4K4A8299_zpsb445e6f1.jpg

4K4A8300_zps8037656a.jpg

Gasket sealer applied:
4K4A8302_zps1bcaaee8.jpg

4K4A8304_zpse775979a.jpg

The final product.
Screenshot2013-04-01at50603PM_zps1cb3e8e0.png


Screenshot2013-04-01at50628PM_zps90af095a.png

Killer!!
Screenshot2013-04-01at50654PM_zpsd8e60012.png
 
Last edited:

ExpeditionOverland

Supporting Sponsor
That is the side step diamond plate for our new ARB Sliders we installed on the 100 series (video to come). It was all sent to powder coat at the same time. The gears seemed to fit great. But there is some shim work to be done.
Clay,, what is the diamond plate thingy (technical term :sombrero:), in the photo with the tires and fuel cans?? (Tailgate cap?),,

Do tell,,, also, Factory E locker right?,, do the 4:56 gears fit in the 8 rear ok?

Keep it coming!,

Wade
 

ExpeditionOverland

Supporting Sponsor
Being direct, ARB is a sponsor of ours and we have had superb luck with the Safari Snorkels in the past. We also prefer the look of the safari snorkel on the tacoma VS the Airflow.
 

Benbacher

Observer
A word of advice- ditch the bike for Alaska. Depending on where you guys want to go, that thing will most likely end up in the bed of the truck. This isn't the desert up here and that guys going for a ride if he does end up coming. Like I said, it depends on where you want to go, but most of the places I know about, you're not getting that thing there.
 

Cody1771

Explorer
A word of advice- ditch the bike for Alaska. Depending on where you guys want to go, that thing will most likely end up in the bed of the truck. This isn't the desert up here and that guys going for a ride if he does end up coming. Like I said, it depends on where you want to go, but most of the places I know about, you're not getting that thing there.

how do you figure? Alaska is a very popular adventure riding destination
 

Benbacher

Observer
Like I said, I think it depends on where you guys end up, but you're not going to get a bike down the ruby lake trail, or be able to do boulder canyon. Both AMAZING overland trails, I don't know. Not hating at all, I love this series and really want to see it go well but I think it's just going to be one problem after the next with the motorcycle on the trails.
 

Benbacher

Observer
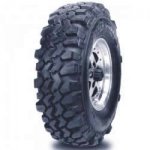
And we've seen what happens when it gets into the rocks. I'd love to be proved wrong, but with all the terrain variables we have up here, a bike just isn't a smart choice. Here's my last bit of argument so we can get back to watching this build. This is the tire I've chosen to run this summer, I'm doing the same thing these guys are doing.
This is what it takes to make it through everything. F8AB3D30-77DF-49F1-B402-13AD611ED8FF-15710-000005852022B360_zpsd357bae7.jpg


It's a 34x10.50

There's a lot of swamp that the all terrain tires are going to have trouble with as it is, I'd hate to see you guys get skunked is the only reason I'm saying this.
 

ExpeditionOverland

Supporting Sponsor
We appreciate the advice. The bike will be coming in for the second half of the season if we can put it together (Ryan needs to spend some time at home with his new baby boy He will be about a month old when he leaves to join us.) We are looking at the middle ground on Tires between the All terrain and a true mud terrain. We hope to outfit all the vehicles with 255/85 R16 KM2 tires. A very tall 33''. Clay had a good experience with these tires with the E7 Expedition and the tread fits the bill well for this expedition too.
 

Forum statistics

Threads
188,370
Messages
2,903,840
Members
230,227
Latest member
banshee01
Top