Expedition Squared build

ExplorerTom

Explorer
I haven't done much in the way of performance mods on this thing. I looked into getting an intake that replaced the tube going up to the throttle body and running some high flow air filter. But high flow air filters aren't always the best at filtering and really only add performance at wide open throttle when the computer switches to open loop and the extra air passing through the filter leans out the mixture some which creates a few more horse powers. I don't spend a lot of time at WOT- hardly any in fact. So I kept the stock intake as is and bought a new paper filter. I think I got it at NAPA this time.

But what I did do is referred to as the Gotts Mod. I think it's the forum name of the guy that originally documented it. All it does is to open up the size of the hole the intake is sucking air out of the fender. The factory piece is on the right:
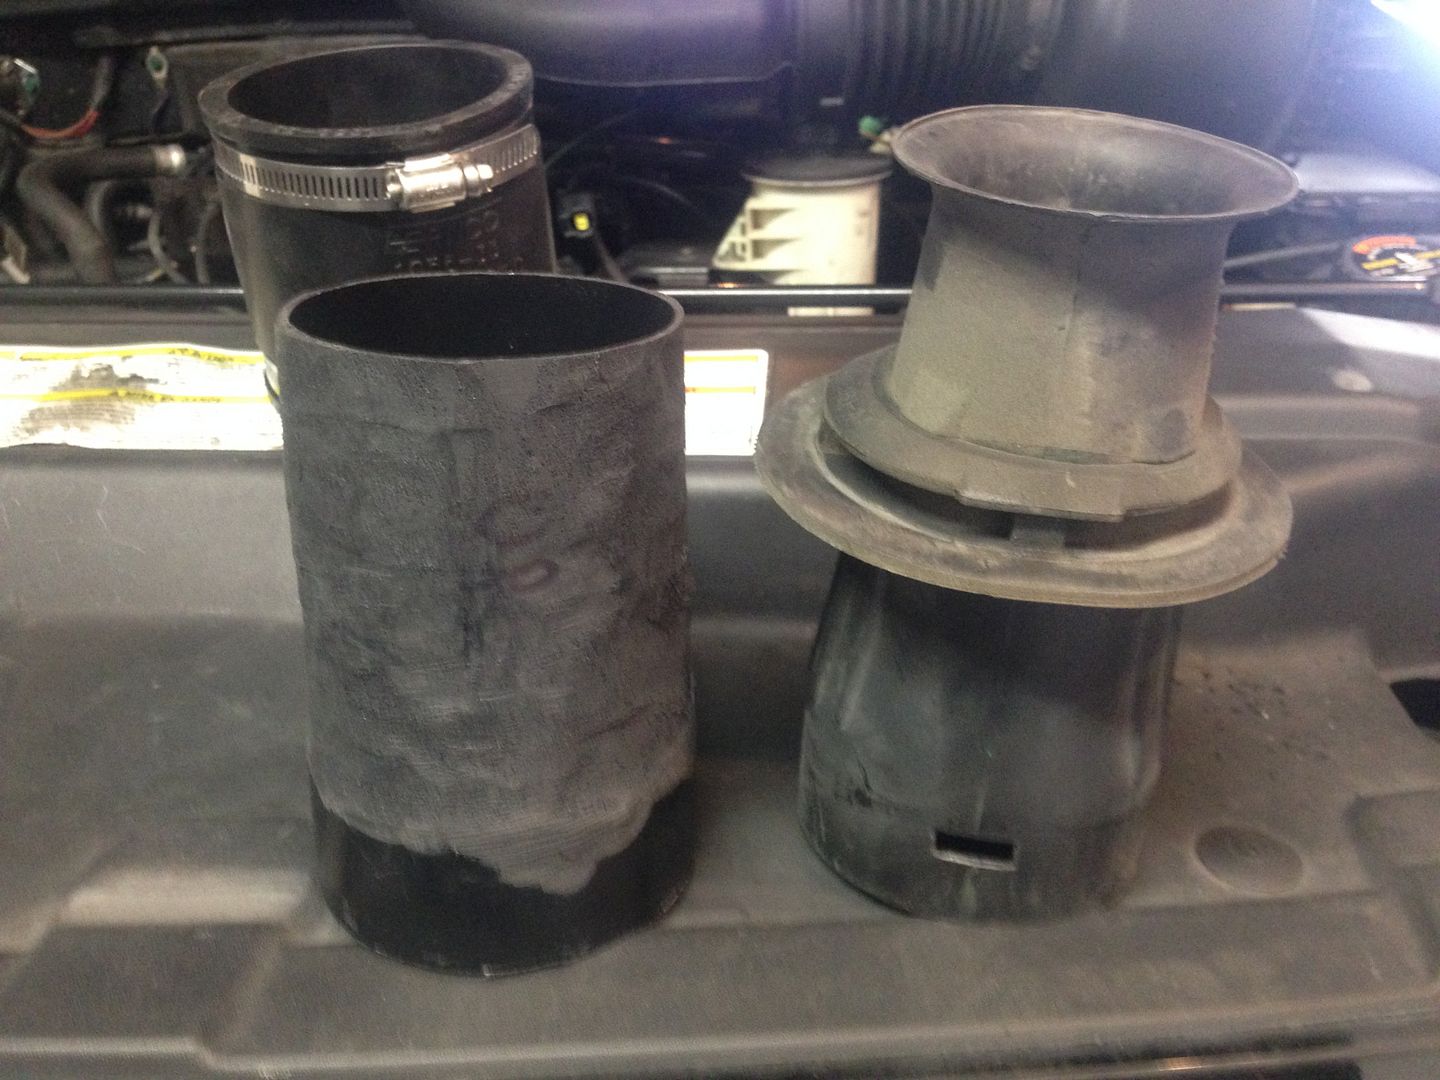
I had to grind down my piece of PVC to get it to fit through the hole into the fender area.
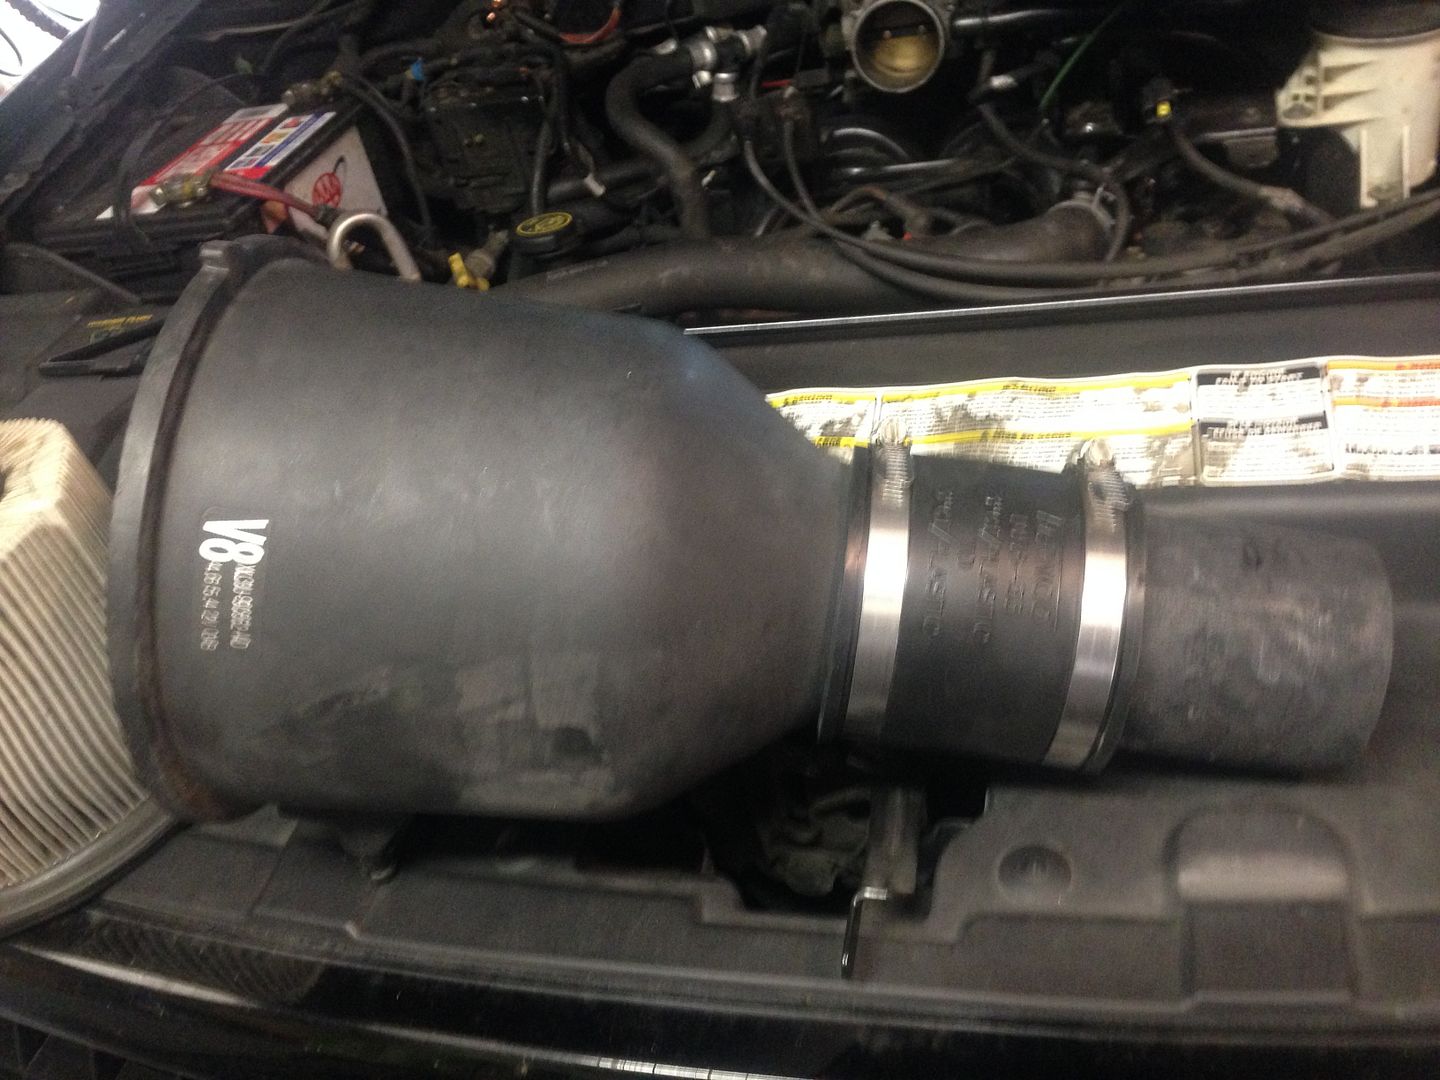
Overall the mod didn't change much. Maybe at WOT- but again, don't push the pedal down that far that much.

One of the biggest improvements I did was to take up the slack in the throttle cable. This was WOT before:
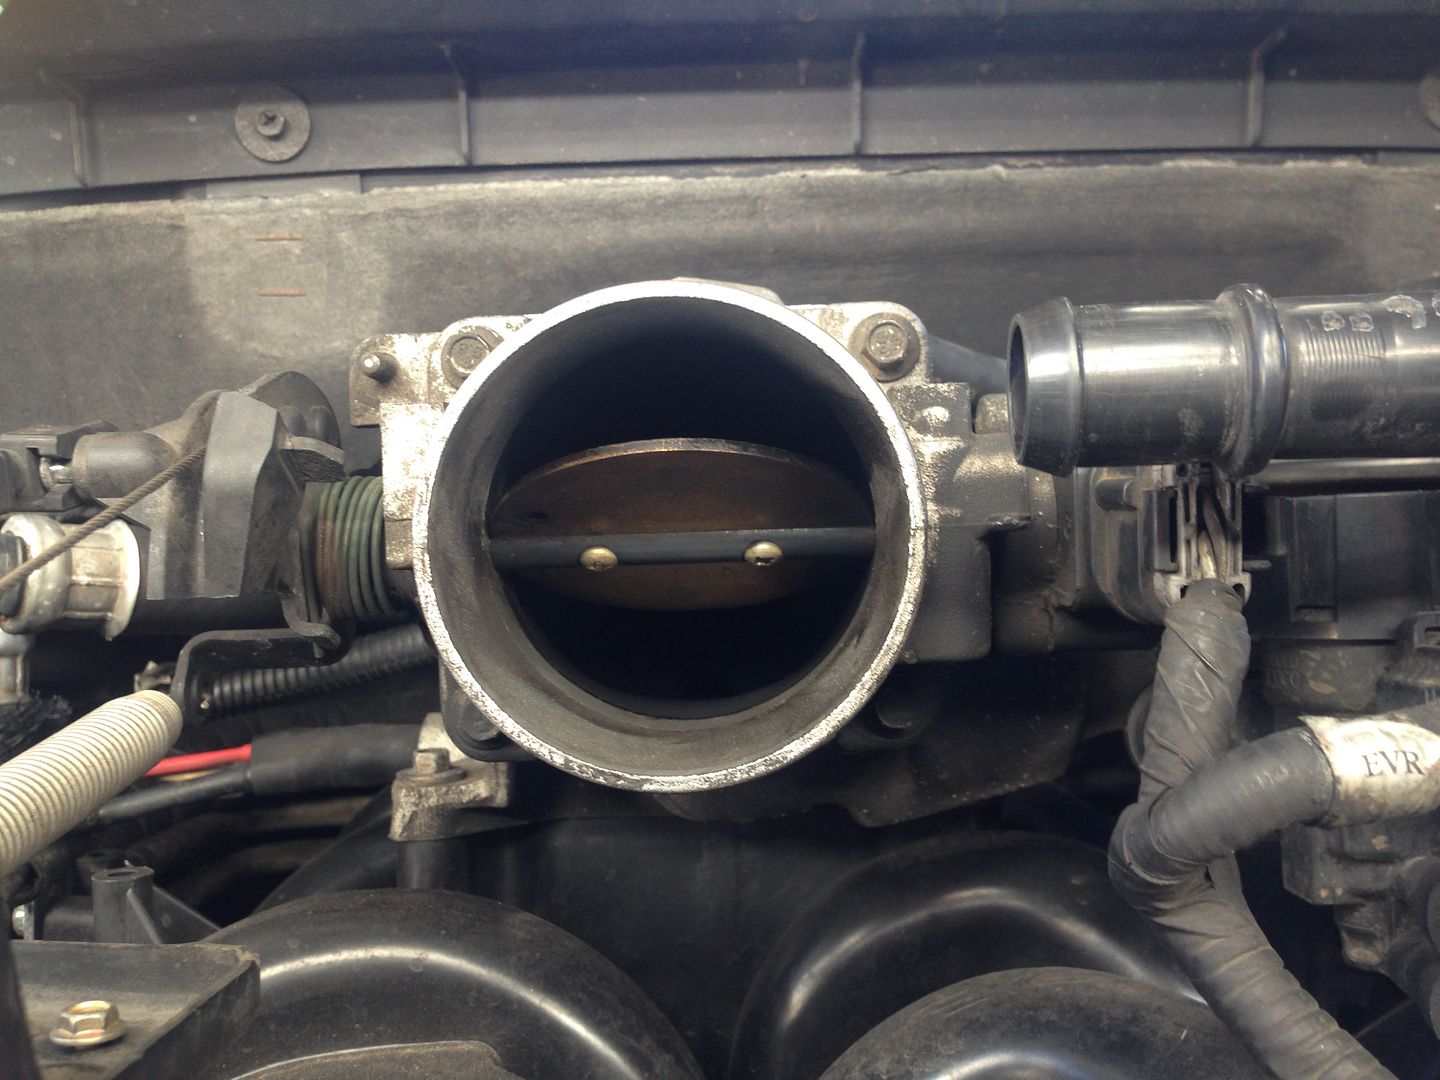

Then I added a few zip ties to the top of the gas pedal assy under the dash on the firewall:
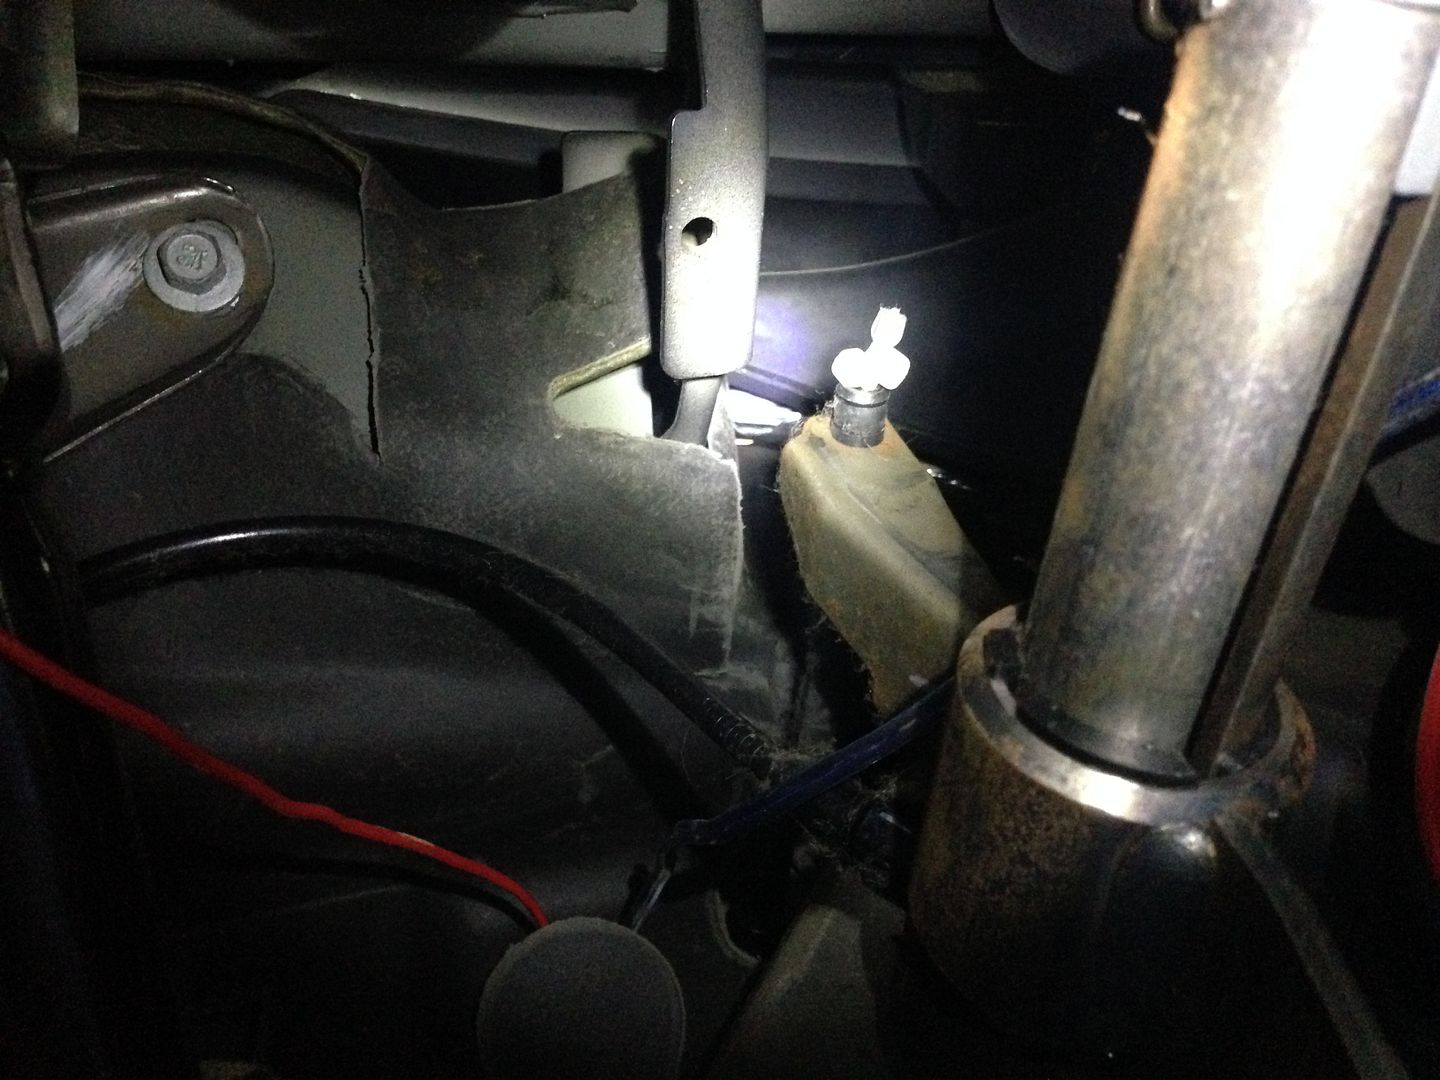

And now this is WOT:
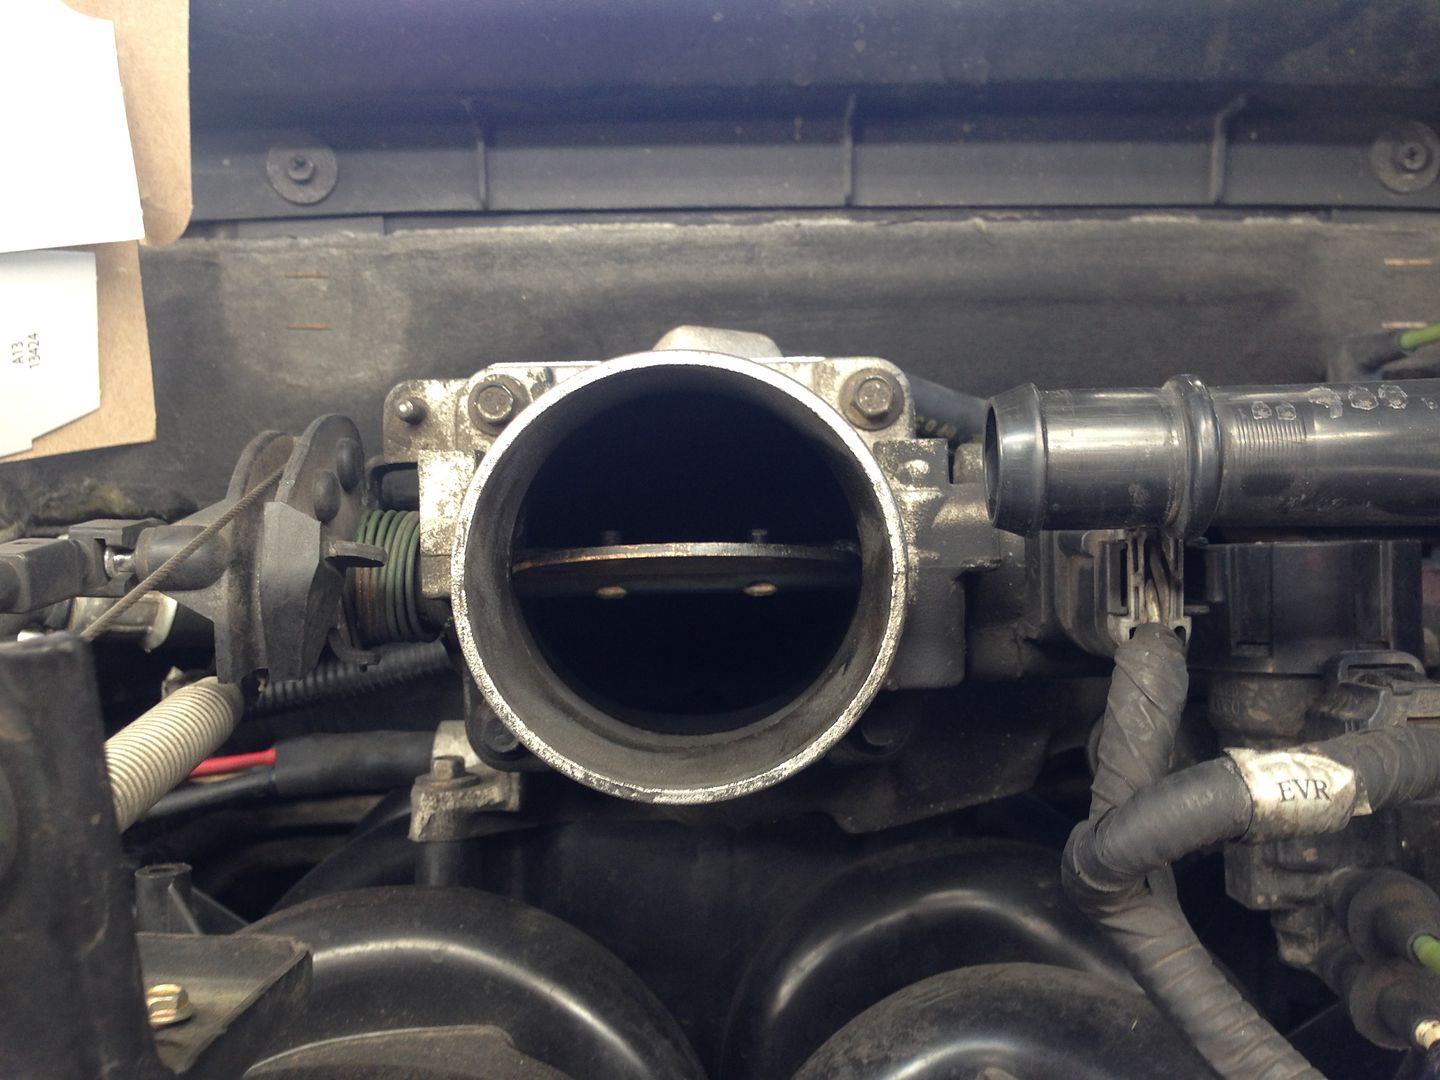
I could probably improve on it some still, but it's close.

I've had to recalibrate my foot. It's much more responsive now.
 

ExplorerTom

Explorer
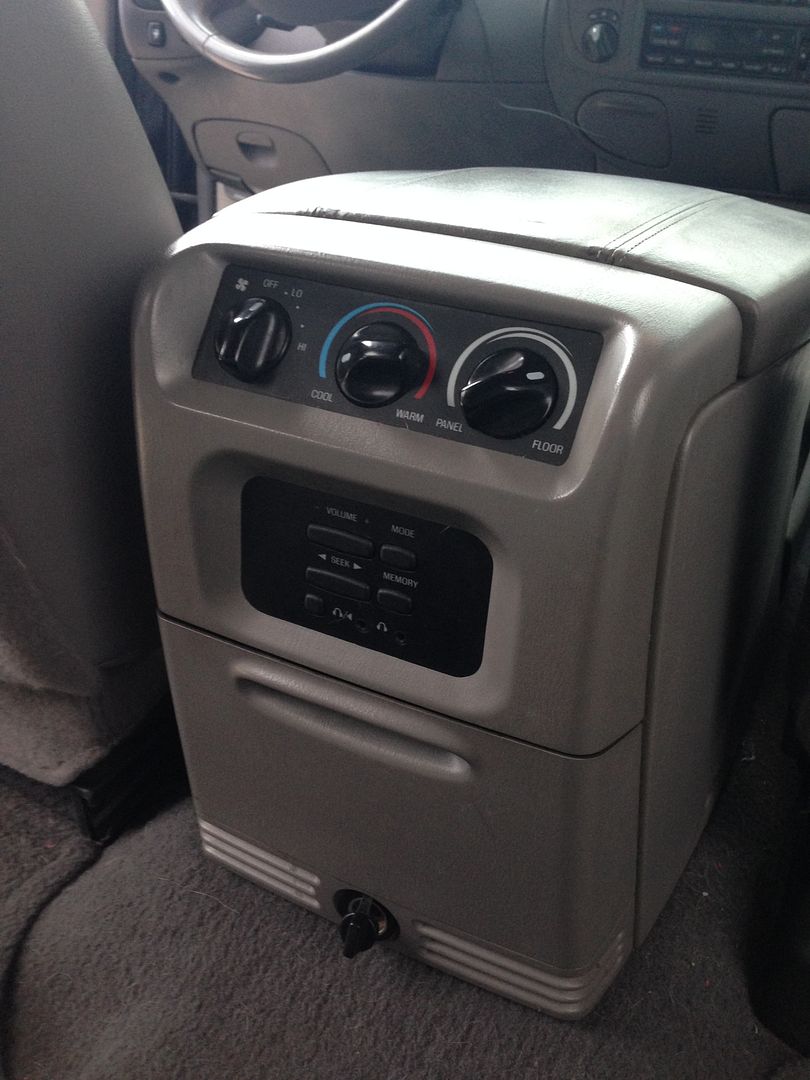
The rear seat has stereo controls for some unknown reason. Why should the people in the back seats be able to control the radio? I can't think of a reason. Kids thought it was great to mess with it though.


Someday (hopefully fairly soon) I'll have a new stereo and these controls probably won't do anything. So I used that space more efficiently and added an inverter.

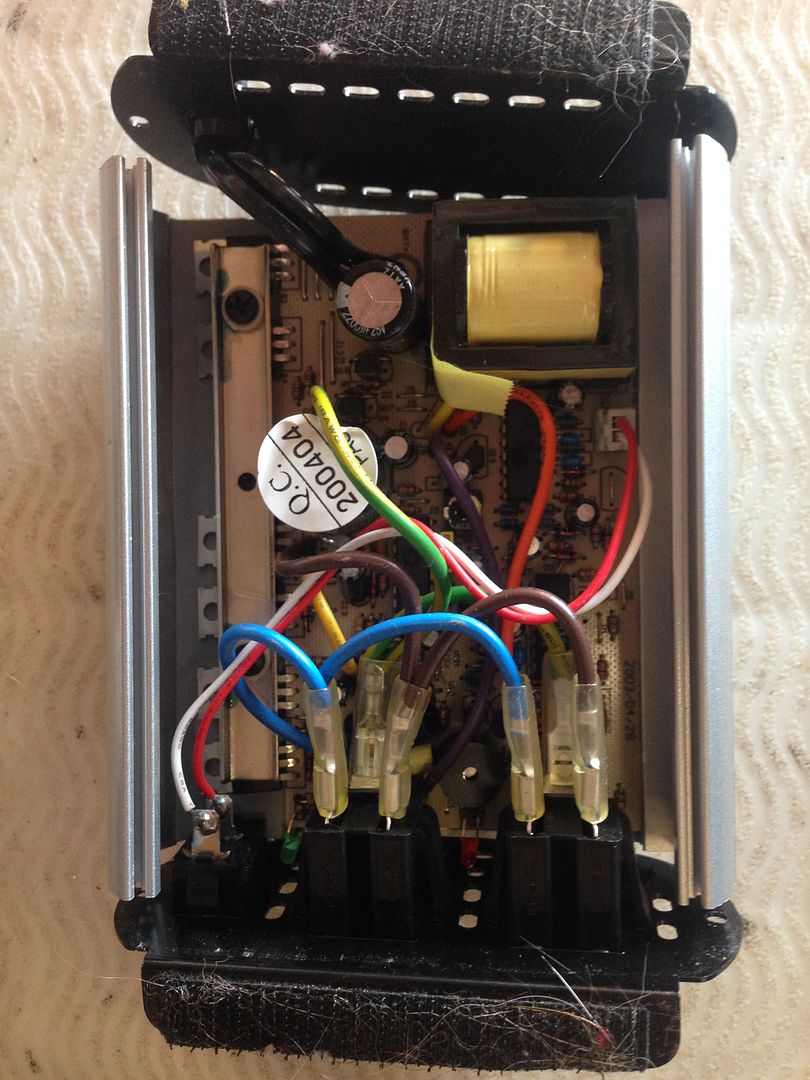
I've had this small inverter for awhile. It can charge a laptop or HAM radio (handheld) or DVD players for the kids.

(It normally has a cover on)

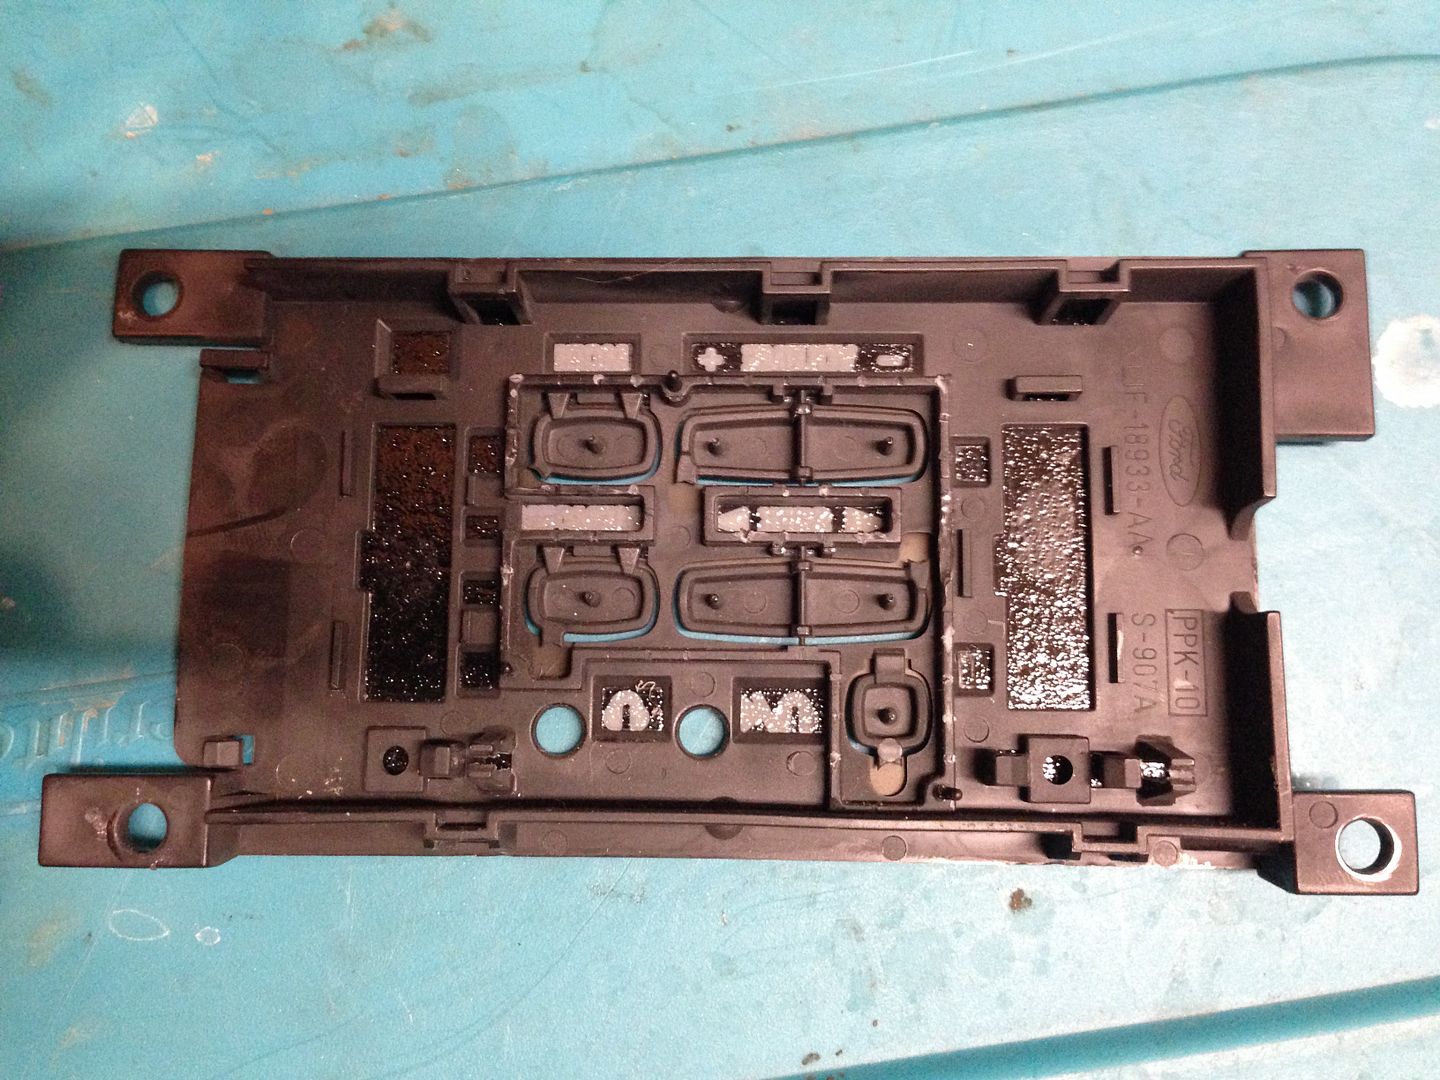
I wanted to reuse the same plate the radio controls were on to keep mounting simple:


I married the inverter panel to the radio panel and extended the wires so I could mount what's left of the inverter on the floor inside the console:


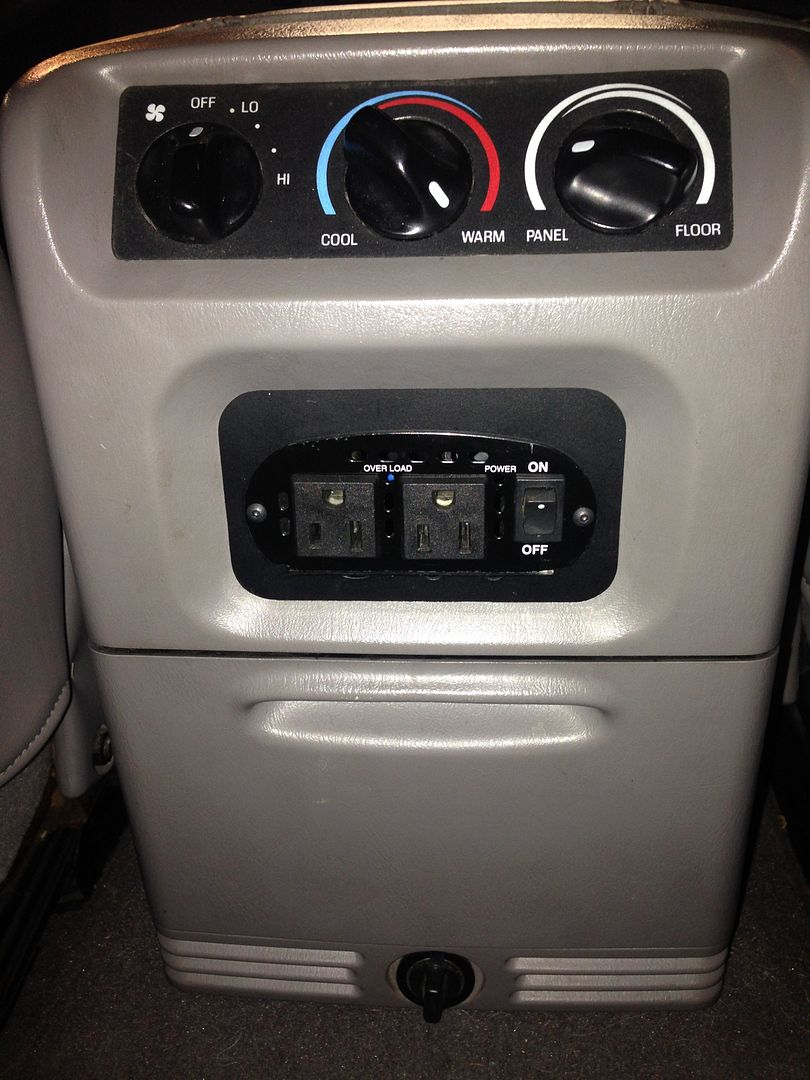
All mounted up I looks pretty clean- almost like Ford meant for it to be that way:
 

ExplorerTom

Explorer
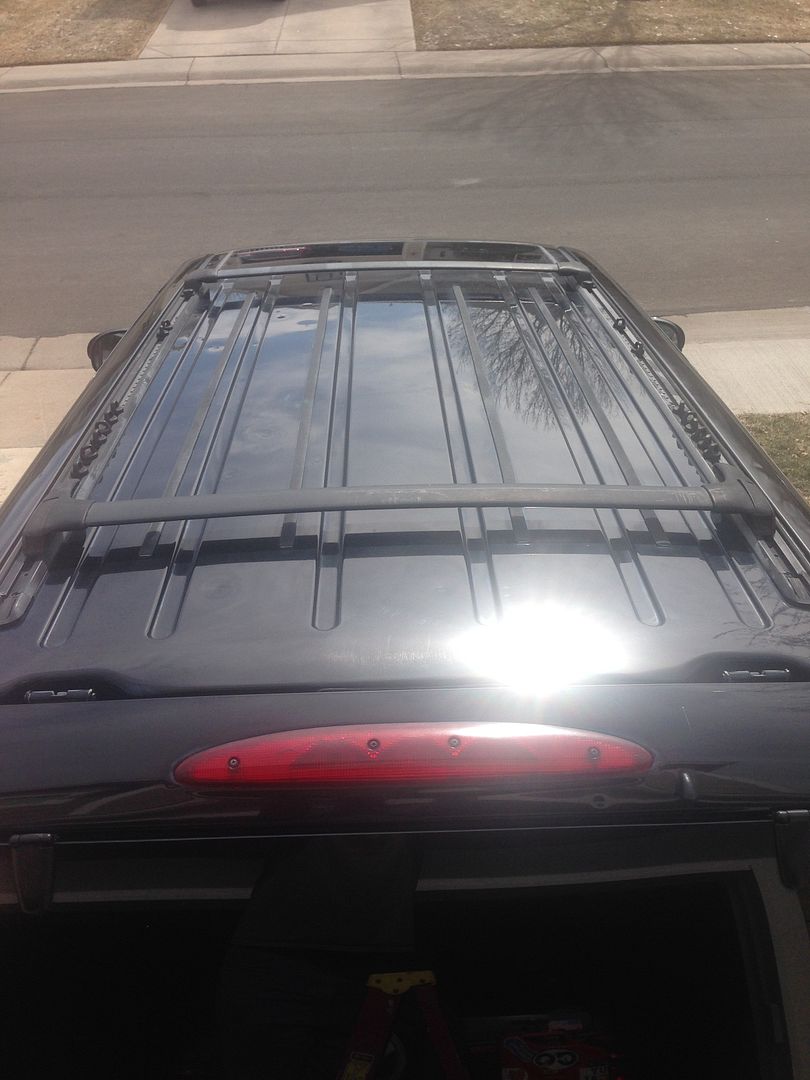
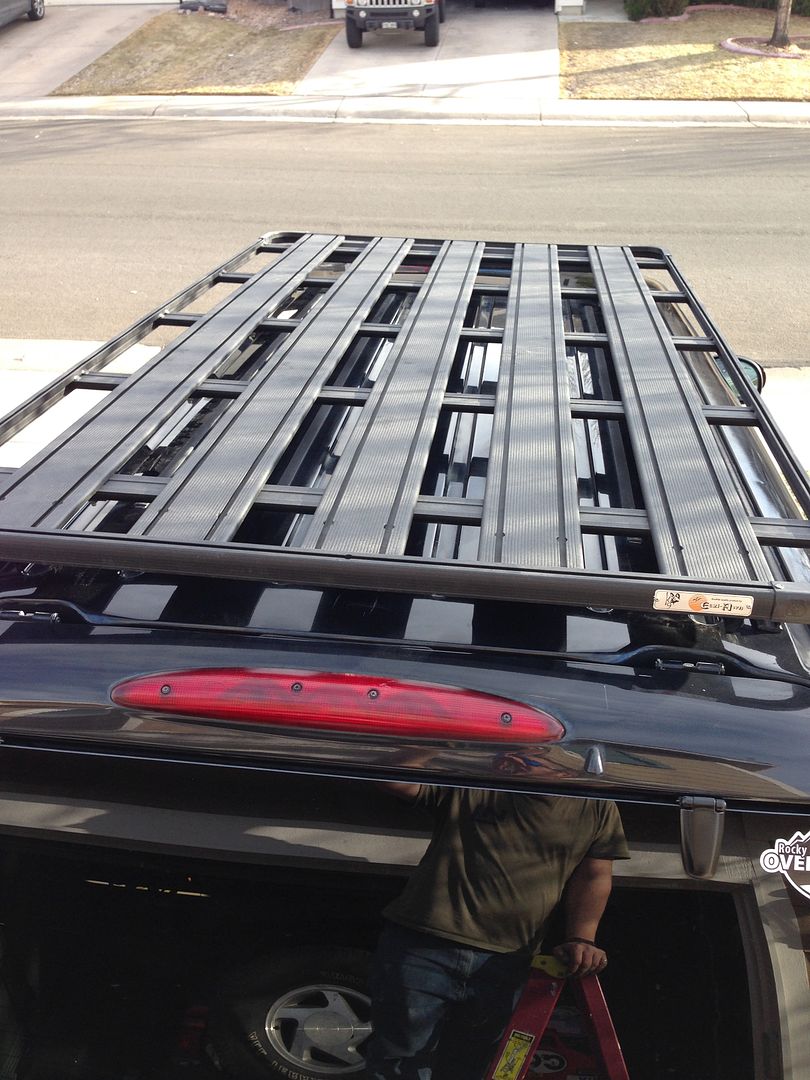
The last upgrade to ge me current was the roof rack. After the hail storm destroyed our tent, I got an RV-5 Oztent. The Oztent is pretty long and I didn't want to put it on the roof supported at 2 places like the factory rack does, so I got an Eezi-Awn roof rack. The rack was originally installed on my Explorer, but with the shift away from that to the Expedition, I wanted the rack on it.

Factory rack:


Eezi-Awn platform rack:


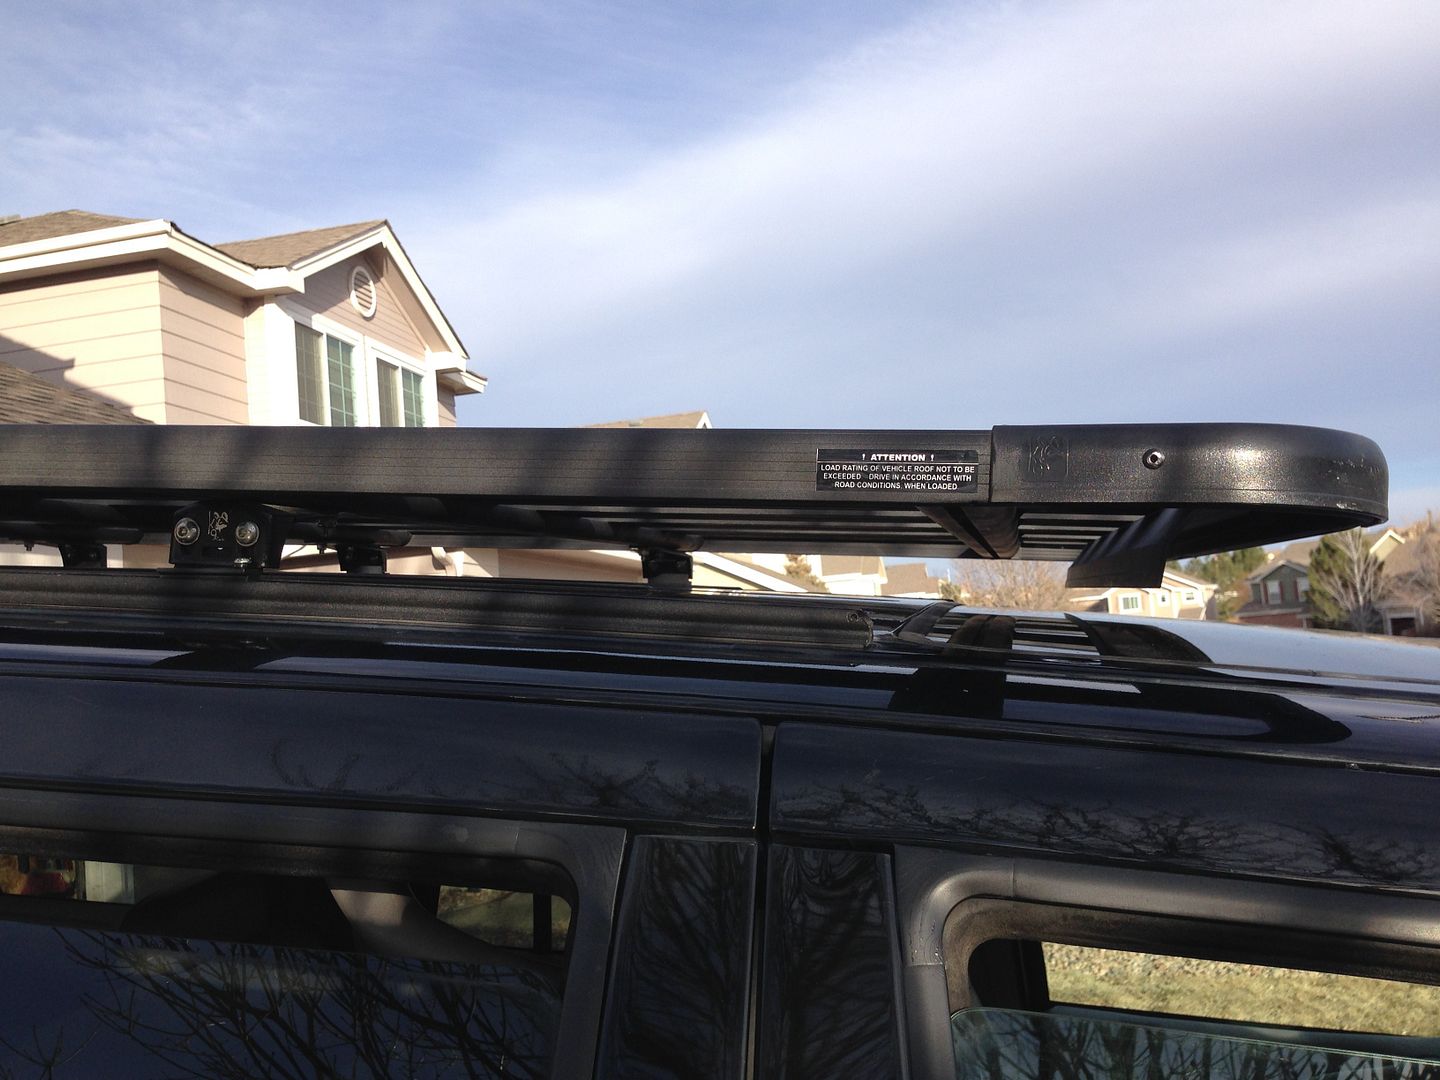
I was a bit of a moron when I measured everything- I forgot to account for the open tailgate. So with the roof rails already drilled and trimmed to the length I needed, the rack got pushed forward by about 2"-3". The result is now the front of the rack is cantilevered more than it should:

But I think I can fix it by relocating the attach foot to the forward end of the rail. The attach foot should go in the lateral channel on the platform.
 

kojackJKU

Autism Family Travellers!
I am forgoing performance mods on all my rigs. However, that TB mod will be done. I have to check mine this spring when it gets warm. Oh, the magic eraser cleaning of the interior is awesome too. NEVER thought of using one of those.
 

ExplorerTom

Explorer
Tom saw your Florida picture and was surprised how large the Traverse is parked next to the Expedition. I guess I never realized how big those crossovers really are.

Funny thing is, I thought it was an Equinox. He used to have an Equinox that was the same color that looked roughly the same. It wasn't until we were going somewhere in it and I looked in the backseat and saw the captains chairs that I realized it wasn't the Equinox.
 

kojackJKU

Autism Family Travellers!
Did you remove all the trim to paint it? any details on how you did it? I need to do this to freshen up my ole f150.
 

ExplorerTom

Explorer
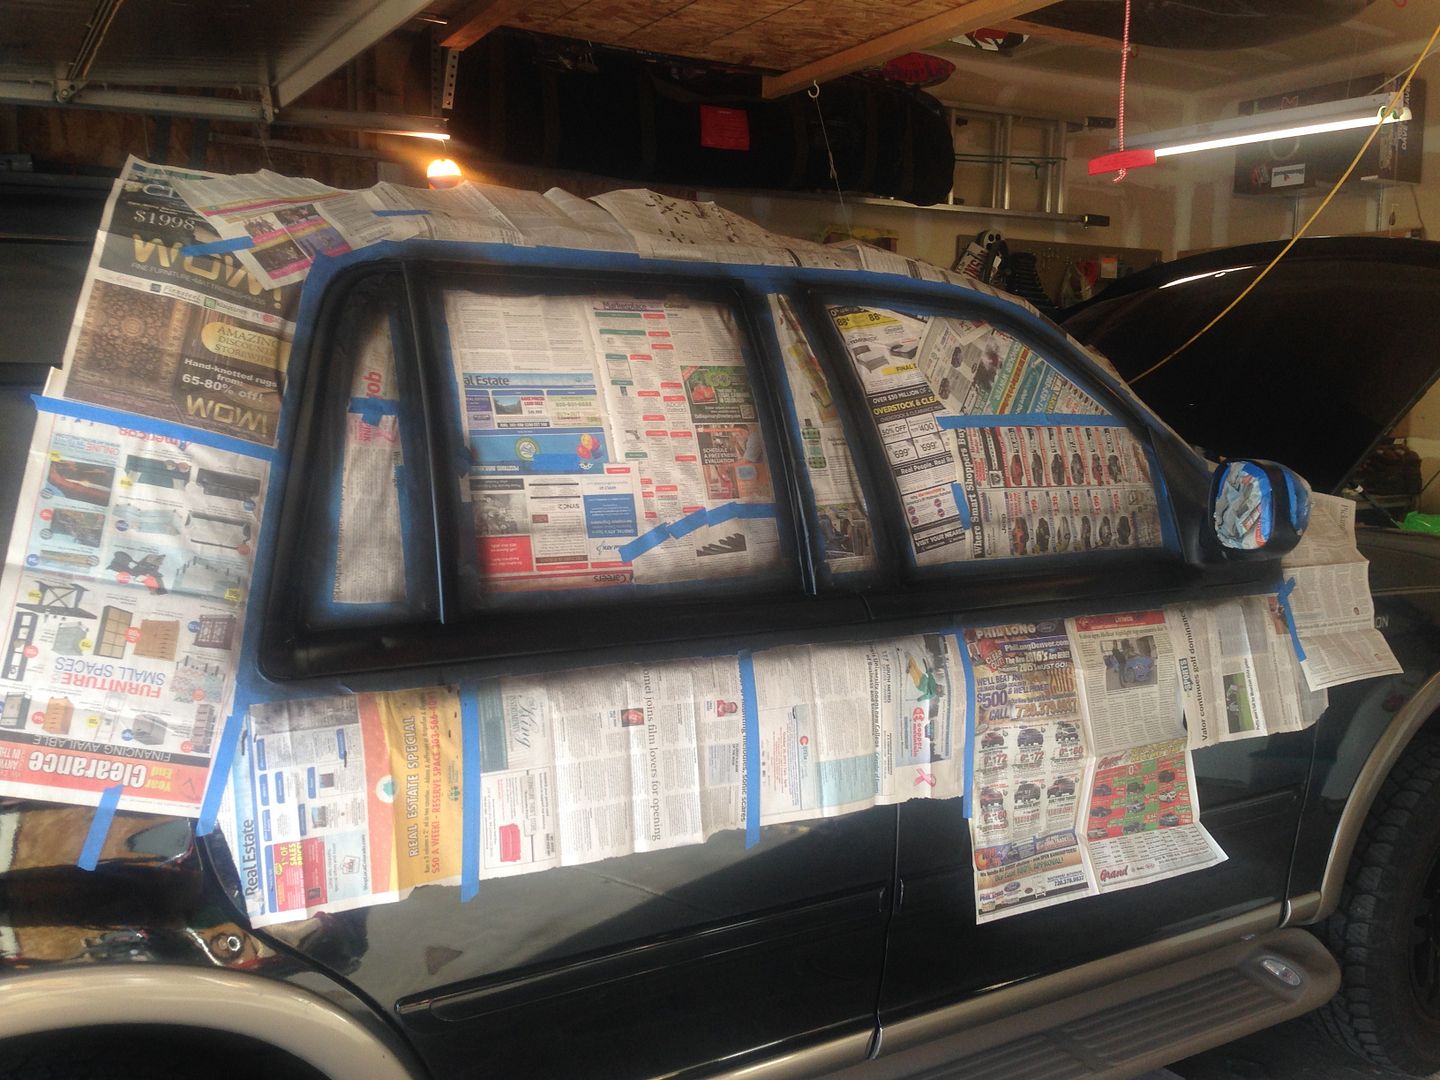
I didn't. I just pulled off the biggest tape and mask jobs of my life:


I put down an initial border of tape. Then came back with the newspaper that gets taped to that border. Then I cleaned the trim (again) with a rag sprayed with brake cleaner. Then I shot it with a couple coats of black trim and bumper paint from Duplicolor.
 

Ivan

Lost in Space
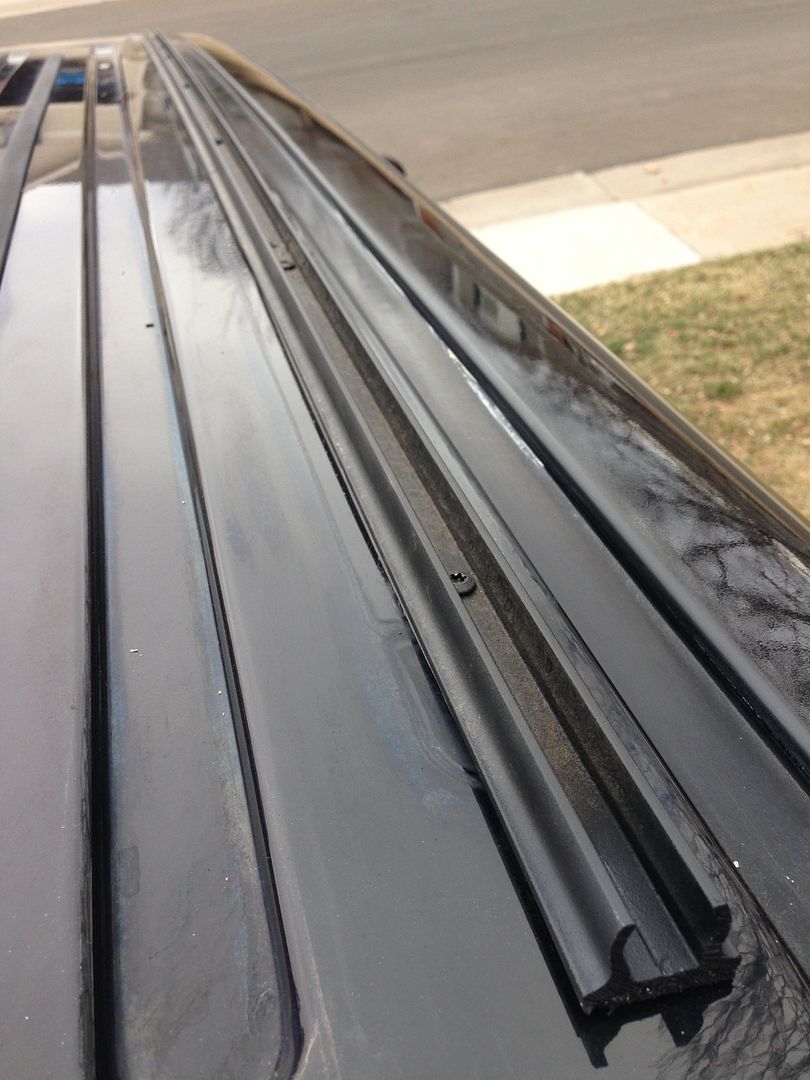
You have to remove the factory rails, transfer the hole pattern to the new rails and install the new rails.

Here's just the new rail installed:

Is there a specific part/model number or does that model fit the Expeditions without issues?
 

ExplorerTom

Explorer
Is there a specific part/model number or does that model fit the Expeditions without issues?

I worked with Paul at Equipt1 and I think he set me up with this kit:
http://www.equipt1.com/item/k9-2-meter-roof-rack-system-for-toyota-5th-generation-4runner

Like I said, it was originally installed on my Explorer and I transferred it over. When you take off the factory rack, you reuse that mounting hardware to attach the new rails. You just need to drill the holes in the right spot. So it's pretty universal. The Expedition mounts each side rail to the roof with 7 fasteners vs the Explorer's 5 so it's a little more secure on the Expedition.
 

Ivan

Lost in Space
That's awesome. I was thinking of some homebrew set using the stock rails, but this seems quite a bit more stout.
 

Forum statistics

Threads
187,908
Messages
2,899,810
Members
229,071
Latest member
fireofficer001
Top