Front bumper build. Step by step guide...

boo471

Adventurer
Front bumper build progress

I worked some more on the bumper on Monday and yesterday evening. Quite a lot of progress on it these last days. I have gone over the entire bumper and grinded and sanded it several times to get it nice and smooth and get the right radius's on all the edges. Really not to complex to do but it takes time and its hard on your hands, joints from all the vibration.

I started with cleaning up the bumper with a steel brush. Then used a (several actually) grinding wheel to grind away the welds and start smoothing out the radius's and getting all the weld splatter away from the steel. After that I went over to a sand paper wheel for the grinder with a 30 grit and started shaping the radius's. Once I was happy with it I went over to 60 grit and did another run over the entire bumper.

Once I was happy with the surface of the bumper I sprayed a thin coat of zinc based primer on areas that is more likely to have standing water. Then I did a full coat of a rust protective primer on the entire bumper. And after that have dried I did a satin black coat of the entire bumper.

I did forget to drill holes in some places to let water out and to have places to tie strap cables to. I might do that today or I'll do it once I have a winch because I will do some minor changes (Gussets for strength and add recovery points) to the bumper once I know which winch to use. If I decide to not drill today then I will do another coat of black today and after that the bumper should be ready (for now) to be mounted to the truck.

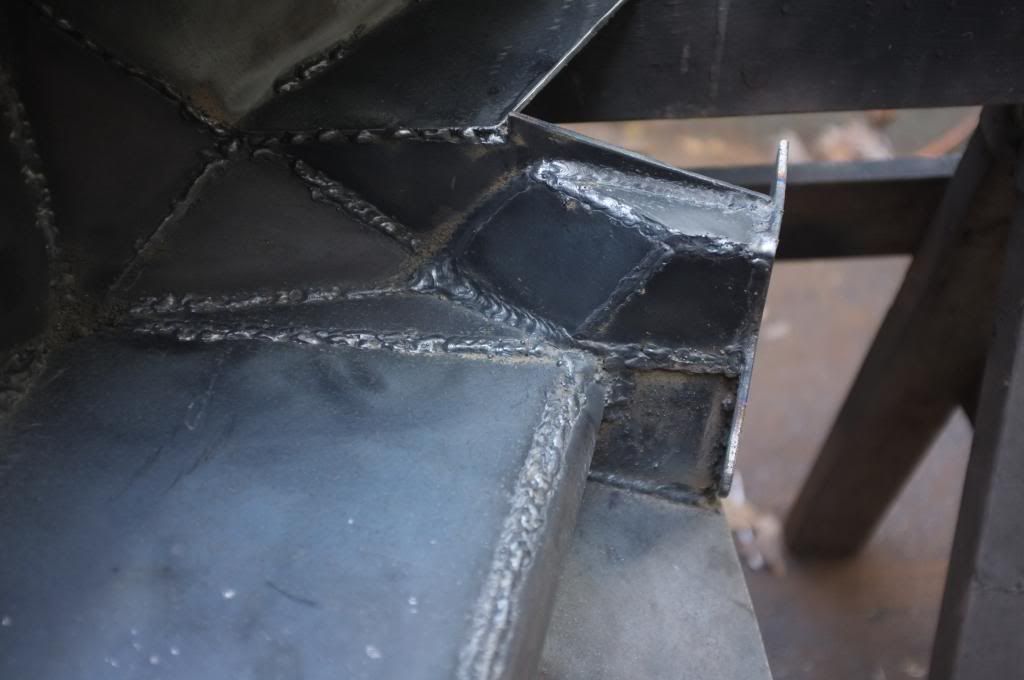
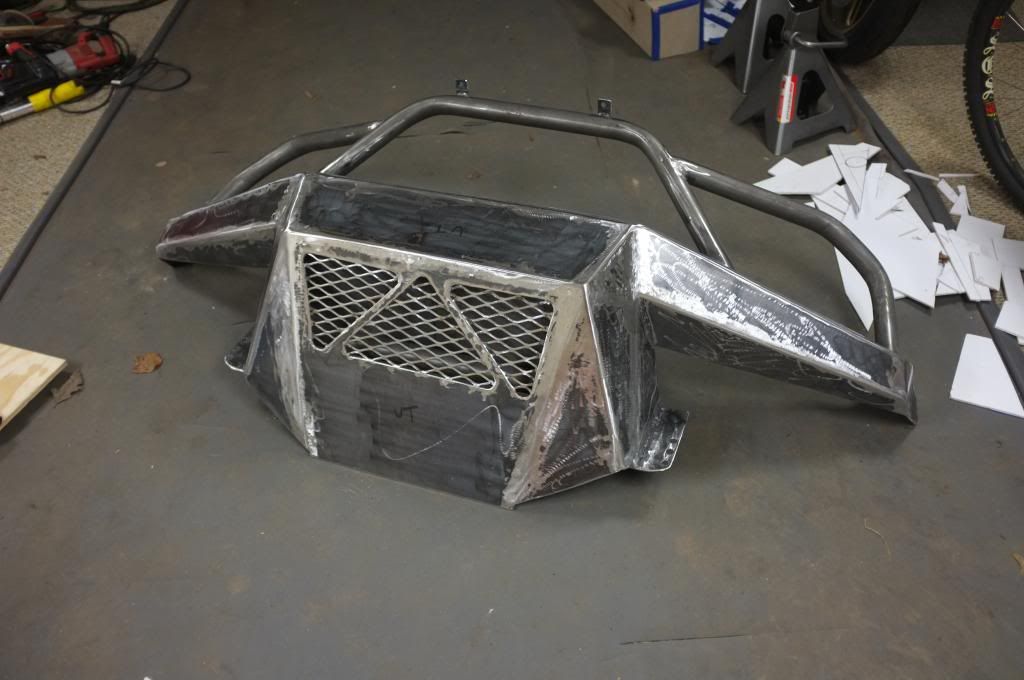
I started with adding some more reinforcements. Not that I needed it but I had room for it and though why not. After that I cleaned the inside of the bumper of splatter and flux.
DSCF2797_zpsa370099c.jpg

DSCF2796_zps7870ba16.jpg


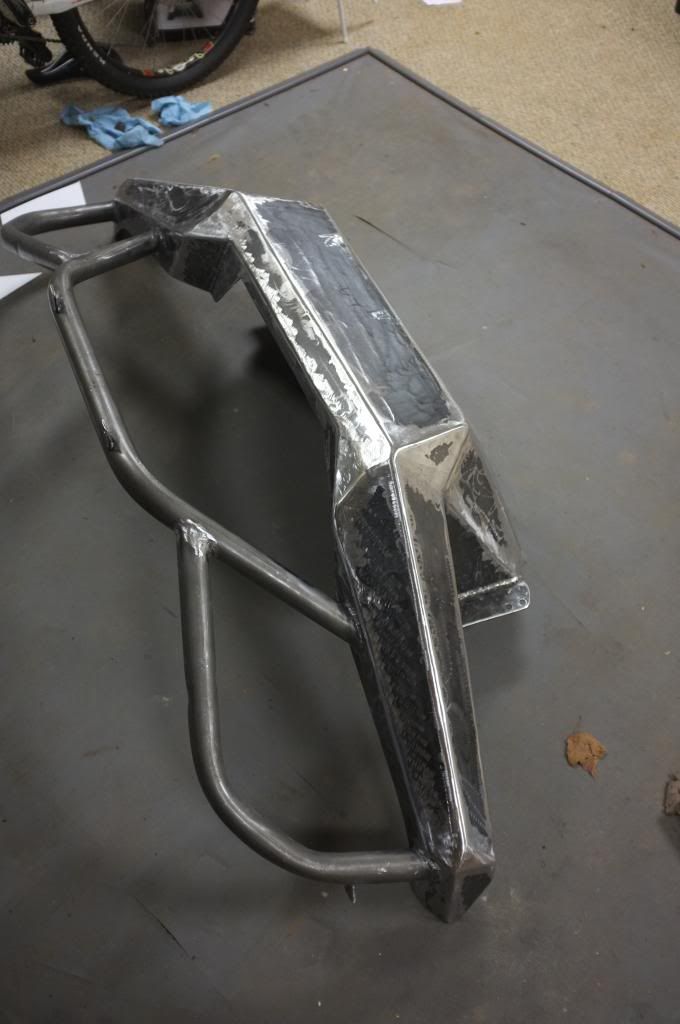
I started grinding/sanding down the welds.
DSCF2789_zpsa9623b98.jpg

DSCF2795_zpsa4a50865.jpg


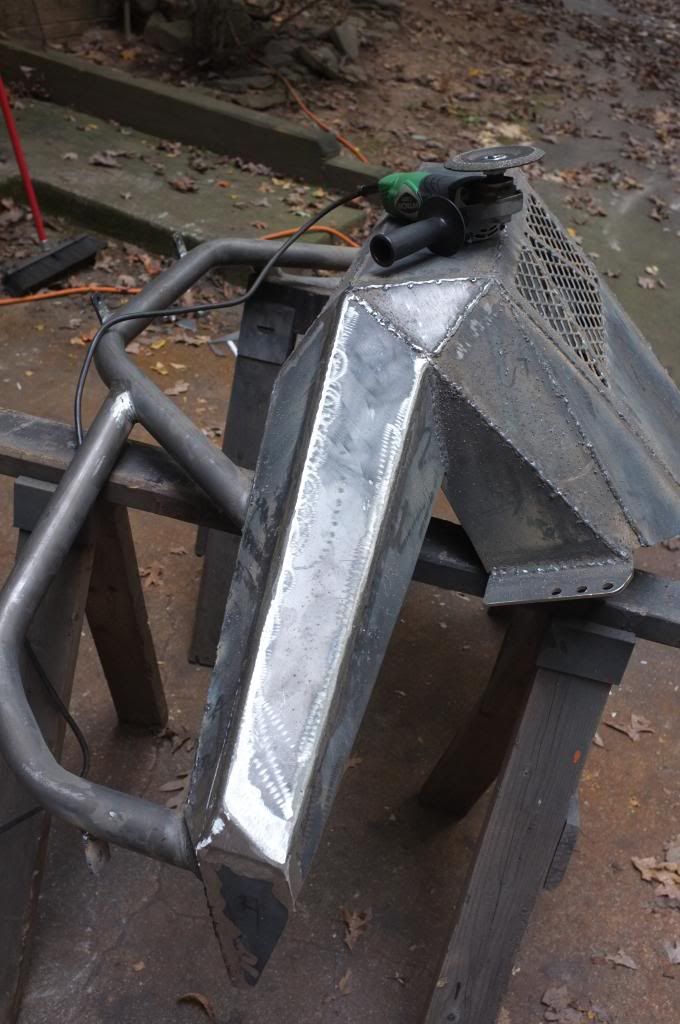
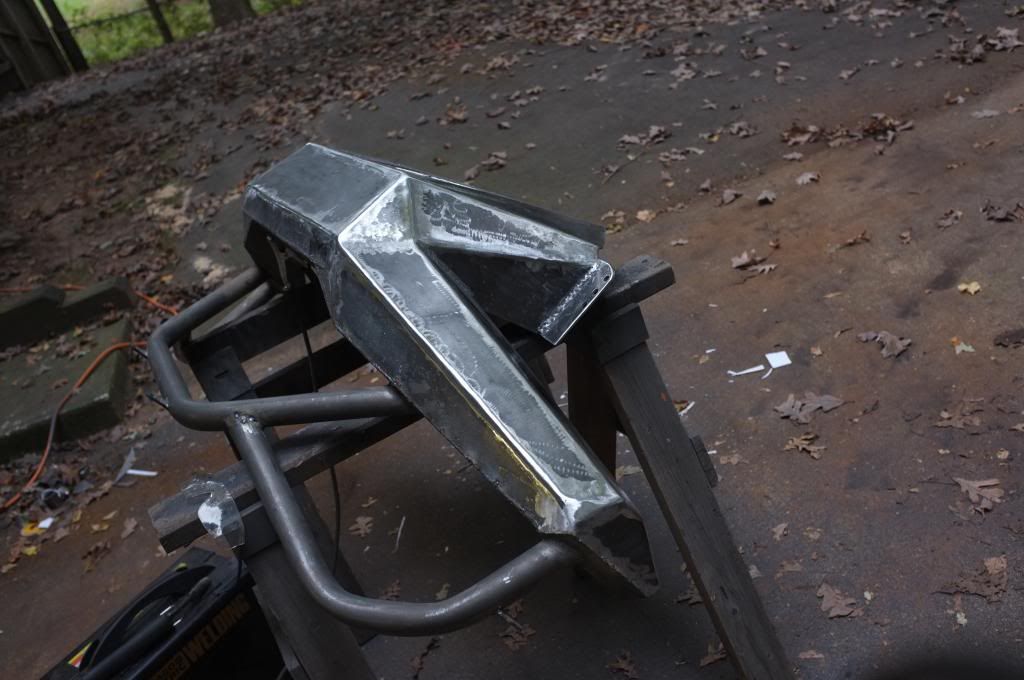
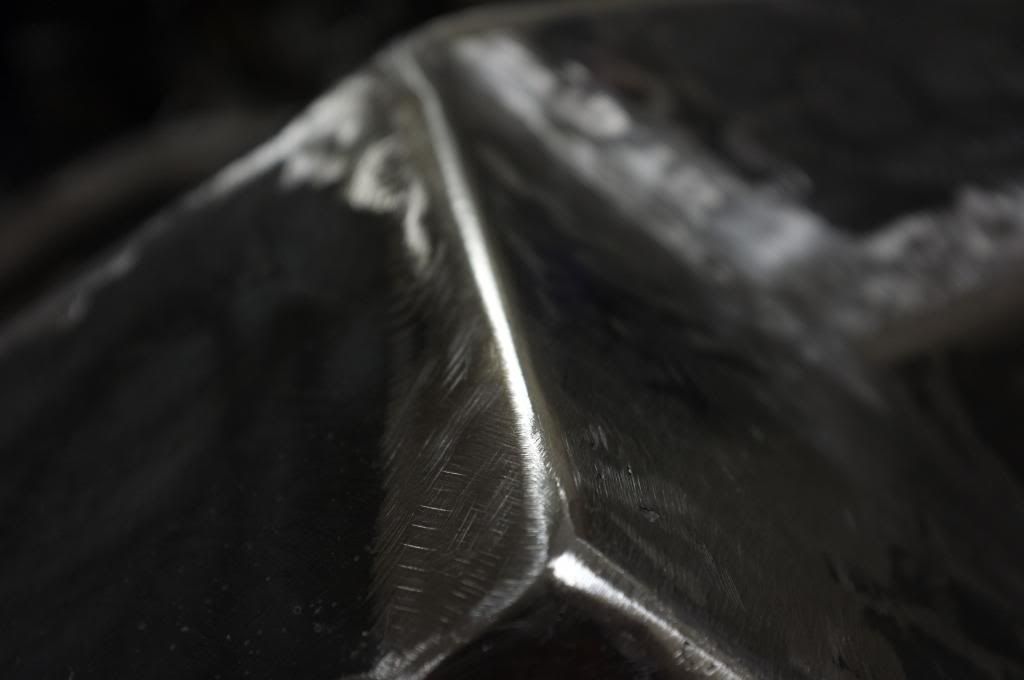
detail view after 30 grit paper sanding
DSCF2793_zps6c381b24.jpg


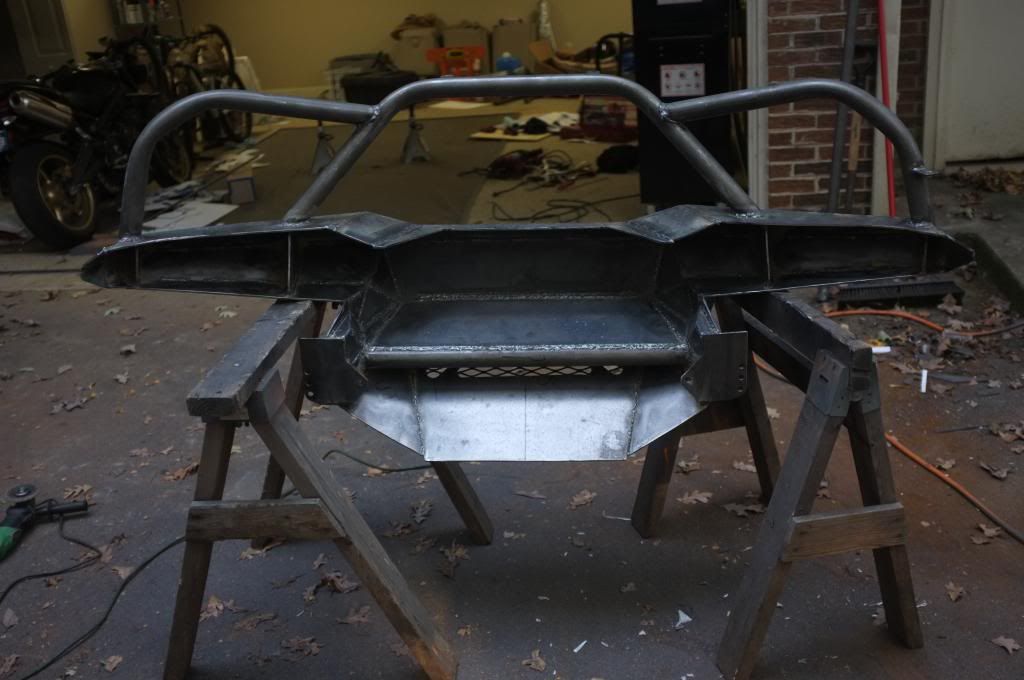
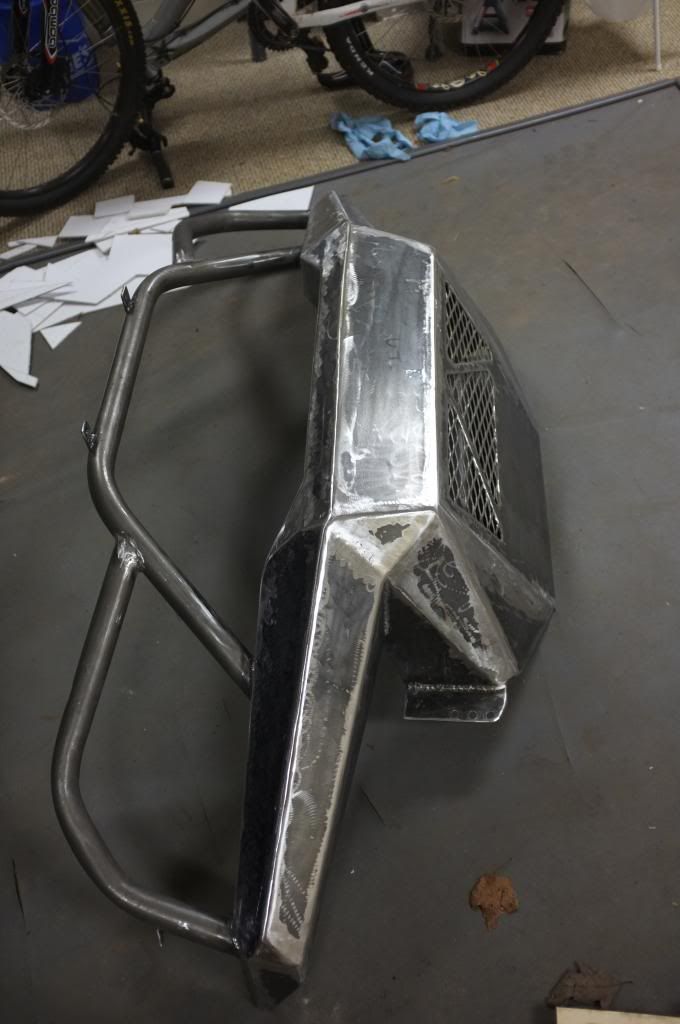
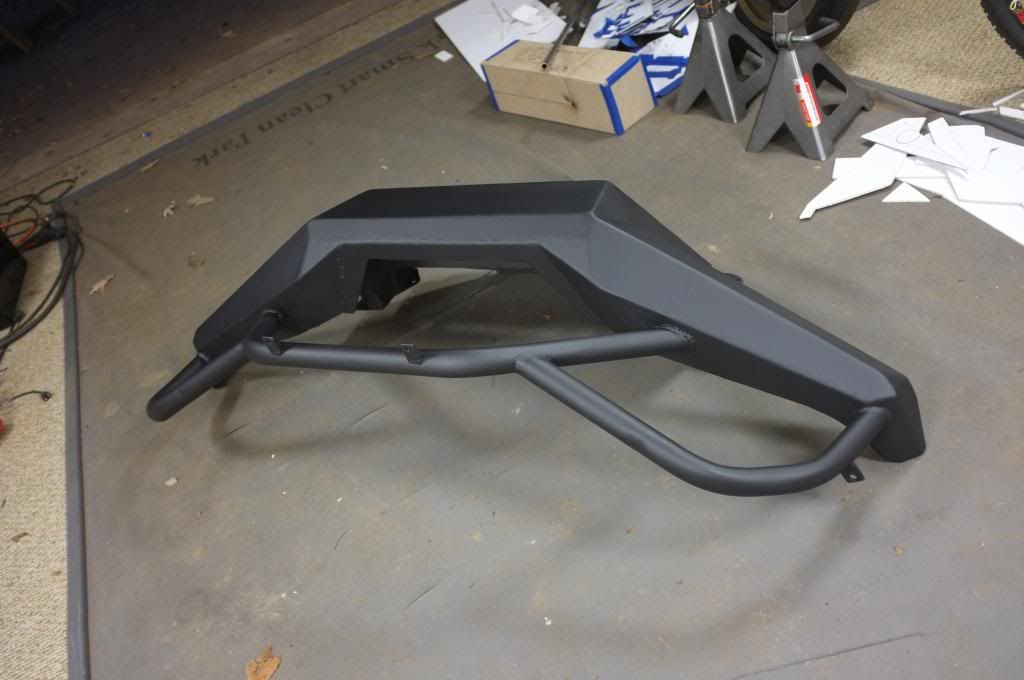
The entire bumper has been sanded down, cleaned up and ready for paint.
DSCF2798_zps0f1f0070.jpg

DSCF2799_zps22e632df.jpg

DSCF2801_zpsf39b1405.jpg

DSCF2802_zps917a80cc.jpg

DSCF2800_zps44d9d248.jpg


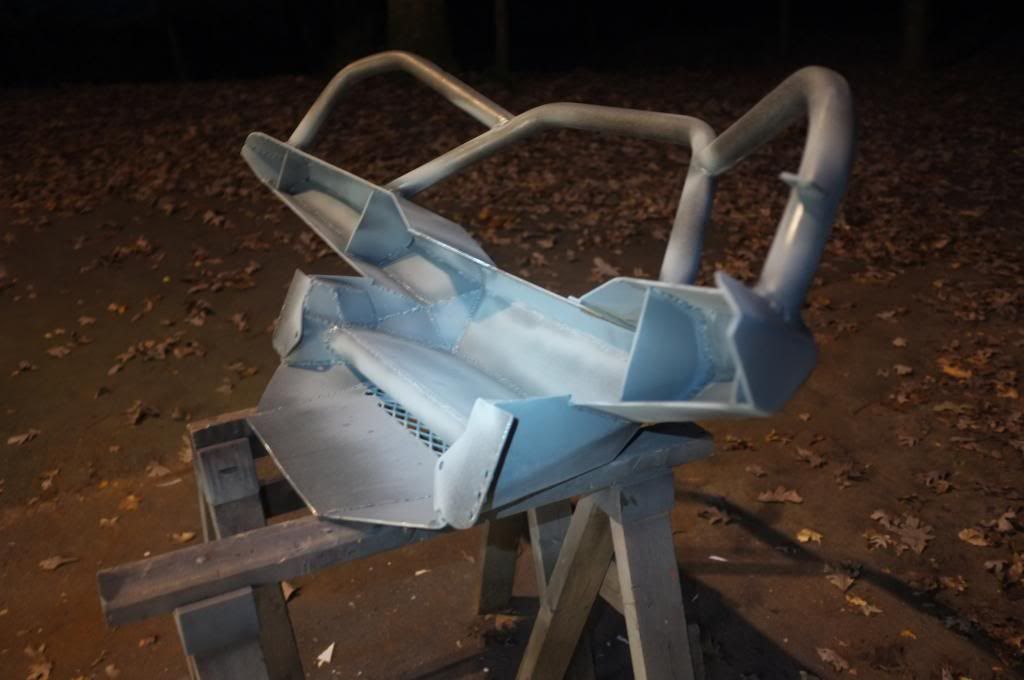
First coat of zinc based primer
DSCF2803_zpsc1d26251.jpg


First coat of rust proofing primer
DSCF2807_zps2ecf5475.jpg

DSCF2806_zpse8f1ccde.jpg


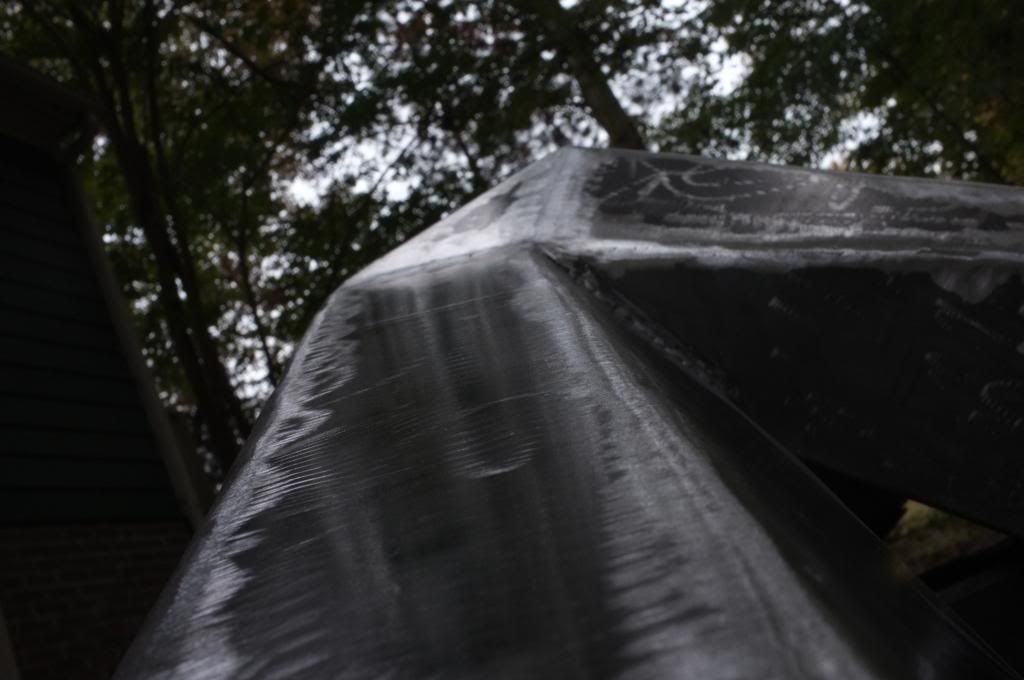
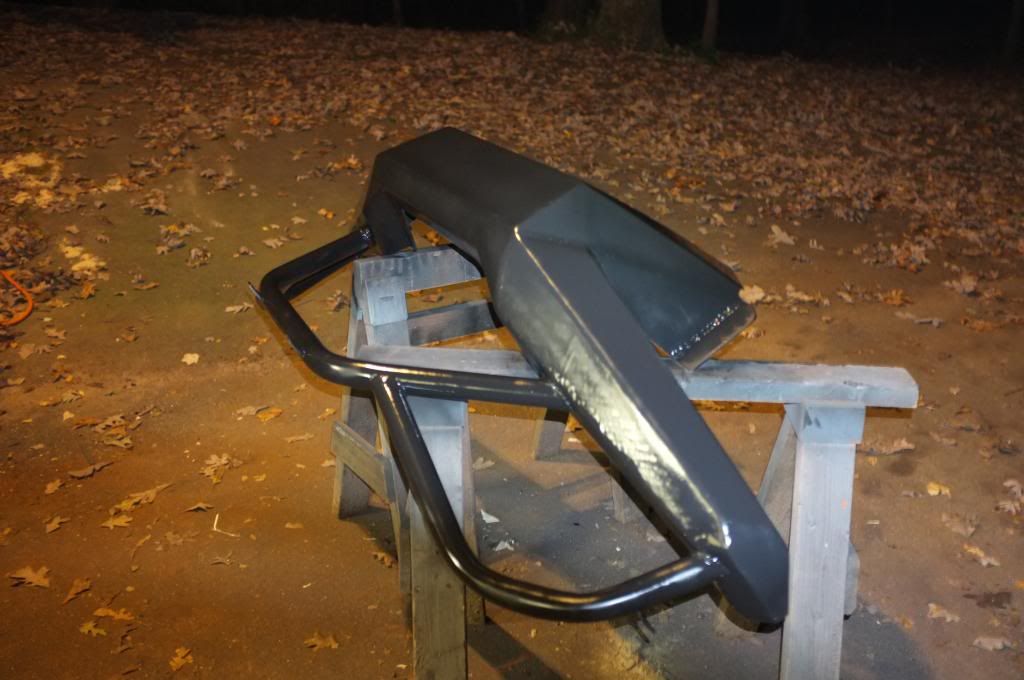
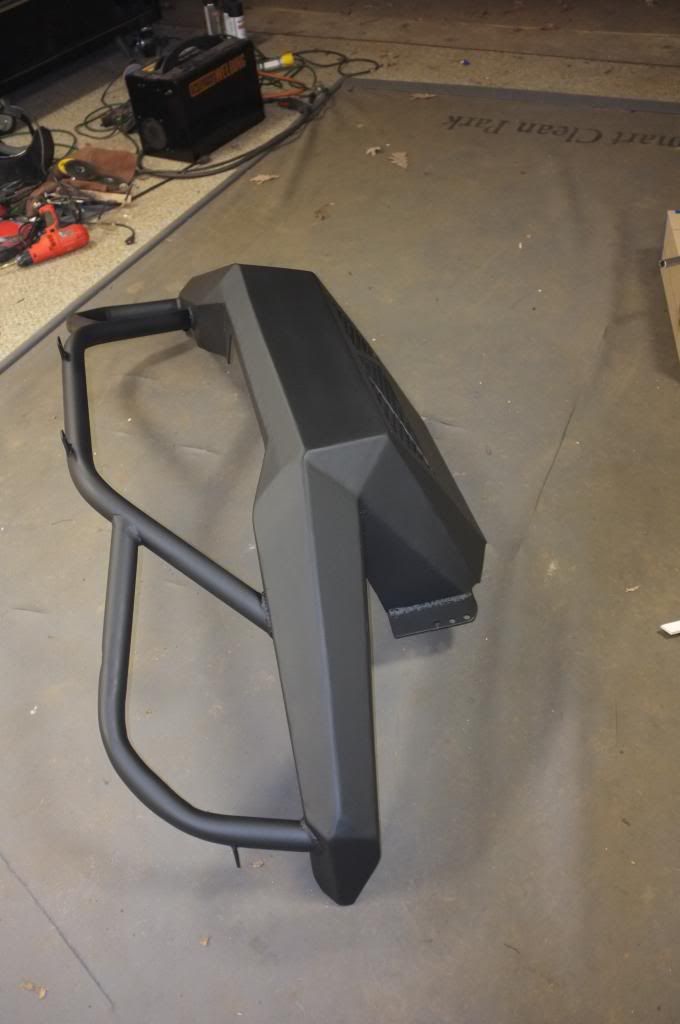
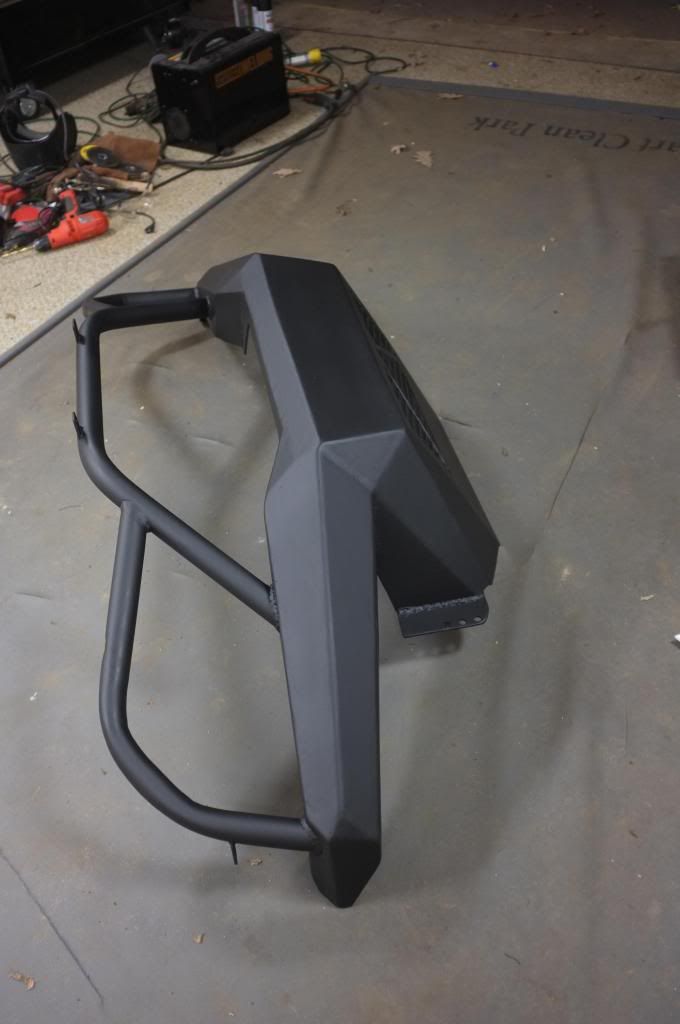
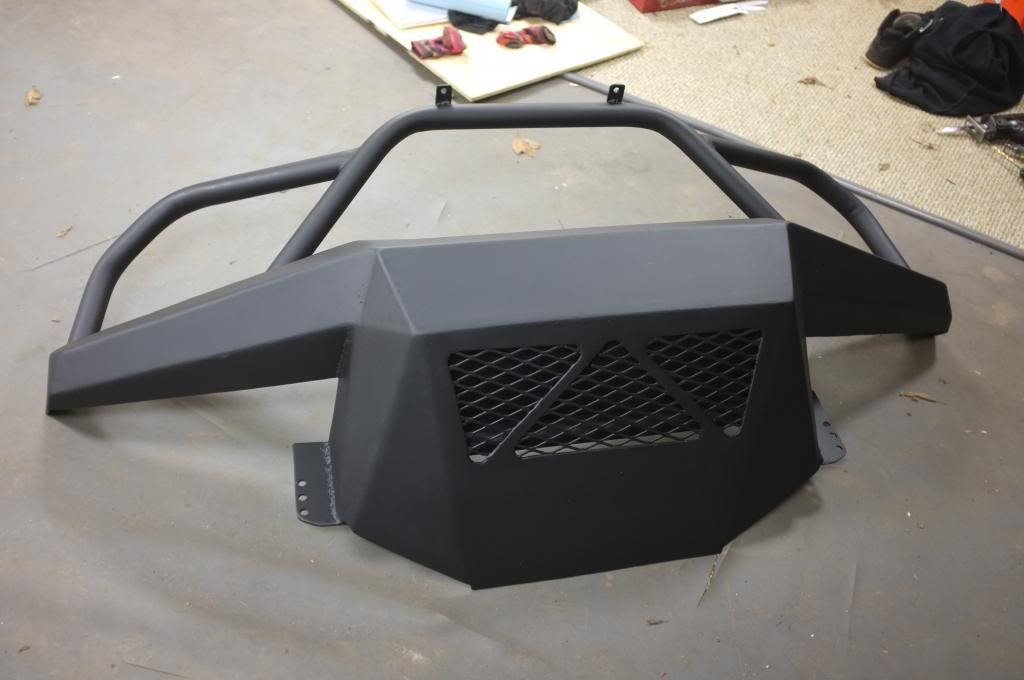
first coat of satin black paint
DSCF2810_zpsaf5dd5fe.jpg

DSCF2813_zps2d701751.jpg

DSCF2811_zpse36bea63.jpg

DSCF2812_zps399c9f47.jpg


It's starting to look good!

To be continued.
 

Wh1t3nukle

I gotz dis
If those areas are completely boxed in then I wouldn't worry about drilling holes. Also, it appears you snuck in some more tabs on the outer hoops! :) What goes there?

Good job boxing that thing in!!
 

boo471

Adventurer
Nice work!

Thanks!

If those areas are completely boxed in then I wouldn't worry about drilling holes. Also, it appears you snuck in some more tabs on the outer hoops! :) What goes there?

Good job boxing that thing in!!

Thanks. I will add some gussets here and there once I have a winch fitted. But for the moment I think it is strong enough. The holes I want to drill is on the "wings". I have these vertical reinforcements in them and there is a very small gap for water to sip down to the winch area. But was thinking of drilling a hole or two in the bottom of the wings to ease water to drip out.

The extra tab is for my CB antenna.
 

skibum315

Explorer
I've been following along since I happened upon the thread in a 'new posts' search, which I don't do very often (information overload and all that) ... but I'm very happy to have discovered your bumper build. I can only echo what has already been said, in that this is well executed and it looks like you've put good thought into both the aesthetic design and the structural elements as well. Job well done, I say.

I'm using a simple 180amp welder from Harbor Freight tools with Flux wire. It works just fine. No need to get yourself a $900 welder for this kind of work.
Don't sell yourself short on this, I've seen some really horrific work come out of those welders (booger welds and whatnot) ... and heard of some truly frustrating/finicky behavior on their operation, as well. Just goes to show, how much of a difference technique/practice can make ... you clearly have figured out how to make that thing do what you want.
 

boo471

Adventurer
I've been following along since I happened upon the thread in a 'new posts' search, which I don't do very often (information overload and all that) ... but I'm very happy to have discovered your bumper build. I can only echo what has already been said, in that this is well executed and it looks like you've put good thought into both the aesthetic design and the structural elements as well. Job well done, I say.

Don't sell yourself short on this, I've seen some really horrific work come out of those welders (booger welds and whatnot) ... and heard of some truly frustrating/finicky behavior on their operation, as well. Just goes to show, how much of a difference technique/practice can make ... you clearly have figured out how to make that thing do what you want.

Thanks I'm glad that people like the build. Always fun to get good feedback when you put in a lot of blood, sweat and more sweat in a build.

I have also seen some pretty bad work/reviews about the HFT welders( I have not tied any of the other HFT welders, only the 180amp MIG). But to be honest. No they aren't the greatest welders on the planet. And they are not the easiest welders to use. But for what you pay for them they are pretty darn good. And of course it's easier to get a good weld with $1k welder but any welding takes practice. I'm by no means a great welder and if I can get this thing to get the job done then I'm pretty sure most people can :) So I will still stand behind it and recommend it to anyone who wants to get in to fabrication but don't want to spend the money needed for a more conventional welder.

//Marten


Sent from my iPhone using Tapatalk - now Free
 

Stitebunny

Adventurer
Now that most of the hard labor has been done, materials paid for and the final product near completion, would you do it again?!
I know for a lot of us, these kind of projects are why we are into these types of vehicles. But sometimes it can be easier to suck up the big price tag of store bought products. Just wondering what your thoughts are on that now that it's nearly complete.
And would you mind approximating how many dollars and man hours you have into it?

It looks great! And you have a one of kind peice and lots of fabricating experience now which is great!
 

boo471

Adventurer
Now that most of the hard labor has been done, materials paid for and the final product near completion, would you do it again?!
I know for a lot of us, these kind of projects are why we are into these types of vehicles. But sometimes it can be easier to suck up the big price tag of store bought products. Just wondering what your thoughts are on that now that it's nearly complete.
And would you mind approximating how many dollars and man hours you have into it?

It looks great! And you have a one of kind peice and lots of fabricating experience now which is great!

I'll try to do a little summery once the bumper is finalized. I'll do a write up on cost and hrs and such. But I am just doing this because I think it's fun and not to save money (then is would be doing a different hobby:) ). And I also want to show that anyone can do this kind of fabrication.

And YES I would do it again. To much fun to stay away. Rear bumper build is around the corner!

Cheers!


Sent from my iPhone using Tapatalk - now Free
 

Forum statistics

Threads
187,375
Messages
2,893,955
Members
228,209
Latest member
shazpete

Members online

Top