barlowrs
Explorer
OK first off, I want to give credit for this one, as I cannot take any credit. This idea was previously done by “DblD” in this thread: http://www.tacomaworld.com/forum/2nd-gen-tacomas/93807-ram-gps-mount.html
I really like his idea, so I stole it and took a few steps further. So, on to the write-up:
The Parts needed:
RAM Mount Garmin 60CSx Astro Cradle RAM-HOL-GA12U Model: RAM-HOL-GA12U
RAM Mount Diamond Plate with 1 inch Ball RAM-B-238U Model: RAM-B-238U
RAM Mount 0.25 inch NPT Thread with Single 1 inch Ball Model: RAM-B-218-1U
RAM Mount Short Arm B-Socket RAM-B-201U-A Model: RAM-B-201U-A
Garmin Cigarette Lighter Adapter Model: 010-10085-00
7/16 Fine Thread Bolt or threaded Rod
6 mm metric tap
6mm metric bolt or threaded rod
Steps:
First thing was to make the ballmount that interfaces with the trucks “ohh $hit” handle. This is where me and DblDs methods were a bit different. The threads that the ballmount comes with is 7/16 fine thread. I took a small threaded rod, cut it to length (about ¾” long) so that it will thread in and sit flush inside the ballmount. If you don’t have threaded rod, just cut the head off a bolt. Next, while it was still on the lathe, I drilled her right down the center and tapped it with a 6mm tap. DO NOT DRILL AND TAP ALL THE WAY THROUGH (make it a blind hole) otherwise your metric bolt will just thread into your mount and disappear before mating with the truck.
I then took my metric bolt (or threaded rod) chopped the head off and threaded it in so that it was about an inch or so sticking out:
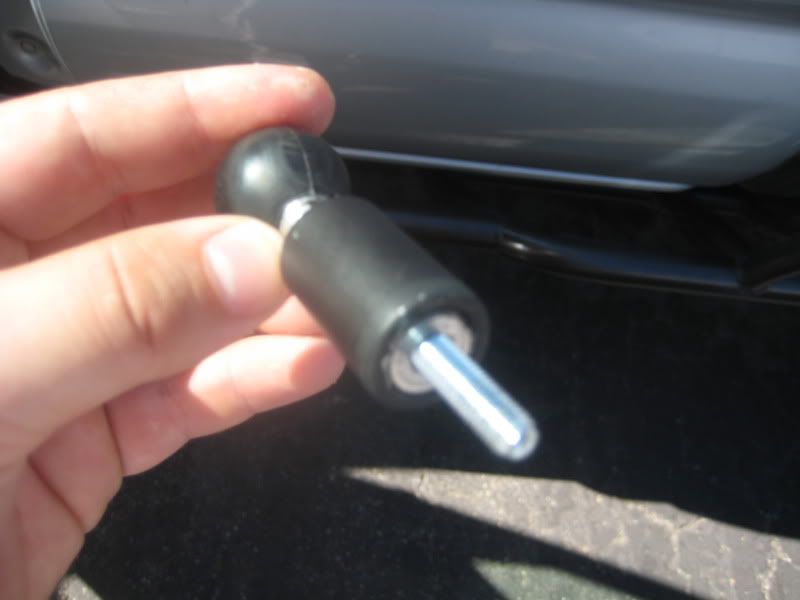
Add some locktite and you are good to go
Now, remove the a-pillar from the truck (very easy..two bolts) so that you can route the charger cable. While it is off, Drill a hole to run the wire out so that it can reach your GPS. Then re-install the a-pillar using the new ballmount in place of the lower “ohh $hit” handle mounting bolt location:
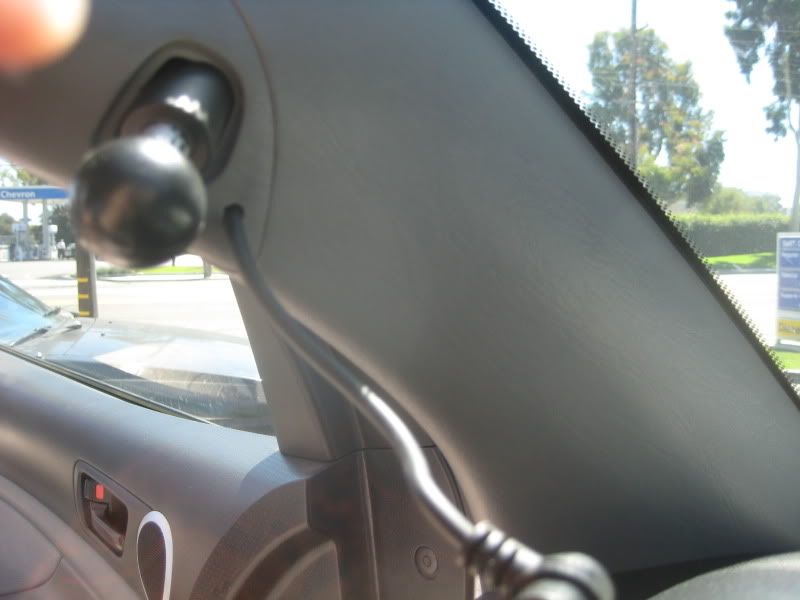
In the picture above, you can see the charger wire going through the hole in the a-pillar.
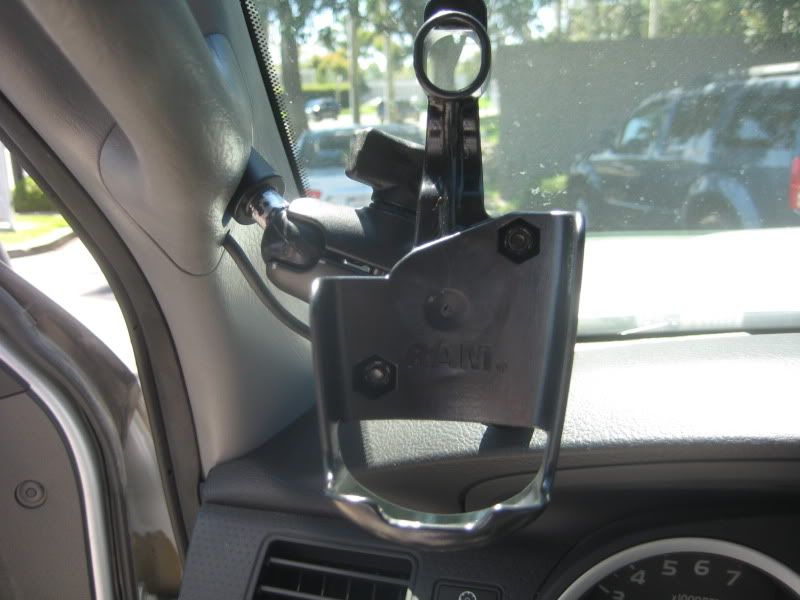
Now, add the small arm and cradle and orient it how you like:
Next was to wire it, you can easily keep the cigarette lighter plug and just use that, however, I wanted to hardwire mine into my auxiliary fuse block. To do I routed it into my engine bay through the grommet in the fire wall. I then cut the cig lighter plug off so that it is just the wires.
NOTE THAT A 1.5A FUSE IS CONTAINED IN THE CIG LIGHTER PLUG, SO YOU MUST FUSE IT EXTERNALLY IF YOU REMOVE THE PLUG
I then routed it to the fuse block, cut it to length and added standard ring terminals:
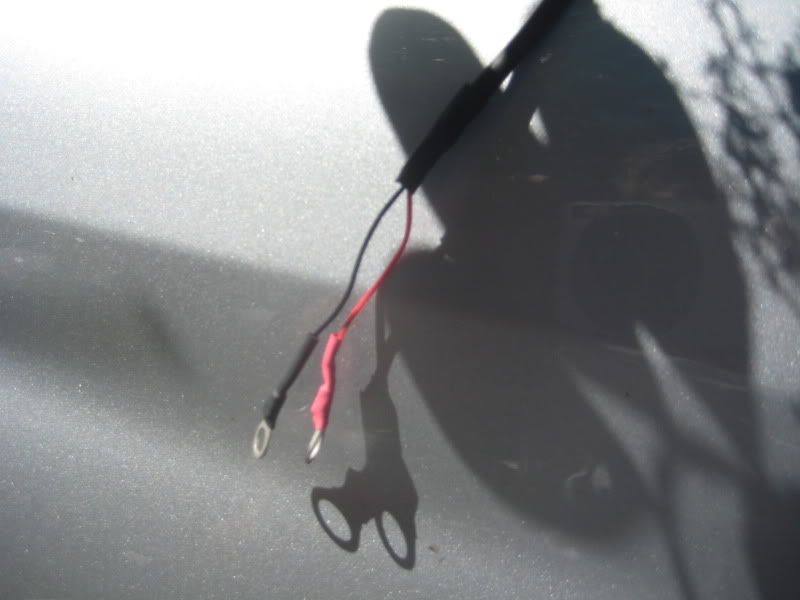
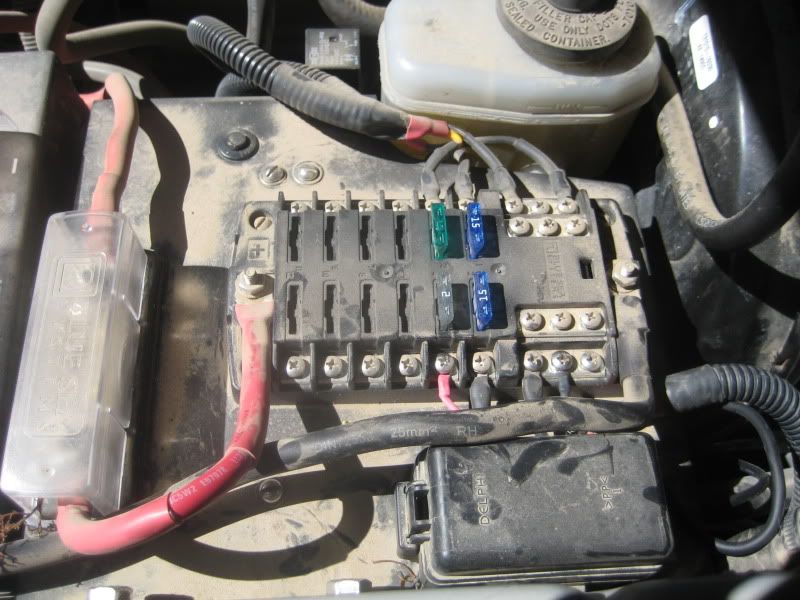
All that is left is to plug it into the fuse block and fuse it. I used a 2A fuse (I will try to find a proper 1.5 “ fuse that will fit later, but 2A is the smallest I had laying around):
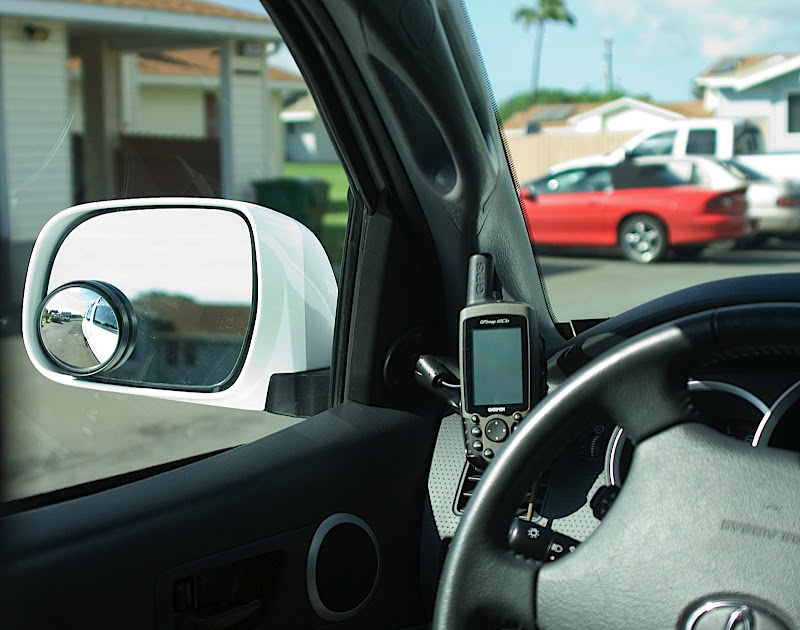
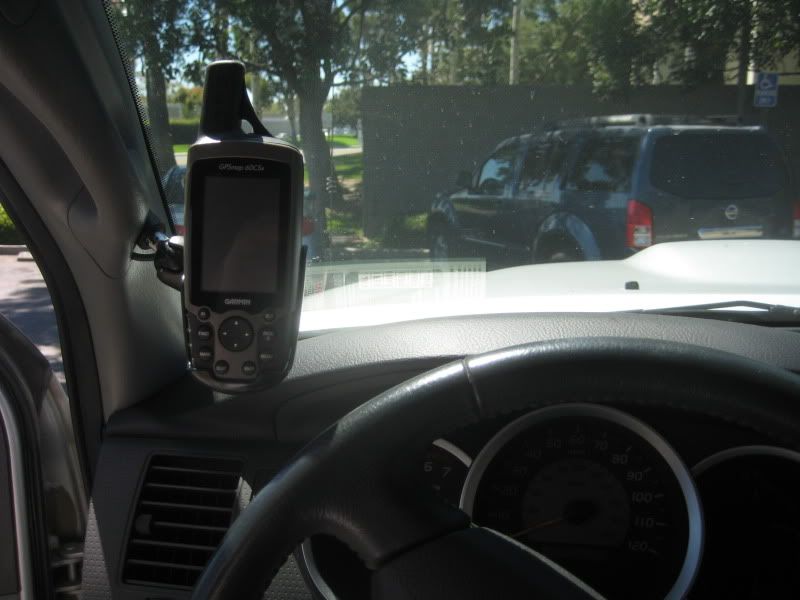
And the final product, as seen from the driver’s seat:
I really like his idea, so I stole it and took a few steps further. So, on to the write-up:
The Parts needed:
RAM Mount Garmin 60CSx Astro Cradle RAM-HOL-GA12U Model: RAM-HOL-GA12U
RAM Mount Diamond Plate with 1 inch Ball RAM-B-238U Model: RAM-B-238U
RAM Mount 0.25 inch NPT Thread with Single 1 inch Ball Model: RAM-B-218-1U
RAM Mount Short Arm B-Socket RAM-B-201U-A Model: RAM-B-201U-A
Garmin Cigarette Lighter Adapter Model: 010-10085-00
7/16 Fine Thread Bolt or threaded Rod
6 mm metric tap
6mm metric bolt or threaded rod
Steps:
First thing was to make the ballmount that interfaces with the trucks “ohh $hit” handle. This is where me and DblDs methods were a bit different. The threads that the ballmount comes with is 7/16 fine thread. I took a small threaded rod, cut it to length (about ¾” long) so that it will thread in and sit flush inside the ballmount. If you don’t have threaded rod, just cut the head off a bolt. Next, while it was still on the lathe, I drilled her right down the center and tapped it with a 6mm tap. DO NOT DRILL AND TAP ALL THE WAY THROUGH (make it a blind hole) otherwise your metric bolt will just thread into your mount and disappear before mating with the truck.
I then took my metric bolt (or threaded rod) chopped the head off and threaded it in so that it was about an inch or so sticking out:
Add some locktite and you are good to go
Now, remove the a-pillar from the truck (very easy..two bolts) so that you can route the charger cable. While it is off, Drill a hole to run the wire out so that it can reach your GPS. Then re-install the a-pillar using the new ballmount in place of the lower “ohh $hit” handle mounting bolt location:
In the picture above, you can see the charger wire going through the hole in the a-pillar.
Now, add the small arm and cradle and orient it how you like:
Next was to wire it, you can easily keep the cigarette lighter plug and just use that, however, I wanted to hardwire mine into my auxiliary fuse block. To do I routed it into my engine bay through the grommet in the fire wall. I then cut the cig lighter plug off so that it is just the wires.
NOTE THAT A 1.5A FUSE IS CONTAINED IN THE CIG LIGHTER PLUG, SO YOU MUST FUSE IT EXTERNALLY IF YOU REMOVE THE PLUG
I then routed it to the fuse block, cut it to length and added standard ring terminals:
All that is left is to plug it into the fuse block and fuse it. I used a 2A fuse (I will try to find a proper 1.5 “ fuse that will fit later, but 2A is the smallest I had laying around):
And the final product, as seen from the driver’s seat:
") )
)