Hummelator offroad teardrop trailer-vation

Hummelator

Adventurer
Ok so the title needs work.

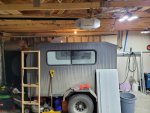
After 4 years of use and some life changes, it's time for some change for the trailer.
I am planning a go fast style/ ultralight camper build for next year but for the time being I need to make some changes to the trailer for this year.

Go rid of the (ex)wife, and got a girlfriend who camps with me frequently plus adopted another dog so the camper as is, is not as functional as I would like.

Plans for the camper:
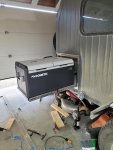
-Build a side acess door and slide for my new dometic fridge
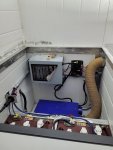
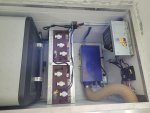
-Relocated batteries and charges beside the fridge and heater at the front of the camper.
-enclose the fridge, batteries and heater to isolate noise.
- have built in dog house beneath bed.
- add a hard wall pop top to the rear of the trailer aft the roof vent.
-a collapsible bed platform that will allow for a little more floor space when compresses ( best explanation I can provide- will have to wait and see.

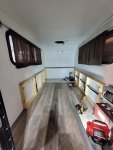
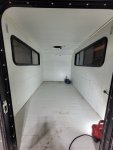
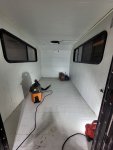
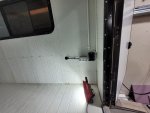
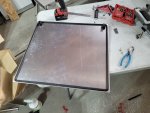
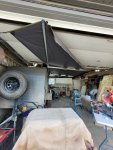
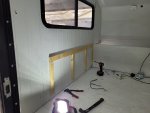
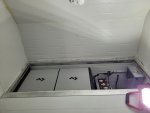
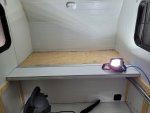
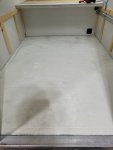
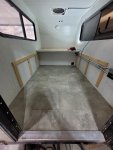
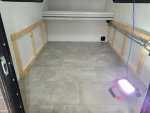
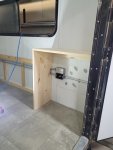
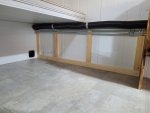
Today I stripped the interior. Need to get some slides on order and then cut in and and build an access door.
A lot of unknowns on the finer details thus far but as always will make decisions as I go.
 

Attachments

  • 20230114_122749.jpg
    20230114_122749.jpg
    3.6 MB · Views: 75
  • 20230114_130143.jpg
    20230114_130143.jpg
    2 MB · Views: 71
  • 20230114_145313.jpg
    20230114_145313.jpg
    1.7 MB · Views: 64
  • 20230114_151549.jpg
    20230114_151549.jpg
    1.9 MB · Views: 62
  • 20230114_145318.jpg
    20230114_145318.jpg
    3.5 MB · Views: 82
  • 20230114_151608.jpg
    20230114_151608.jpg
    3.5 MB · Views: 82

Hummelator

Adventurer
don't tell the dog.....

Great starting point with a fully built, enclosed trailer.
A thought, put doors on both sides and build a full width tray which slides out both sides. Fridge on one side. Battery and heater etc on the other. A full width slider frame is much stronger since it only extends 50-60% each way.
I like the idea of the full width slider but my heater is hard mounted and air intake and exhaust is vented directly though the floor propex heater)
 

Hummelator

Adventurer
Starting to warm up and so the work begins.
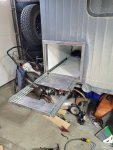
I built a slide out of materials I had laying around. Didn't get any photos while building.
It's not super pretty but it functions for now.

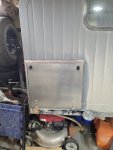
Measured 4 times and made the plunge- cut the hole in the side of the camper. 20230325_121948.jpg
Measured 4 times and still managed to cut the opening too wide.
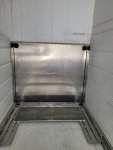
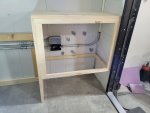
Glued in the upright panel that will separate the living space from the fridge/battery/heater area.
Started capping the access holes for the fridge. 20230401_141306.jpg
20230401_141257.jpg
Installed a drip edge on top and the forward facing to help prevent water getting in during rain while stationary and driving. 20230401_161353.jpg
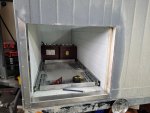
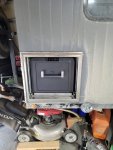
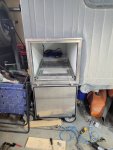
Riveted in the slide and tested with fridge. 20230401_161341.jpg20230401_161238.jpg20230401_161033.jpg
It's a perfect fit.

Now need to decide how to build the door.
I know it's going to swing down.

Based on the amount of work this project is and the fact that I want to be out camping in early may, I have decided to forgo the hard wall pop top. It will be way to much work in the amount of time I have available.
Will probably still go with the collapsible bed platform though.


I also have a OVS nomadic 270 awning that should be arriving shortly. Very excited to finally have an awning. I am done using a tarp.
 

Hummelator

Adventurer
Go fast campers ( style); super light weight.
 

Hummelator

Adventurer
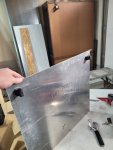
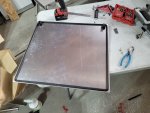
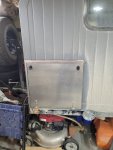
Finished the door for the slide.
20230407_095209.jpg
20230407_095159.jpg
20230407_100644.jpg

20230407_110538.jpg
20230407_110921.jpg
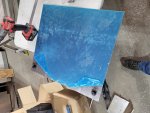
Originally I wanted to build some sort of insulated panel and case it with aluminum but decided I don't need this door insulated. Ended up with a piece of 3/16 aluminum plate. Made the buildout much simpler.
 

Attachments

  • 20230407_100644.jpg
    20230407_100644.jpg
    3.4 MB · Views: 2
  • 20230407_110538.jpg
    20230407_110538.jpg
    1.9 MB · Views: 2
  • 20230407_110546.jpg
    20230407_110546.jpg
    2.1 MB · Views: 2

Hummelator

Adventurer
Also tackled the awning today.
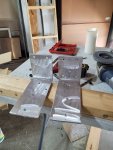
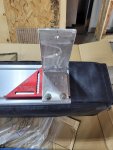
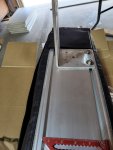
Made some mount brackets out of some 1/4" aluminum I already had.
20230407_132346.jpg
20230407_133247.jpg
20230407_133251.jpg
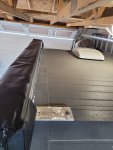
As you can see my brackets don't go all the way down to the second channel in the extrusion of the awning. I need to keep the overall height of my trailer under 7'10" so I can get it in and out of my garage without messing around with deflating the tires for extra clearance.
20230407_134745.jpg
One bolt in each bracket until I can be certain it's in the right spot
20230407_140501.jpg20230407_140427.jpg
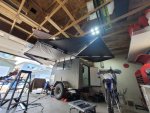
Opened 'er up. Looks great. Drilled and tapped remaining holes in roof and back of awning extrusion. Awning mount is quite solid.
Really looking forward to using the trailer this year. I'm very happy with how things have turned out so far.

Tomorrow going to try and find a small piece of lino to replace the previous flooring planks. Also going to install the wood frame that will support the panels for the mattress. Might also start electrical.
 

Hummelator

Adventurer
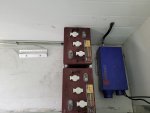
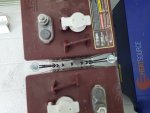
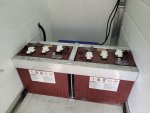
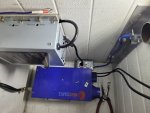
Figured out how to mount my batteries.
20230409_152512.jpg20230409_152516.jpg20230409_154040.jpg
the wood is for my bed platform. Upper electrical box is 120VAC and lower is 12VDC
20230409_162745.jpg20230409_162741.jpg
charger mounted and 120v outlet wired.
20230409_164402.jpg

I ran the power cable for the fridge through some energy chain I had left over from a job. Won't have any issues with damaging the cable. 20230410_142830.jpg
 

Hummelator

Adventurer
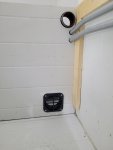
The pipe above the conduit is being used as a couplin for where the furnace ducting runs through the panel. Return air at the bottom.
20230410_131831.jpg
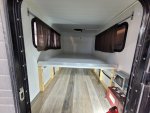
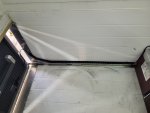
Mounted aluminum angle on the walls to support a piece of plywood for the bed platform.
20230421_135511.jpg
20230421_135524.jpg
Completed all the wiring.
20230423_140104.jpg20230423_140059.jpg
20230423_140112.jpg20230423_140141.jpg
 

Hummelator

Adventurer
I decided I want to do vinyl sheet flooring this time. I liked the idea of it being one peice and with it being glued down and caulked on the edge I won't have any dirt or dust beneath the flooring.
20230423_142059.jpg20230423_145353.jpg
Turned out ok. Not sure I was suppose to glue the entire thing. Some videos I watched said something about only gluing the perimeter. Either way for my purposes it'll work.

Remaining tasks:
- I want to build a small cabinet and some shelves on the right had side to cover the electrical boxes and mount my thermostat and heating vent cover to.
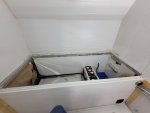
- bed platform; have to glue one panel in and going to leave the other one free so I can remove it for a little more room. The " collapsible bed platform" isn't going to materialize like I had envisioned and quite frankly I am ready to be done working on the trailer. I have lots of other projects that I need to get to for this summer season
- reinstall curtains

Having done this reno, I don't know that I will be wanting to build a truck camper next year.
Though I say that now...
 

Hummelator

Adventurer
The final Sega.
Finished off the bed supports along the floor now that the flooring is finished.
20230429_120456.jpg
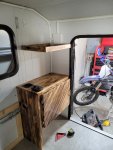
Builts a cabinet and shelf for the right side to provide storage and cover the electrical.
20230429_125522.jpg20230429_132939.jpg20230429_142628.jpg
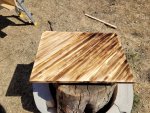
Instead of staining, I used my torch to slightly burn the wood. Really brings out the grain depending on the wood but I love the look of it. Then I seal it with shellac. Here's the crappy cabinet door I made. Looks good from a far but it is far from good. It will do for now but I will be rebuilding it this summer at some point.
20230430_125706.jpg
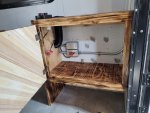
Installed the shelf and cabinet. You can see a toggle switch with the red cover in the cabinet- that's a battery kill switch.
I built the cabinet so that I would have room to put shoes underneath. 20230430_175212.jpg20230430_175555.jpg
Installed the vent and thermostat in the top of the "counter"
Installed the ducting for the heater.20230430_180430.jpg

All that's left to do is caulk along the lino and door, and install the curtains.
Won't be posting anything about that because it's not interesting in the slightest.

As for the collapsible bed- it didn't really materialize. Might still try to work something out still but for now the two panels at the foot of the bed are loose so that will allow them to be moved for extra space.

Going out this coming weekend so will update with some photos.
 

Forum statistics

Threads
188,398
Messages
2,904,162
Members
230,274
Latest member
mbauerus1
Top