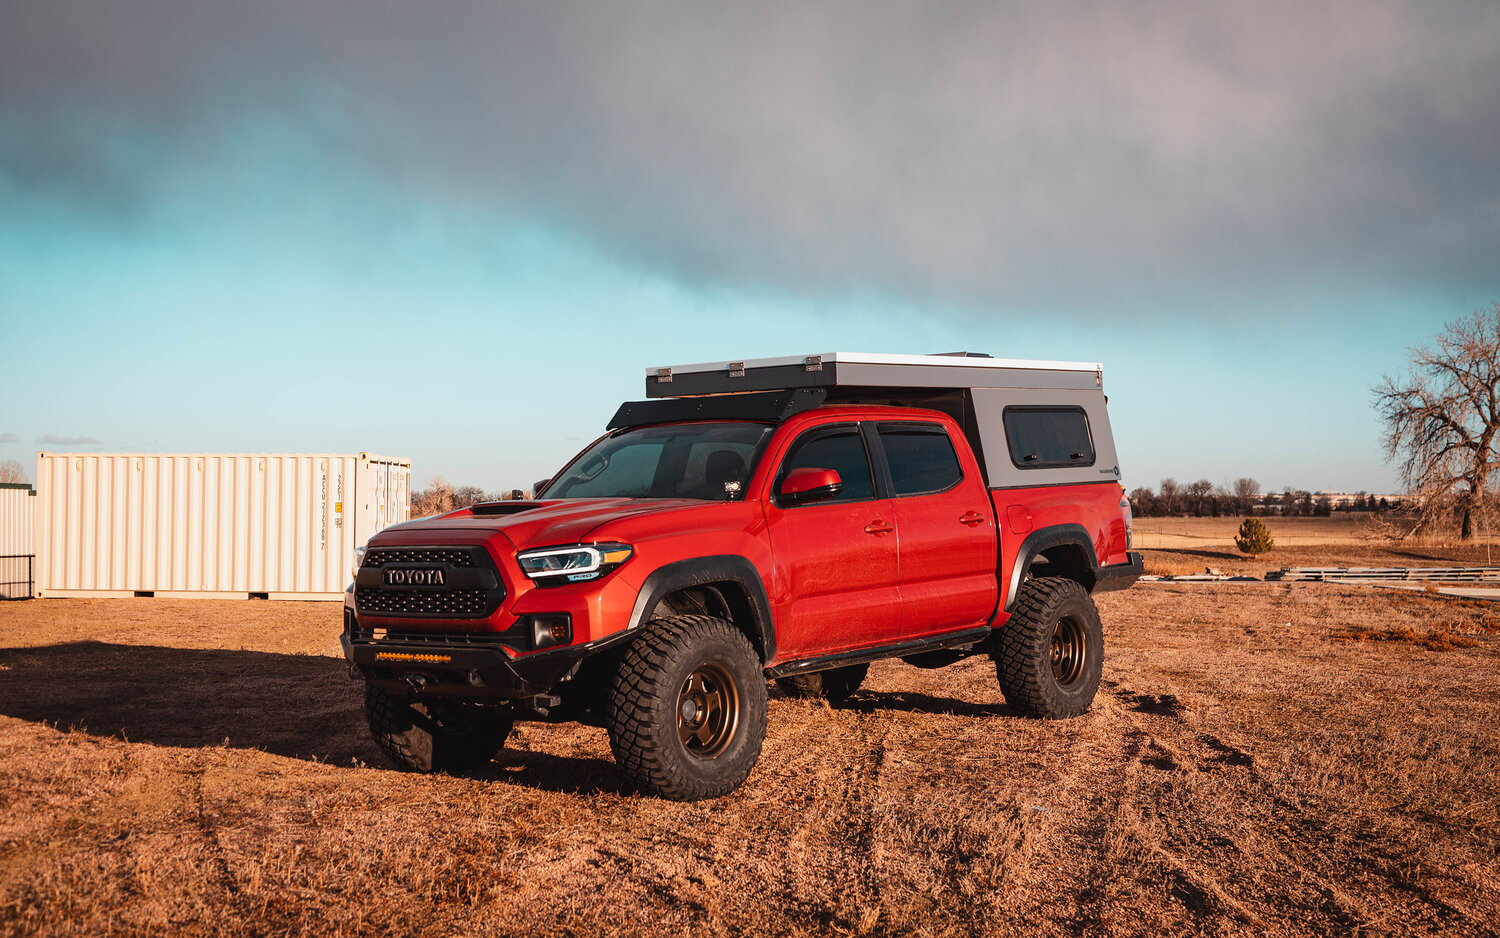
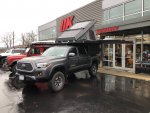
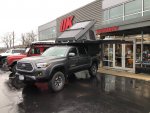
Introducing the “NEW” Alu-Cab Canopy Camper

SoyBoy

Member
The rack only went on a week ago, so I haven't really used it. I will say, the B rack gives decent real estate so I can fit some stuff on it; I just haven't decided what should go up there yet. However, there is no wind noise and it's fairly light, so in general I have a positive impression.

The table is just super convenient. It's so easy to pull out and put them, making lunch on the trail a breeze. You can, of course, store a folding table inside the camper and that would give about the same usefulness. However, we try to minimize the amount of dirt inside the camper, to the point of taking our shoes off before entering, so storing the table outside the camper helps keep things cleaner. Also, the table has a large amount of surface area so you can put a good amount of stuff on it. It's also just conveniently stored in an underutilized area, leaving more space inside the camper for other items.

THx
Would MaxTrax fit on your rack?

Ya - that table at 48" * 30 is plenty of real estate - for sure. Having a metal surface is a must as well. The table I have used is 24" * 48" and I am very happy with it - not too wide not too narrow - because too narrow (18") ends up being a PITA. I just added a stainless steel metal top to mine - which makes it great if you have to place a hot pan on it and clean up way easier.
 

LionZoo

Observer
Maxtrax would absolutely fit, but I'm thinking of carrying my Maxtrax on my spare tire. That way, I can carry recovery gear and possibly some Rotopax on the roof.
 

SoyBoy

Member
Based on this, it sounds like the Animas B would fit the double cab without modification if there are no table brackets. On the other hand, Seekoutbeauty has the full rack underneath the overhang. I don't think I want the full rack but am considering the D because I like the proportions. I emailed Sherpa this morning to see if they have some dimensions of each size (which I couldn't find on their site) or experience with any of the Animas racks on trucks with an ACCC.

I talked to Sherpa. The racks sits 1/4 to 1/2" above the shark fin antenna.
The A is 16" the B is 23" long.

Is there anyone out there who has an Access cab with an accc mounted and could say if they figure an "Animas A" at 16" long would fit?


rvrboy

Member
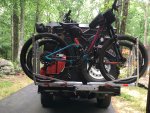
Some of you, like, me were looking for a solution to mount bikes to the spare tire. I found a solution. A spare tire receiver by Gamiviti. http://www.gamiviti.com/spare-receivers I installed this and the bolts lined up perfectly. I did have to cut the center threaded screw. I then inserted my 1UPUSA rack, and tested out with a bike (my son's bike), and the rack clears the side (see pictures), so doesn't get in the way. Neither the racks or bikes are that heavy. I don't think I would put 4 bikes on (I have extensions for the 1UPUSA) as that is a lot of weight hanging back and stress on the door, but two bikes shouldn't be an issue.

I took a slightly different route and had an extra 2" hitch added to my CBI HC rear bumper.1UP HD 060720 03.jpg
 

abenteur_co

Member
Does Expedition Essentials sell that mounting plate, or could you share where you sourced it from. Started looking at how to mount my newly purchase Exo table this week and realized that's probably the only way to do it right. Thanks!


Loving this thing so far, slowly building it out/ adding things as time permits; finally mounted the Exo Table via an aluminum plate that picks up all of the existing mounting holes of the door with the exception of adding one more for additional support at the passenger bottom corner.

Lots more planned but it has been crazy around here!


View attachment 619920View attachment 619921View attachment 619922
 

wackyhacky76CO

Active member
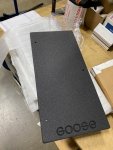
I am making an assumption, but I believe the Goose Gear blank electrical panel, which they sell as a pair for $99, are the same size on both sides of the camper. Please correct me if I am wrong.

I will be doing my electrical myself once the camper is dropped on next week, but I did grab these as well to do my electrical because it does seem like a clean solution. If anyone also wants one of these panels, please DM me. I only need one, so I will be selling the other if they are indeed exactly the same on both sides.

I am located in Northern CO, but certainly willing to ship if need be.
 

Expedition Essentials

Approved Vendor : Expedition Essentials
Does Expedition Essentials sell that mounting plate, or could you share where you sourced it from. Started looking at how to mount my newly purchase Exo table this week and realized that's probably the only way to do it right. Thanks!
Will be soon, drawings are done and will be going into production with them shortly
 

camodog

Adventurer
I am making an assumption, but I believe the Goose Gear blank electrical panel, which they sell as a pair for $99, are the same size on both sides of the camper. Please correct me if I am wrong.

I will be doing my electrical myself once the camper is dropped on next week, but I did grab these as well to do my electrical because it does seem like a clean solution. If anyone also wants one of these panels, please DM me. I only need one, so I will be selling the other if they are indeed exactly the same on both sides.

I am located in Northern CO, but certainly willing to ship if need be.

PM sent, hopefully it’ll fit my gladiator canopy. Also in CO
 

rino

Supporting Sponsor - OK4WD
I am making an assumption, but I believe the Goose Gear blank electrical panel, which they sell as a pair for $99, are the same size on both sides of the camper. Please correct me if I am wrong.

I will be doing my electrical myself once the camper is dropped on next week, but I did grab these as well to do my electrical because it does seem like a clean solution. If anyone also wants one of these panels, please DM me. I only need one, so I will be selling the other if they are indeed exactly the same on both sides.

I am located in Northern CO, but certainly willing to ship if need be.

Yes the only difference between LHS and RHS is the logo. Going forward they will all be "LHS" logo and a pair is installed the "RHS" will simply not have a logo.

Up until this point the boards have been blank and a builders part, we worked with GG and they now come drilled for and include mounting brackets and hardware for a smoother installation. Pricing will increase as the mounting bits cost nearly as much as a single board, but the ease of install cannot be beat.

-Rin

IMG_5988.jpg

626737989.jpg
 

rino

Supporting Sponsor - OK4WD
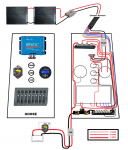
On the note of the Goose gear power boards, we have two "standardized" builds we do here at the shop. The first is a "basic" fuse block and solar controller, just enough to get the camper up and working. Below is the diagram and parts list we created to build this system.

1607121395755.png

Canopy Camper Recommended Electrical Bits

1607121415447.png


Electrical Components:


  • Blue Sea Circuit Breaker (P/N 7044)
  • Power Trays For Circuit Breaker Above
  • Blue Sea Fuse Block (P/N 5025)
  • Victron Solar Controller (100/30)
  • 25’ 6 AWG Wire (B+R)
  • 2’ 10 AWG Wire (B+R)
  • 16-14 #8 Ring Terminals (Qty: 6)
  • 12-10 #10 Ring Terminals (Qty: 2)
  • 6 AWG – 3/8” Ring Terminals (Qty: 4)
  • 6 AWG – 1/4” Ring Terminals (Qty: 2)
1607121430229.png


Solar Components (Roof):
  • Sunflare 126w 4 Pole Solar Panel
  • Sunflare 126w 2 Pole Solar Panel
  • Sunflare 1’ MC4 Jumper Harness
  • Sunflare 5’ MC4 Wire Harness
  • Anderson SB50 Connector (Qty: 1)
  • Anderson SB50 10awg Pins (Qty:2)

The second system has a switch panel which the biggest feature IMO is being able to turn off / on all lights at once. Also key if you plan to add a water pump or the fire place to control the fan. Here is what that system looks like.

1607121642085.png

Switched Canopy Camper Recommended Electrical Bits

1607121705372.png

Camper Electrical Components:

  • Blue Sea Circuit Breaker (P/N 7044)
  • Blue Sea Circuit Breaker (P/N 7036)
  • Blue Sea Mini Bus Bar (P/N 2315)
  • Blue Sea Common Bus Bar (P/N 2300)
  • Blue Sea 12v Dash Socket (P/N 1011)
  • Blue Sea USB Charger (P/N 1016)
  • Blue Sea Temp Monitor (P/N 1741)
  • Blue Sea Deck Panel (P/N 4378)

  • Victron Smart Solar MPPT 100/30
  • Victron BMV-700 Battery Monitor

  • 25’ 6 AWG Wire (Black + Red)
  • 10’ 10 AWG Wire (Black + Red)
  • 6 AWG – 3/8” Ring Terminals (Qty: 6)
  • 6 AWG – 1/4” Ring Terminals (Qty: 2)
  • 16-14 #8 Ring Terminals (Qty: 5)
  • 10 AWG – 3/8” Ring Terminals (Qty: 6)
  • 12-10 Flag Spade Connecters (Qty: 25)
  • 16-14 Flag Spade Connecters (Qty: 25)
  • 22-18 Flag Spade Connecters (Qty: 25)
  • 5’ 3/4” Shrink Wrap
  • 5’ 3/8” Shrink Wrap
  • Zip Ties (Qty: 50)
  • Anderson SB50 Connector (Qty: 2)
  • Anderson SB50 10 AWG Pins (Qty:2)
  • Anderson SB50 6 AWG Pins (Qty:2)
Solar Components (Roof):

  • Sunflare 126w 4 Pole Solar Panel
  • Sunflare 126w 2 Pole Solar Panel
  • Sunflare 1’ MC4 Jumper Harness
  • Sunflare 5’ MC4 Wire Harness
  • Anderson SB50 Connector (Qty: 1)
  • Anderson SB50 10awg Pins (Qty:2)

These are just basic guidelines for our sales people / installers to follow and obviously half the fun is giving your Canopy Camper your own twist, so hope this helps as a baseline and LMK if you have any Q's.

-Rin
 

wackyhacky76CO

Active member
On the note of the Goose gear power boards, we have two "standardized" builds we do here at the shop. The first is a "basic" fuse block and solar controller, just enough to get the camper up and working. Below is the diagram and parts list we created to build this system.

View attachment 629119

Canopy Camper Recommended Electrical Bits

View attachment 629120


Electrical Components:


  • Blue Sea Circuit Breaker (P/N 7044)
  • Power Trays For Circuit Breaker Above
  • Blue Sea Fuse Block (P/N 5025)
  • Victron Solar Controller (100/30)
  • 25’ 6 AWG Wire (B+R)
  • 2’ 10 AWG Wire (B+R)
  • 16-14 #8 Ring Terminals (Qty: 6)
  • 12-10 #10 Ring Terminals (Qty: 2)
  • 6 AWG – 3/8” Ring Terminals (Qty: 4)
  • 6 AWG – 1/4” Ring Terminals (Qty: 2)
View attachment 629121


Solar Components (Roof):
  • Sunflare 126w 4 Pole Solar Panel
  • Sunflare 126w 2 Pole Solar Panel
  • Sunflare 1’ MC4 Jumper Harness
  • Sunflare 5’ MC4 Wire Harness
  • Anderson SB50 Connector (Qty: 1)
  • Anderson SB50 10awg Pins (Qty:2)

The second system has a switch panel which the biggest feature IMO is being able to turn off / on all lights at once. Also key if you plan to add a water pump or the fire place to control the fan. Here is what that system looks like.

View attachment 629122

Switched Canopy Camper Recommended Electrical Bits

View attachment 629123

Camper Electrical Components:

  • Blue Sea Circuit Breaker (P/N 7044)
  • Blue Sea Circuit Breaker (P/N 7036)
  • Blue Sea Mini Bus Bar (P/N 2315)
  • Blue Sea Common Bus Bar (P/N 2300)
  • Blue Sea 12v Dash Socket (P/N 1011)
  • Blue Sea USB Charger (P/N 1016)
  • Blue Sea Temp Monitor (P/N 1741)
  • Blue Sea Deck Panel (P/N 4378)

  • Victron Smart Solar MPPT 100/30
  • Victron BMV-700 Battery Monitor

  • 25’ 6 AWG Wire (Black + Red)
  • 10’ 10 AWG Wire (Black + Red)
  • 6 AWG – 3/8” Ring Terminals (Qty: 6)
  • 6 AWG – 1/4” Ring Terminals (Qty: 2)
  • 16-14 #8 Ring Terminals (Qty: 5)
  • 10 AWG – 3/8” Ring Terminals (Qty: 6)
  • 12-10 Flag Spade Connecters (Qty: 25)
  • 16-14 Flag Spade Connecters (Qty: 25)
  • 22-18 Flag Spade Connecters (Qty: 25)
  • 5’ 3/4” Shrink Wrap
  • 5’ 3/8” Shrink Wrap
  • Zip Ties (Qty: 50)
  • Anderson SB50 Connector (Qty: 2)
  • Anderson SB50 10 AWG Pins (Qty:2)
  • Anderson SB50 6 AWG Pins (Qty:2)
Solar Components (Roof):

  • Sunflare 126w 4 Pole Solar Panel
  • Sunflare 126w 2 Pole Solar Panel
  • Sunflare 1’ MC4 Jumper Harness
  • Sunflare 5’ MC4 Wire Harness
  • Anderson SB50 Connector (Qty: 1)
  • Anderson SB50 10awg Pins (Qty:2)

These are just basic guidelines for our sales people / installers to follow and obviously half the fun is giving your Canopy Camper your own twist, so hope this helps as a baseline and LMK if you have any Q's.

-Rin

Thanks Rin. All great information. I am probably going to miss out on the new Mtg Hdw, b/c my dealer has them already, but it shouldn't be two hard to figure out.
 

jimdisc

Member
Picked up my truck today from OK4WD. The Canopy Camper is terrific and the install (including water tank, fireplace, solar, awning, suspension, and tons of other bits) came together flawlessly. A giant shout out to Rin and Chuck at OK4WD for putting up with all my questions and helping me sort out the details. They are a great crew. Excited to get started on the interior benches, table, etc...

IMG_0788.jpg
 

Attachments

  • IMG_0788.jpg
    IMG_0788.jpg
    822.3 KB · Views: 26

seekoutbeauty

Active member
What custom work did you need to do?


My fab guy welded some slugs in between the square tube of the door. He then ran some large grade 10 bolts through and made a mounting plate for the tire that was slightly offset towards the tube of the latch.
The truck has already left the ground a few times and been through some whoops without issue. The thing is solid.
 

Forum statistics

Threads
188,045
Messages
2,901,572
Members
229,411
Latest member
IvaBru
Top