Introducing the Van-That-Can- 2000 E350 V10 EB Passenger Van

desertspeed

Adventurer
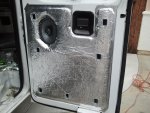
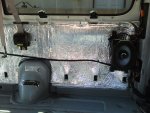
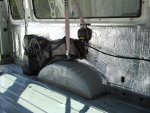
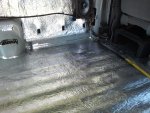
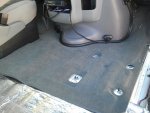
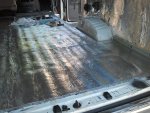
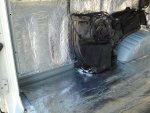
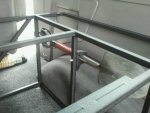
I got a lot more of the interior finished up and put back together this weekend- I am done with the Quiet Ride install except for the rear doors and trimming the holes for the seat mounts.

I am going to leave my opinions of the Quiet Ride kit until I drive it, but I will say that the installation process for a passenger version is very time consuming- I think that a cargo van would go much more quickly. Trimming all of the holes for mounting the interior panels was a huge pain in the *****. I am hoping that all of the work is worth it- I have about 3 full days into it.

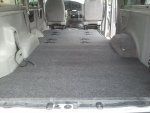
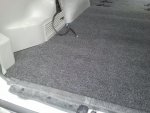
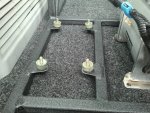
I did pick up a new front carpet to replace my old vinyl floor, and a VanRug to go in the back. I laid out the VanRug to test fit it, and I have to say I am very impressed with the fit and quality- the only thing I had to do was trim around the rear A/C- other than that it fits perfectly.
 

Attachments

  • 2013-03-30 08.07.46.jpg
    2013-03-30 08.07.46.jpg
    560.2 KB · Views: 47
  • 2013-03-30 14.31.56.jpg
    2013-03-30 14.31.56.jpg
    572.3 KB · Views: 47
  • 2013-03-30 14.32.17.jpg
    2013-03-30 14.32.17.jpg
    559.9 KB · Views: 50
  • 2013-03-30 15.17.54.jpg
    2013-03-30 15.17.54.jpg
    589.4 KB · Views: 50
  • 2013-03-30 16.34.51.jpg
    2013-03-30 16.34.51.jpg
    542.8 KB · Views: 49
  • 2013-03-30 16.35.09.jpg
    2013-03-30 16.35.09.jpg
    587.4 KB · Views: 48
  • 2013-03-30 16.35.20.jpg
    2013-03-30 16.35.20.jpg
    561.2 KB · Views: 47
desertspeed

Adventurer
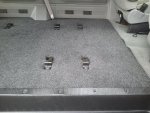
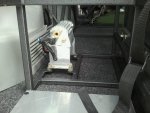
I got the seat mounts done and the VanRug installed today.... huge improvement over the old floor.
 

Attachments

  • 2013-04-01 10.47.10.jpg
    2013-04-01 10.47.10.jpg
    584.7 KB · Views: 42
  • 2013-04-01 10.48.03.jpg
    2013-04-01 10.48.03.jpg
    554.7 KB · Views: 49
  • 2013-04-01 10.48.17.jpg
    2013-04-01 10.48.17.jpg
    585.4 KB · Views: 43

desertspeed

Adventurer
Just goes to show you never know what you are going to find when you buy a used vehicle.......

I have noticed a loud "clunking" sound from the rear of the van whenever going over sharp bumps since I bought it- originally I thought it was my storage platform making noise before it was totally bolted down, and then I thought it might be the rear A/C hitting the side of the van.

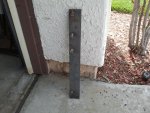
That is until today.... while putting my headliner back in, I heard a weird sound coming from the panel above the rear doors. After playing around with it for a while tying to figure out what it was and how it got there, I got smart and pulled the thrid brake light off the back of the roof.....

And pulled this out:

2013-04-01 11.55.24.jpg

It was left over from the hydraulic lift that was in the van when I bought it. Hard to see in the pic, but is is a 10-12" long piece of 1/4" steel with some blind nuts welded to it. It must weigh 2-3lbs, and was just clanging around inside the body every time I hit a bump. If the Quiet Ride kit doesn't make things better, at least removing this will :sombrero:
 

hobietony

Explorer
View attachment 153076

It was left over from the hydraulic lift that was in the van when I bought it. Hard to see in the pic, but is is a 10-12" long piece of 1/4" steel with some blind nuts welded to it. It must weigh 2-3lbs, and was just clanging around inside the body every time I hit a bump. If the Quiet Ride kit doesn't make things better, at least removing this will :sombrero:

Equal measures of "Ah-ha!" and "******?"
 

desertspeed

Adventurer
I was able to drive around the van a little yesterday, including a short trip on the freeway, and the reduction in road and engine noise is huge. I could easily hear my kids in the second row seat without them having to yell, and I could keep the stereo volume at a much lower level and still hear it clearly. Instead of a big jumble of rattles, echos, squeeks, humming, etc, I can clearly hear a couple of small rattles from individual trim pieces, which I will track down and fix.

The installation of the QuietRide kit was a lot of work, but I think it was worth it. As stated earlier, a cargo version would be way easier, and I think make an even bigger difference as I am still getting some road noise from the windows.

I can't recommend the VanRug enough- great quality, perfect fit, and it is thick enough that you could easily sleep on it without any addtional padding. The only downside it that because of the thickness, it makes putting on some of the trim pieces difficult- I am hoping over time that it will compress in those areas.

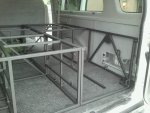
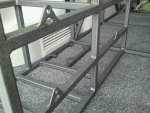
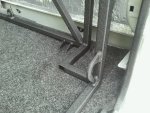
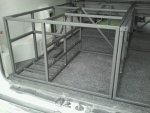
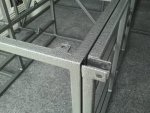
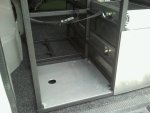
I aslo finished up a couple of small things on my storage platform and dropped it off for powdercoating- hopefully I will get it installed this weekend and post some pics- I ended up having 2 aluminum drawers made for my tools/spares/recovery stuff and I am pretty happy with how it turned out.

Once that is in I will be pretty much done with everything I wanted to do for the interior- I plan to finish up the 4WD conversion this summer.
 

bknudtsen

Expedition Leader
Good info, thx.

I shaved some of the foam off the back so that the side door footwell trim fit better.
 

desertspeed

Adventurer
My wife and kids never liked the name "Van-That-Can", and came up with this....

uploadfromtaptalk1365277612619.jpg

I got everything back from powdercoating yesterday and started putting it all back together.

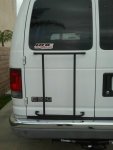
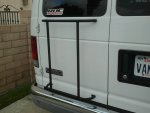
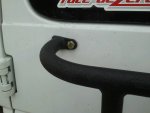
First is a rack I made for one of my xmas presents, a Trasharoo. Not having any bed to throw trash into while camping, a Trasharoo was a perfect solution. However, I don't plan on having my spare tire mounted on a rear rack, so I built this out of some 3/4" tubing I had laying around. I will probable figure out some way to mount bikes to it as well.

uploadfromtaptalk1365277598200.jpg

uploadfromtaptalk1365277560210.jpg

uploadfromtaptalk1365277580612.jpg


My single DIN stereo kept breaking the mounting kit since it wasn't supported very well- a double DIN fits much better. I also mounted my ScanGuage.
uploadfromtaptalk1365277628880.jpg
 
Last edited:

desertspeed

Adventurer
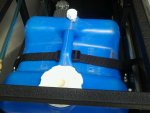
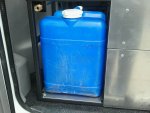
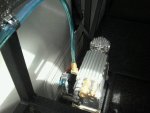
Mounting and plumbing my air compressor, remote connector, and water container. The hole in the aluminum plate is for accessing one of the mounting bolts.

uploadfromtaptalk1365278018222.jpg

uploadfromtaptalk1365277906681.jpg

uploadfromtaptalk1365277893641.jpg

A/C compressor is mounted on rubber isolating spacers to keep the noise down.

uploadfromtaptalk1365277837061.jpg

uploadfromtaptalk1365277849672.jpg

uploadfromtaptalk1365277862073.jpg

uploadfromtaptalk1365277875872.jpg
 
Last edited:

desertspeed

Adventurer
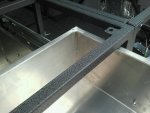
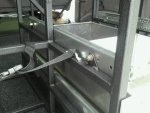
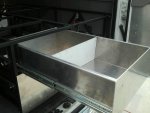
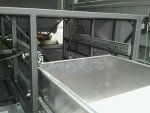
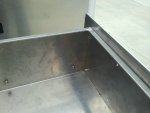
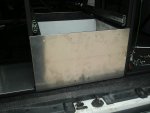
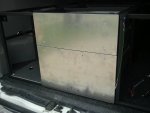
These are the 2 storage draws I had built, on 250lb Accuride slides. During my last long Baja trip I realized that pulling a very heavy Action Packer loaded with all of my tools and spares/fluids in and out of the back every time I needed anything was a huge PITA. This was one of the main changes I wanted to make, and luckily I live about a mile away from one of the best aluminum fabricators in the country, www.crbalumifab.com

Curt has done all of the aluminum work on my prerunner, so I had him build 2 drawers for my tools, etc. They are built really strong, since I will have heavy tool bags bouncing around in them. They turned out amazing.

I still have not figured out a latching system yet, and the partitions in the drawers are not welded yet until I figure out how I am going to organize them.

uploadfromtaptalk1365278088352.jpg

uploadfromtaptalk1365278036874.jpg

uploadfromtaptalk1365278055472.jpg

uploadfromtaptalk1365277987861.jpg

uploadfromtaptalk1365278070952.jpg

uploadfromtaptalk1365278001671.jpg

uploadfromtaptalk1365280415099.jpg
 
Last edited:

desertspeed

Adventurer
Finally, I mounted a small shovel to the rack above the wheel well with 2 Quick Fists. It can accessed easily from the side barn doors, or from the rear.

uploadfromtaptalk1365278157044.jpg

uploadfromtaptalk1365278144812.jpg
 
Last edited:

Forum statistics

Threads
188,343
Messages
2,905,854
Members
229,959
Latest member
bdpkauai
Top