Jeaninne's 2006 Sprinter Conversion

PaulJensen

Custom Builder
P1020347.JPG

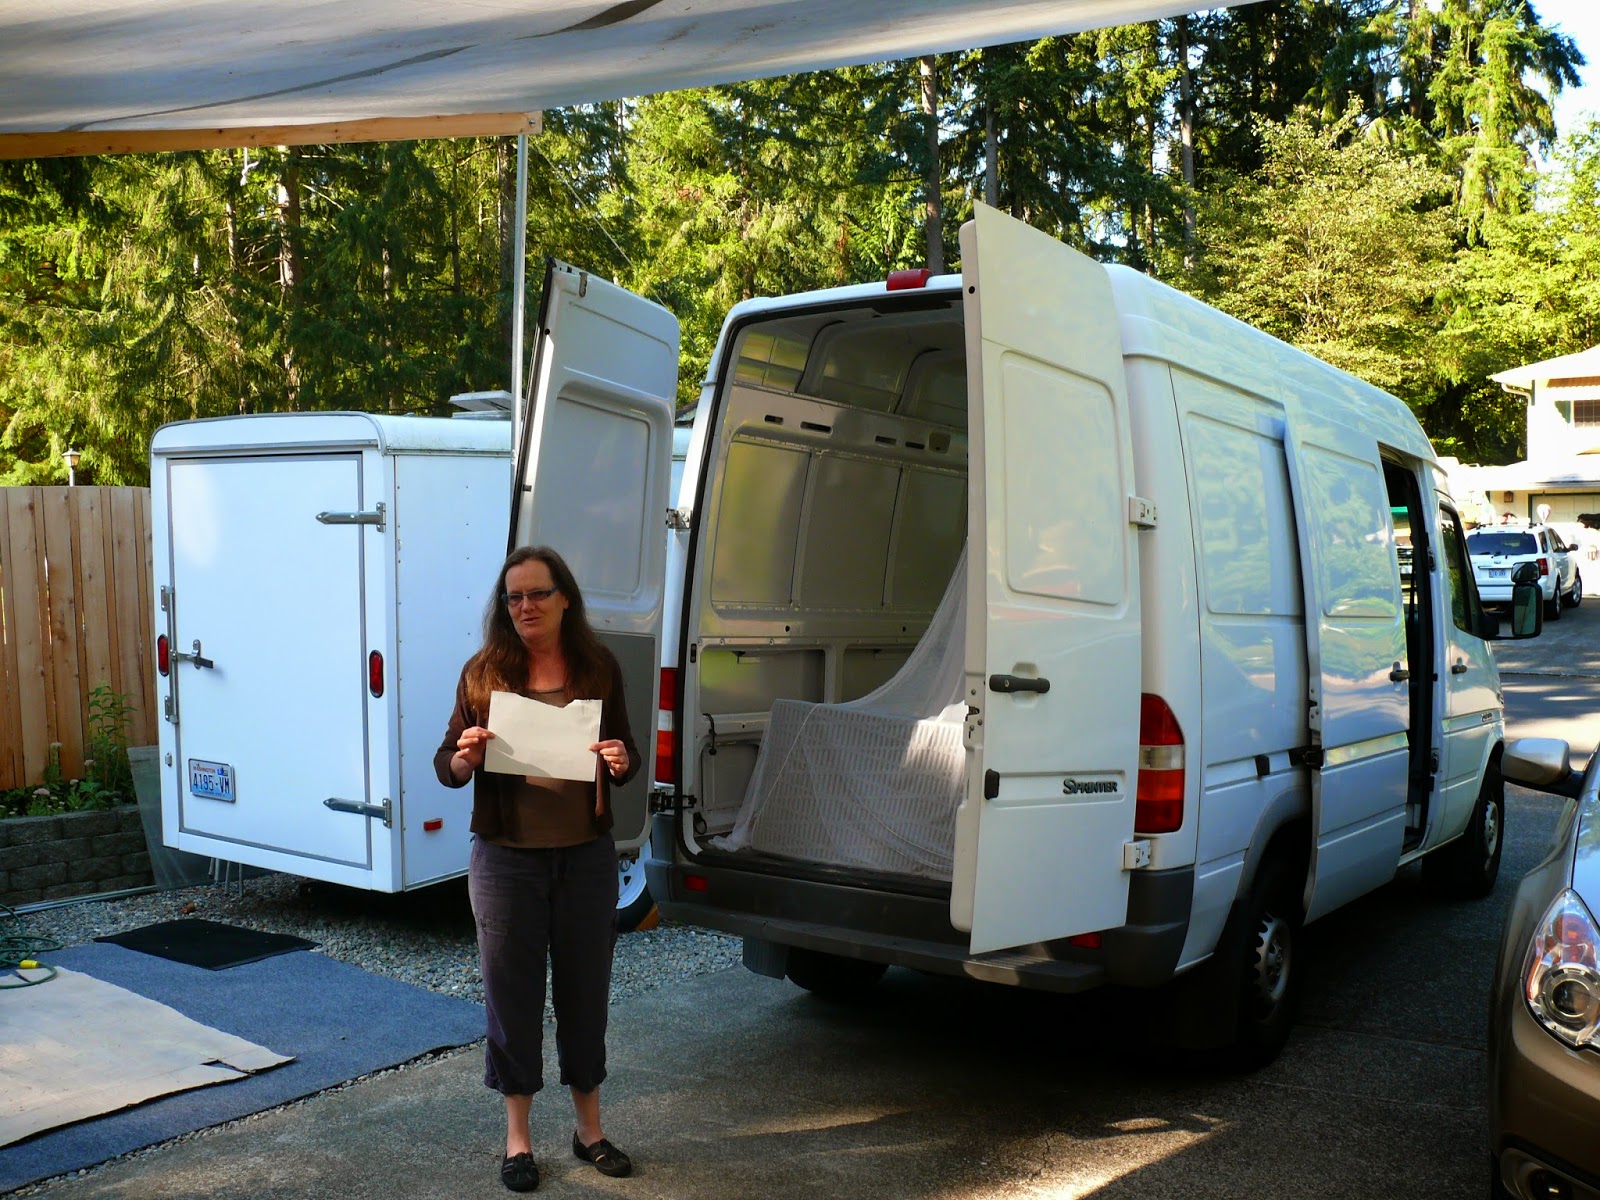
(above) Jeannine bought her Sprinter new in 2006...It is used mostly for transporting pallets of fruit and is a place to sleep while on the road...The Phase 1 conversion plan is in her hands...

P1090518.JPG

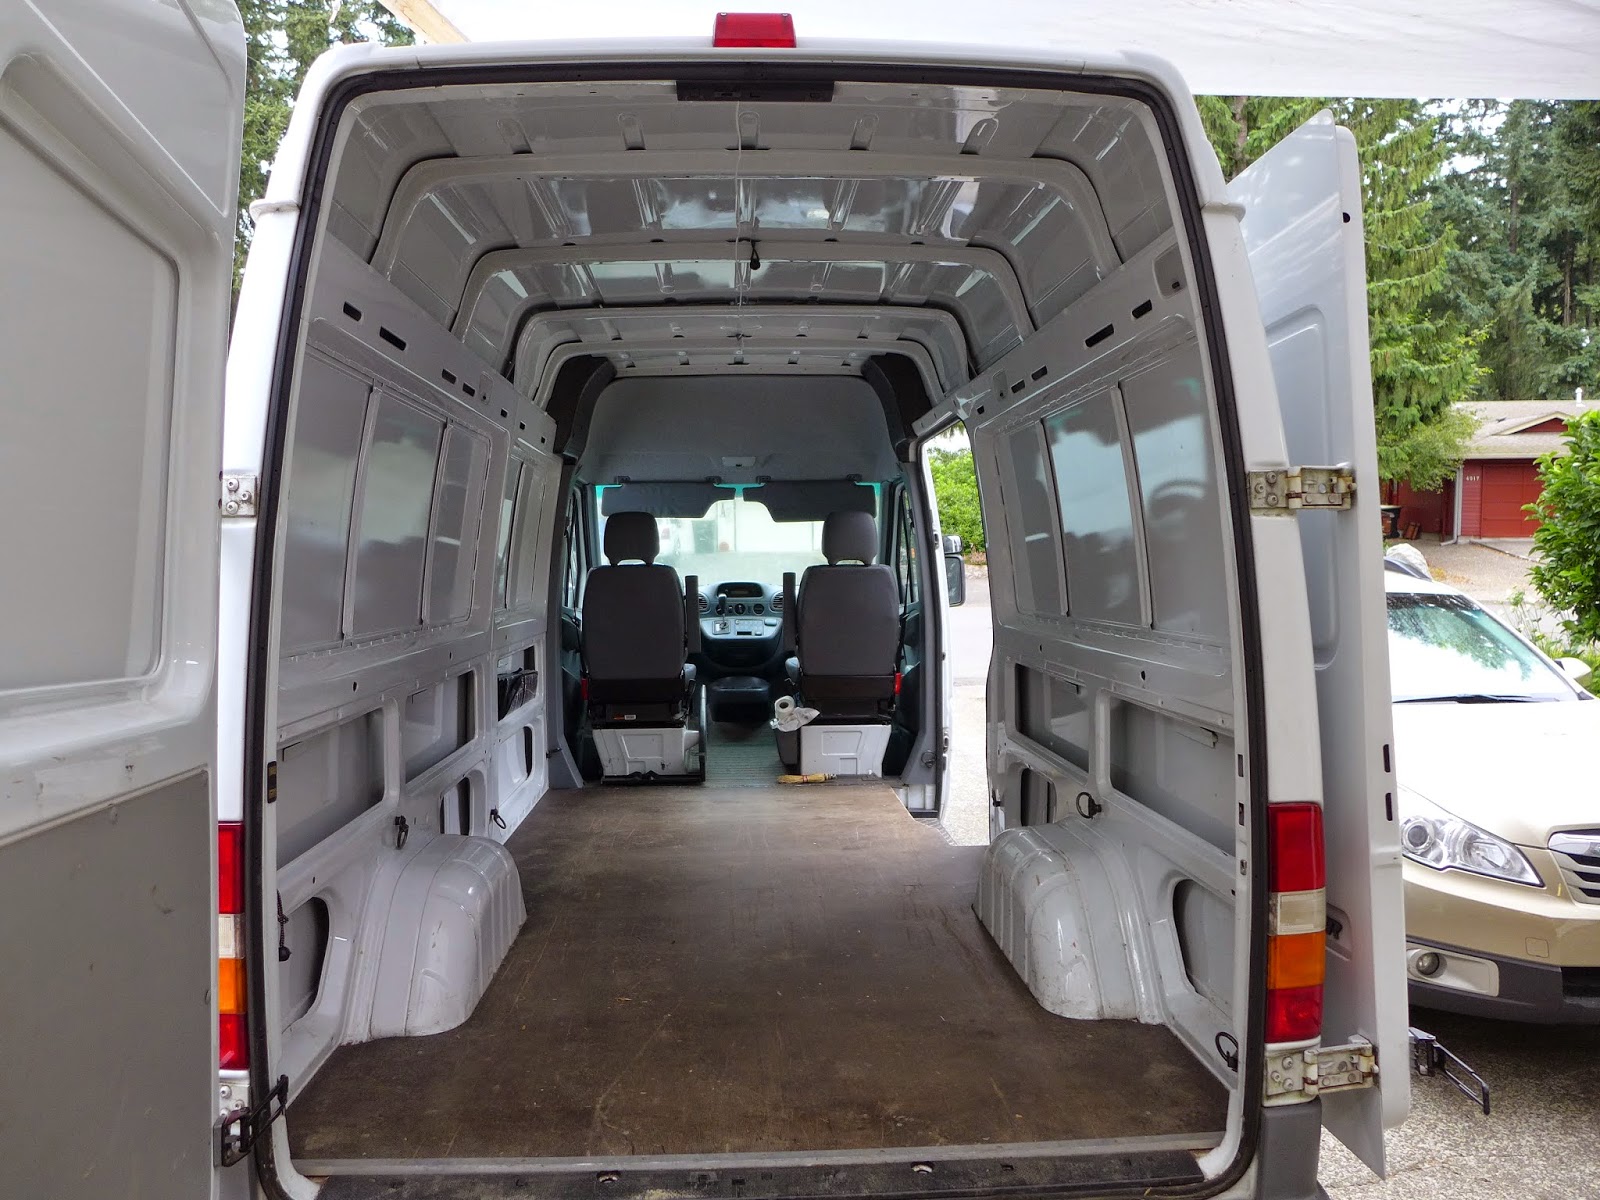
(above) Zero improvements have been made to the interior since it was new...

P1090519.JPG

(above) It's pretty clean inside...

P1090520.JPG

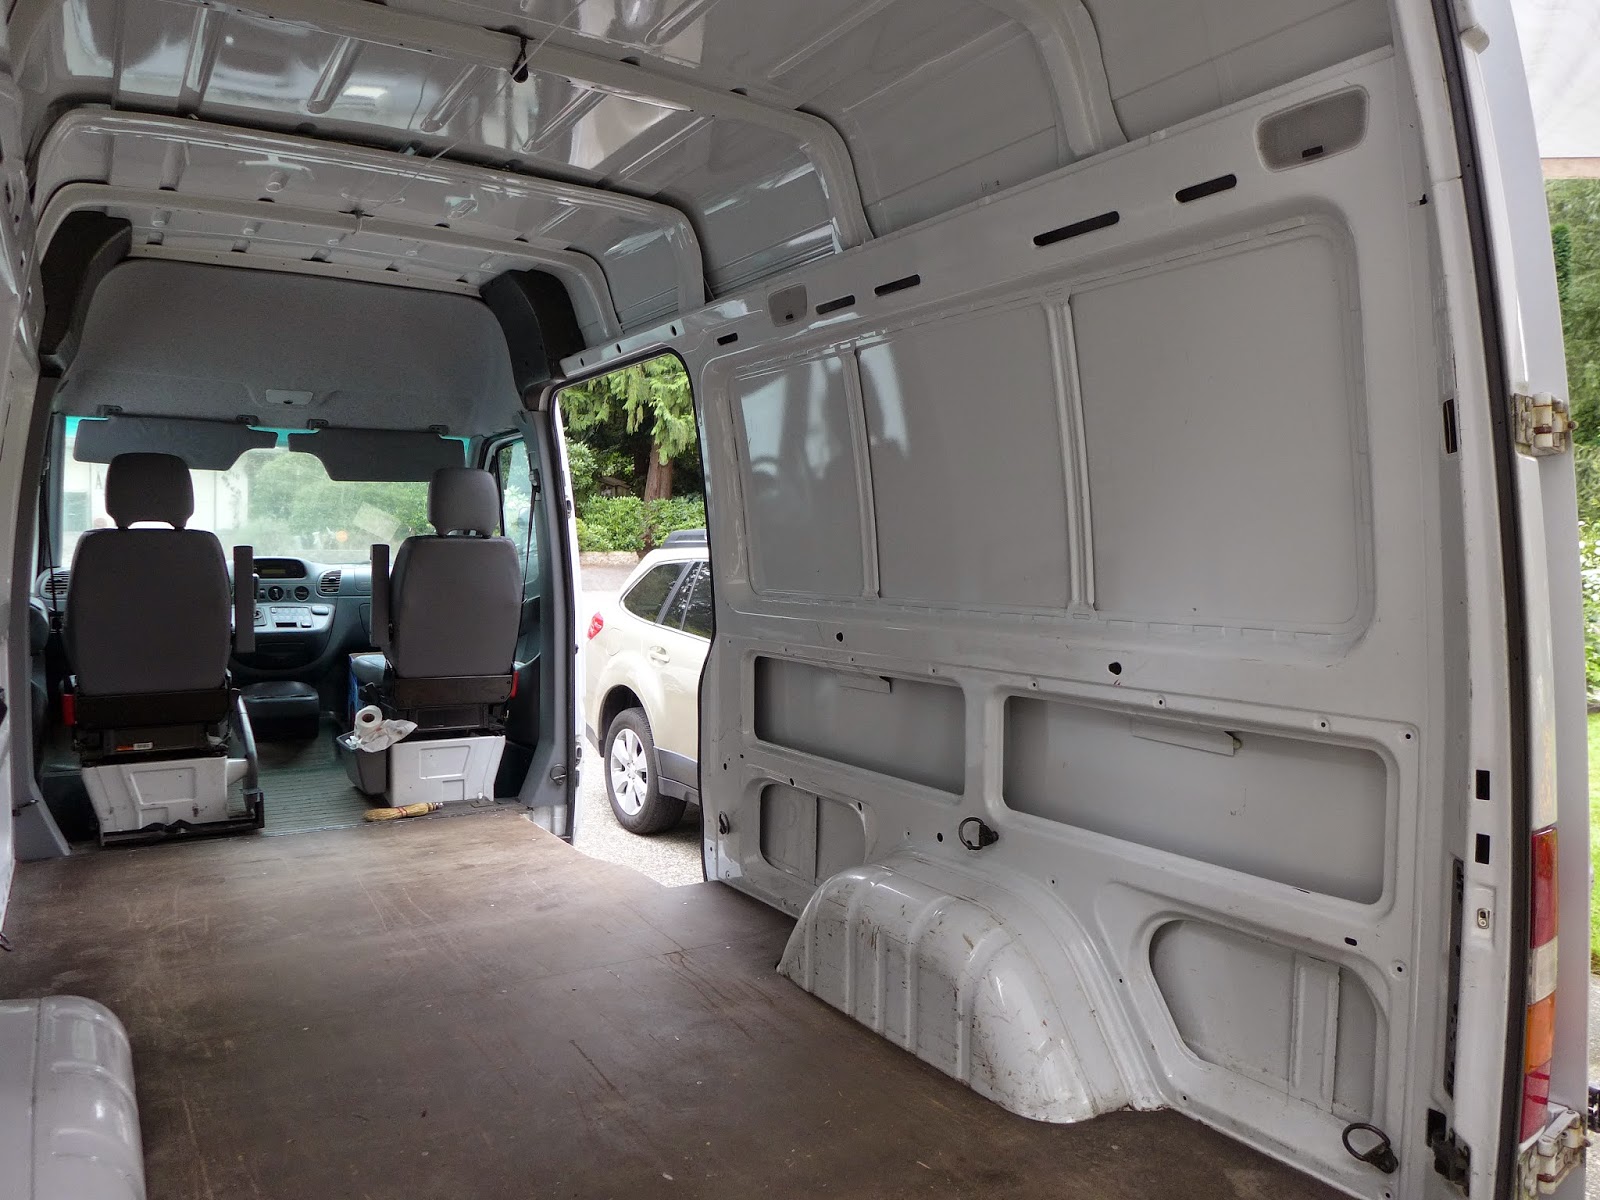
(above) Working on a one-owner vehicle is nice...They seem to care more about them that something that has changed hands a few times...

P1090521.JPG

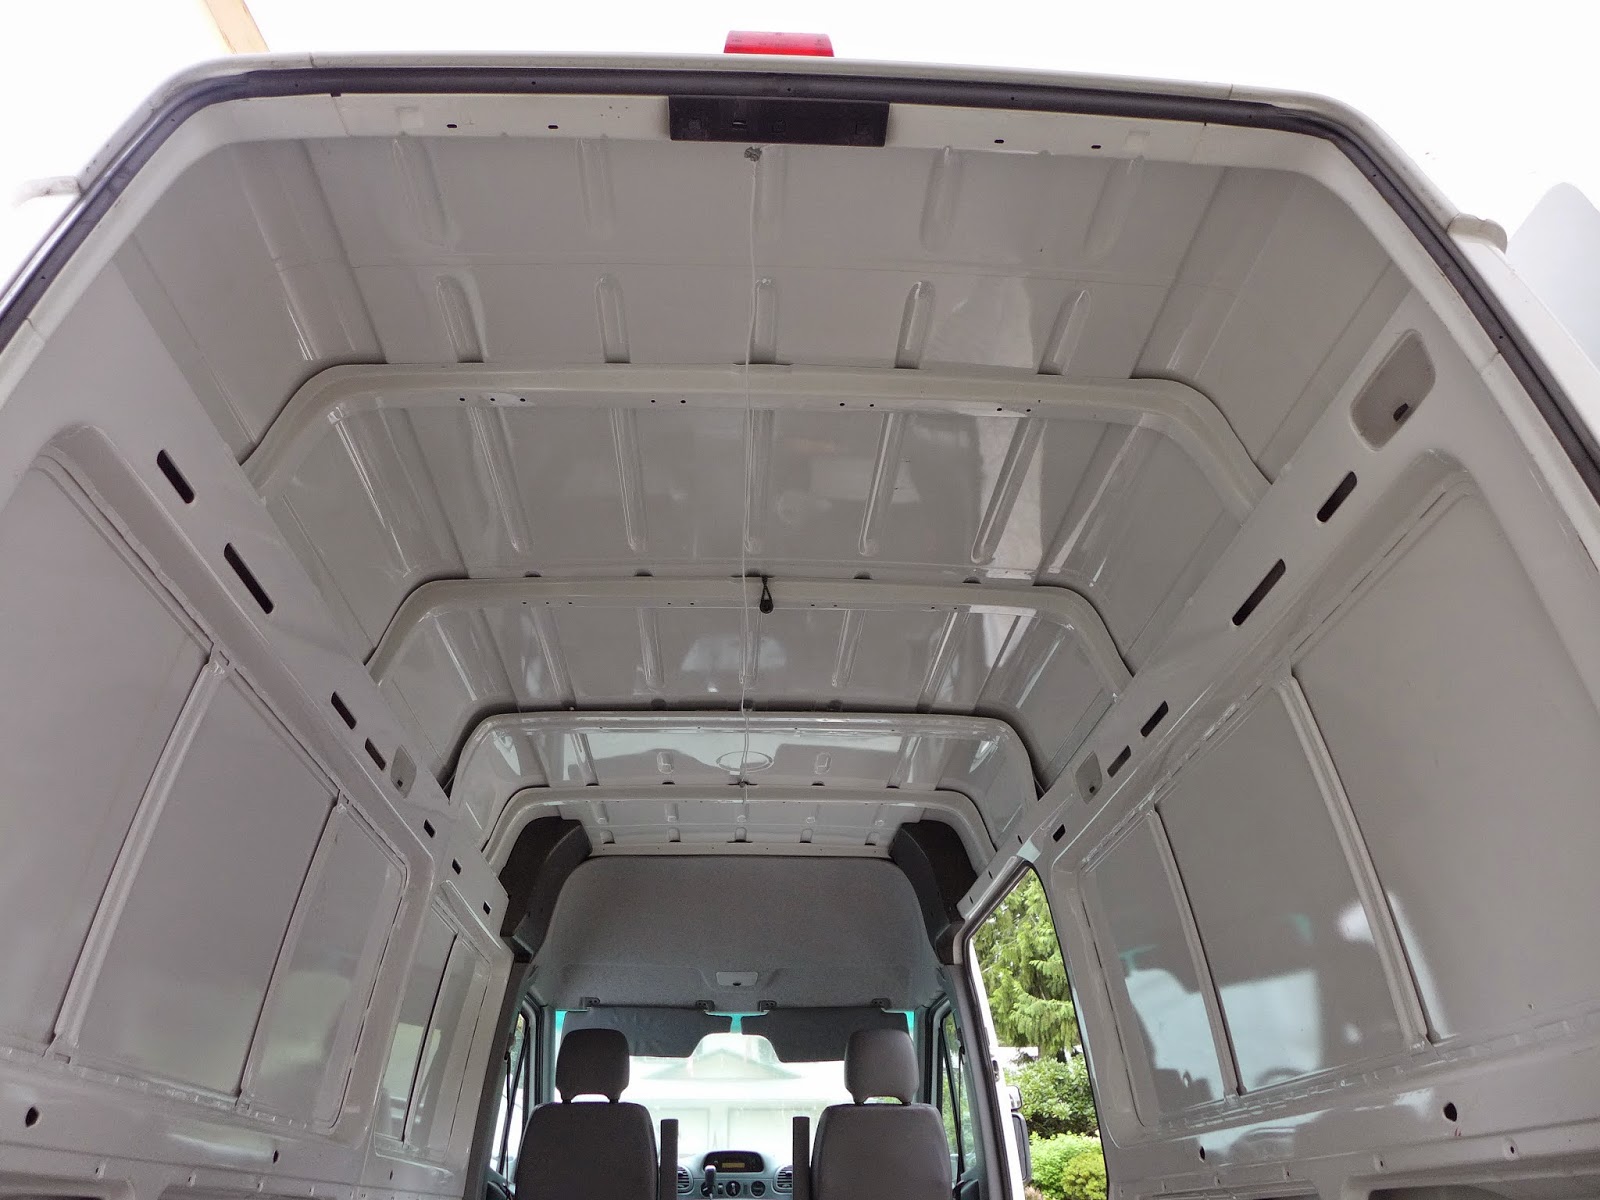
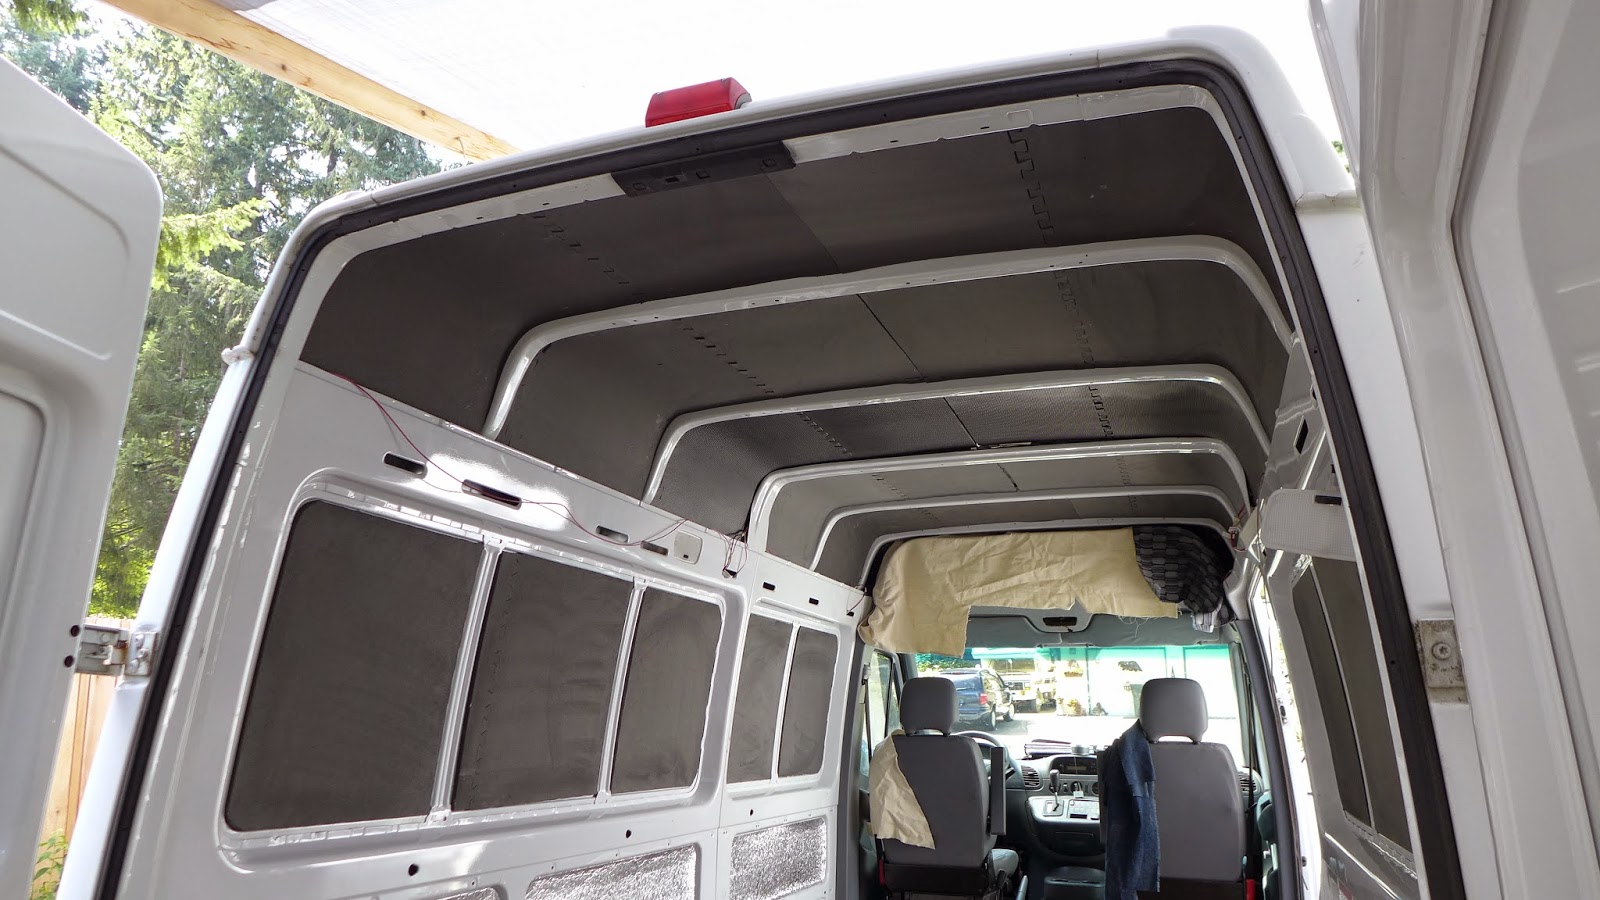
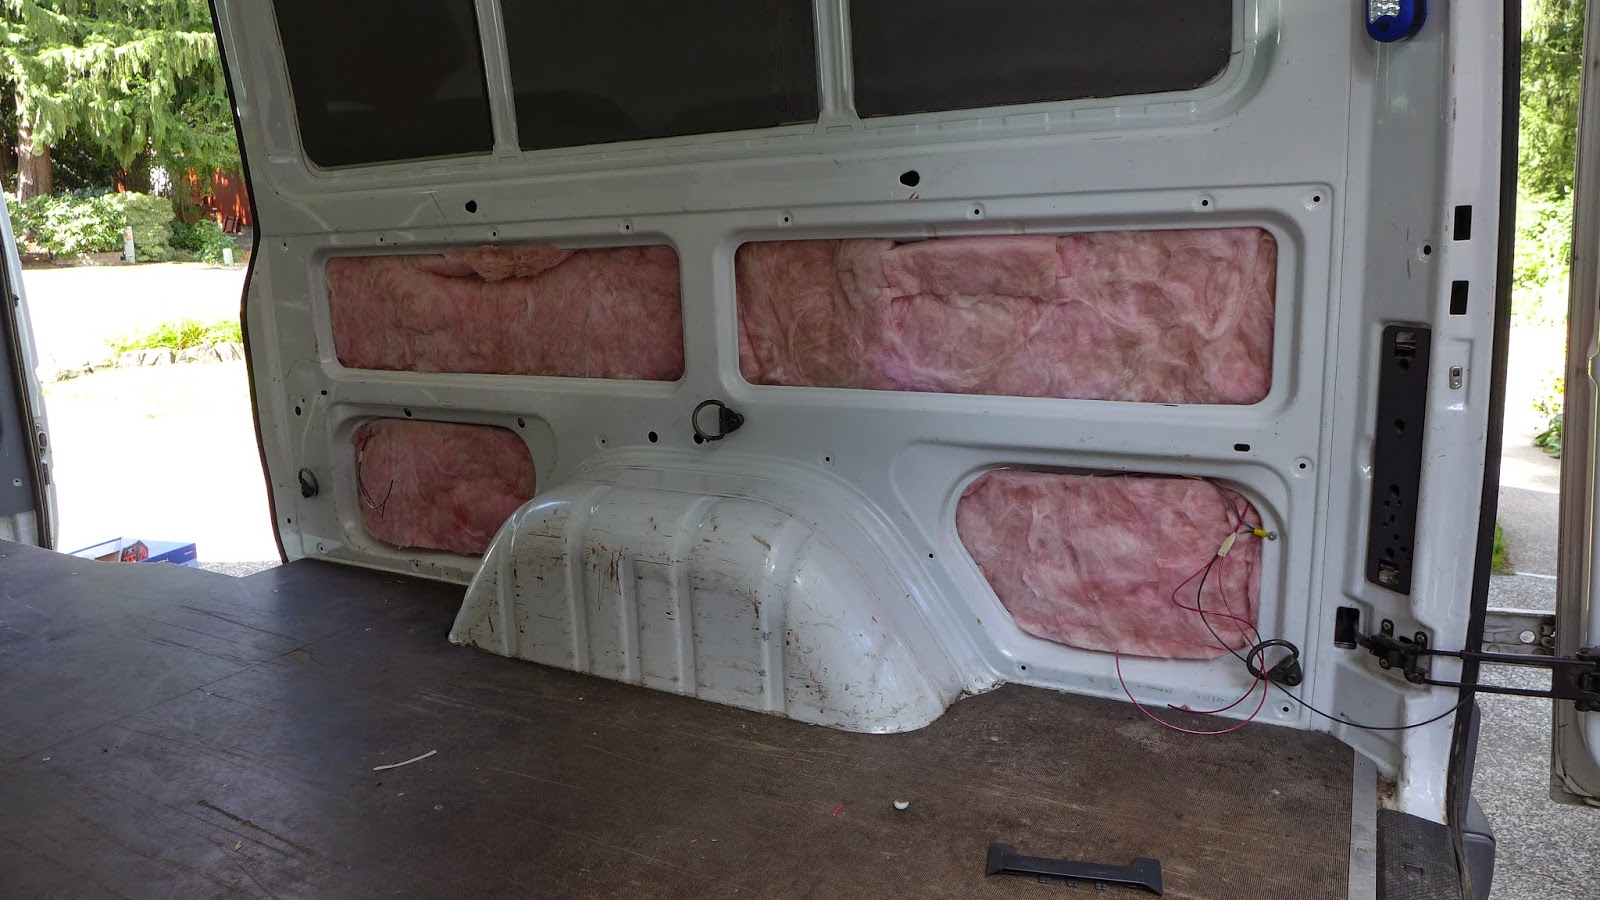
(above) Insulating the interior is a priority...

P1090522.JPG

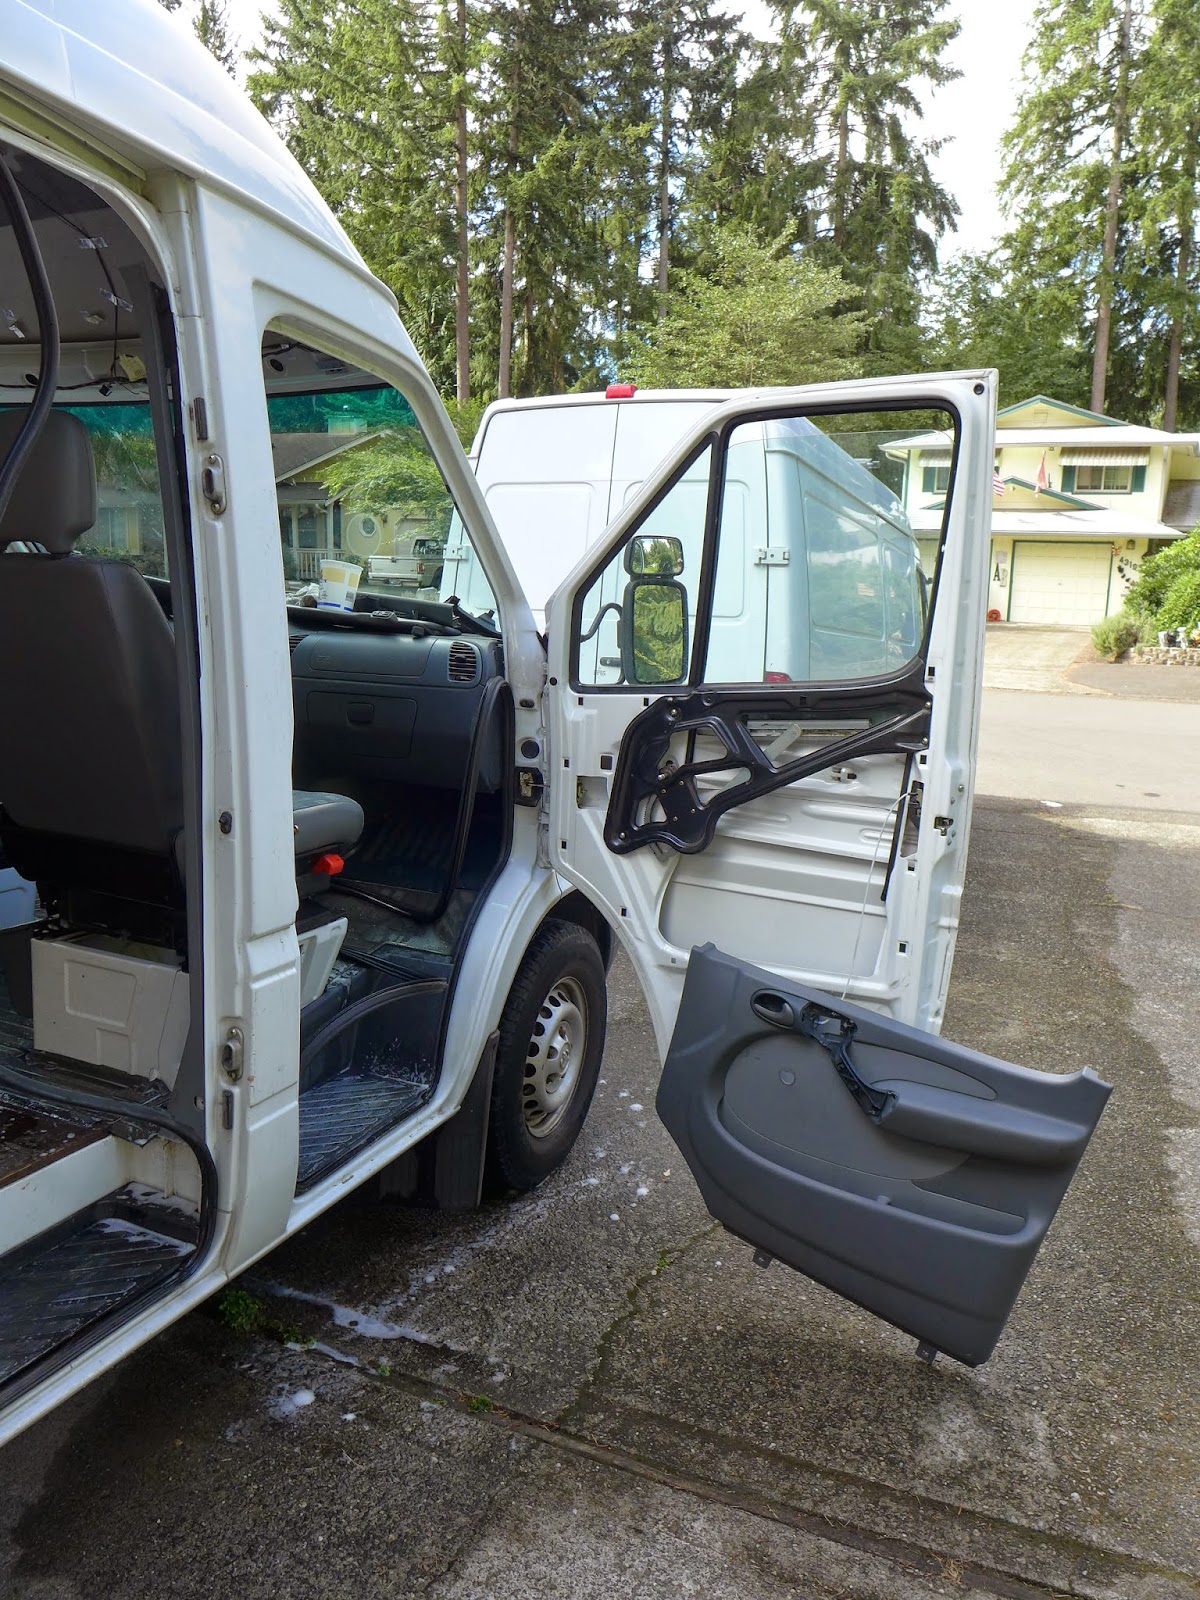
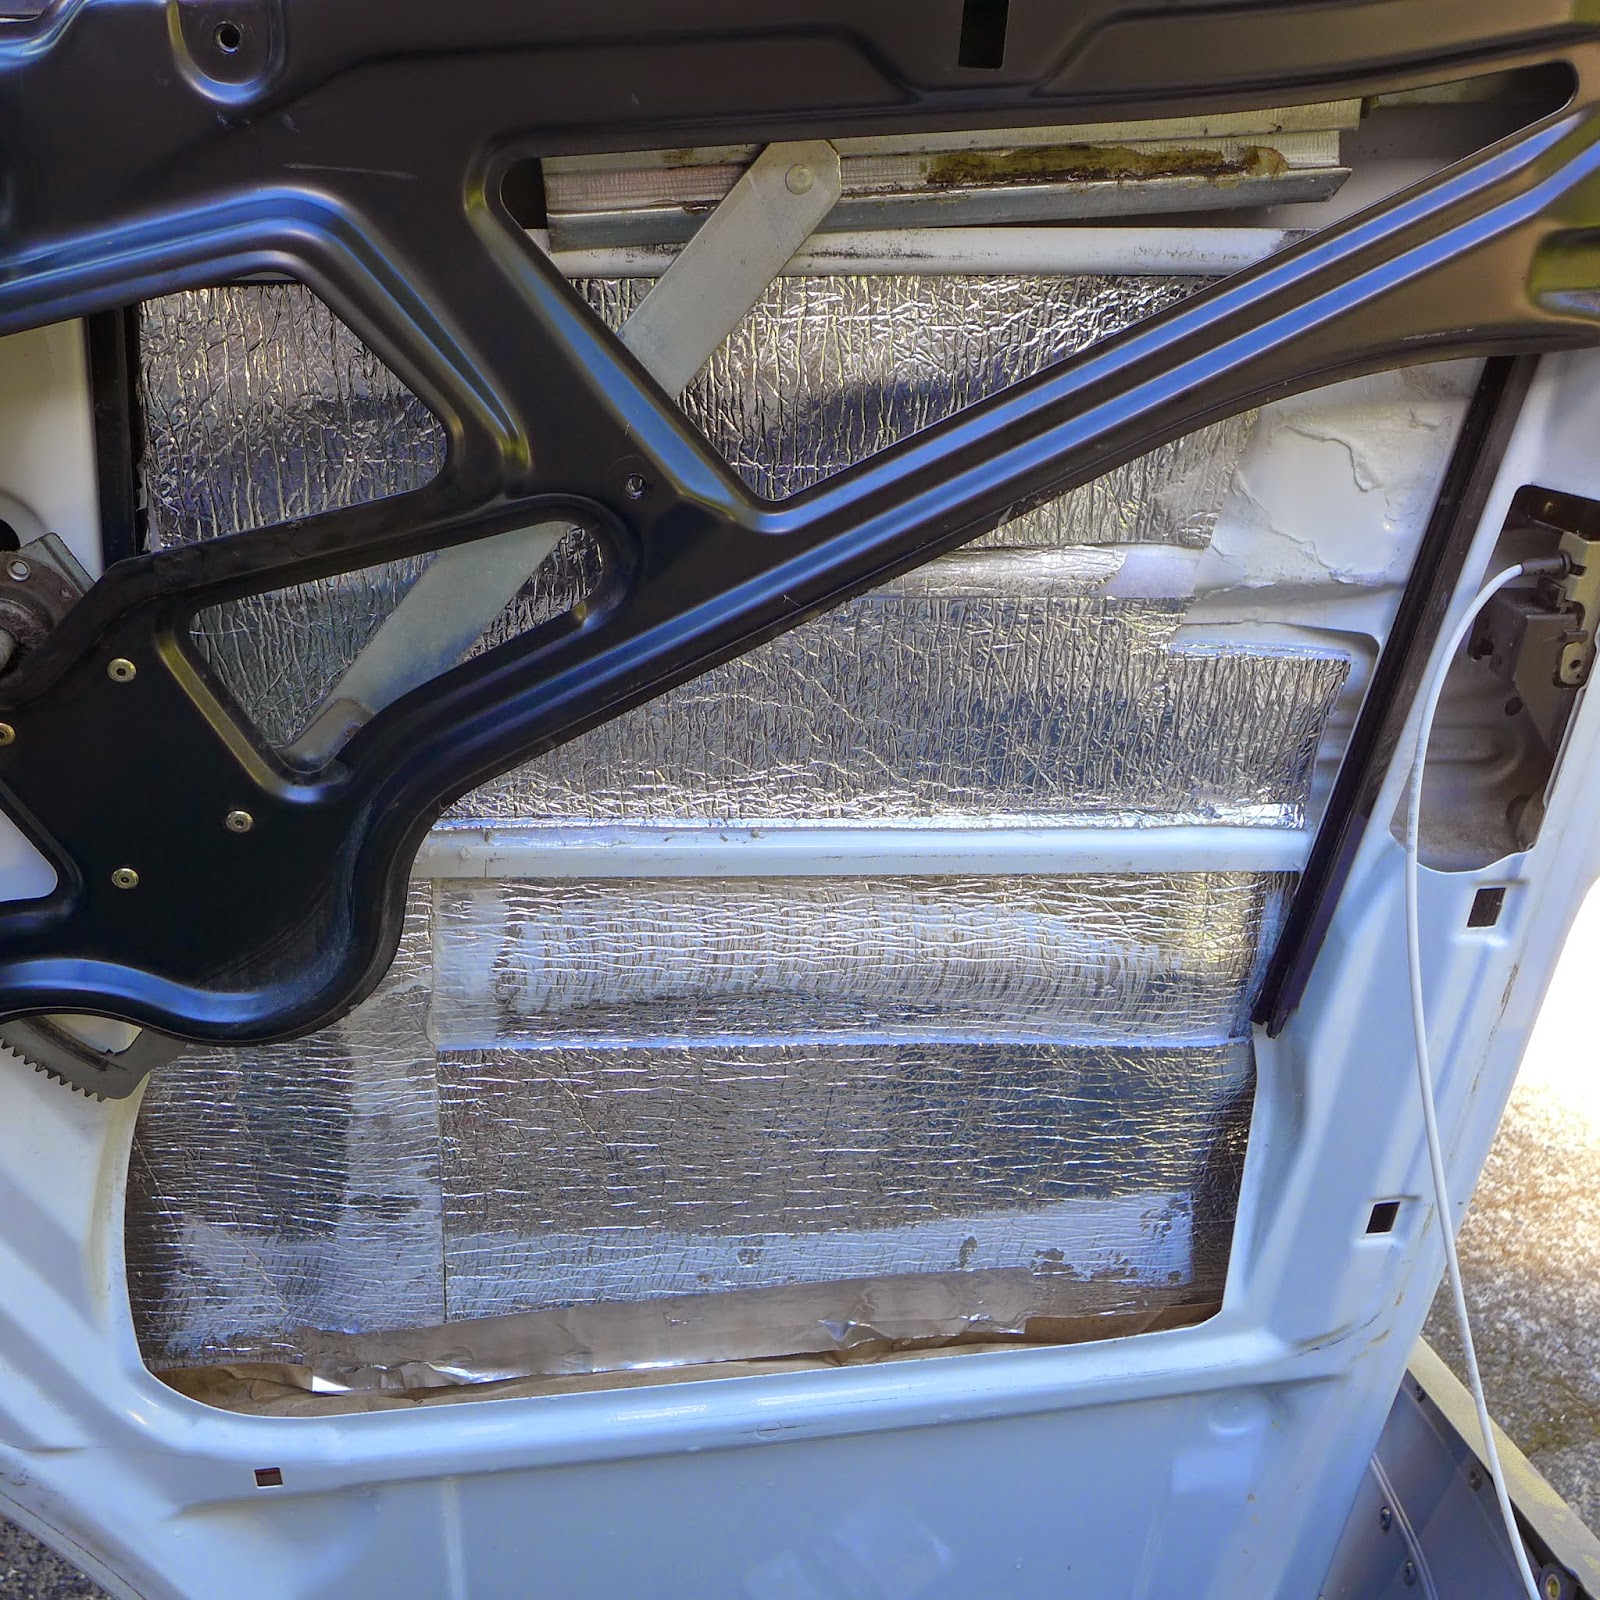
(above) Today, the insulation starts in the doors...The panels are removed and the interior of the door is washed out well and dried...I'm going to use contact cement to fasten the insulation to the steel...Glue doesn't stick to dust, so the clean and dry formula is important...

P1090523.JPG

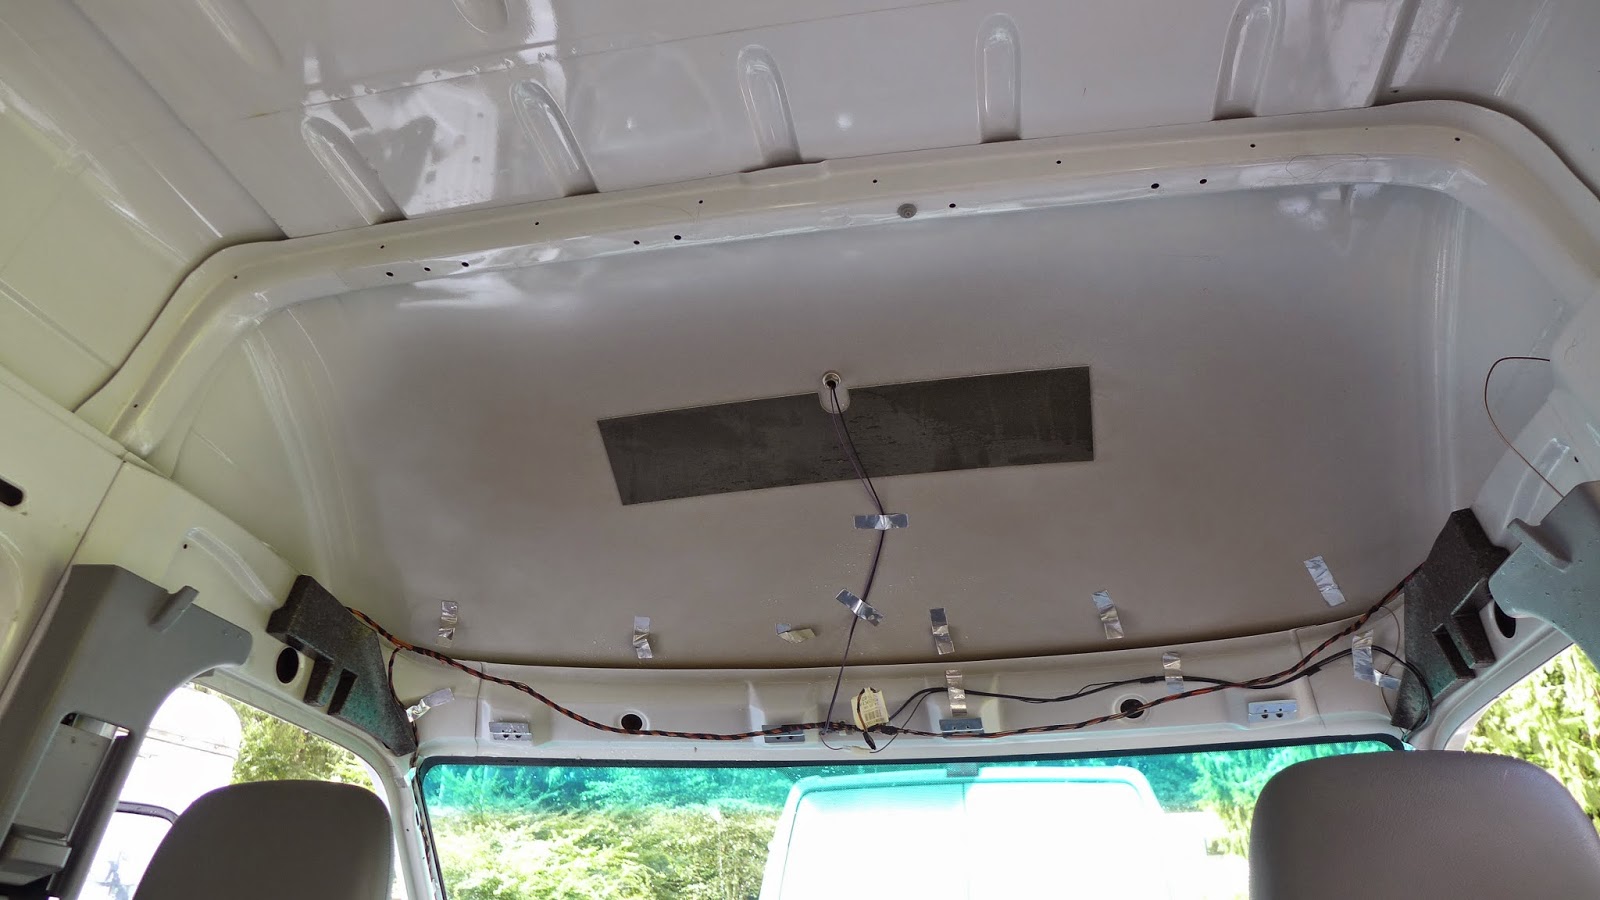
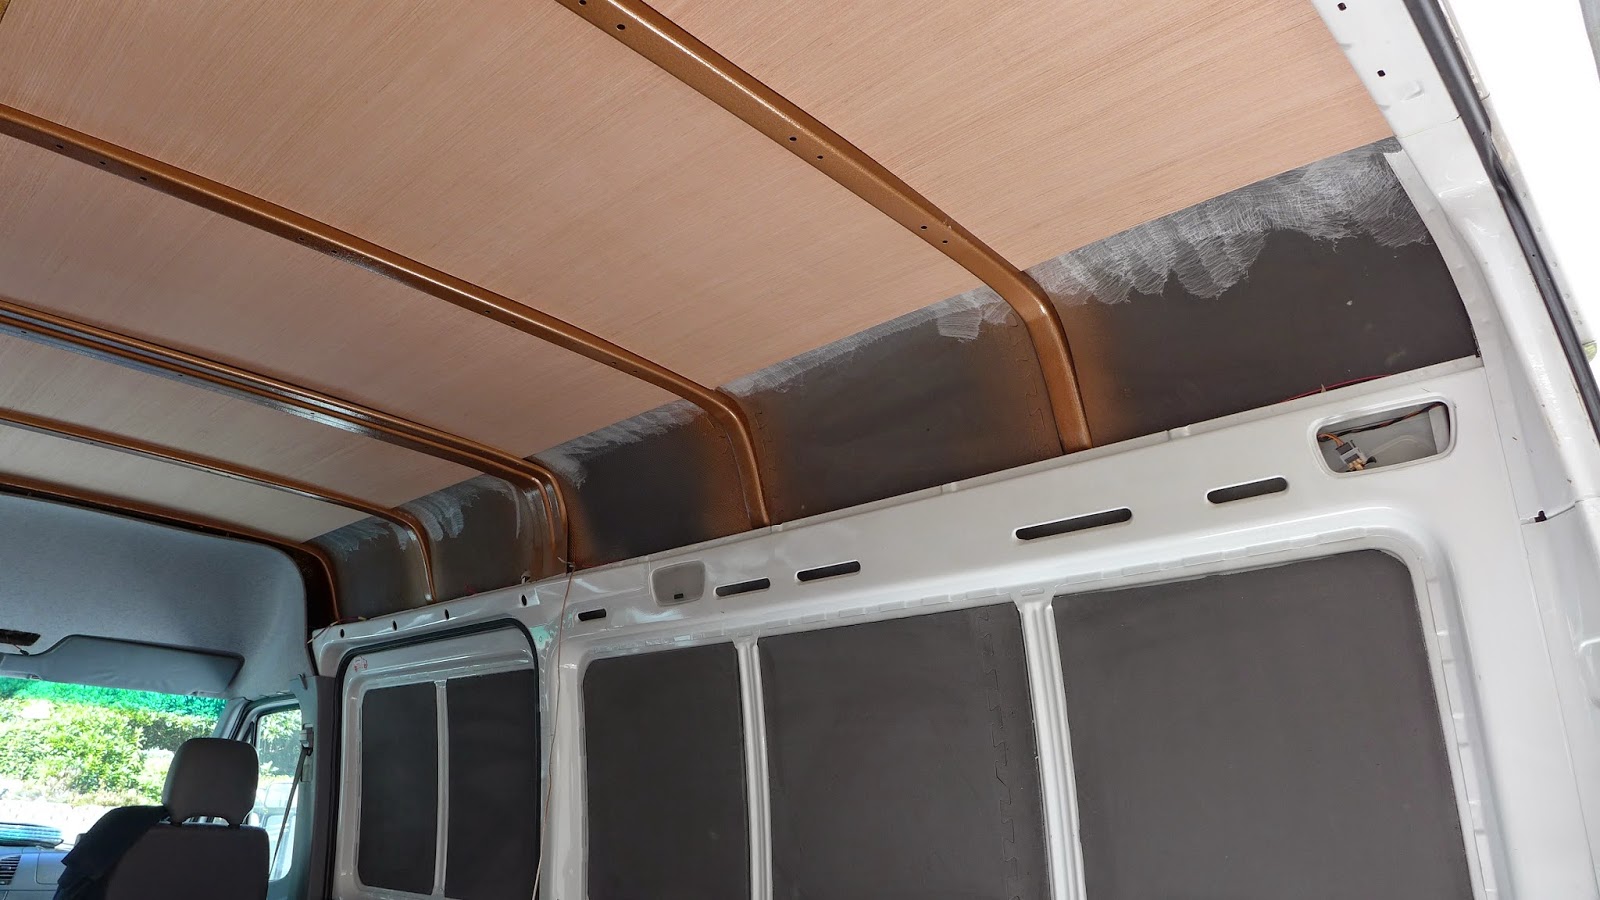
(above) The headliner came out too, then the metal ceiling was washed and dried...

P1090524.JPG

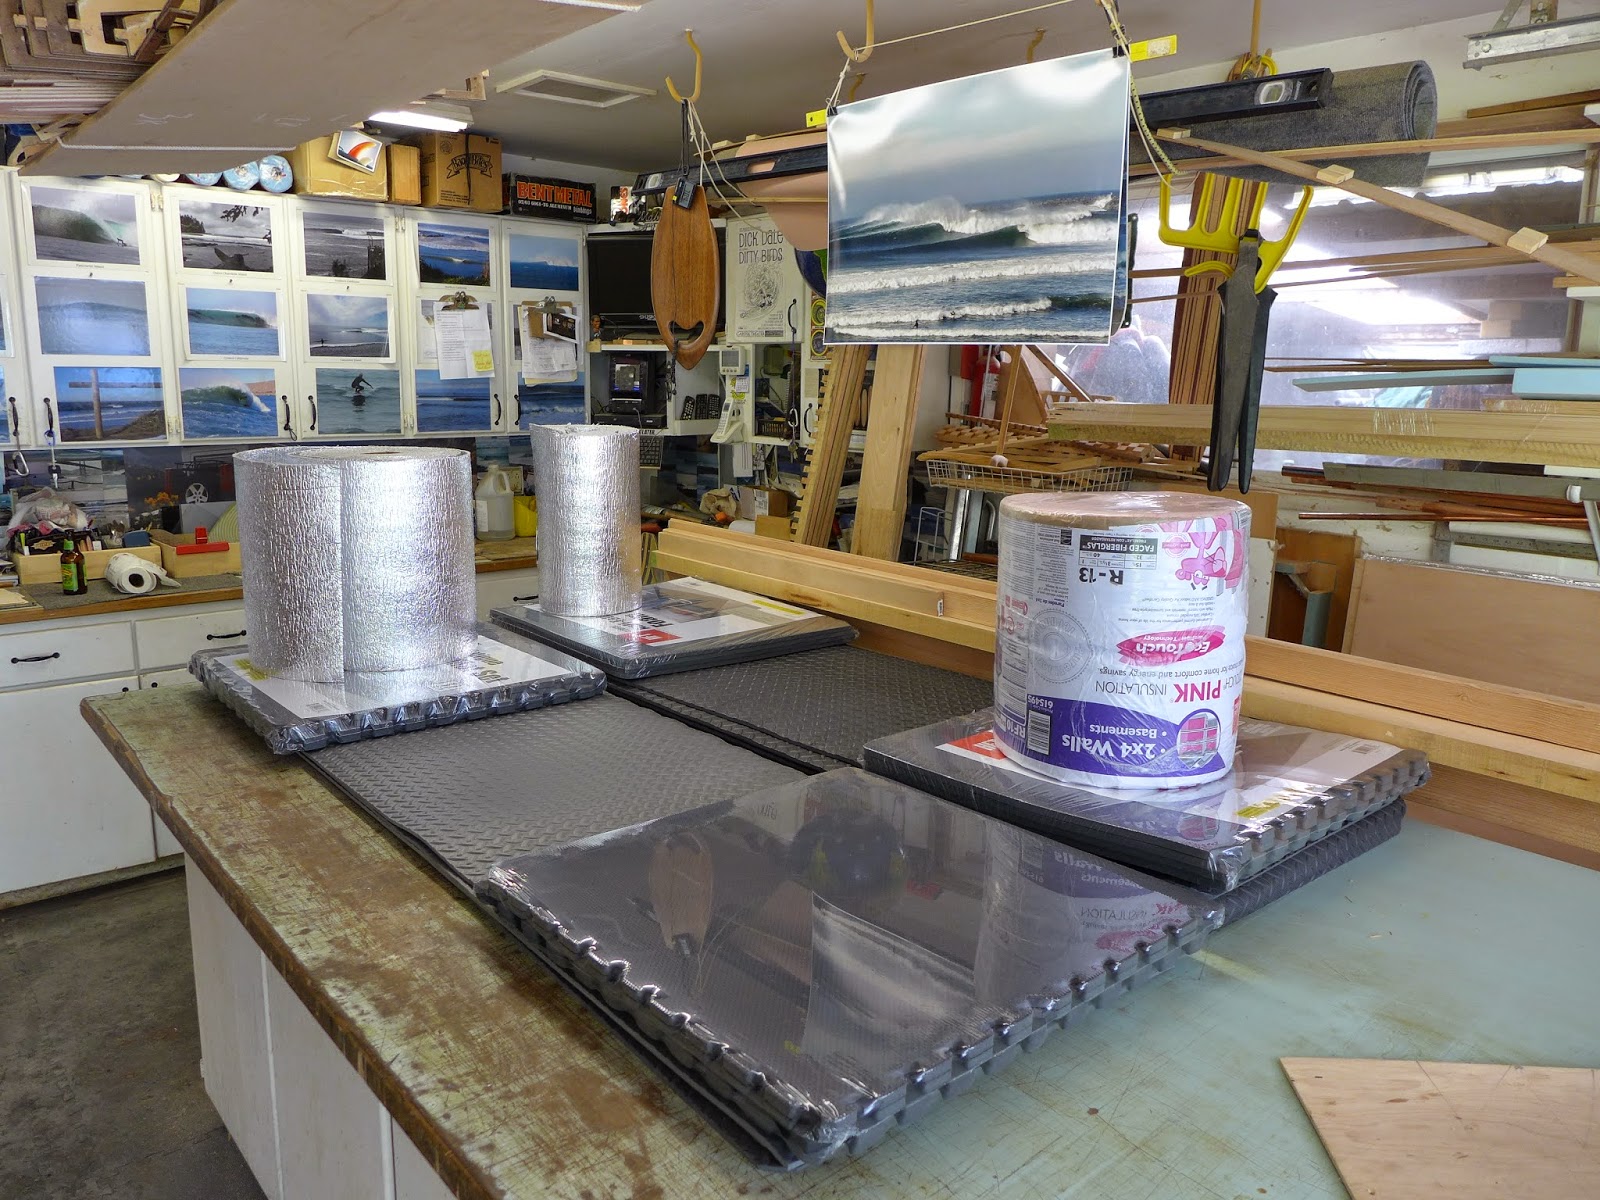
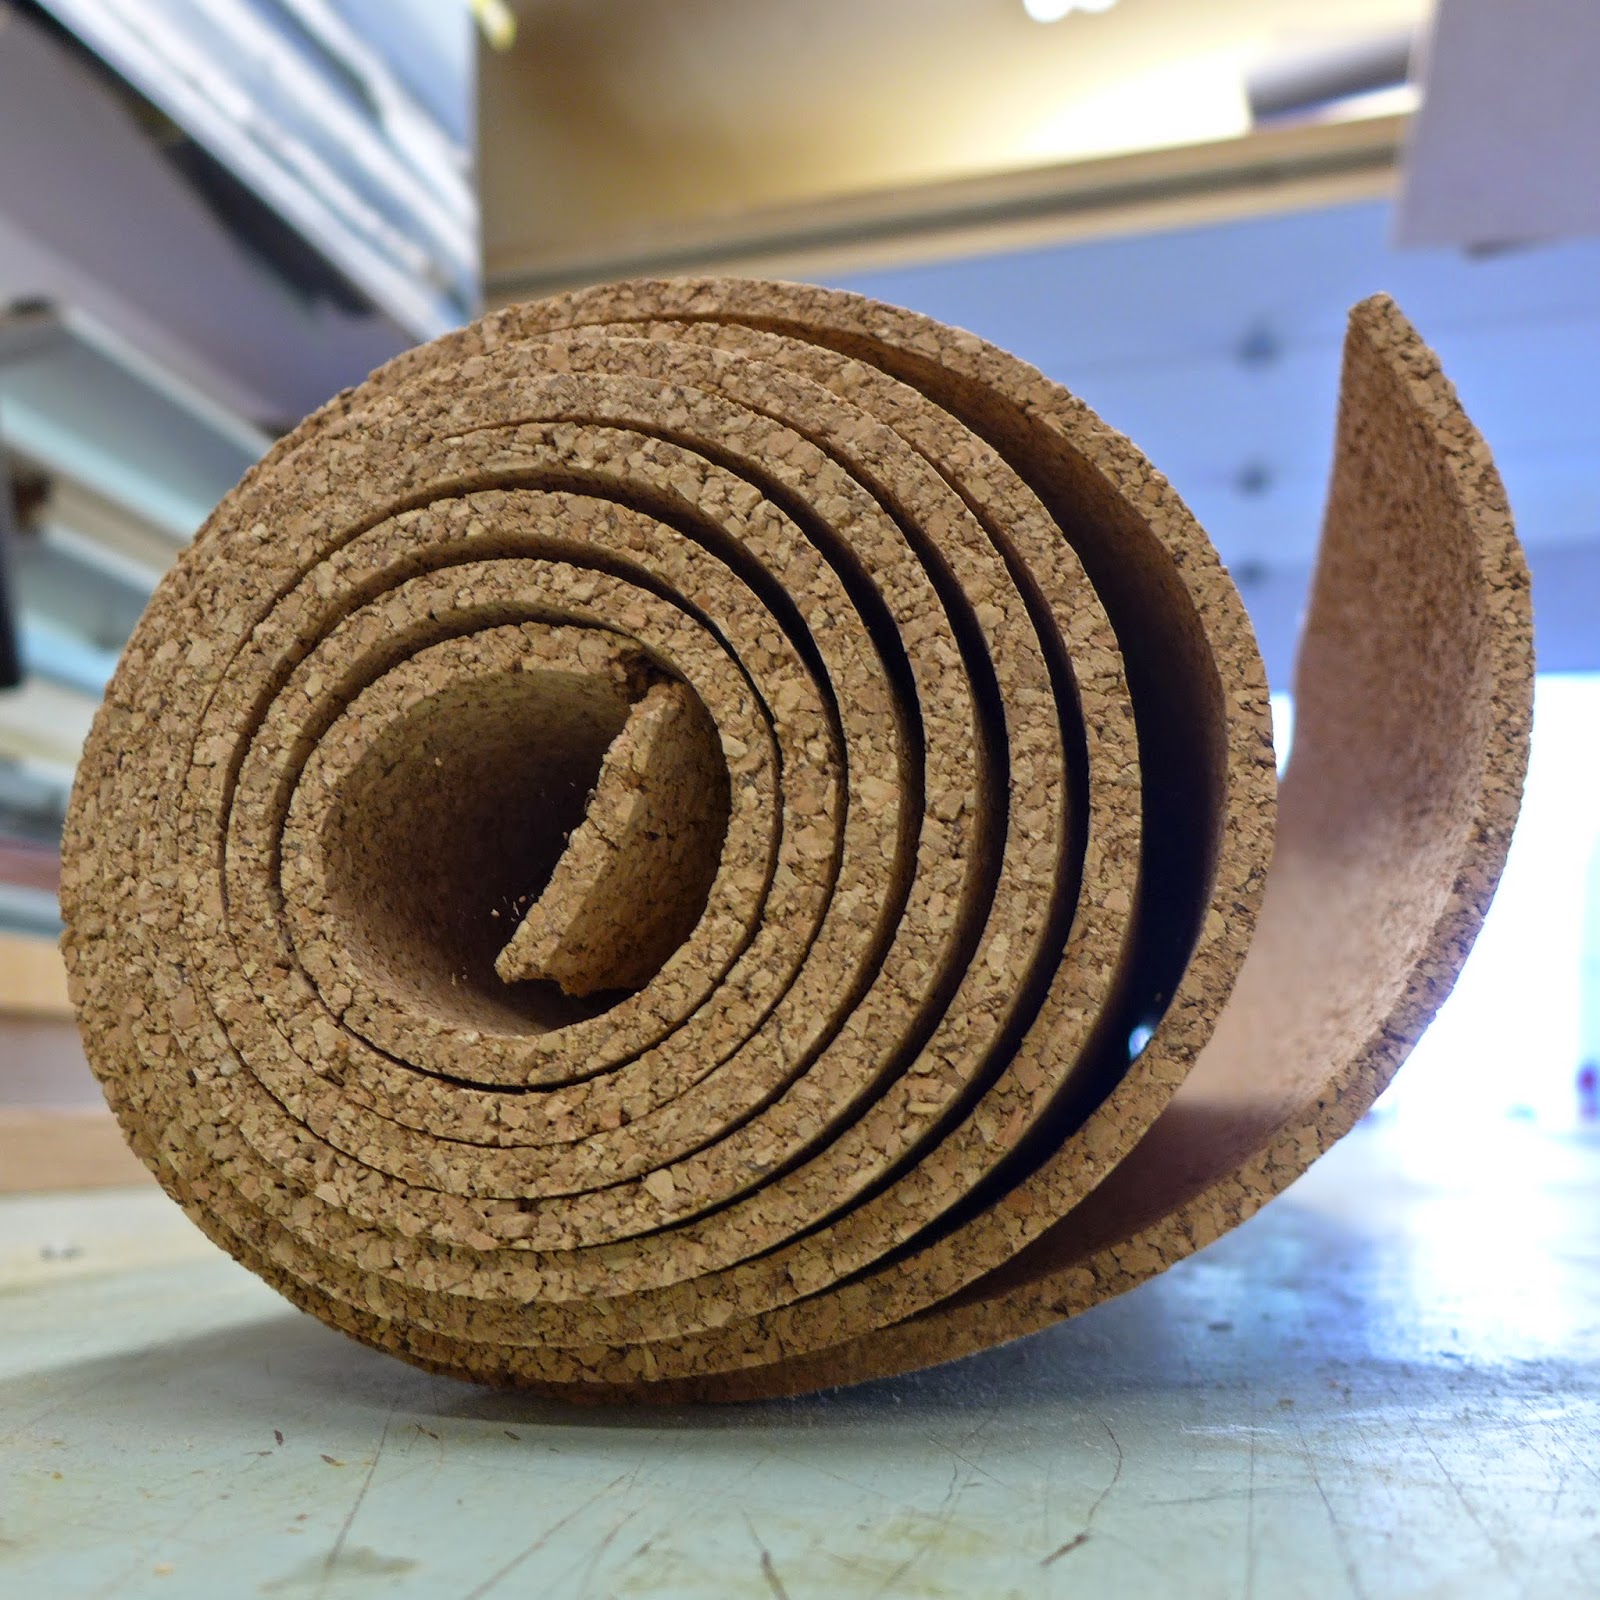
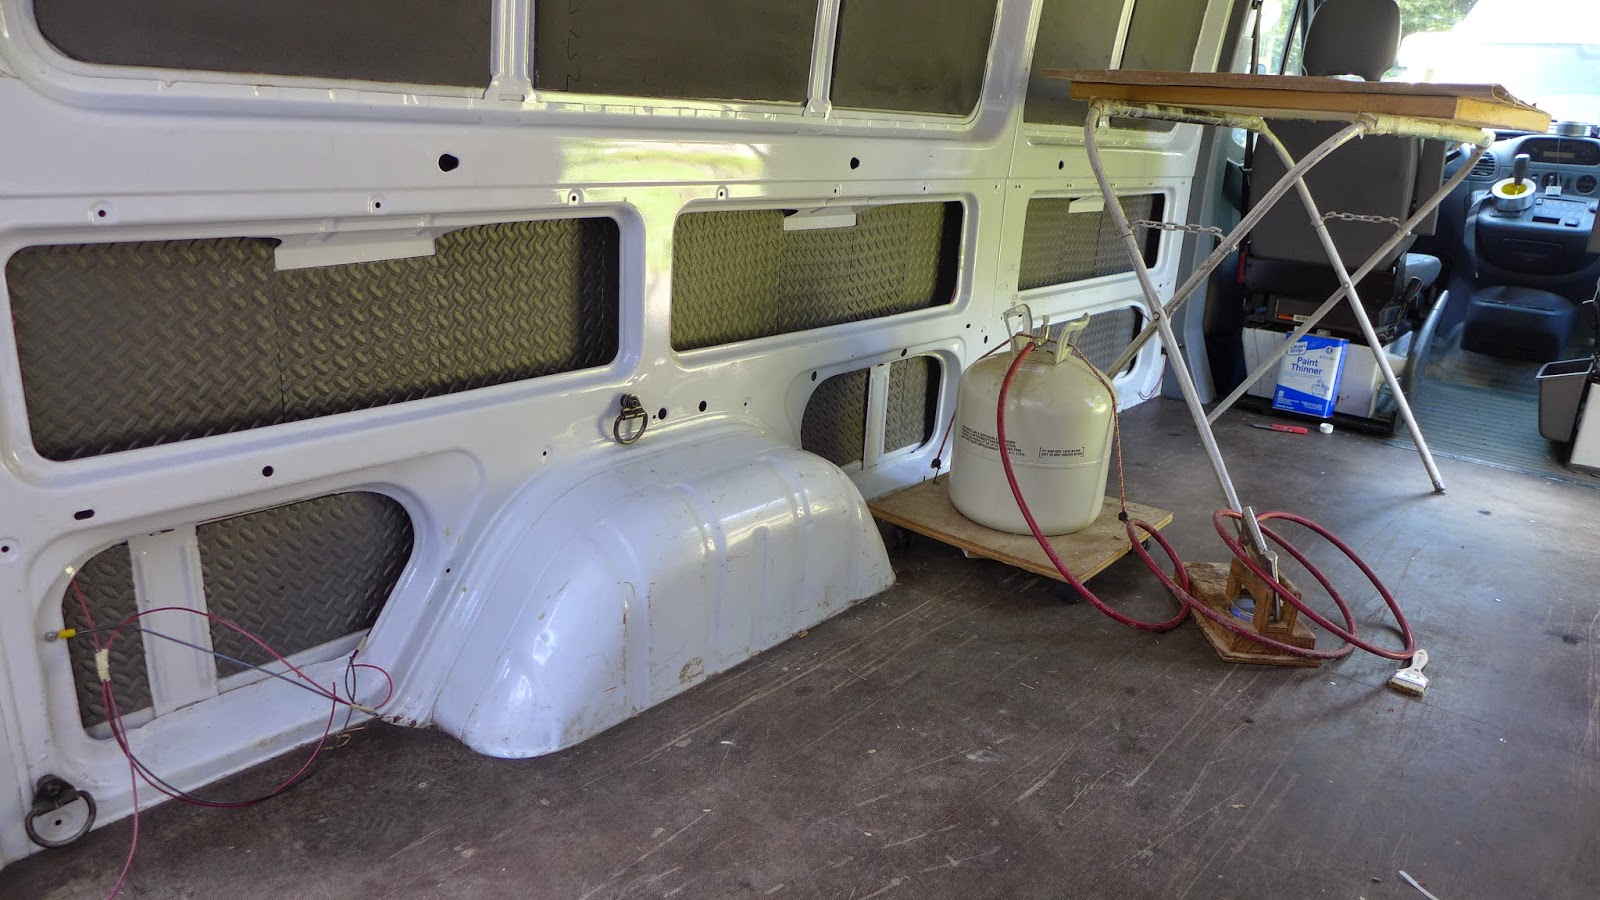
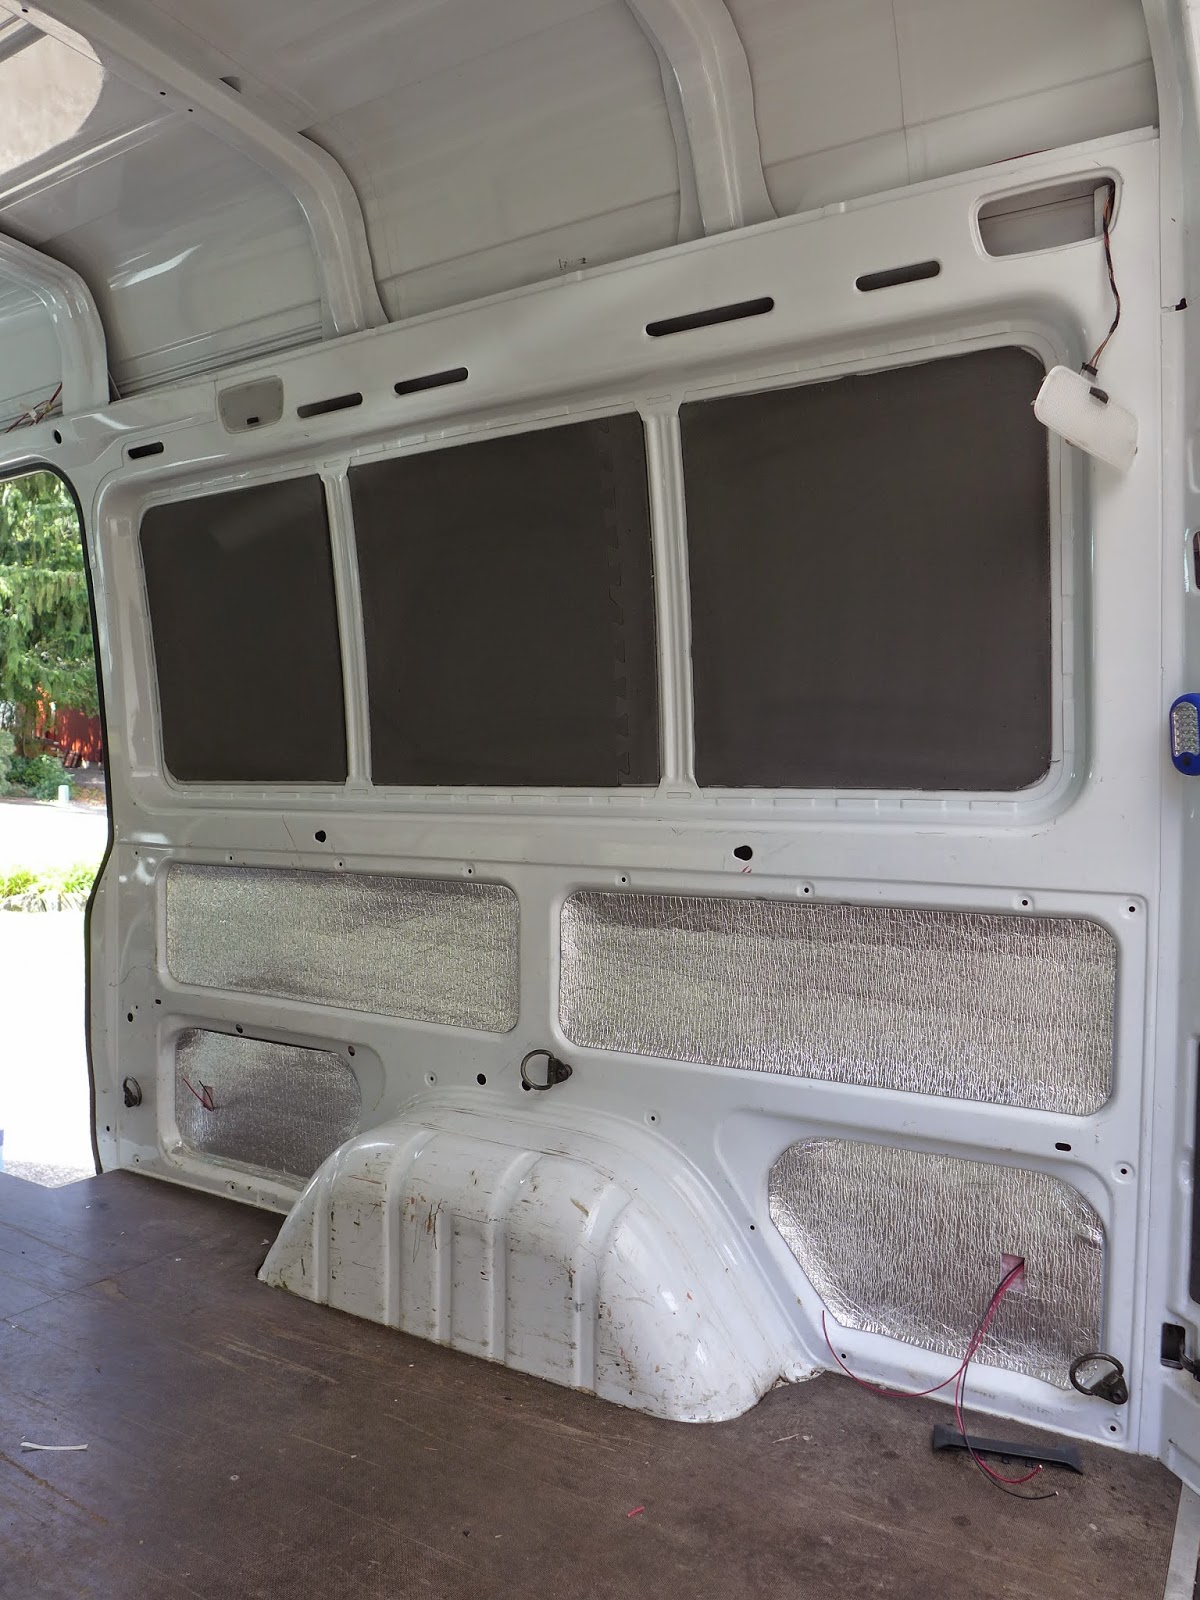
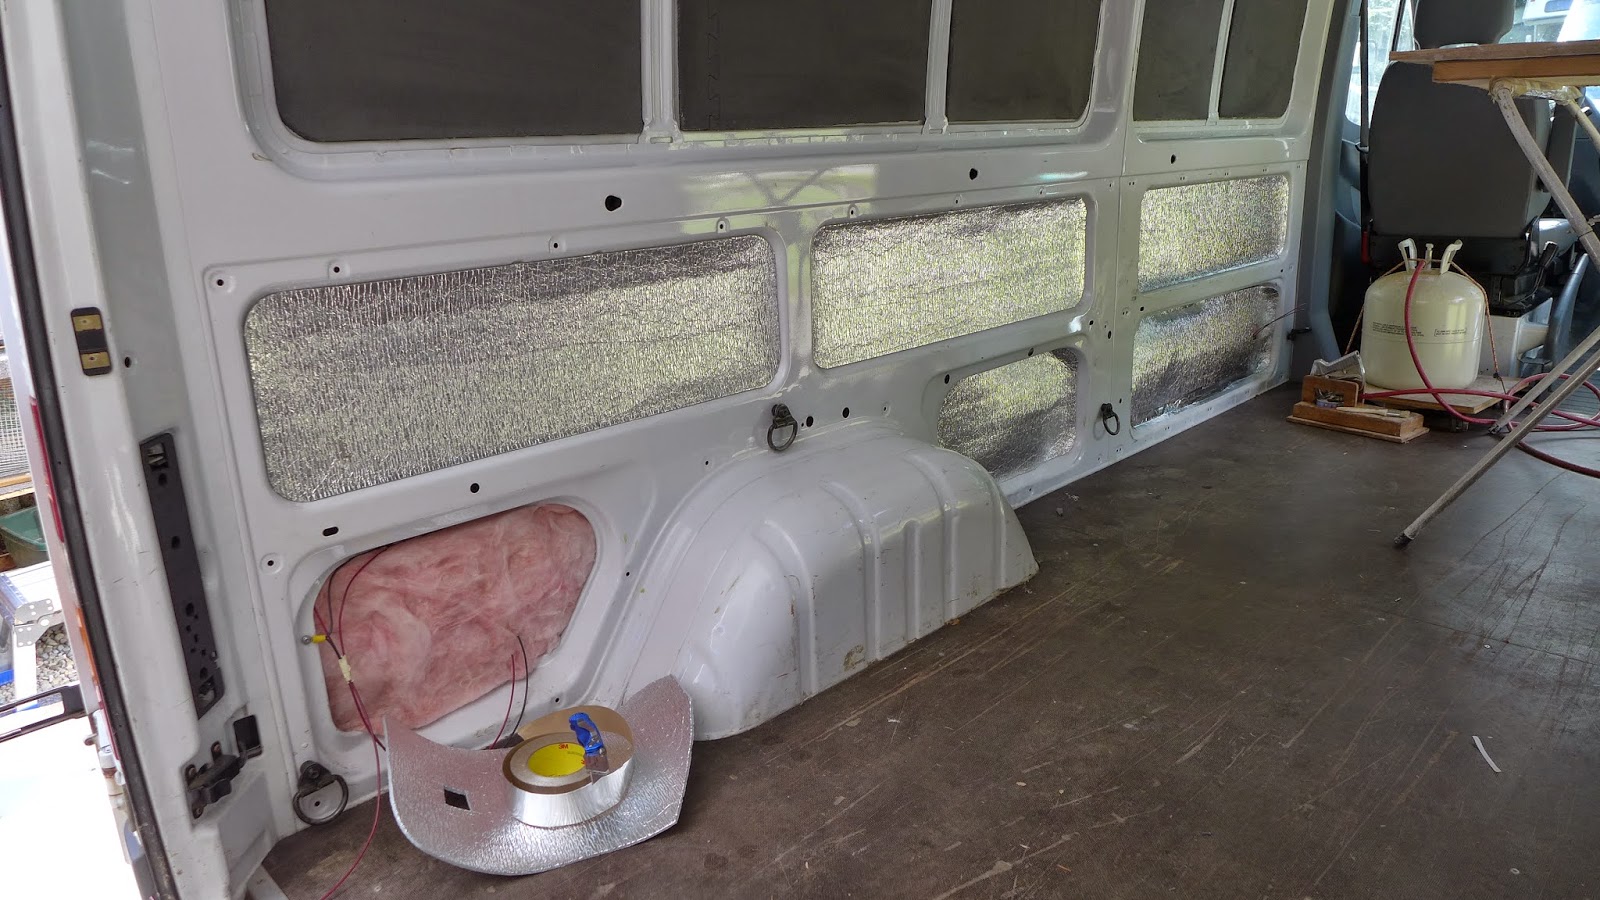
(above) In the shop three kinds of deadeners and insulation are on the table...The silver foam on the roll is about 1/4" thick and very flexible...The grey foam is from Harbor Freight and is about 3/8" thick and mostly used as a garage floor padding, but I like it on flat steel because it really deadens road noise effectively...The generic roll fiberglass is a great thermal insulator...

P1090525.JPG

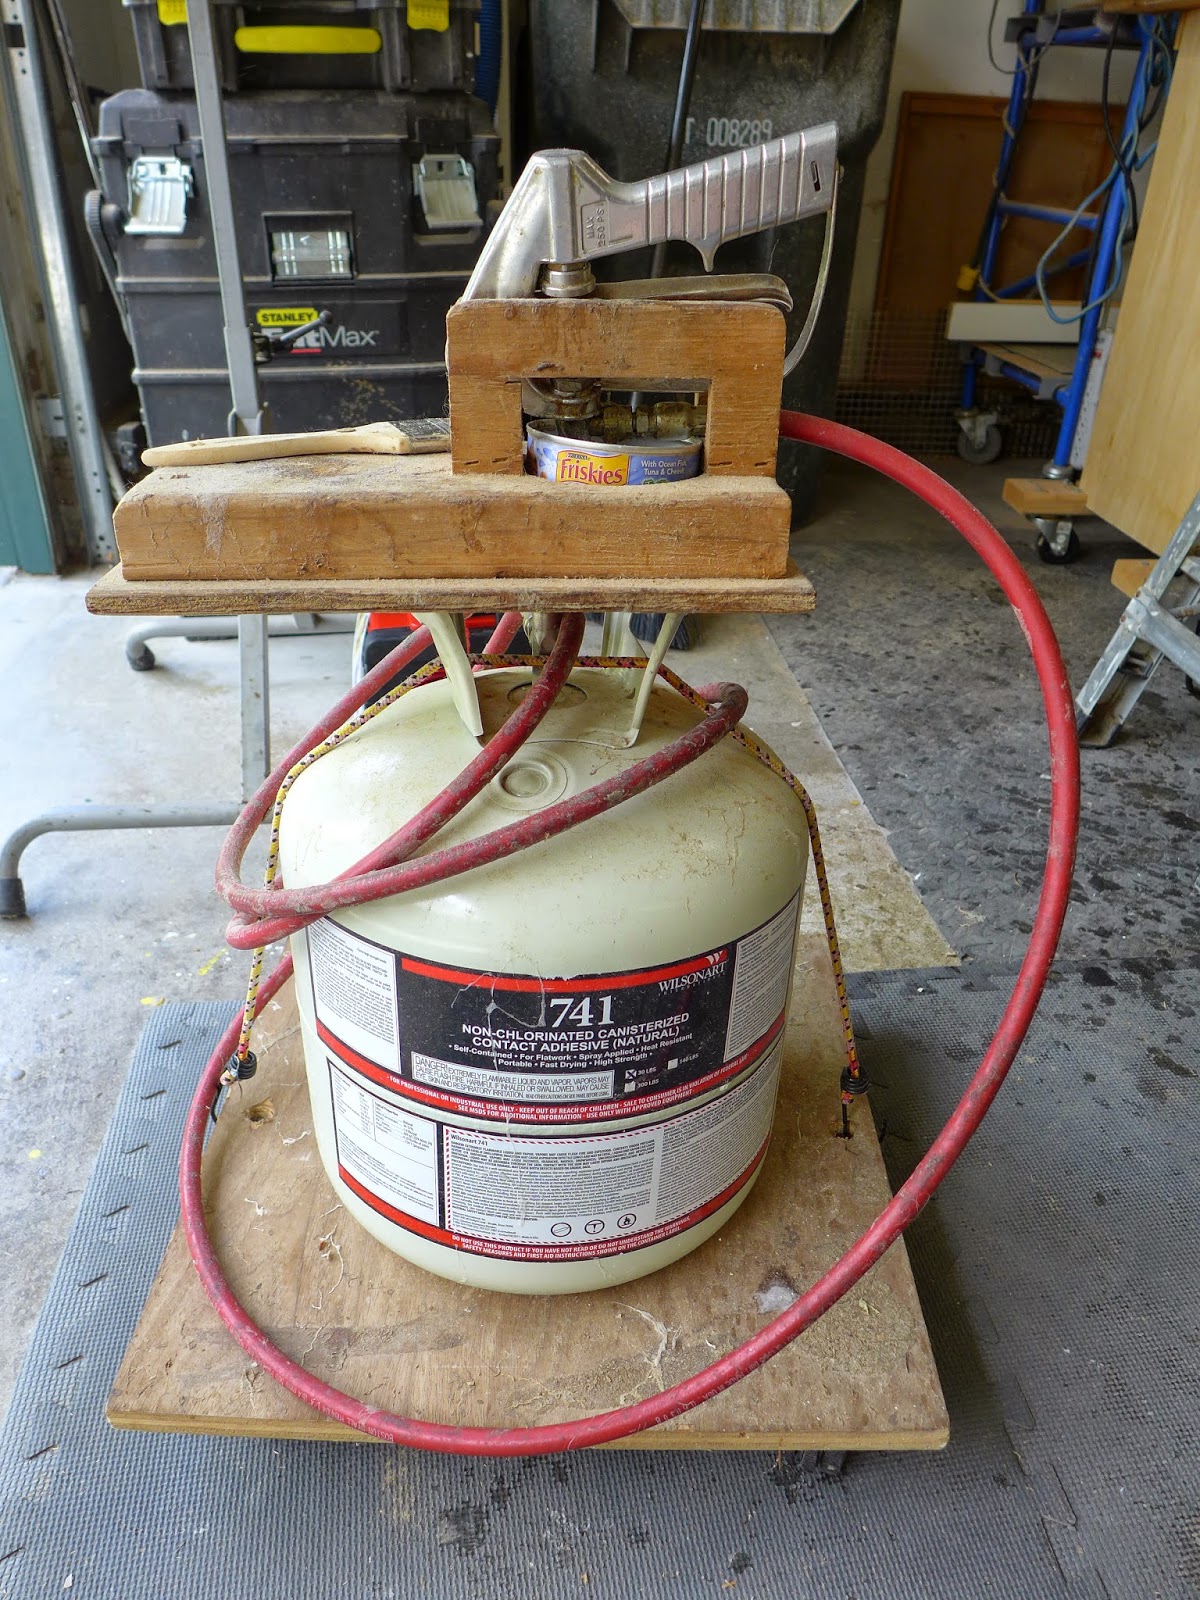
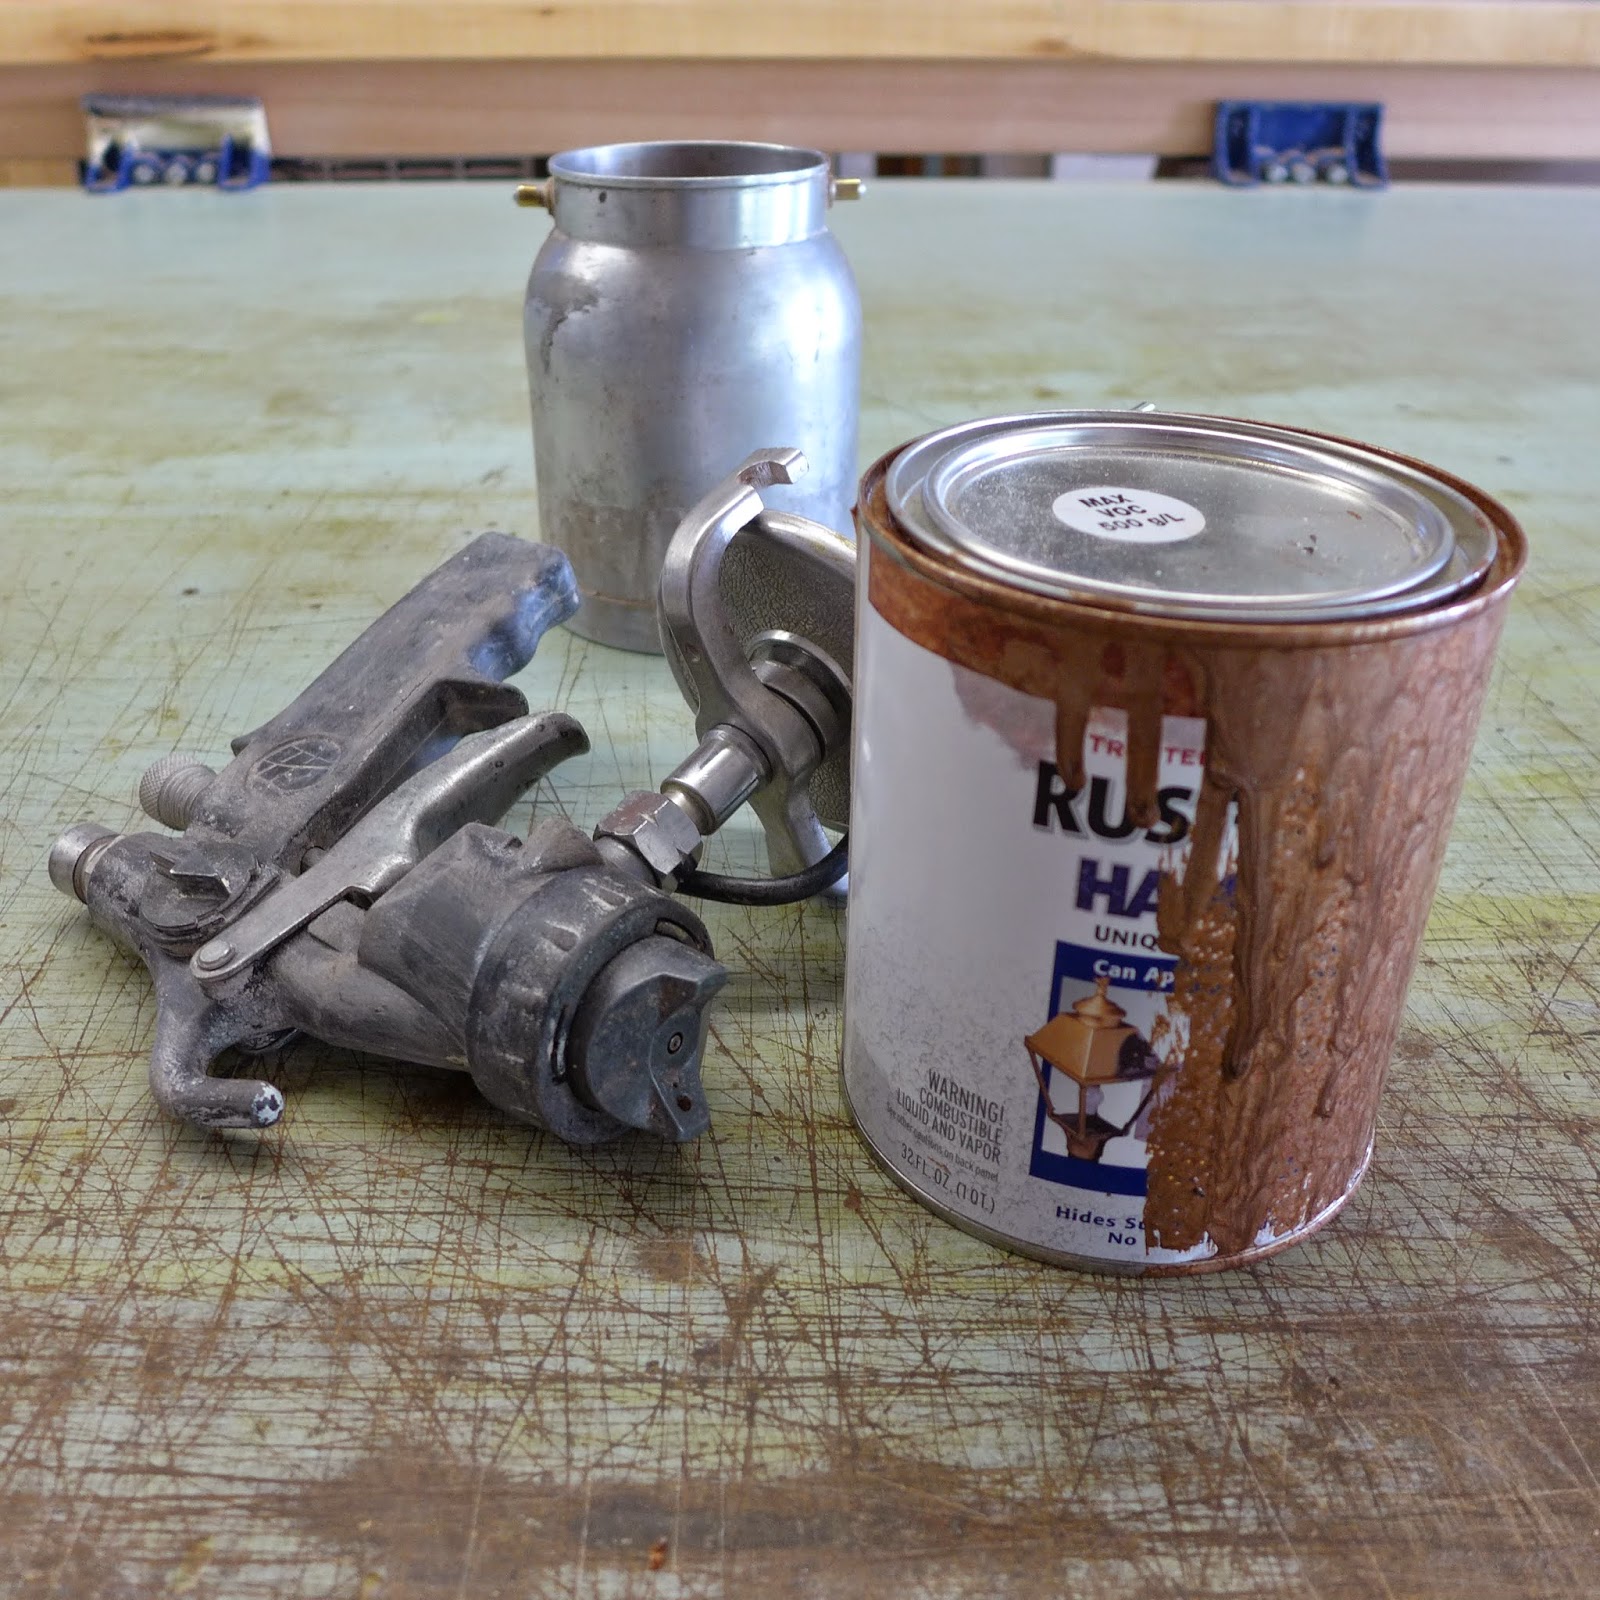
(above) What I use to stick thing together...

P1090526.JPG

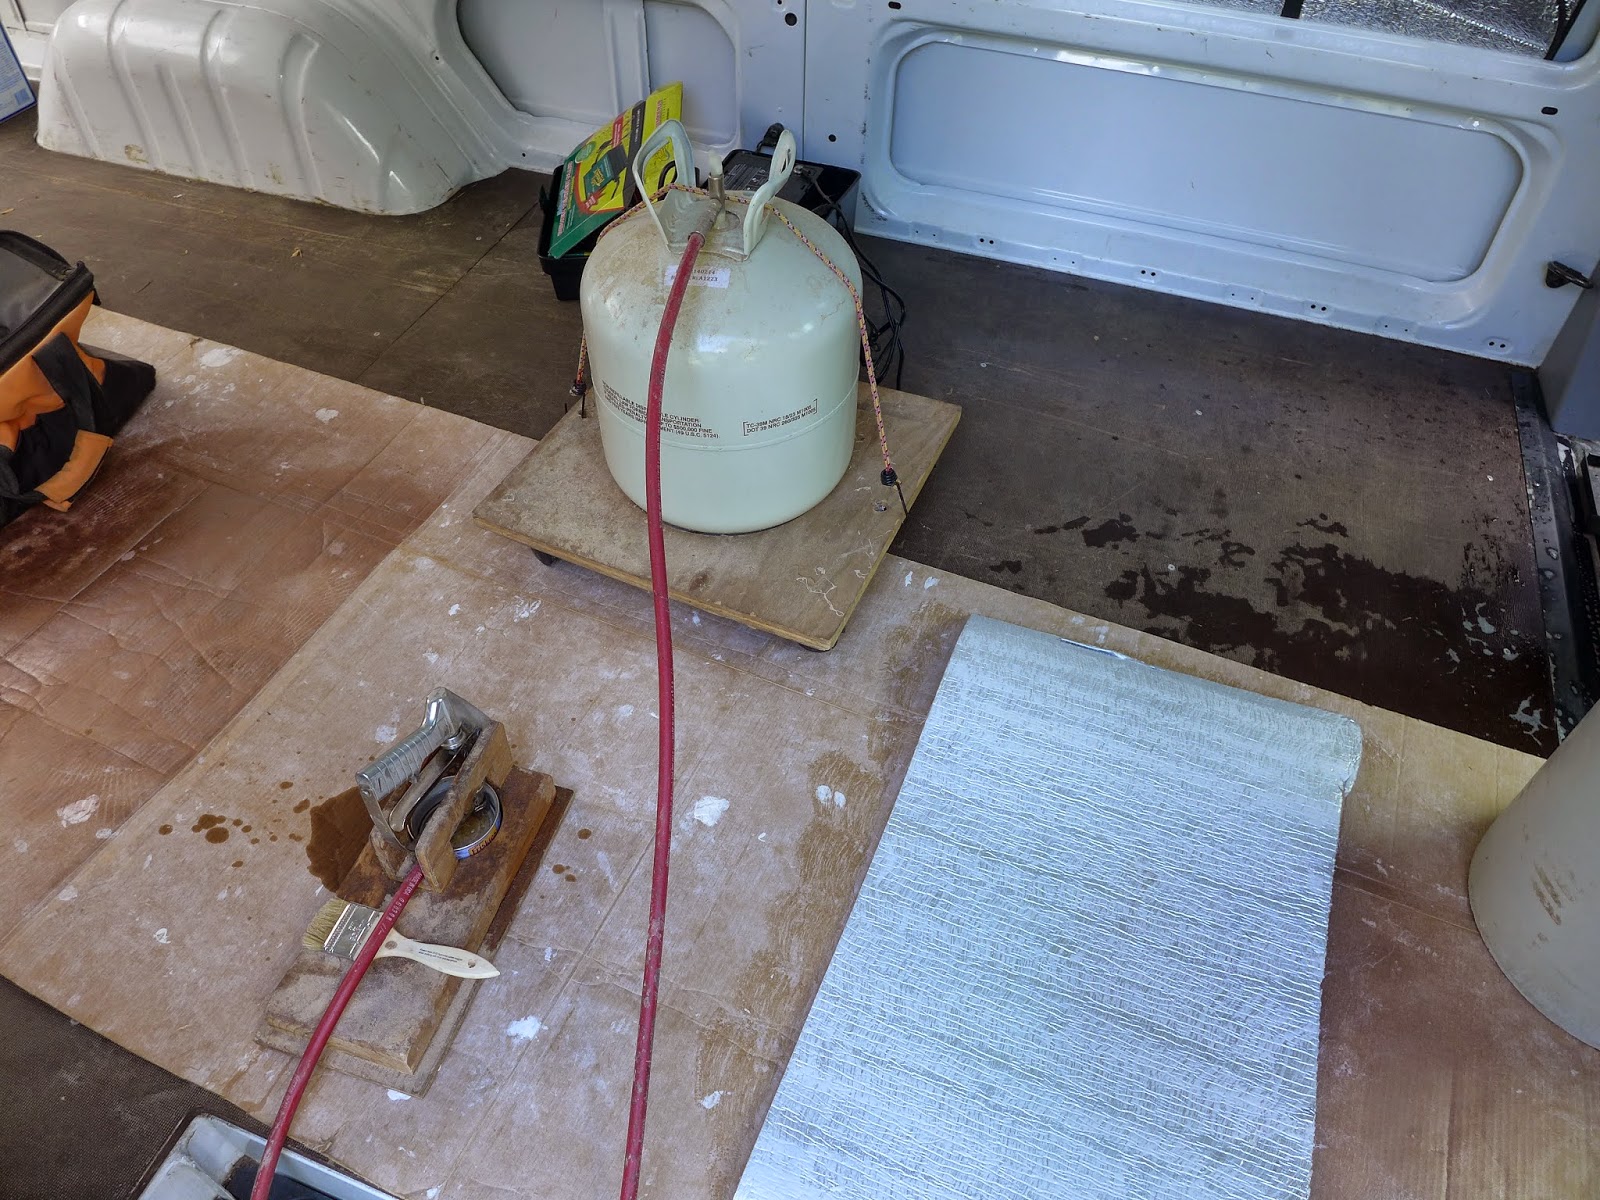
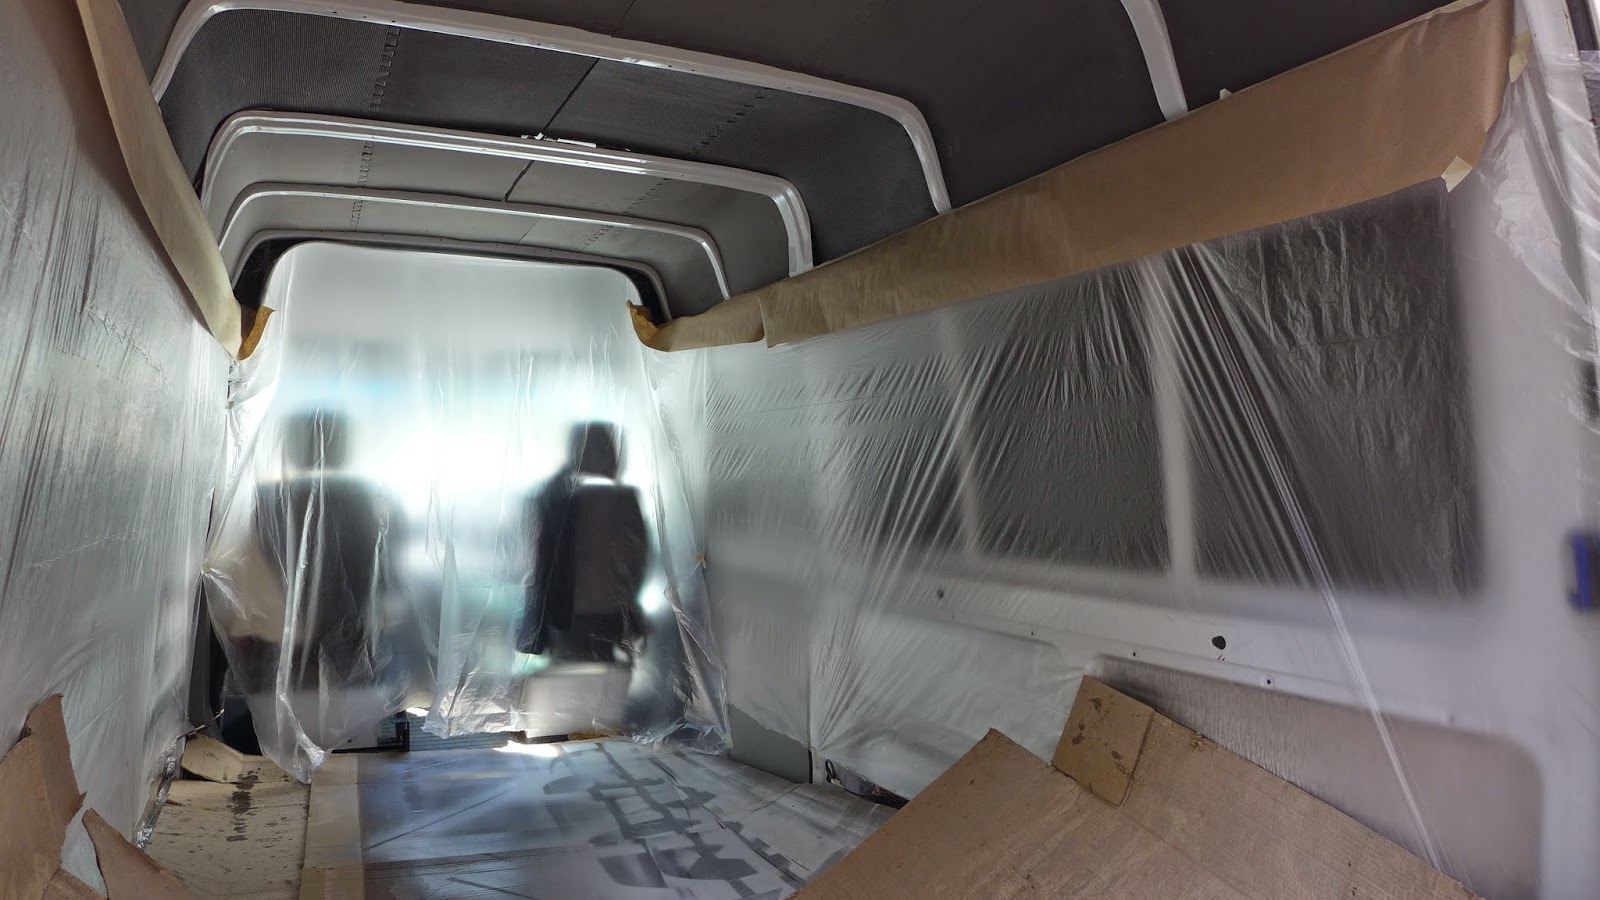
(above) Spray shop inside the side door...Everything gets a thin sprayed on coat, then pressed in place immediately...The contact cement dries really fast which is great since dry time isn't much of a factor in getting things done...

P1090527.JPG

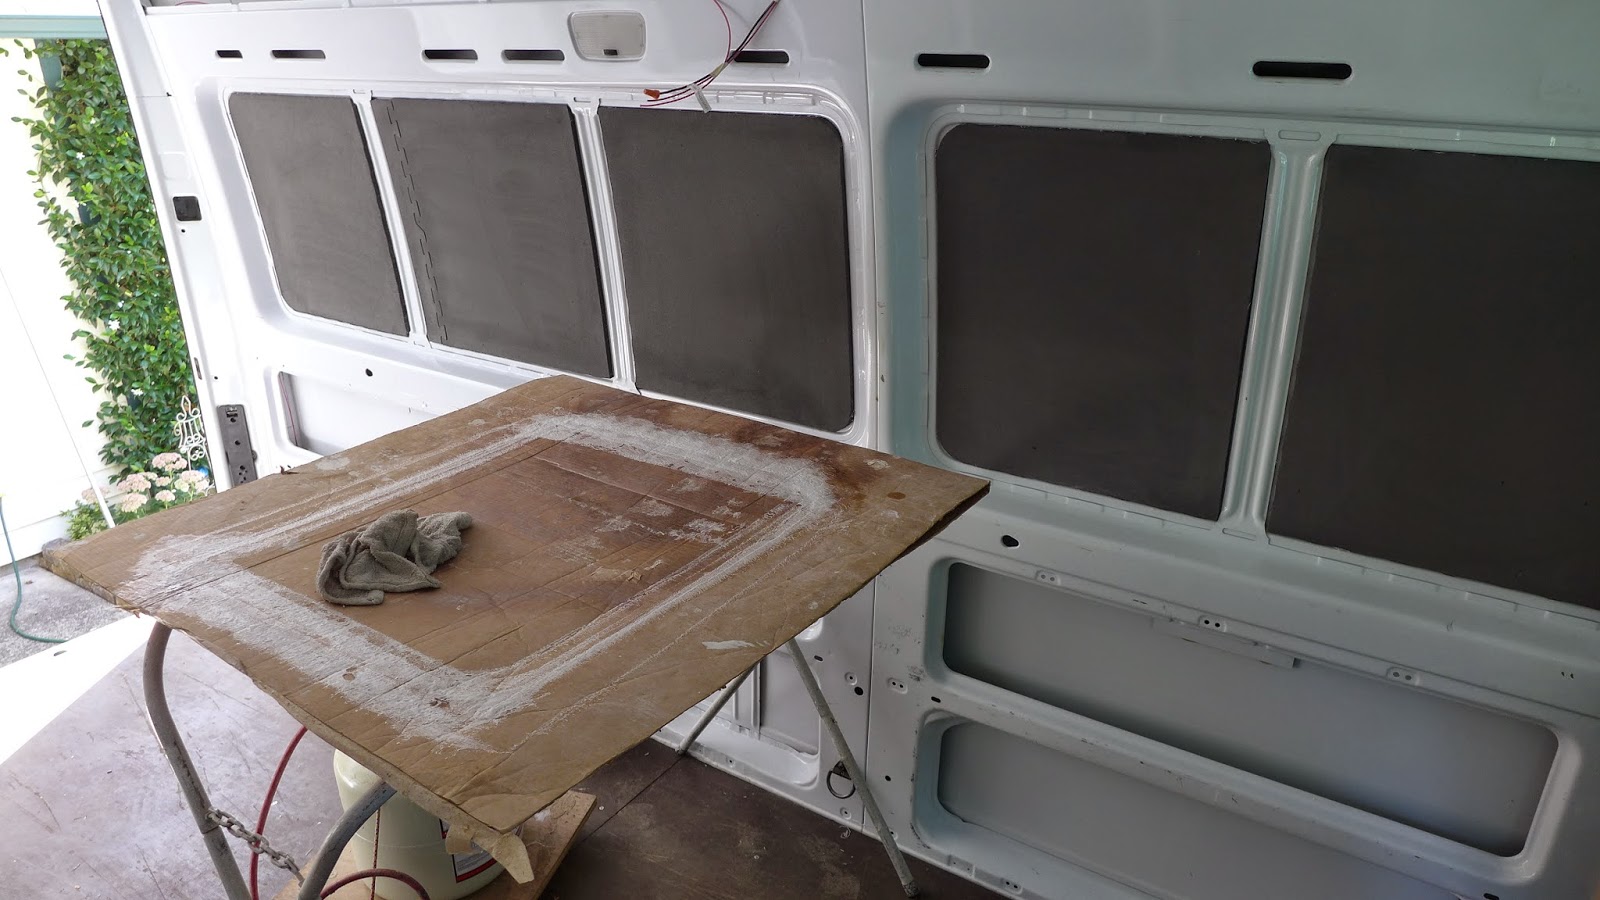
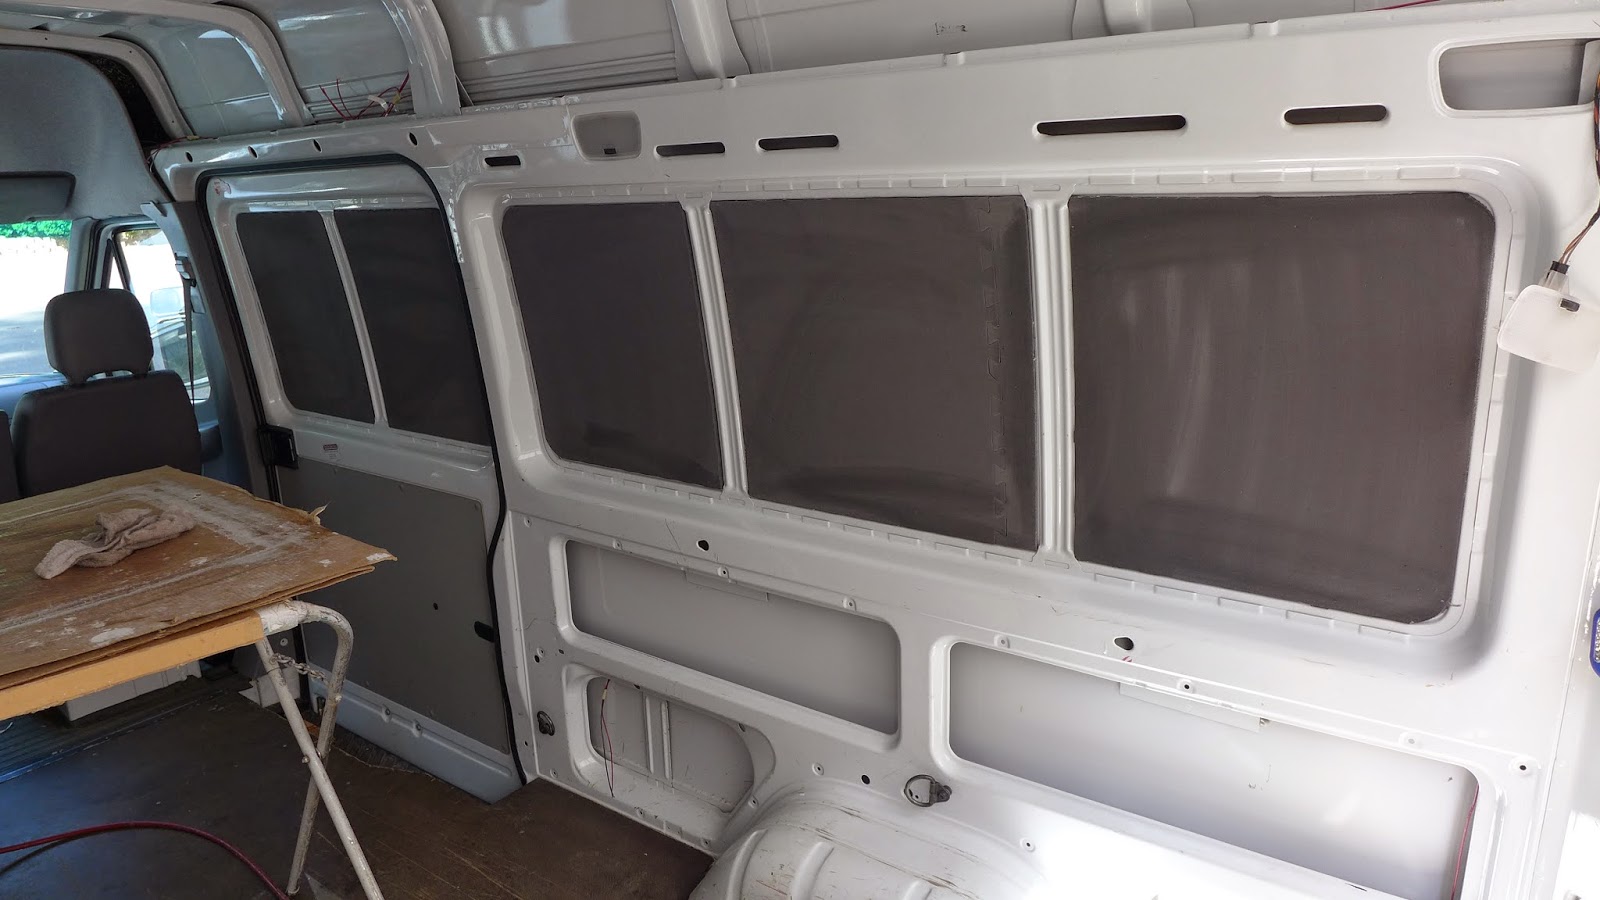
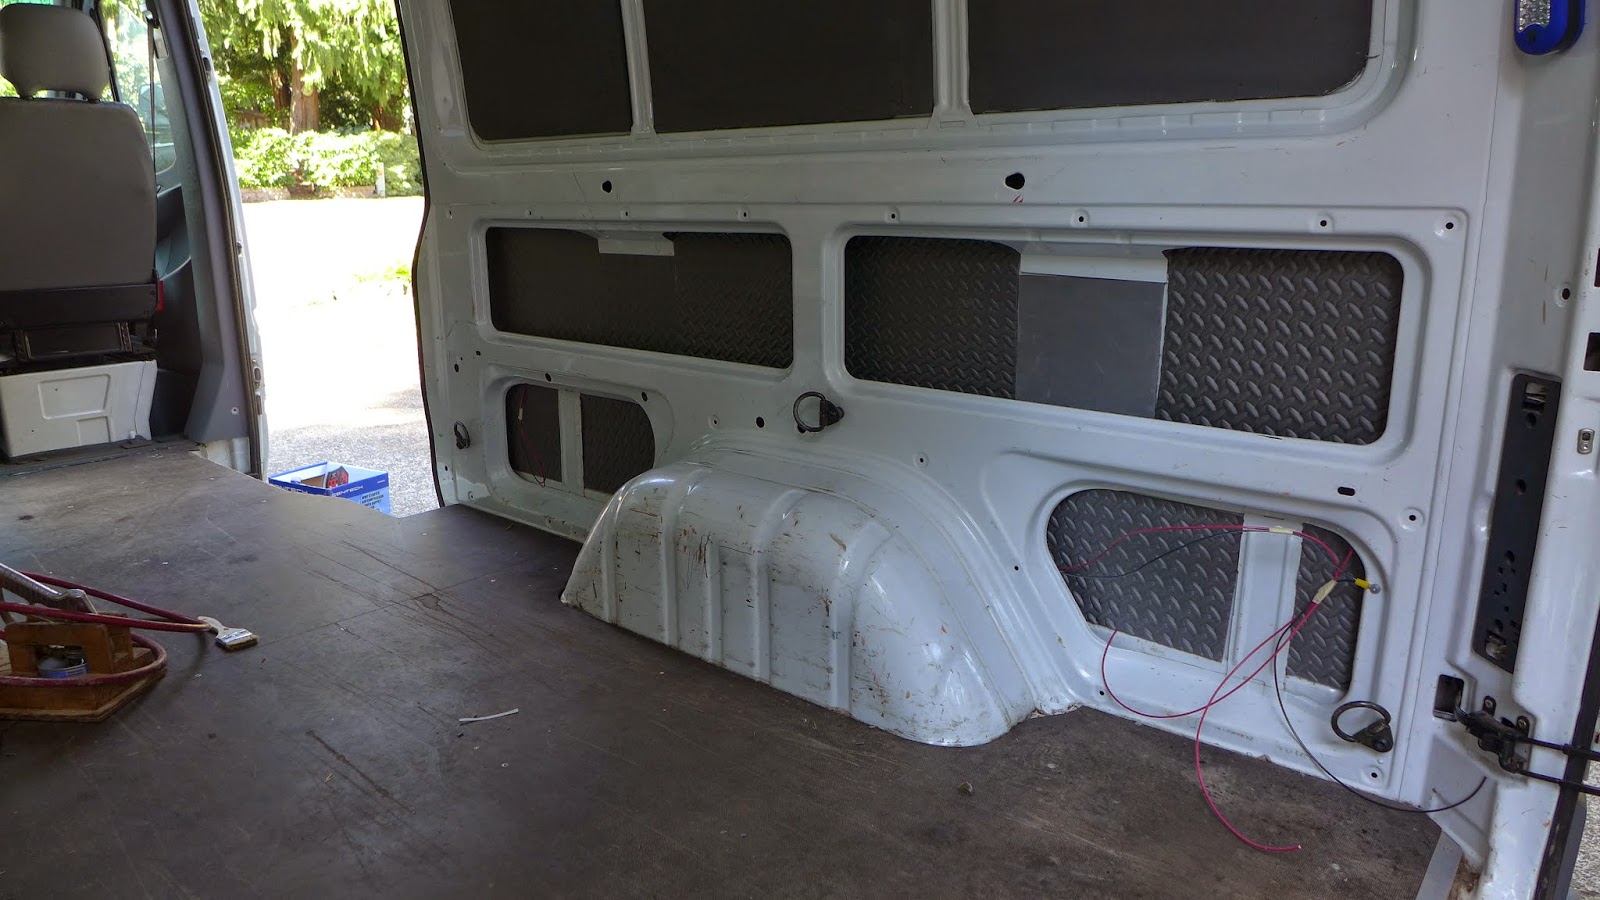
(above) Multiple layers are as simple as cut, spray, put in place and repeat...

P1090528.JPG

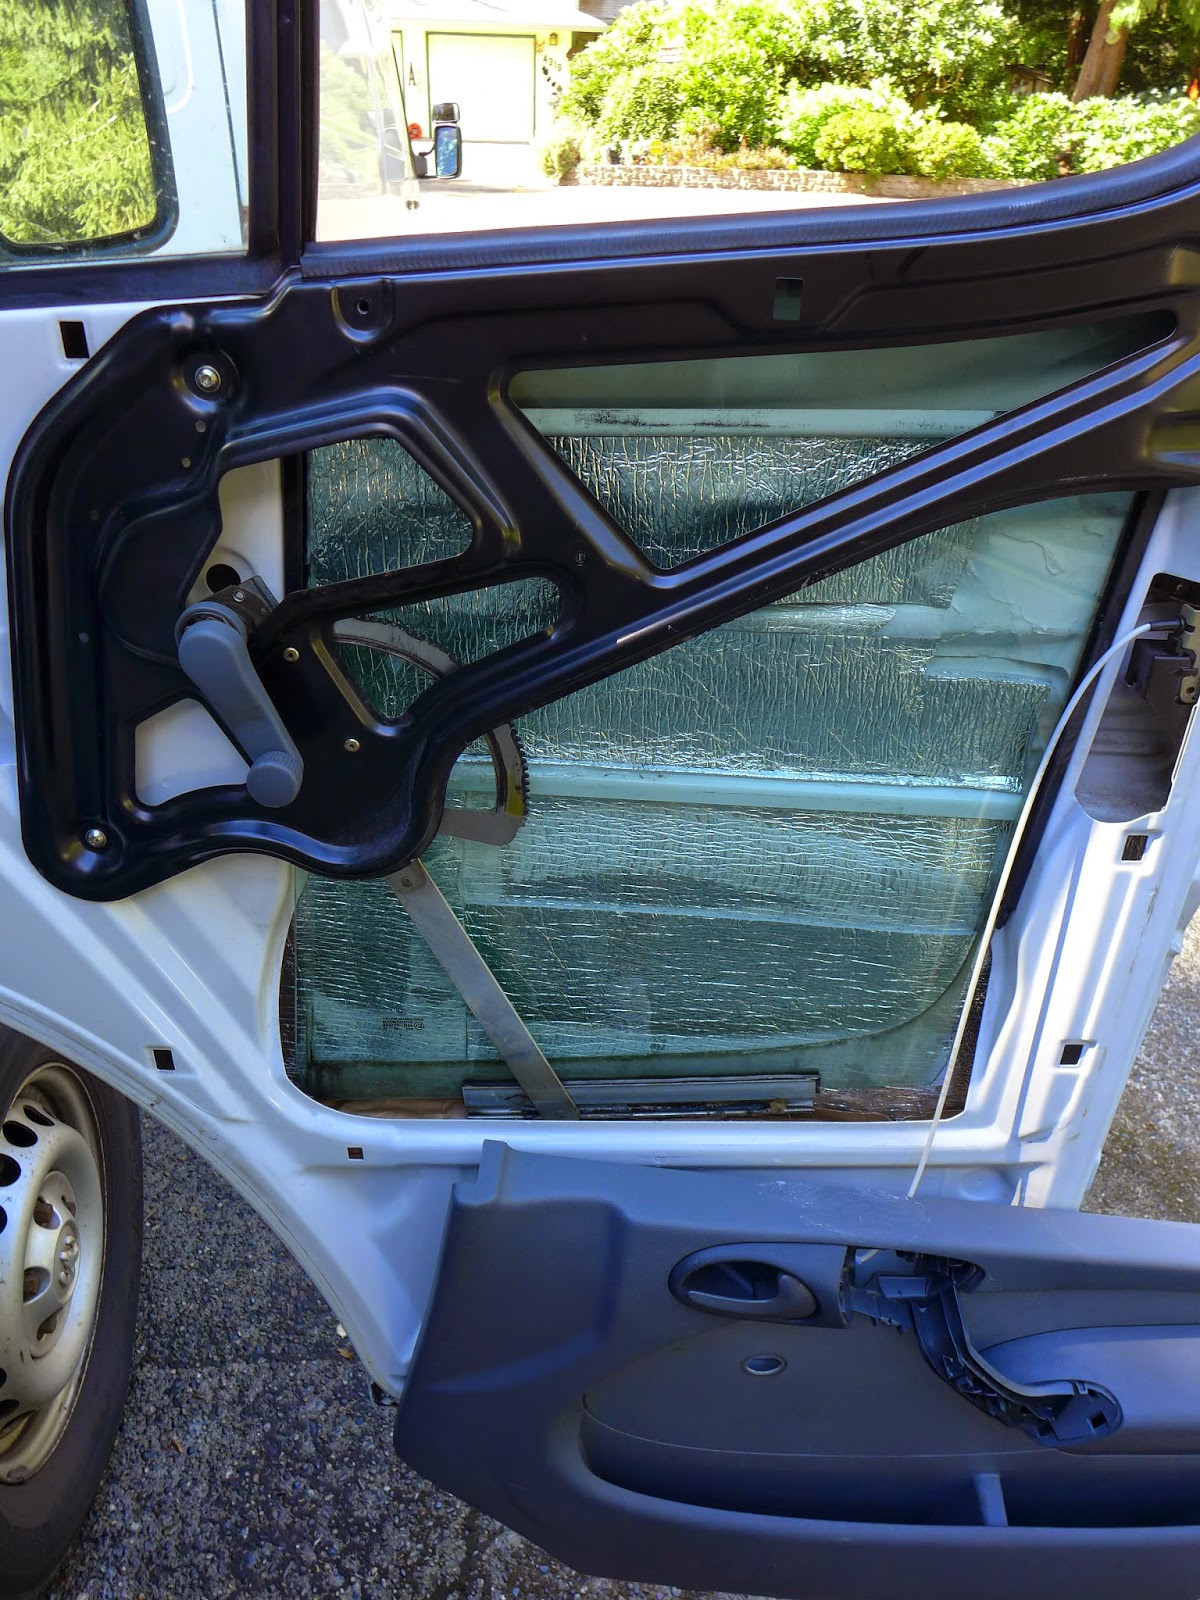
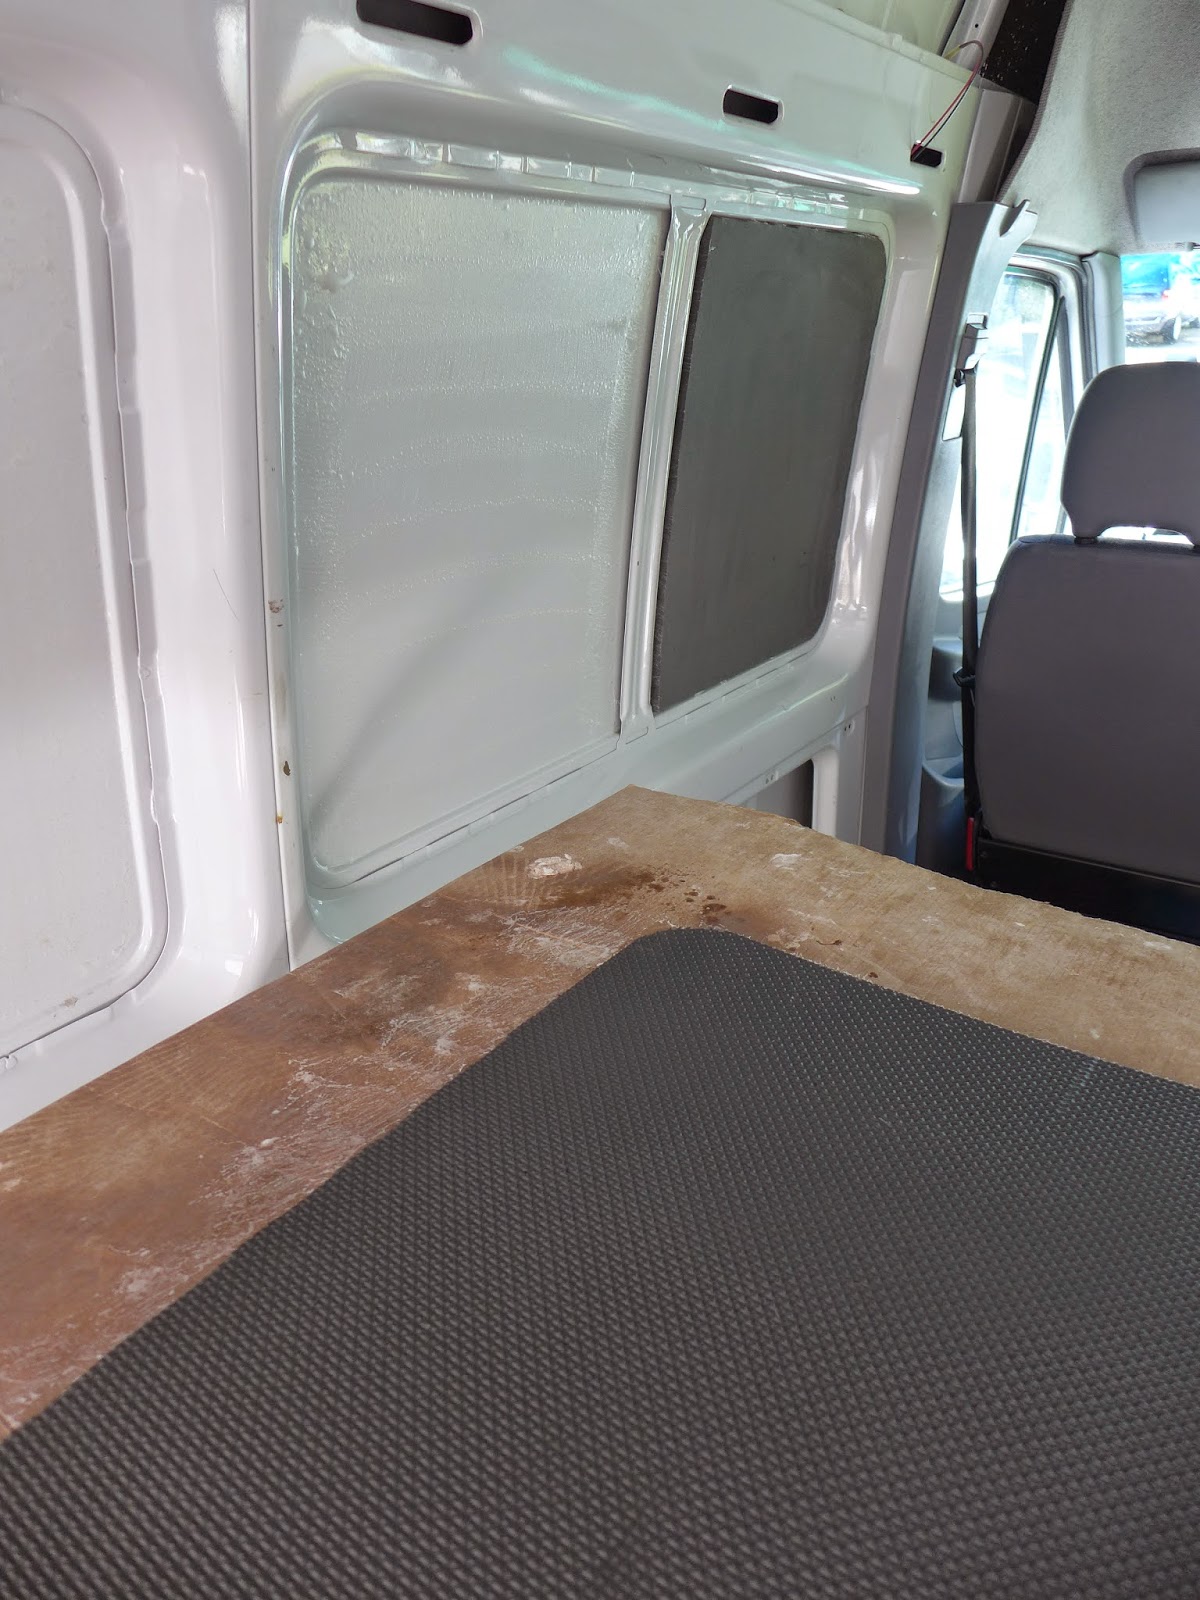
(above) The window prevents building the silver foam up too much...

P1090530.JPG

(above) The driver side door...

P1090531.JPG

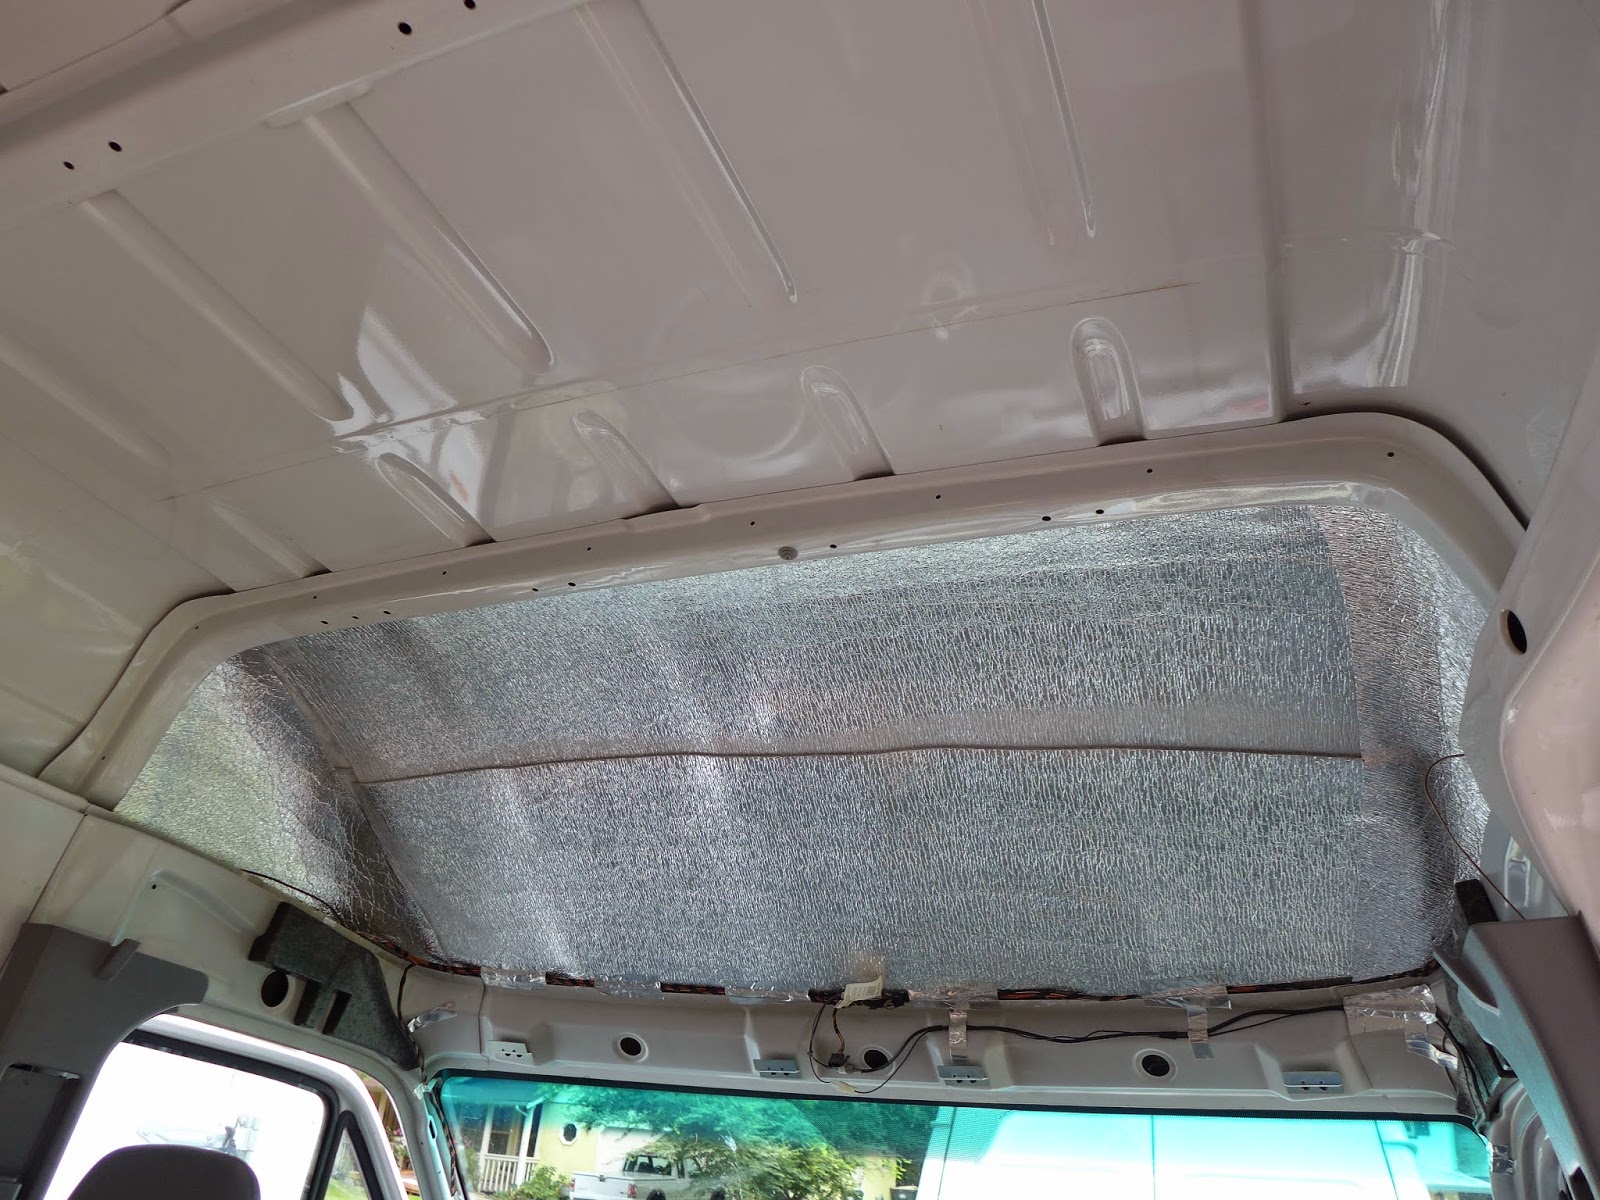
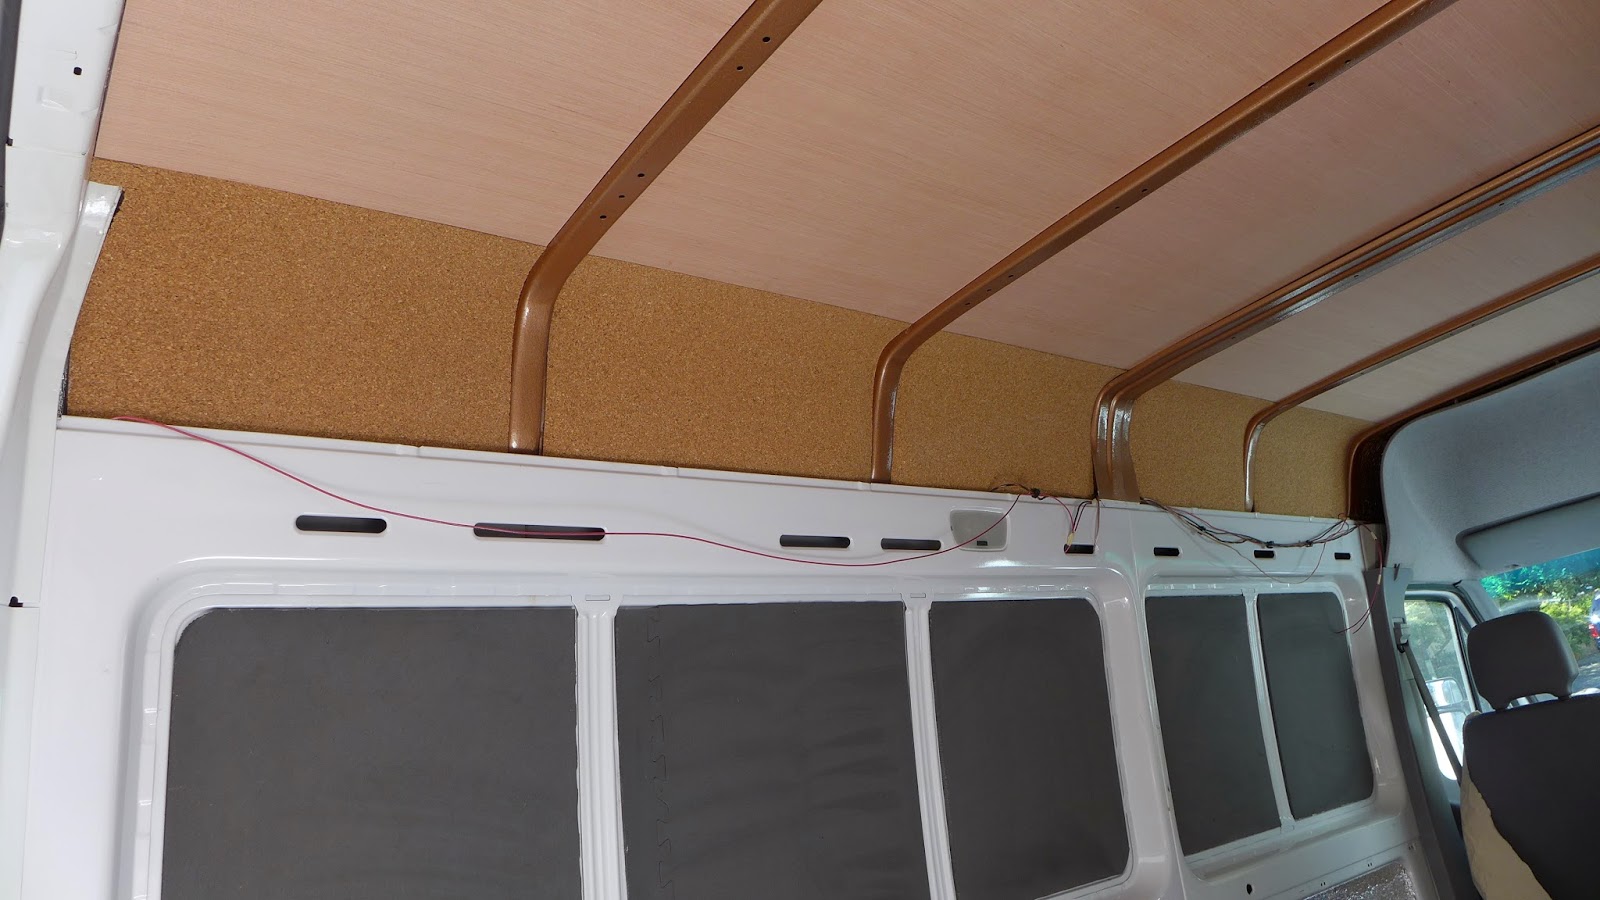
(above) The headliner area got at least three layers of foam...

P1090532.JPG

(above) Then the headliner panel was reinstalled...
 

AFSOC

Explorer
I'm really looking forward to following this build. Your creations are fantastic. Such a treat to see the BTS stuff.
 

Jb1rd

Explorer
That is a dream Sprinter right there, it looks brand new and its a coveted 06 to boot!!! Can't wait to see how she develops!
 

PaulJensen

Custom Builder
02

P1090533.JPG

(above) Jeaninne's electrical needs are pretty simple so the preliminary wiring went fast...

P1090534.JPG

(above) The will be a pair of 12 volt DC outlets in the lower rear panels, on both sides of the vehicle...Front and rear...This is the curb side rear...

P1090535.JPG

(above) The first 1/2" foam pad is glued to the upper wall panel...Spray contact cement again...Strong, fast and easy...

P1090536.JPG

(above) Driver side wall...

P1090537.JPG

(above) Curb side and slider door...

P1090538.JPG

(above) The lower compartments got a layer of foam too...

P1090539.JPG

(above) The lower panel pieces were a bit tricky folding and fitting them into the recesses...

P1090540.JPG

(above) Next to go in, simple fiberglass insulation...

P1090541.JPG

(above) Curb side...

P1090542.JPG

(above) Over that, double sided foil insulation is contact cemented over the fiberglass...

P1090543.JPG

(above) Driver side...The one panel is loose so the shore power plug can still be installed...
 

njtacoma

Explorer
Every time Paul starts one of his builds I find myself looking at craigslist and ebay for sprinter vans....

Can't wait to see what this one looks like.

I wish someone would bring him a window passenger van to turn into a mild dual purpose people hauler adventure van.
 

PaulJensen

Custom Builder
03

P1090544.JPG

(above) Continuing with the insulation, the ceiling has 1/2" interlocking foam contact cemented to the ceiling...

P1090546.JPG

(above) Before installing the finish ceiling, which will be wood and cork, the cross ribs are going to be painted...The masking off for spray painting is done...

P1090545.JPG

(above) What I'm using...

P1090548.JPG

(above) Two coats, drying...

P1090549.JPG

(above) While waiting for the paint to dry, I set up the planer to run the hand selected, clear cedar fence boards through the planer...I'll be covering the lower van walls with it...

After three passes through the planer, the smell of the cedar planer shavings reminded me again, of one of the reasons I love what I do... All I have to do is breath and smile...
 

PaulJensen

Custom Builder
04

P1090552.JPG

(above) A simple spray table is set-up for gluing the plywood ceiling panels to the foam insulation...

P1090553.JPG

(above) The first panel goes in easy...

P1090555.JPG

(above) After all the plywood panels were installed, it was time to get out the cork...

P1090556.JPG

(above) Next, the cork side pieces were installed...

P1090557.JPG

(above) Before I could do the curb sid, the contact cement tank was empty...Oh well, need to get another one...

P1090559.JPG

(above) Time to shift back to wall prep...The cedar I planed yesterday is laid out for selection before cutting to size...

P1090560.JPG

(above) Wall material almost ready to install..

P1090562.JPG

(above) Finally, the piano hinges for the bed came...I couldn't believe how over package it was...Crazy...
 

Josh_G

Observer
Forgive me if this is obvious as I'm "new" but will leaving the ribs exposed on the interior roof encourage a lot of heat transfer? Or more my concern would be cold in my area. Not sure where this one is ending up.
 

PaulJensen

Custom Builder
?..will leaving the ribs exposed on the interior roof encourage a lot of heat transfer? Or more my concern would be cold in my area. Not sure where this one is ending up.

Hi Josh...

There will be some uninsulated areas on the van... The roof ribs being one of them... Jeannine has lived here in Southwest Washington State for at least as long as she has owned her Sprinter... Just as I have... My roof ribs are also uninsulated and there hasn't been any problems with them being either warmer or cooler than the rest of the vehicle... There is no dripping... Regarding heat loss, uninsulated glass has a much more significant effect than a few square inches of roof ribs... Maybe in other parts of the country covering the ribs would be a valid concern, here not so much... The other factor in the ceiling design is maintain as high a roof as practical and building it this way does that...
 

rockbender

Adventurer
Paul,
Are there any disadvantages in using the 741 contact cement? I'll be getting ready to start my van build #2. I did use a couple cans of Super 77 for some paneling work, but it seems that having the contact cement canister as you have setup would be superior and work fantastic for insulation and such as well as upholstery panels. Will this same adhesive work well for doing laminate countertops as well? I realize the system is a bit of an investment but it seems like would be so incredibly useful for a lot of processes. Any feedback you could share would be appreciated.
thanks!
(the other) Josh G.
 

PaulJensen

Custom Builder
Paul,
Are there any disadvantages in using the 741 contact cement? I'll be getting ready to start my van build #2. I did use a couple cans of Super 77 for some paneling work, but it seems that having the contact cement canister as you have setup would be superior and work fantastic for insulation and such as well as upholstery panels. Will this same adhesive work well for doing laminate countertops as well? I realize the system is a bit of an investment but it seems like would be so incredibly useful for a lot of processes. Any feedback you could share would be appreciated.
thanks!
(the other) Josh G.

Hi Josh...

The only disadvantage for me, is having to drive forty miles to get it... It can't be shipped to a residential address...

Comparing 77 to 741 is a no brainier...77 is expensive in the rattle can size and the strength of the adhesive seems weaker as well... 741 supposedly can cover at least a couple thousand square feet in the twenty pound canister size... I'm dubious about that, but it does seem to last forever...

Cost wise, I think the twenty pound tank is in the $250 range, with the gun and hose costing another couple of Franklins... One nice thing about the gun and hose, the aerosol contact cement doesn't need to be cleaned out of the gun and hose between uses... Even if stored for months... During use, keeping the tip soaking in paint thinner between sprays is important since there is a bit of adhesive that remains on the tip after spraying... Keep that clean and it's almost trouble free...

I use the 741 primarily for building out the rails on the surfboards I build or for those boards built by students in the surfboard workshops... It is also one of the best adhesive choices for plastic laminate countertops... I find I use it for small jobs at least once or twice a week... It's so convenient to just give a couple quick sprays, stick the parts together then put the tip in the solvent and have it ready and waiting until the next time...

Ultimately, if you plan on using contact cement as a primary adhesive, 741 is a great value... Both for materials cost and for time savings...
 

Forum statistics

Threads
189,942
Messages
2,922,552
Members
233,156
Latest member
iStan814
Top