I've got just a couple minutes for some progress pics.
Once the Body was more or less completed. work on the grille and firewall area was to begin.
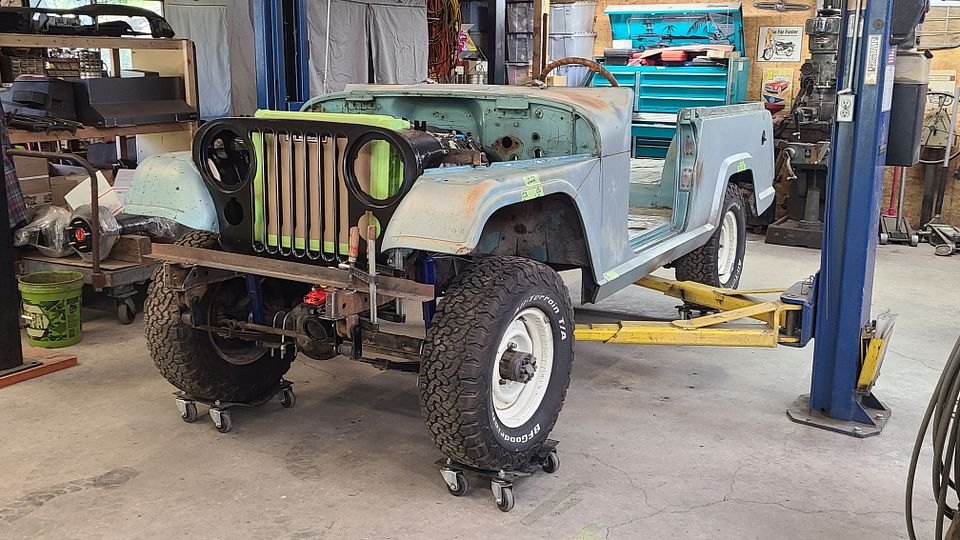
With the Advanced Adapters engine mounts tacked in place, I spent some time fiddling with the hydro boost setup from Power Brake Sales in Sacramento. The stock pedal assembly was modified by cutting off the original mounting flanges and welding on a solid 1/4" plate with holes that match the hydro boost bracket from WFO. You will see three different hydro boost brackets in the pic below, but to get enough room for a pushrod to the pedal, the entire hydro boost unit had to be spaced out from the firewall as much as possible, at least an inch and a half. The holes in the firewall were then welded up and new holes drilled and the unit was mocked up for fitment.
These hydro boost units don't car which way they are oriented, which is good, because to gain clearance at the valve cover, I ended up rotating the unit 180 degrees from what you see in the first pics. Great, now with that figured out, I had to then figure out what I was going to do with the clutch master cylinder. The Jeep master was too large to fit behind the hydro boost, so a new compact Wilwood clutch master was bolted up in the newly cut hole in the firewall. The initial fit was less than optimal, with the oulet port on the clutch master running into the back of the hydro boost unit. But before that could be addressed, I put the body back on the chassis to check how the masters fit against the engine. And then I discovered that the aluminum Corvette master cylinder actually hit the back of the alternator. Ughhhh. Back to the computer and research began for a smaller brake master, which ended up being supplied by Wilwood, this time in a compact tandem unit, which was almost an inch and a half shorter than the Corvette unit. So with a little wiggle room between the alternator and master, I spaced the hydro boost unit further away from the firewall and used a banjo bolt on the outet of the clutch master. This whole scenario was just the beginning of the fitment issues in that area of the body and chassis.
Another mock up was done to figure out what to do with the radiator support/grille shell. Mounting the Advance Adapters sourced radiator to the new CJ grille left me with little room for the intake tube and electric fan. The lower radiator hose outlet on the engine was so close to the port on the radiator, that it would have needed a curly q shaped hose to be able to fit. Again, I moved the engine around a bit to try and gain some valuable room, and finally ended up lowering the motor and trans one inch from where I had them initially placed. This gave me a straighter shot for the lower hose and also a bit of wiggle room at the firewall and brake booster too. But the radiator was still too close to the water pump. I finally said screw it and cut the grille shell into five pieces and got to work whittling it down to size. What I came up with was a radiator support that was shortened an inch, and left me with barely enough room to mount the Vintage Air A/C condenser. But in this game, barely enough is still enough. So with the radiator and A/C condenser moutned up, an appropriately sized electric fan was sourced and test fit. Luckily my measurements were good and the fan fit just fine with room to spare. I like at least 5/8" all around the engine and I now had that between the front of the water pump and the tip of the electric fan motor. Success!!!
Here are the pics of that whole debacle.


.jpg?width=960&height=720&fit=bounds)


