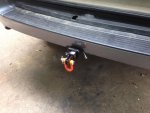
Lexus GX470 Expedition build

boo471

Adventurer
"custom" exhaust.

I have been looking at the stock exhaust. It hangs low and the end pipe goes out straight out of the back and I constantly hammer it with rocks. And you can barley hear the V8 in this thing. So I figured I would address that issue with adding a Flow master super 40 muffler and a customize the piping in the rear. As a plus it seems i got a little better throttle response as well.

I cut out the old muffler and rear pipes.
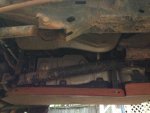
image_zpsb354acff.jpg
image_zpsb3f17834.jpg

I welded on some new piping and mounted the new Flow master super 40 muffler.
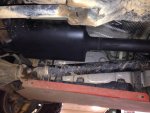
image_zps00c014b4.jpg

Here you can see the new tail pipe. Sitting a lot higher and now exits right behind the rear wheel instead.
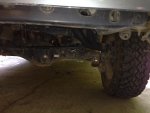
image_zpsb201b228.jpg

And this what it sounds like. Who knew that you can actually make this V8 roar.
 

boo471

Adventurer
Reverse lights and side lights added

I welded some additional tabs on my roof rack yesterday and mounted my reverse lights and side lights/off road lights. Turned out pretty good. Reverse lights give you a good view backwards and the side lights is good to have when driving on the trails night time or when camping. I already have a electrical harness wired up to my RTT ( I will show that in a later post) for LED lights in the tent and for USB charging and 12V power socket in the tent. I will add a second switch in the tent that will kick off all of these lights to use to scare of anyone or anything trying to sneak up on the truck while you are in the tent.

I will give you a few close up pictures on the set up when it's not pitch black outside.

The reverse lights are 2x 10W Cree LEDS. The 4 side lights are 2x 10W Cree LEDS and 2x 19W Cree LEDs.

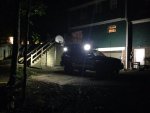
Reverse and side lights on
image_zps66f15417.jpg

Reverse/side lights and LED light bar on.
image_zps815757a1.jpg
 

boo471

Adventurer
Random photos

Here are some random photos of the GX

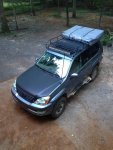
She is resting at home after a day in Uwharrie
image_zpsd68bcc78.jpg

Out for a day trip with the Triad locals
image_zpse93e1b0c.jpg

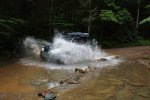
Water crossings are about having enough speed.
image_zps15fe676a.jpg

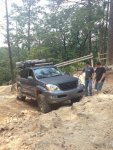
Trying to figure out the best line without killing my front bumper.
image_zps851a93d8.jpg

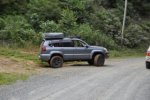
The views weren't great this foggy day on old NC 105 but at least my ride looked cool.
image_zps1496ffaf.jpg
 
Last edited:

boo471

Adventurer
Close up's on roof rack light set up

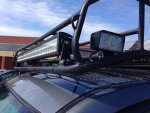
Here are some daylight photos on the new roof rack lights.

2x 19W LEDs on each side in the front.
image_zpsc4ae2cf1.jpg

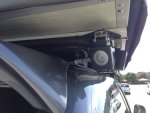
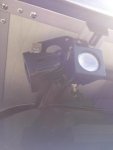
4x 10W LEDs in the rear corners. 2 for reverse lights and the other 2 working with the front side lights.
image_zps26a3cefb.jpg
image_zpsce3dfc5a.jpg
 

boo471

Adventurer
Original build thread

My original build thread started at ih8mud.com. Feel free to go in there to read more about discussions that took place during the build.

ih8mud.com
 

boo471

Adventurer
I like the light set up on the rack. Nice work!

Nice work! Looks great.

Sent from my PC36100 using Tapatalk 2

Thanks. I'm pretty happy with it myself. It's pumping out tons of light now. So that feels good when out driving in the dark.

Dorton, I'm sourcing parts for my front bumper build and planning on starting that with in a month or so I hope. I'll keep you posted if you feel like helping out.
 

dorton

#rockcreekoverland
Let me know. I'd be more than happy to lend a hand.

Sent from my PC36100 using Tapatalk 2
 

boo471

Adventurer
The top of that hill on Dickey Bell does get a little tricky.

Actually most of the hill went fine. It was just this one ledge where I couldn't go straight on without mashing up my front bumper so I had to turn in to it and it got me with 2 wheels on the ground. And with open diffs that can be an issue. But other than that not to bad. It sure was fun!
 

boo471

Adventurer
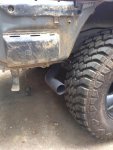
Exhaust build continues.

I did the custom CAT back system of my truck get the exhaust tucked up under the truck close to the frame. Apparently I got it to close and maybe to short so the gases started to melt the rear bumper. So to day I welded on some more piping to get the exhaust tip nicely placed behind the rear wheel. Should still be good enough and not get hit by rocks and the rear bumper should also feel better about the new position.

image_zpsdf1d2046.jpg
 

boo471

Adventurer
Hitch receiver/recovry point.

So I was lacking a hitch receiver on my truck. The OEM bracket is like $160 and will make the departure angle reaaaaally bad. So I decided to by one from Harbor freight tools. Do a cut out in the rear cross member and weld it in place instead. This should be plenty strong enough and it will not effect the departure angle, or at least very little.

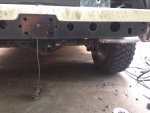
I started with removing the rear bumper
image_zpsc72c72a3.jpg

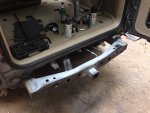
I was then able to remove the OEM mounting bracket for the Lexus hitch. And cut the cross member
image_zps79cbc364.jpg

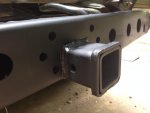
I welded the receiver in place. And sprayed it with zinc primer. I also found some surface rust on the top of the cross member. So I removed it and spray it with zinc primer as well.
image_zps601518b8.jpg

Then a couple of layers of satin black paint.
image_zps1f967d2b.jpg

Taaadaaaa!
image_zpsc0d55717.jpg

I had to do some cut outs in the rear bumper to be able to fit the receiver that far up but it looks pretty good.

///Marten
 
Last edited:

Forum statistics

Threads
188,069
Messages
2,901,847
Members
229,415
Latest member
Gatofoamball
Top