Lexus GX470 Expedition build

boo471

Adventurer
Ram mounts parts on the way

I looking forward to receiving my Ram mount parts today. To mount my iPad and iPhone. I have already fabricated a reinforcement bracket for the mount. Which I hope will make the fixing point strong enough. I will take some pictures of the installation once its done.

///Marten
 

boo471

Adventurer
Navigation set up done.

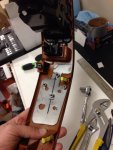
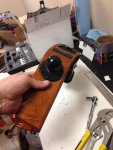
So I got my ram parts today. Took me about 20min to mount everything on the dash. I wasn't sure how strong the dash panel would be but it seems very sturdy with my console on the backside.

Backside with reinforcement bracket
image_zpsf09a4887.jpg

The front with the 1.5" ball mount for strength.
image_zps0bafc91c.jpg

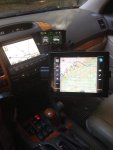
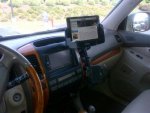
The cockpit set up
image_zps7df0e6ab.jpg

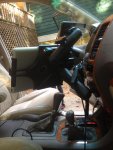
Passenger side view
image_zpsfe20ef0f.jpg

Overall I'm very happy with my new set up! Sturdy, clean and it has all the functionality that I need.
 

DanKunz

Adventurer
I was going to say...I have an ipad mini and like it a bit better than the full size...not to mention it charges easier (my aftermarket head unit charges mine with the USB interface). This is the full size. If you have any wiggles you can use SUGRU to fix it...that stuff is magical. I mounted mine with the ipadholdr.com phone mount into the trim above the glovebox and sugru'd it to the dash. Zero wiggles, even during heavy offroad at Moab, etc.

1000874_10151593935808123_1727418084_n.jpg
 

boo471

Adventurer
I was going to say...I have an ipad mini and like it a bit better than the full size...not to mention it charges easier (my aftermarket head unit charges mine with the USB interface). This is the full size. If you have any wiggles you can use SUGRU to fix it...that stuff is magical. I mounted mine with the ipadholdr.com phone mount into the trim above the glovebox and sugru'd it to the dash. Zero wiggles, even during heavy offroad at Moab, etc.

View attachment 190571

Thats a nice set up. I was looking at the mini but I wanted the larger screen size and felt that I had the space for it. And I love the big screen to be honest. :)
 

DanKunz

Adventurer
I liked the real estate, but I kept dropping the full size since I refused to have a man purse. The mini fits in my cargo pockets so it sealed the deal.
 

boo471

Adventurer
I liked the real estate, but I kept dropping the full size since I refused to have a man purse. The mini fits in my cargo pockets so it sealed the deal.

Man purse rocks :) Well I carry a briefcase back and forth to work and the iPad goes in there on everyday trips (I work all the time everyday, everywhere). Otherwise there is always the option of a lockable hidden storage to store it.
 

NCtrail4R

Adventurer
What maps are you using on your ipad - are there maps available that have topo and rural routes included? I assume you had to download the maps so they're on the device - so no 3g/4g/wifi connection needed?
 

DanKunz

Adventurer
I use MotionX and MyTopo Maps by Trimble.

Both allow regional (you select a map area) wifi pre-downloaded topos. Depending on the level of detail this can be a LARGE download.

They have pluses and minuses, but I have liked the comob. If I couldn't find something on one the other had it. Almost all FS roads and rural routes are in both.
 

DanKunz

Adventurer
They are VERY bright. I have some similar in my rear tire carrier. They are about 5000 lumens combined (2 units).

I would not use them for DRLs as I doubt they are street legal.
 

boo471

Adventurer
What maps are you using on your ipad - are there maps available that have topo and rural routes included? I assume you had to download the maps so they're on the device - so no 3g/4g/wifi connection needed?

Same as DanKunz I use Motion X. You can now add custom maps to the software by adding a server for the maps. Se link

So I got bunch of different maps. Then I normally investigate which map is best for the area I am going to and download it to the device. They don't take up a lot of space but it take a while to download them. But it works very well. On my MAC I use route buddy and google earth to create routes which I export to my iPad and then use in my truck. Pretty slick overall.
 

boo471

Adventurer
How bright are these? I was thinking as using some for DRL's, I have some 2" knockouts where the stock ones would go in my bumper.

Very nice build, it's looking awesome!! :drool:

They are VERY bright. I have some similar in my rear tire carrier. They are about 5000 lumens combined (2 units).

I would not use them for DRLs as I doubt they are street legal.

Yeah they are pretty bright and probably not street legal. But a really good light!
 

boo471

Adventurer
Got to represent!

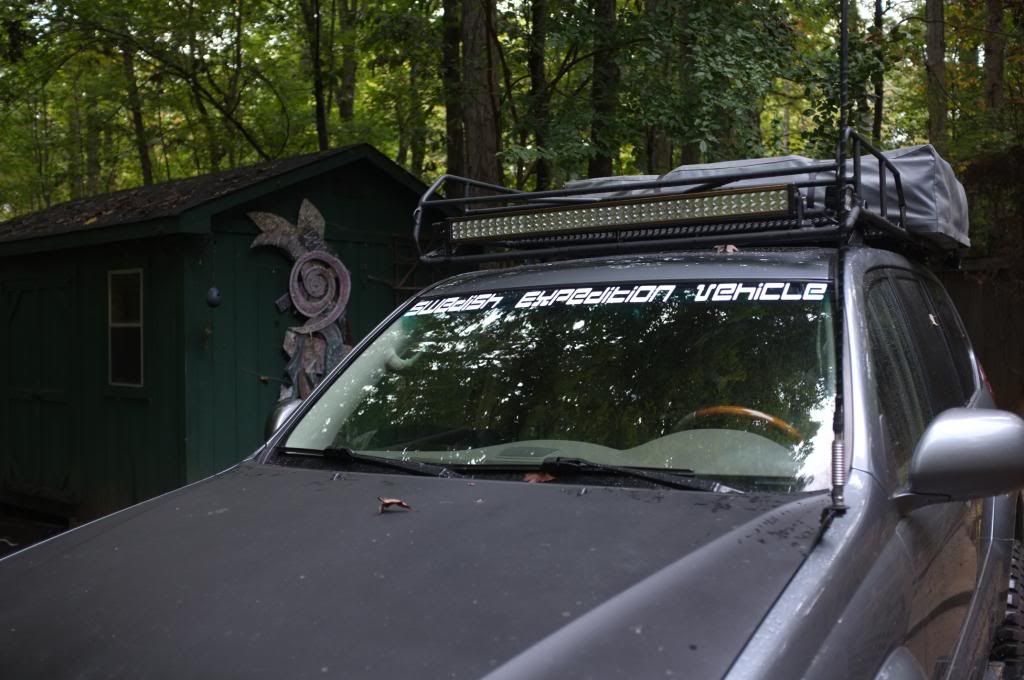
Yes Im a swede and this is a build by a swede. So I got to make the local rednecks aware that a Viking is rolling in the truck behind:D

Bumperbuild11_zps38e03595.jpg
 

boo471

Adventurer
Front bumper build

I finally got around to start my front bumper build. I scrapped the plans for a tubular bumper and will do a sheet metal bumper instead. I don't really have a good reason for that more than I think it fits the truck a lot better.

I thought I will try to do a little write up on this and do more of a step by step on this instead of just presenting some pictures. Just to show everyone that you can do a lot of fabrication in your own garage with just some simple tools and some pieces of sheet metal.

I'll be building the bumper out of 3/16" steel (Because thats what I had laying around the house). And I'll probably use some tubing to create a hoop to attach my 9" lights (A.K.A "Zombie Targeting System on my switch board). And the only tools I'll be using is my grinder, drill, HFT Pipe bender and welder. It takes longer and not as easy as having more advanced tools but it works just fine.

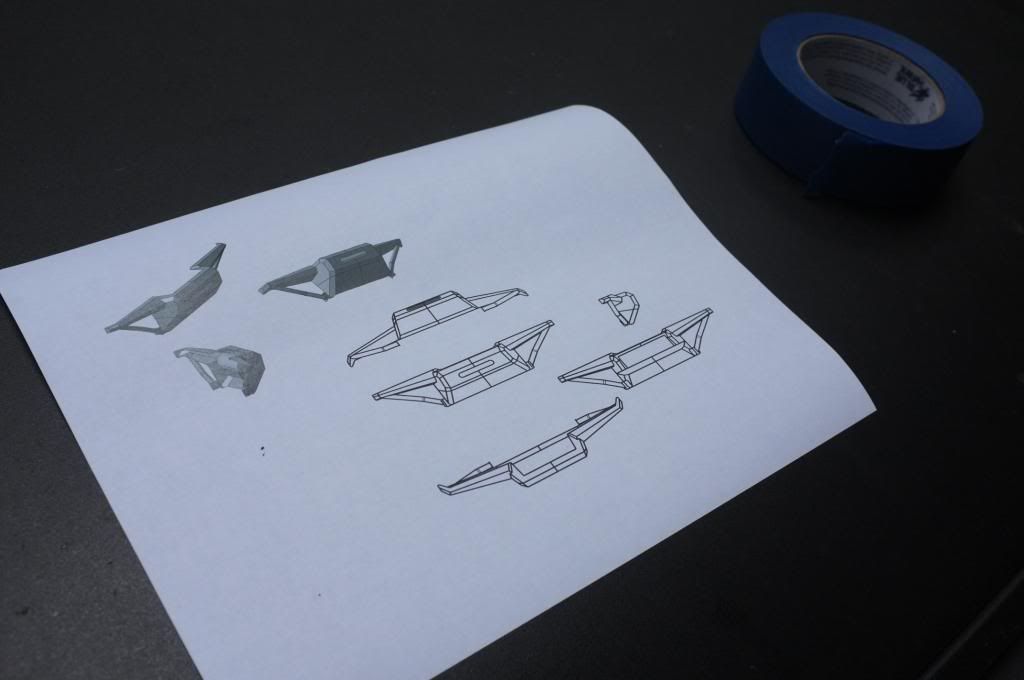
The first step was to come up with a design. I spent a few hours online and sketched some cool design ideas (at least according to me). Once I had a ruff picture in my head I started playing with it in CAD. I have access to Catia V5 at work so I used that. But any software would do or even cooler, a pen and paper.

I created some views on my bumper and printed it for reference. And thats all I will use it for, reference.
Bumperbuild117_zpse317a6f7.jpg


I will mostly create the design as go along. I knew I wanted to get kind of a diamond pattern design on the bumper. Think stealth airplane. I like the triangles and it makes for a strong design as well instead of using long flat pieces.

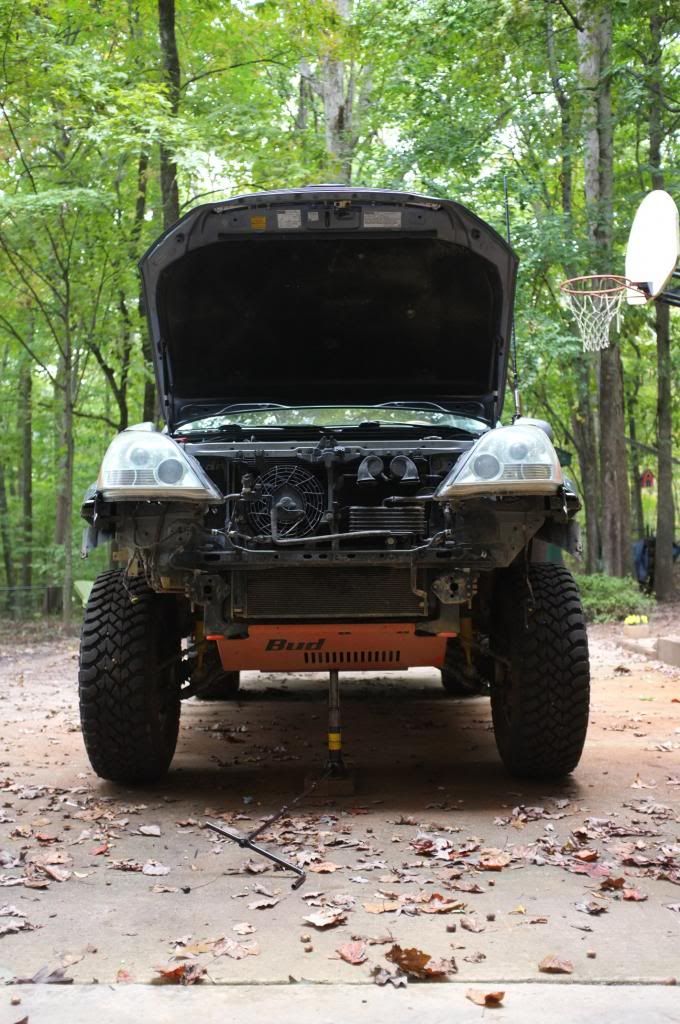
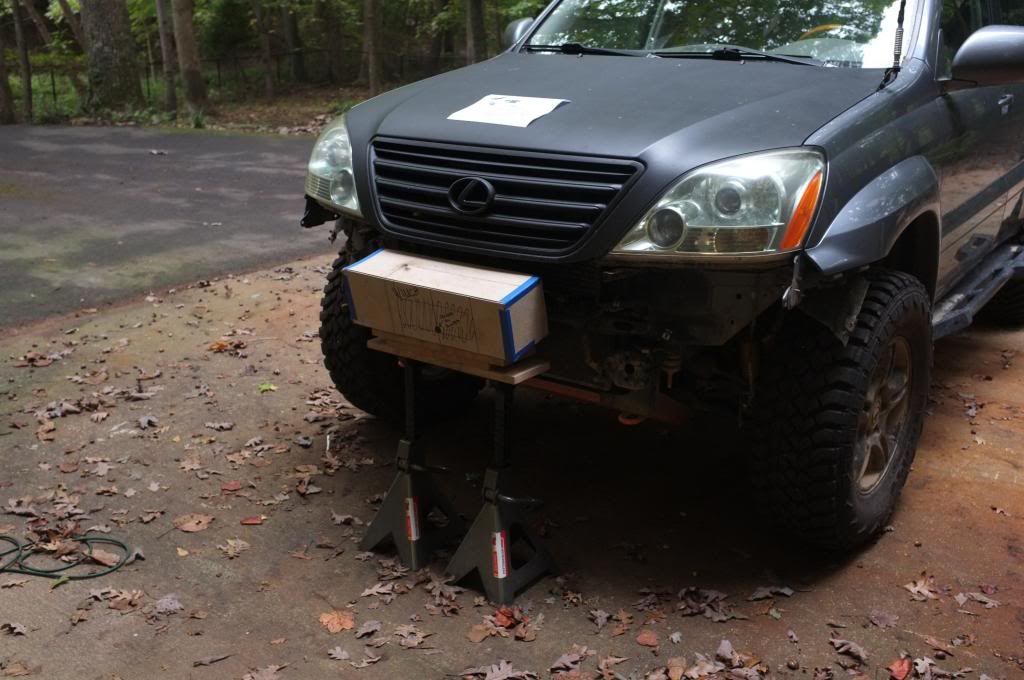
So the first step is to remove the stock bumper. 10min later it will look like this (truck is lifted because I'm bleeding the power steering system, more about that in the text lower down).
Bumperbuild121_zps71b40bd7.jpg


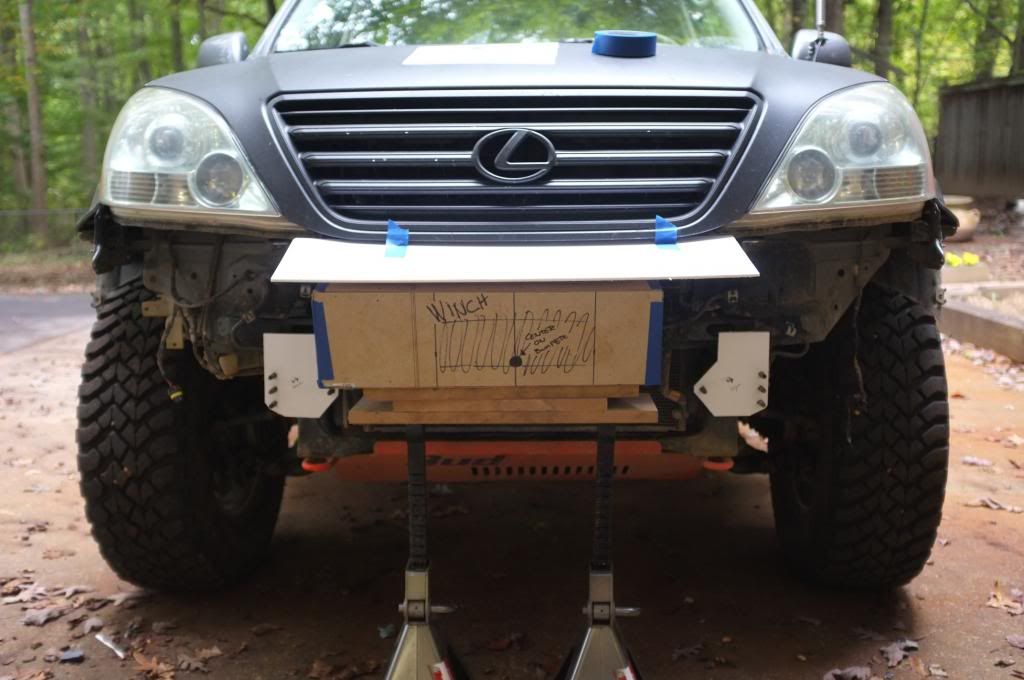
I know that there is a big chance that I will get a winch and mount in the truck. So I had to make room for that. I made my own paper winch mock up to use as help when designing the bumper. Its dimensions is pretty big so I know I will fit most winches once I decide on one.

Here is my awesome winch eyeballed so the roller will be centered on the bumper. Meaning the winch sits a little towards the passenger side.
Bumperbuild119_zpsbac51862.jpg


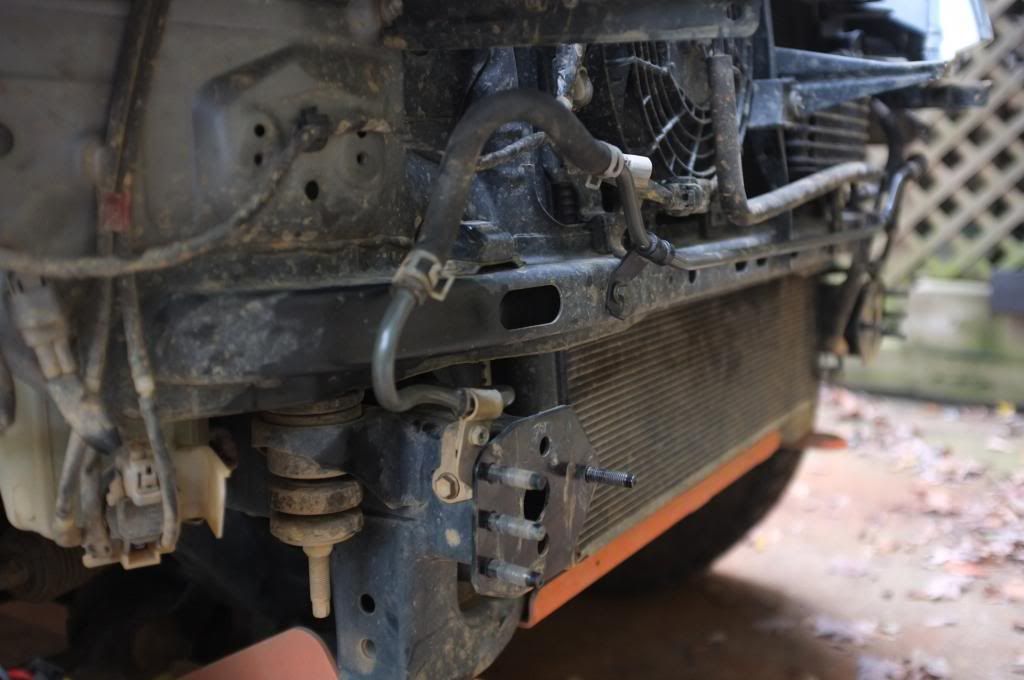
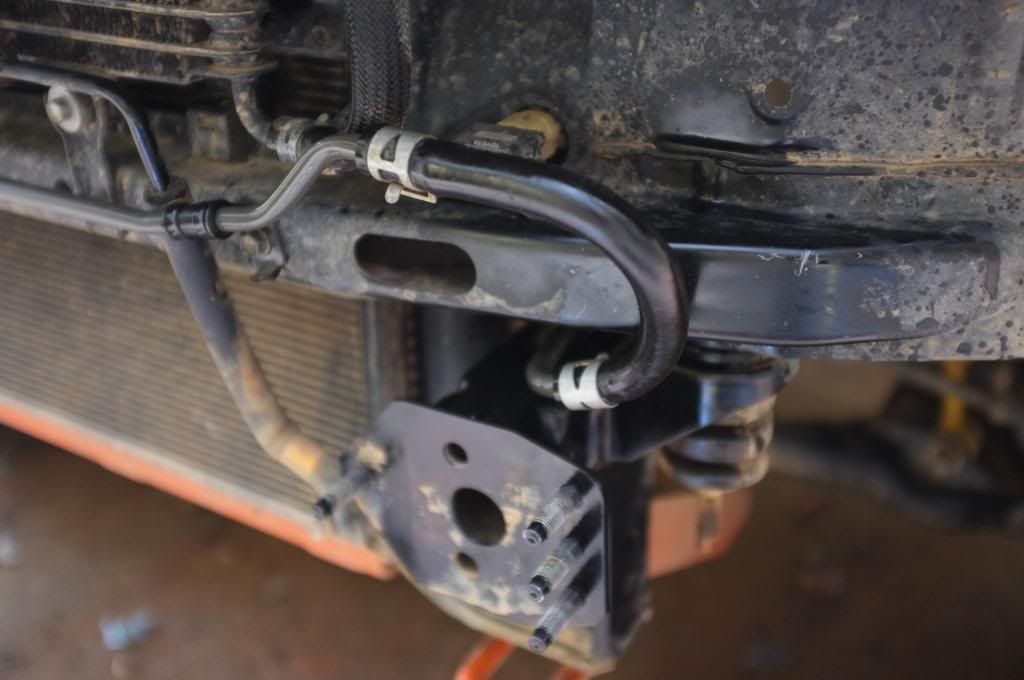
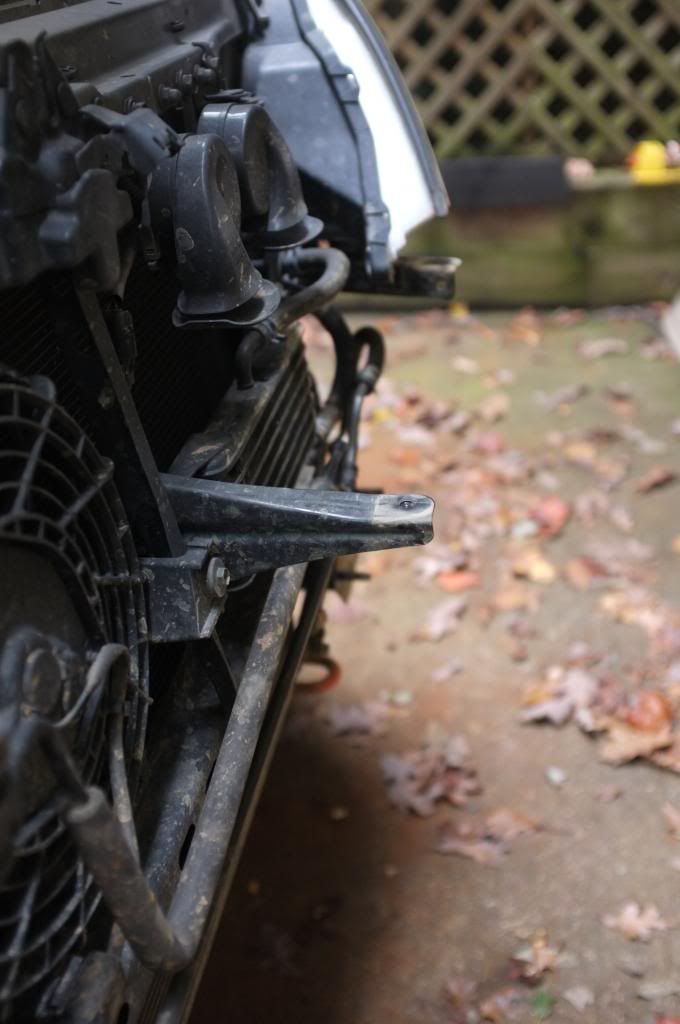
The first thing you will notice when you have your fake winch in place is that there is a lot of piping going on in front of the truck. And I want my winch/bumper as close to the vehicle as possible. So I had to do something about that.

I dont have a before picture but what I did was to gently bend the pipes by hand and tuck them closer to the body. Here is the passenger side.
Bumperbuild123_zps3c70d0e2.jpg


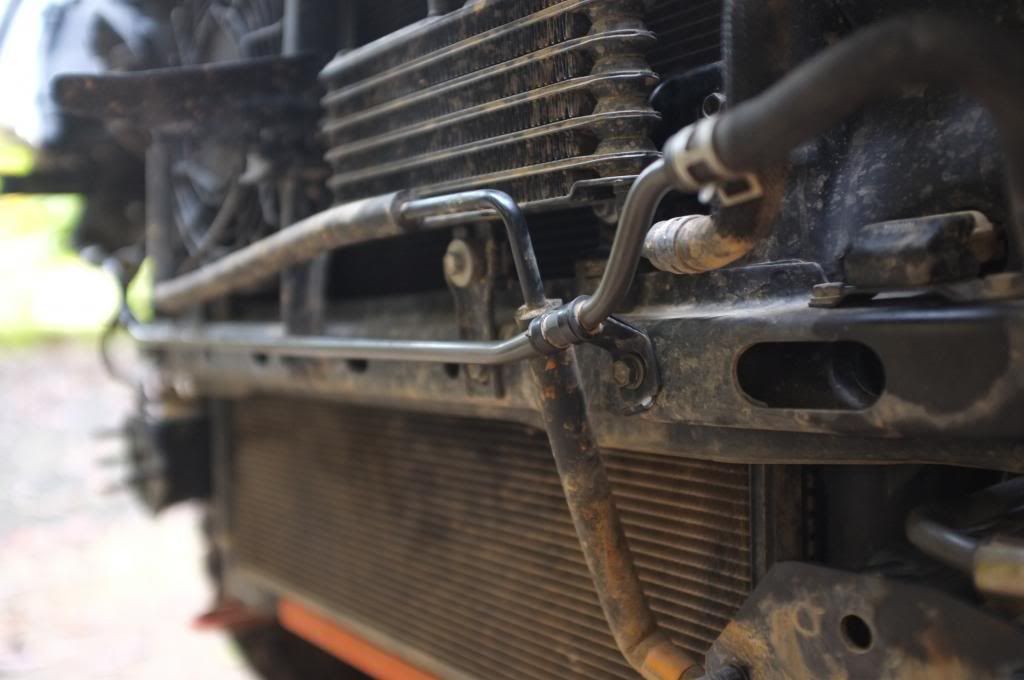
Driver side. I switched location on the 2 pipes so the power steering piping was on the outside holding the other pipe tucked in by the help of the bracket.
The downside with this is that you have to disconnect the hoses and pipes and if you get air in to your power steering system you need to bleed it. its a 20min job and pretty simple. But you need to lift the truck to get the wheels of the ground. But yeah, I had to do this.
Bumperbuild122_zpsaf6fea4e.jpg


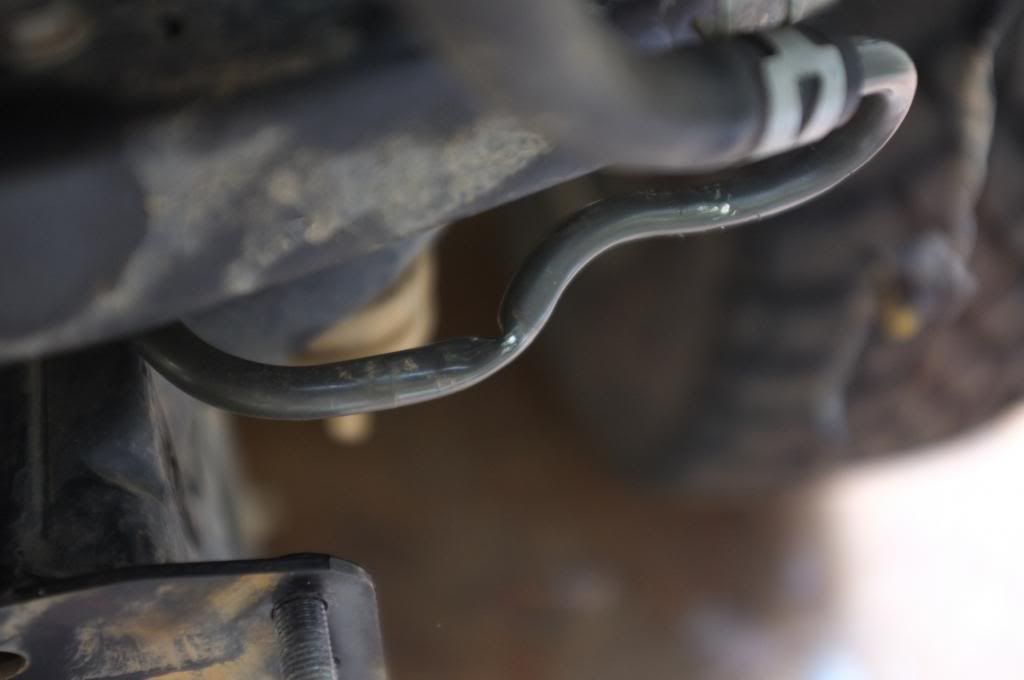
I noticed that I hadn't been that gentle with bending the pipes on the driver side and had a bad kink in the pipe.
Bumperbuild116_zpsd8416f94.jpg

So I cut the pipe of and ran the hose down to the new location. Easy fix, But it meant bleeding the system again :mad:
Bumperbuild115_zps486122a9.jpg


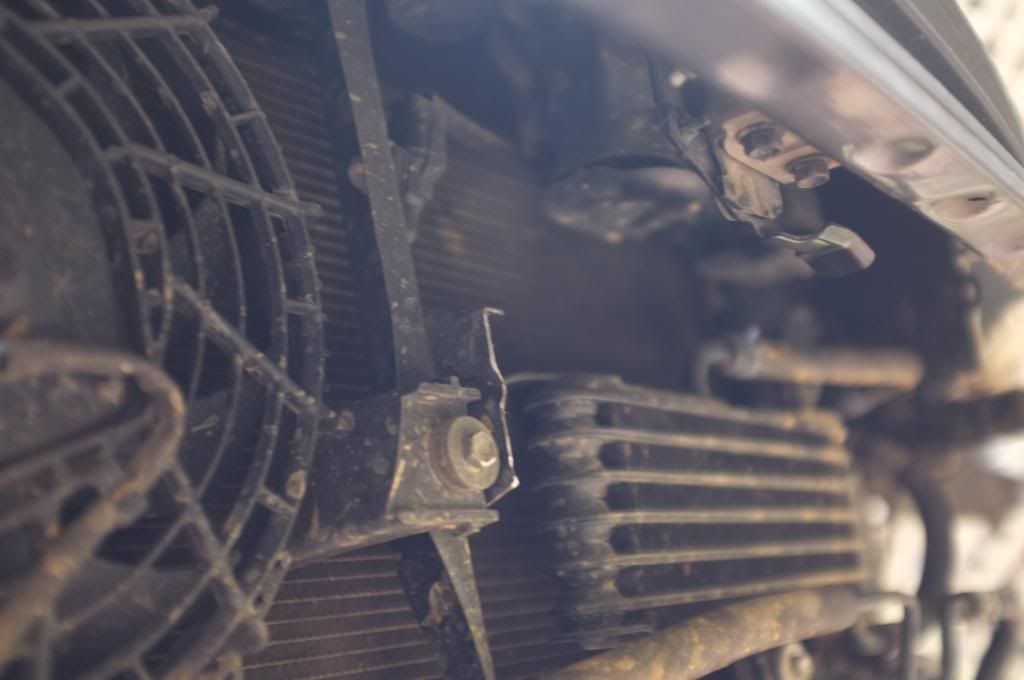
You'll also find some brackets here and there that you might want to remove.
Bumperbuild120_zps0edb6557.jpg

Bumperbuild112_zps920d9ab3.jpg


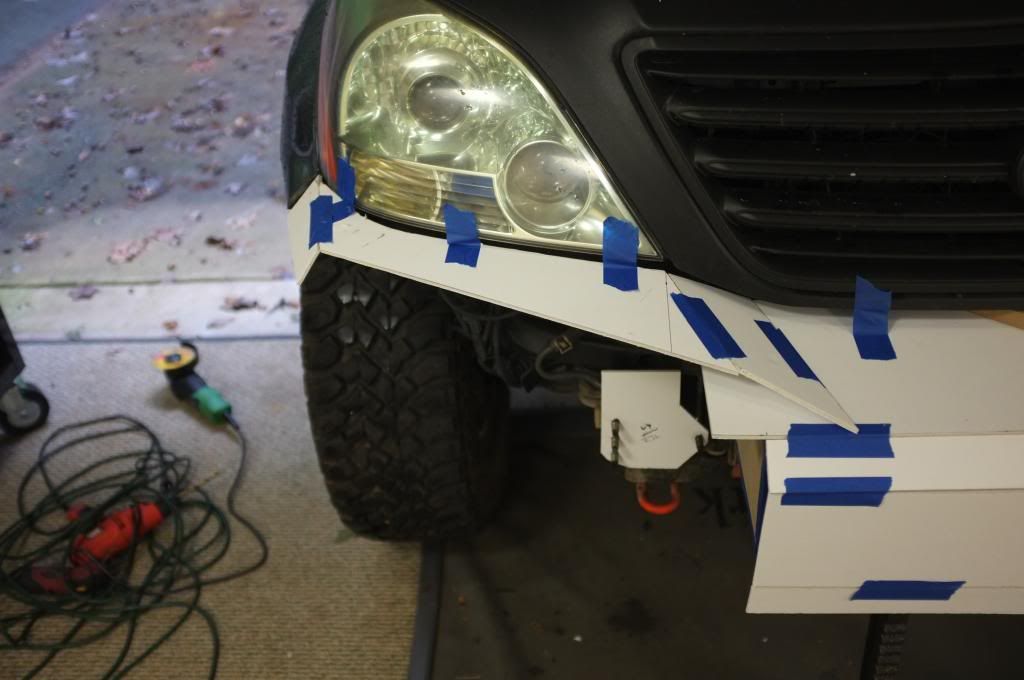
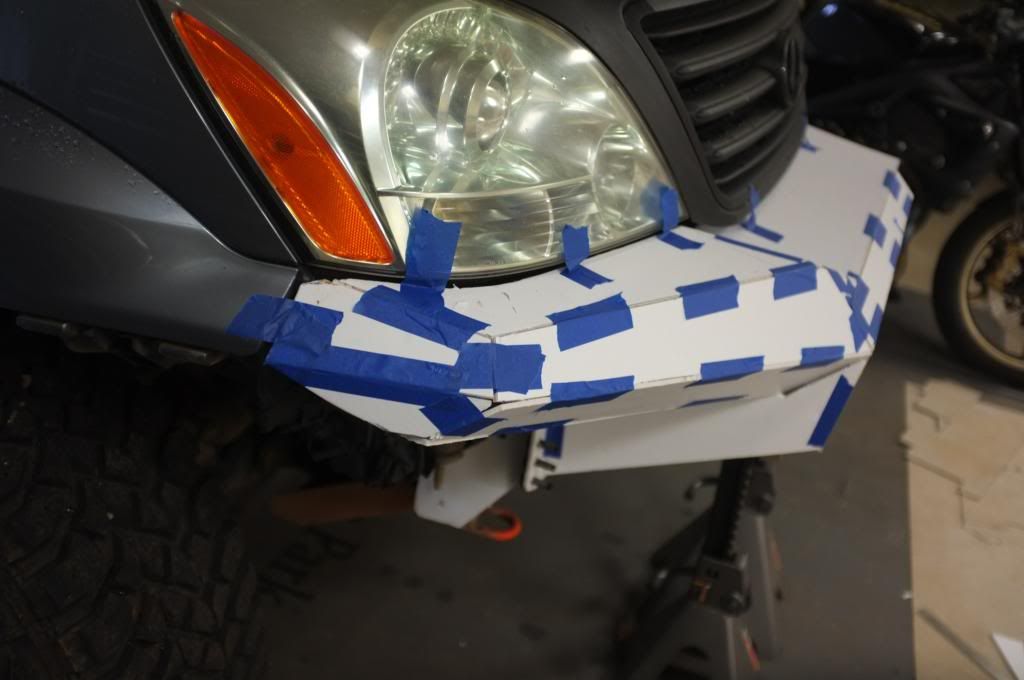
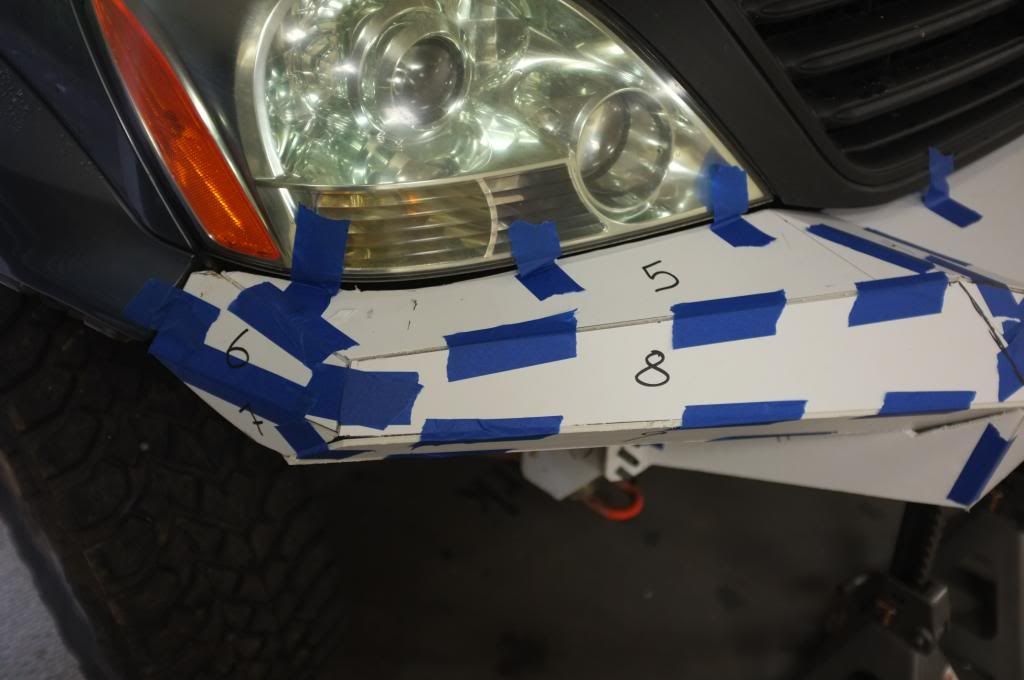
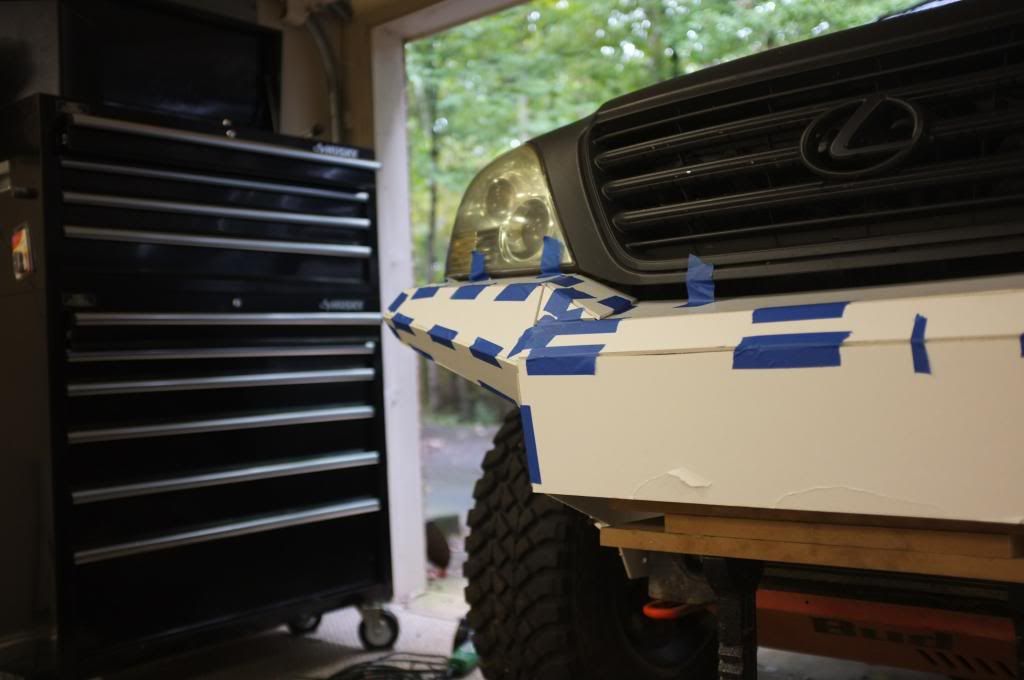
Once you got the front end cleaned up its time for the fun stuff. To start designing your mock up bumper. I used some hard foam paper from office depot. I used cardboard on my last couple of mock ups which is cheaper but this is much better and has similar thickness as my sheet metal.

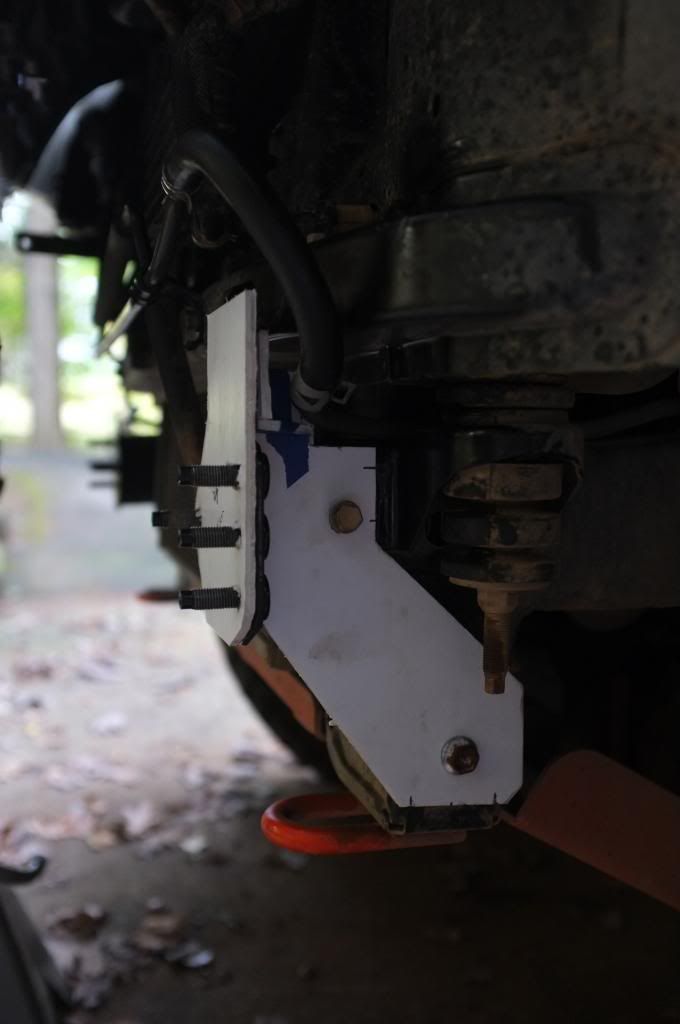
I started with the boring stuff. The fixing points. The reason for that is that it will kind of effect the rest of the design, depending on how I will mount it to the truck. So thats a good place to start. I will use the stock 4 bolts (on each side) that the stock bumper use. But I will also use 2 bolts on the side of the frame and then bolt this bracket to the bumper. A lot of aftermarket bumper for yotas use this and its a smart design that will make it a lot stronger.
Bumperbuild114_zpsad782903.jpg


I will modify the angle of the bracket facing forward and have my skids press up agains these. So they can act as supports when hitting a rock.

Then its on with the bumper itself. I started from the top and worked my way down.
Ruff top plate cut out.
Bumperbuild118_zps6f0d5a2a.jpg


I then moved on with the plating under the lights.
Bumperbuild111_zps83a5c166.jpg


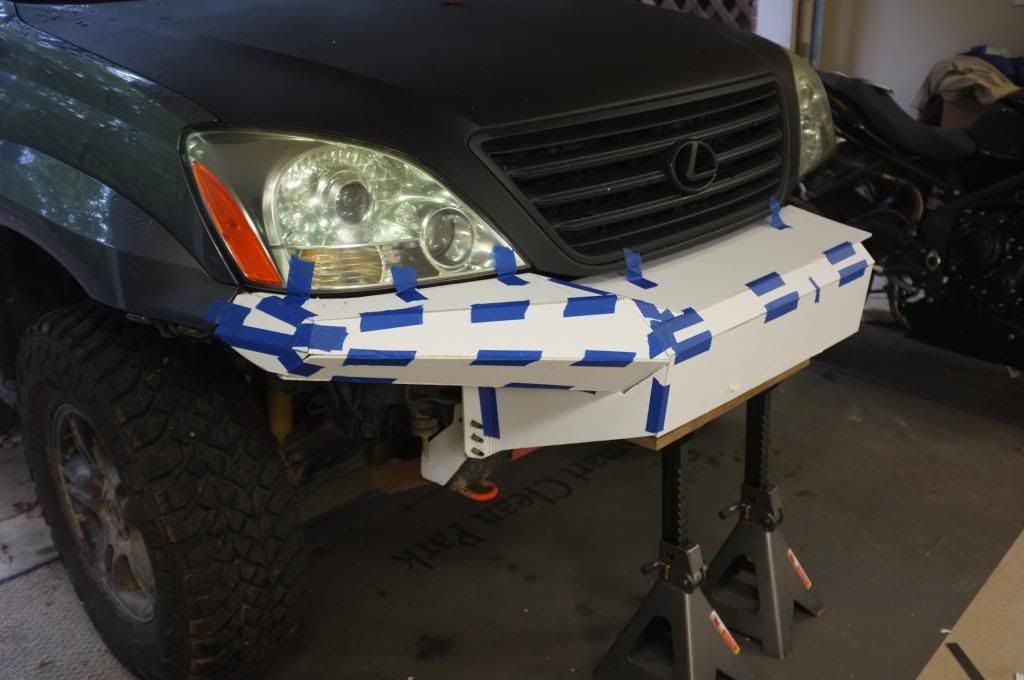
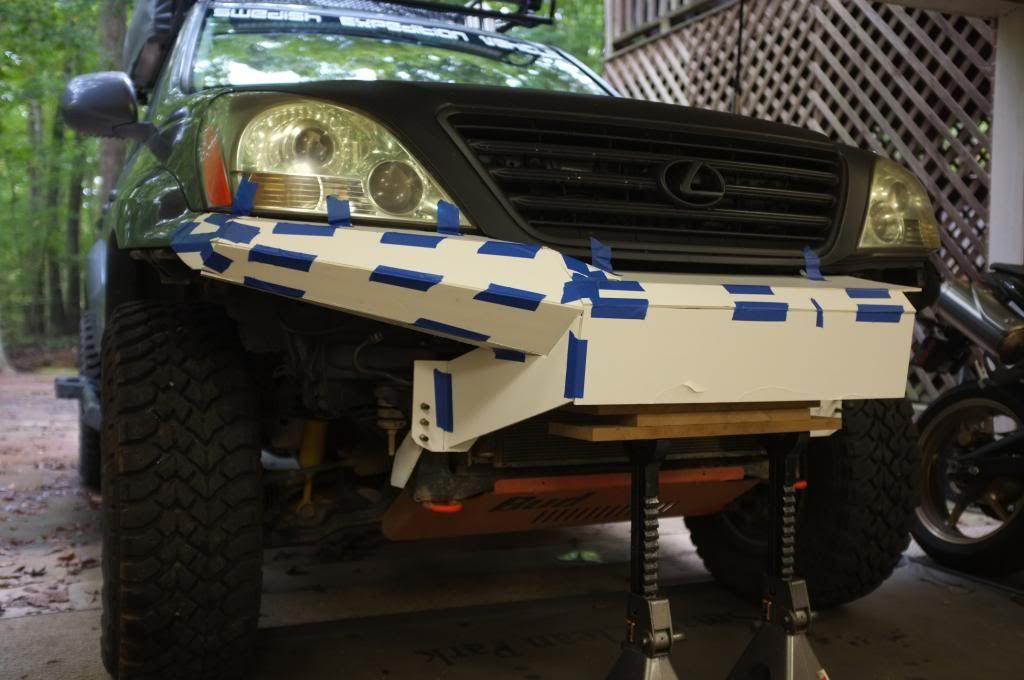
After that I just continued to add pieces to get the look that I was after. I made a piece. tested it. did some cuts to it and adjusted, then on to the next one.
Bumperbuild110_zps8cc564d1.jpg

Bumperbuild19_zpsc286426a.jpg

Bumperbuild17_zpseba59f44.jpg

Bumperbuild16_zps0e8a110d.jpg


As you see I only to one side of the front and I will just cut out doubles when needed for the other side as well. Whats left to do on the mock up is the front skid shape and design for air going in to the cooling package.

I had to remove the mock up to take my truck to work tomorrow. But the last thing I did was to mark all the pieces and take lots of pictures so you know what goes where!
Bumperbuild14_zpsd673df2f.jpg


To be continued.
 
Last edited:

Forum statistics

Threads
188,062
Messages
2,901,752
Members
229,415
Latest member
Gatofoamball
Top