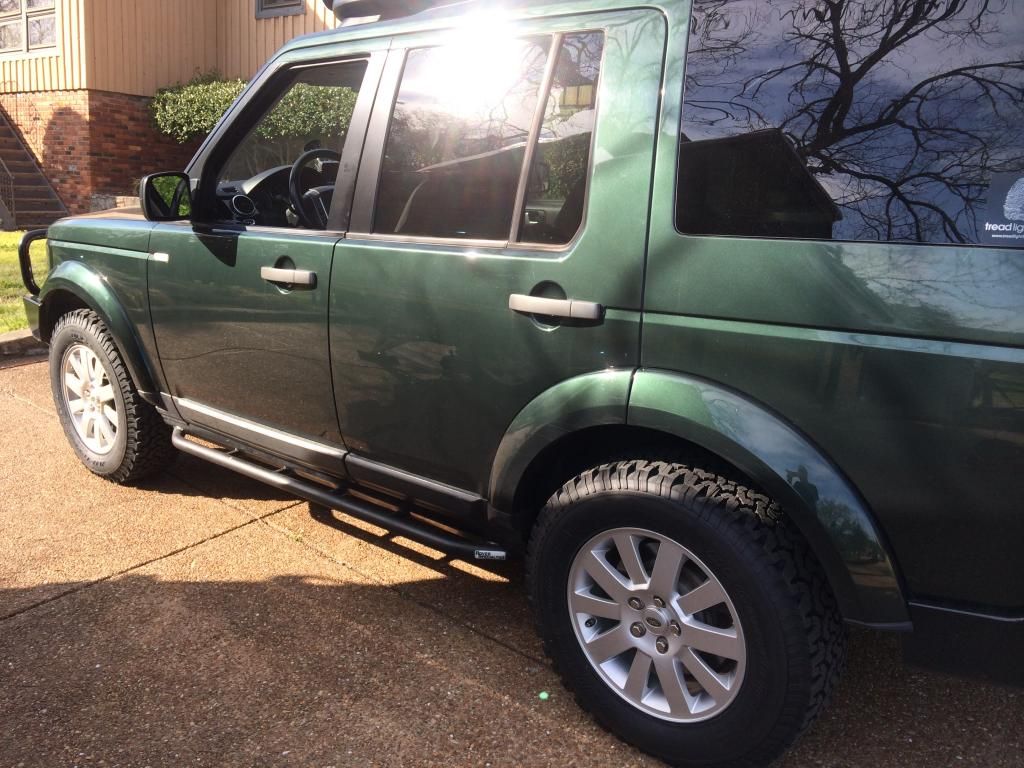
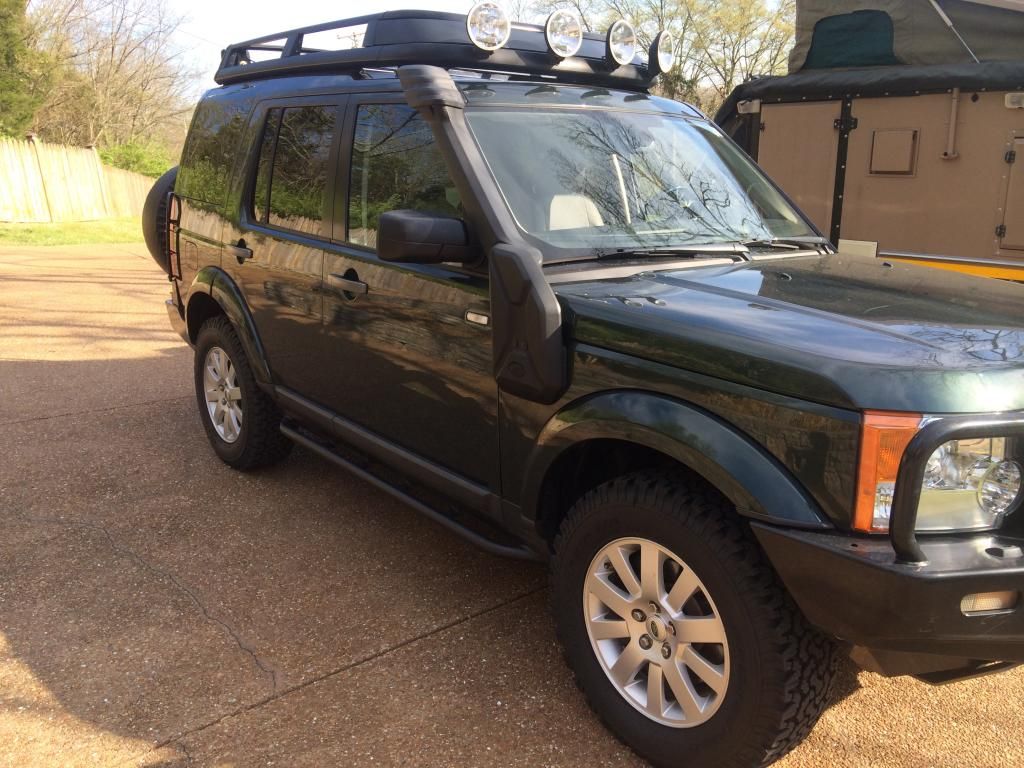
Like A Moth To The Flame- My New LR3

Dendy Jarrett

Expedition Portal Admin
Staff member
Thanks. Those that know me know that if I am still in this truck, that I really like it!
I have ZERO complaints on this truck!
D
 

Dendy Jarrett

Expedition Portal Admin
Staff member
When I first took delivery of this truck a little over a year ago, the BFG's were pretty chewed up. The truck had been owned by a High End Fly Fishing Lodge in Colorado, and the tires had been through some of that rough rock that Colorado's known for.
Also, While I like the wheels that came on the truck, I found for me (because this truck is also a daily driver for me), that they were difficult to keep clean.
I found some very nice 10 spoke flat wheels that were clean take-offs, so I decided since it was time to get new tires on the truck, that I would take the opportunity to change the wheels as well.

Here are the old wheels and tires:


Here are the new shoes and treads! (BF Goodrich All Terrian's 265/65 18's) And may I say: OMG! The ride is some much smoother and quieter. It is as iff the spinning of the tires on the rough rock "burnished" the tires. They were harder and rougher than I realized.

Here is the group of 5 wheels before going for rubber:


There were exceptionally clean:


Newly Mounted!


And a few fews of the truck:


Such a pleasure to drive all newly balanced and fresh rubber!

And honored that the old wheels are going to Scott Brady!
 

Dendy Jarrett

Expedition Portal Admin
Staff member
I am toying with the idea of removing the upper part of the OEM roof rack. It can be done as I have seen it. Leaves a roof rack that resembles the front runner, only a better tight fitting look. Anyone ever done it and if so, what are the pit falls I may run into?

Thanks
D
 

Ray_G

Explorer
I am toying with the idea of removing the upper part of the OEM roof rack. It can be done as I have seen it. Leaves a roof rack that resembles the front runner, only a better tight fitting look. Anyone ever done it and if so, what are the pit falls I may run into?

Thanks
D

My VOT partner did it with his, no issues/significant pitfalls except for a moment mid event when he had the sunroof open and somehow it and the rack hit each other; throwing the sunroof for an issue and deciding it would not close. Thankfully a companion team had testbook or whatever (b/c he wasn't getting anywhere trying to reset with his onboard IID tool) and reset it all. I think there was a more obvious way to fix it in retrospect...my solution was not to wheel with the sunroof open.

Clifford_front_VOT.jpg

I prefer the look, and if I end up with one on my 3 that's what I'd do. Still torn on the rack writ large.
r-
Ray
 

morrisdl

Adventurer
Dendy I considered this too. Looks really good that way, but now I keep a wheel up there for wheeling/camping season. I have read that the top section is under a bit a tension. When removing it tends to pop off. Have a blanket covering the painted parts and a couple sets of hands. I have also heard that its easier to remove the top railing first and leave the vertical sections for removal 2nd. Share pics!
 

SteveMfr

Supporting Sponsor
My VOT partner did it... ...b/c he wasn't getting anywhere trying to reset with his onboard IID tool...
Ray
Hi Ray,
Can you give us a better idea of what the issue was? And why the IIDTool could not resolve the prob?
Scratching my head trying to figure out where another device might be able to do more on a sunroof. The only thing I can think of is that an earlier SW version on the IIDTool may not have had the manual controls to tell the sunroof motor 'move in close direction'.

Or please PM your VOT partner's name so we can follow up.

Regards,
Steve
 

Ray_G

Explorer
Hi Ray,
Can you give us a better idea of what the issue was? And why the IIDTool could not resolve the prob?
Scratching my head trying to figure out where another device might be able to do more on a sunroof. The only thing I can think of is that an earlier SW version on the IIDTool may not have had the manual controls to tell the sunroof motor 'move in close direction'.

Or please PM your VOT partner's name so we can follow up.

Regards,
Steve

Steve-
Was out of pocket yesterday, actually in WVa at my buddies place up there-saw this and asked him "ok, what happened to your sunroof during VOT*"
(*I caveat this, and should have done so in my initial post, because I never followed up with him-while he was dealing with his open sunroof my wife and I were catching up on navigation duties in our truck, figuring out our afternoon plan of attack, getting emails from work telling me I got selected for command, and a number of other things-so I wasn't paying close attention)

John's sunroof hit his roofrack (or something) on the trail and sent the truck for a tizzy. During the aforementioned break John looked for a mechanical or fuse solution to the problem-when I asked him yesterday if he used the IID tool he had onboard he said "oh, no, I never got around to that..." so my supposition was flawed. For what it's worth, I passed along that it could do that if he'd just have tried it-he told me you can also get it to close by just pressing and holding the close button. As it ended up we pressed on for the day and that night when we linked up with the Trevor & Keith from the shop formerly known as Roverlab they sorted it with a laptop solution.

Apologies, and by no means a comment on your excellent product!
r-
Ray
 

SteveMfr

Supporting Sponsor
Thanks Ray - no worries. We are by no means without fault and neither are our products. We do try to eliminate faults from our products, tho. :p

BTW, I'm from Rockville.

Cheers,
Steve
 

Dendy Jarrett

Expedition Portal Admin
Staff member
I spent the afternoon on Monday refurbing the rear Kaymar Bumper. My truck was used prior to my owning it by a fly fishing expedition group and saw lots of hard Colorado trail use.
There was so much red silt in every nook and crevice of the rear of the truck, inside the rear turn signals, all of which had to be cleaned out.

Maintaining your gear can be crucial to the life expectancy of individual parts or the entire truck. If you have priced a Kaymar, you know they are not inexpensive, but the rear protection they provide is unbelievable as well as solving the spare tire issue. That said, because they are not galvanized before they are powder coated, if you chip or scratch the powder coating, they start to rust almost instantly. So, occasionally refurbishment is often the best way to bring the gear back to life and extend its life. It also helps you stay on top of knowing the small things that may need attention on your truck, that might otherwise get overlooked if you weren't paying attention to the details.

My rear Kaymar had become somewhat neglected, and I could tell if I didn't get on it, it was going to start to deteriorate (from a finish stand point).
I contacted the folks at Outback Proven (www.outbackproven.com) and ordered what amounted to a re-furb kit. Included rear LED replacement lights (going to let the dealer replace these), new end caps where needed, rear swing arm pins, and some new decals.

Here is what came:


Here is the tired bumper:


You can see how mangled the rear swing arm pins were:


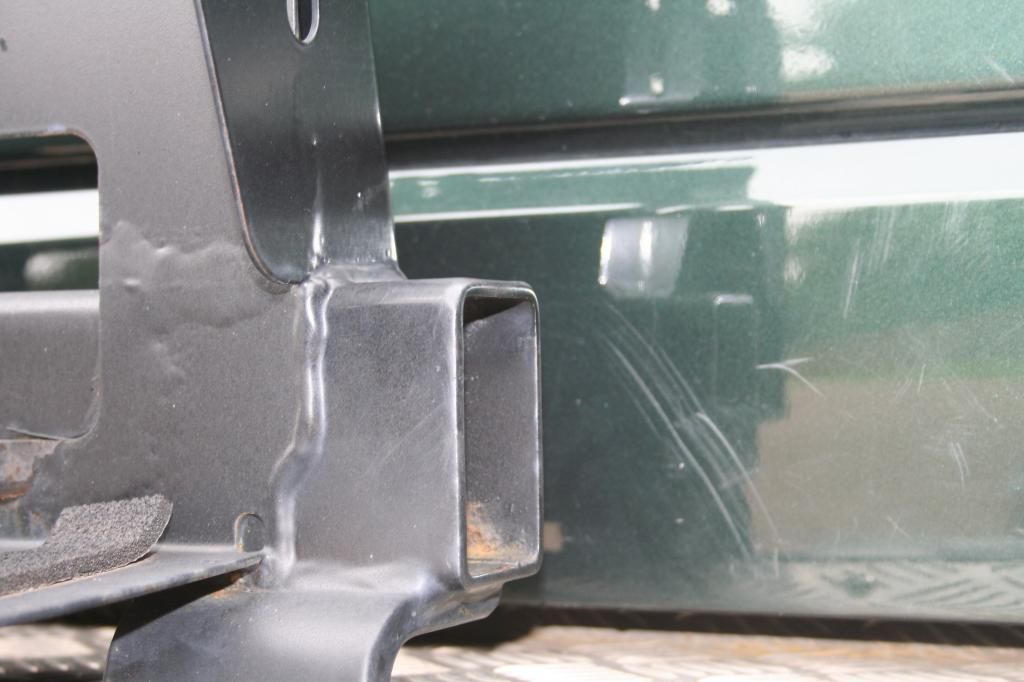
You can see here where one of the end caps was completely missing, and I can report that on the other side, the cap had become warped from a previous attempt to remove and reinstall, and water had gotten into the bar stock, and was rusting on the inside.


Shown here ... you can see that the old indicators have faded from either too much sun or cause of the Colorado silt.
Also, these older ones don't have a place for the rear back up indicators:
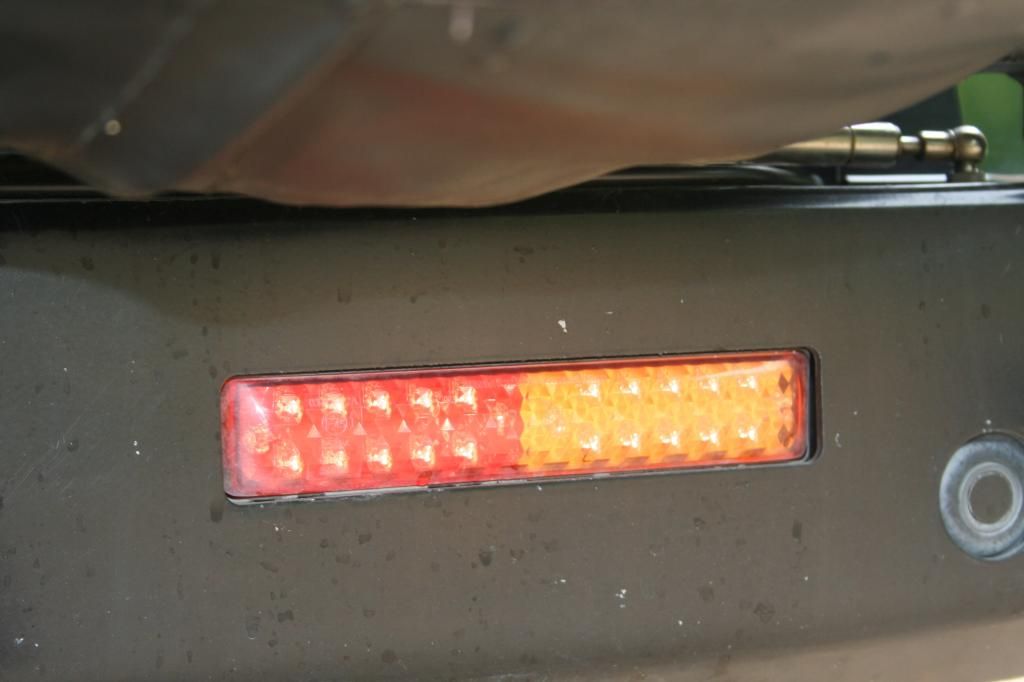


These new lights (that I prefer to let the dealer install) will have back up indicators on them:


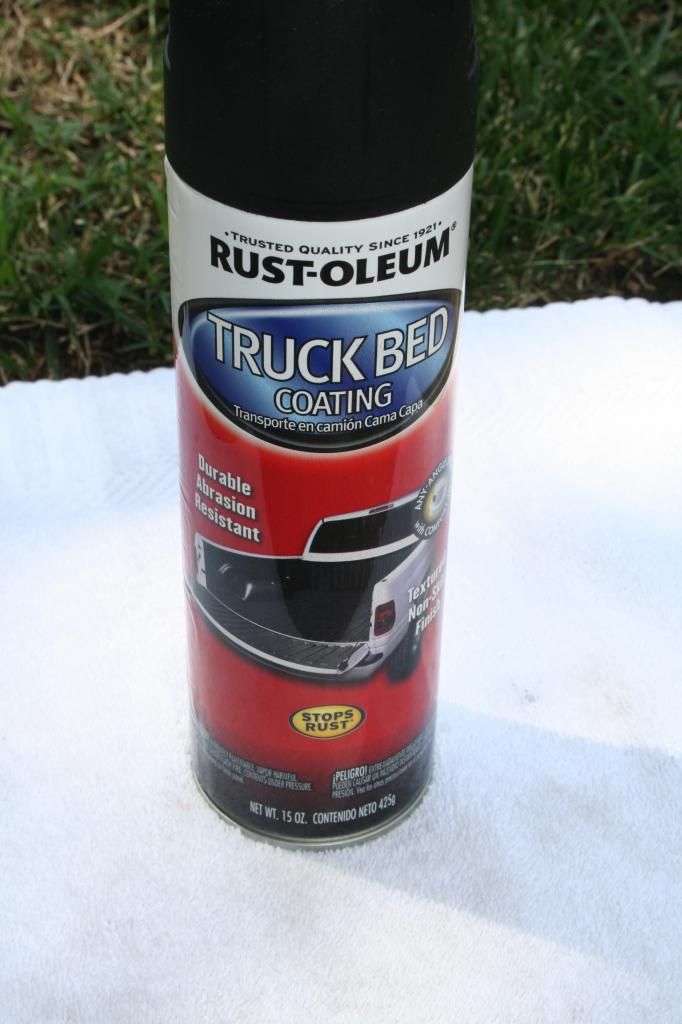
So, to start, I knocked down all the areas of rust and masked off. On the swing arms, I completely coated them with Rustoleum BedCoat product that I have found quite robust and pretty near impervious. I used this to coat my sliders (over the roughed up powder coat). I like it cause it is sturdy, gives some grip, and if it gets damaged or scratched, quick and easy to retouch:


Then I just started removing the swing arm pins.
To give you an idea of just how mangled these were:


Then all the end caps (4 total). They were clearly letting water in. I cleaned the inside of the tube that was rusting and coated it with the BedCoat. Then covered the end cap push ends with silicon gel to prevent more water.
Here is a good idea of how deformed these had become. Something so simply to maintain but often overlooked!


Then I masked and used Galvanize Rustoleum to take care of some decay on the release hinges and then used Plasti-coat to repair the hand grips:
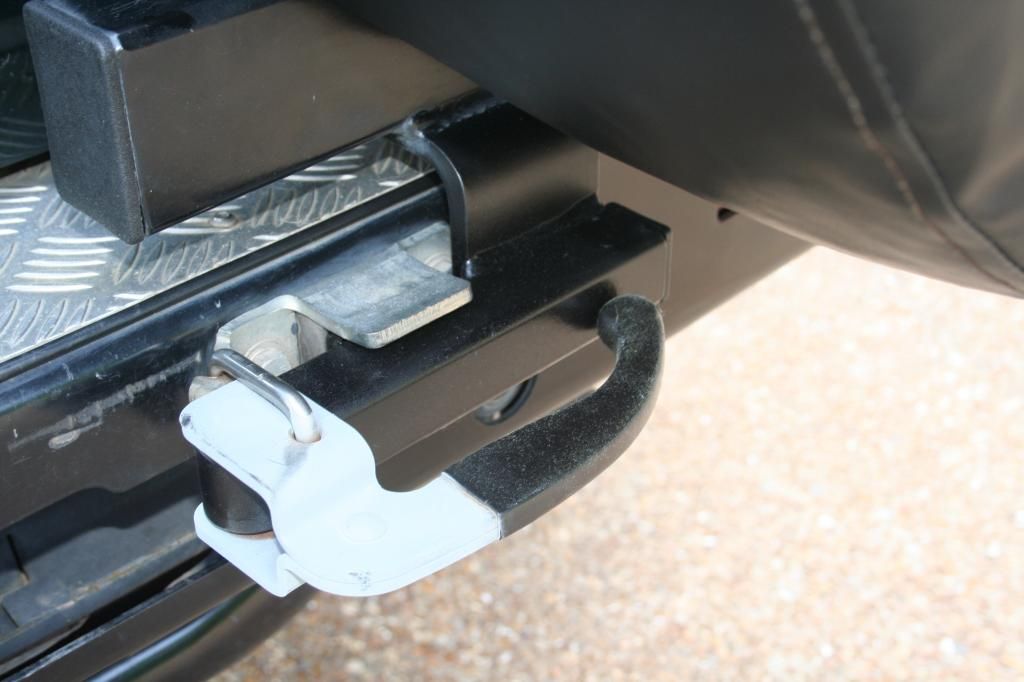


So, I touched up all the areas of concern, lubed the swing arms, replaced the swing arm pins, all four of the end caps, re-decaled, and waxed up the bumper. As mentioned, I'll let the dealer do the rear light install (just due to the wiring to the reverse lamps). All in all, I think it turned out great.


I also created a separate thread here:
http://www.expeditionportal.com/for...r-Bumper-Refurb-Project?p=1592451#post1592451

Thanks
D
 

Finlayforprez

Observer
I just posted on your other thread, but was wondering about your front ARB bumper and the non-ARB sump guard/skid plate. I am currently using the ARB provided middle skid plate, but I have a much nicer front plate that I had before I got the ARB and noticed you had one as well. Did you just not use the middle plate? Since the 2 side pieces attach to the middle plate, did you attach them to the new middle piece? Sorry if this is confusing, but just curious.
 

Dendy Jarrett

Expedition Portal Admin
Staff member
The bumper was on when I got the truck as was the skid. (in other words, the fly fishing expedition crew had done all of the up fitting through Land Rover Roaring Forks)
The dealer hates the front skid plate because it must come off to change the oil filter.

D
 

Forum statistics

Threads
186,698
Messages
2,889,073
Members
226,872
Latest member
Supreet.dhaliwal

Members online

Top