wreckdiver1321
Overlander
Got my underhood wiring finalized!

It took me a while to get everything squared away, namely the relay block and interior wiring, but it's all sorted now. You can see I've made everything able to be disconnected, and everything is labeled. I've color-coded each circuit in a roundabout way. The wires going to the switch and the accessory are given a certain color that corresponds to the accessory. The fog light circuit is brown, the off road lights are yellow, the air compressor is blue, and the backup lights are green. The power and ground wires on the relay and the switch are all red and black, respectively. Everywhere the wires went, they were either taped or ran through wire conduit and secured with zip ties. I wanted everything to be as clean as possible. Turns out it's a lot of work!
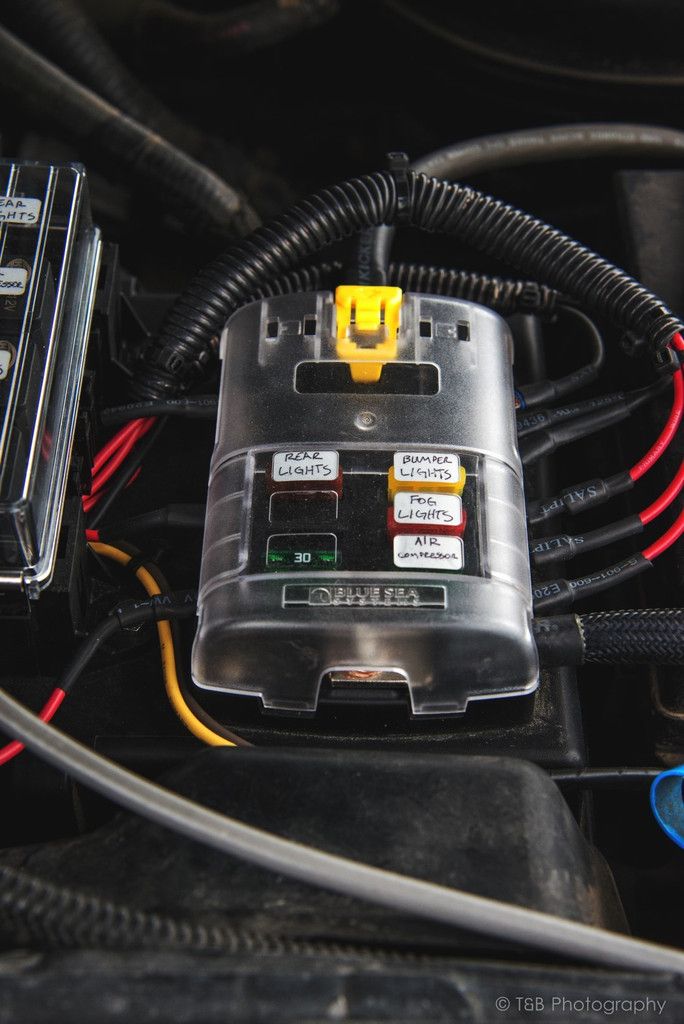
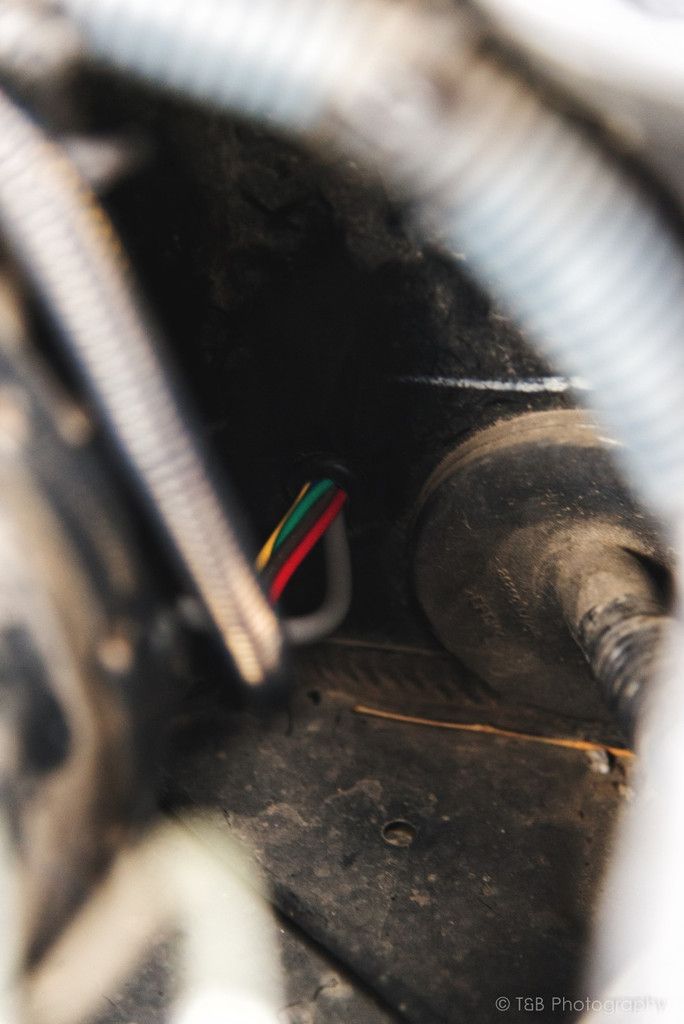
I don't have anything connected to the compressor or backup light circuits yet, but the wires are in place for the accessory and the switch when it's time to add them. When I was done building this, I ran the wires through the firewall. The hole I used was already there from the factory and accommodated a grommet that was the perfect size for all the wires I needed to run into the cab (4 14AWG accessory wires, 1 14AWG power wire, and 1 CB radio cable).
After doing this, I installed my OTRATTW switches in the factory switch blanks.
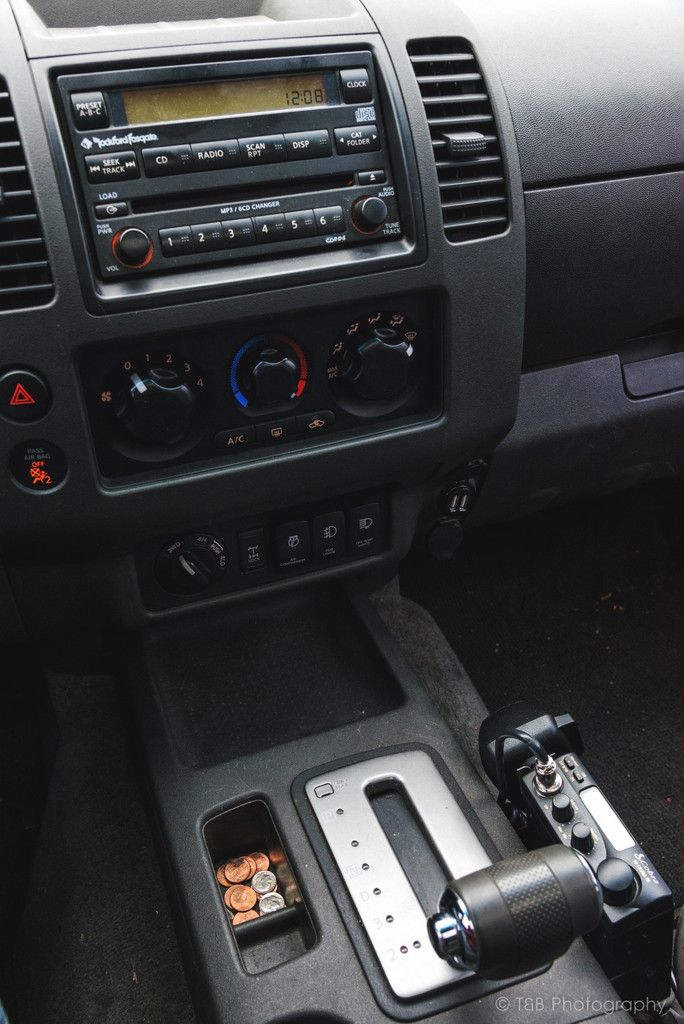
I'm super happy with the way these turned out. It looks really clean, almost factory. If you're not looking for them, you'd never know they were there.
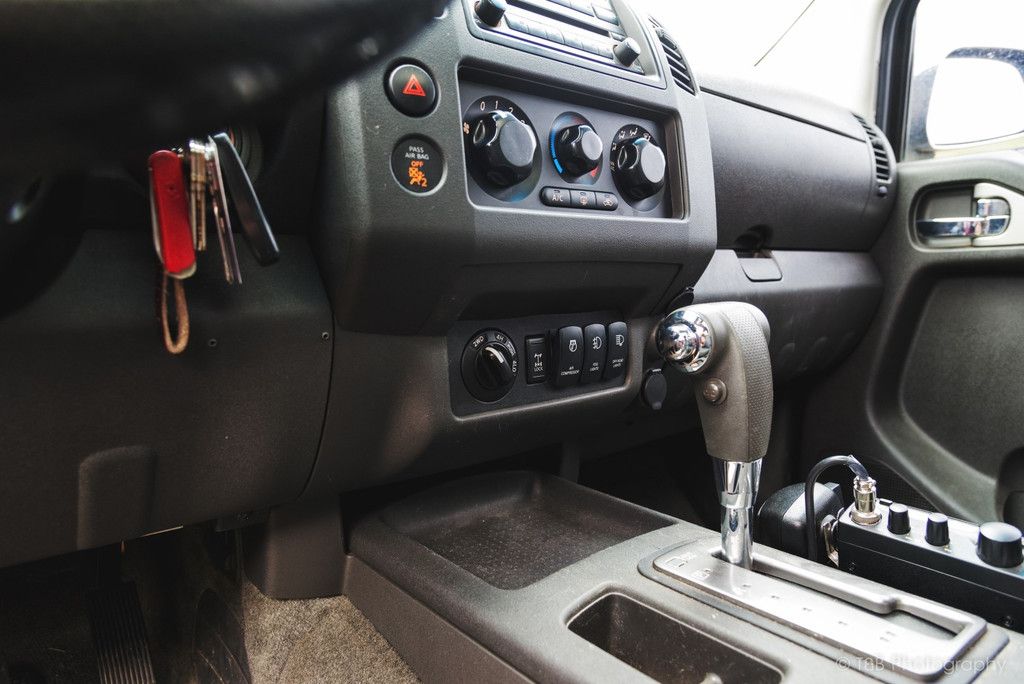
The quality of them is awesome. They make a very positive "click" when you flip them, and they illuminate when switched on. The symbols and writing on them isn't just painted, it's etched. My factory locker switch isn't even like that.

After I had installed the switches, it was time to tackle the wiring under the dash. I mounted a dual power bus and a small fuse box just below the dash on the driver's side. I ran the red power wire to the positive side of the bus and grounded the other side. I used these for the power and ground points for the switches. The fuse box sits in between the positive bus and the switch to prevent the switch getting fried. In this picture you can see the accessory wires coming into the cab and going to the switches (I don't have a reverse light switch, which is why the green wire goes nowhere.). You can also see the CB cable and the power wire going to the mounted Blue Sea dual bus.
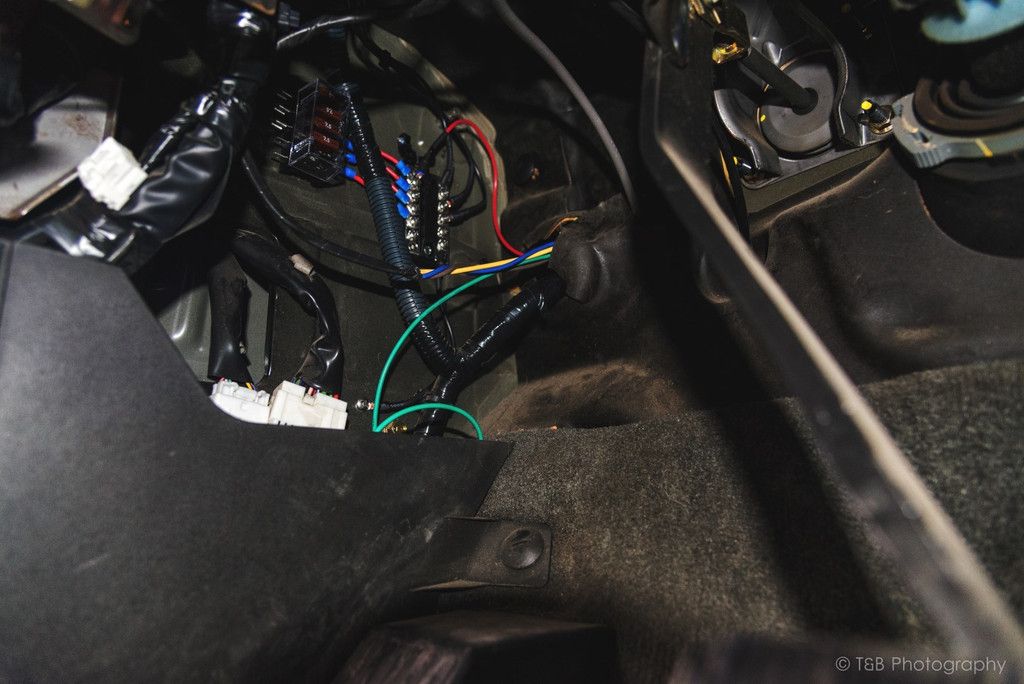
I'm really happy with the way the wiring turned out. I think it looks pretty good, and it's very clean. Everything is organized and out of the way but easy to access if I need to. But now for the cool stuff...
The wiring allowed me to add a set of Hella Rallye 4000 auxiliary lamps. I got one Euro beam (driving pattern; kind of wide and long distance)...
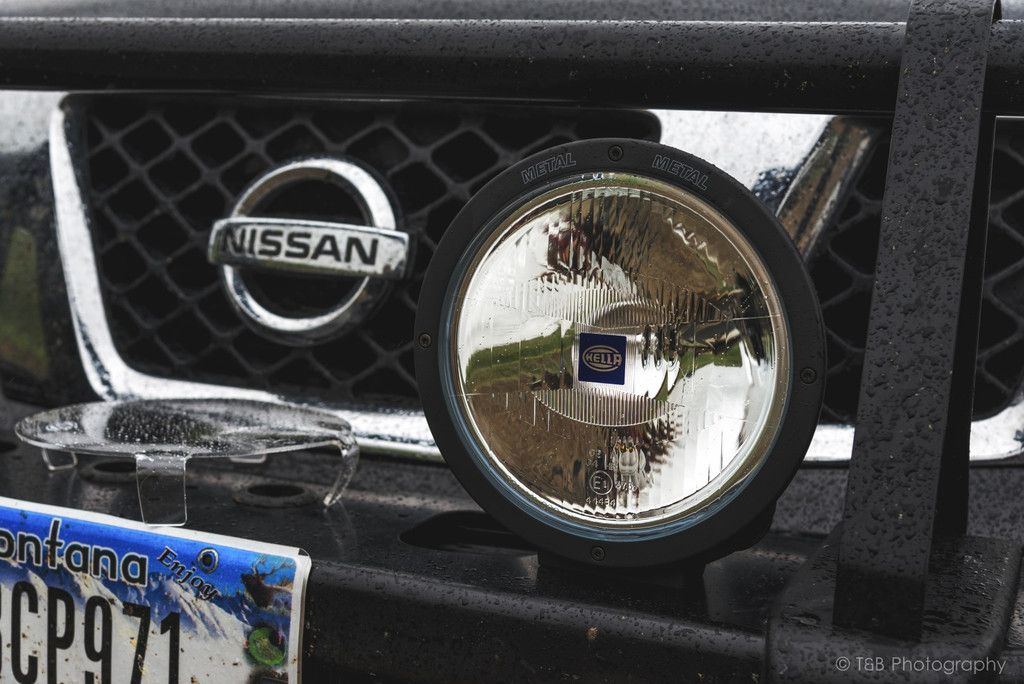
...and one cornering beam (spread beam pattern; wide and short distance)
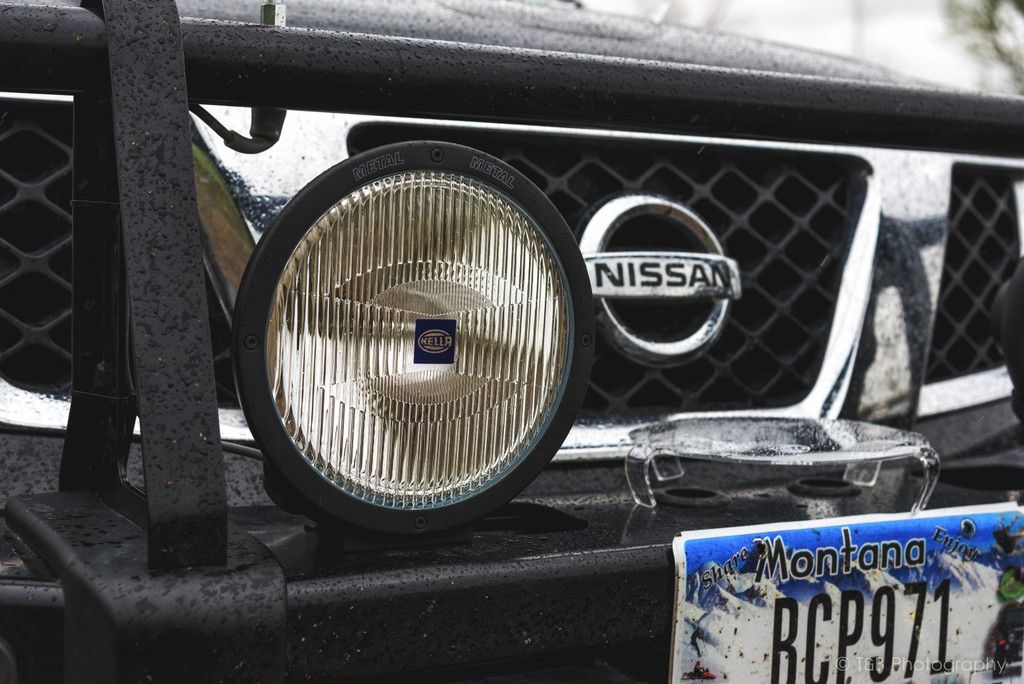
This setup gives me the best of both worlds. I have a very wide light that gives me vision off to the sides of the road, and I get some enhanced distance vision. The cornering beams nearly triple the distance I can see side to side, and the Euro beams just about double my visible range. Perfect for the kind of conditions I'll be driving in at night, where deer and elk are the most common problems.
These lights are extraordinarily well made. The housings are very nicely coated, and the beam adjustment system is pretty clever. My only complaint is that the cornering beam came with a plug for the wiring pigtail, whereas the Euro beam simply had the wiring come out of a rubber grommet on the back of the light. A very minor annoyance, but it's there. Otherwise they are fantastic. I'm really pleased with the overall quality from them, and their light output is awfully hard to beat.
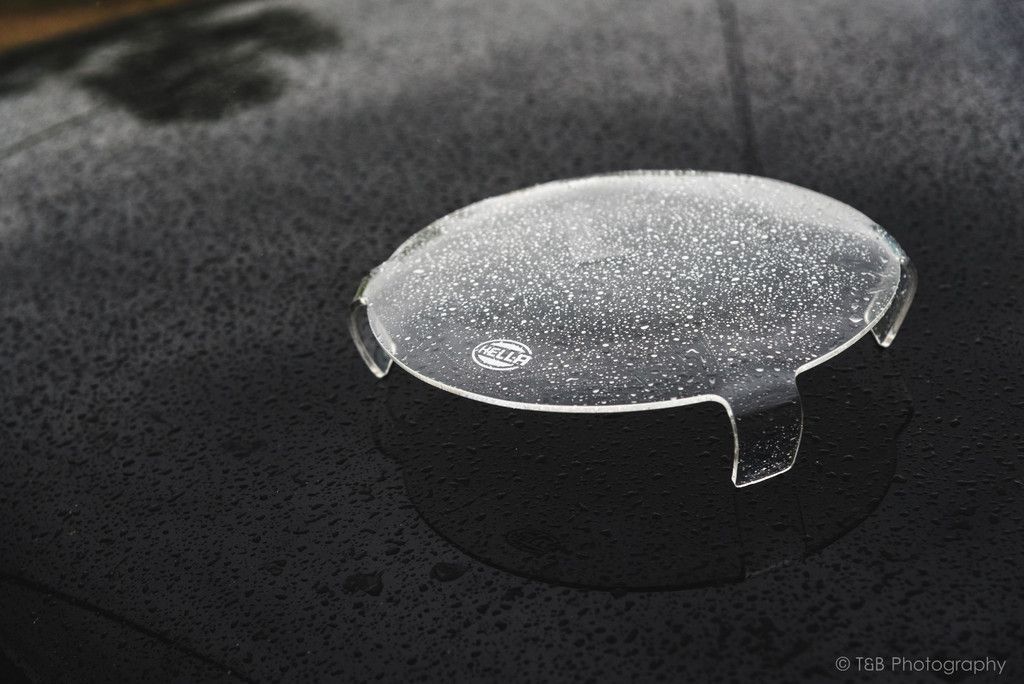
To protect the lenses from damage, I got a set of these clear acrylic covers. With these, I don't have to worry about uncovering the lamps when I want to use them or about impact damage. Plus they look pretty cool
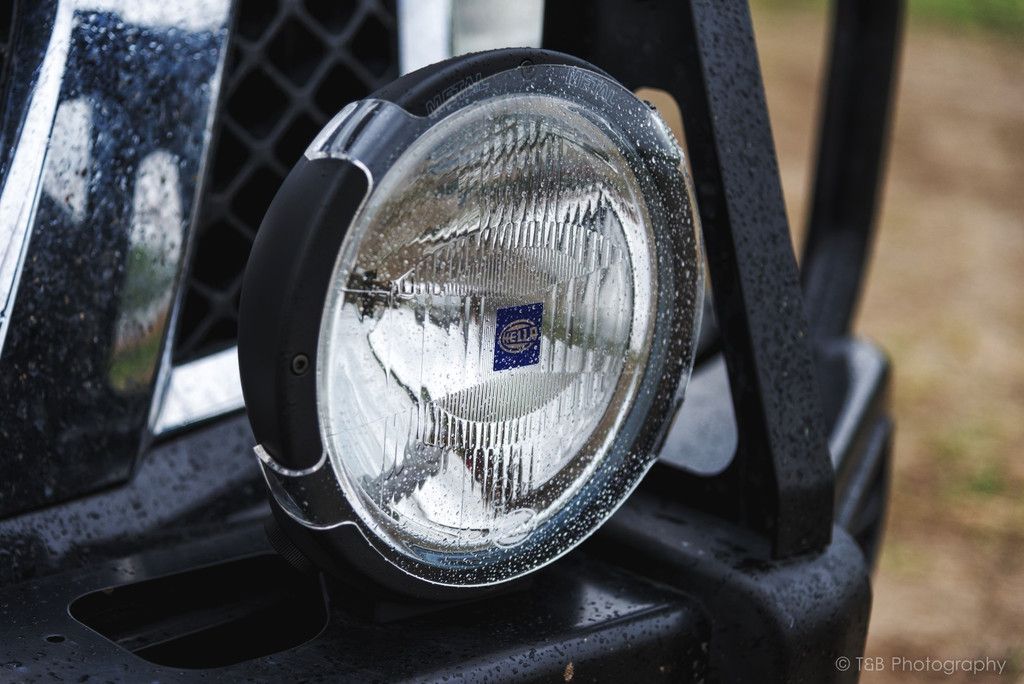
These lights really cool on the truck. They are a pretty good size at 8.75", although they are kind of dwarfed by my large ARB bumper. But they definitely add a bit of the touring/overland style.
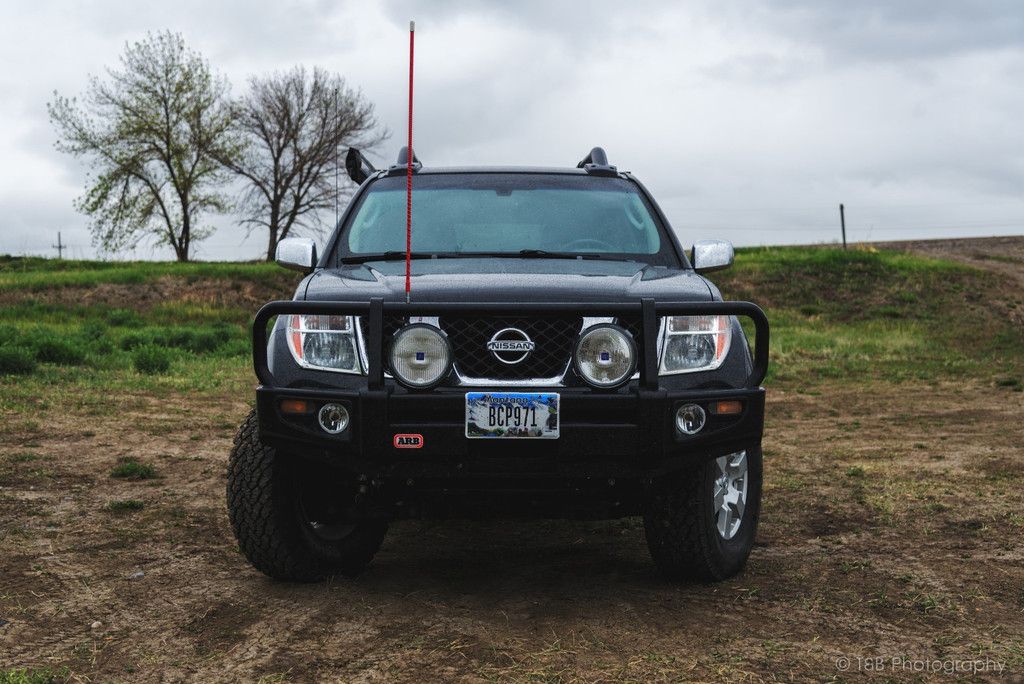
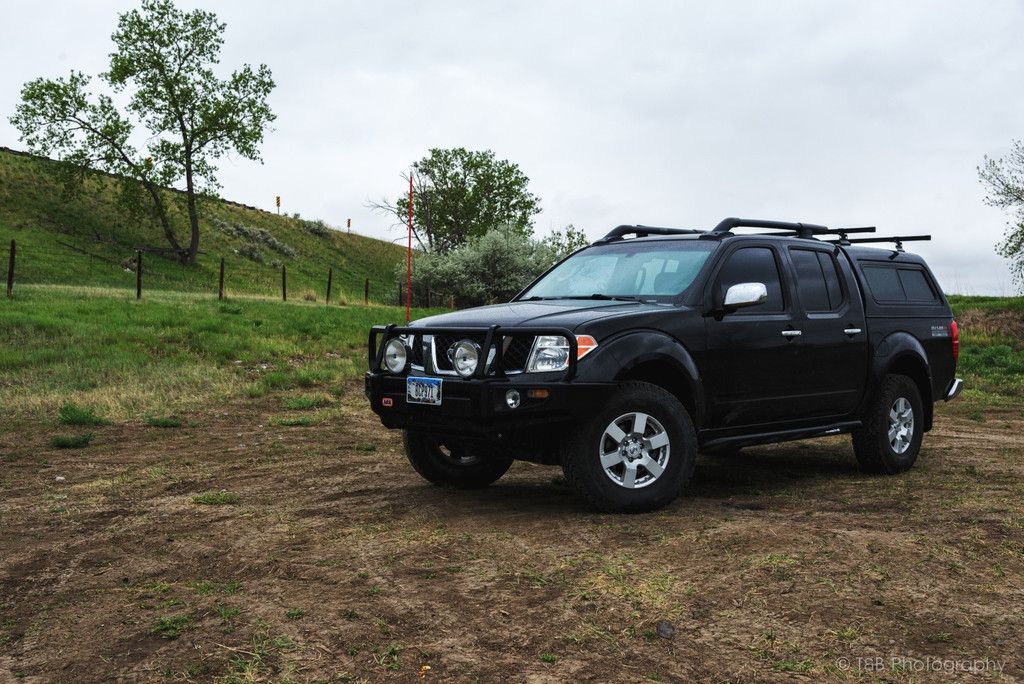
So here's what I now have for lighting!:
1. Headlights

2. Fog lamps
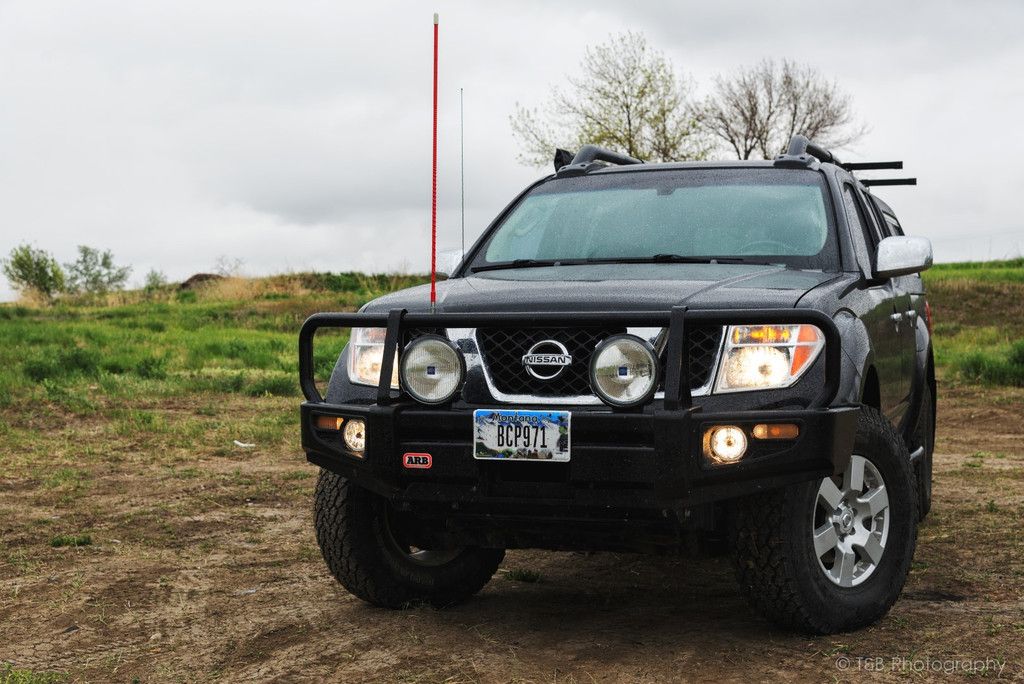
3. Hellas
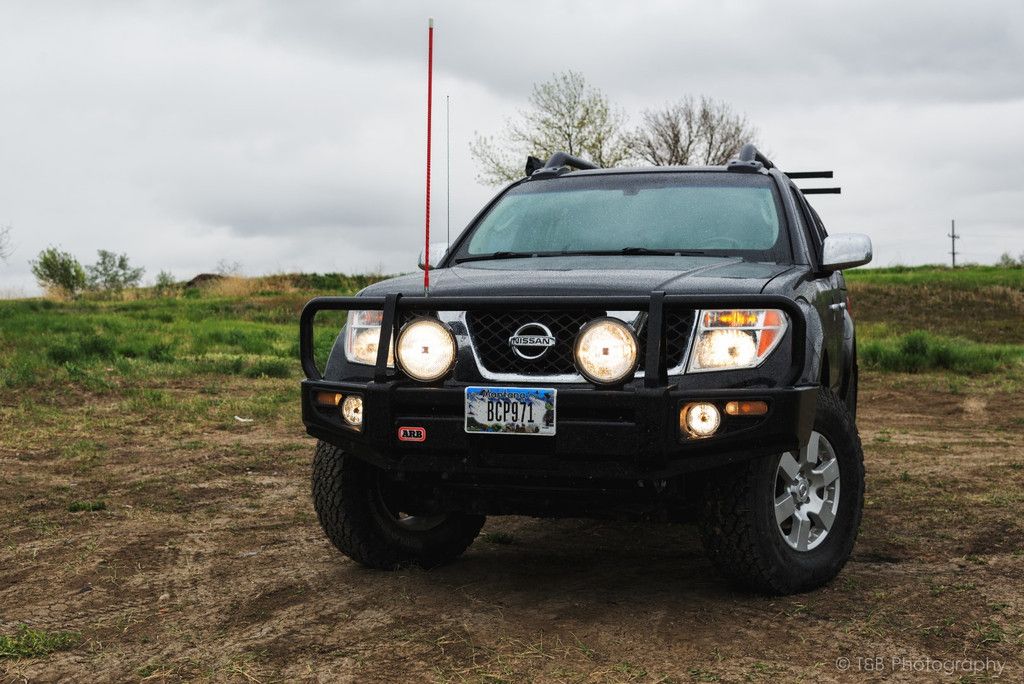
I'm pretty stoked to try these out on the deer infested side roads up north!

It took me a while to get everything squared away, namely the relay block and interior wiring, but it's all sorted now. You can see I've made everything able to be disconnected, and everything is labeled. I've color-coded each circuit in a roundabout way. The wires going to the switch and the accessory are given a certain color that corresponds to the accessory. The fog light circuit is brown, the off road lights are yellow, the air compressor is blue, and the backup lights are green. The power and ground wires on the relay and the switch are all red and black, respectively. Everywhere the wires went, they were either taped or ran through wire conduit and secured with zip ties. I wanted everything to be as clean as possible. Turns out it's a lot of work!

I don't have anything connected to the compressor or backup light circuits yet, but the wires are in place for the accessory and the switch when it's time to add them. When I was done building this, I ran the wires through the firewall. The hole I used was already there from the factory and accommodated a grommet that was the perfect size for all the wires I needed to run into the cab (4 14AWG accessory wires, 1 14AWG power wire, and 1 CB radio cable).

After doing this, I installed my OTRATTW switches in the factory switch blanks.

I'm super happy with the way these turned out. It looks really clean, almost factory. If you're not looking for them, you'd never know they were there.

The quality of them is awesome. They make a very positive "click" when you flip them, and they illuminate when switched on. The symbols and writing on them isn't just painted, it's etched. My factory locker switch isn't even like that.

After I had installed the switches, it was time to tackle the wiring under the dash. I mounted a dual power bus and a small fuse box just below the dash on the driver's side. I ran the red power wire to the positive side of the bus and grounded the other side. I used these for the power and ground points for the switches. The fuse box sits in between the positive bus and the switch to prevent the switch getting fried. In this picture you can see the accessory wires coming into the cab and going to the switches (I don't have a reverse light switch, which is why the green wire goes nowhere.). You can also see the CB cable and the power wire going to the mounted Blue Sea dual bus.

I'm really happy with the way the wiring turned out. I think it looks pretty good, and it's very clean. Everything is organized and out of the way but easy to access if I need to. But now for the cool stuff...
The wiring allowed me to add a set of Hella Rallye 4000 auxiliary lamps. I got one Euro beam (driving pattern; kind of wide and long distance)...

...and one cornering beam (spread beam pattern; wide and short distance)

This setup gives me the best of both worlds. I have a very wide light that gives me vision off to the sides of the road, and I get some enhanced distance vision. The cornering beams nearly triple the distance I can see side to side, and the Euro beams just about double my visible range. Perfect for the kind of conditions I'll be driving in at night, where deer and elk are the most common problems.
These lights are extraordinarily well made. The housings are very nicely coated, and the beam adjustment system is pretty clever. My only complaint is that the cornering beam came with a plug for the wiring pigtail, whereas the Euro beam simply had the wiring come out of a rubber grommet on the back of the light. A very minor annoyance, but it's there. Otherwise they are fantastic. I'm really pleased with the overall quality from them, and their light output is awfully hard to beat.
To protect the lenses from damage, I got a set of these clear acrylic covers. With these, I don't have to worry about uncovering the lamps when I want to use them or about impact damage. Plus they look pretty cool


These lights really cool on the truck. They are a pretty good size at 8.75", although they are kind of dwarfed by my large ARB bumper. But they definitely add a bit of the touring/overland style.


So here's what I now have for lighting!:
1. Headlights

2. Fog lamps

3. Hellas

I'm pretty stoked to try these out on the deer infested side roads up north!


