My new camera finally arrived this morning, so I can finally update you guys!
On Friday morning (my birthday), I got a call from an offroad shop in Bozeman that an order I placed had arrived and was ready for me to pick up. So I filled a few bottles of water and hit the road. Bozeman is a two hour drive from home, and it's a beautiful drive. As you wind your way west, the mountains rise up to the north and the south. Blocked by the foothills, the Beartooth and Absaroka ranges are pretty well hidden, but the Crazy Mountains stand tall and majestic to the north.
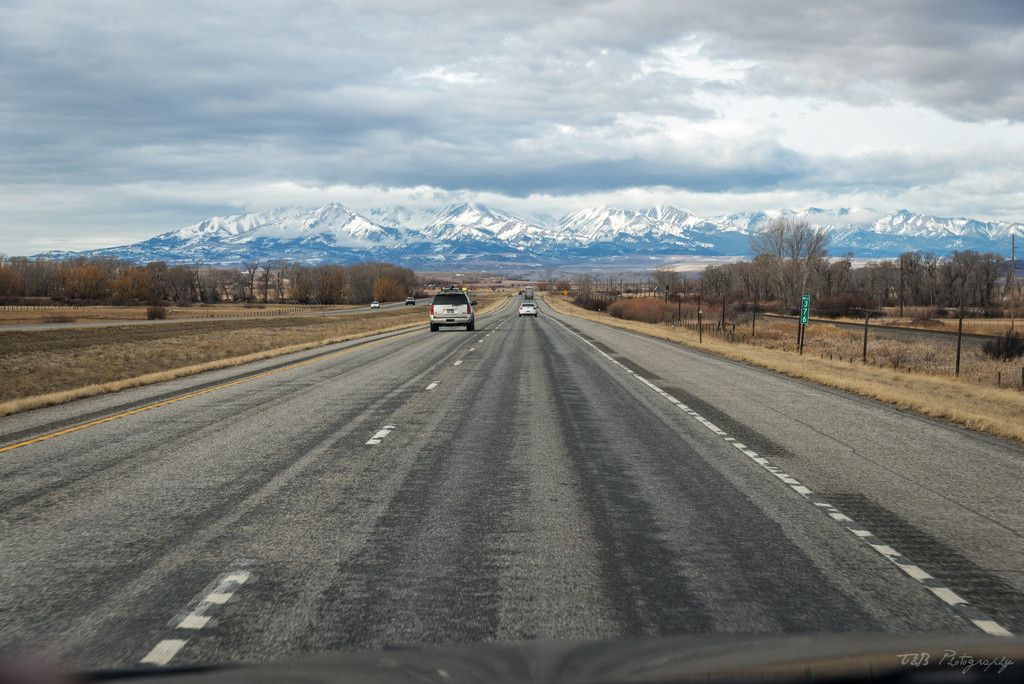
Not a bad view as I made my way to one of Montana's two major college towns.
The trip was uneventful, and I arrived in Bozeman about 1:45 after I set out. I took the main road through town, which goes through the city's historic district. There was some midday traffic, but it's a pretty city so I didn't mind. As I was slowly making my way across the city, I looked around and was quickly reminded that there's really only two kinds of vehicles driven in Bozeman: Subarus and Toyota 4x4s. Makes for a cool drive, because many of the Toyotas are quite modified. My lowly little Nissan still gathered plenty of looks though.

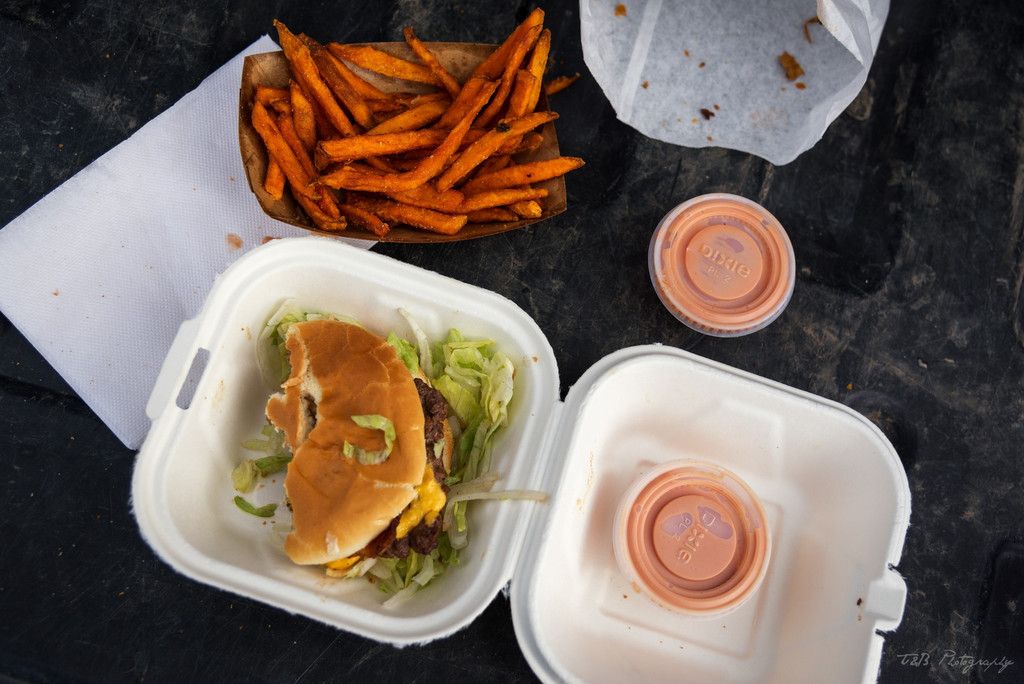
Anyway, I made it to Mike's Off Road (kudos to them for making a special order and making everything as painless as possible) and picked up my order. I didn't have a whole lot of reason to hang around, so I headed back east. But not before trying a local eatery. As I passed it on the way in, the sign reading "Best Burger" caught my attention. So, on my way out, I stopped in to have lunch. Not much better than a locally made bacon cheeseburger with sweet potato fries!
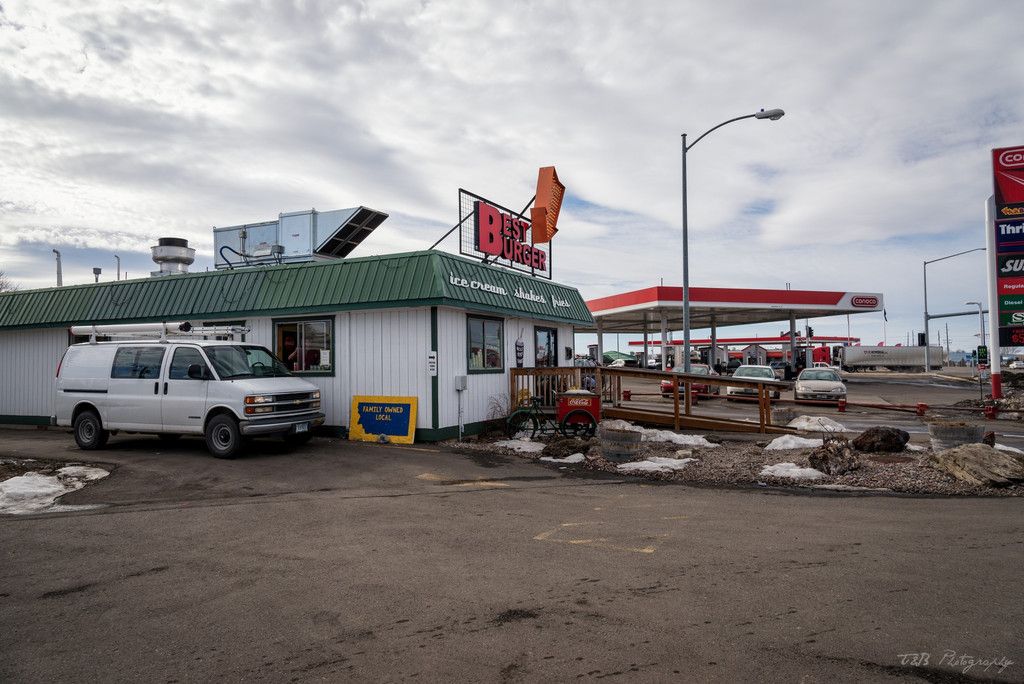
I have to say, the burgers have earned their name. Mine was delicious! Since the weather was weirdly warm, I got my food to go and enjoyed the meal sitting on my tailgate.
Sitting here, I couldn't help but have a look at my new purchase.
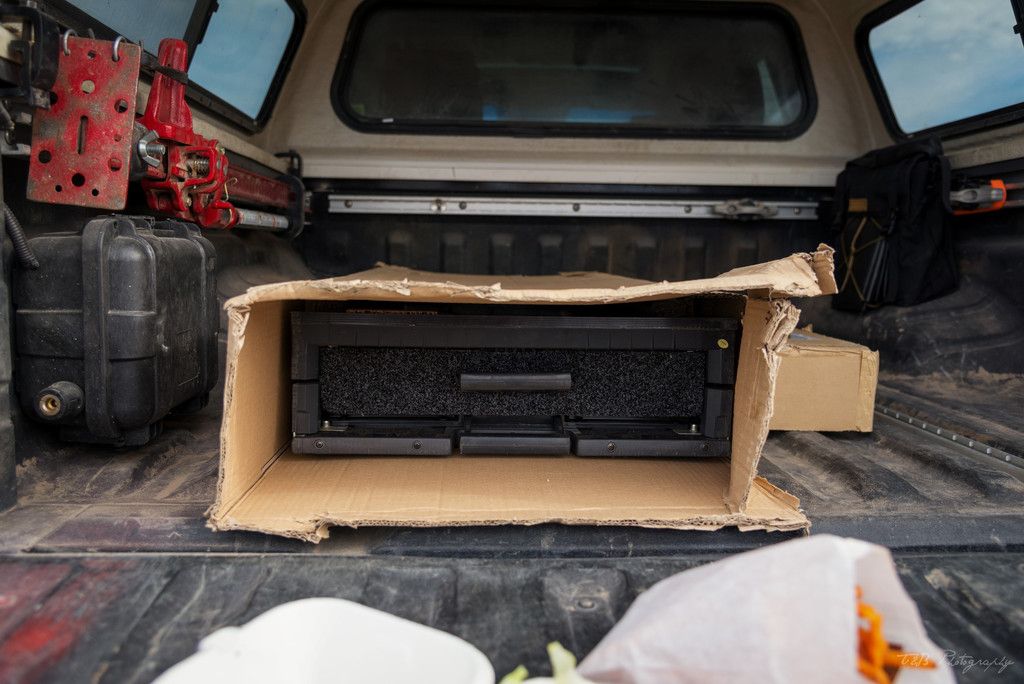
Yep, that's an Outback Solutions Roller Floor. This sweet piece of kit is going to make a world of difference in my camping setup. But more on that later.
After getting the tasty food in my belly, I saddled up and made my way back to Billings with the FroKnowsPhoto podcast keeping me company. There's something I love about solo road trips. It's liberating, quiet, and solitary. There's a sense that you are in complete control of your own path. I really love it, especially when it takes me through some of the best landscapes Montana has to offer. Anyway, enough waxing poetic.
I got home with some daylight left and decided it was time to install my new storage setup! Believe it or not, this is hilariously easy to install. I pulled the drawer out by removing the stops, then lined the frame up where I wanted it. Then I marked and drilled the four holes where I wanted the system to be anchored to. I managed to get around removing the top bit by using a pick to mark where I wanted the rearmost holes. I sprayed some paint in them to keep rust at bay, then put the bolts through with a couple globs of silicone. Here's where it got tricky.
Now here I was, ready to tighten everything down, but it was just me. There was nobody else around to hold the wrench up top while I tightened the four bolts down below. So I got creative. I grabbed a combination wrench. I placed it face down on the bolt head, so that the "curve" in the wrench pushed the open end into the floor. Luckily for me, the mounting brackets are basically a piece of c-channel steel with holes in the bottom. So when I went down below and started tightening, the wrench hit up against the wall of the bracket and allowed me to tighten the bolts single-handedly. Ingenuity for the win!
With the system mounted, I reinstalled the drawer. Next up was making it easier to tie stuff down. I removed the factory screws holding the plywood to the top, and placed some d-rings I had bought off eBay over the factory holes. Then I reinstalled the screws. Boom! Now I've got tie-downs. And I was done with the roller floor.
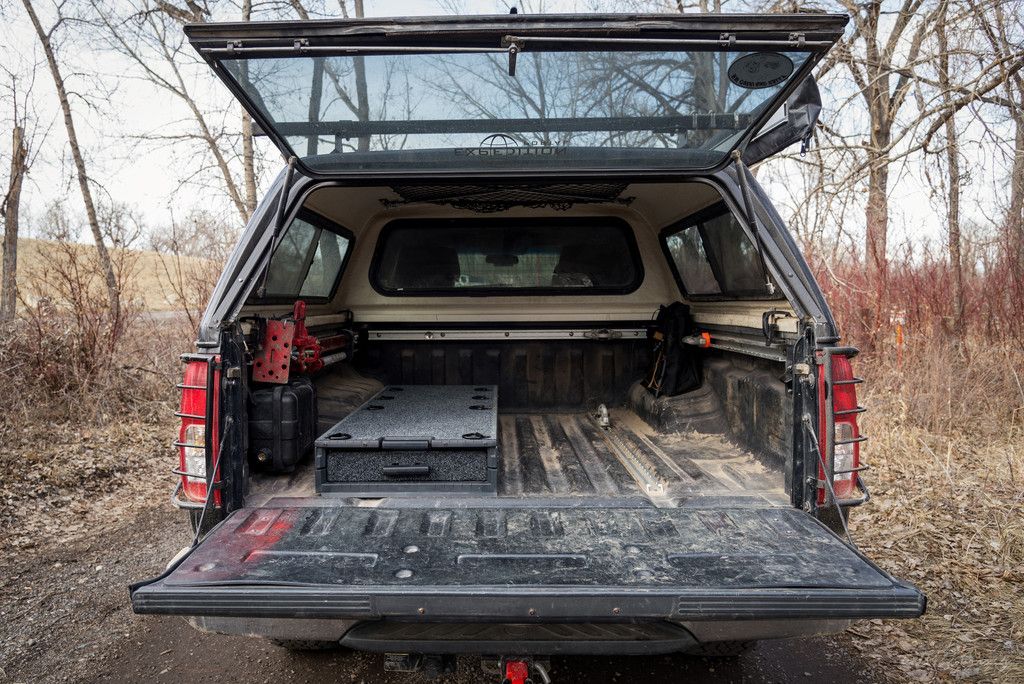
You can see how it mounts to the floor here:
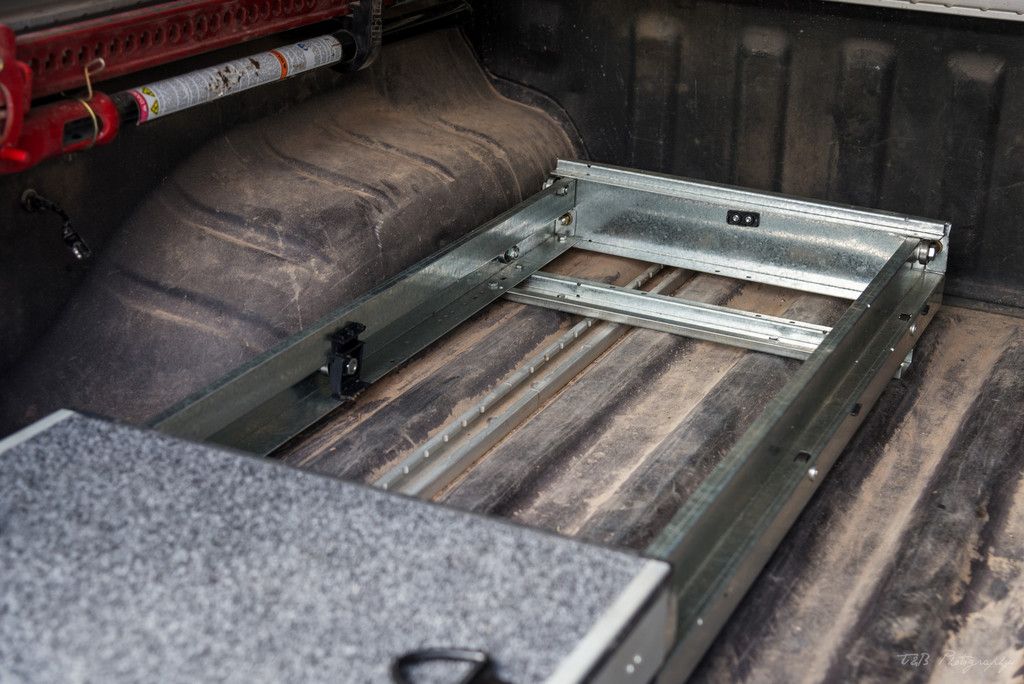
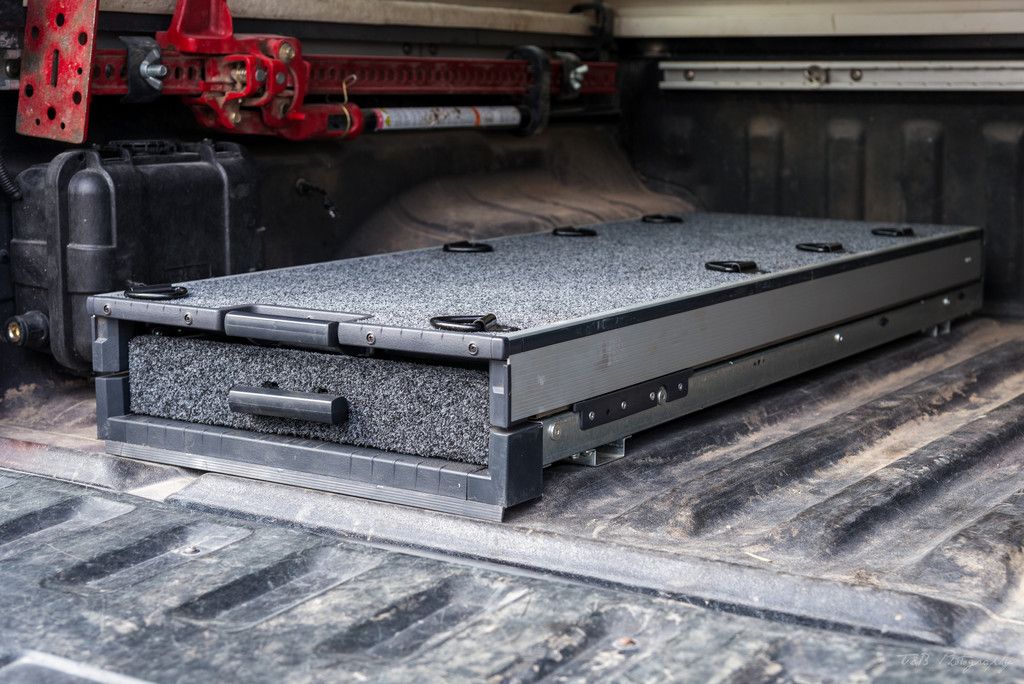
Measuring 52" long, 20" wide, and about 5.5" tall, the ARB Outback Roller Floor is the perfect solution for some of my greatest camping woes. On our trip to Canada last year, we discovered how inconvenient it is to carry the fridge and the kitchen box on the same side of the truck, tied down by a single strap. Every time you wanted to grab something out of the fridge, you had to pop the single strap, pull the fridge out, grab your grub, then slide it away. It was even worse if you wanted to grab your cooking gear. You had to pull EVERYTHING out. So, this is my fix-em-all solution. There's a shallow but large drawer underneath the raised floor that will serve as the perfect spot for tool storage. But the best part is the top! It ROLLS OUT!
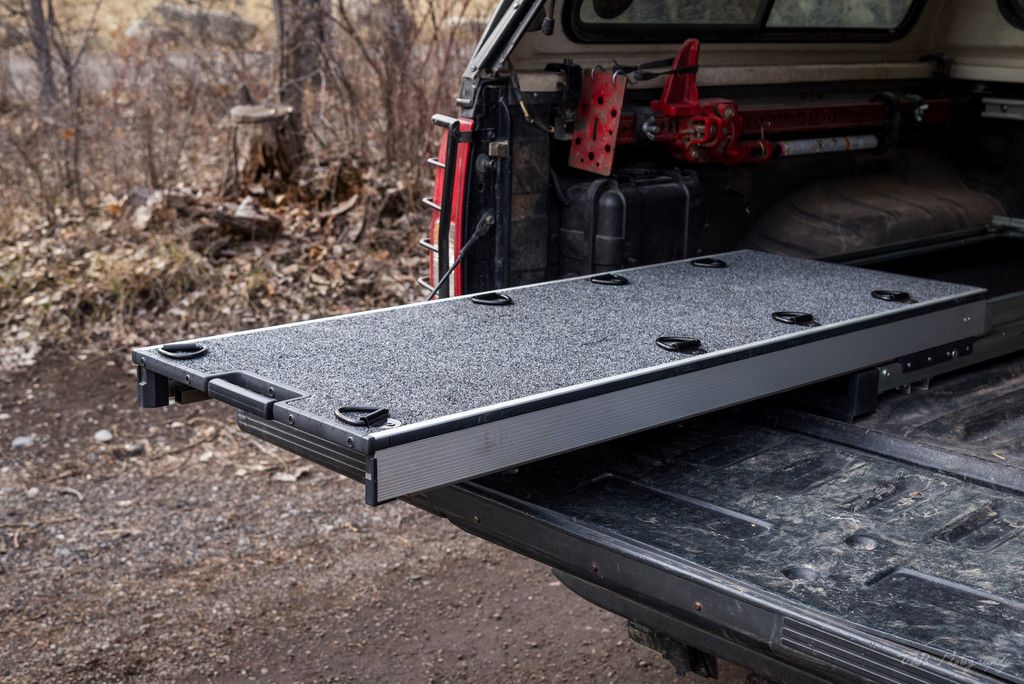
You can see the d-rings I installed here:
\
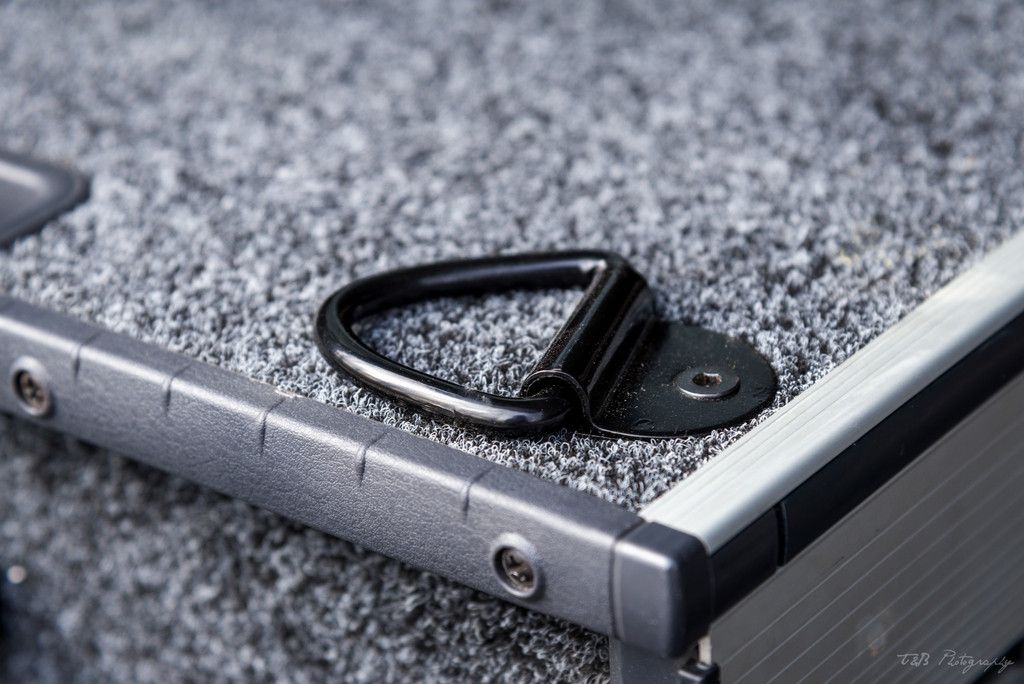
To make my life even easier, I removed the handles off my fridge. In their place, I used the factory hardware to install my remaining four d-rings. This way, I have a solid and clean-looking place to anchor my fridge. Here's what I have now.
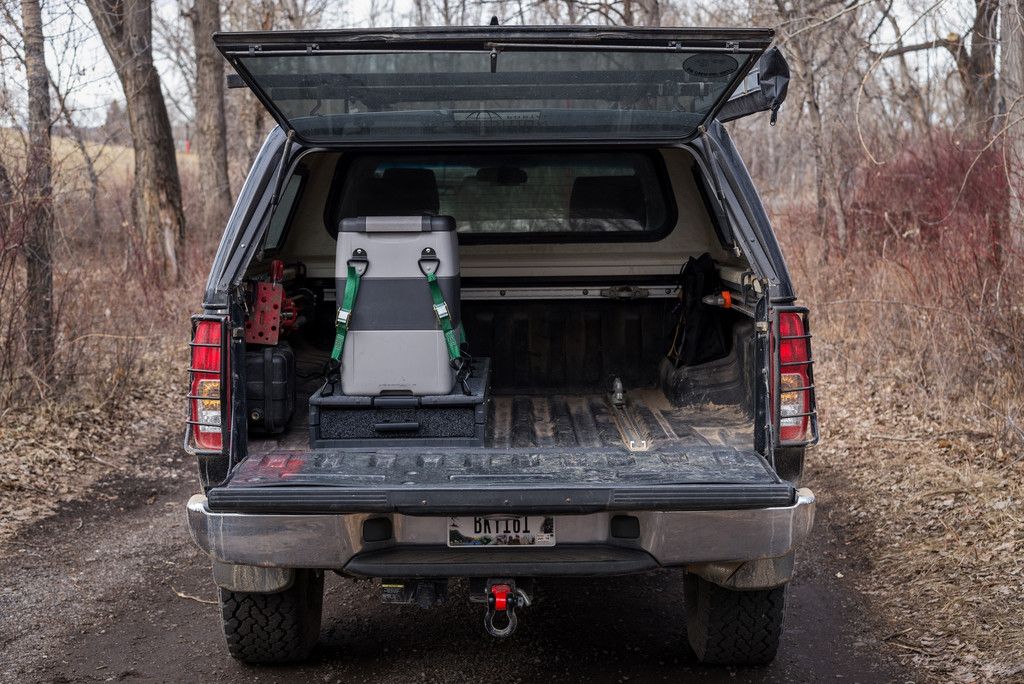
The drawer below the fridge is pretty massive, if shallow. I have a pretty solid plan to store my tools in here. I may also keep a more extensive first aid kit in there as well.
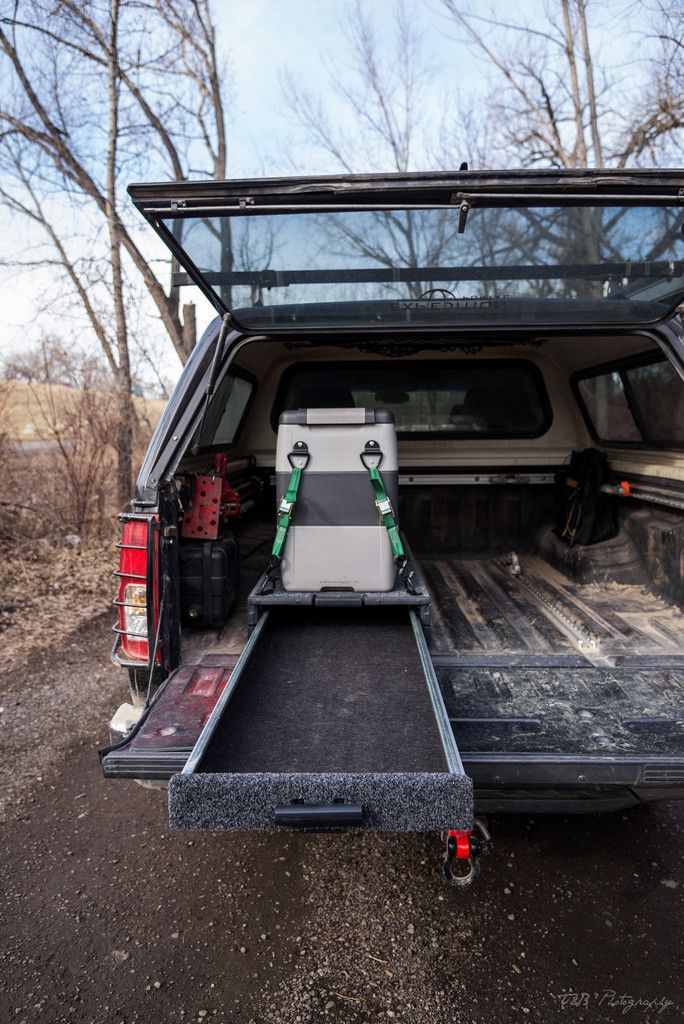
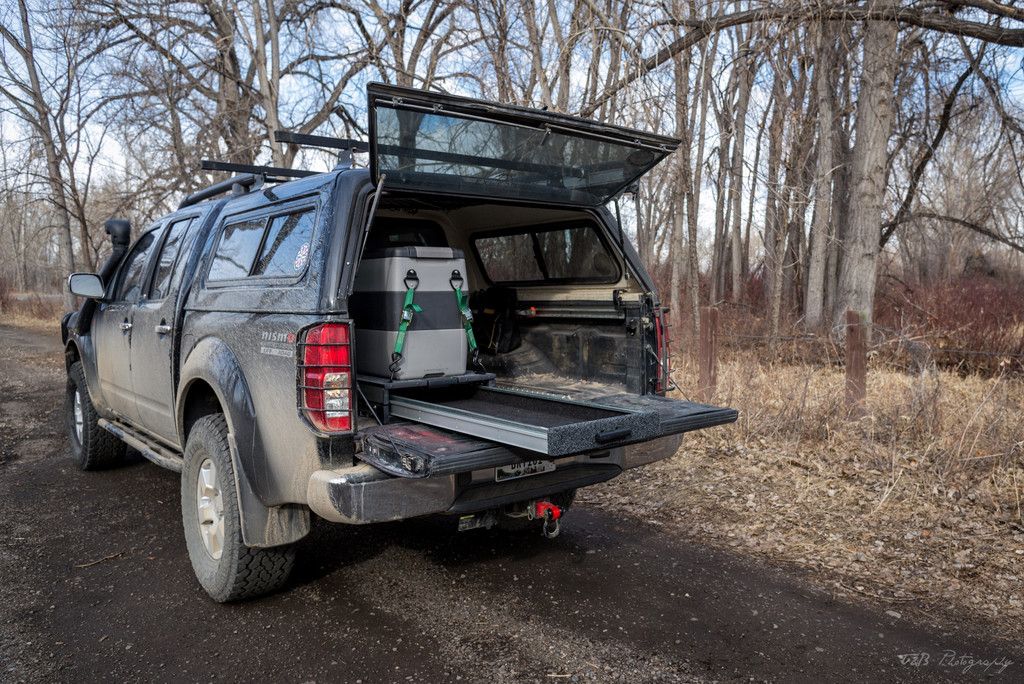
The fridge pulls out easily and locks into place at full extension. It puts it in the perfect place to grab some food out when I need it. It also makes it easy to load my kitchen kit behind the fridge and strap it down. My food box fits perfectly above the kitchen kit, and my d-rings are in the perfect spots to hold everything down simply and securely.
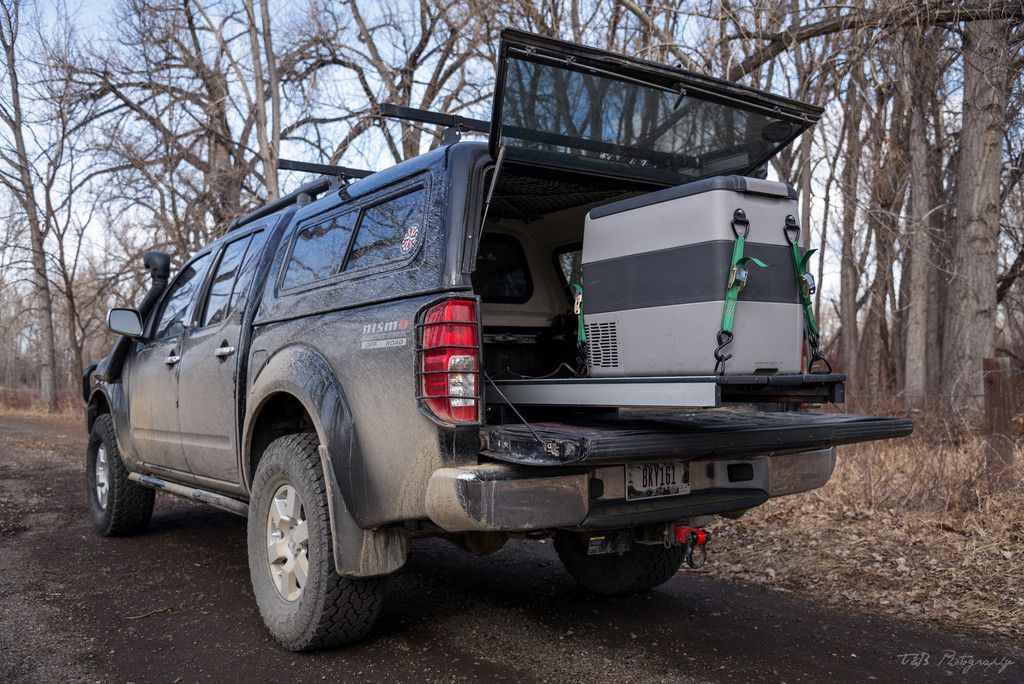
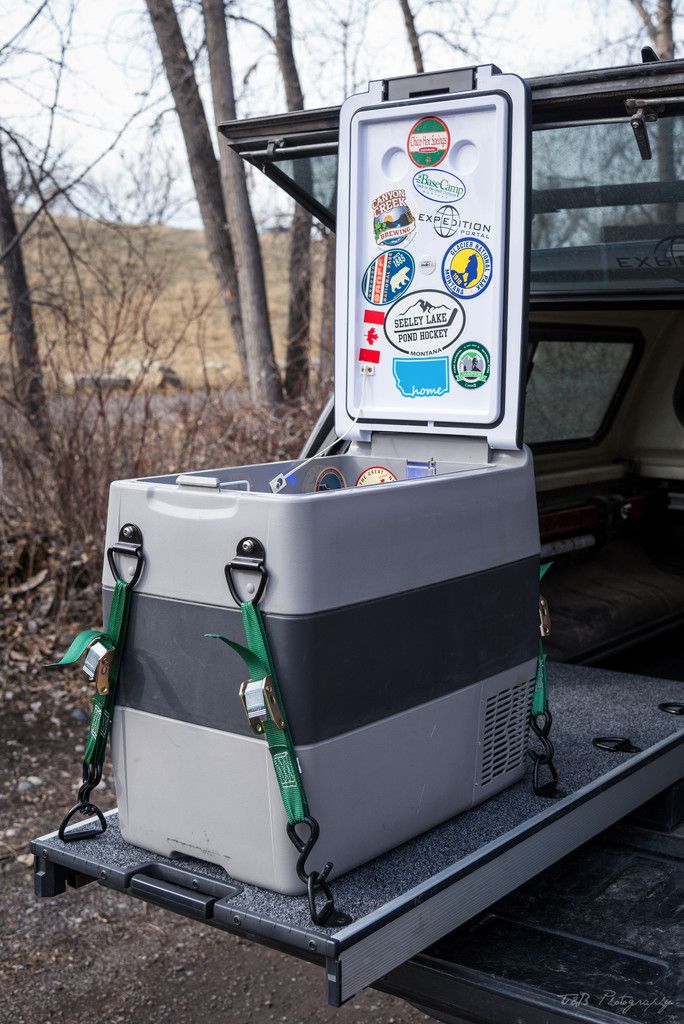
So that's that! It's a pretty darn slick system, and the drawer and floor slide out smoothly and lock away without any play. It cleans up my cargo really well, keeps things where I want them, and looks great. Plus it's not overly heavy. And being an ARB product, it couldn't be higher quality. I fully expect this to last forever. Yes, it was a bit expensive, but the increased ease of access to my kitchen and fridge will be invaluable.
I also got this from my dad for my birthday, a Blue Ridge Overland Gear Overland Oil Bag.

I have set this up by looping a ratchet strap through the mounting loops on the back and wrapping the strap around some of the factory tie-down cleats. It keeps the bag nicely in place in an unused space in the bed. The bag will house most of my OSK, including most of my spare parts and fluids, zip ties, bailing wire, RTV, JB Weld, etc. Ridiculously well made, the perfect size, and it looks great. It even comes with a tarp the perfect size.
There you go! A nice update.


