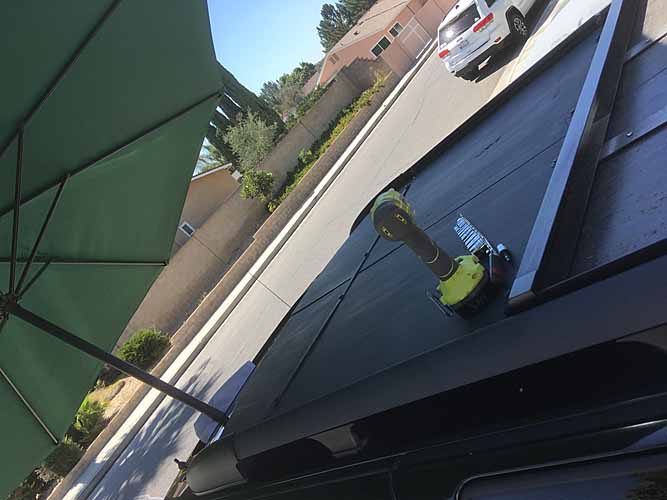
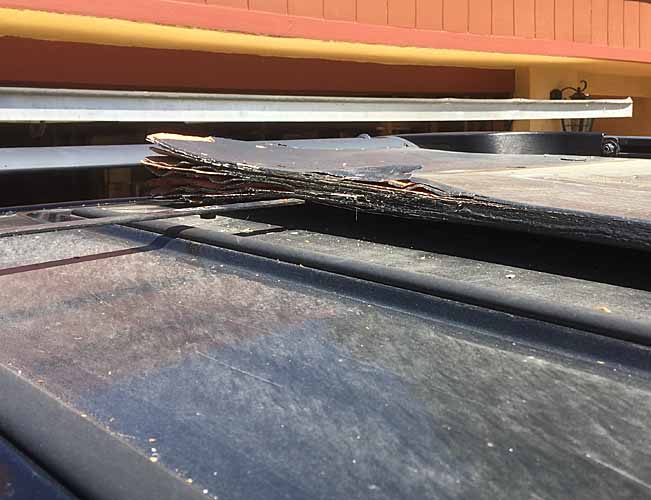
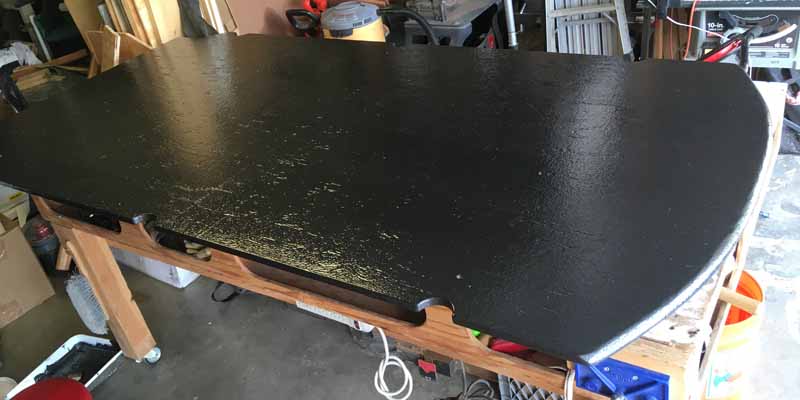
Finally got the new roof deck construction underway. Today was shaping the plywood sheet and prepping it for painting. This time I remembered to get some exterior-grade - water-proof glue, 'exposure 1'.
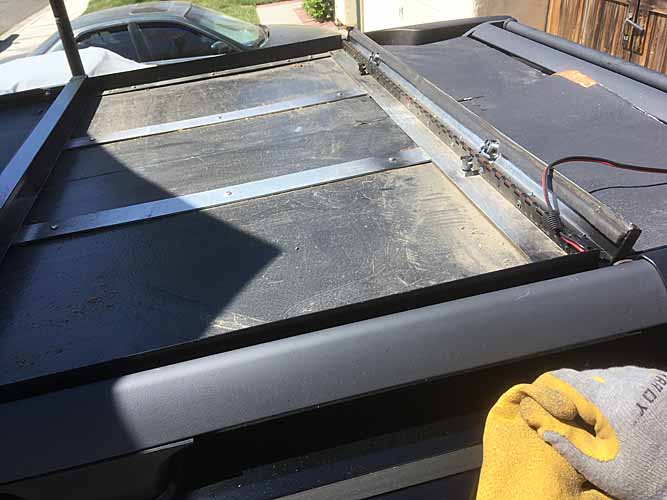
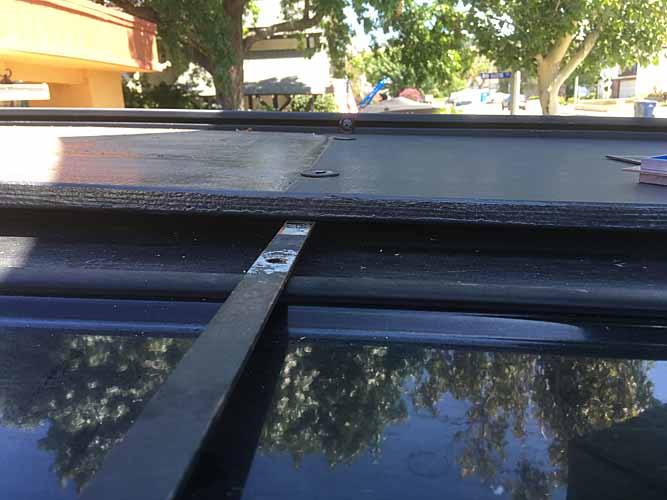
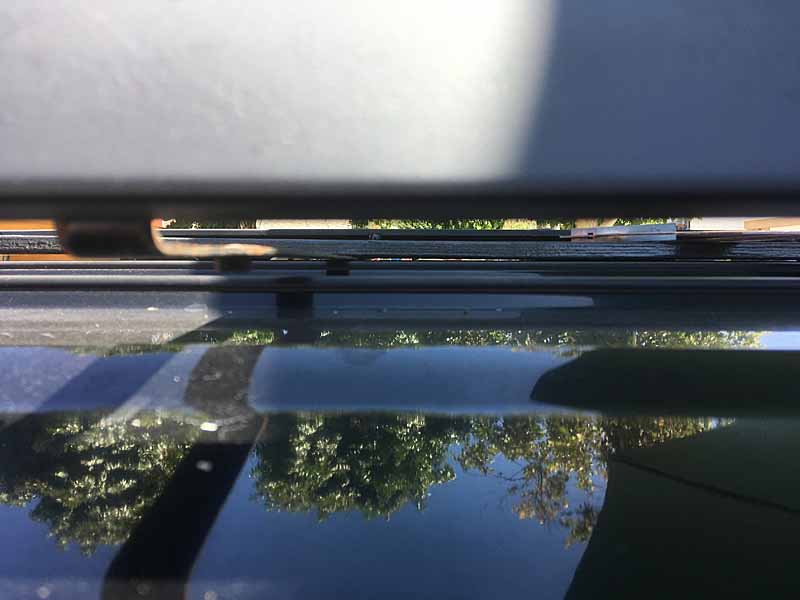
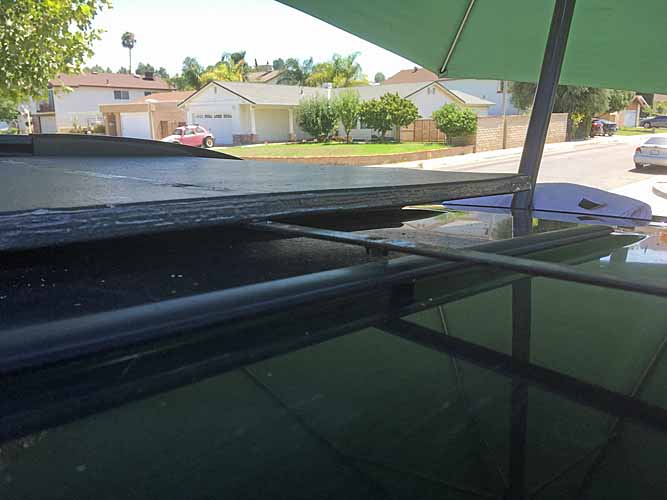
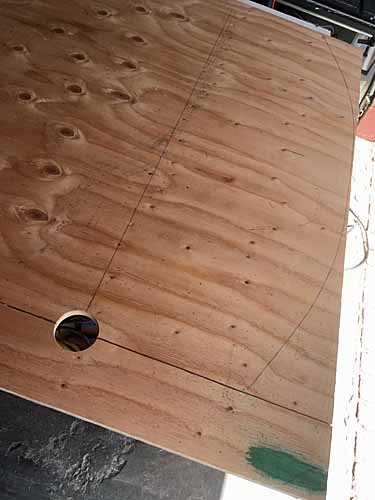
The overall deck size is 43-3/4"W x ~90"L. I retained the overall shape and front extension and curve of the MkII deck, while fashioning it as a single sheet instead of two longitudinal halves. This was to increase side-to-side rigidity as I'm still only using flat strapping as mounting rails. One of these years I'll make the square-tubing-based rails.
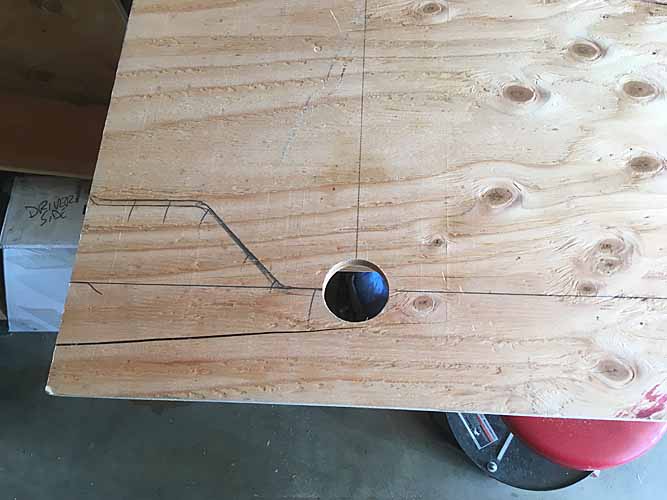
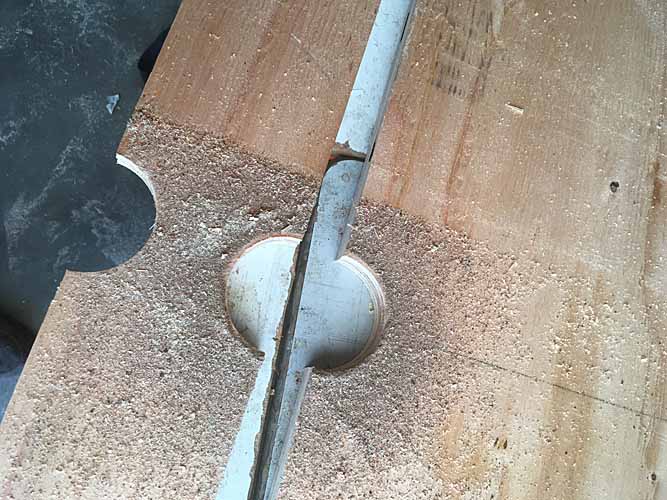
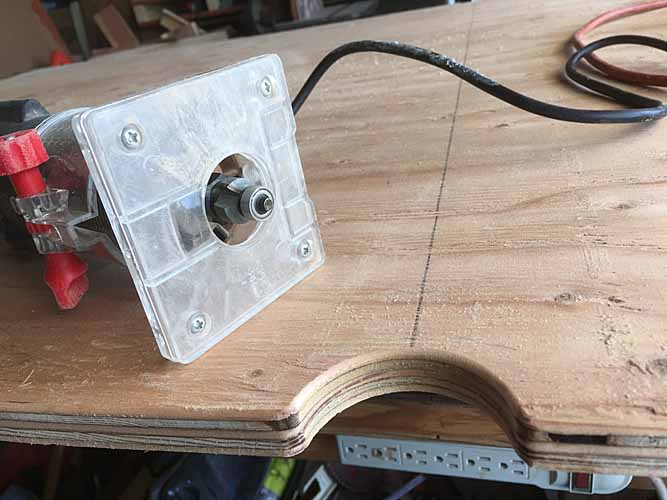
Since it is now one-piece, some accommodation needed to be made to clear the mounting rail bolts / nuts. And clearance for a wrench to adjust them with. I decided to use a hole saw mostly for speed / convenience. I have a lot of them, not hard to pick a useful size. In fact I'm not even sure what size I used. At least a 2"-2.5"
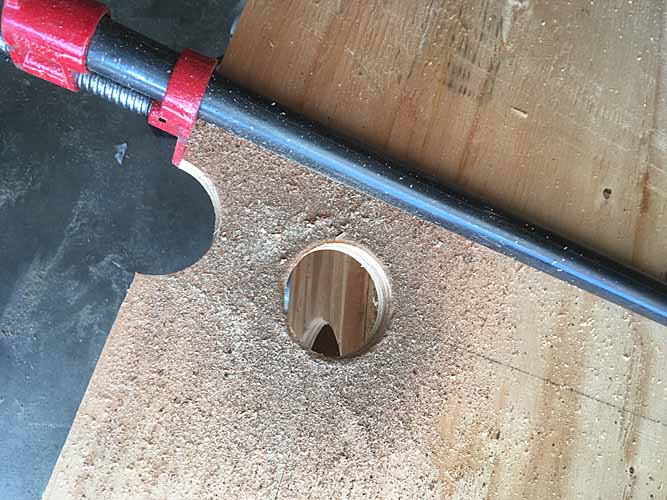
I positioned my pattern to one edge and end of the sheet, so when I figured where to drill the holes I started on the offcut side, the side I'd be trimming 4.25" from. So I buzzed those holes. But for the other side / factory edge, I clamped the offcut strip to the edge of the sheet so I had a way to properly position a hole saw.
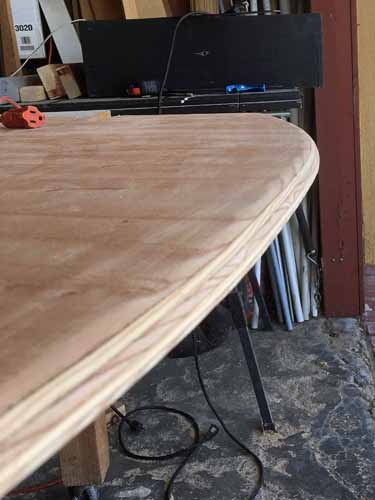
Then it was on to shaping the bow. I'd traced the MkII deck and used one half, tracing then flipping it over. A good way to keep it symmetrical. I used a straightedge to trace several lines adjacent to that curve that would let me chop off most of the unwanted wood with a circular saw, after first making a straight cut to salvage most of the unwanted wood. Then I made the angled cuts to removed most of the waste material.
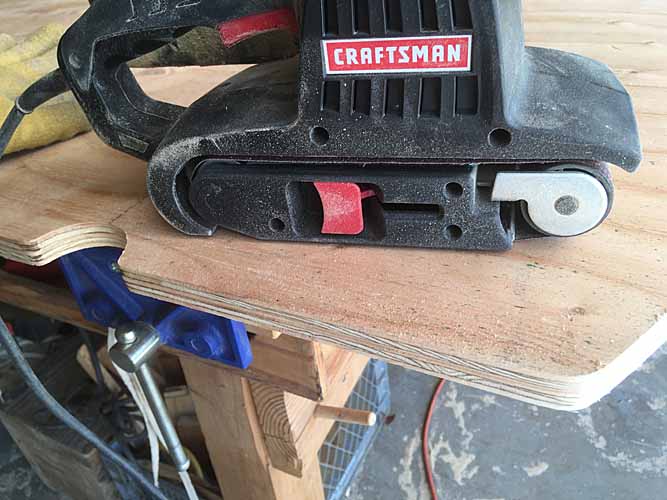
After those cuts I attacked the whole thing with a belt sander with a worn belt, rounding off all the sharp corners and the relief cut openings. Then a fresh belt to clean up the bow curve to my traced line.
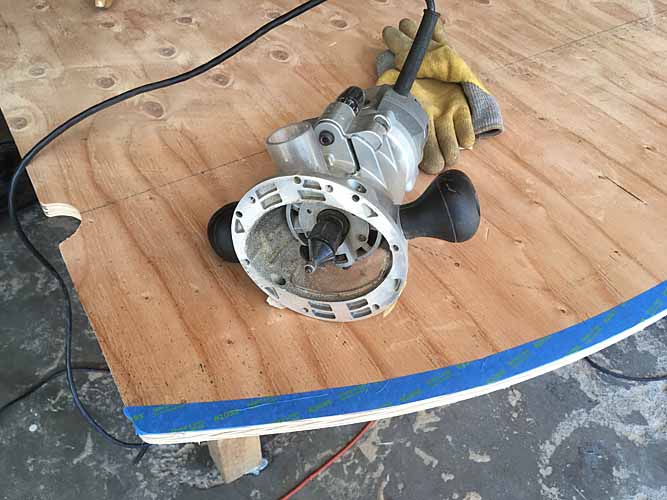
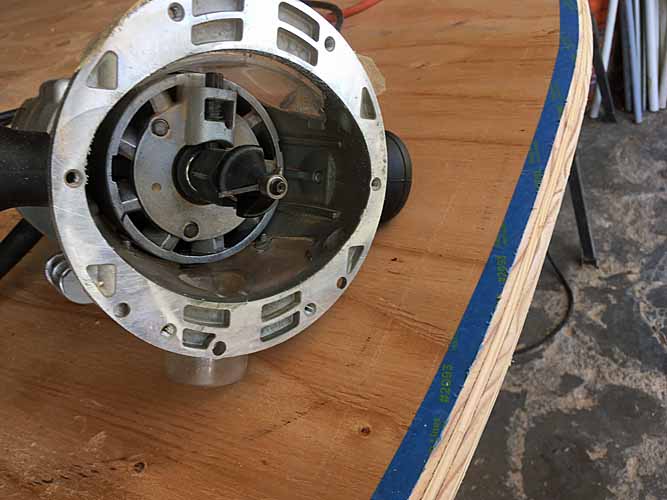
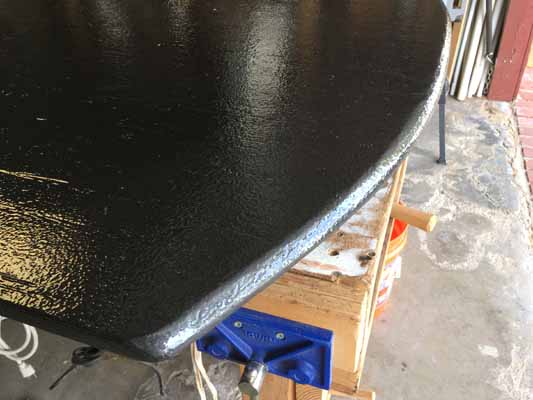
Next I taped the top edge of the bow curve to limit splintering of the plywood before going at it with a router with a large 45deg chamfer /bevel bit. I set that to cut about 2/3 of the sheet thickness. After that I made a few light shaping passes with the belt sander. Not recommended if it's your first rodeo with one of those. Real easy to remove too much material too fast. Then I did a bit more shaping with some rubber sanding blocks and some 80 and 120 grit sandpaper.
Then I used a trim router with a 1/8" radius bit to round over all the sheet edges. Following that up with a sanding sponge to clean it up.
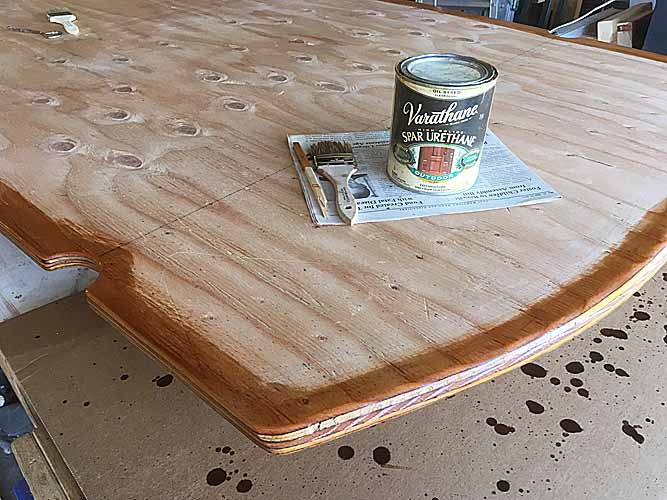
Lastly I brushed and wiped all the edges down and gave them two good wet coats of spar varnish. Probably overkill since I have the proper plywood this time. But I figured better safe than sorry. And since it was exterior grade ply, there were a few edge voids I wanted to clog up.
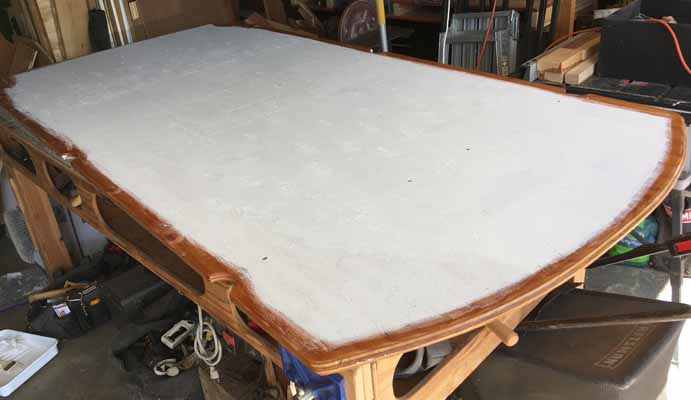
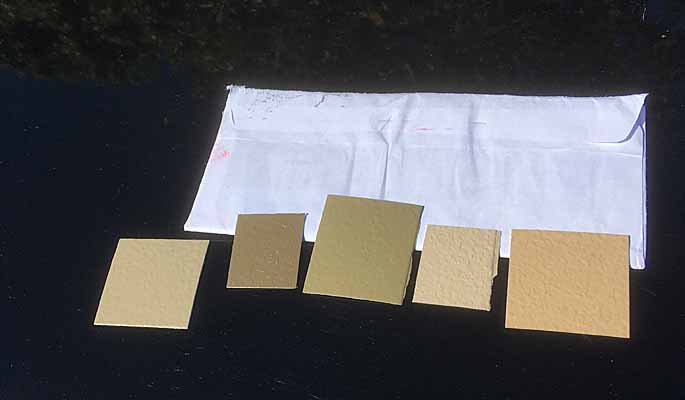
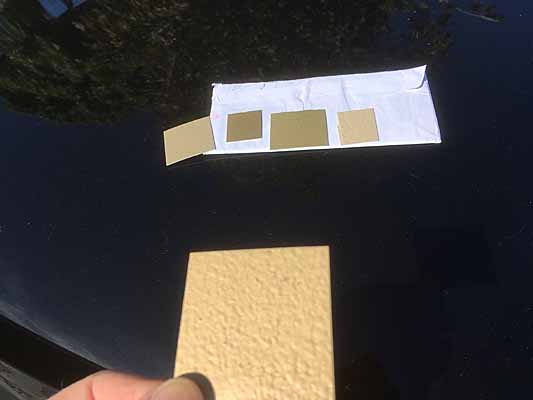
I'm once again using some Hammered Finish epoxy paint. I can find nothing that says it's ONLY for use on metal, or anything saying NOT to use it on wood. I used it over Killz primer on the last deck and it worked and held just fine. But I'm trying a test tonight on some offcut scrap to see how it bonds to bare wood. And if it bonds well enough I will probably skip the primer coat. Not sure.
Probably have it finished and remounted in a week or two.
eta I'm also going to try and mount an Anderson bulkhead fitting in the rear left roof rack foot, wired thru the foot and roof skin and down the D pillar to my power box.
