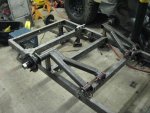
M416 Build

cruiseroutfit

Supporting Sponsor: Cruiser Outfitters
dieselcruiserhead said:
*Very good to know. Thanks Kurt...

The ones I really wanted to use were weldable hinges with grease zirks, last time the best ones I saw were down at economy steel in Spanish Fork. I just didn't want to drive down there. But may have to anyway to get a halfway reasonable price on sheet metal anyway. I figured that style would be killer and allow me to remove the tailgate too. But be bad if I open the lid on an incline, they may want to slide out. I could install a bolt that help it in place though.

Will have to re-think it out, thanks for the heads up before I burned them on... :)

Barrel hinges... those do rock. I know Wasatch Steel in SLC usually has bins of them too. They would be great for that application, and like you said, put a removable pin next to the hinge to keep if from sliding off when you don't want it too.

For the tailgate straps, I used some generic tailgate cables you can find in the "HELP" parts at the auto parts stores. They hard mount to the tailgate but have the quick release "tabs" on the trailer side so its easy to remove. I've got amby door hinges for my gate so I don't ever take it off, though with my style (fixed top) its really not something I've ever needed to do. However if I had an open top it would be really helpful, if nothing else to be able to use is more as a general purpose trailer.

167lg.gif


I know I've seen them without any tabs welded on too, would make it a bit cleaner to use for something that needs a gapless mount like a tailgate.

And in all reality, given the wear any hing is going to see, I would bolt them on to the tailgate and the trailer body. That way they are servicable down the road with minimal effort. While doing that it would be easy to flip the hinges so they are constrained from sliding apart, though it would then require unbolting to remove your tailgate.
 

dieselcruiserhead

16 Years on ExPo. Whoa!!
Again, very good comments. I think I'll go ahead and bolt them through the rear frame and into the tailgate that way so they are removeable and serviceable as well. You should see the economy steel ones I mentioned, way way cleaner than what you posted and better looking/less pervious. I actually saw those at Wasatch Steel but passed. The economy steel ones were billit, which is nice...
 

dieselcruiserhead

16 Years on ExPo. Whoa!!
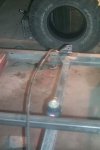
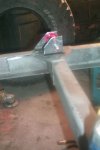
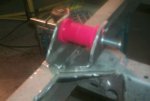
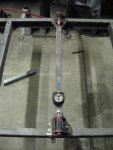
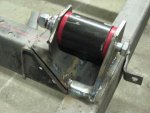
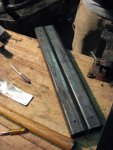
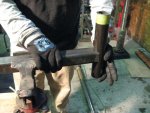
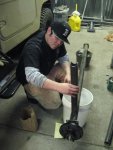
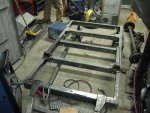
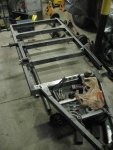
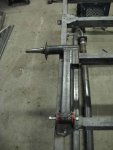
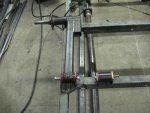
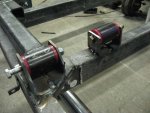
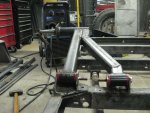
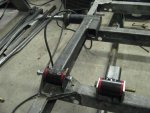
Sorry for the slow updates. I finally scored the bushings & DOM tube (1.5 feet 2" OD DOM at .25" thick - $36! :eek:) for the swing arms...

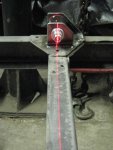
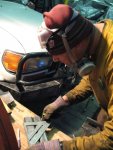
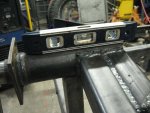
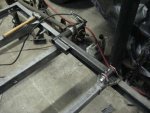
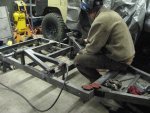
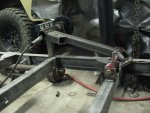
Here are some pics from when Ken Dahlberg stopped by several weeks ago and when I got these mounted up... I used a laser aligner to get fully lined up. I made the brackets out of left over 3" 1/4" thick box tube.. Ken's camera is literally from 1999, better pics to come from today...
 

Attachments

  • Welding Trailer 001.jpg
    Welding Trailer 001.jpg
    20 KB · Views: 118
  • Welding Trailer 004.jpg
    Welding Trailer 004.jpg
    17.7 KB · Views: 101
  • Welding Trailer 005.jpg
    Welding Trailer 005.jpg
    24.2 KB · Views: 111

dieselcruiserhead

16 Years on ExPo. Whoa!!
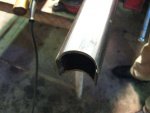
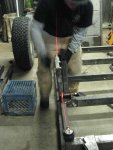
Better pics from today. The ID of the 3" tube was just a hair too narrow so I had to cut it and widen. Laser shows how it was aligned...
 

Attachments

  • SM_Picture 124.jpg
    SM_Picture 124.jpg
    65.5 KB · Views: 155
  • SM_Picture 123.jpg
    SM_Picture 123.jpg
    70.9 KB · Views: 9,852
  • SM_Picture 122.jpg
    SM_Picture 122.jpg
    100.4 KB · Views: 130
  • SM_Picture 125.jpg
    SM_Picture 125.jpg
    63.8 KB · Views: 1,252

dieselcruiserhead

16 Years on ExPo. Whoa!!
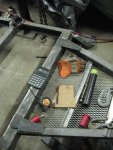
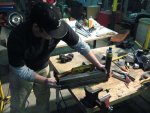
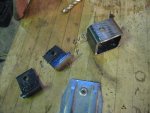
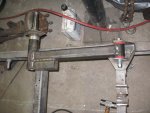
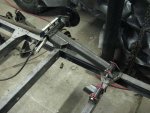
I had a helper today, my friend Steve Chen who's a optical lens engineer by trade and motorhead... He was pretty psyched as our technique today was basically the same for trailing arms for a hot rod. I left the math to him today figure out exactly how long the trailing arms should be center to center, which was cool because it also reaffirmed my amateur math skills for the same approx conclusion. Last pic also shows the Jeep CJ bushings (1.5" OD) for the trailing arms... We center punched and measured measured measured which was awesome. Holes shown are pilot holes.
 

Attachments

  • SM_Picture 128.jpg
    SM_Picture 128.jpg
    104.2 KB · Views: 123
  • SM_Picture 129.jpg
    SM_Picture 129.jpg
    99.5 KB · Views: 106
  • SM_Picture 130.jpg
    SM_Picture 130.jpg
    83.9 KB · Views: 107
  • SM_Picture 121.jpg
    SM_Picture 121.jpg
    90.4 KB · Views: 132
  • SM_Picture 131.jpg
    SM_Picture 131.jpg
    85.9 KB · Views: 91

dieselcruiserhead

16 Years on ExPo. Whoa!!
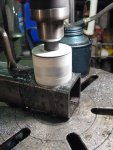
Goal being to do this. 2" diameter with the hole saw. ATF as cutting fluid which works well...
 

Attachments

  • SM_Picture 133.jpg
    SM_Picture 133.jpg
    91.7 KB · Views: 90
  • SM_Picture 136.jpg
    SM_Picture 136.jpg
    87.7 KB · Views: 85
  • SM_Picture 137.jpg
    SM_Picture 137.jpg
    56.6 KB · Views: 92
  • SM_Picture 138.jpg
    SM_Picture 138.jpg
    83.2 KB · Views: 120

dieselcruiserhead

16 Years on ExPo. Whoa!!
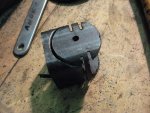
Martyn was saying once how these are the most difficult piece to make and/or they have high rejection rates. Completely easy to see why/how as it took a lot of time to get these right. Luckily we were 100% spot on as these pics show... The kit from AT is about $800 I think, really I think probably pretty worth it. We are about 10 hours in just to get this far, not to mention the time & costs for the suspension kit. Though I have really enjoyed the process of building it.

Lining up the pieces on the axle as well... And the tolerances/drill holes...
 

Attachments

  • SM_Picture 146.jpg
    SM_Picture 146.jpg
    90.1 KB · Views: 138
  • SM_Picture 145.jpg
    SM_Picture 145.jpg
    68.8 KB · Views: 111
  • SM_Picture 144.jpg
    SM_Picture 144.jpg
    73.3 KB · Views: 153
Last edited:

dieselcruiserhead

16 Years on ExPo. Whoa!!
And finally where we are today... The laser aligner again. Really a lot of work for even this relatively simple suspension, again. But that said we have really been having a blast building it as well.
 

Attachments

  • SM_Picture 141.jpg
    SM_Picture 141.jpg
    77.6 KB · Views: 179
  • SM_Picture 150.jpg
    SM_Picture 150.jpg
    86.8 KB · Views: 200
  • SM_Picture 151.jpg
    SM_Picture 151.jpg
    94.2 KB · Views: 176
Last edited:

dieselcruiserhead

16 Years on ExPo. Whoa!!
So there are two days of work here, Saturday afternoon & last night.

On Saturday I took a few hours to figure out the distance from the frame and angles of the hub, etc. I cut a lot of the small pieces to be able fab up the rest of the A-arms...

These pics show how I arrived last night.
 

Attachments

  • SM_Picture 003.jpg
    SM_Picture 003.jpg
    83.6 KB · Views: 172
  • SM_Picture 002.jpg
    SM_Picture 002.jpg
    67.3 KB · Views: 228

dieselcruiserhead

16 Years on ExPo. Whoa!!
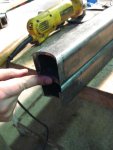
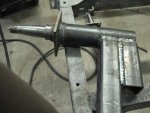
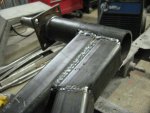
Shows the technique of how I cut the 3" box tube (same stuff as the front cross member) into hangers for the A-arm. A little more steel/welding so nice and strong...

And the tubing/bushings in place for design of the arms...
 

Attachments

  • SM_Picture 005.jpg
    SM_Picture 005.jpg
    80.1 KB · Views: 107
  • SM_Picture 008.jpg
    SM_Picture 008.jpg
    73.8 KB · Views: 140
  • SM_Picture 009.jpg
    SM_Picture 009.jpg
    74.6 KB · Views: 141

dieselcruiserhead

16 Years on ExPo. Whoa!!
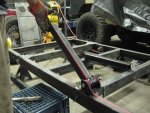
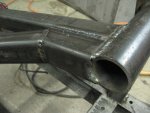
Construction of the arms...
 

Attachments

  • SM_Picture 017.jpg
    SM_Picture 017.jpg
    89.3 KB · Views: 211
  • SM_Picture 011.jpg
    SM_Picture 011.jpg
    81.4 KB · Views: 115
  • SM_Picture 013.jpg
    SM_Picture 013.jpg
    73.4 KB · Views: 118

dieselcruiserhead

16 Years on ExPo. Whoa!!
Close ups
 

Attachments

  • SM_Picture 018.jpg
    SM_Picture 018.jpg
    73.8 KB · Views: 9,799
  • SM_Picture 019.jpg
    SM_Picture 019.jpg
    66.1 KB · Views: 114
  • SM_Picture 020.jpg
    SM_Picture 020.jpg
    76.5 KB · Views: 124
  • SM_Picture 022.jpg
    SM_Picture 022.jpg
    79 KB · Views: 128

dieselcruiserhead

16 Years on ExPo. Whoa!!
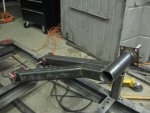
Next shows the other arm and better photos of the build up process/technique...
 

Attachments

  • SM_Picture 023.jpg
    SM_Picture 023.jpg
    77.9 KB · Views: 110
  • SM_Picture 024.jpg
    SM_Picture 024.jpg
    76.6 KB · Views: 114
  • SM_Picture 029.jpg
    SM_Picture 029.jpg
    80.9 KB · Views: 109
  • SM_Picture 028.jpg
    SM_Picture 028.jpg
    99.7 KB · Views: 152
  • SM_Picture 030.jpg
    SM_Picture 030.jpg
    79.5 KB · Views: 116

dieselcruiserhead

16 Years on ExPo. Whoa!!
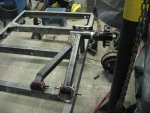
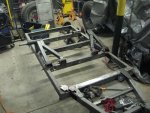
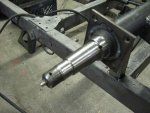
Here we are all built up. Next comes greasing/building of the hubs. Very easy and very heavy duty at 3500lb axles. Also notice the ports and grease zerks, so in theory you can grease the bearings without removing the hubs...

The piece of steel between the axle tube an the frame is about 5.5" long and is taking the temporary place of the air bag suspension that will go in place, just tacked on... Right now I have my eye on a $50 local airbag kit on ebay otherwise I'll be ordering the kit from Martyn at Adventure Trailers most likely...
 

Attachments

  • SM_Picture 032.jpg
    SM_Picture 032.jpg
    83.2 KB · Views: 119
  • SM_Picture 031.jpg
    SM_Picture 031.jpg
    97.8 KB · Views: 102
  • SM_Picture 026.jpg
    SM_Picture 026.jpg
    80.5 KB · Views: 108
  • SM_Picture 027.jpg
    SM_Picture 027.jpg
    77.2 KB · Views: 92
  • SM_Picture 034.jpg
    SM_Picture 034.jpg
    86.2 KB · Views: 176

Forum statistics

Threads
188,214
Messages
2,903,877
Members
229,665
Latest member
SANelson
Top