M416 Build

dieselcruiserhead

16 Years on ExPo. Whoa!!
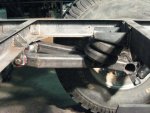
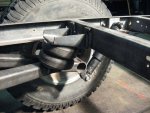
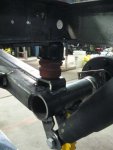
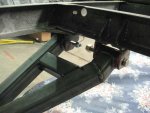
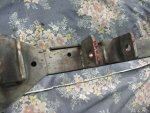
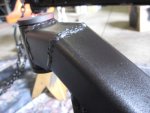
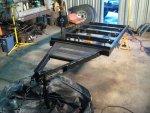
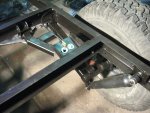
Once aligned I did final frame reinforcement where we were discussing earlier (where the inner upper A arms meet the frame). Sort of hard to tell but I welded more strap above the upper mount. And then at the advice of Ray the professional welder I did some simple 45 degree gussets. It worked killer. In both locations (the upper mounts and the A-arm attachments) no flex what so ever. The AT upper mounts are really really well designed and the tweak/bend I did made them match up perfectly. They sit at a cool 15 degrees on average. I am about 97% done with the frame, some little things and paint and the frame and suspension are done...

attachment.php


attachment.php


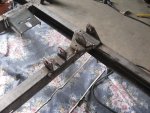
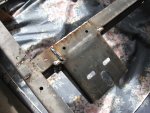
Here you can see the 45 degree gussets to the left. The plate on the other side of the frame is overkill but better safe than sorry. Again, this removed all flex and should be solid as a rock...
attachment.php


attachment.php
 

Attachments

  • SM_047.jpg
    SM_047.jpg
    56 KB · Views: 1,247
  • SM_044.jpg
    SM_044.jpg
    85.8 KB · Views: 1,243
  • SM_043.jpg
    SM_043.jpg
    86.6 KB · Views: 1,715
  • SM_040.jpg
    SM_040.jpg
    98.2 KB · Views: 1,249
  • SM_038.jpg
    SM_038.jpg
    87.2 KB · Views: 1,250

dieselcruiserhead

16 Years on ExPo. Whoa!!
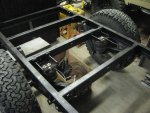
And basically as far as I got yesterday (Friday) afternoon..

attachment.php


I'm really excited with how well they turned out...
attachment.php
 

Attachments

  • SM_051.jpg
    SM_051.jpg
    92.7 KB · Views: 1,248

dieselcruiserhead

16 Years on ExPo. Whoa!!
Thanks guys, appreciated!

Some more updates from today... Today's "5% left" (lol) turned into another big day, longer than Friday actually as it always goes...
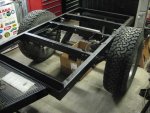
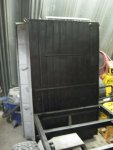
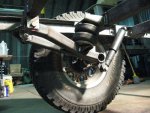
Here are some pics of the arms flexing. Down...
attachment.php


And all the way up...
attachment.php


I also had these bump stops from the wrangler install. My technique for coming up with about an inch of uptravel when resting on the bump stop. This is if an airbag somehow gives out the trailer will still rest on these nice soft stops. That and the nitrogen charged shocks and I should be in good shape...
attachment.php
 

Attachments

  • SM_063.jpg
    SM_063.jpg
    99.7 KB · Views: 1,173
  • SM_066.jpg
    SM_066.jpg
    90.4 KB · Views: 1,164
  • SM_067.jpg
    SM_067.jpg
    72.3 KB · Views: 1,165

dieselcruiserhead

16 Years on ExPo. Whoa!!
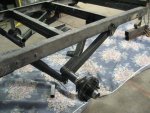
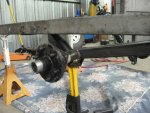
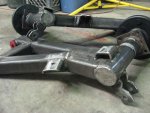
First I started thinking about the arms considerably and what motions they are going to take and how they are going to be stressed. I actually liked the 'play' and flex they had but realized as the wheel hits bumps it will actually pull the inner upper mount down. So I was avoiding it but I decided to beef them up as well...

attachment.php


attachment.php
 

Attachments

  • SM_073.jpg
    SM_073.jpg
    78.6 KB · Views: 1,165
  • SM_069.jpg
    SM_069.jpg
    72.3 KB · Views: 1,169

dieselcruiserhead

16 Years on ExPo. Whoa!!
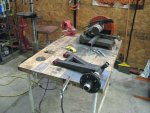
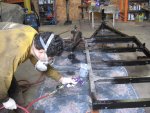
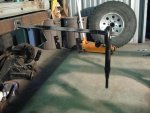
Here are the arms pulled for final welding. This is our newish work bench as of a couple months ago which is an old chef's table. I added the metal in the corner to use as a ground, pretty psyched, the first time I've used it this way...
attachment.php


I decided to cap the tubing as well so mud/etc doesn't get in there. I wanted something of decent strength but all I had was sheet metal and 1/4" (too thick) So I actually used the old landing pads for the tongue. The first time I've drilled a hole for the blank, not the other way around...
attachment.php


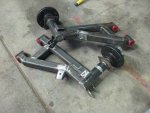
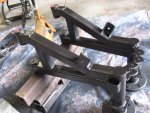
The arms all welded up, the shock tabs etc etc...
attachment.php


You can see the pock marks from the 40 year old steel...
attachment.php
 

Attachments

  • SM_077.jpg
    SM_077.jpg
    96 KB · Views: 1,161
  • SM_083.jpg
    SM_083.jpg
    105.6 KB · Views: 1,164
  • SM_087.jpg
    SM_087.jpg
    78.3 KB · Views: 11,033
  • SM_088.jpg
    SM_088.jpg
    80.7 KB · Views: 1,157

dieselcruiserhead

16 Years on ExPo. Whoa!!
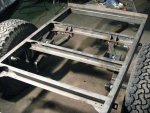
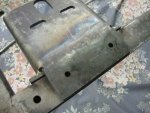
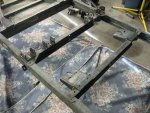
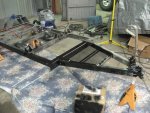
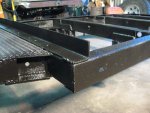
Next I flipped the frame over for more finish welding. All the spots it needed welding. You can also see the bottom of the mounting plates for the airbags.

attachment.php


attachment.php


attachment.php
 

Attachments

  • SM_092.jpg
    SM_092.jpg
    79.5 KB · Views: 1,146
  • SM_091.jpg
    SM_091.jpg
    99.9 KB · Views: 1,156
  • SM_090.jpg
    SM_090.jpg
    107.6 KB · Views: 1,154
Last edited:

dieselcruiserhead

16 Years on ExPo. Whoa!!
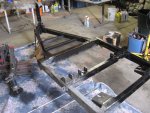
All welded up. I was also welding to add some heat to the frame as it was cold overnight. It was warm today but I still had the heat cranking so I could get the metal ready for paint... Within a few hours it was very warm in the shop and it appears to have worked...

attachment.php


attachment.php
 

Attachments

  • SM_095.jpg
    SM_095.jpg
    97.4 KB · Views: 1,153
  • SM_096.jpg
    SM_096.jpg
    93.9 KB · Views: 1,146
Last edited:

dieselcruiserhead

16 Years on ExPo. Whoa!!
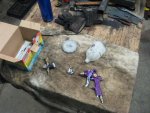
Time for paint... My Harbor Freight HVLP (high volume low pressure) gun. I've always been impressed with it except today it finally died and proved it really is a cheap Chinese piece of junk. Luckily I had a backup that came with my air tools kit, a generic cheapie Husky gun that is also Chinese but worked pretty well other than using a ton of air... I don't think I have a pic of the Husky gun...
attachment.php


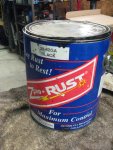
The paint. I learned about this stuff from hotrodders who usually really know their stuff. You usually have to find a local distributor or order it in but it is 100% worth it.

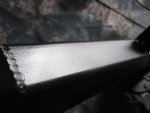
This is a different manufacturer for a paint similar to POR-15 except it's thicker and cheaper and more durable as far as I can tell. It chemically bonds to rust like POR-15 but is almost a plastic-like finish similar to a truck bed liner without the chunks and firmer of course as well. It uses xylene for cleanup like a bed liner so it is probably a similar base material. It also doesn't need primer and fills in well. Also, this can is about 2 years old so it has lasted and it is about $60 a gallon. With the air gun it is way way cheaper than even rattle canning. I used about a quart or maybe a hair more overall today...
attachment.php


My technique was one side at a time, and one side (top/bottom) at time...
attachment.php


attachment.php


attachment.php
 

Attachments

  • SM_104.jpg
    SM_104.jpg
    102.2 KB · Views: 1,149
  • SM_103.jpg
    SM_103.jpg
    107.4 KB · Views: 1,147
  • SM_100.jpg
    SM_100.jpg
    94.1 KB · Views: 1,145
  • SM_107.jpg
    SM_107.jpg
    103.7 KB · Views: 1,147
  • SM_108.jpg
    SM_108.jpg
    102.9 KB · Views: 1,140
Last edited:

dieselcruiserhead

16 Years on ExPo. Whoa!!
Close up of the paint and the arms. You can see how it applies with the paint. It also dried fairly quickly with adequate heat (which is why I mentioned it earlier). Everything got several coats for durability...

attachment.php


attachment.php


attachment.php
 

Attachments

  • SM_116.jpg
    SM_116.jpg
    70.3 KB · Views: 10,500
  • SM_115.jpg
    SM_115.jpg
    56.3 KB · Views: 1,647
  • SM_113.jpg
    SM_113.jpg
    99.5 KB · Views: 1,621

dieselcruiserhead

16 Years on ExPo. Whoa!!
All painted up...

attachment.php


Here you can see what I mean by the paint being like "bed liner." With the second gun it really discharged significant volume and add a nice thick layer.
attachment.php


Make shift paint booth rack, lol...

attachment.php
 

Attachments

  • SM_117.jpg
    SM_117.jpg
    102.5 KB · Views: 1,624
  • SM_119.jpg
    SM_119.jpg
    89.5 KB · Views: 10,531
  • SM_123.jpg
    SM_123.jpg
    82.3 KB · Views: 1,621

dieselcruiserhead

16 Years on ExPo. Whoa!!
Assembly time... This is several hours lapsed by and dark by then.

attachment.php


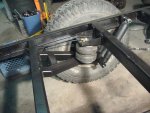
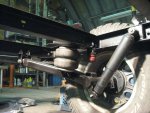
This is each airbag about 5.5" so it will be inflated another 1/2" to 1" with a load. You can see the distance between the arms and the bump stops. In fact I'm even more psyched about the Jeep shocks, they are literally perfect...
attachment.php
 

Attachments

  • SM_126.jpg
    SM_126.jpg
    89.3 KB · Views: 1,626
  • SM_127.jpg
    SM_127.jpg
    92.1 KB · Views: 10,500
  • SM_129.jpg
    SM_129.jpg
    91.2 KB · Views: 1,625
Last edited:

dieselcruiserhead

16 Years on ExPo. Whoa!!
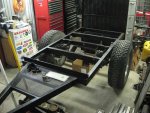
Final assembly. With the air line, I decided to go short and sweet (I orded 12' of hose from AT) would work and frankly I was lazy to drill through the front cross member to route the air tube all the way up front like an AT. I realize I'll have to walk between the two sides to air them up but that is probably OK.

Or, I realized I still will have to wire up the trailer/lights so I'll probably have to drill anyway and may move it up then. Otherwise, here is the final pics as she sits...


attachment.php


attachment.php


attachment.php


attachment.php
 

Attachments

  • SM_132.jpg
    SM_132.jpg
    94.9 KB · Views: 10,494
  • SM_136.jpg
    SM_136.jpg
    89.3 KB · Views: 1,989
  • SM_141.jpg
    SM_141.jpg
    98.7 KB · Views: 1,607
Last edited:

dieselcruiserhead

16 Years on ExPo. Whoa!!
And here is as far as I got. The paint really took a lot of time but as usual with this stuff I am pleased with the results. I also took the last of the paint and sprayed the bottom of the tub about 2-3 coats. There are couple little spots where it was a hair thinner I missed. I'm going to use a matte tan of the same paint (turns out it's the same paint the Marine Corps uses) and any version of the paint can serve as 'primer' so I may leave it black on the underside or maybe paint it tan but use the black as a base coat.

That is everything I have for now, hope you guys enjoy :)

attachment.php


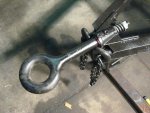
The lunette, greased and installed. Some dust on my hands so looks like MMM but is actually pretty clean. Rotates well and nice and tight..
attachment.php


This last pic you can get an idea of the nice dried matte sheen from the paint...
attachment.php


cheers,
Andre
 

Attachments

  • SM_138.jpg
    SM_138.jpg
    66.9 KB · Views: 1,606
  • SM_142.jpg
    SM_142.jpg
    110.3 KB · Views: 10,481
  • SM_133.jpg
    SM_133.jpg
    83.6 KB · Views: 1,612
Last edited:

Forum statistics

Threads
188,348
Messages
2,905,970
Members
229,958
Latest member
bdpkauai

Members online

Top