M416 hybrid (updated w lots O' Pics)

McZippie

Walmart Adventure Camper
I'm working on the frame today and ran into a question. Does anyone know the location measurements of the spring perches? I think I know the axle center line but I need the measurments for where the spring Perches are located. I.e. how far apart and how far back.

Not what you're looking for... but nice to have if don't already.
.
407114_3149435699387_1369941973_3251191_769967027_n.jpg
 
Last edited:

preacherman

Explorer
Ok I am finishing up the frame today and would love to hear some different opinions/ideas about what to do with the tounge. I measured the distance I need it to be back so I can still open my swing away tire carrier. I need at least 42 inches from the front of the trailer. Other than that I am debating about what type (a frame or single tube) and material to use ( 1/4" thickness other??.) I may want to add some weight later to the tounge like a tounge box or water and gas cans or even a small dirt bike. So I am trying to leave my options open.

Ideas???
 

Pikeman

Adventurer
I would suggest an A-frame with receiver tube center. 1/4 wall should be fine. There are a lot of stresses that get applied to the tongue and especially if you plan on using it off-road so just a single tube will not be sufficient.
 

preacherman

Explorer
UPDATE!

I have been so busy working on this thing I have not had time to update. Here are some updates.

I got the frame mostly finished and it turned out great. I started out by making the main square and then checking it against the trailer body.

b6775629.jpg


After I made sure everything fit I built the rest of the frame.


174a44d6.jpg


d4c911a4.jpg


After I got the main part of the frame done (It took a few weeks) I went back to the body work. Here is when things really slowed down. For some reason I decided to try and make this thing look nice. The first task was to fix the drain plugs that where rusted shut. After some thought I decided to cut them out and patch them up. With a tailgate I really don't see the need to have them anyway. Cutting them out also made my frame much easier to make as the original frame had notches in the frame to allow for the drains. With the drains cut out I no longer needed to notch the frame.

76fb188b.jpg
 

preacherman

Explorer
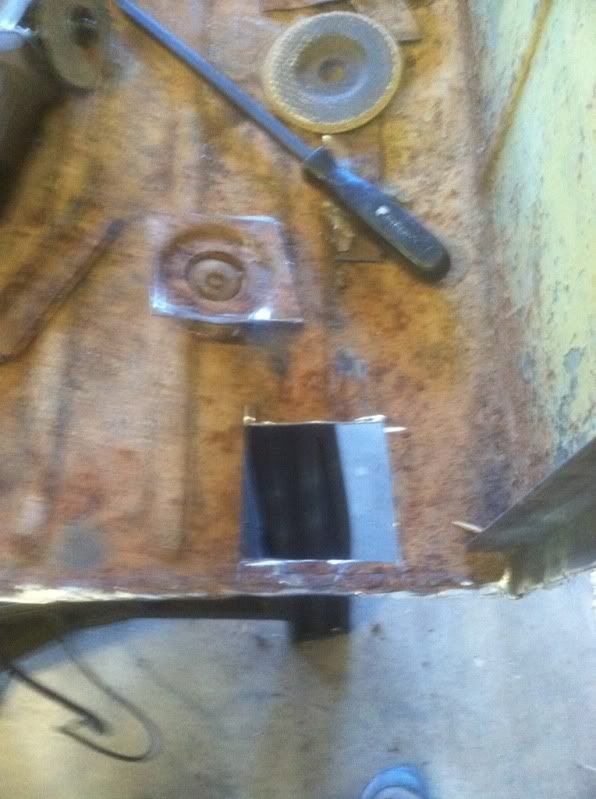
After I cut the drains out I made a patch panel from the section I cut out for the tailgate. I did this because the trailer bed has raised ridges like a pick up truck bed. I wanted the patched sections to look good so I cut a similar section out of the old material to match.

cb657c48.jpg


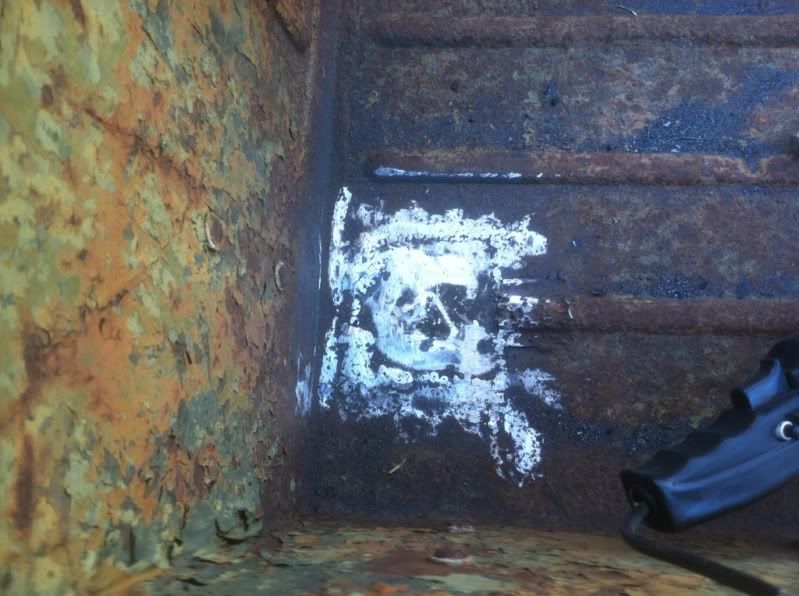
1.3 million tack welds later...

39ee24be.jpg


I did the same with the front drain plug.

8f711628.jpg


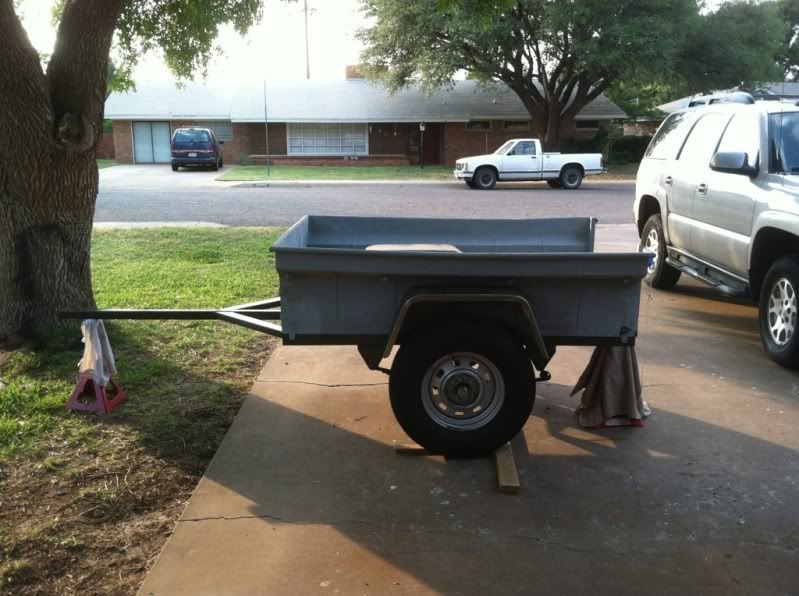
Then I took the trailer up to work for a few days so our sandblaster could work me in (for free).

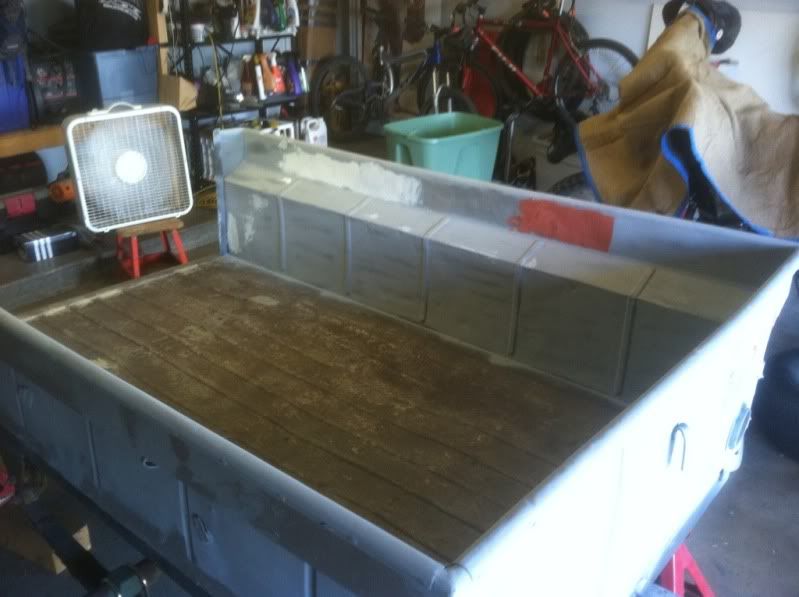
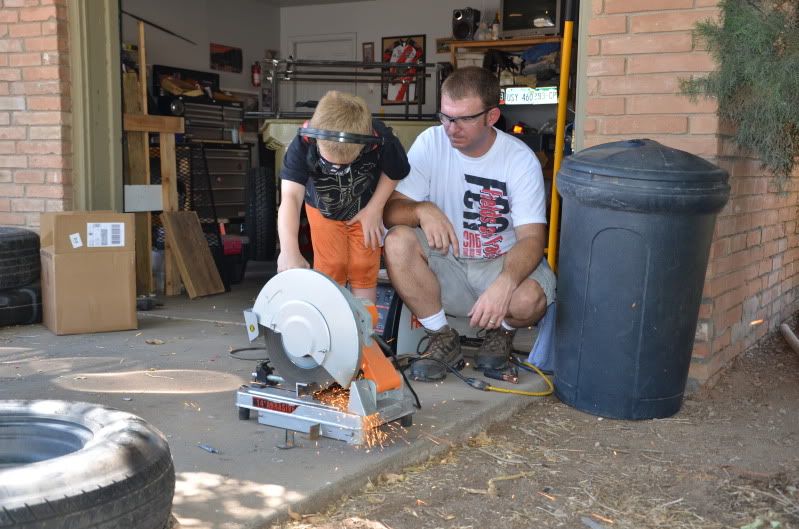
After sandblasting the real fun began. I spent a whole weekend with body hammers and dollies banging out any bents, crooked sheet metal, or bad sections I could find. My neighbors accused me of trying to get rid of them:Wow1:

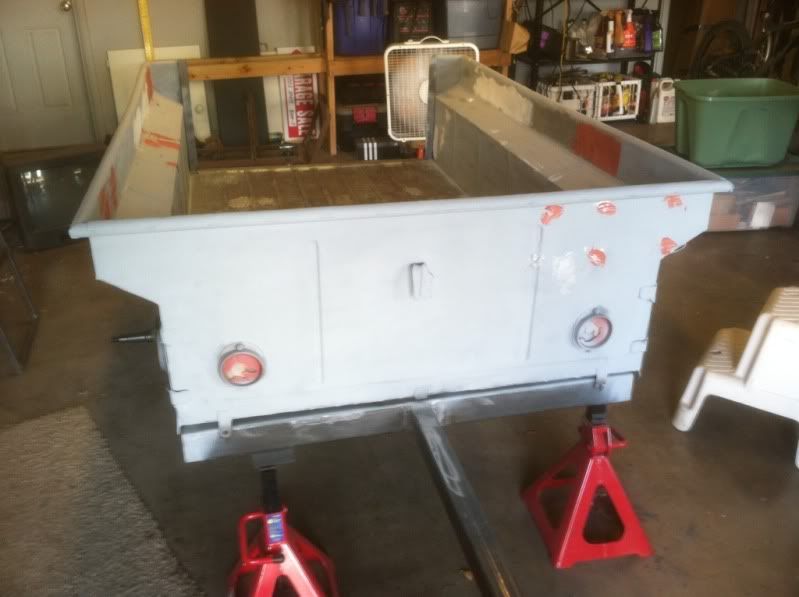
After getting the body banged into shape I started with the body filler. I used this to give the rougher sections a touch up. After weeks of sanding, re-applying and sanding some more I finally got some primer shot on this weekend.

8e5aa7fc.jpg


f71731e5.jpg


And that is what I finished today. I am hoping to get the shocks, fenders, and tailgate mounted this week. I still have lots of things to do but hope to finish it within the next month so I can take some summer trips.

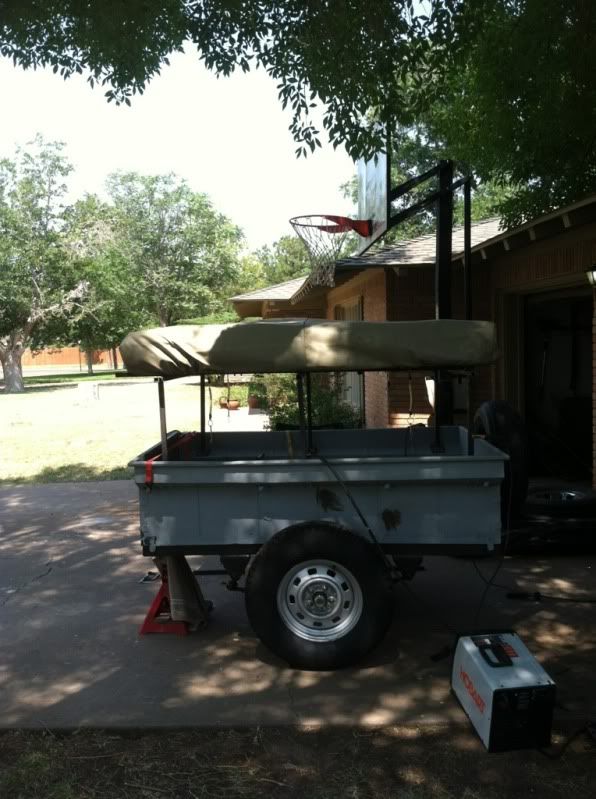
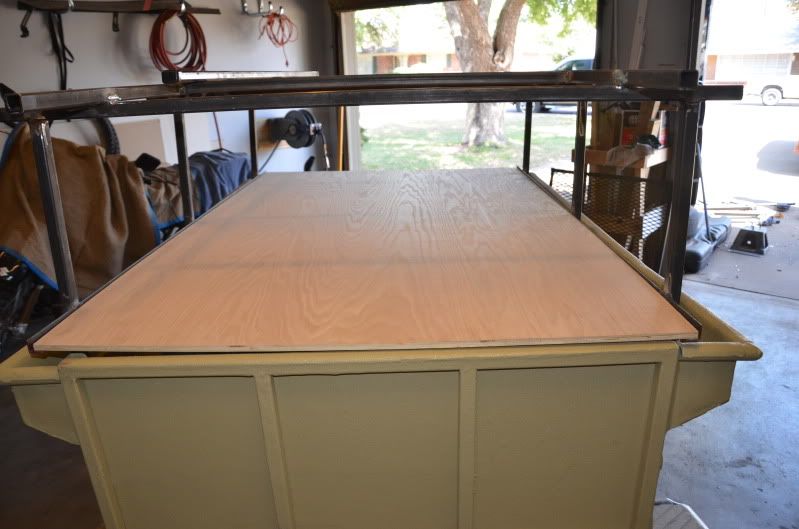
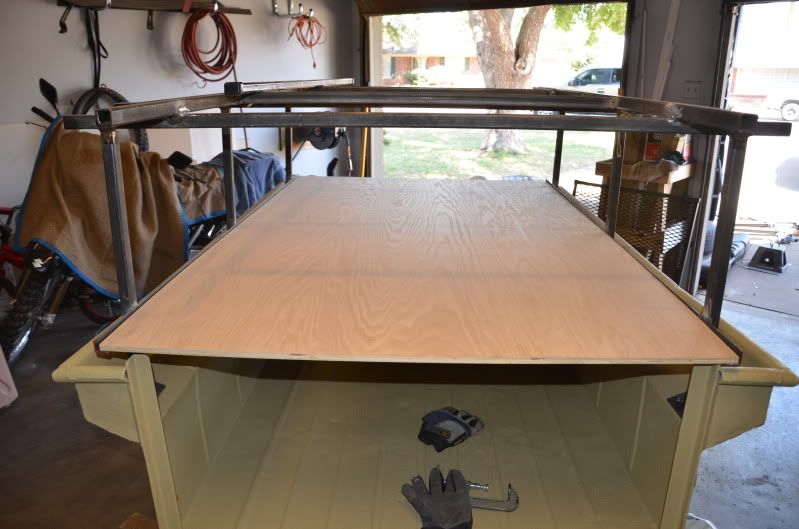
Next up: The roof top tent platform.
 

preacherman

Explorer
Jeep TJ wheel conversion

I almost forgot. For anyone wanting to change the wheel hub on a m416 to a jeep TJ style hub here is the easy way to do it. I did not want to change the axle so I did some research. What I discovered is that if you use a wheel hub bearing like this it will fit fine without any modifications. The m416 axle has a spindle that is 1 3/8 on the inside and 1 1/16 on the outside. It is a somewhat common hub. The crown nut however was much harder to find. I had to go to a specialty bolt store to find it.

41e7830e.jpg


I got these at my local trailer supply store for cheap. The only thing you must be aware of is wheel backspacing. Unless you are running a wide tire ( I am most likely going to run a 235/75/15) you need 4.5-5.5 inches of backspacing to make it look ok. Some experimenting may be required.
 
Last edited:

preacherman

Explorer
I finished my trailer so I thought I would update this thread with lots of expo pron...

mocking up the frame and trailer

1c3d0f79.jpg


Working on the tent platform

cd8d0c7a.jpg


My good friend runs a industrial lining company (think rino liner) for the oil industry, so he lined the entire tub (for free) in a tan rino liner type material.

f45e2953.jpg


Prepping for final installation, that's a lot of hardware! I spent over $300 in nuts and bolts alone.

DSC_0010.jpg
 

Mark Harley

Expedition Leader
I love the family pictures. It will give the kids a feeling of pride when someone stops you and asks about the trailer.
They can say they rebuilt it as a family. and it will be a great way to get away and spend quality family time.
Great build and keep us posted.
 

preacherman

Explorer
I finished it the night before we left for a big family trip to Colorado. I was nervous about going so far with an untested trailer I built in my garage but it did great! A picture is worth a thousand words...

c1b82a5a.jpg


We had ZERO problems!!!!!!:wings:
 

Forum statistics

Threads
189,583
Messages
2,918,525
Members
232,571
Latest member
Psyph
Top