You are using an out of date browser. It may not display this or other websites correctly.
You should upgrade or use an alternative browser.
You should upgrade or use an alternative browser.
M416 trailer build my brother and I
- Thread starter Crush Jeep
- Start date
cannonball55
Adventurer
just read through all 23 pages of this thread... great build, and brother for the work he's put in!
one question, you mentioned on the RTT rack that the bolt doesn't actually go through the inside tube, so it could be lifted out entirely without removing any pins?
any fear of this being stolen or losing it on the highway (stranger things have happened)?
one question, you mentioned on the RTT rack that the bolt doesn't actually go through the inside tube, so it could be lifted out entirely without removing any pins?
any fear of this being stolen or losing it on the highway (stranger things have happened)?
Crush Jeep
Adventurer
If you look closely at the pictures, the pipe on top slides into the bottom pipe, we drilled holes through the outside pipe in two places. The rack stays in the down position until I need the room. Then to adjust the height I just slide the rack up and put pins through the outside pipe in one of the two holes. We did not drill holes in the inside pipe because it would be too hard to line up the holes and just a hassle. When you put the pin through the hole on the outside pipe the inside pipe will rest on the top of the pin.
First thanks for the complement and my brother is the metal working smart guy. It's been a learning experience for both of us. His skills have improved 10 fold after completing two trailers, along with his selection of tools that he has now. I think that this was what you were talking about above. Two things first there were no issues with losing it on the highway because when it was down it would take a lot to pull it all the way out and second if I did extend it I could use some racket straps to keep it secure. This was the first rack design.just read through all 23 pages of this thread... great build, and brother for the work he's put in!
one question, you mentioned on the RTT rack that the bolt doesn't actually go through the inside tube, so it could be lifted out entirely without removing any pins?
any fear of this being stolen or losing it on the highway (stranger things have happened)?
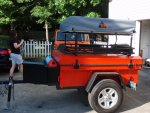
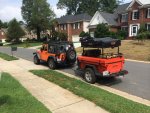
Here is the current rack design, it uses the entire top of the trailer for space so I get a lot more room. On this design I do have pins that secure the rack down and there is a multitude of adjustment holes in this one. Even if I did not have the pins in I would not be worried about it because it takes two people to raise the rack. The rack was designed to hold military hardigg and pelican cases along with firewood.

If someone wanted to steal the tent it would be easier just to unbolt the tent from the rack. Plus when not in use the trailer is kept in the garage until we go somewhere. Here's another shot of the trailer loaded.
Last edited:
cannonball55
Adventurer
Ah, thank you! I'm glad to hear it's bolted in now. As I said stranger things have happened on the highway.
Sent from Tapatalk using my iPhone.
Sent from Tapatalk using my iPhone.
Crush Jeep
Adventurer
Crush Jeep
Adventurer
Crush Jeep
Adventurer
I'll be taking a trip to help out my brother this weekend. We are looking at installing the axel, springs and shocks on the trailer. Here is another update on the trailer. Another new tool, a hole punch, it punches 1 inch holes in the metal.
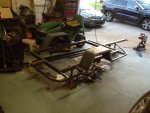
A few test holes.
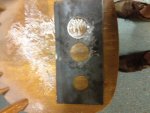
The rear corner installed.
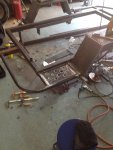
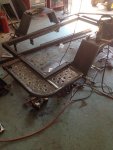
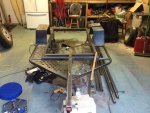
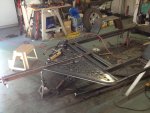
More updates next week.

A few test holes.

The rear corner installed.


More updates next week.
Last edited:
bonomonster
Adventurer
I love the drilled plate......
Crush Jeep
Adventurer
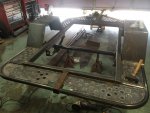
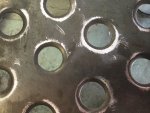
Thanks, it's dimpled not flat so it gives the metal more strength (it's hard to see in the pictures). Also going with our concept price and weight using metal and punching holes in it is cheaper than expanded metal and it's lighter than solid metal.I love the drilled plate......
Mark Harley
Expedition Leader
I like the new design with the tubing and dimpled plates.
I think it is time you guys stop building on the floor and construct a build table.
That has to be hell on your back working that low.
I think it is time you guys stop building on the floor and construct a build table.
That has to be hell on your back working that low.
Crush Jeep
Adventurer
Mark this is the answer to working low. I will say that welding upside down on my back was not my best work, I got a few burns.I like the new design with the tubing and dimpled plates.
I think it is time you guys stop building on the floor and construct a build table.
That has to be hell on your back working that low.
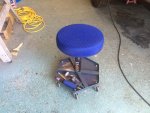
Here the finished plating.
A close up of the dimpling.
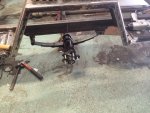
We got a little work done this last weekend.
Crush Jeep
Adventurer
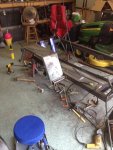
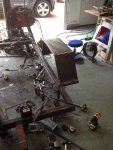
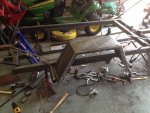
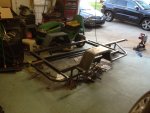
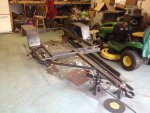
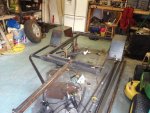
We put the axel, springs and shocks on. Only issue was that the hub was the wrong size so they are shipping new hubs with the correct lug pattern.

We also attached the tongue jack. In order for it to fold up correctly we had to cut the bracket off and reattach it lower. We also had to add a small extension on the bottom of the tongue.
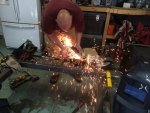
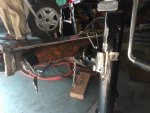


We also attached the tongue jack. In order for it to fold up correctly we had to cut the bracket off and reattach it lower. We also had to add a small extension on the bottom of the tongue.


Mark Harley
Expedition Leader
Very nice progress.
Are you going with a 416 shaped tub or something new?
Are you going with a 416 shaped tub or something new?
Crush Jeep
Adventurer
It will be in the shape / size of a 416 except a little longer. The sides are getting bent this week at the metal shop. The raw material cost is not that much but setting up the machine is where the cost is. He is have a few sets bent to save on the cost (future builds). This trailer has to be usable for an Oct trip so the pressure is on.Very nice progress.
Are you going with a 416 shaped tub or something new?
Crush Jeep
Adventurer
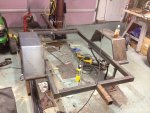
We put the floor down and punched holes in the metal all the way around it. The holes allowed us to spot weld the bottom in.
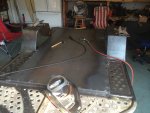
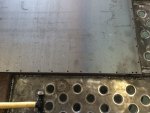
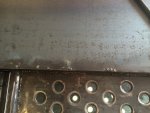
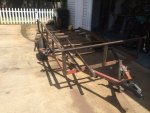
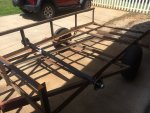
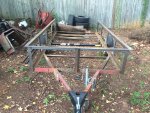
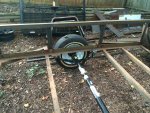
That was about as far as we could go for now on this project since we were waiting on to sides to be bent. But there is always a project to be completed. My brother is repairing a trailer for a friend so we worked on it for the day. We replaced the springs, axel and added new sides. A new tongue hitch had already been added.
So that completed the weekend of work.


That was about as far as we could go for now on this project since we were waiting on to sides to be bent. But there is always a project to be completed. My brother is repairing a trailer for a friend so we worked on it for the day. We replaced the springs, axel and added new sides. A new tongue hitch had already been added.


So that completed the weekend of work.
Similar threads
- Replies
- 3
- Views
- 1K
- Replies
- 20
- Views
- 5K
- Replies
- 27
- Views
- 5K
- Replies
- 6
- Views
- 3K

