M416 trailer build my brother and I

Crush Jeep

Adventurer
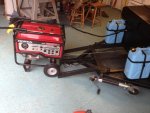
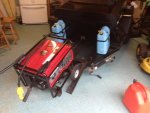
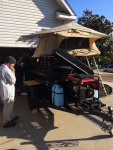
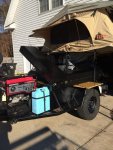
A quick look at how the generator works.
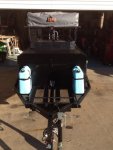
Trailer without the generator.
Dave 32.jpg
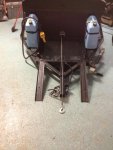
The tongue jack has to go as low as possible then you use the scissor jack to disconnect the tongue jack and put the ramps down for the generator to roll up.
Dave 32a.jpg
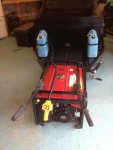
Extend the winch and it makes easy work of loading or unloading the generator.
Dave 33.jpg
Dave 34.jpg
Dave 35.jpg
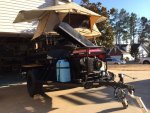
And here it is loaded. You can see the scissor jack mounted on the bottom, the ramps store in the front box.
Dave 36.jpg
Dave 37.jpg
 

Crush Jeep

Adventurer
Those builds look amazing. And since it hasn't been asked...... How much for a similar build? :sombrero:
We don't have an exact number but including the tent and excluding the generator the raw materials were about $2500.
Nice fab work. What do y'all run to need such a massive generator?
The person who my brother made the trailer for just happened to have that generator at his house and wanted to be able to mount it just in case he needed it. It actually came in handy last week when the power went out for three days, my brother used it to power up the house.
 

sroth

Fabricator
These are the latches I used: "Dee Zee DZTBLATCH1 Tool Box Latch". Give me a few days to get the pics, Ill need to get my buddy to take them. I went with these because it gives a real clean look. You can source them from AMAZON.
 

highlandercj-7

Explorer
My Dad has a Honda like that, it runs the house well. He also has a eu2000i, it is great for our camp needs. That 5k would run 10 trailers at camp lol.
 

Crush Jeep

Adventurer
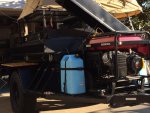
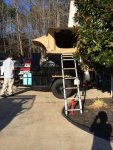
A couple of final shots of the generation 2 trailer, by the way the trailer weighed in at 1700 lbs without the generator.
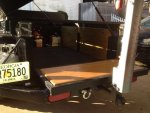
The side tables fit inside the trailer, one for each side of the trailer.
Dave 38.jpg
Dave 39.jpg
There is also two propane tanks. Here's the final set up.
Dave 40.jpg
Dave 41.jpg
Dave 42.jpg
My brother signed it and it was on its way to it's new home.
Dave 43.jpg
Dave 44.jpg
Stay tuned for modifications to generation 1 and the start of my brother's build for himself generation 3.:Wow1:
 

3d fj

Observer
These are the latches I used: "Dee Zee DZTBLATCH1 Tool Box Latch". Give me a few days to get the pics, Ill need to get my buddy to take them. I went with these because it gives a real clean look. You can source them from AMAZON.

Thanks. I was looking on mcmaster for them and i couldn't find them for the life of me. I think this is the solution to how i want to lock my lid.
 

Crush Jeep

Adventurer
I'm very interested in these paddle latches. Do you have any upclose pics of the inside, how it's mounted, the attachment to the lid and where to get it? I think this is really what i'm looking for.
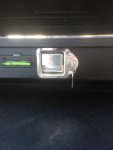
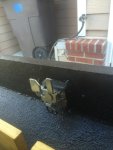
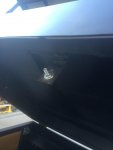
My brother asked me to post these for you, he tried and had an issue with it. These are of the lid.
latch 1.jpg
latch 2.jpg
latch 3.jpg
latch 4.jpg
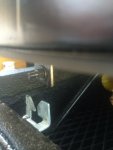
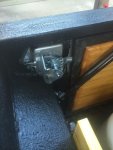
Here is the close up of the tailgate.
latch 5.jpg
latch 6.jpg
Hope this helps you out.
 

3d fj

Observer
THANKS!!! Helps big time! These are exactly the pictures that i wanted to see. After reading what your brother wrote, i went to amazon and found this. http://www.amazon.com/gp/product/B004A0VBUO/ref=ox_sc_sfl_title_2?ie=UTF8&psc=1&smid=ATVPDKIKX0DER
Pretty sure this is what he was talking about. I did however see that they had this... http://www.amazon.com/gp/product/B0045TWHFI/ref=ox_sc_sfl_title_1?ie=UTF8&psc=1&smid=ATVPDKIKX0DER

After looking at how the lid is latched to the lock, it appears that i don't think i will need this stryker box thingy. The only thing i can think of that i might have a problem with is that since my lid and RTT are so heavy, the lid doesn't spring open unaided. I need both arms to lift the lid after unlatching and then the struts will take over. Using this latch will provide a more streamlined look with a lock but i would think that the locking pin can only be released when the lever is lifted. I think it may be a bit tricky for me to pull the latch and try to lift the lid with one arm until the locking pin clears the lock. hmmmm... any thoughts?
 

sroth

Fabricator
What size struts are you using? With the RTT and the steal roof rack I used two 250lbs struts (its a little over kill but wanted to make sure the lid would raise if the roof rack was loaded). As soon as the latch is pulled the top opens with just a nudge. McMaster's has from 25lbs to 250lbs struts (increments of 25lbs) for about 24 dollars (http://www.mcmaster.com/#gas-springs/=r0m595). They are cheap enough to experiment.
 

3d fj

Observer
What size struts are you using? With the RTT and the steal roof rack I used two 250lbs struts (its a little over kill but wanted to make sure the lid would raise if the roof rack was loaded). As soon as the latch is pulled the top opens with just a nudge. McMaster's has from 25lbs to 250lbs struts (increments of 25lbs) for about 24 dollars (http://www.mcmaster.com/#gas-springs/=r0m595). They are cheap enough to experiment.


I have to check. for that price, i may just order it and try it out.
 

Crush Jeep

Adventurer
I took my trailer back to my brother's house this last weekend and we made a modification to it.
This is the original box that was used to hold water cans.
T190 (1).jpg
I wanted to add a water tank instead of water cans. I ordered a 13.2 gallon tank.
T190 (4).jpg
It almost fit in the box except the lip of the box had to be cut off and welded back on.
T190 (2).jpg
T190 (3).jpg
It will be gravity fed so we needed to cut a hole in the bottom.
T190 (5).jpg
Cut and welded.
T190 (6).jpg
A new paint job.
T190 (7).jpg
The finished product. The hose is detachable and stored in the tongue box.
T190 (8).jpg
T190 (9).jpg
 
Last edited:

Forum statistics

Threads
186,763
Messages
2,887,863
Members
227,160
Latest member
roamingraven
Top