Meet the Trot'n Turtle - Unimog U1300L Build

Hodakaguy

Adventurer
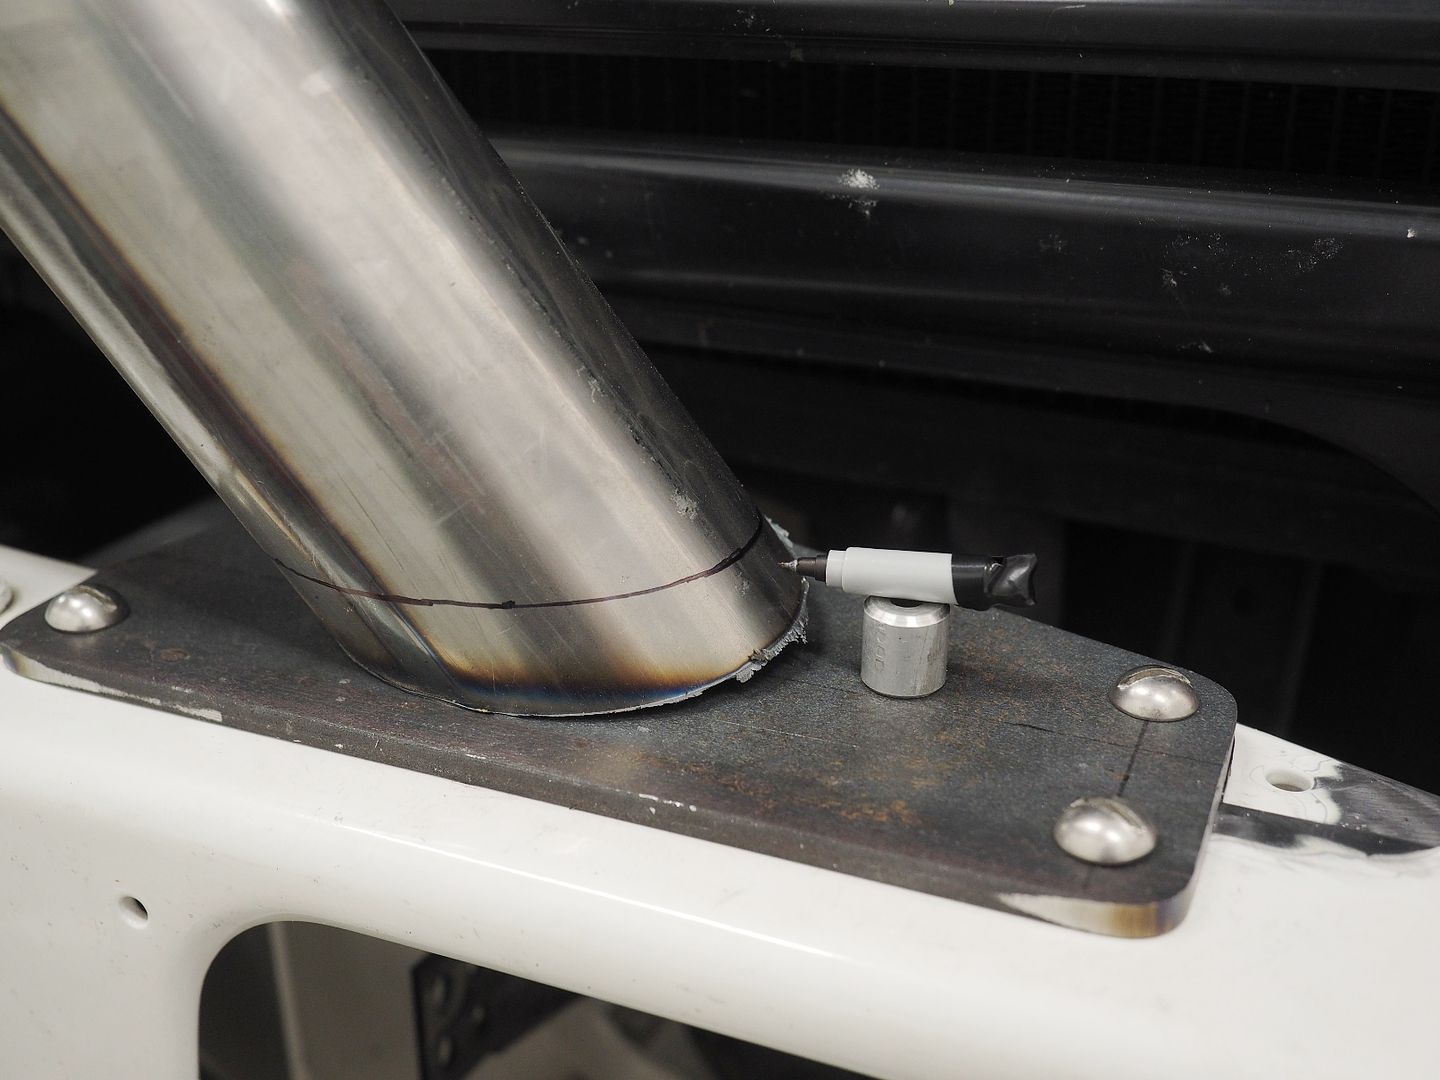
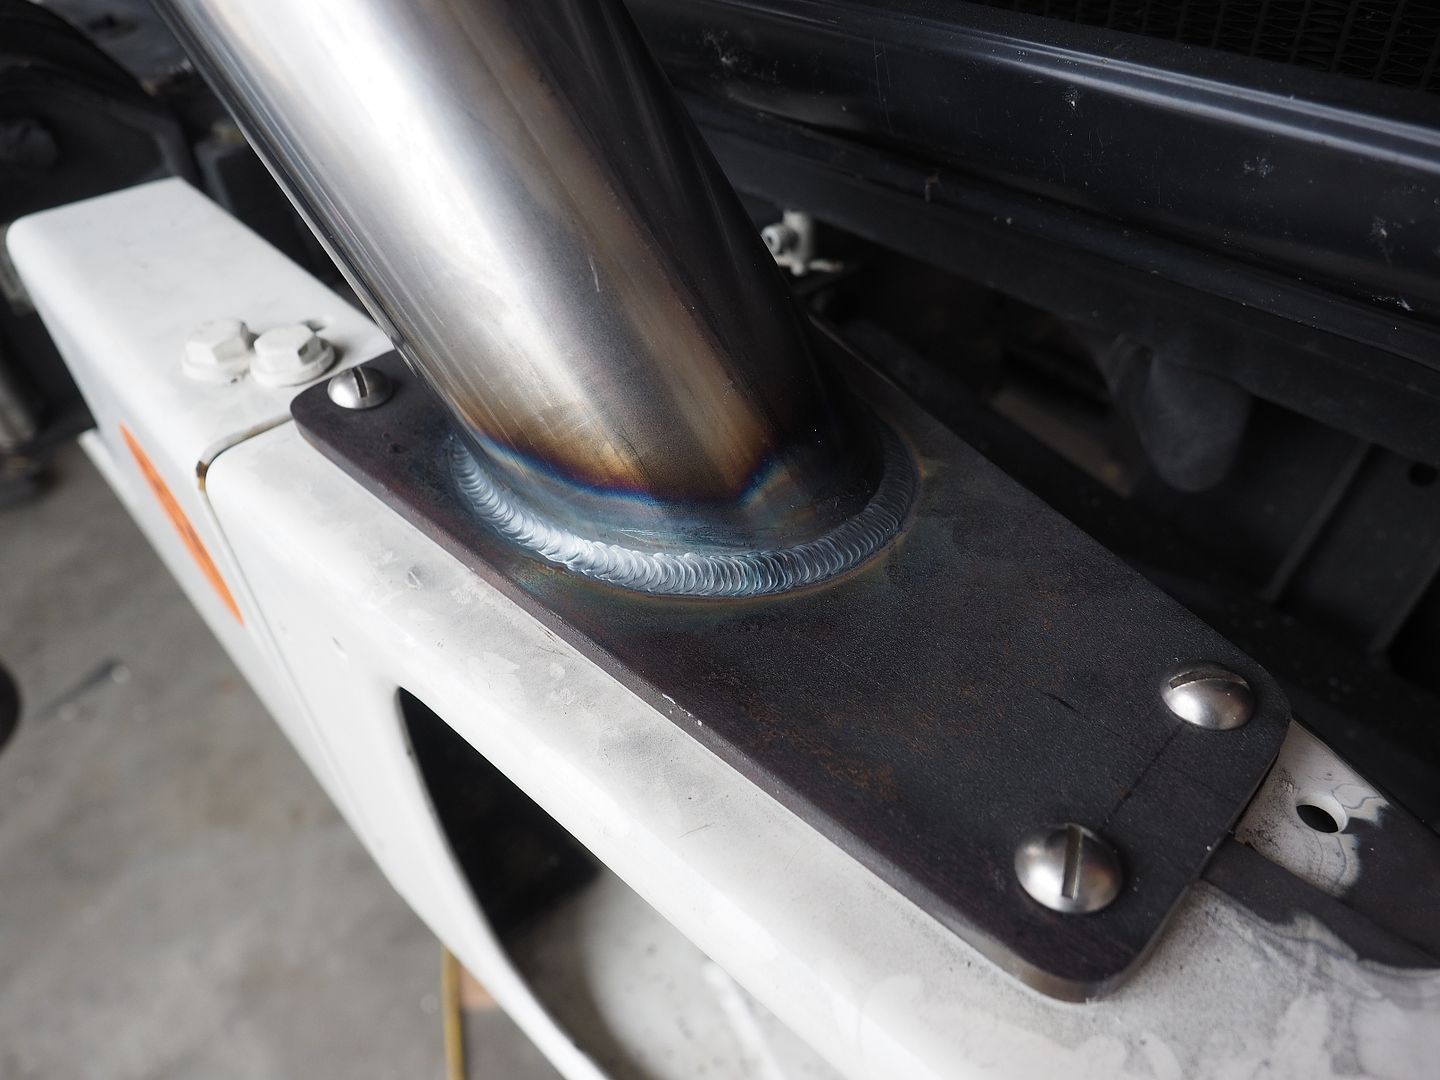
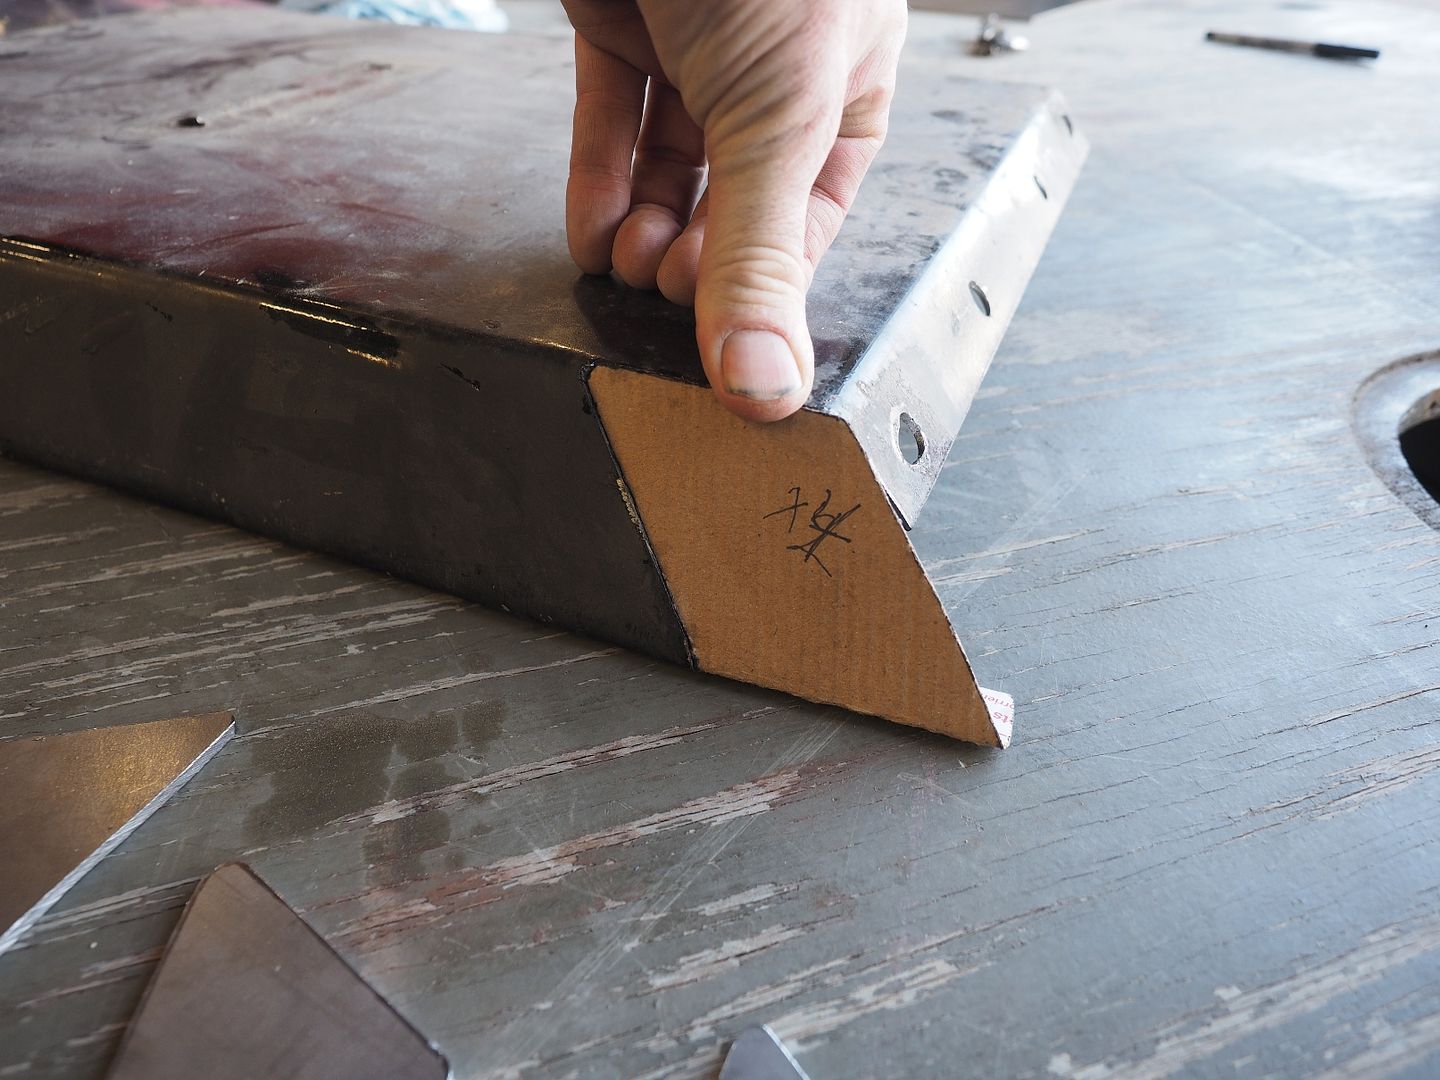
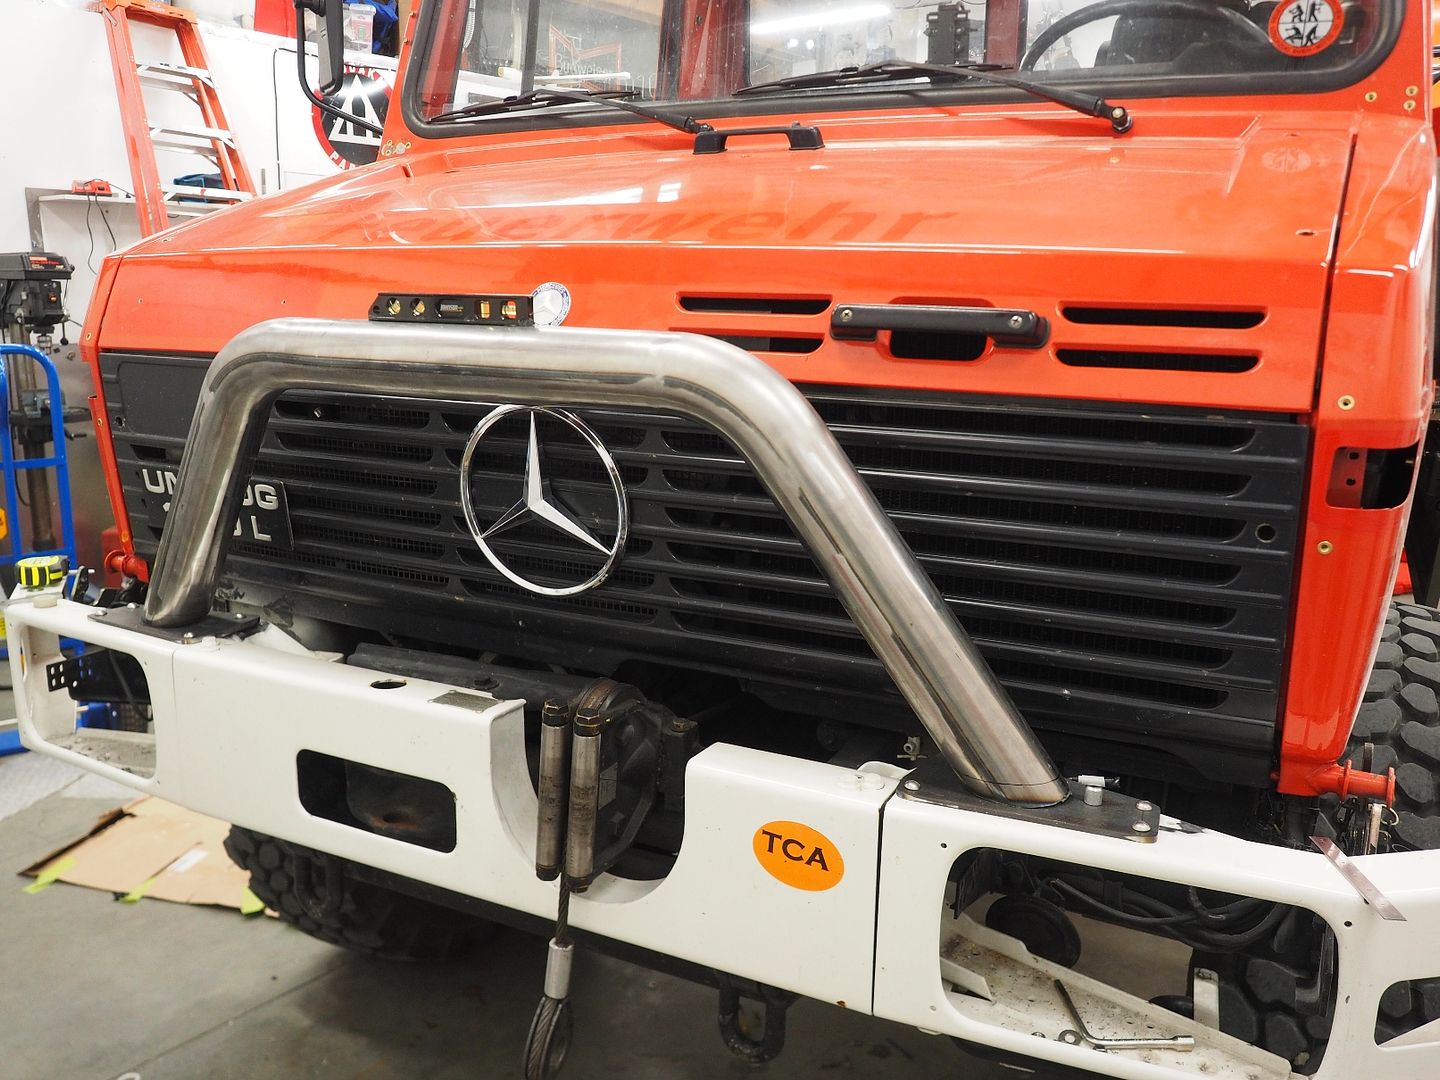
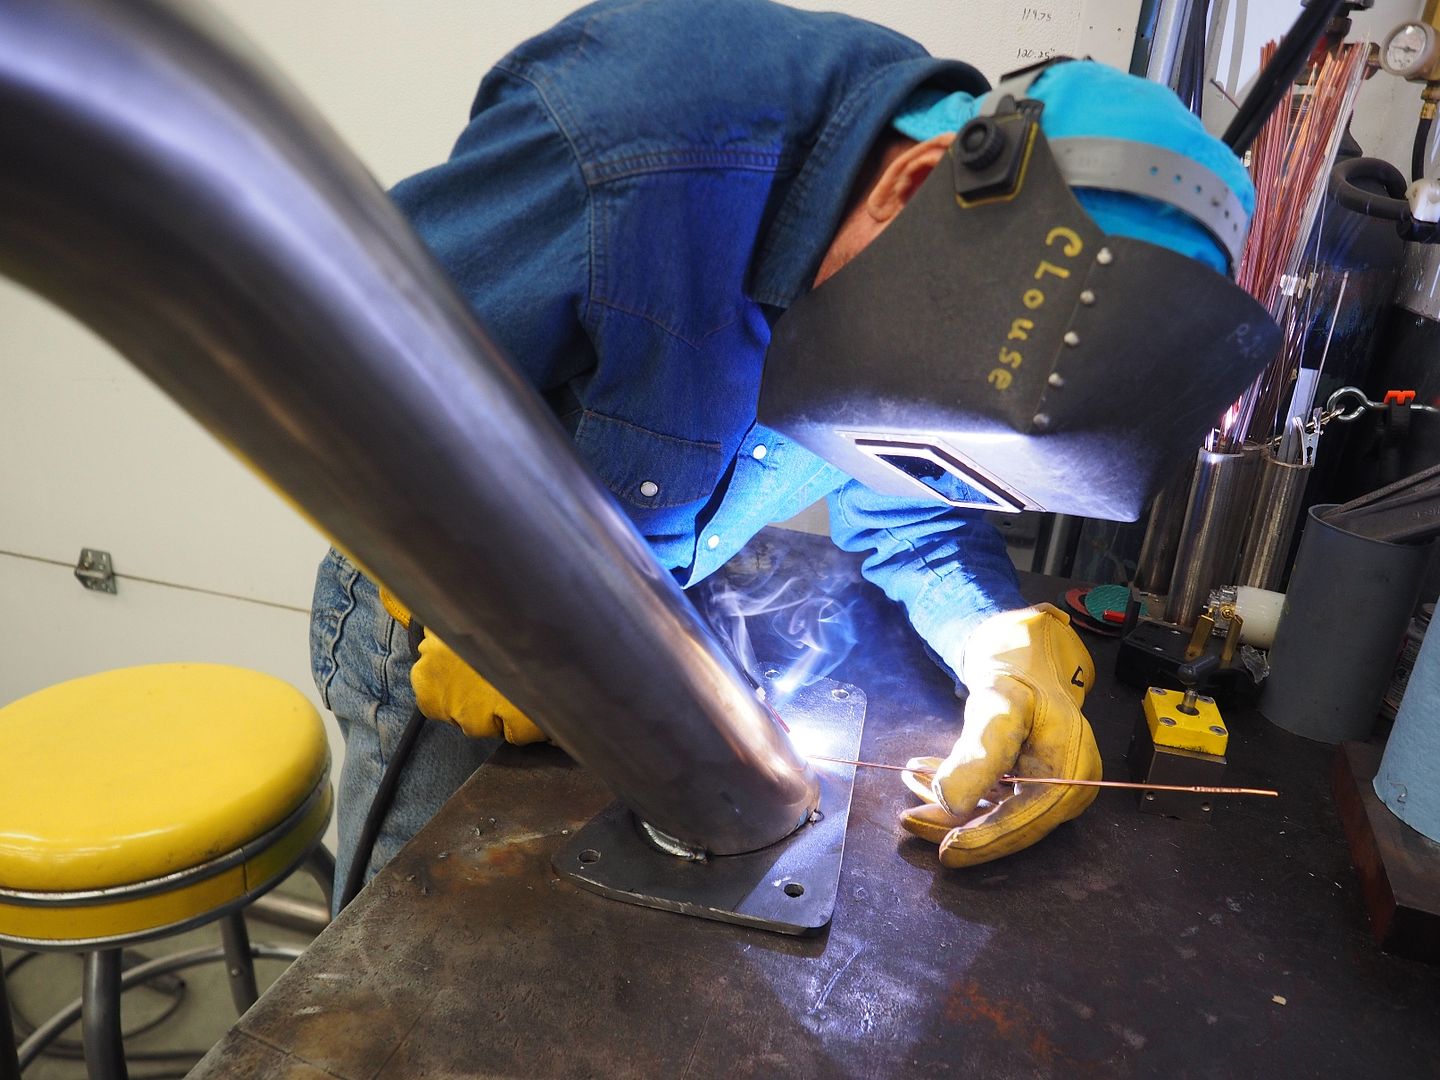
Time to get the push bar finished up. First up we need to lay out the proper angle on the tubing so we can make the final cuts so the push bar will sit at the correct angle on the base plates. The cuts we made yesterday were 90 deg cuts and we don't know what angle we need as of yet. My father had an awesome trick for laying out the perfect cut lines on each side. We placed the bar in the correct location on the base plates and leveled it, then tilted the bar until we liked the angle. At that point we found a small spacer that was just high enough to clear the gap at the back side of the tubing. We then cut down a marking pen and used it on top of the spacer to slide it around the base plates and mark out the perfect cut line onto the tubing, with this method there is no guessing and both sides will be right on the money!

Push bar leveled and the correct angle set. Cut lines marked.
P3110064s.jpg


P3110064.jpg


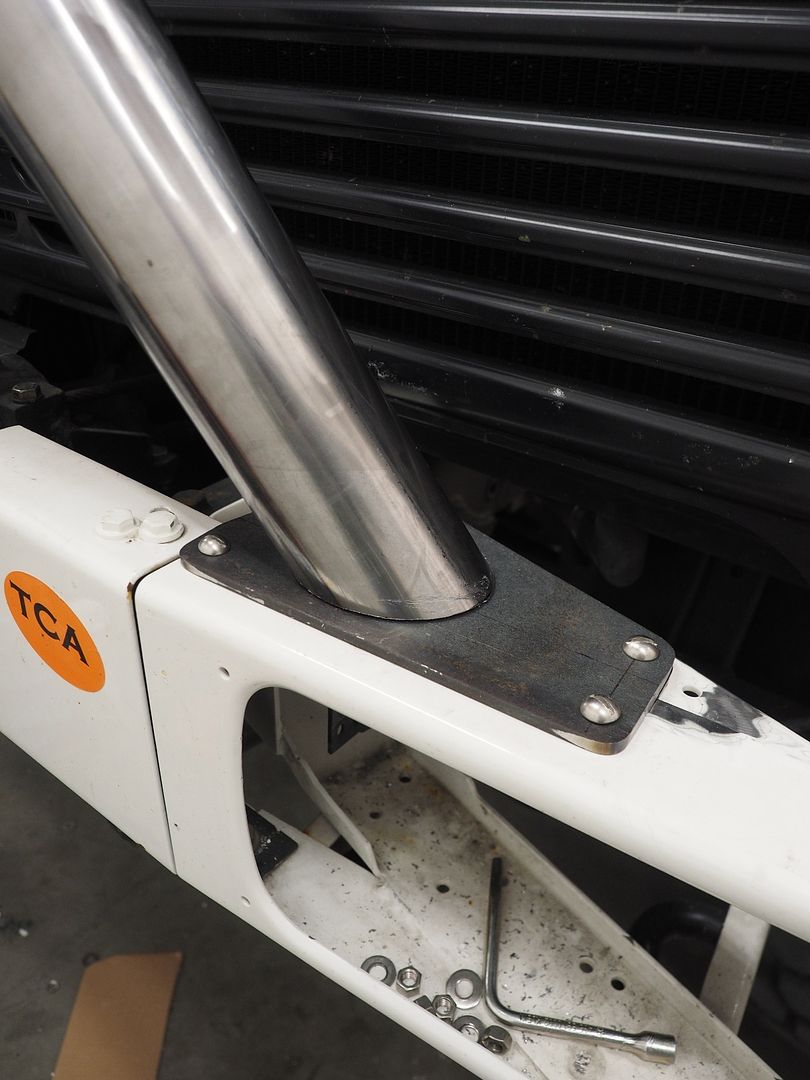
Nice flush fit.

P3110072.jpg


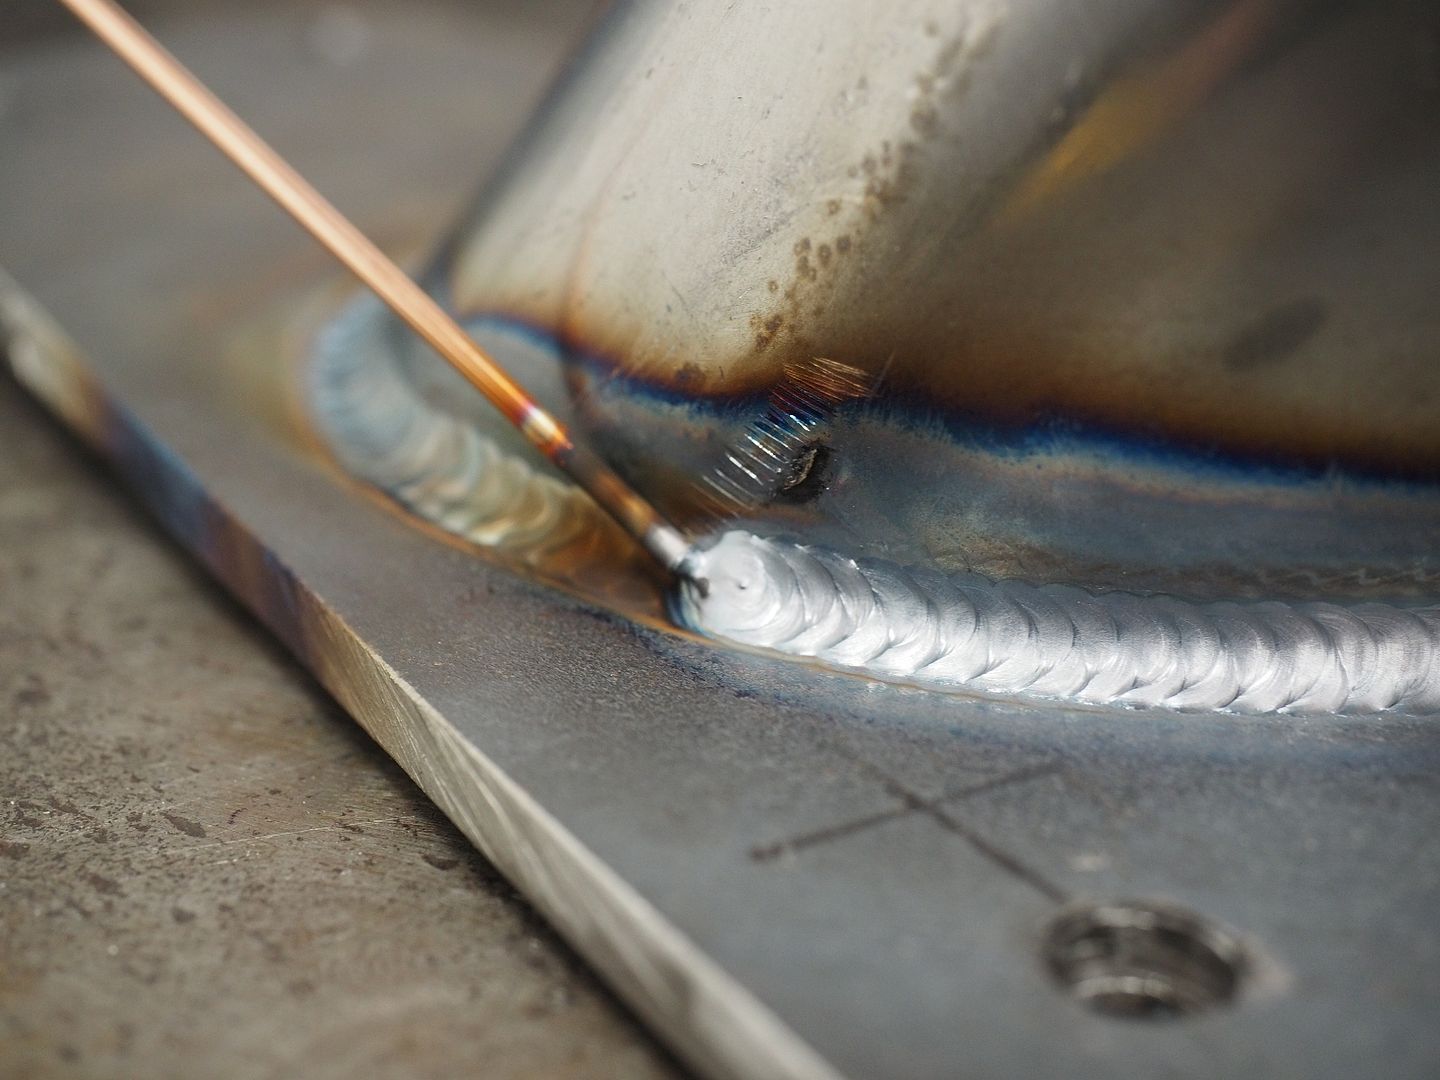
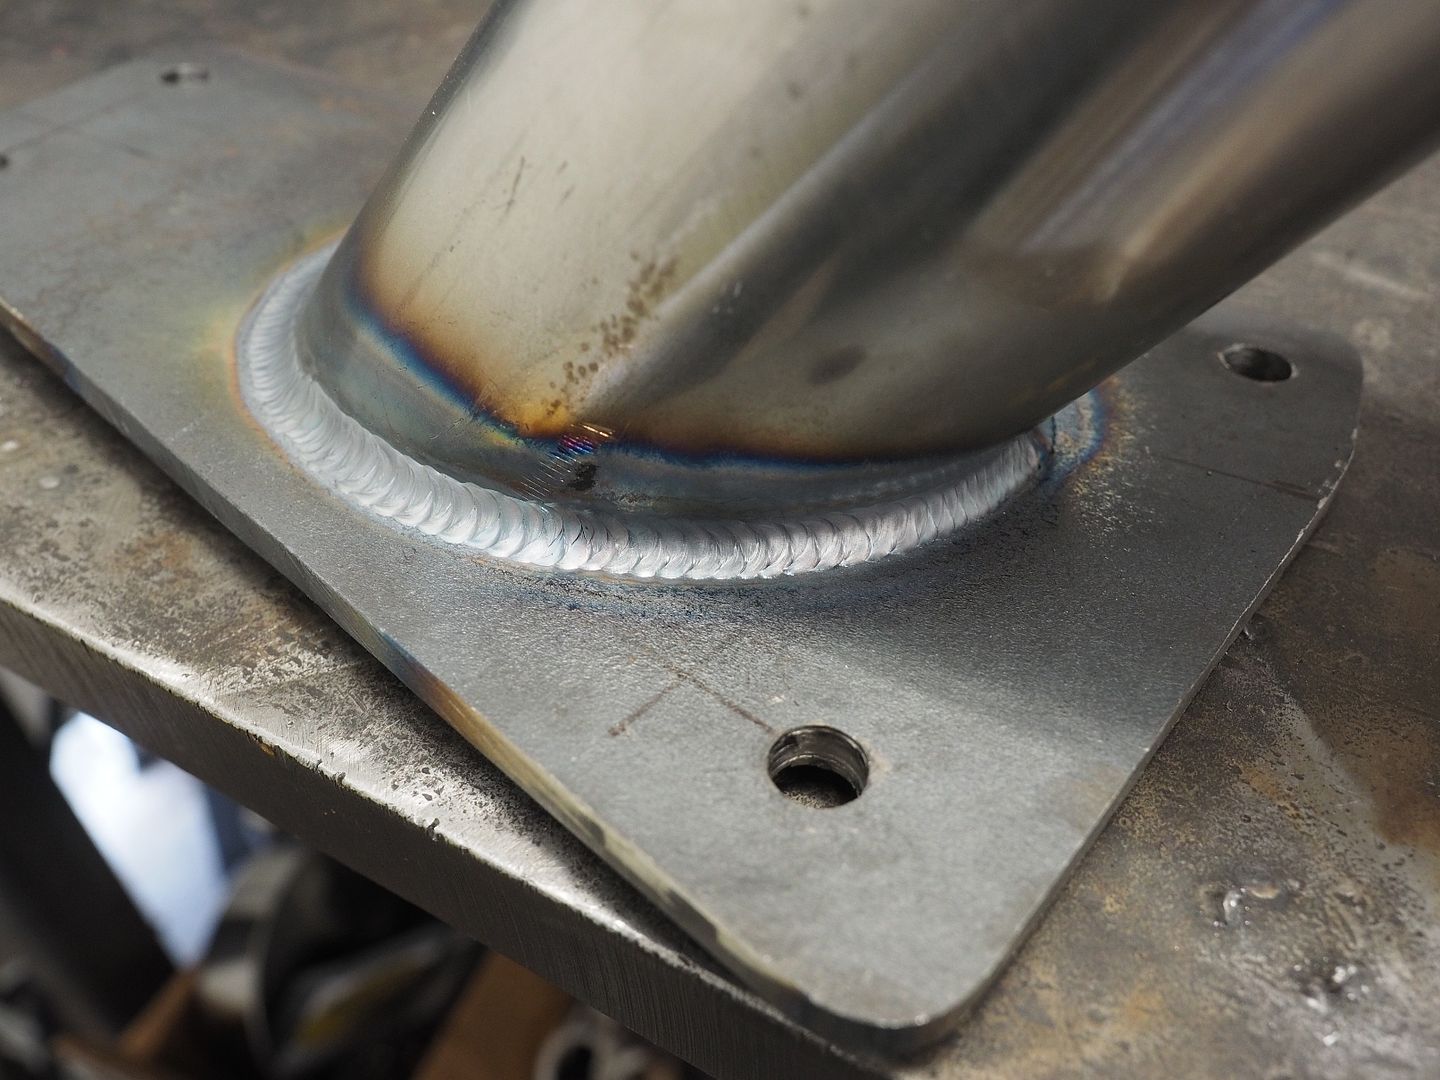
Dad performing his magic!, he's an artist with a TIG torch.
P3110075.jpg


P3110084.jpg


P3110091.jpg


P3110128.jpg


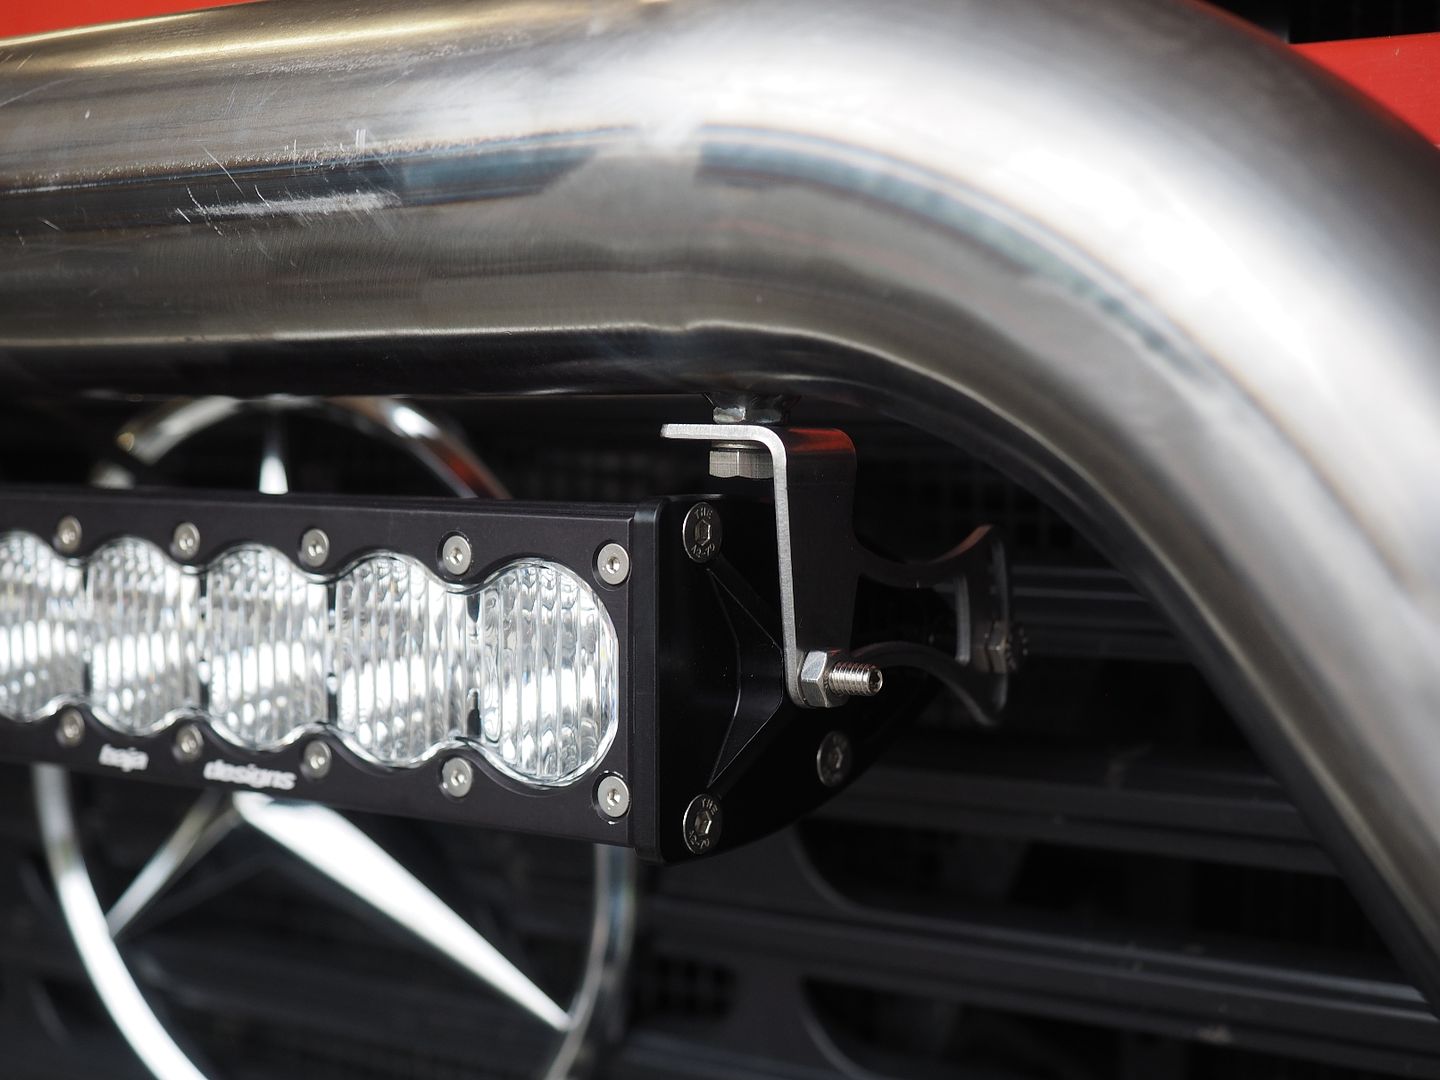
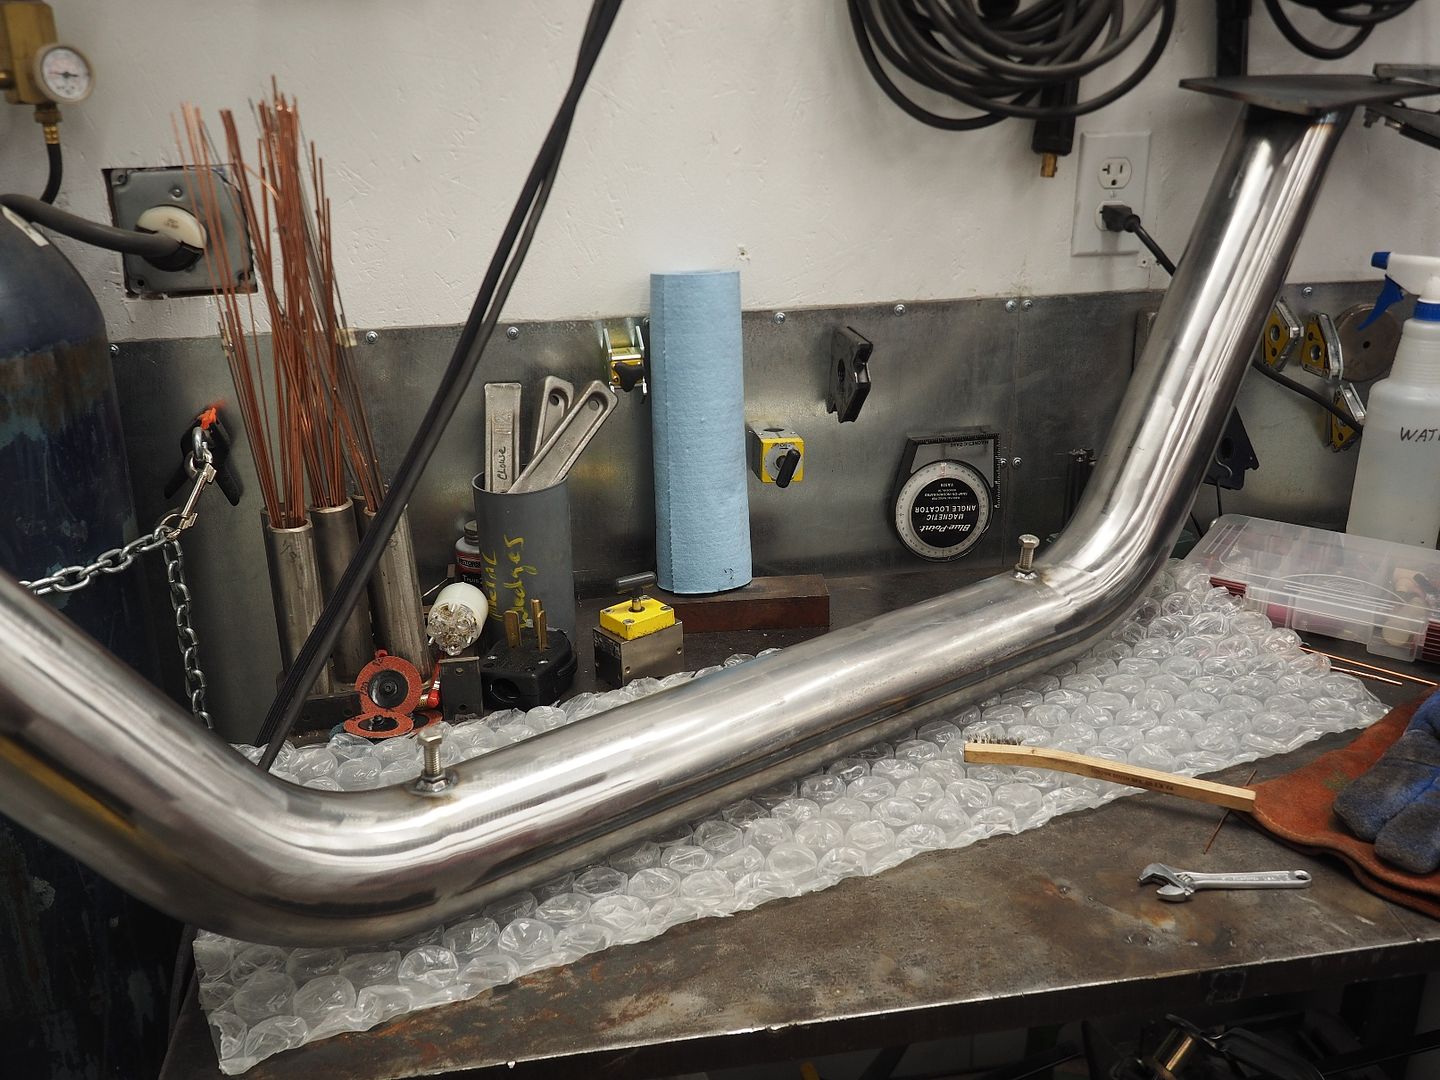
Installing the 20" Baja Designs light bar. We drilled holes for the bolts to recess into the push bar then welded half nuts onto the bottom of the bar. The light mounts will now bolt directly to the under side of the push bar. The mounts are set back slightly so that the push bar sticks out past the light bar for protection.
P3110096.jpg


Light mounted up to the push bar.

P3110120.jpg


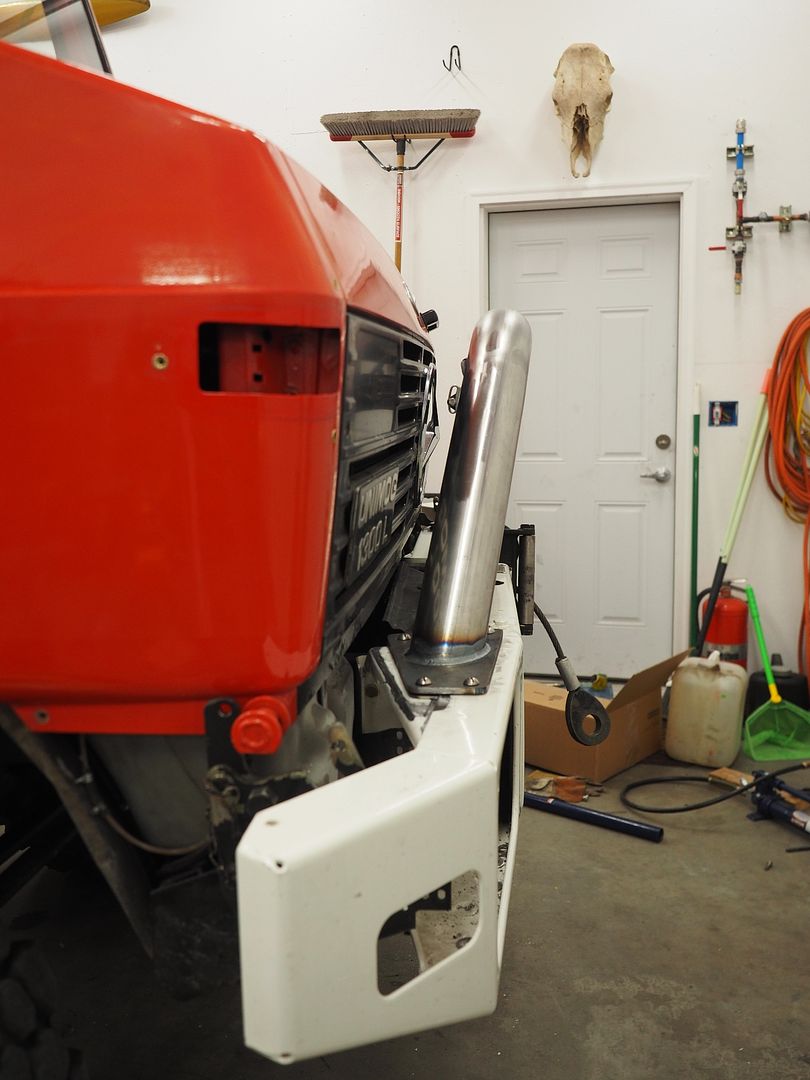
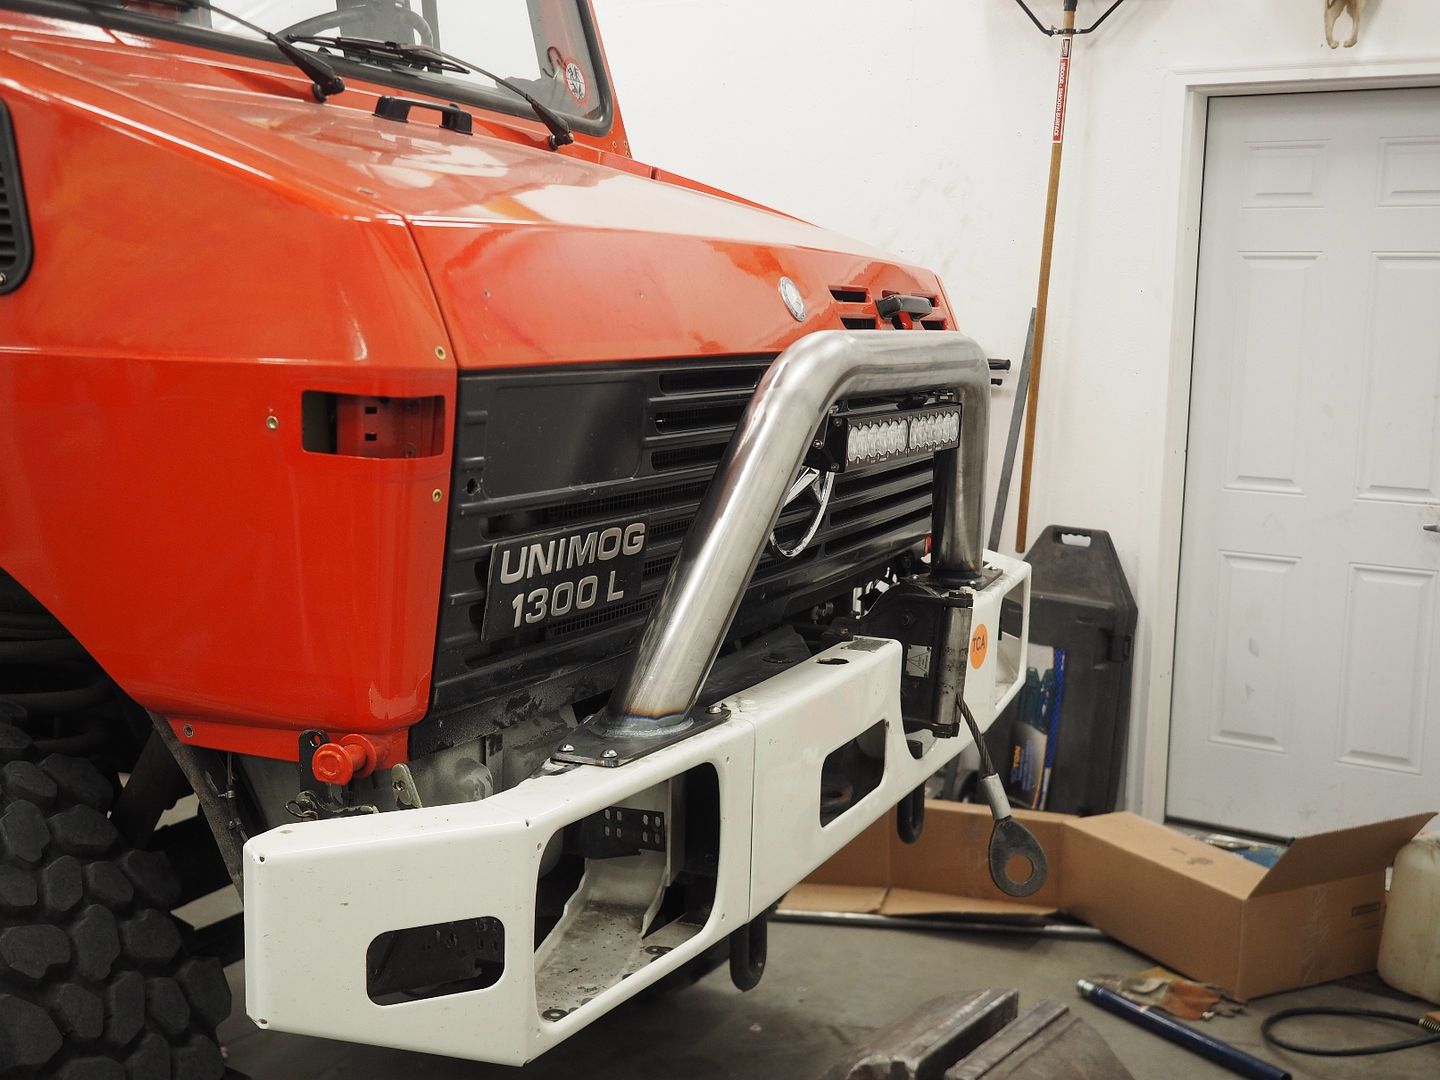
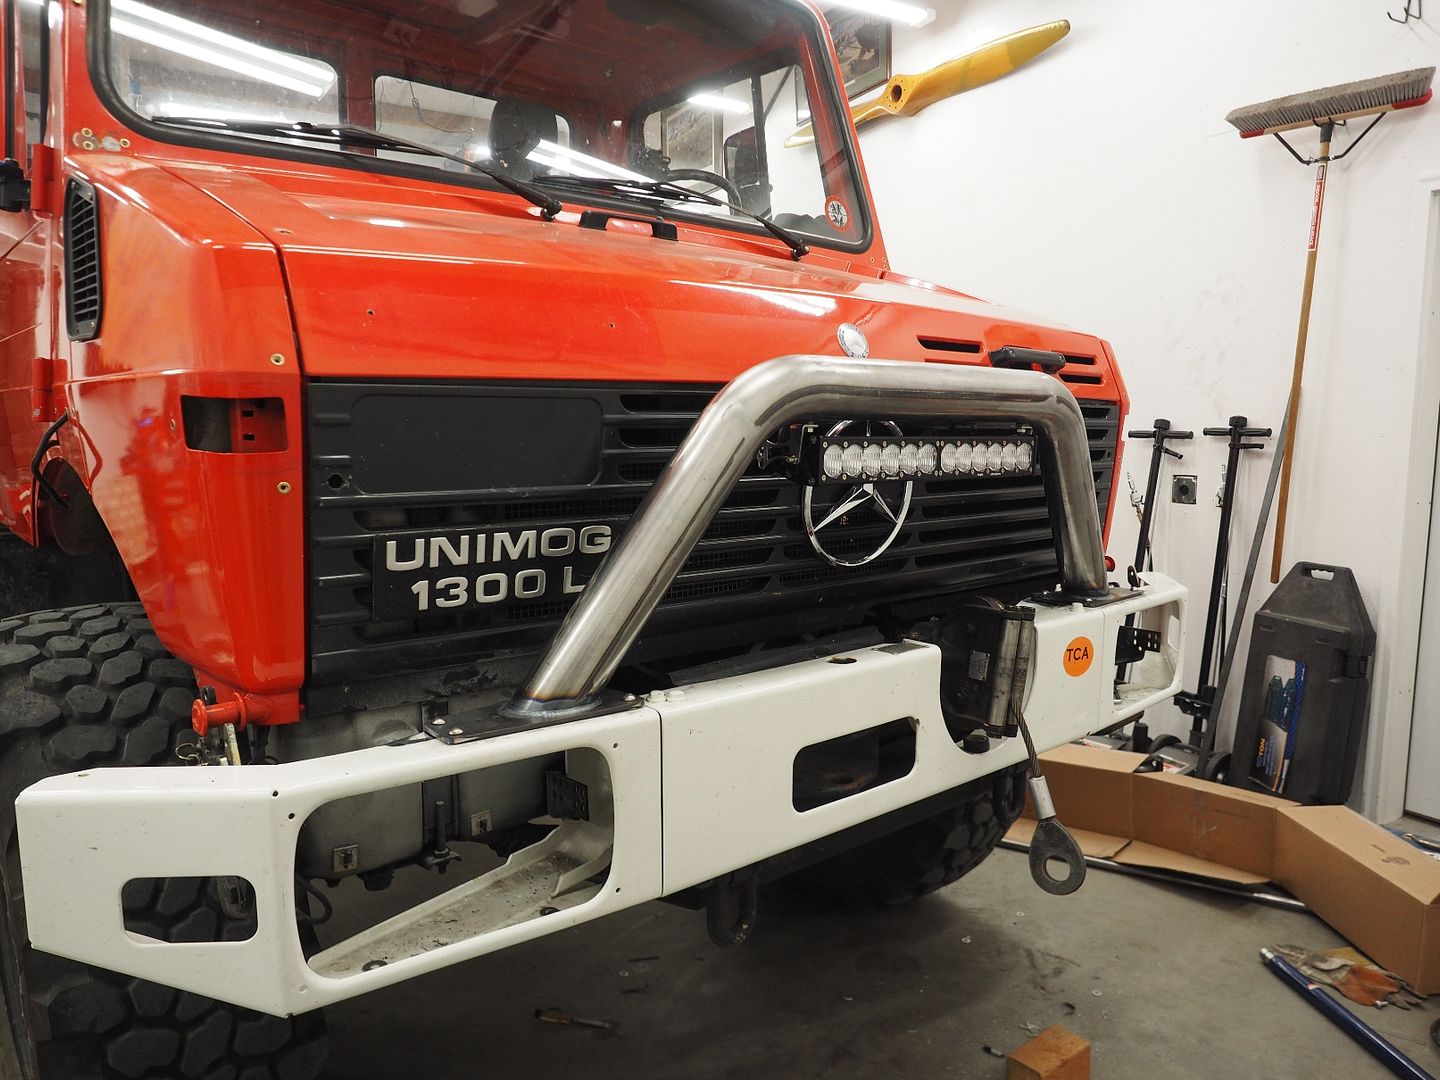
Push bar angle

P3110102.jpg


The light bar has a solid driving light pattern to compliment the spot beams higher up on the truck. The bolts holding the push bar to the bumper are the same size as the OEM bolts that are holding the bumper to the truck but have smaller round heads.
P3110104.jpg


P3110105.jpg


More to come...

Hodakaguy
 

patoz

Expedition Leader
Your Dad's welding bead looks like a row of nickles. Absolute perfection!

The marker and spacer trick is the same technique I've used to mark the back-splash of kitchen counter tops to make them fit the irregularities of sheet rock walls.

Who makes that light bar, if you don't mind me asking? I haven't seen the connected reflectors shaped like that before. A lot of brands use the overlapping reflectors, which I don't like, but that one you have is pretty cool looking.
 

Hodakaguy

Adventurer
The lights are Baja Designs ONX6 units, they aren't the cheapest but they are the best. The light output and reflectors are top notch plus I like the daylight color spectrum as it's easier on the eyes.

Hodakaguy
 

Wyuna

Observer
i have to agree with the others, that TIG weld job on the Nudge bar is fantastic, great skill set.

As for the marking out with the packer, I'm a cabinetmaker by trade and its also great for panel fitment to get the vertical alignment as well.
 

patoz

Expedition Leader
The lights are Baja Designs ONX6 units, they aren't the cheapest but they are the best. The light output and reflectors are top notch plus I like the daylight color spectrum as it's easier on the eyes.

Hodakaguy


Nice stuff but you're right, not cheap at all...!
 

Hodakaguy

Adventurer
Thanks guys, my father is a retired welder and very good at what he does. Some of his stainless work is simply amazing!

Hodakaguy
 

Hodakaguy

Adventurer
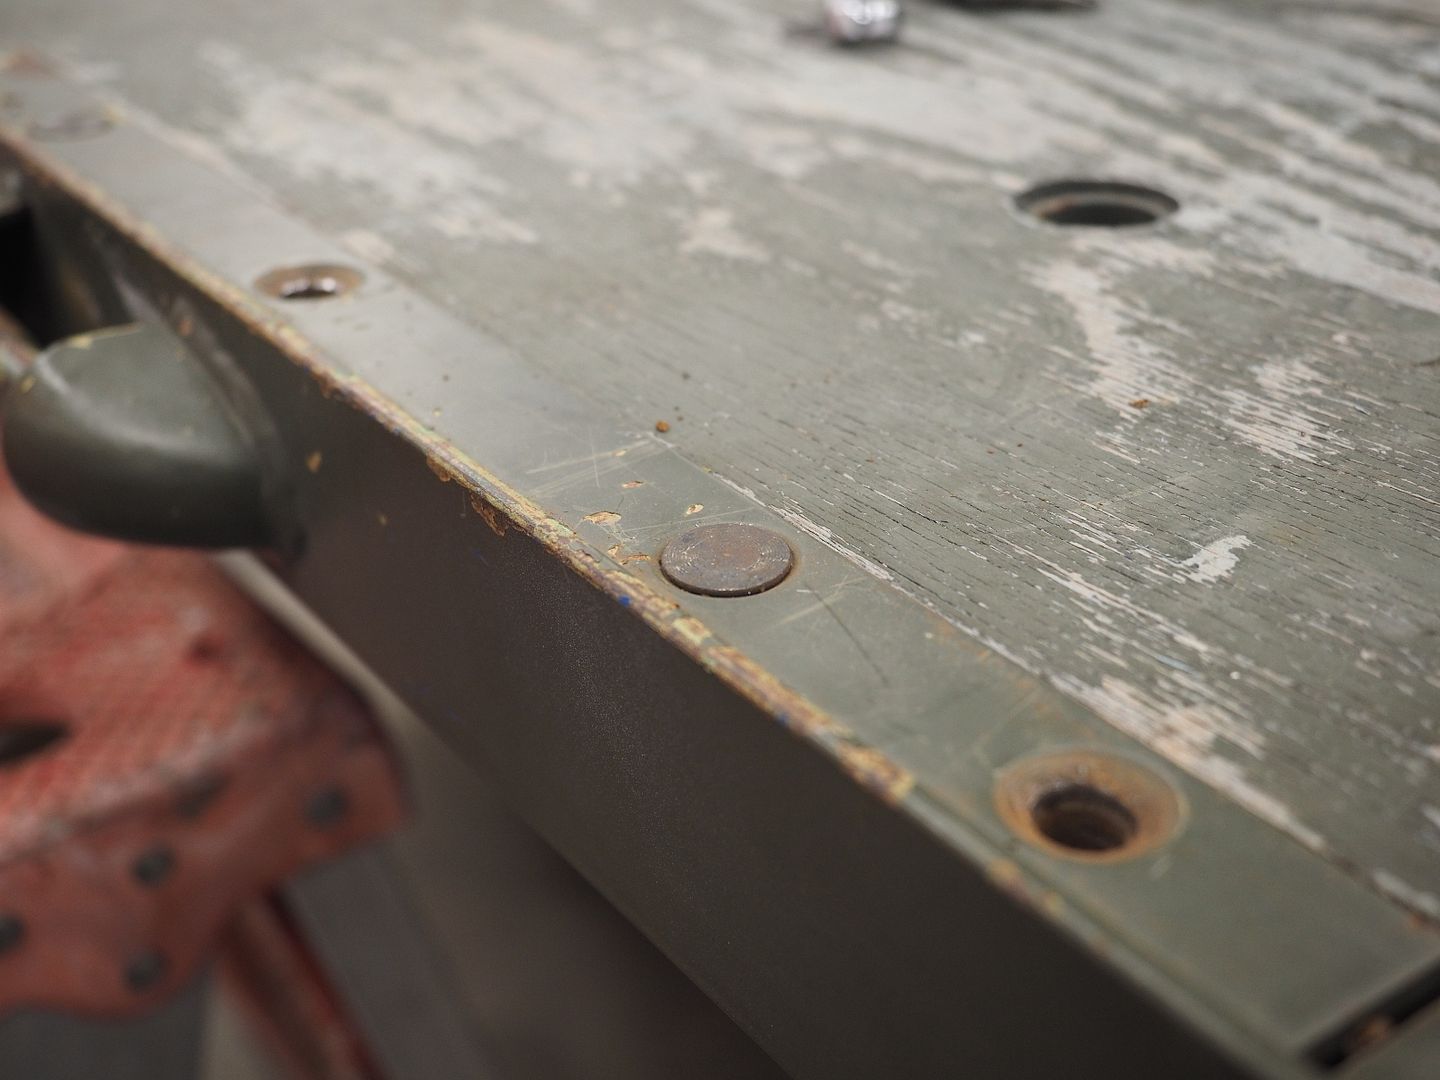
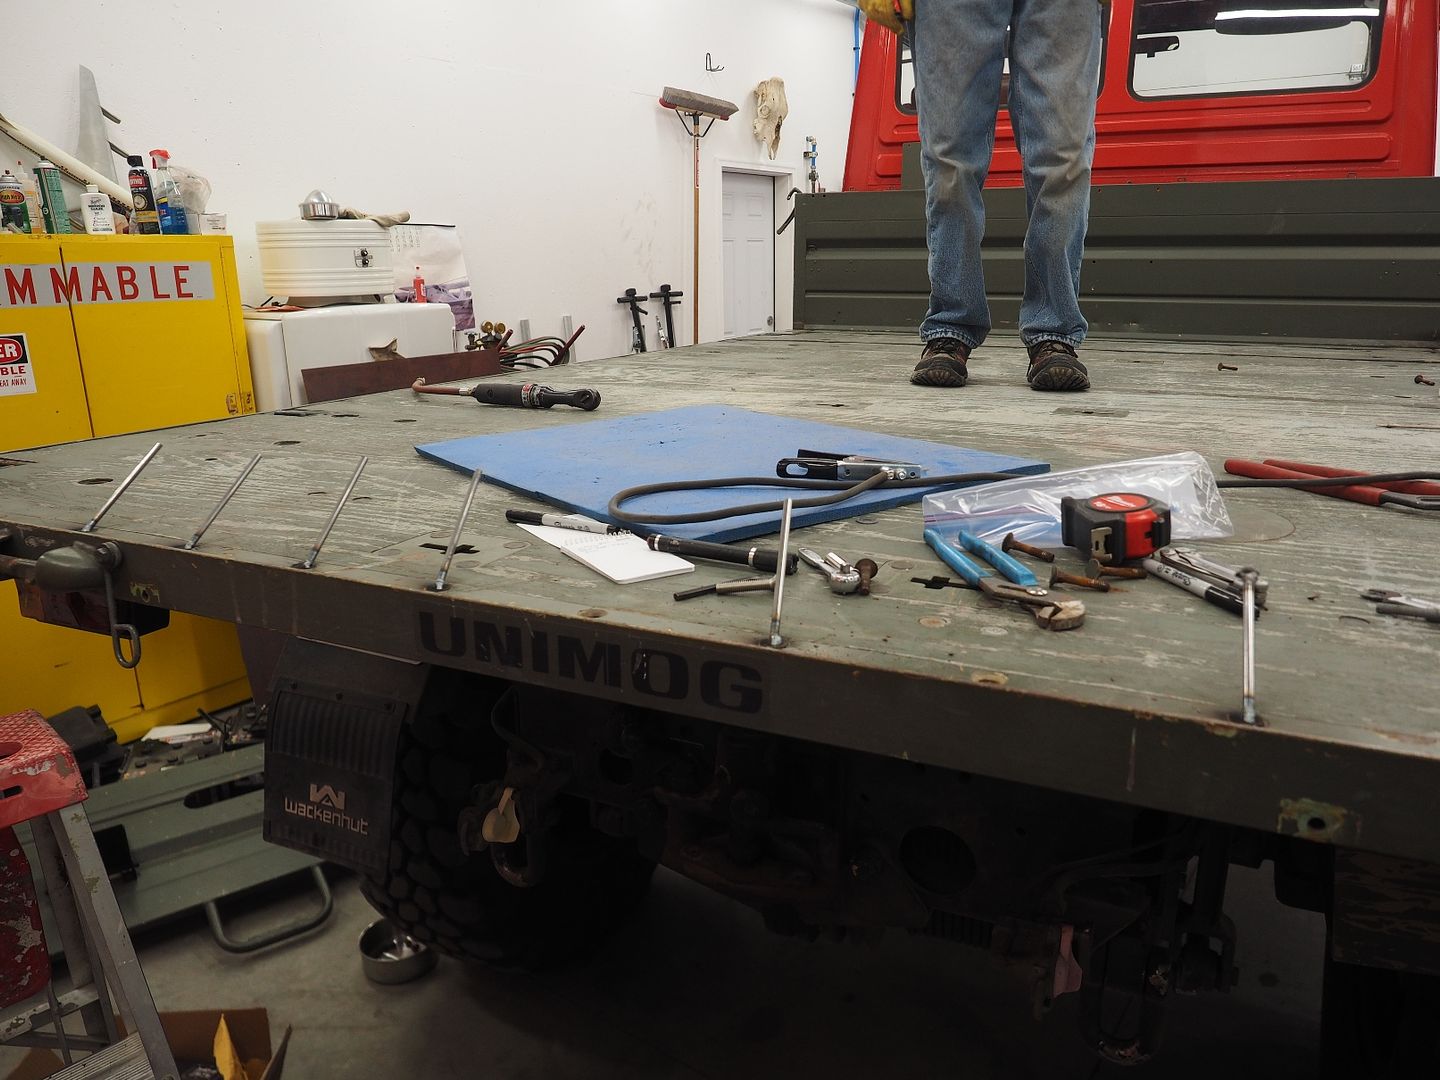
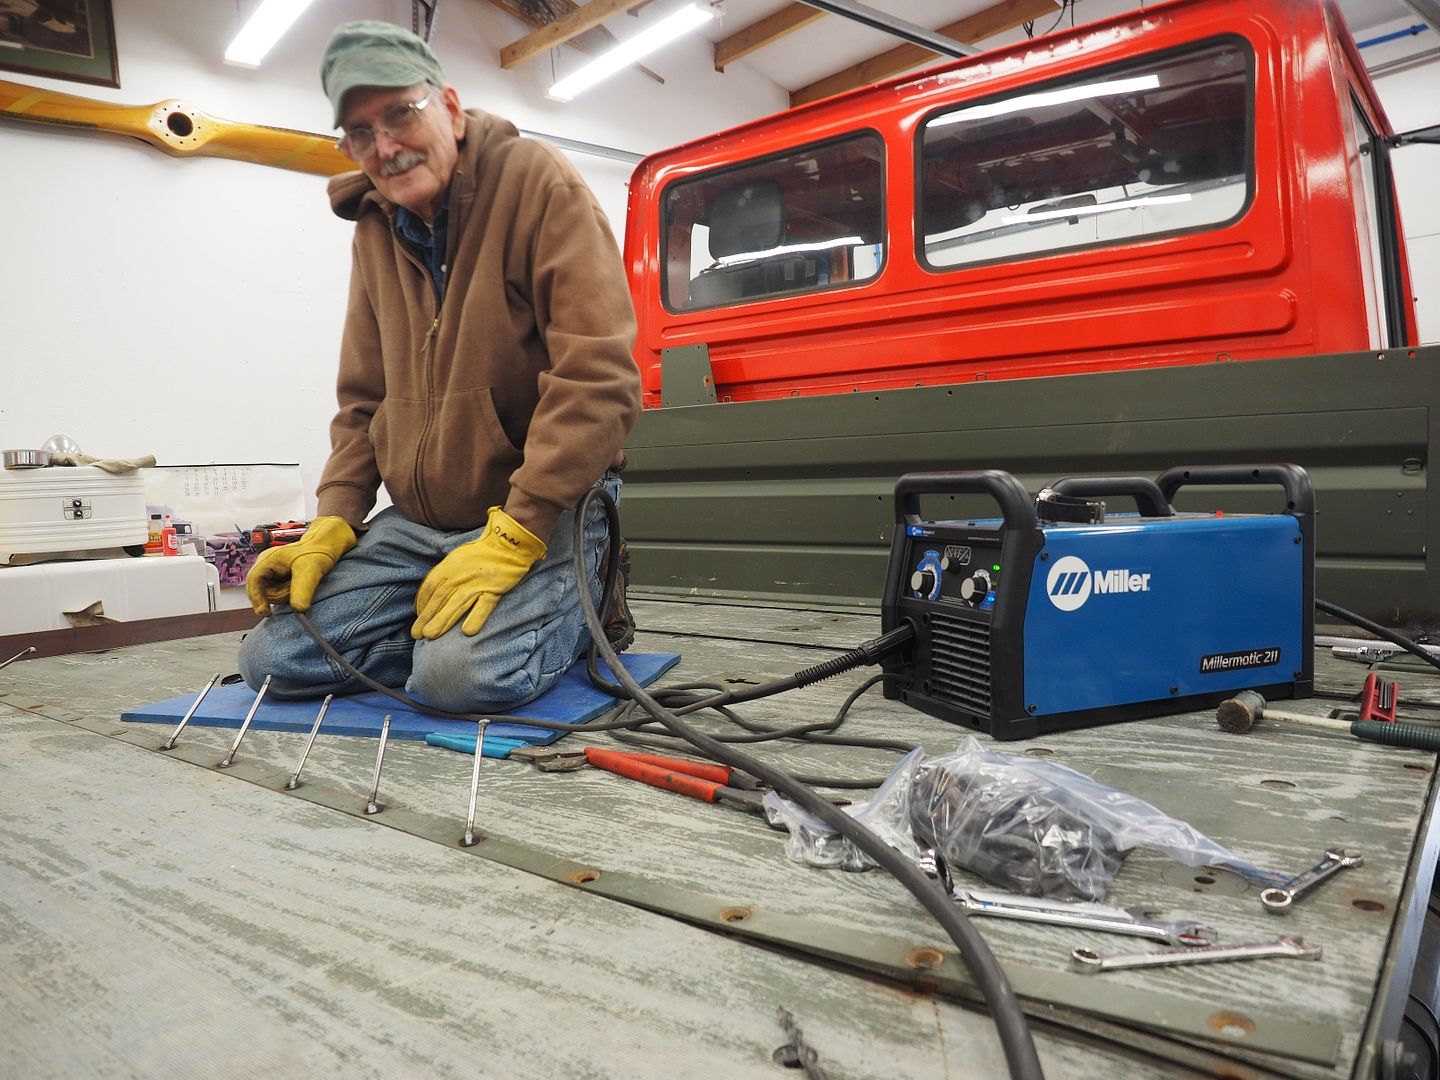
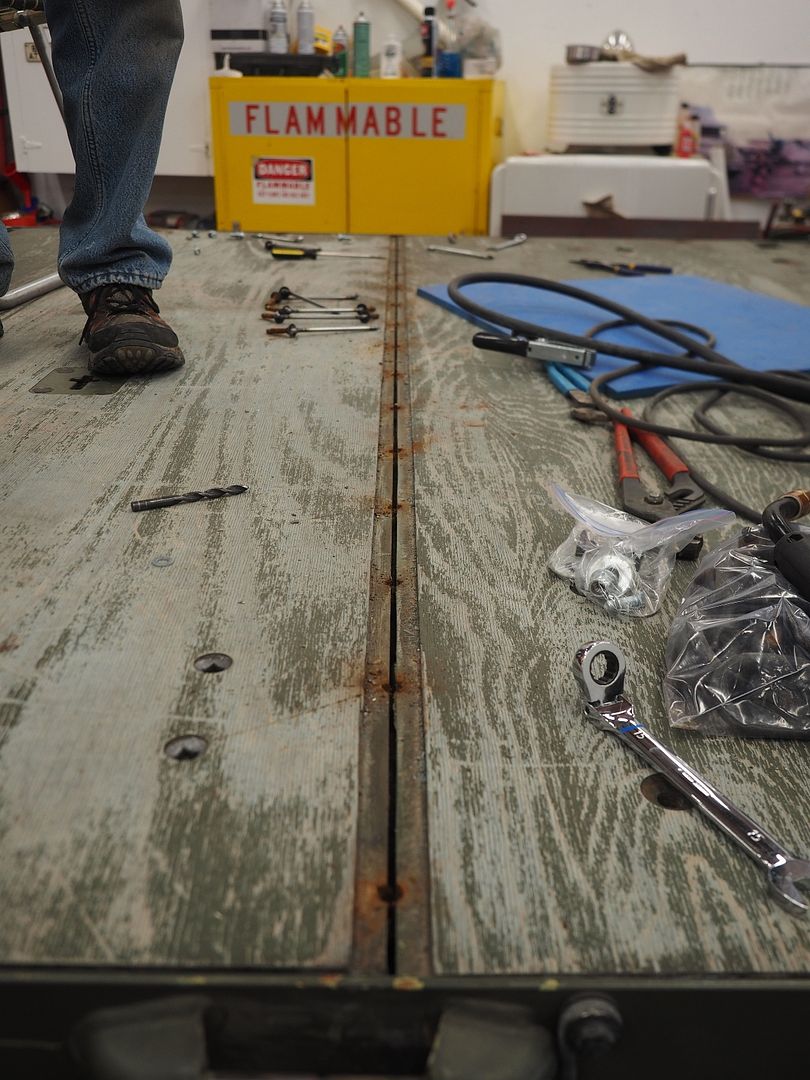
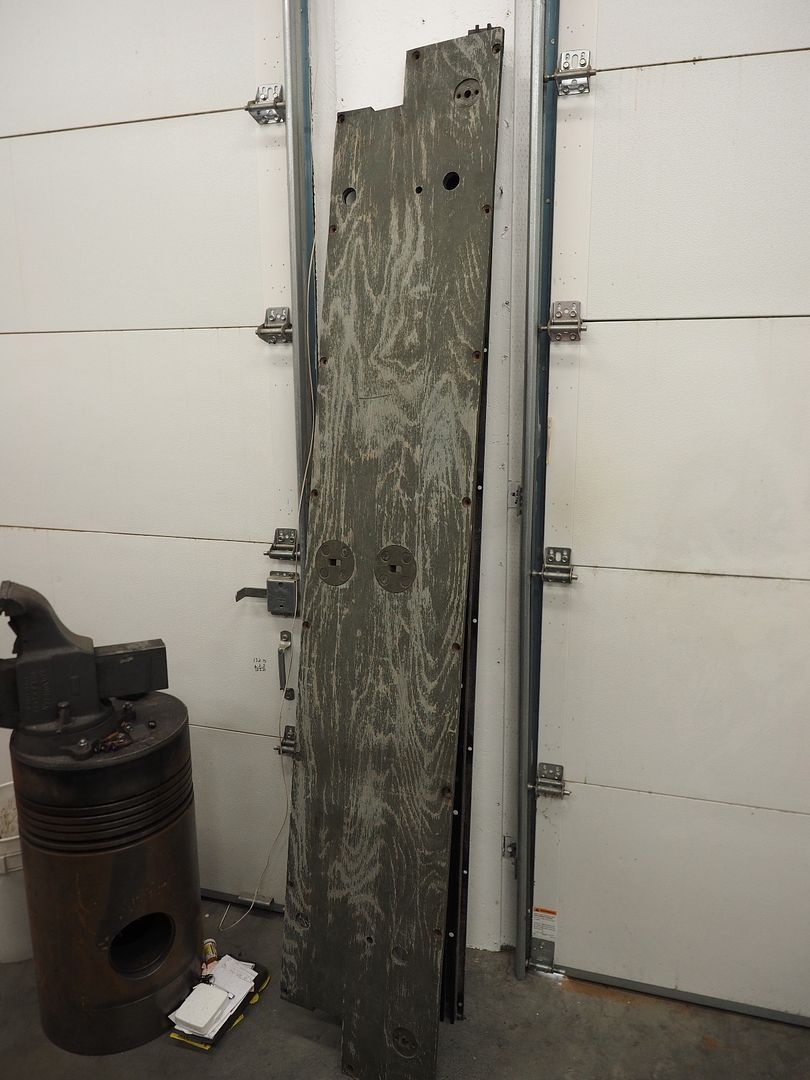
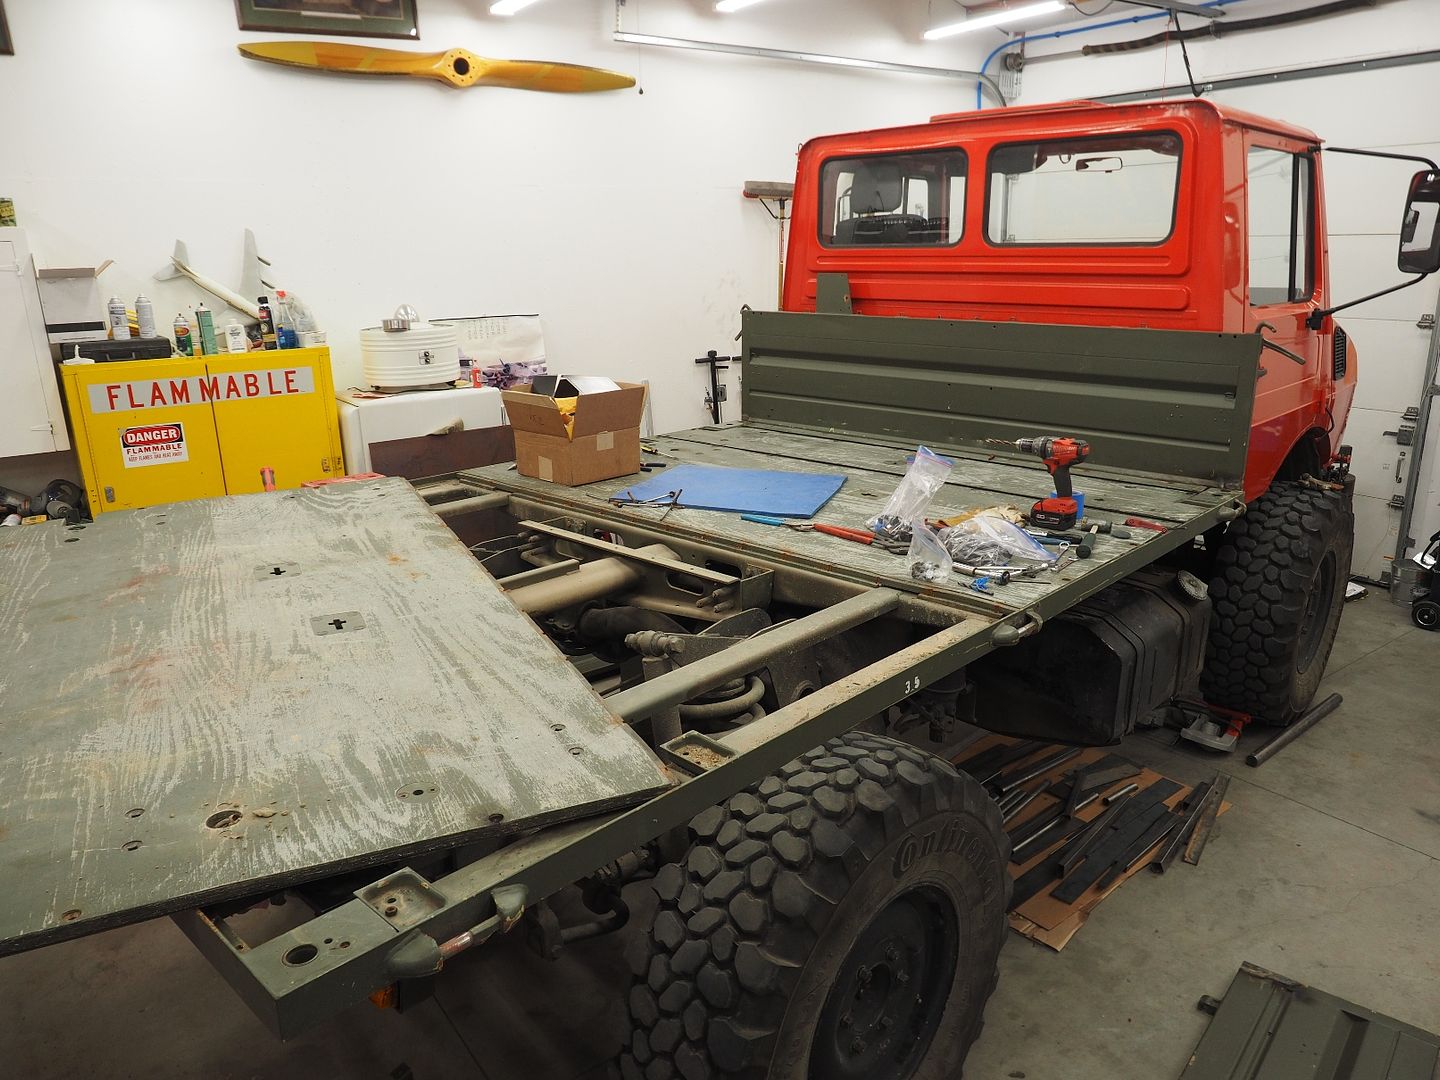
Time to remove the deck on the bed in preparation for paint. The bolts holding the wood onto the frame are flat topped and have a square shank under the head to keep the bolt from turning, unfortunately after years on being installed in the bed the bolts are rusty and about half of them just spin when trying to remove the nut. Time to break out the Mig.

Bolt installed in the bed, this is one that's spinning.

P3180338.jpg


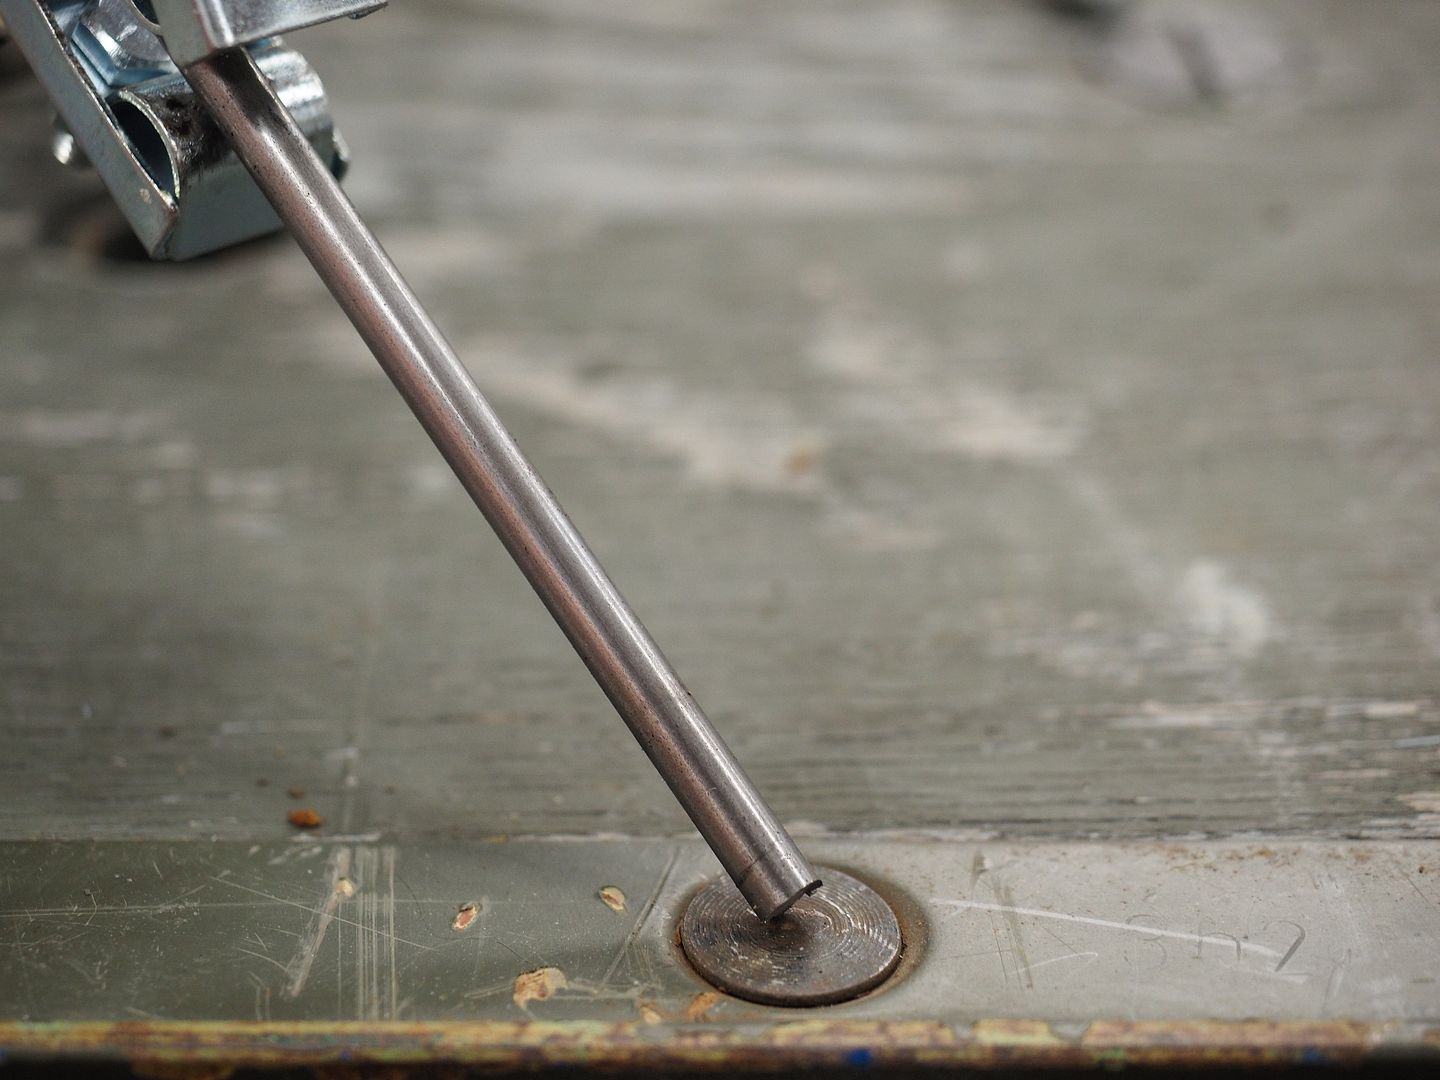
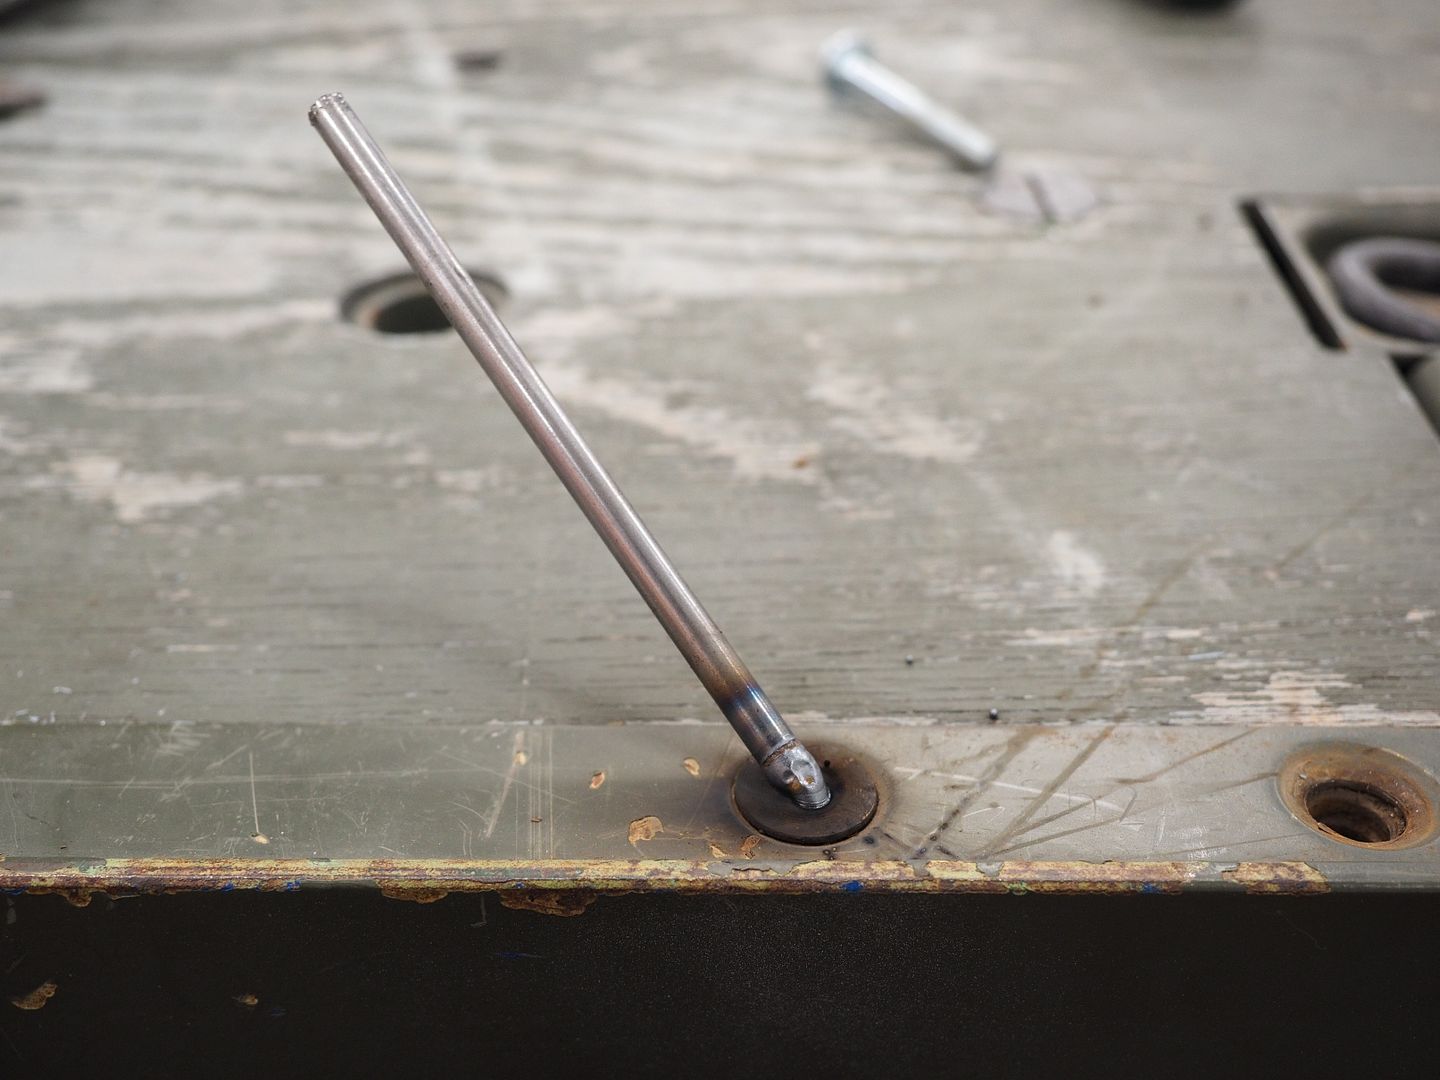
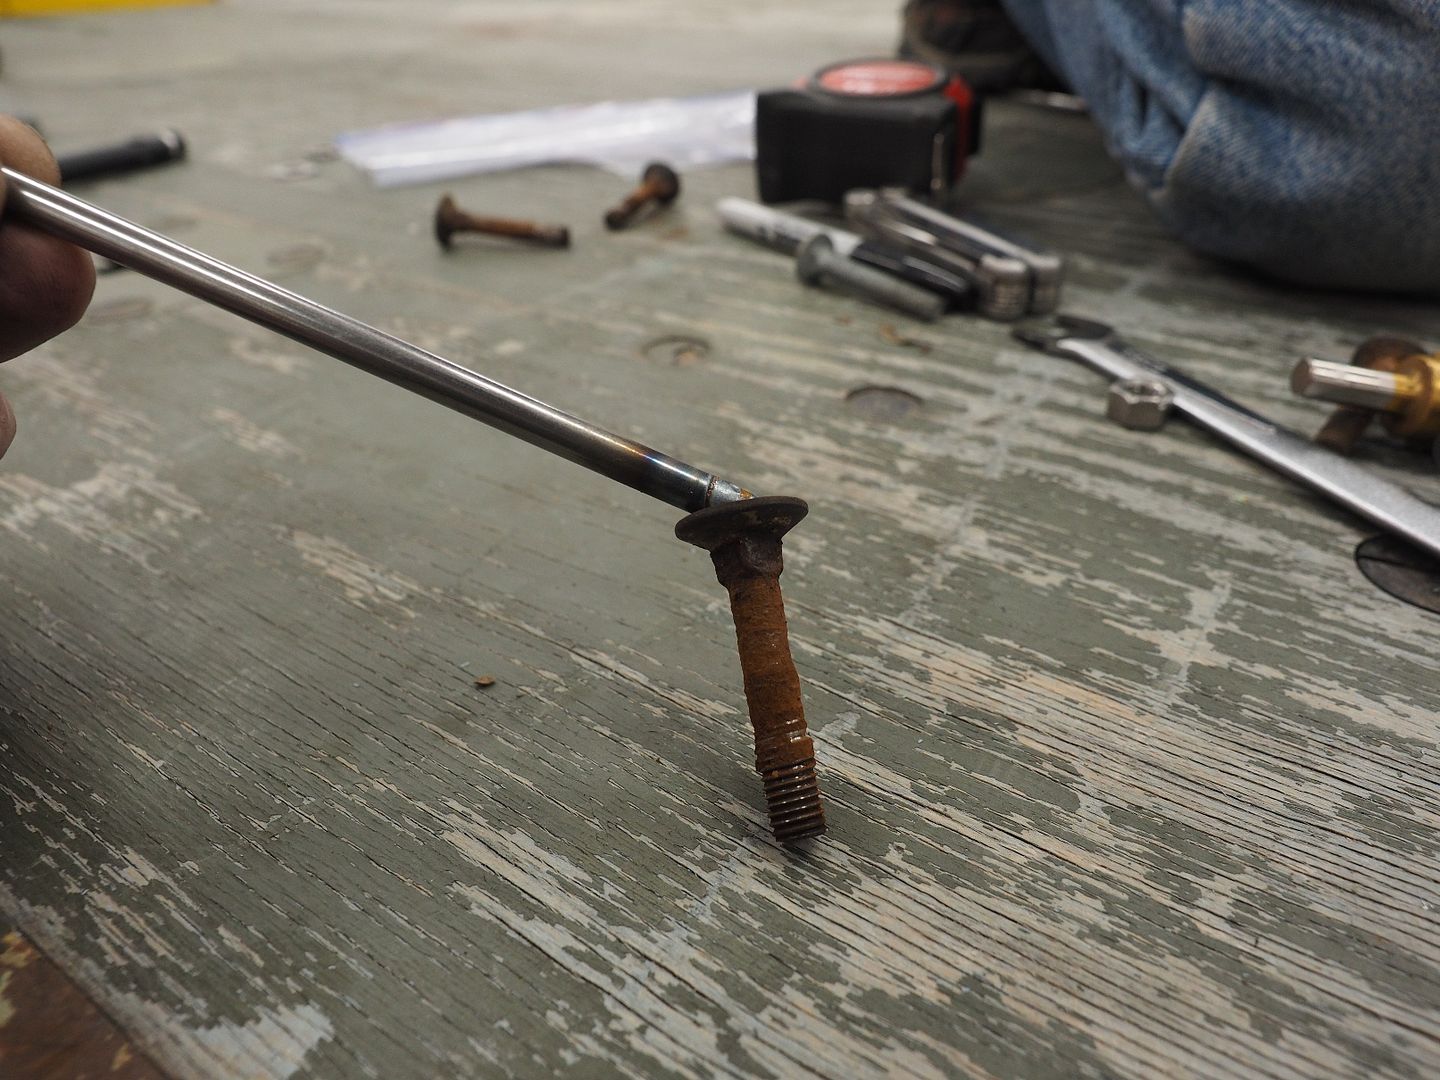
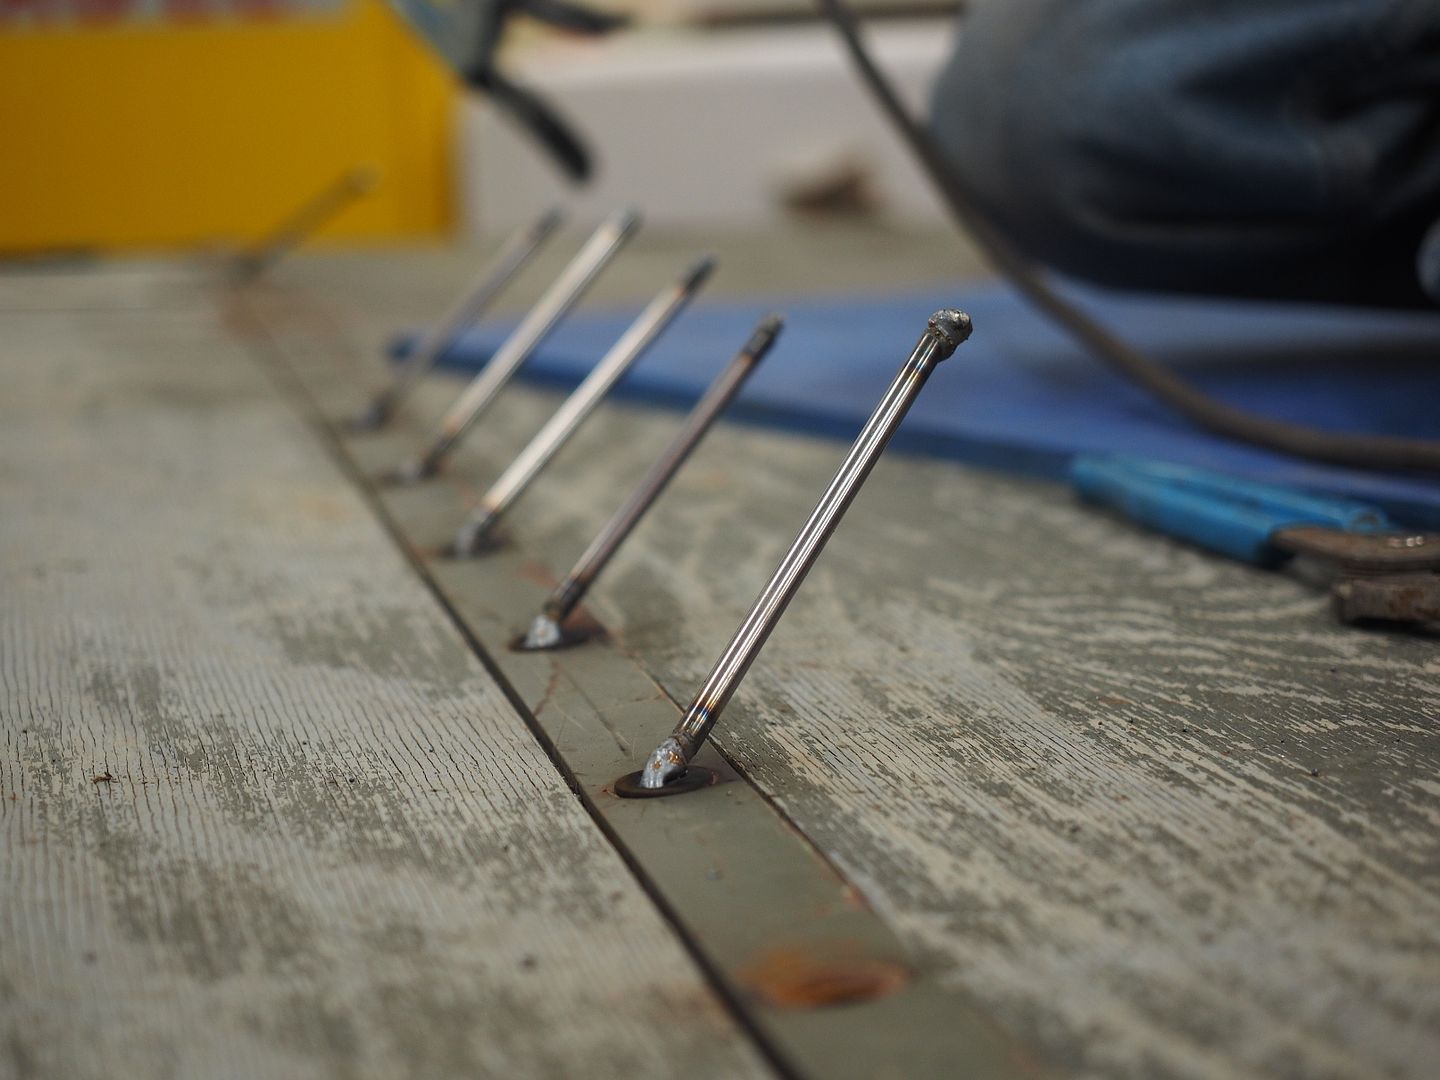
We tacked a piece of round stock to the head of the bolt so we could hold it and keep it from spinning, once out we just snapped the rod off the head and used the same rod to weld onto the next bolt. We had a hand full of rods going as we removed all the offending bolts.

P3180340.jpg


P3180341.jpg


P3180347.jpg


More bolts on the way out

P3180351.jpg


P3180361.jpg


P3180362.jpg


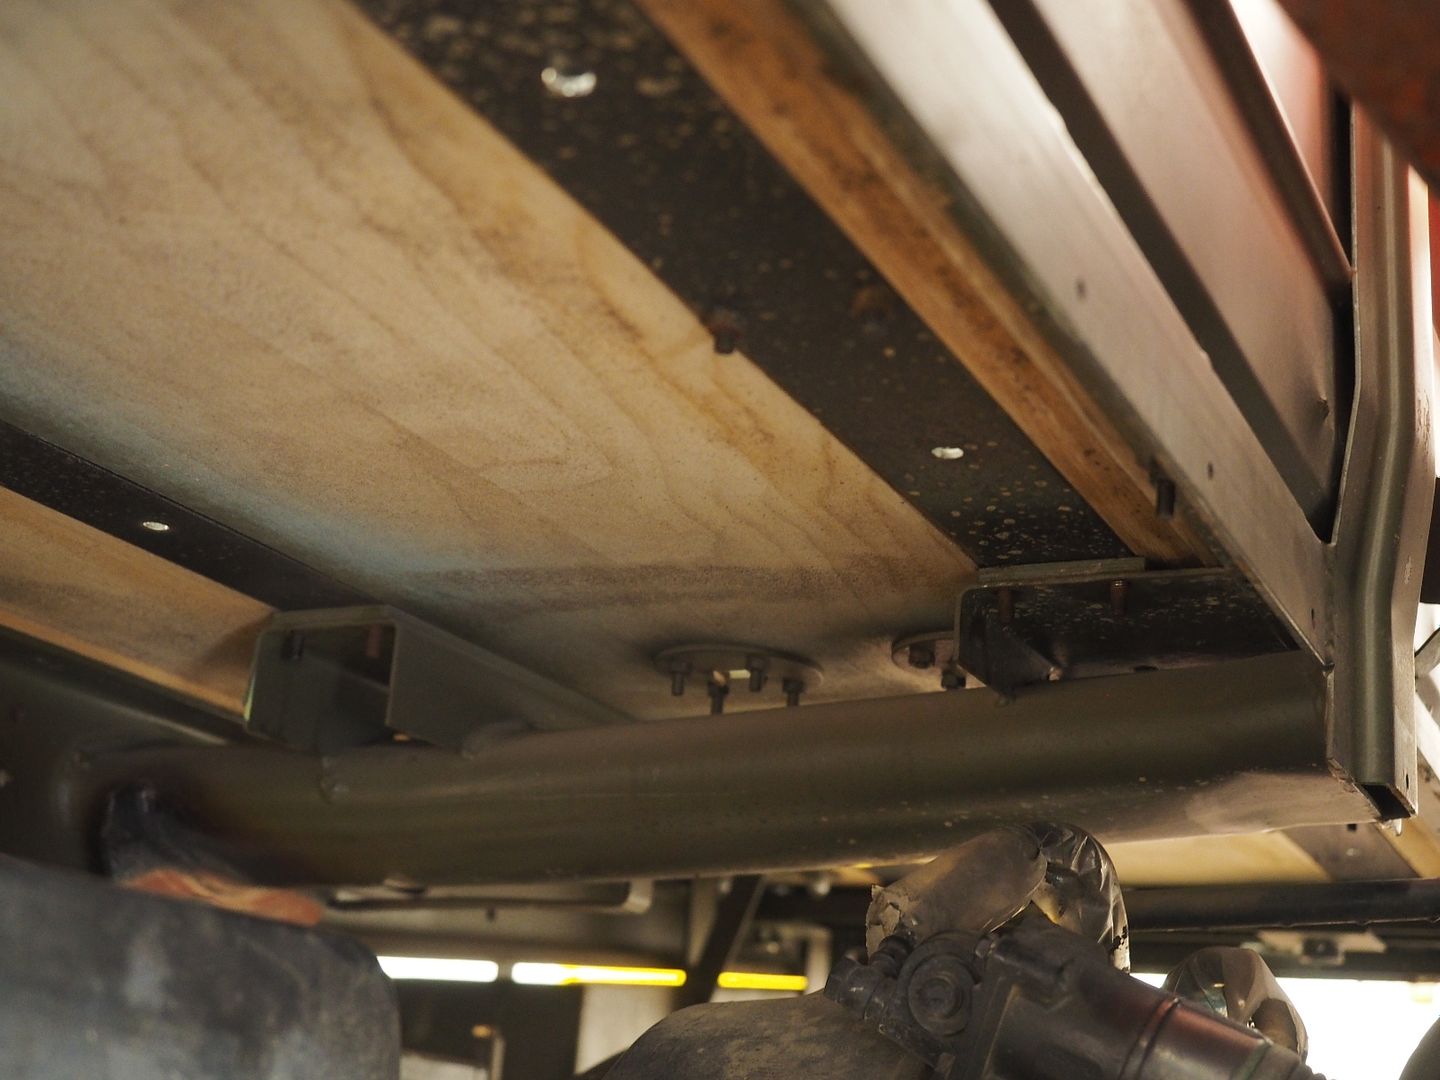
Underside of the bed.

P3180358.jpg


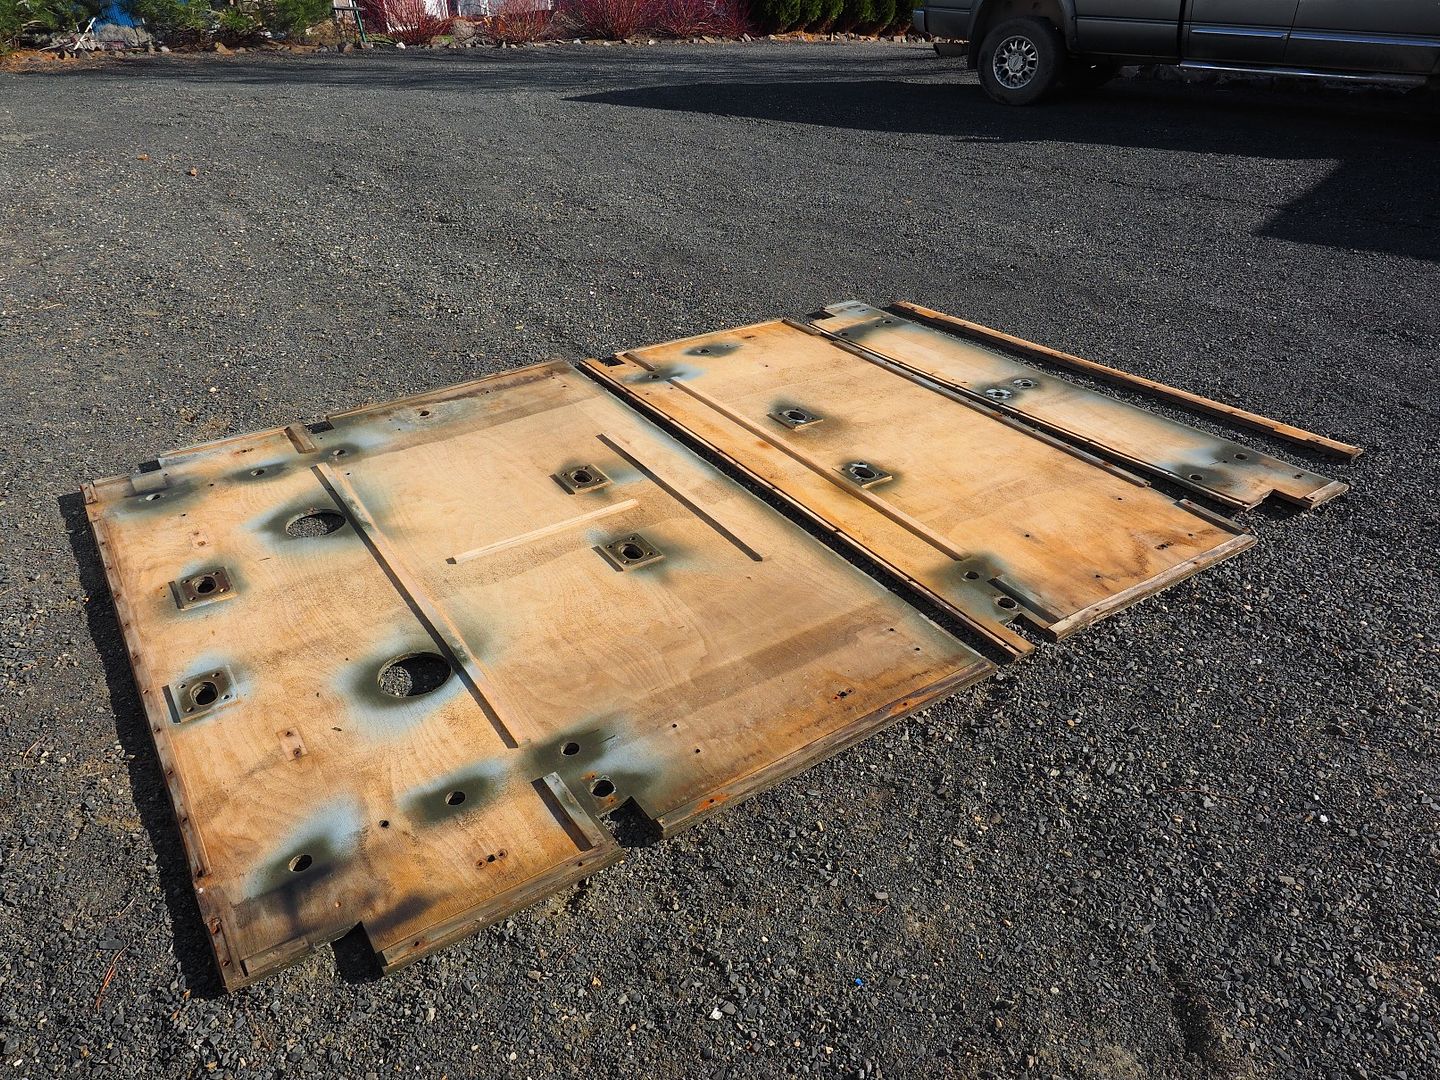
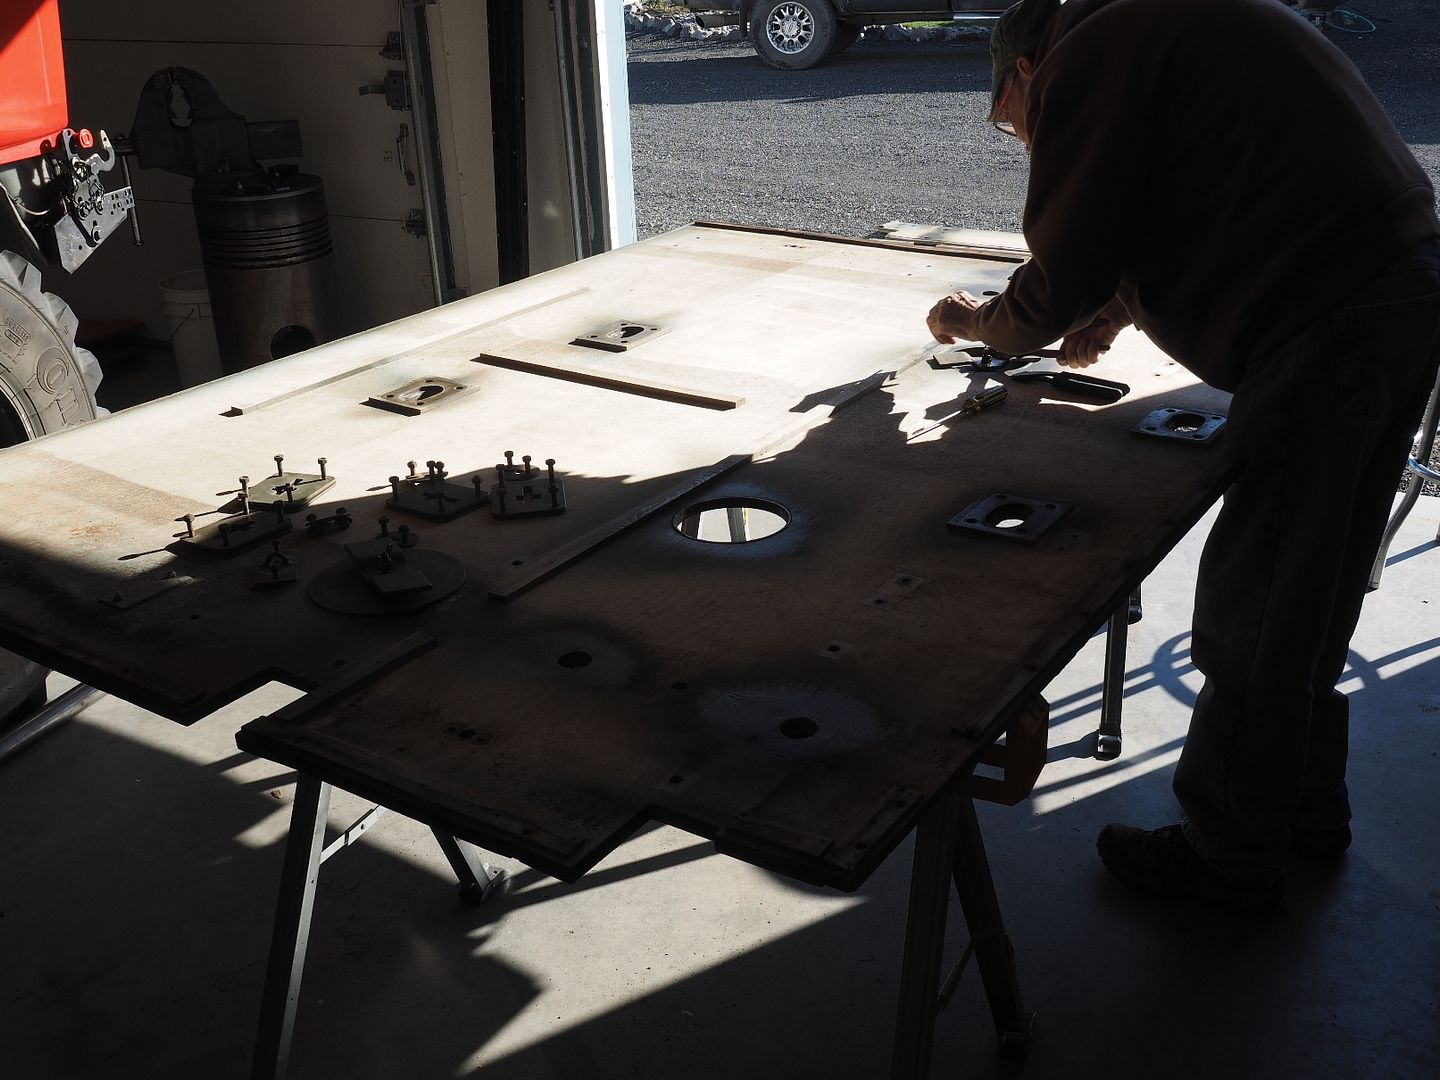
Bed coming apart

P3180365.jpg


P3190369.jpg


P3190372.jpg


The wood is in good cond, we will sand, re-finish and re-install.

P3190373.jpg


Removing the metal hardware, these bits will be powder coated.

P3190374.jpg


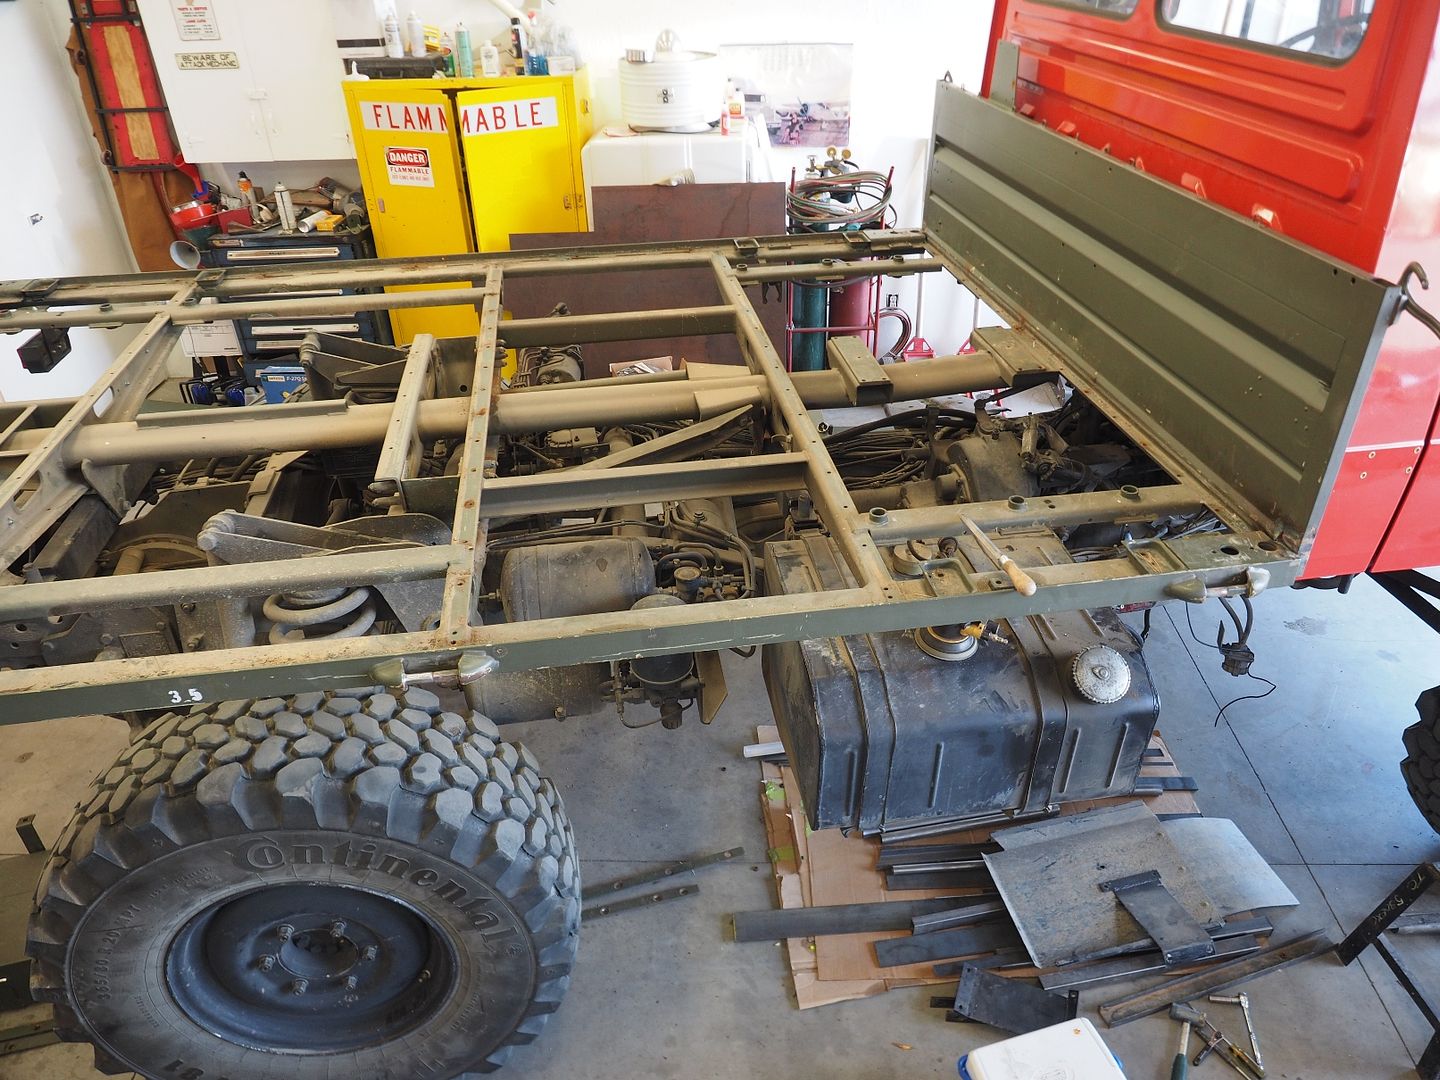
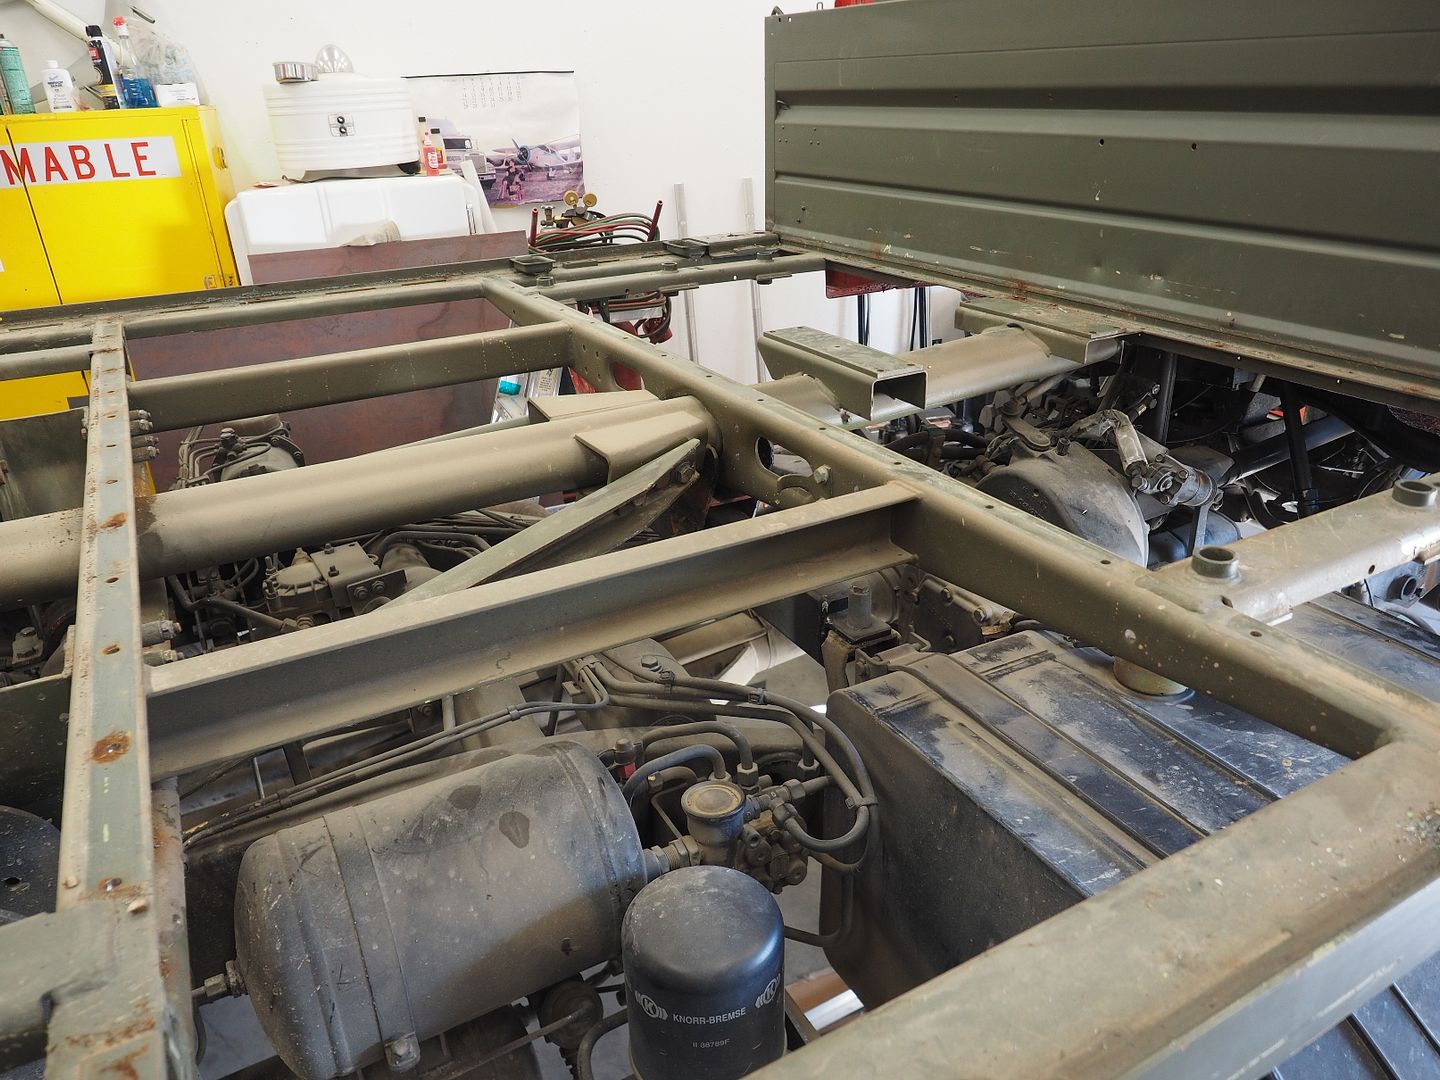
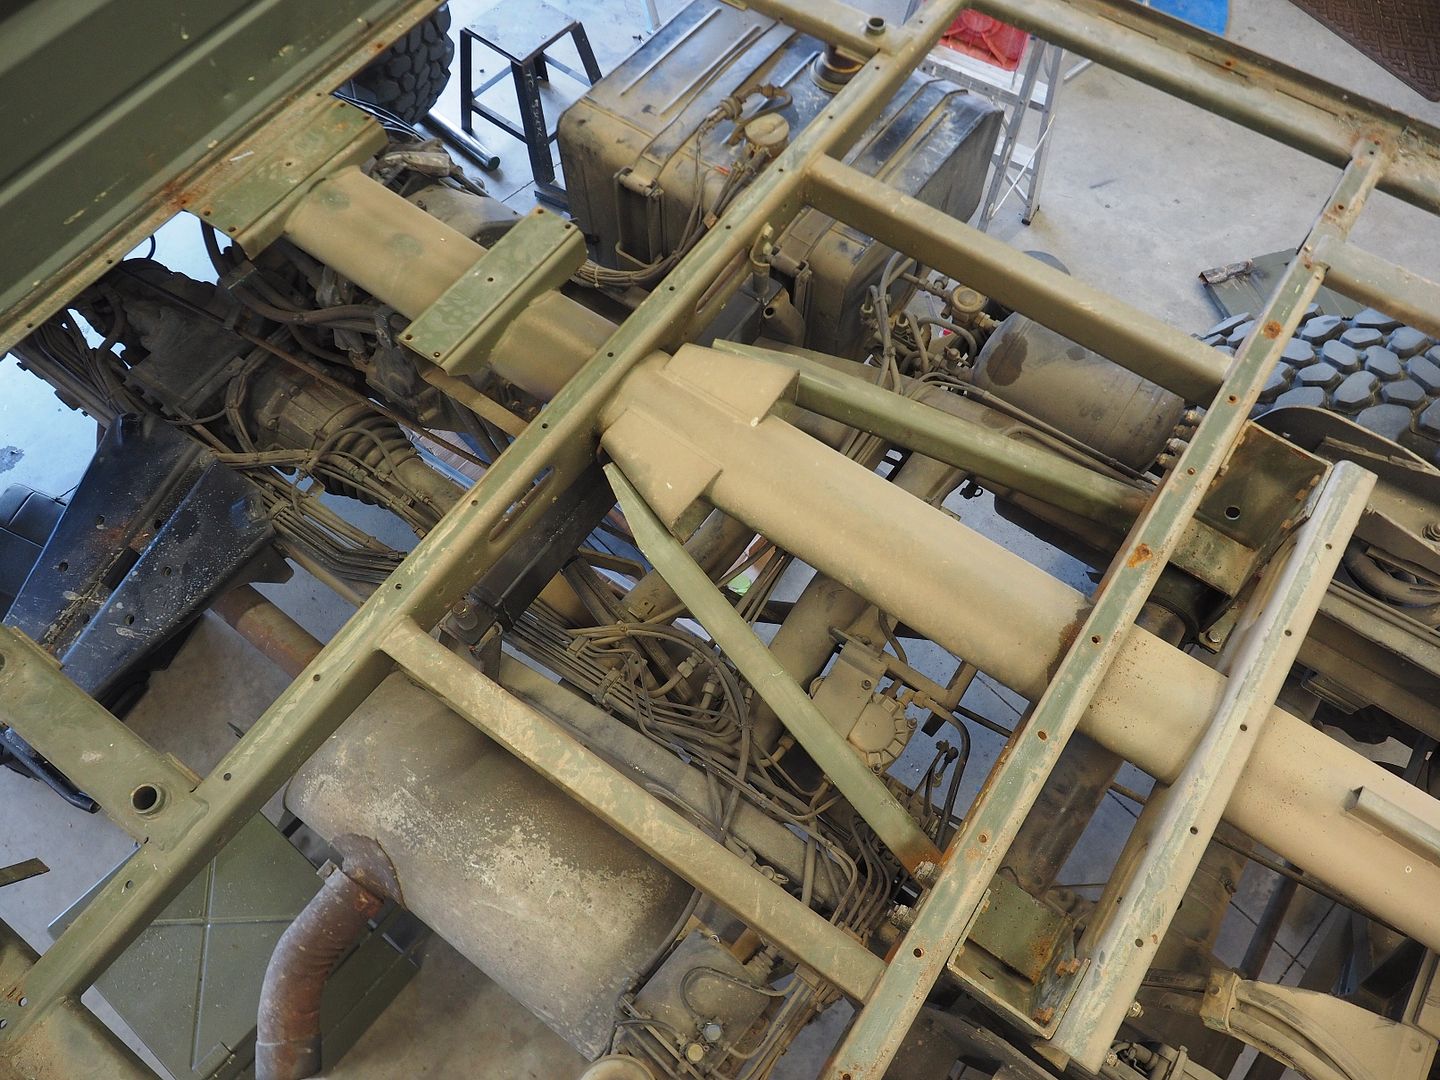
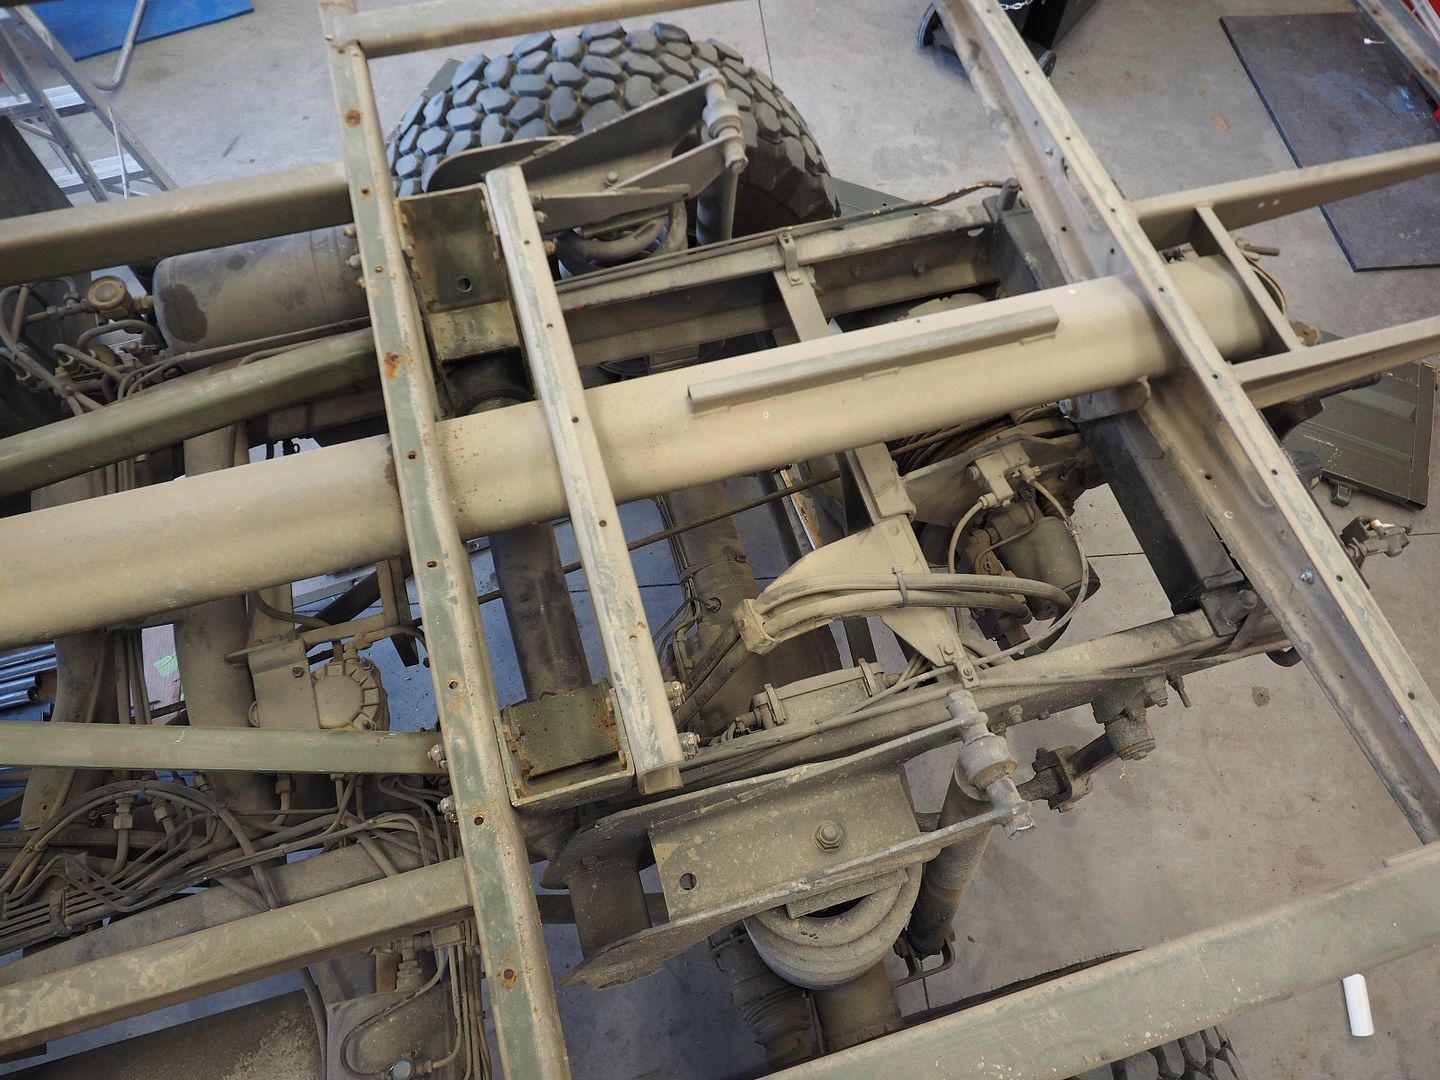
Deck removed, frame is nice and clean underneath. We will soon pull the frame and paint the underside black, the sides and gates will be painted the same color as the body.

P3190406.jpg


P3190377.jpg


P3190409.jpg


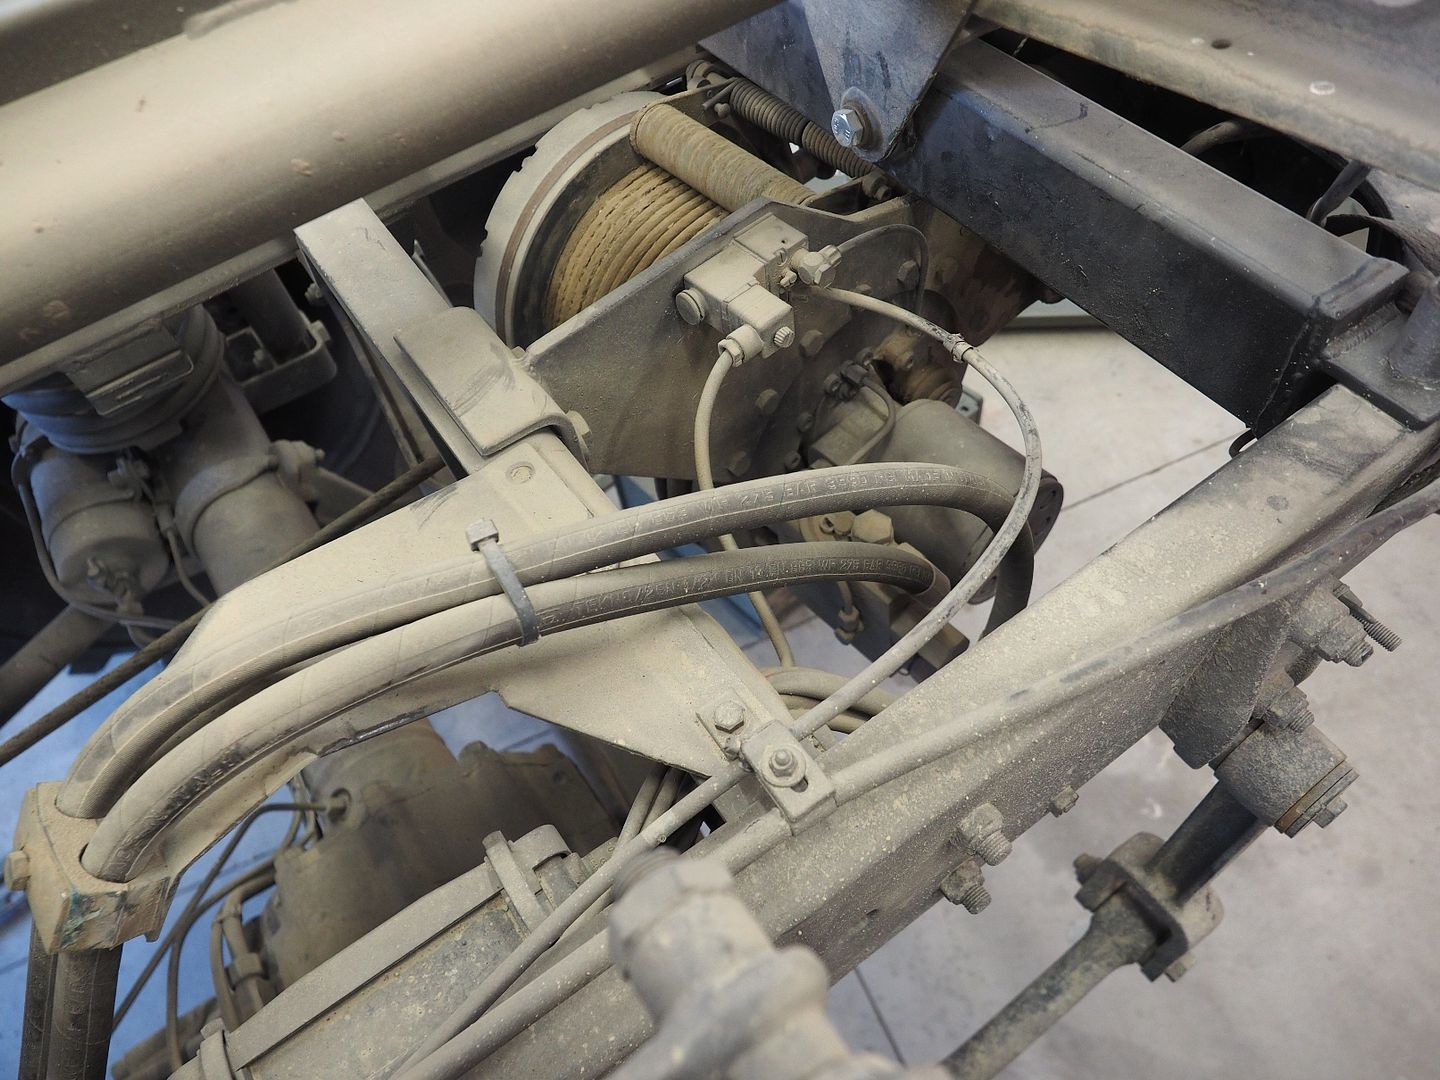
Top view of the winch.

P3190410.jpg


P3190408.jpg


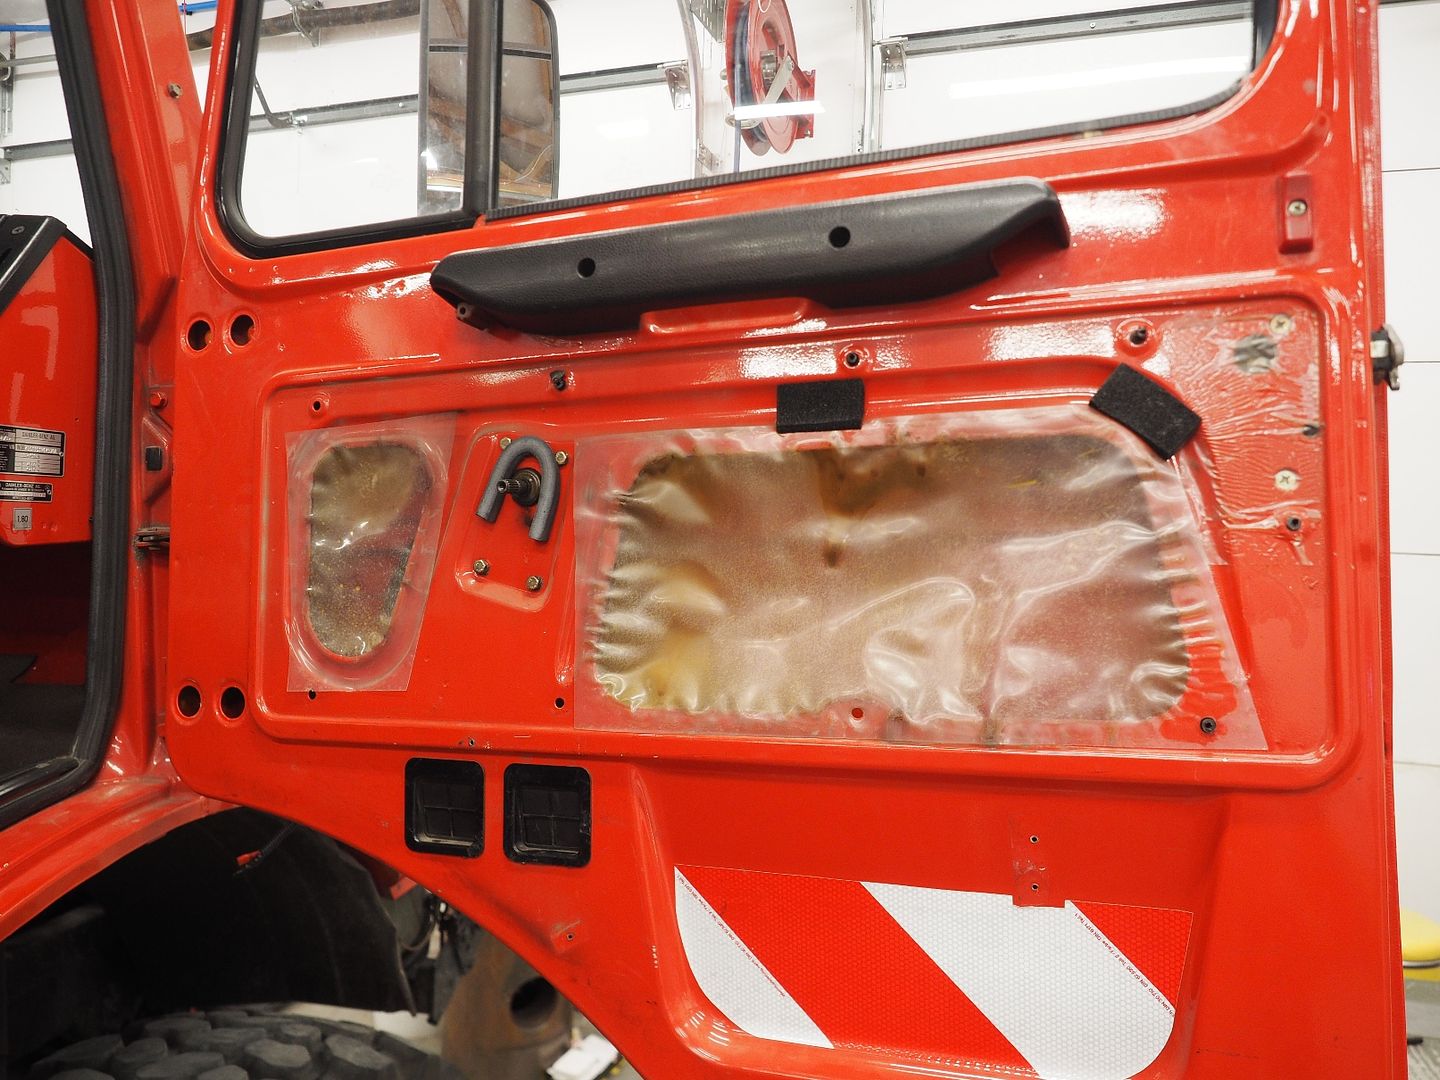
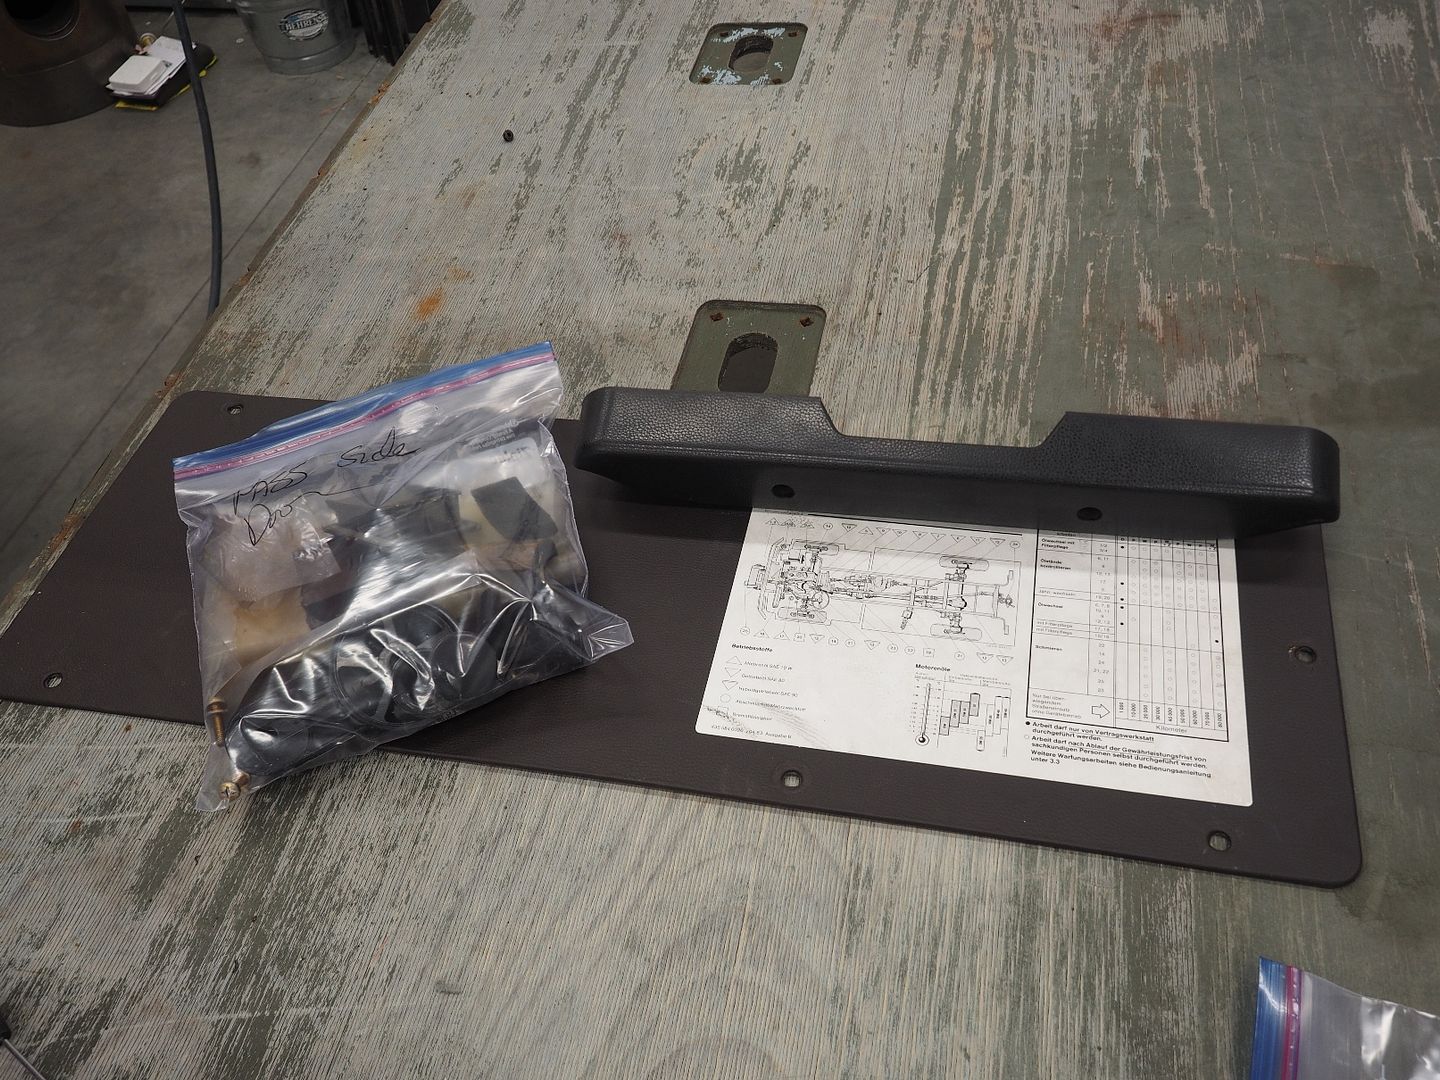
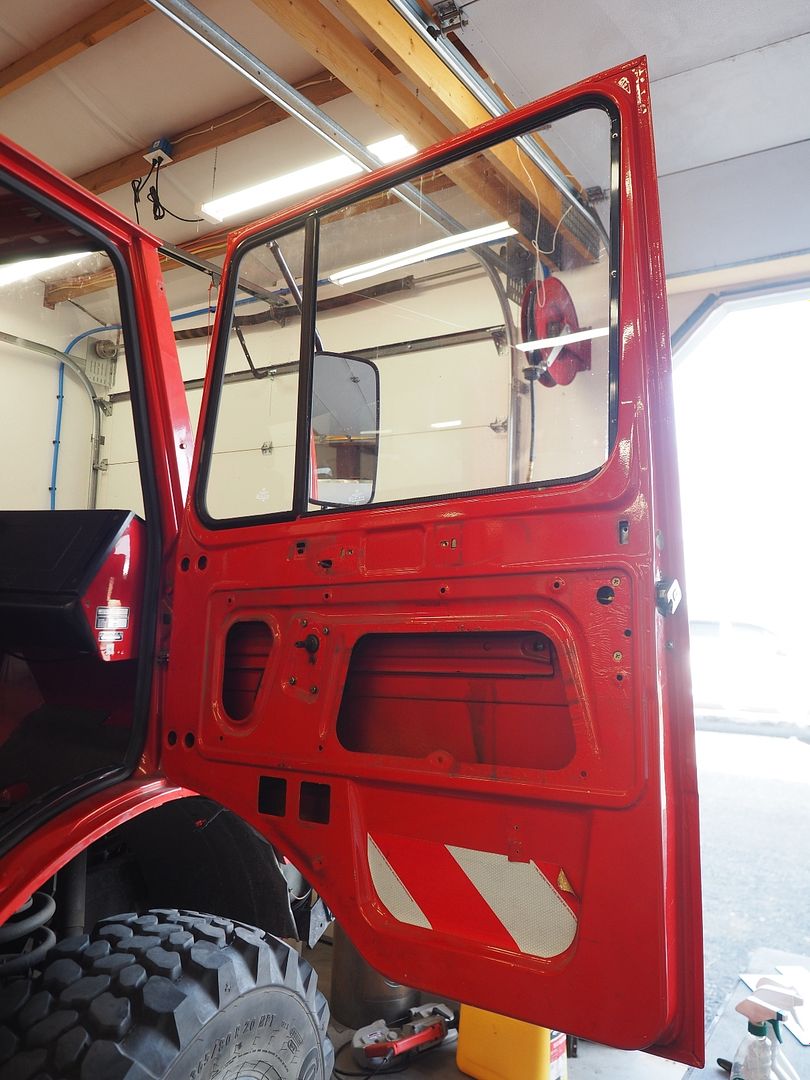
Starting to strip down the interior for paint. Lots of small bits to remove.

P3190393.jpg


P3190398.jpg


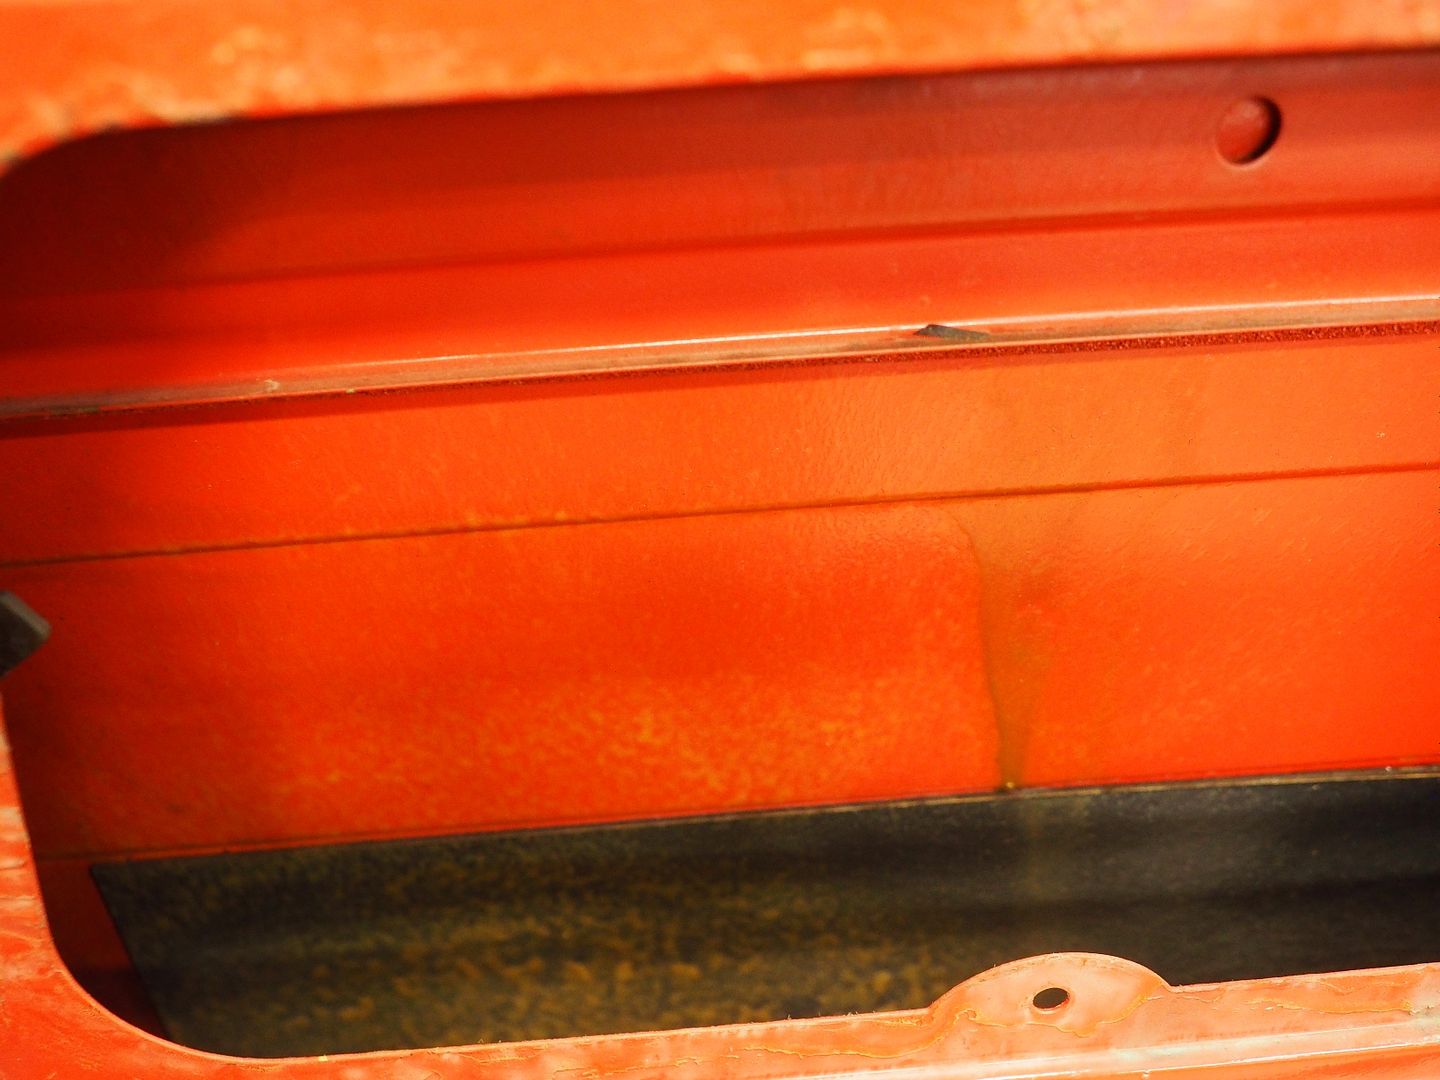
Inside of the doors have a thick coating of cavity wax for corrosion protection, they are very clean with no rust.

P3190396.jpg


P3190423.jpg


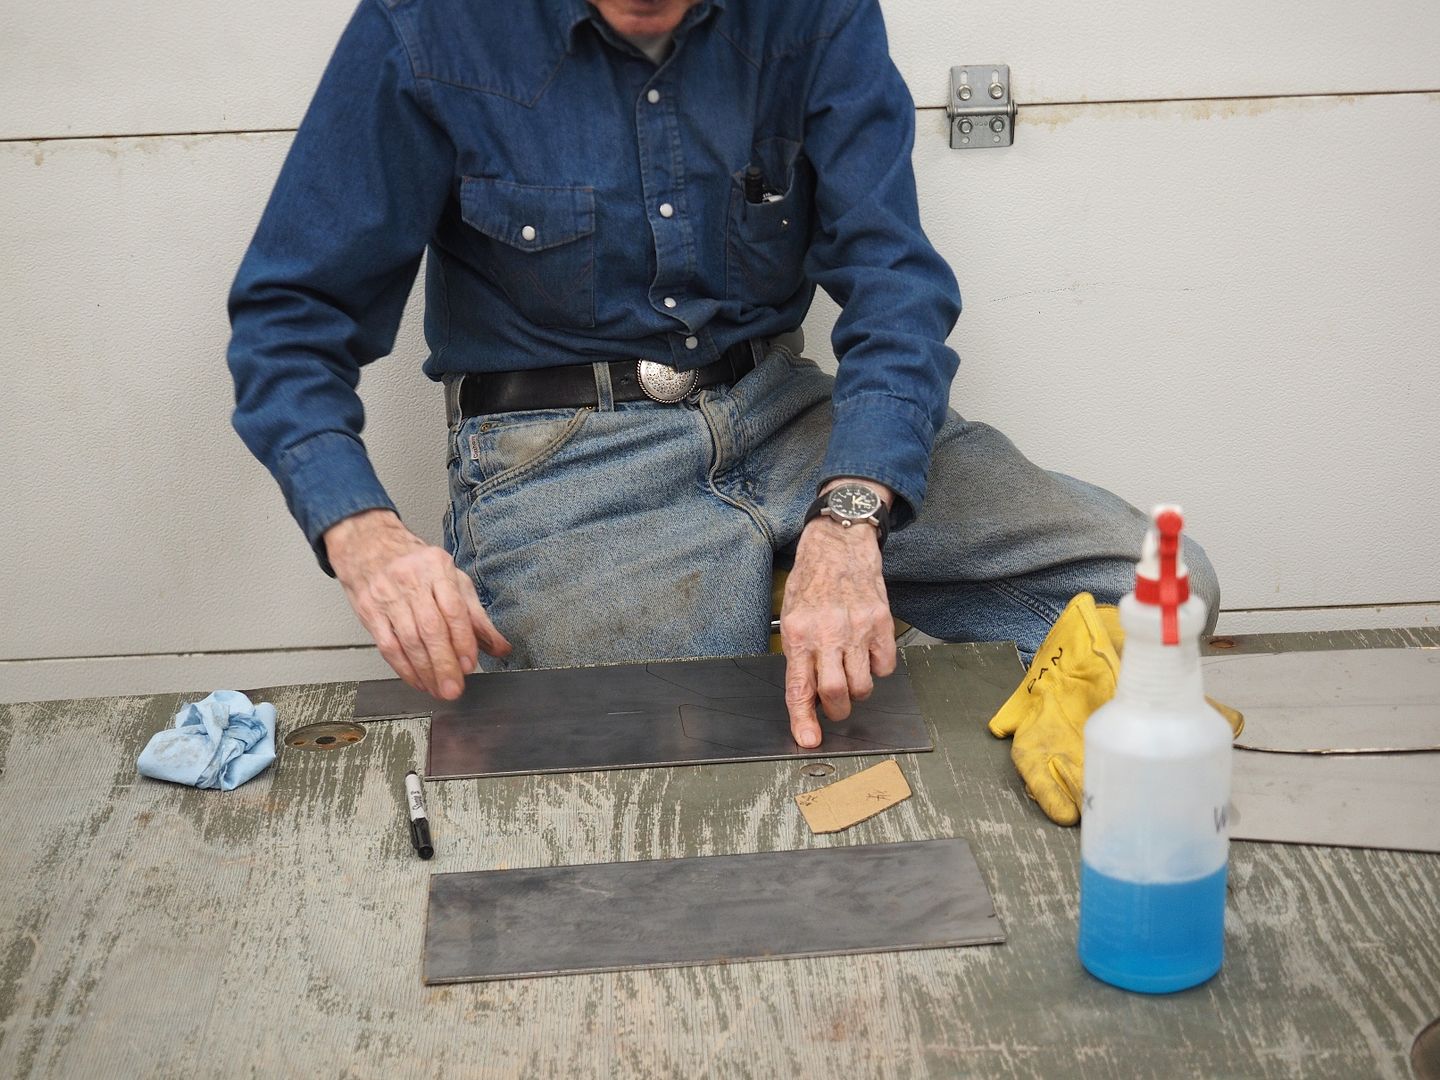
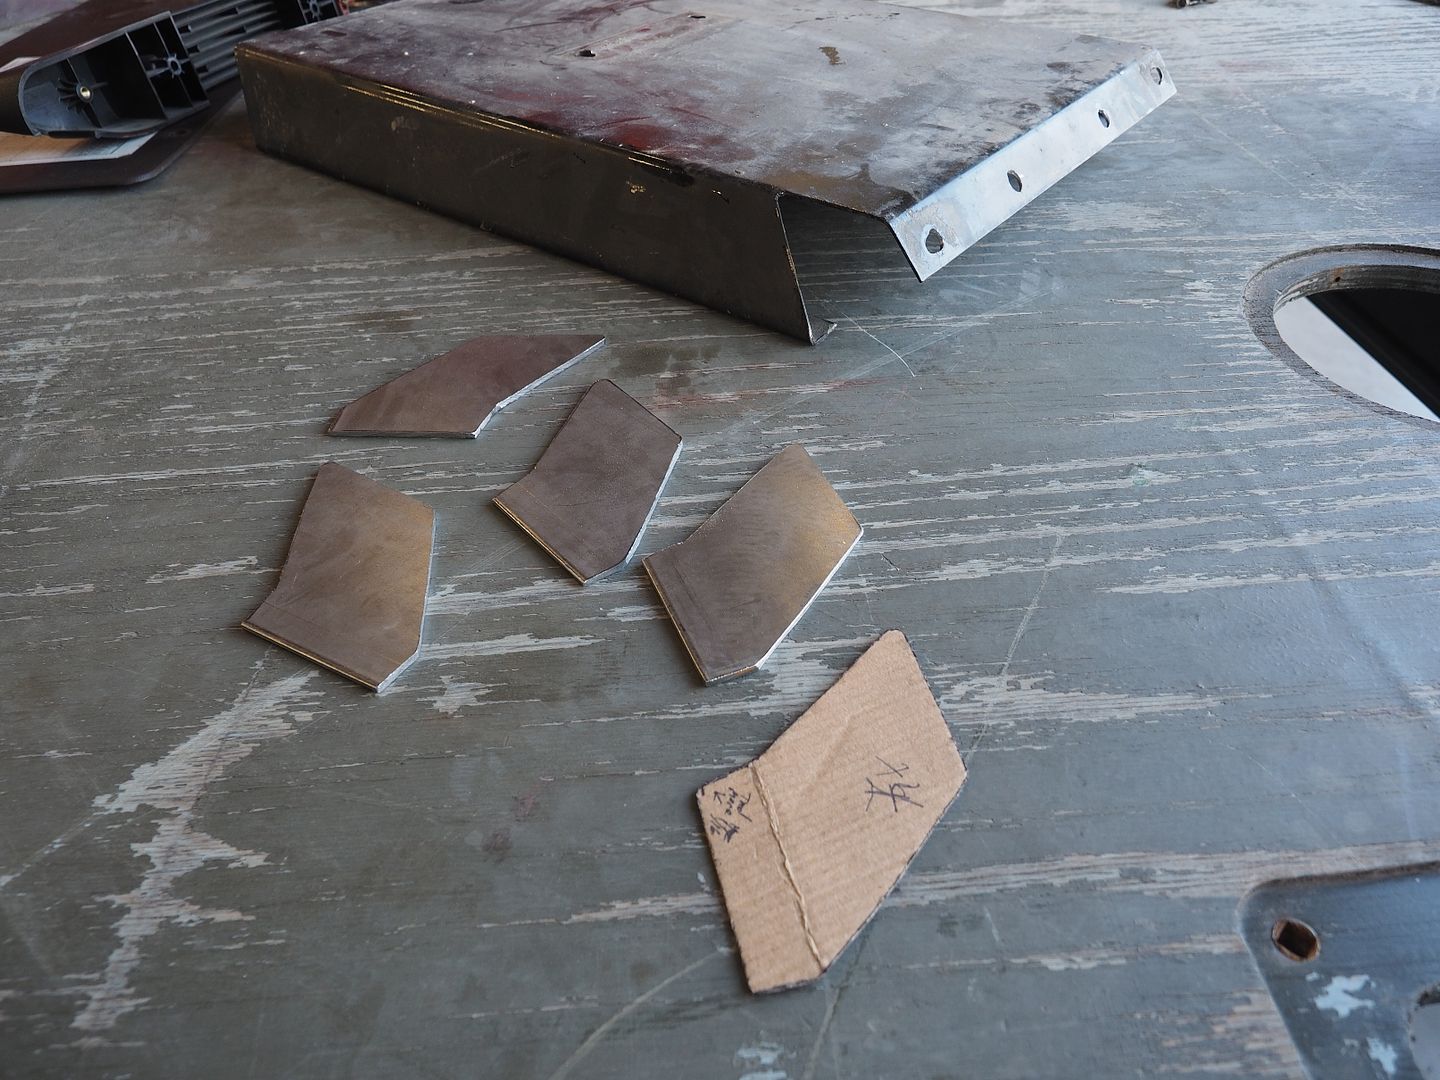
While I was working on the interior my Father (Danny) was busy cutting out the plates to fill in the corner gaps on the rear fenders.

P3190392.jpg


P3190421.jpg


P3190419.jpg


More to come....

Hodakaguy
 

Wyuna

Observer
But i like the RED,

you will notice that the Unimog will be slower after u paint it in a colour other than red :coffeedrink:
 

Forum statistics

Threads
188,218
Messages
2,903,956
Members
229,805
Latest member
Chonker LMTV
Top