You are using an out of date browser. It may not display this or other websites correctly.
You should upgrade or use an alternative browser.
You should upgrade or use an alternative browser.
MOIRAI 1995 4x4 Fire Rescue BUILD Thread
- Thread starter Jdubucsd
- Start date
Jdubucsd
Addicted to Espresso
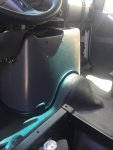
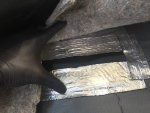
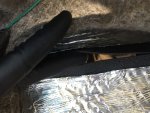
The hot exhaust heats the air up around it under the floor pan. The hole for the transfer case cover will just suck in all the hot air into the cabin, mostly if the windows are cracked or open. So I have three layers around the opening with a slit. It will also help block heat, sounds and hot air from coming in.
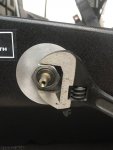
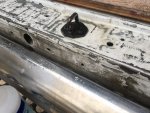
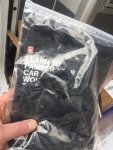
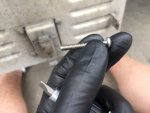
Cleaning the seat belt hookups. I had a bunch of black nitrile gloves from ammo nyc.
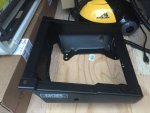
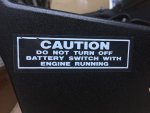
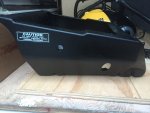
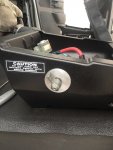
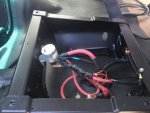
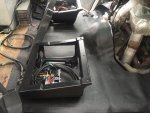
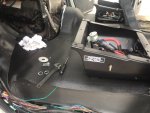
Battery tray install and new stainless steel mounting bolts with lock washers and red loctite
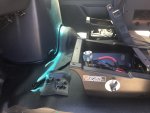
Interior is looking like a vehicle now. ?
Cleaning the seat belt hookups. I had a bunch of black nitrile gloves from ammo nyc.
Battery tray install and new stainless steel mounting bolts with lock washers and red loctite
Interior is looking like a vehicle now. ?
Attachments
-
 IMG_9811.JPG2.5 MB · Views: 42
 -
 IMG_9812.JPG2.4 MB · Views: 43
 -
 IMG_9813.JPG2.5 MB · Views: 43
 -
 IMG_9814.JPG3.9 MB · Views: 44
 -
 IMG_9815.JPG1.8 MB · Views: 42
 -
 IMG_9816.JPG1,002.8 KB · Views: 42
 -
 IMG_9817.JPG3.1 MB · Views: 46
 -
 IMG_9818.JPG2.3 MB · Views: 46
 -
 IMG_9819.JPG1.9 MB · Views: 45
 -
 IMG_9820.JPG1.4 MB · Views: 46
Jdubucsd
Addicted to Espresso
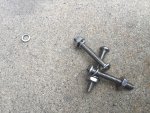
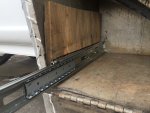
Stainless steel bolts, 1-1/2" x1/4 diamter. Stainless lock washer and nuts. Added red loctite.
Thats me drilling holes after carefully measuring.
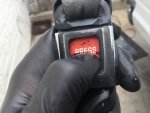
Drivers seat bracket. I reversed the standard Cole Hersee on off logo and the other side is just aluminum. I liked how it looks so I reversed it.
Manual T-case lever is a genuine Ford part.
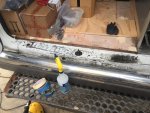
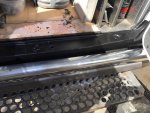
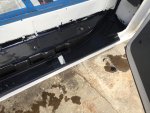
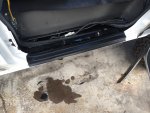
The rear step well will be getting treated with Por-15. Just like the two front step wells and side barn doors.
Attachments
Jdubucsd
Addicted to Espresso
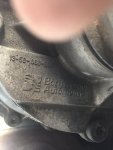
Borg Warner Transfer case. I have not looked it up to see which type it is.
Finally the doghouse cover is back in. I would highly recomend NEVER removing the weatherstripping around it. It was such a pain in the ass to get it mounted and seated correctly.
Well its super quiet now with all the added insulation!! You can talk normally, hear the radio fine etc. im so glad I took the time and effort to do it right.
Electrical under the drivers seat is all back hooked up and working properly.
Some more finesse vinyl rubber floor trimming around the foot wells. And black silicone under both seats where they have the passage for cables and wires.
Seats will be going in soon.
Such a good feeling have my socket wrench switched back to "tighten", meaning its finally coming back together after being apart for what seems like an eternity.
Attachments
Jdubucsd
Addicted to Espresso
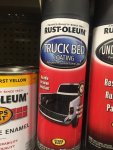
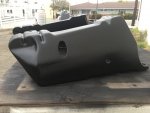
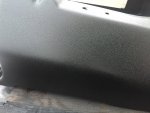
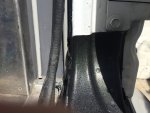
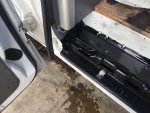
I got bedliner sprayed into all three step wells on top of some Por-15. I think the black bedliner looks cool and is more durable than the white stock paint that was already worn through on some spots
Attachments
Jdubucsd
Addicted to Espresso
So it turns out painting all the way down the lower lip. You close the doors and guess what you see, black peeking out!! So I had two separate people into jeeps camping the outdoors like us all, and they both were like yeap. You just made more work for yourself. It needs to be white on that part. It looks off.
So I ordered a can of Ford ZC Glacial White paint. Cost is pricey $30 for an 11.5 oz aerosol.
?
So I ordered a can of Ford ZC Glacial White paint. Cost is pricey $30 for an 11.5 oz aerosol.
?
Raul
Adventurer
Or you can paint the bottom of your van black or some other color to combat the "white van" stigma.So it turns out painting all the way down the lower lip. You close the doors and guess what you see, black peeking out!! So I had two separate people into jeeps camping the outdoors like us all, and they both were like yeap. You just made more work for yourself. It needs to be white on that part. It looks off.
Jdubucsd
Addicted to Espresso
Or you can paint the bottom of your van black or some other color to combat the "white van" stigma.
Hey Raul. Yes. I wanted to walk away from it and do some thinking. I was actually thinking of just doing that. Painting it black with bedliner on the lower rocker panels...thanks for the comment. I think will balance it out nicely. Without having to create too much of a headache.
Jdubucsd
Addicted to Espresso
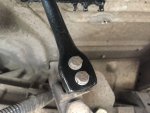
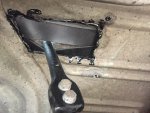
I painted the transfer case shifter with bed liner spray. Came out great. Remounted it. I also used Red loctite.
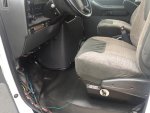
Also remounted the seats and secured the seat brackets. I treated the tops of all the bolts with Por15. Thats why it took longer than usual to just put it back together.
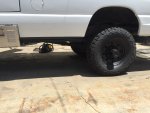
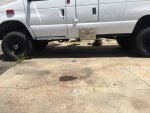
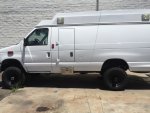
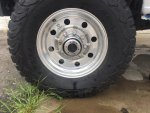
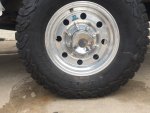
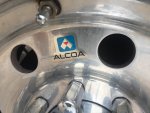
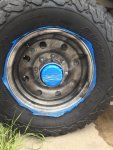
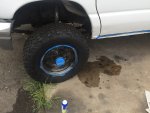
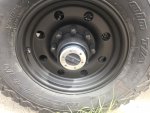
I opted to deeply clean my 16x7 Alcoa rims. Two steps degreaser, steam. Then Ammo NYC Plum Crazy rim cleaner. Let it dry. Masked it off. And probably did about 7 coats per rim of flat black Plastidip.
I used three of my four cans of Plastidip. I also will have to touch up a few spots. But overall it totally changes the look and personality of the rig. And it took about 3 hours start to finish to do it right.
Attachments
-
 IMG_9904.JPG2.5 MB · Views: 41
 -
 IMG_9905.JPG1.1 MB · Views: 40
 -
 IMG_9906.JPG854.6 KB · Views: 42
 -
 IMG_9907.JPG1.3 MB · Views: 46
 -
 IMG_9908.JPG1.6 MB · Views: 49
 -
 IMG_9910.JPG1.7 MB · Views: 49
 -
 IMG_9911.JPG1.4 MB · Views: 52
 -
 IMG_9912.JPG2.2 MB · Views: 54
 -
 IMG_9913.JPG2 MB · Views: 49
 -
 IMG_9916.JPG2.2 MB · Views: 49
Jdubucsd
Addicted to Espresso
Balboa Transport had about 10 ambulances for sale at $500 each. Most non running. But beat on hard. I didnt buy one. Turns out a few months later one was at the junkyard and I nabbed a lower air intake off of it for $20. I got lucky. Not too many times Ill see a 7.3 diesel e series at the junkyard.
Attachments
Jdubucsd
Addicted to Espresso
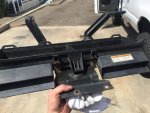
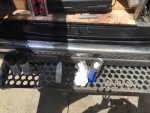
I had taken off the rubber clipped on panel between the rear bumper and body. I painted with Por15 then topped it off with bed liner. I cleaned and applied rubber plastic conditioner to bring it back to life and reinstalled it today.
Attachments
Jdubucsd
Addicted to Espresso
I sprayed plastidip to simulate what bedliner will look like on the lower rockers. I think it looks awesome. So ill pull off the plastidip and lay down some bedliner soon
Attachments
Similar threads
- Replies
- 4
- Views
- 5K
- Replies
- 12
- Views
- 3K
- Replies
- 144
- Views
- 47K
- Replies
- 3
- Views
- 7K
- Replies
- 10
- Views
- 5K

