You are using an out of date browser. It may not display this or other websites correctly.
You should upgrade or use an alternative browser.
You should upgrade or use an alternative browser.
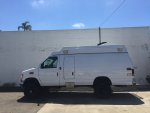
MOIRAI 1995 4x4 Fire Rescue BUILD Thread
- Thread starter Jdubucsd
- Start date
Jdubucsd
Addicted to Espresso
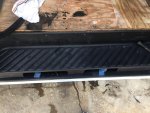
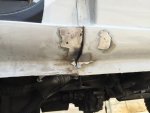
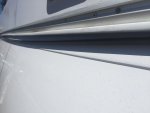
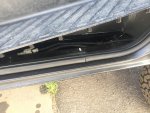
Before I move on to the interior. Im prepping the lower rockers for bed liner. Its dirty work actually.
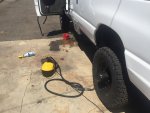
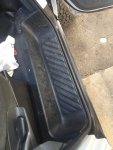
Those are two kick panels that Im cleaning up like crazy. And letting the jute backing dry out prior to install in a few days
Those are two kick panels that Im cleaning up like crazy. And letting the jute backing dry out prior to install in a few days
Attachments
Jdubucsd
Addicted to Espresso
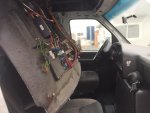
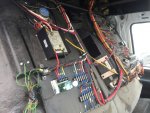
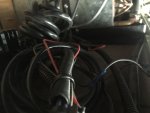
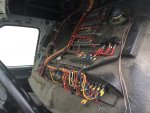
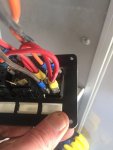
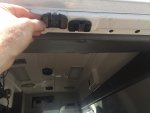
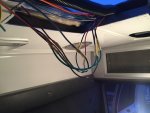
Most of the electronics and wiring are up in the front headliner. Undo four nuts and it swings down on the piano hinge.
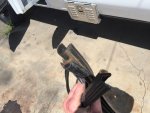
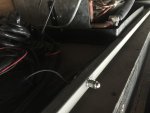
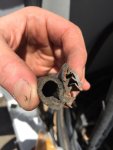
Its a little blocked in the photo but one of the two drain tubes broke off from the tub that sits the rear ac heat unit. So glad I saw it and can repair it now.
Ill be tracing wires this week and removing and fixing them.
Its a little blocked in the photo but one of the two drain tubes broke off from the tub that sits the rear ac heat unit. So glad I saw it and can repair it now.
Ill be tracing wires this week and removing and fixing them.
Attachments
Jdubucsd
Addicted to Espresso
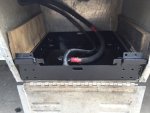
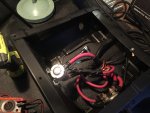
Battery tray is done and finally installed!
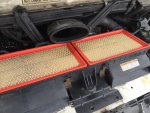
Lower air filter intake cleaned and two new filters installed.
New hood release cable installed. Original had broken mounts inside by the foot well.
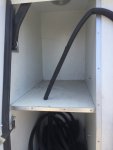
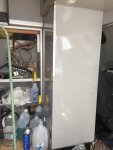
Big grey cabinet, access is from exterior drivers side area. Im going to cut off the inside panel and its going to house one fridge. Possibly two depending on size.
So far the only ones that are top loading that will fit the "16 wide cabinet are: Indel B, Dometic CF50, and Isotherm 49 drawer fridge.
Any one have any insights to fridges. Feel free to post. Ill have two 100aH batteries for 200aH.
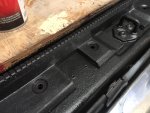
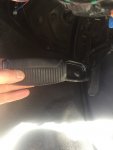
Rear step entry cleaned the plastic molding and ready to remount.
Attachments
Jdubucsd
Addicted to Espresso
Lower rockers are now bed liner black.
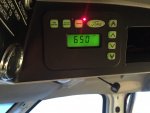
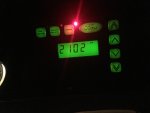
High idle control works: 1300-1700-2100-2500 are preset rpms.
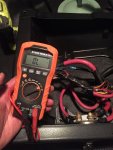
After painting my seat brackets and bolts, well turns out I had no ground any more. I removed the seat, all four lower mounting bolts and nuts, wire brushed to have metal to metal contact and back in business.
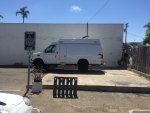
Took it for a drive today. Soooooooo extremely quiet with all the extra cockpit insulation. It makes the whole rig seem much more comfortable!!
Easily does 80mph and tracks true and straight even with no hands on the wheel..briefly of course. But I tend to stick to 60-65mph for good rpms with the rear 4.10 gears.
Attachments
Jdubucsd
Addicted to Espresso
Looking better everyday. The sirens recess on the roof looks like a perfect spot for an LED bar.
Hey bud. Thanks!! Your absolutely right. I was thinking of doing an LED combo of some kind. Or a small shaped roof rack?
Jdubucsd
Addicted to Espresso
Added about 8 extra 1.5 inch screws into the rear headliner where it hinges down. It needs the extra support or at least I think its the right way and just takes about 10minutes
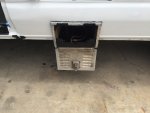
Tossed the drivers side storage exterior door seal. Its inherently a bad design. Ill be adding a drip rail across the top to prevent rain and moisture. I added a new one piece seal. It had a two piece seal when I bought it. Silicone and heat on the corners to bend it along with some 3M weatherstripping seal goo should do the trick to make it water safe.
Tossed the drivers side storage exterior door seal. Its inherently a bad design. Ill be adding a drip rail across the top to prevent rain and moisture. I added a new one piece seal. It had a two piece seal when I bought it. Silicone and heat on the corners to bend it along with some 3M weatherstripping seal goo should do the trick to make it water safe.
Attachments
Jdubucsd
Addicted to Espresso
Adding that new switch. For dome lights
There is a rubber liner running down the rivet sleeve connecting the top fiberglass roof to the original metal. Its dirty and here I am cleaning it. Easy but time consuming.
Finally my first step well done. New seals around door. And correct rubber grommets and body plugs underneath.
Rear door had a missing spring in the door tensioner. Adding a new one.
New brake pedal rubber. Pain to seal it around correctly.
Attachments
Jdubucsd
Addicted to Espresso
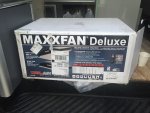
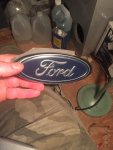
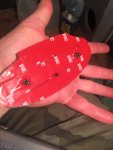
The fan is the fancy one with a remote. I figure it would be cool if your driving and wanted to use the remote if needed. Ford logo was removed when painted. Im using exterior emblem 3M double sticky and cutting it to shape.
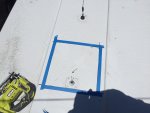
The fan requires a 14x14" opening. Oddly enough the roll cage under the roof is about 14.5" between the rails going front to back. So Im lucky!!
The fan requires a 14x14" opening. Oddly enough the roll cage under the roof is about 14.5" between the rails going front to back. So Im lucky!!
Attachments
Jdubucsd
Addicted to Espresso
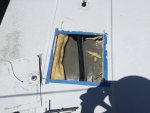
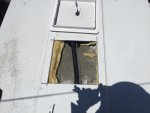
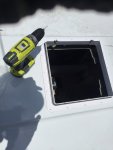
The end result is a hole and you get really itchy when cutting fiberglass.
Came out great. I definitely measured numerous times.
Came out great. I definitely measured numerous times.
Attachments
Last edited:
Jdubucsd
Addicted to Espresso
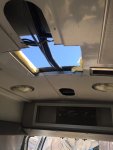
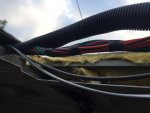
The loom has about 13 wires in it. They all need about 8 inches of extra 10 or 12 guage wire depending on which one. This is in order to move the loom aside without stretching or straining the wires to slide them over and make room for the Maxxfan.
Its tricky. The roll cage only allows so much room. Room for the vent is snug and the wires only have so many routing options.
And the maxxfan also needs 8" of clearance to the rear on the roof. I spent about 3 days mapping everything out before cutting into it.
Its tricky. The roll cage only allows so much room. Room for the vent is snug and the wires only have so many routing options.
And the maxxfan also needs 8" of clearance to the rear on the roof. I spent about 3 days mapping everything out before cutting into it.
Attachments
Jdubucsd
Addicted to Espresso
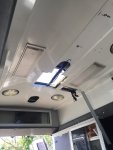
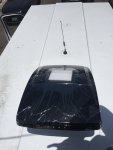
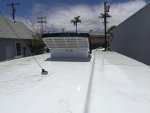
MaxxFan installed. All I can say is. Take your time and do it once with no mistakes. I used self leveling sealant from Dicor. And butyl double sided tape inder the flange all the way around. Solid!
Attachments
Jdubucsd
Addicted to Espresso
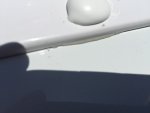
Thats butyl tape squeezed out the side of the flange. Prior to self leveling sealant you need to trim that off. Then lay sealant. Which I did of course.
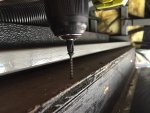
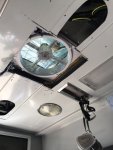
I spent more time installing the interior cieling trim piece. Carefully measure then cut. Its awkward to cut. Then four screws. One of my screws was into the roll bar plate. It broke two drill bits and ate three screws before I finally got it installed correctly and nice. During the process by the screw head the trim got nicked by the drill bit when it kicked back after exploding. Be sure to wear safety eye protection.
I spent more time installing the interior cieling trim piece. Carefully measure then cut. Its awkward to cut. Then four screws. One of my screws was into the roll bar plate. It broke two drill bits and ate three screws before I finally got it installed correctly and nice. During the process by the screw head the trim got nicked by the drill bit when it kicked back after exploding. Be sure to wear safety eye protection.
Similar threads
- Replies
- 4
- Views
- 5K
- Replies
- 12
- Views
- 3K
- Replies
- 144
- Views
- 47K
- Replies
- 3
- Views
- 7K
- Replies
- 10
- Views
- 5K

