Montero Build

Monstero

Adventurer
It will perform way better once its broke in. I was a year or more before I was happy with the ride on mine. Glad to hear you like it.
 

datrupr

Expedition Leader
:peepwall:

Just got an email that confirmed some news that I have been waiting on. I'll post an update soon.

:box:
 

datrupr

Expedition Leader
More coming soon. A big white truck showed up at Sierra Expeditions. I'll post more up soon.
 

datrupr

Expedition Leader
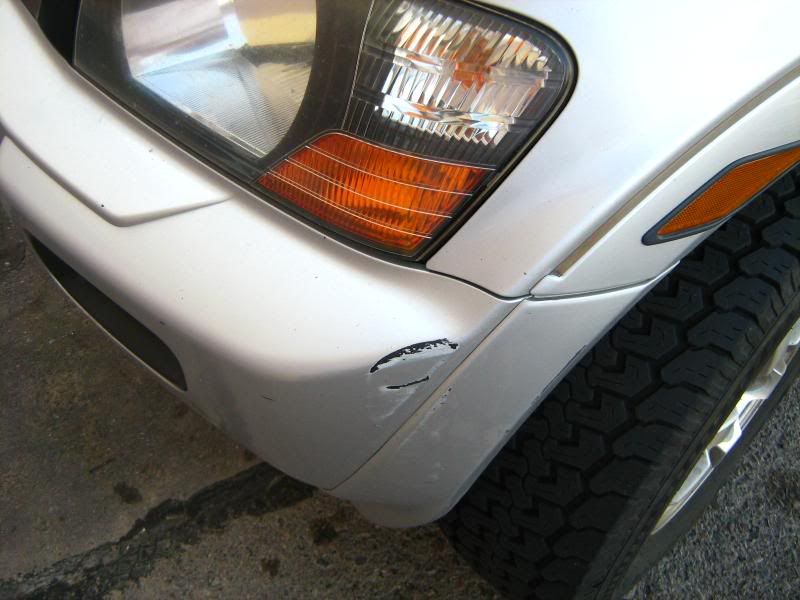
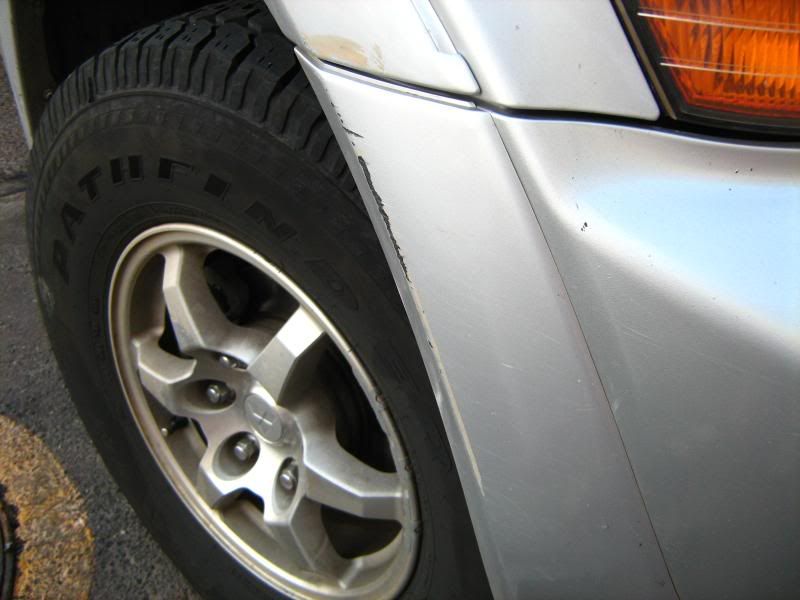
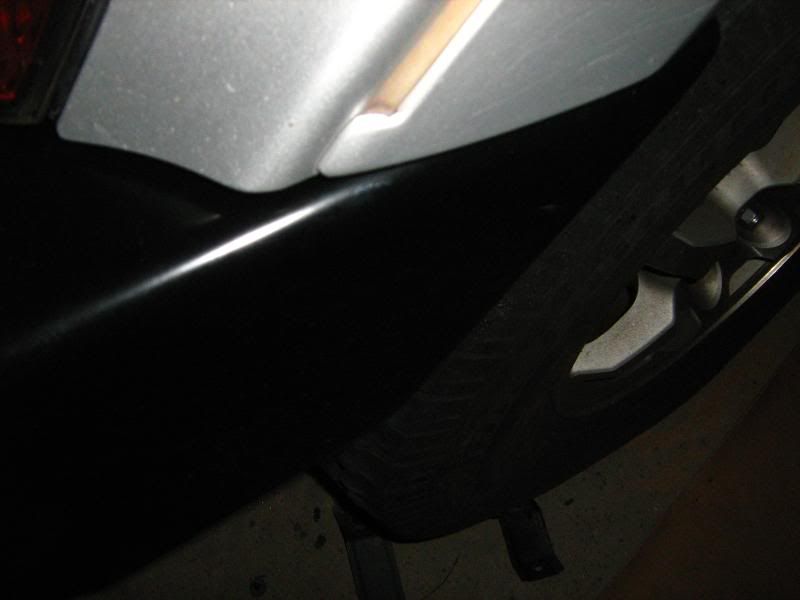
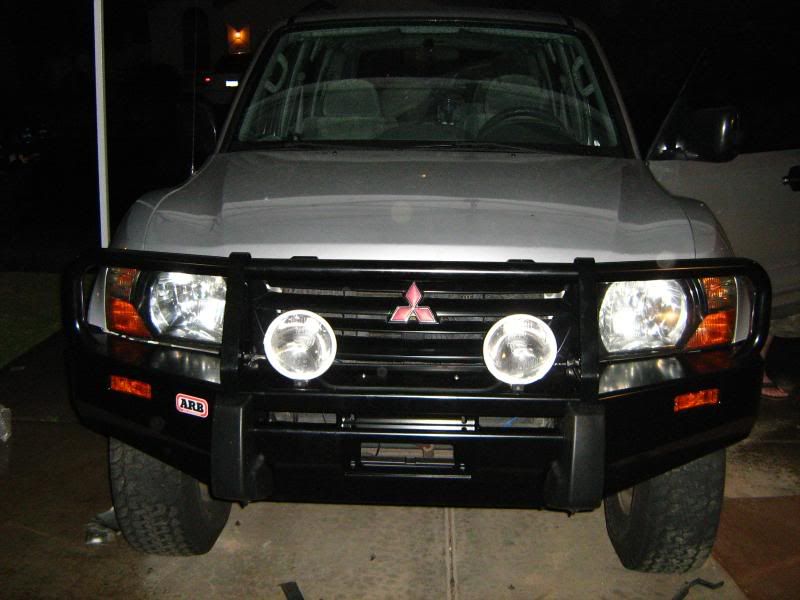
Ok, as you all know, a big white truck showed up at Sierra Expeditions a couple of days ago. I had to fix something that has been bothering me since I bought the truck. The previous owner seemed to have a propensity to hit the corners of the front bumper on stuff. This left unsightly marks on the trucks otherwise nice finish:

0038.jpg


0044.jpg


Well, Will at Sierra told me that he knows how to fix that as well as reinforce the bumper making it even stronger. The cost was a bit high, and it was hard work to fix, but between the two of us we got it finished within a day. I had no idea Wil was so good at body work.

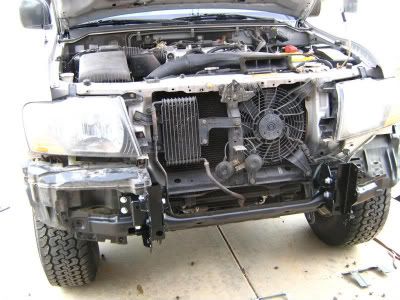
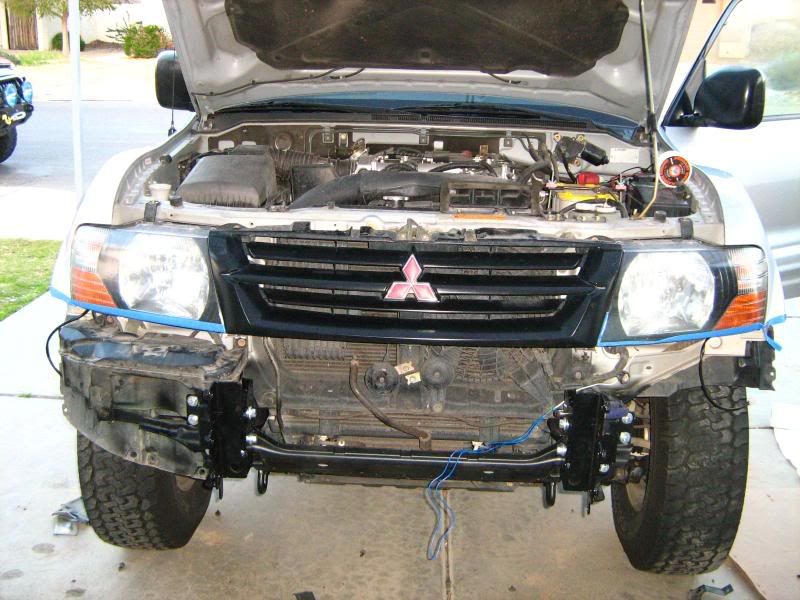
So, the first step was to remove the damaged bumper to make it easier to repair and reinforce:

0062.jpg


Then, we painted the front part of the frame and added some reinforcing brackets:

007-7.jpg


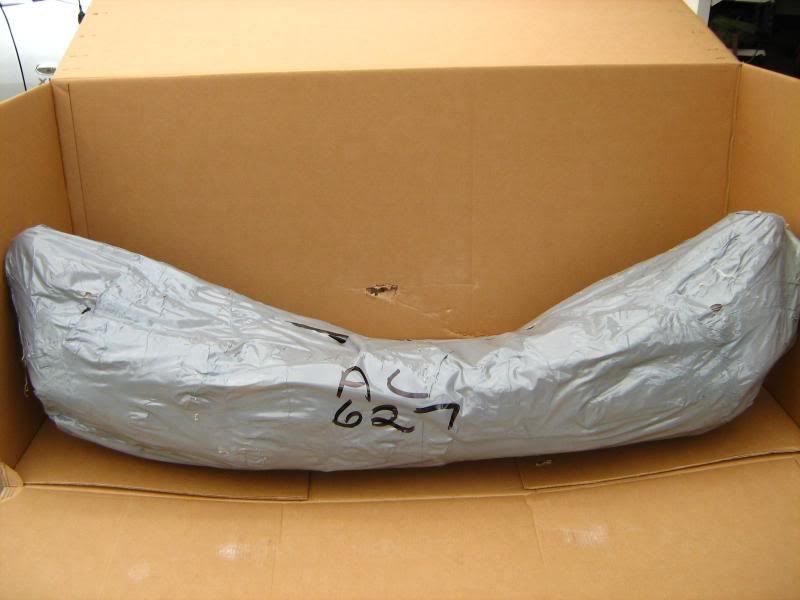
Now comes the important part. The entire reinforcing structure of the bumper. This was the big box that was delivered to Sierra Expeditions and what was inside it:

0053.jpg


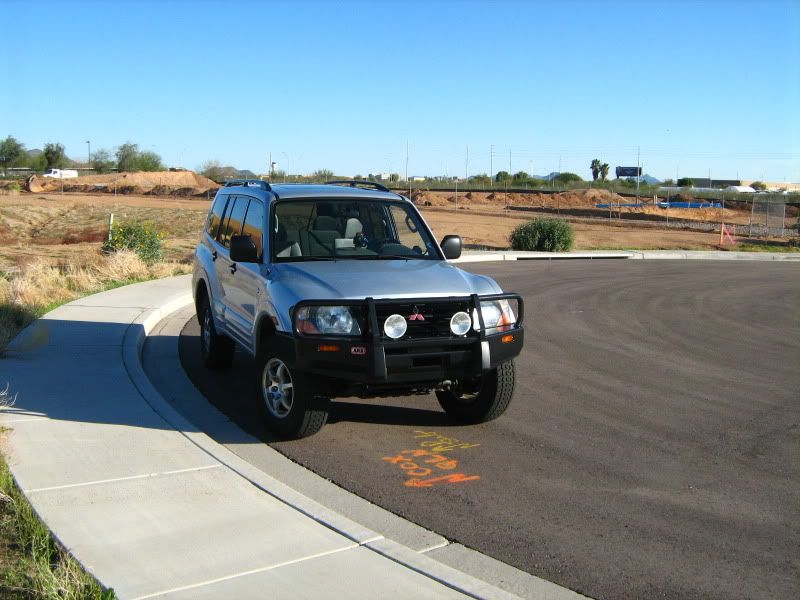
So, the bumper has been fixed and the unsightly scars are no longer there, as well as it is now much more stout and sturdy than before. So, we have to start putting the truck back together:

0092.jpg


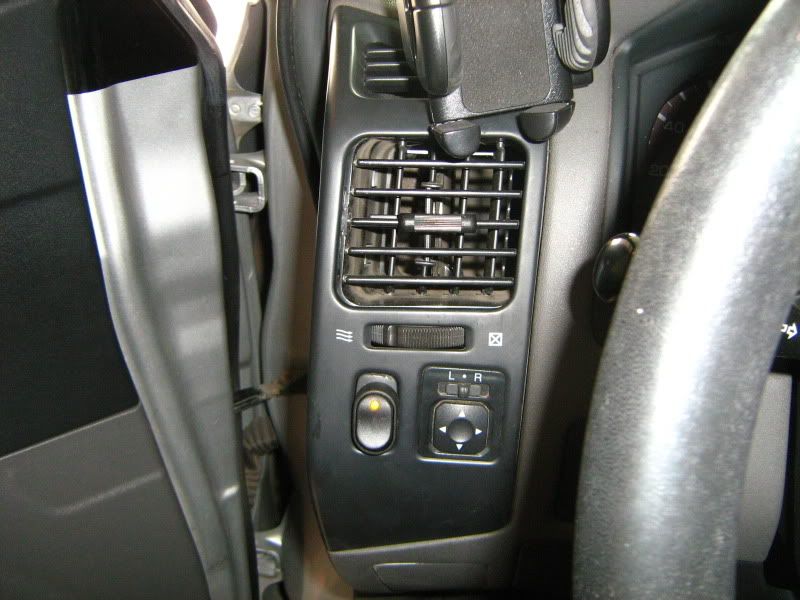
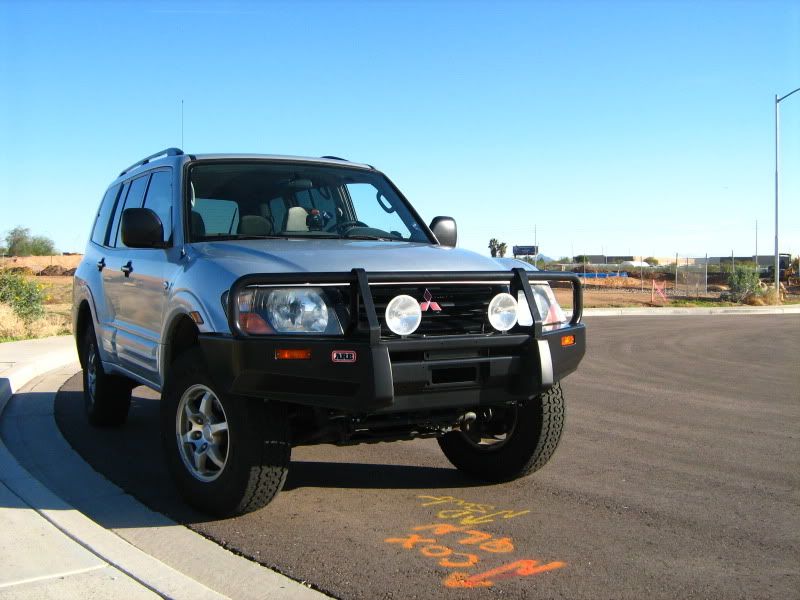
I also decided that I since the bumper was off and being reinforced I could install the Hella 500's that I had aquired almost a year ago. This was pretty easy and straight forward (Wil did most of the work), it was just a matter of finding a good place to put the switch. I though the factory blank next to the power mirror controls would work well:

00110.jpg


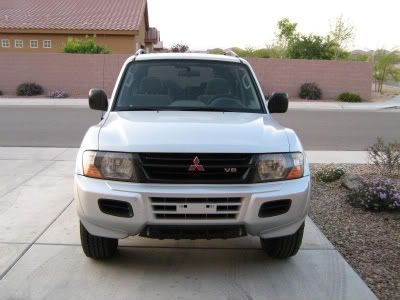
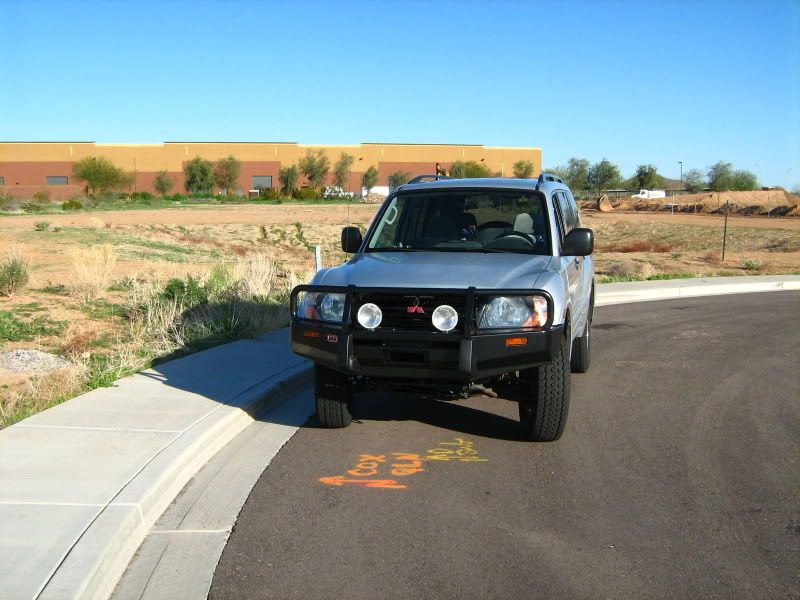
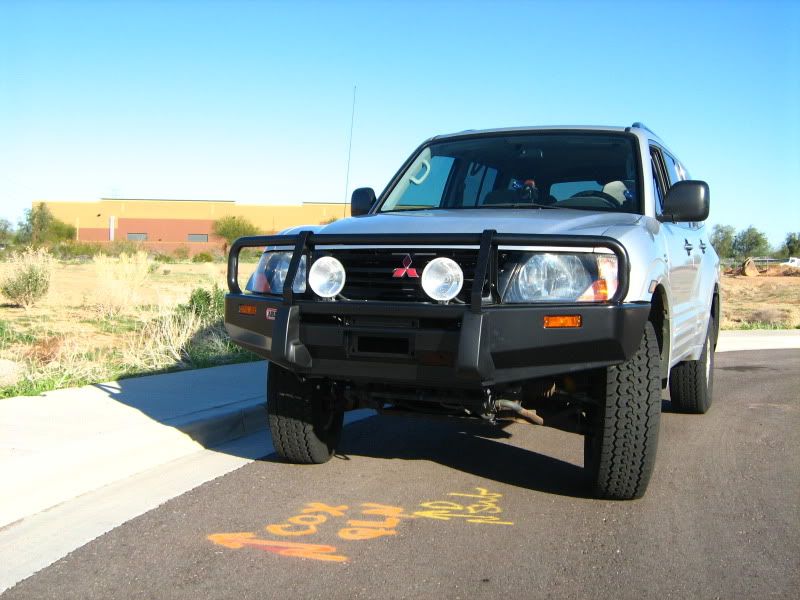
After that, the bumper was re-installed the bumper, and look! no more marks!

0102.jpg
 
Last edited:

datrupr

Expedition Leader
So, here it is before:

019-5.jpg


And here it is after. I do plan to paint the flairs and plastic trim black to match the new bumper:

0112.jpg


And a better shot of it during the day:

0028.jpg


And I do a HUGE thanks to Wil at Sierra Expeditions. This was a pretty big job and not that easy to do. He was patient and friendly the whole time, even when things were a little tricky or not going right. It did take us all day to get accomplished and it was cold and raining. But we got it done, and with out Wil it would not have gotten done. Again, top notch service from top notch people. Thanks a lot, Wil. And also, A huge thanks to Wen for putting up with me occupying her husband for a full Saturday.
 
Last edited:

datrupr

Expedition Leader
Thanks, Wil, your help is very much apprecitated. I did manage to replce the fuse and the Hella's are functional now. Now we just have to take care of the squeek and the non-functional turn signal.

LexusAllTerrain, I had some time today so I snapped off a few pics for you. Sorry for the pavement shots:

002-14.jpg


003-16.jpg


004-13.jpg


005-12.jpg
 

Forum statistics

Threads
188,426
Messages
2,904,679
Members
230,359
Latest member
TNielson-18
Top