My 2000 4runner build, repair, and modification thread

Stick Figure

Observer
Time to get your Ham radio license and get yourself a nice radio for communication :). Ive been hours from any town or cell service but can always reach a radio repeater.

A radio is something I haven't thought about much, but know I should. Most of the adventures we have done have been in southern cal where even on a hike I was answered craigslist texts, and tweeting pics of our hike. We were never more than maybe an hours walk from phone reception at the most.
Hmmm...

For every "birthday" of my truck, I have taken it on a trip. 40K was my best friends bachelor party camping trip... 50K was the White Rim Trail in Moab. I was @ 60K on Elephant Hill in Canyonlands. 66,666 hit just as we finished Fin's N Things. 70K was when I took my girlfriend (now wife) camping near Dutchman's Draw (AZ strip?), which was the first time I've ever had a sidewall puncture.

I have a big trip planned for 80K, which is in about 2500 miles. :D

I'd take it to Moab, buy the CHARLES WELLS GUIDE TO MOAB book and go nuts. I'd recommend something like the White Rim for a 200K milestone. :)

Some trips are in the future, but just moving up to the bay area from southern cal, we are still recovering financially, and can't really ask new jobs for a ton of time off, so they will just be some weekend fun for now.

Good build! I would think the though the dual battery set up would block airflow to the filter, i'm sure its negligible though.
Have you thought about upgrading the front brakes to tacoma size?

Filter is being blocked a bit, but the bigger problem would be the shorter tube affecting the tune a bit. Seems to have moved the power band up higher than I would like for a truck application. I had planned to redo the intake and build an actual box again, but the above mentioned move has pushed this back a bit.

For brakes are you thinking of the Tunda upgrade, or did I miss something about the Tacoma having better brakes too? I do have the larger factory brakes, and don't find them as bad as some people seem to think they are, but as I add more weight, bigger brakes can never be a bad thing. I've been doing a bit of looking at changing the rear drums to disk, but want to keep it all Toyota including keeping a rear drum e-brake with the disk brake conversion. We'll see if it happens or if I just freshen up the stock system that has never let me down.

Good looking truck. I like the fabrication you have done! I wish I still had access to a shop for fabrication.

How much space is between your radiator and the fan shroud?

Have you thought about adding some sort of door to allow you access to your fuse blocks? That way in the event a fuse blows, you can get access to it without pulling the panels out. I have my accessory fuse block in the driver's kick panel and have been thinking of ways to place a door over the area to gain access.

I believe It's about an 3/4" or so. Its been a while since I did that and don't recall right off.

I really wanted to add an access point when I did the original install, but didn't have anything laying around the garage that would work. I am open to suggestions of ways to do it, and have it look factory. None of the panels I had laying around off of other cars had anything that would work to retro fit. I would like something like a port hole style where I could cover up my cut and not have to try to be TOO careful. lol


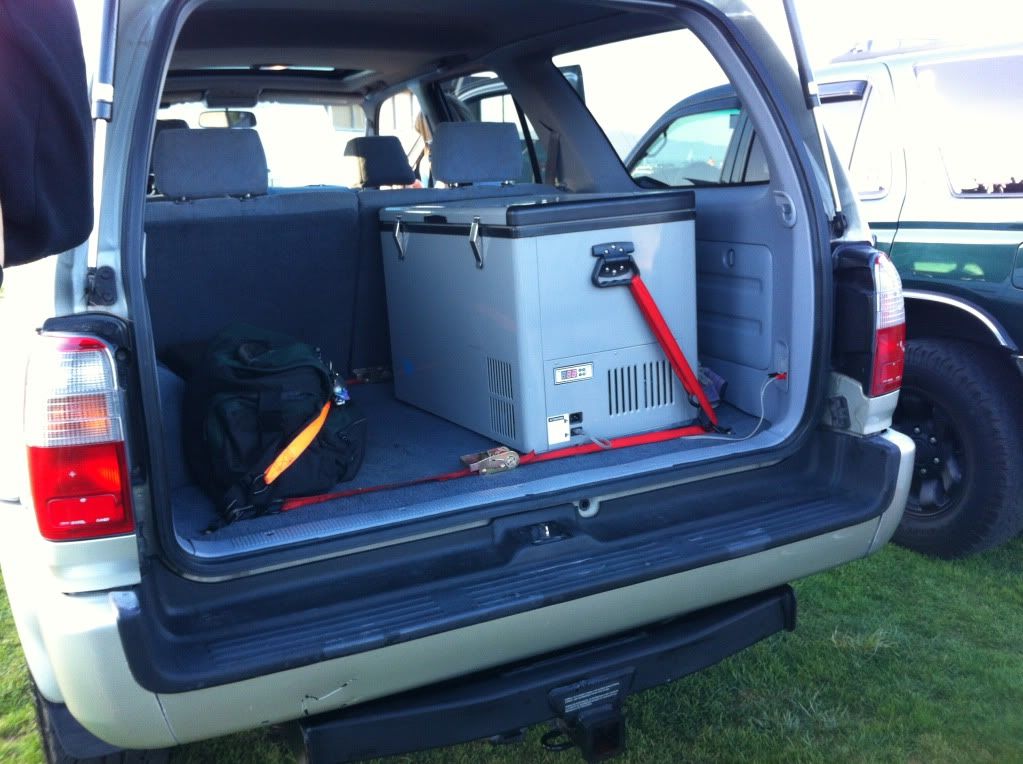
Thanks for the comments guys. The truck did get a bit of a early b-day present by way of a new die hard platinum battery to replace the Panasonic. I do like the Panasonic's a lot but the abut it had seen before the install was just too much for it and it wasn't keeping up with the fridge anymore. I wussed out and stuck with the group 35 battery size. In reality I was just too lazy to re-wire for the reversed terminal arrangement that the other platinum options offered. I'm going to use the excuse that at least now it matches the stock size and config so it can be moved over to starting duty if ever needed though.
 

Elbee

Adventurer
Yeah i meant tundra. :/ I'm looking upgrade the brakes on mine next, especially since the front OEM rotors decided to warp.
 

Stick Figure

Observer
no cnc capability for me just yet lol, those are done by hand. I will have my new workshop up and running soon, and can pretty much make anything that i have made for my own truck, but I'm still a couple weeks off of being able to work in it.
 

NachoPitt

New member
Great work! I have read your thread through a couple of times - the fit and finish looks amazing. How thick are the front spacers that you made? How much lift did you get out of them?
 

Stick Figure

Observer
spacers were only a half inch, so roughly 1" lift on them. Still has a lot of rake when it isn't overloaded with a trailer or something. I'm probably going to change the front shocks to 5100's in the near future to bring the front up a bit more.
 

Stick Figure

Observer
I tend to update this thread well not very often at all, so lets post a barrage of pics to catch it up again.


i.php


Finally got off my *** and made a set of rear end links to match the fronts I've been running.

i.php


i.php


I never actually had an issue with the stock ones on the rear other than them being a little out of geometry for my lift, but I was pleasantly surprised after the install. Its hardly fair to compare 198k stock parts to new, but the truck actually has a good more nimble feeling to it on the road now.


Next up

took a quick weekend trip to Yosemite No real off roading, but it did make for a handy home for the night....

Yosemite4Runner0005.JPG


Yosemite4Runner0006.JPG


Yosemite4Runner0003.JPG


Yosemite4Runner0004.JPG


Yosemite4Runner0002.JPG


Next big change was the "hide a bed"

4runner%20bed10001.JPG


Full write up... http://www.expeditionportal.com/for...my-3rd-gen-4Runner-quot-Hide-A-Bed-quot-build

I wasn't at all happy with the tie down method of the fridge in its new location and the old location wasn't much better ...

IMG_3478.jpg


but at least the straps weren't pulling on the cheap plastic handles at an angle. So a change had to be made.


The new design:

Fridge0004.JPG


Fridge0002.JPG


This will give me something a bit stronger than the plastic handles to tie down to and move the straps much lower to give me a little be better use of the space on the sides of the fridge. Cut outs were only for weight reduction and the "cool" look.

final addition for this update

I wanted to carry extra fuel for a trip this year. We have had issues in the past (usually with a trailer) with the fuel gauge getting wonky at the wrong time, and then conviently fixing itself before we get it home to diagnose it. I picked up a pair of 2 gallon Rotopax cans to remedy this. I wasn't 100% sure how or exactly where to mount them at the time, so I didn't buy any mounts until I had made a decision.

From when I actually built it:

Saturday I finally came up with how I wanted to do it and the only place I could find the 1" x 1" square tubing neglected to tell me they stored it outside in the rain, so the frame work took a LOT of clean up. Originally I had thought about building my own mounts but after the bed, the fridge mounts, new drivers seat foam. and a bit of maintenance i was getting tired and running out of time so I was all set to give in and buy the Rotopax mounts but of course 4wheel parts was out of stock on them. So I was back to making my own.

the result:

IMAG0489.jpg


IMAG0488.jpg


IMAG0487.jpg


IMAG0490.jpg


I ended up just replacing two of the stock cross bars with my part and securing it with just regular bolts rather than the tie down points the stock cross bars use. I know my method isn't quite as quick to remove as the Rotopax version, but it was cheaper, available with out leaving the shop, and does provide a bit more security than the standard mount that they sell.

If you are thinking of doing this, I'll warn you ahead of time that the roof is not nearly as flat as it may look. My 1" x 1" square tube is actually scalloped at the center up to 1/2" for clearance. When I welded the new material in to the cut outs, I managed to tweak it a bit more (in the right direction thankfully) to give even a bit more clearance.

I still need GOOD pics of the Rotopax mounts, but you get the idea.

and for more pics you can see a lot in my mini trip report: http://www.expeditionportal.com/for...s-from-our-recent-California-gt-Nebraska-trip
 

shmabs

Explorer
Just to clarify what i am seeing here....

You have a small piece of flat steel that slids into your stock roof rails, with a bolt protruding upward though it, and a large piece of flat steel on top that clamps down on the stock roof rail?

I dont have a stock roof rail to look at, and im trying the get this all figured out so i can start on this project when i get home.

Thanks

Mike
 

Forum statistics

Threads
189,670
Messages
2,919,562
Members
232,700
Latest member
bradbarbz
Top