My 2001 Pathfinder (R50 ) mild/budget build

stioc

Expedition Leader
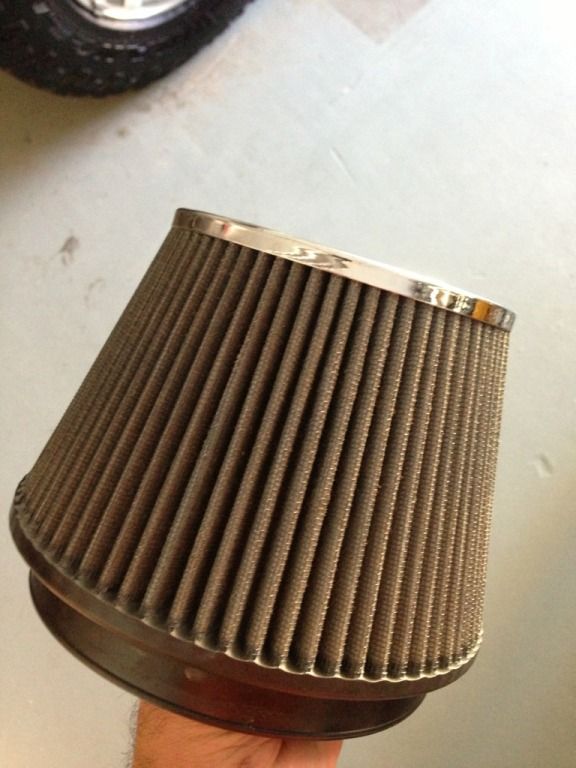
Air-filters: so I noticed how my nice and clean blue JWT air-filter turned brown after just one trip to Death Valley.
.
57B4C0D0-5D4B-407D-9D3F-99FBA4102E03-6169-0000047B20D13BF6_zpsed1c44f6.jpg


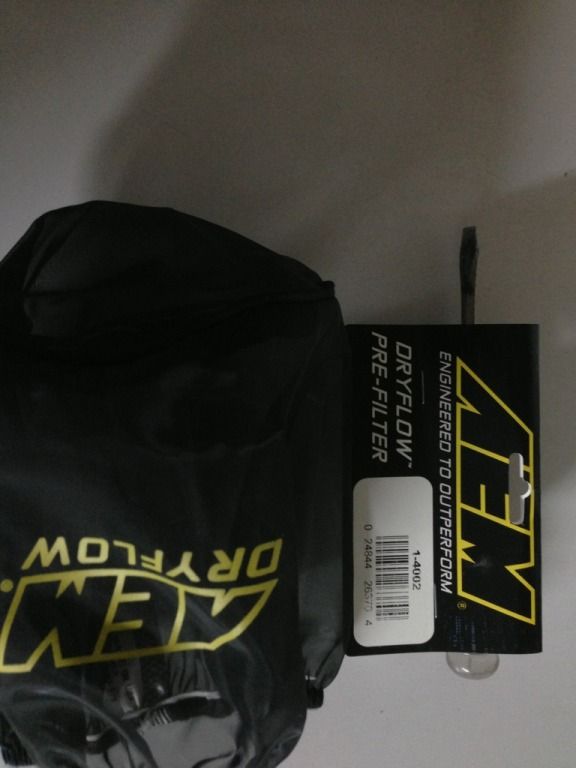
This was after I already blew out the loose dirt using compressed air (low psi). So for the next run I ordered a sock for it, a lot of people swear by them and I hope for $36 my experience is just as positive. Finding the right size took a lot of measuring, guessing and calculations since I ordered it online, thankfully it was a good fit the first time. I'm posting the part# in case someone else with the same setup wants to get one ;)
.
49C05950-47A9-490E-886E-59D740C6D531-6169-0000047B26EE29DA_zps81d14f4e.jpg

.
At some point I'd like to fab up a container to shield it from sucking too much of the warm air from the engine (I only notice this (monitoring intake temps via ScanGuage) while idling). Again, I was fairly happy with the stock air filter setup and wouldn't have done this if it wasn't for mounting the locker compressor in the engine compartment but despite a couple of downsides to this cone filter I noticed improved mpg on the highway (19mpg full loaded) and a better throttle response.
 

stioc

Expedition Leader
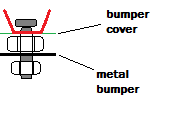
Last quick update, someone PM'd me about how I mounted the lights on my bumper so I thought I'd add that here if it helps someone else too:

Basically I just drilled the hole straight down from the bumper cover into the metal bumper under it. If you pop the hood and feel around inside the metal bumper you'll get the idea. The trick is to use a larger nut as a washer since there's a gap between the plastic bumper cover and the metal bumper. I drew up a quick drawing to show what I mean. The bolt simply slips through the larger nut which is acting like a thick washer so as to not deform the bumper cover.
.
lights_zps8b534470.png

.
Hope this helps.
 
Last edited:

stioc

Expedition Leader
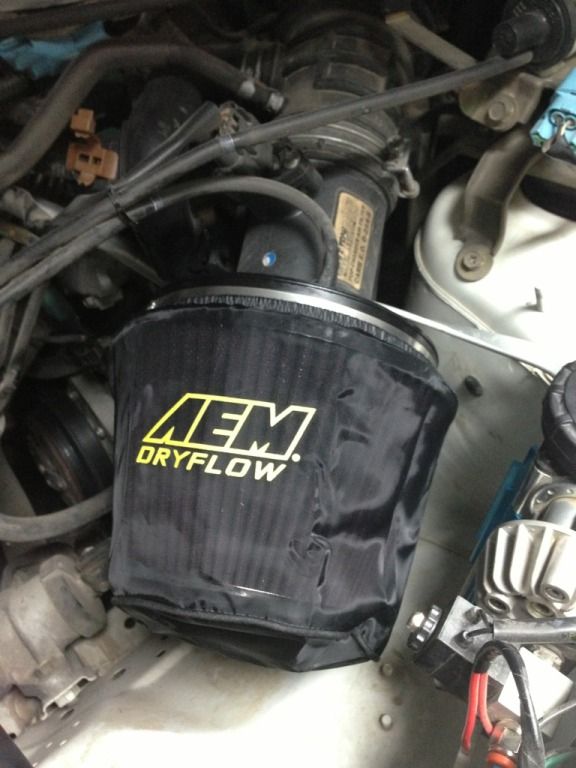
Tonight I cleaned up the air filter using the K&N recharge kit and test fitted the cover. We'll see how effective it is in keeping the filter clean.

759AC948-FFE6-4FF9-8EAD-59EA3FFE2BEC-7967-000004B81D004C5D_zpsc9508f1a.jpg
 

Allof75

Pathfinder
I was wondering if you were going to throw one of those on there. I'm curious to see how you'll like it, maybe we'll throw one on the Ram. We have the corresponding AEM CAI for it.

Have you noticed any improvement in fuel economy or performance with the open-style intake?
 

stioc

Expedition Leader
So regarding the air-filter here're my thoughts. First off I haven't had it long enough to provide a thorough analysis and two my butt-dyno isn't very sensitive. I didn't really notice any performance gains other than it seems to have a better throttle response like it's able to breathe better and not starve for air - but it's not a night and day difference, at least on the VQ. It does make fun sounds at WOT- not that I do that...often. Fuel economy wise I was surprised and had to double check my math because I got 19mpg on the highway. Previously I've gotten almost 18mpg but never 19mpg - with the truck fully loaded with two adults and camping gear/food/water for 4 days. So here're the pros and cons from my pov:
.
Pros:
- Small increase in gas mileage
- Slight increase in performance
- Lowers the risk of water getting into the intake if ever driven through deep water
- Reusable filter that lasts longer than the OEMs
.
Cons:
- Upfront cost ($100+recharge kit+cover/sock if you want)
- Have to clean it
- Sucks warm air in while idling (or stop-n-go traffic)
- Potential for the MAF getting gunked up
.
The jury's out on whether they're worth the hassle- I know if I didn't need the room under the hood for my air-comp I wouldn't have done it. I no longer have the desire to mess with modifying engines- and with the cars built in the last 15 years or so there's rarely been a need.
 

Matto

Observer
That's impressive. Mine (VG33) is currently doing about 10mpg (22l/100kms). It's terrible. I'd be very happy with that mileage, especially given the bigger tyres you're running.

Cheers,
Matto :)
 

stioc

Expedition Leader
I'm getting about 14-15mpg in the city which is kinda bad. Luckily most of my trips involve lots of hwy driving :)
 

stioc

Expedition Leader
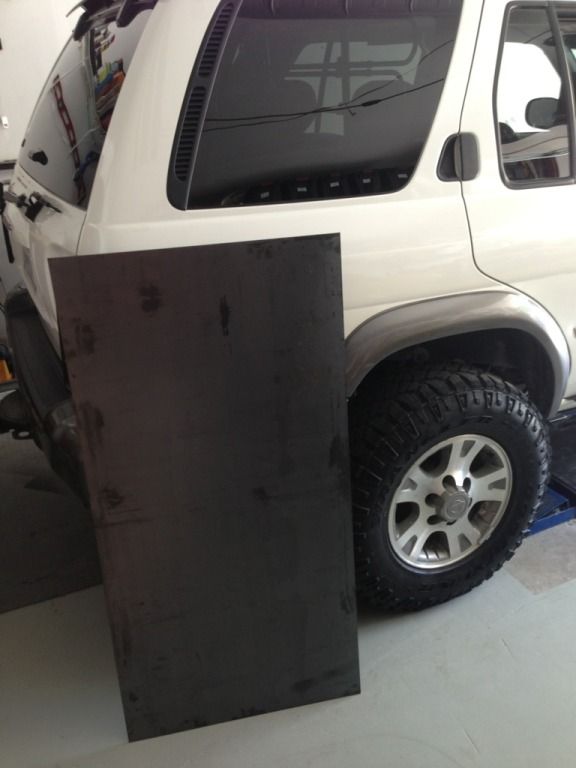
I started building my skid plate today. Since ground clearance is always an issue and not wanting to go any higher I decided to tackle what I've been putting off for a while. I could've bought a pre-made skid but the two available skid plates both had draw backs for me. The first one being the weight- at almost 70lbs using the 3/16" plate from 4x4parts is a bit overkill for me. Two the aluminum version available didn't provide the coverage I was looking for. So the bottom line was I wanted the coverage for the engine sump and and the trans oil pan and I wanted it to weigh less than 40lbs. After doing some designs in my head, I pulled the trigger and picked up a 11ga (basically 1/8") sheet.

D02F0E0F-8BDB-4892-8D4E-398DBA67D025-9293-000005620ADB1744_zps0337657e.jpg


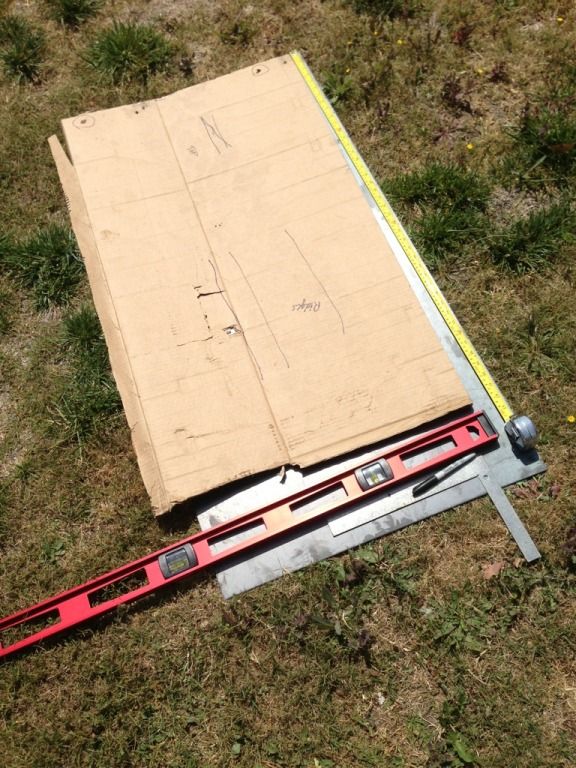
I then made a rough template out of cardboard
39436217-5554-4377-BB01-71B01BFAB125-9293-00000562051CE1A4_zpsfaff1410.jpg


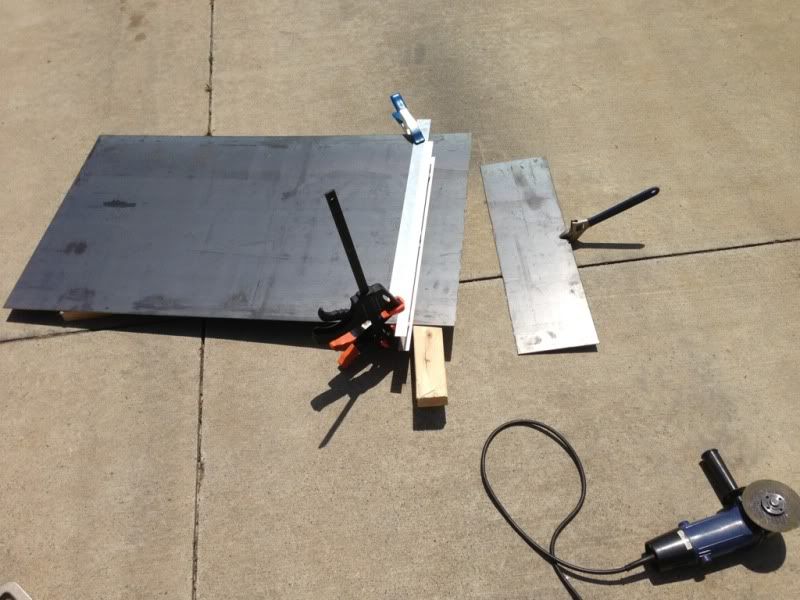
Then cut it to size
615BCF2D-069D-4E6A-A830-282AFFAC03AE-9293-00000562121A7915_zps957f1c89.jpg


to be continued...
 
Last edited:

mortonm

Expedition Leader
I can only dream about that kind of fuel economy! I have the VG33 and I get about 11-12mpg city or highway. :D

I am surprised its so bad. I have the VG33 in my Xterra but I can get 18 or 19 hwy and 13/14 city

15/16 average for the life of the truck

Time for some new plugs etc? Seafoam perhaps?
 

stioc

Expedition Leader
Skid plate:

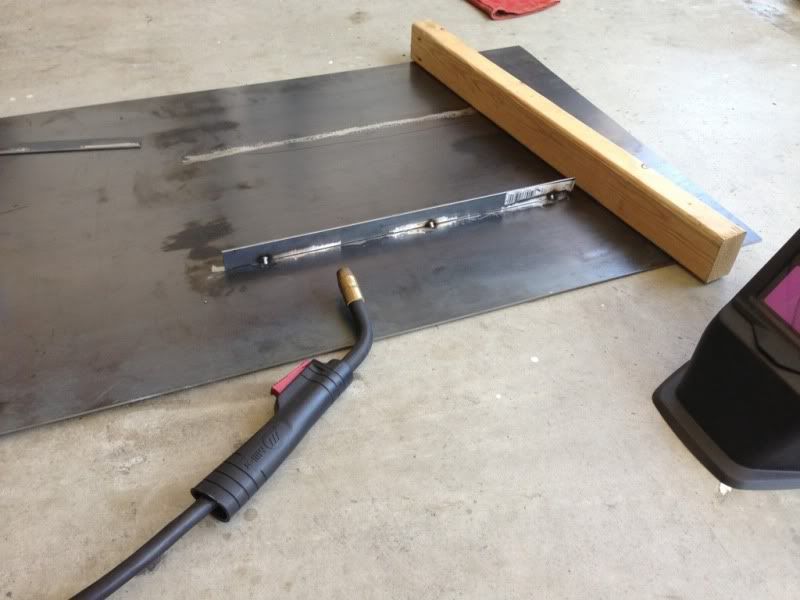
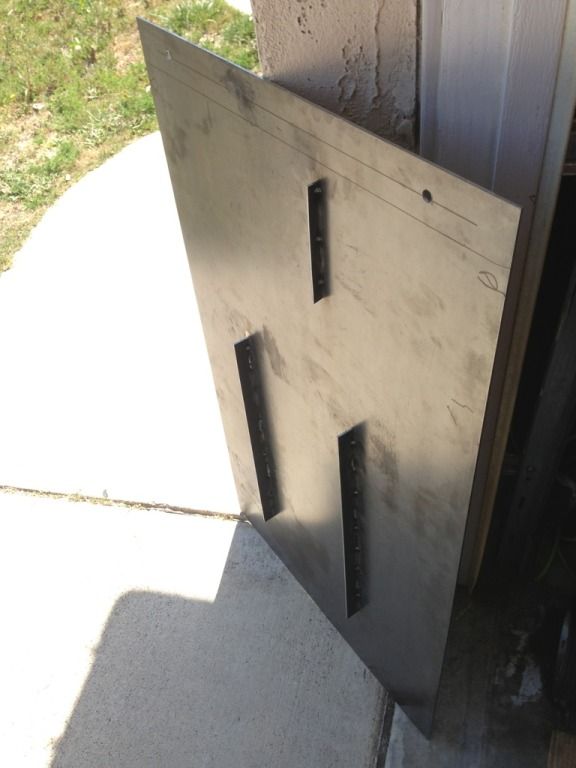
Next, because of the longish span and to prevent the plate from bowing over time I welded some plates.
9872D6ED-CD1B-4C3D-9619-3AC29E937D14-9293-0000056227D04888_zps1d6515f0.jpg


And the skid plate was ready for drilling holes
1B443E0D-1BBE-4BE9-A397-50ABF561CCC6-9293-0000056238B3AEFC_zpsec893342.jpg


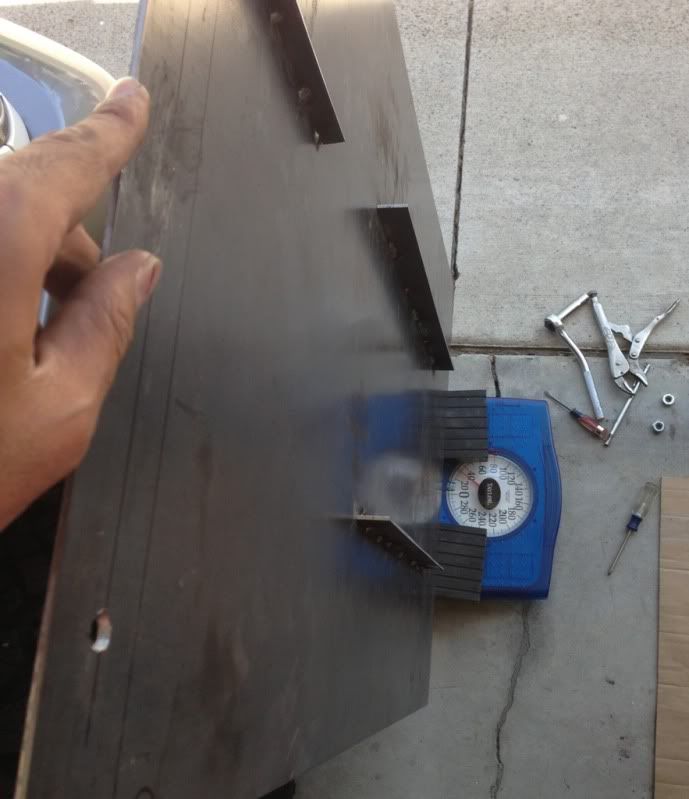
After drilling all the holes I weighed it. The moment of truth...31lbs!
295FEF64-9DED-445F-B7D3-343F5079CB90-9293-000005623D64D489_zps73595f8a.jpg


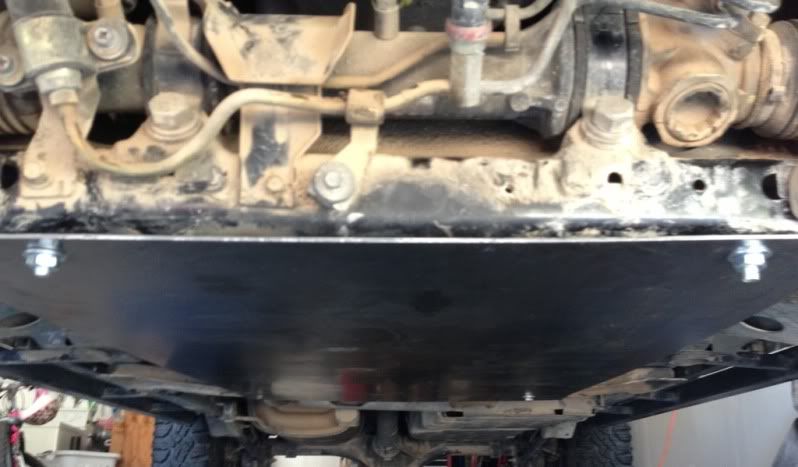
Finally I installed it and took the truck out for a 20mile test drive
D77D9630-57E7-4B98-BE78-2FD8C6E9800C-9293-00000562441EE166_zps26ad3875.jpg


There are a couple of tweaks I'd like to do when I have some time:
1. Add a flat top on the plates/ribs so if they make contact with the oil pan they don't puncture it.
2. Buy better bolts and washers
3. Cut out a hole for the drain plug
4. Paint it
5. For added support attach it to my DIY missing-link I built a while back (will use u-bolts)


Overall I'm really happy with the results. It won't support the weight of the truck but similar to the factory gas tank skid-plates I wanted at least some level of protection for the oil pans without adding too much weight to the already heavy truck.
 
Last edited:

Forum statistics

Threads
186,864
Messages
2,888,828
Members
227,437
Latest member
Top Jimmy
Top