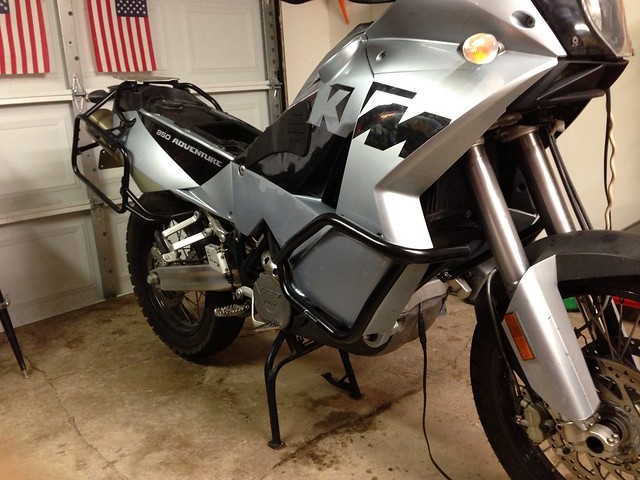
My KTM 950 Adventure thread

Stumpalump

Expedition Leader
The grin on your face while riding is much bigger when you know you have done all of your own work. -I would say this goes for all vehicles.

(and the better part is when something does happen, because it will, you know exactly how to fix it)

I only ride mine on about one long duel sport ride a month but the same thing always pops into my head when I'm on that freedom machine. I ask my self how I could come from nothing to being able to ride on one of the finest pieces of machinery man has ever created. If I die tomorrow that bike iced the cake of making me die happy. A hundred horsepower dirt bike that handles the freeway like a cruiser. What could be better? I'll be on the Rokon today......Oh my I am dead and this is heaven. Thank you Lord!
 

Frank

Explorer
So here is my slow but sure progress.

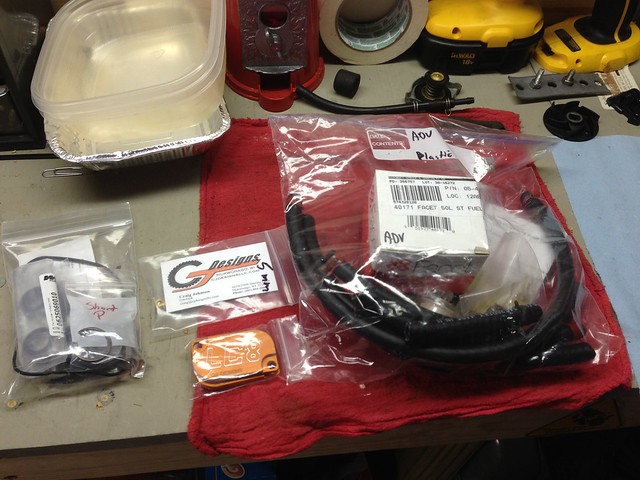
To start with, here is what I have purchased:
Facet fuel pump kit from CJ designs
Water pump kit from CJ designs
New KTM air filter
CJ design SAS block off plates for emission removal
.5mm oil jet
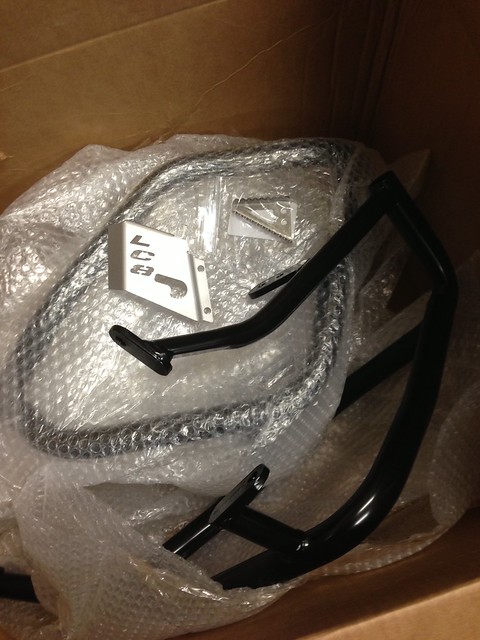
SW Motech crash bars
Rear master cyl guard
New Battery
New KTM oil filters
Amsoil 20-50 Synthetic oil

Really, I just want to make this bike what KTM wanted it to be.

Untitled by Frank Vest, on Flickr


Untitled by Frank Vest, on Flickr

So onto some pictures of progress:

First thing I did was the 'flapendectomy'. This allows the fuel tanks to vent a little better.
http://www.ktm950.info/how/Orange Garage/Fuel Tanks/Flapendectomy/flapendectomy.html

Untitled by Frank Vest, on Flickr

The next thing I did was remove all of the emissions stuff. CJ offered a kit for $40 that did everything (plus the cost of the block off plates)...I spent $10 at auto zone for the parts to do the removal process. The block off plates I did order from CJ, which I know will be better than any rig job I could have done.
http://www.ktm950.info/how/Orange Garage/Emissions Equipment/epc/sas_epc_removal.htm

The pile of emissions stuff I removed.
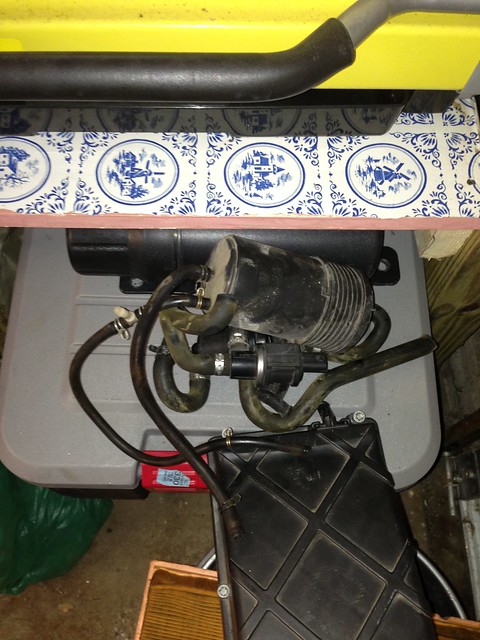
Untitled by Frank Vest, on Flickr

The parts I picked up from Auto Zone. I still need a plug for the lid of the air box.
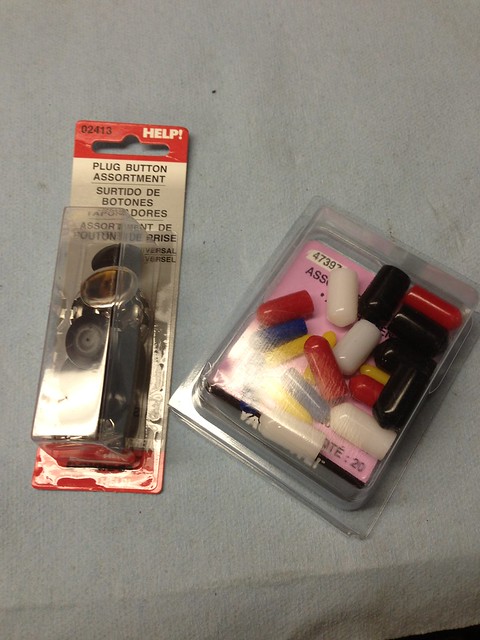
Untitled by Frank Vest, on Flickr

The sweet block off plates from CJ-
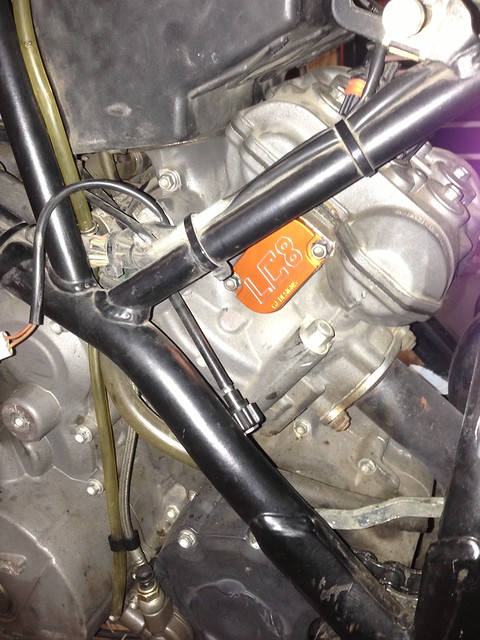
Untitled by Frank Vest, on Flickr

For what its worth, this charcoal canister hides behind the left front fairing and seems to have been installed knowing it would be removed. If I were to ride into Mexico where safety could get questionable, replacing this canister with a PVC pipe secret compartment would be on my list of things to do.
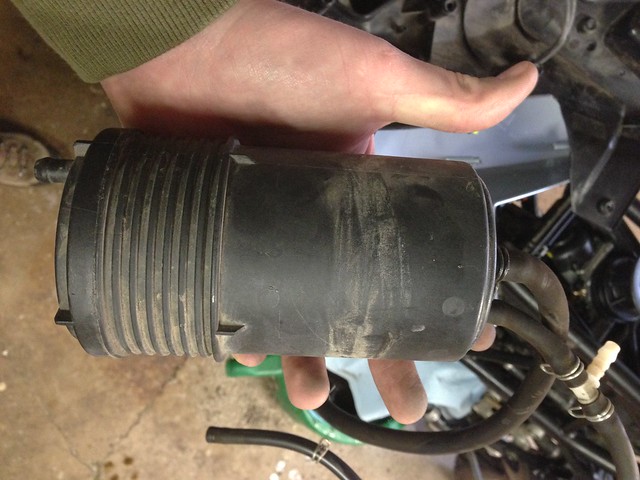
Untitled by Frank Vest, on Flickr

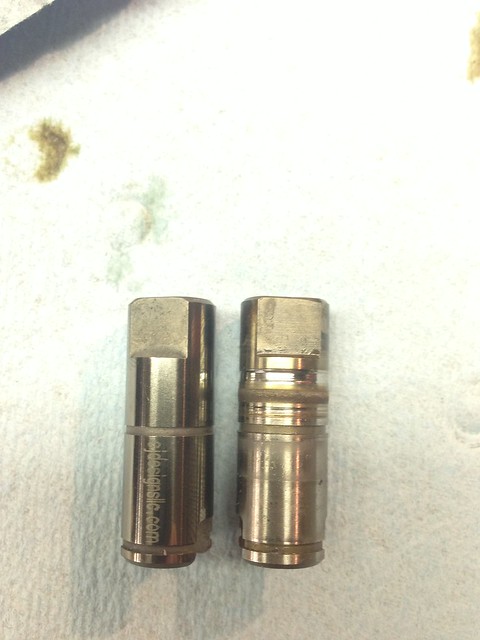
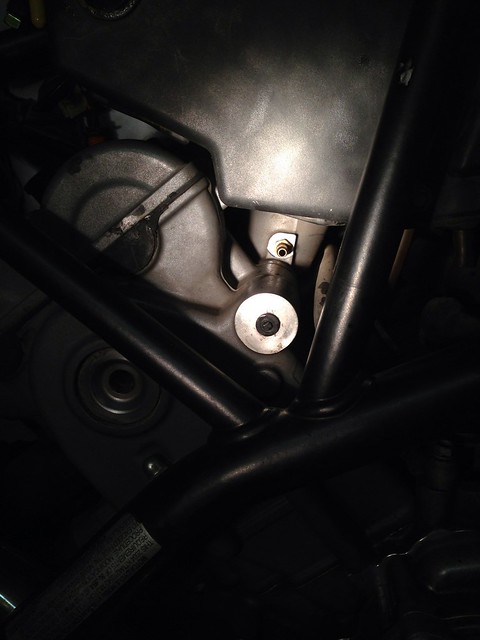
Next up was changing the clutch oil jet which CJ recommended to me when I spoke with him. He said going a little larger does two things: 1) gets more oil to the clutch and 2) doesn't clog up quite as easy. He also said that for some reason, cleaning this gets over-looked by many riders. It has a service interval of 10,000 miles, I believe. The guys who seem to clean them, leave them in and poke a guitar string through them just before changing the oil on the bike.
http://www.cjdesignsllc.com/products/clutch-oil-jet/

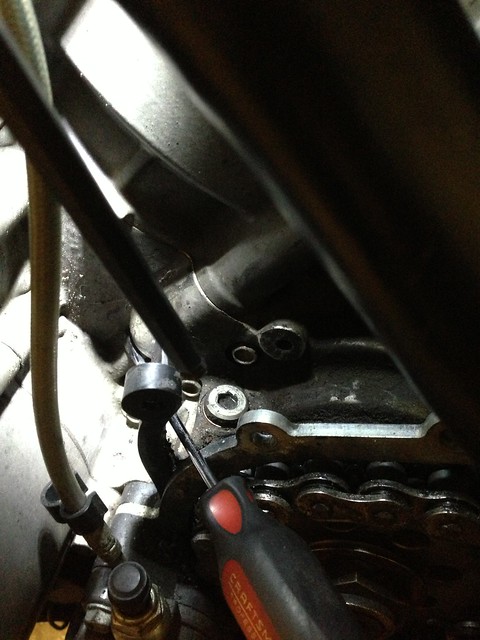
This jet was a major PITA to remove.
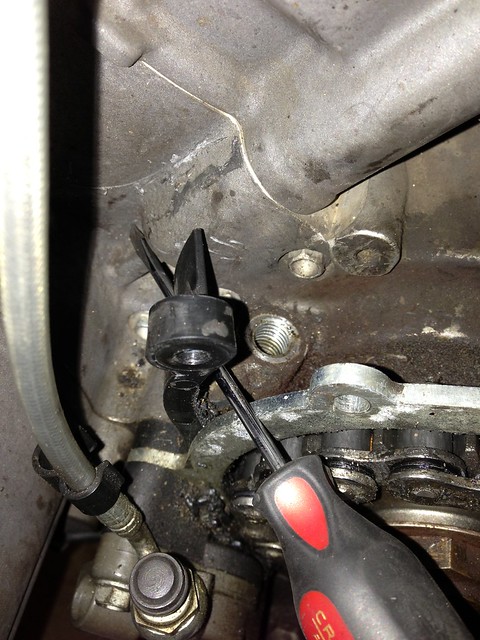
It hides behind the front sprocket cover, under this little guard, and of course it's capped. The guard is pretty stiff and takes a little bit of strength to move back, and then remove the plug. Once you remove the plug, you have to get a screw driver down in the hole to where the jet is located. It really didn't take much to get the jet loose but once its loose, good luck getting it out. There are many methods to getting it out: suction via a shop vac, tweezers, match sticks, super glue to a match stick to pull out and any other way you can think of to pull out a jet that finds its home about an inch down in a hole that is behind a frame rail. lol...it will definitely make you curse a time or two getting it out. I was able to get it out with a q-tip. I smashed the q-tip in the hole and it pulled out. By the way, clean the areal real well before you pull the plug. I didn't think to do this until I already pulled the cap.

Untitled by Frank Vest, on Flickr


Untitled by Frank Vest, on Flickr

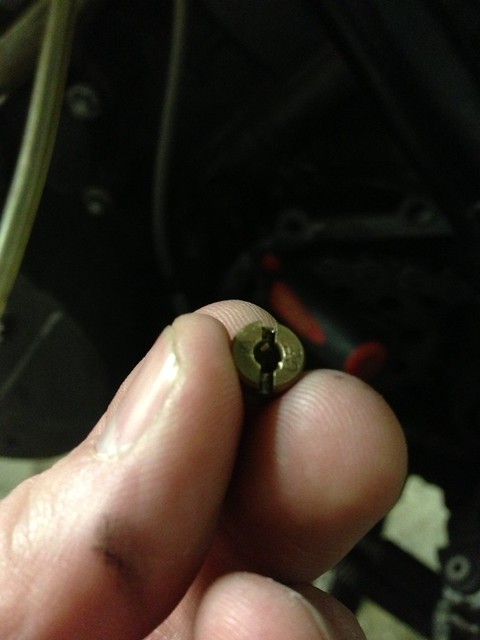
Here is the Jet
Untitled by Frank Vest, on Flickr


More info on my fuel pump install to follow in another post. I am putting together a video for that.
 
Last edited:

Frank

Explorer
Facet fuel pump install

Major project #1 on the bike was to re-do the fuel pump system. The history of KTM's fuel pumps does have not have a very good past. Some have been known to go 50k+ miles while others fail at 20k miles. Assuming this is the original pump, I decided to change it before it went out on me while I am miles from anything.

The CJ Designs kit turns the bike into a true dual tank system by eliminating the 'on/off' valve and use the two shut off valves on the bottom of the tanks for the shut off system. It pulls fuel from both tanks into a Y before moving it into the pump and up to the carb's. One benefit to this is that should something happen to one tank, the other can still be used by simply shutting one off. The other is that there is now always fuel to the pump so if one is empty, when leaning or dumping the bike, the fuel won't rush to one side or the other. Also, the balance of the bike will stay the same until the fuel is empty.

All of the hoses are pre-cut but will still require a little trimming. This kit is fairly simple to do and anyone who is comfortable with doing a little wiring and cutting can do this. I didn't show it in the video but I bent both tabs so they are flat/straight.

By the way, Dual Sport Warehouse is CJ's retail store.

http://www.dualsportwarehouse.com/C...KIT-LC8-950-ADV-Plastic-Filter-CJD-FPK-PL.htm

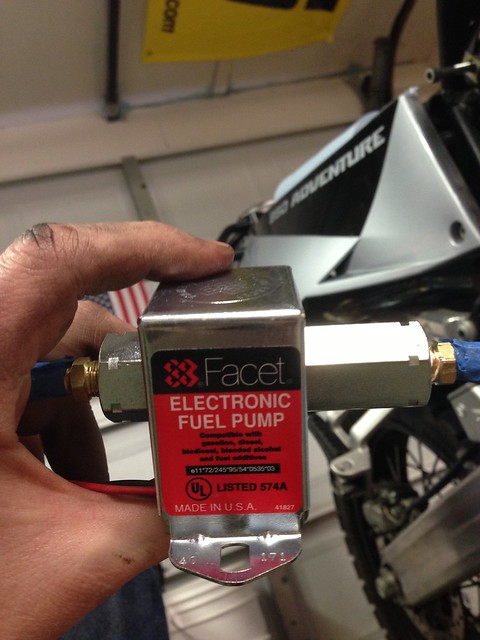
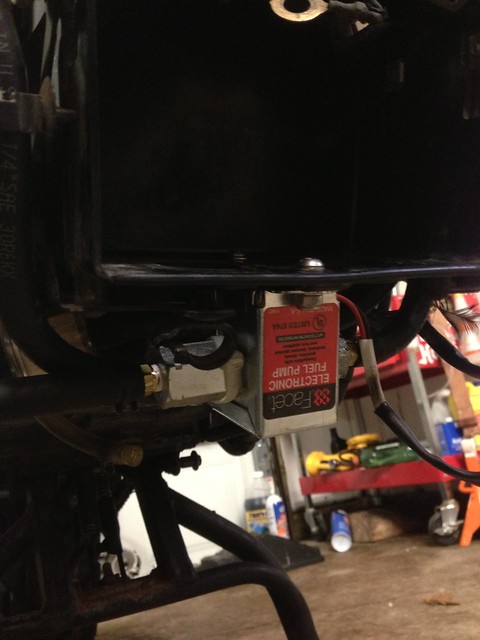
Facet fuel pump

Untitled by Frank Vest, on Flickr

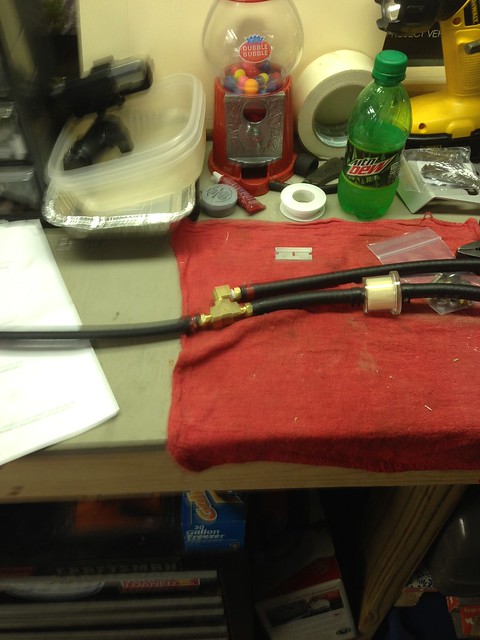
A really crappy picture of the Y kit...and actually this is wrong. I will explain in my short video...

Untitled by Frank Vest, on Flickr

Mounted under the battery box

Untitled by Frank Vest, on Flickr

I put together this short video while doing the install today. -formed real quick via imovie/iphone5. My wife says the music in the background is annoying. Sorry about that.
 

Mechanical

Adventurer
For what its worth, this charcoal canister hides behind the left front fairing and seems to have been installed knowing it would be removed. If I were to ride into Mexico where safety could get questionable, replacing this canister with a PVC pipe secret compartment would be on my list of things to do.

That's a good idea. I wonder if you could fit two spare tubes in there.
 

Mechanical

Adventurer
Did you do anything special with your tanks while they were off of the bike for an extended period of time? I keep hearing horror stories about them deforming after being removed for over a week. It seems like no one has really figured out exactly why they are deforming, or for that matter, how to reverse the process. I have been putting off my spring tear-down until I have a chance to do everything over a weekend. If moisture is the cause of the expansion, I'm not too worried as Wyoming is pretty dry, but it is a problem I don't want to deal with.
 
Last edited:

Frank

Explorer
This is the first I have heard of such an issue. On the other hand, once I get this thing fired up, I am heading straight to the gas pump. My tanks are near empty.
 

Frank

Explorer
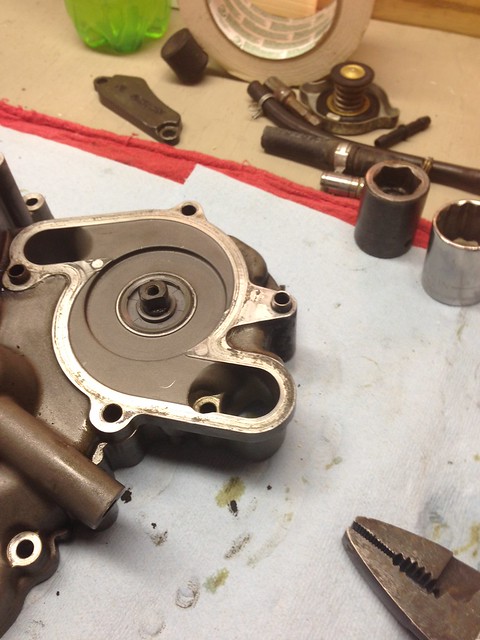
Water pump is complete!

yeah...thanks.

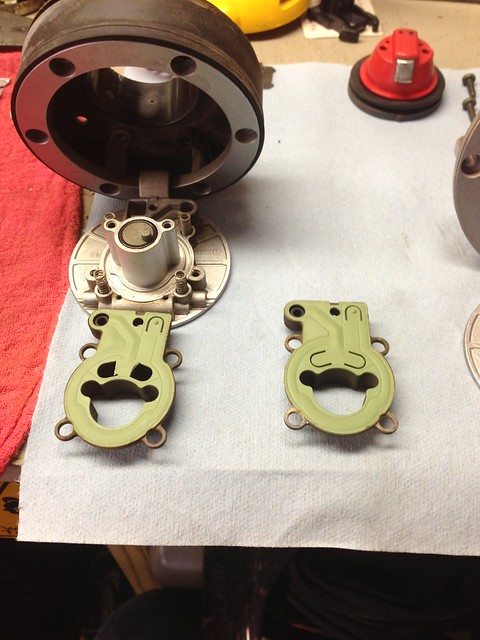
The biggest, most nerve racking project of this whole 'rebuild' was completed tonight. -the water pump. CJ offered to do it for $85 but being the person I am, I had to give it a try. The cases are known to be fairly brittle and crack easily when putting in the new bearing, so nerve racking was an underestimate. A replacement case is $150, so if I jacked this one up, not only was I out $150 for a new case, and I was also out $85 (plus freight to get it to and back from CJ) to have CJ put the new one in. While I have your attention, this was super simple to do. I can't believe I was so worried about screwing it up. My recommendation for doing this project, take your time and be gentle with it. It goes together just fine.

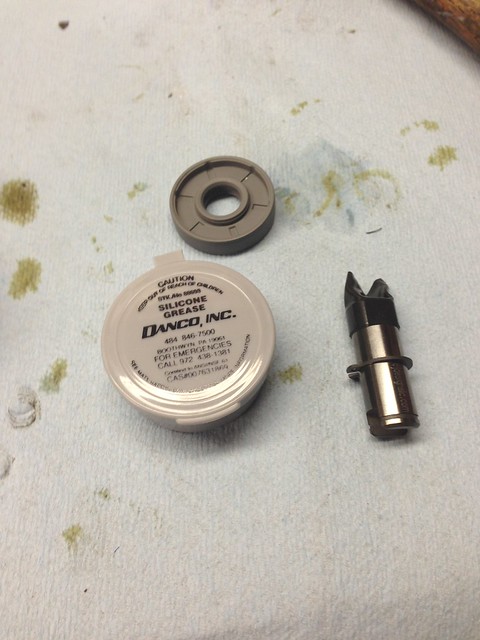
Again, the kit I got from CJ which includes EVERYTHING including a new wheel (not shown in this picture)
http://www.dualsportwarehouse.com/CJ-DESIGNS-KTM-LC8-WATER-PUMP-COMPLETE-KIT-WPS-CK.htm

I followed this exactly, except I baked my case in while my wife was still home, not when she was away, like the directions said to do. Mistake...do it when she is not around.
http://ktm950.info/how/Orange Garage/Cooling System/waterpump/Rebuild/ktm_water_pump.html

My bearings didn't exactly just fall out like the article says they would. My parts and bike have been sitting in a cold garage for the last several weeks, so the case probably went into the oven at about 40deg. Had the case been room temp, or I would have left it in the oven a little longer, I bet they would have fallen out as the article suggests they would do. I had to give a little love to the bearing to make the first one come out. The second came out with a few love taps from my trusty ball peen hammer.

One other thing, when I put the seal in, the shaft does have some play. At first I couldn't get the ring to go around the shaft, and I kept trying to tap the seal further into place. I then discovered that the shaft slides a little, which allows the clip to latch onto the shaft. Be careful when tapping the shaft/seal...this is one area where you can screw up.

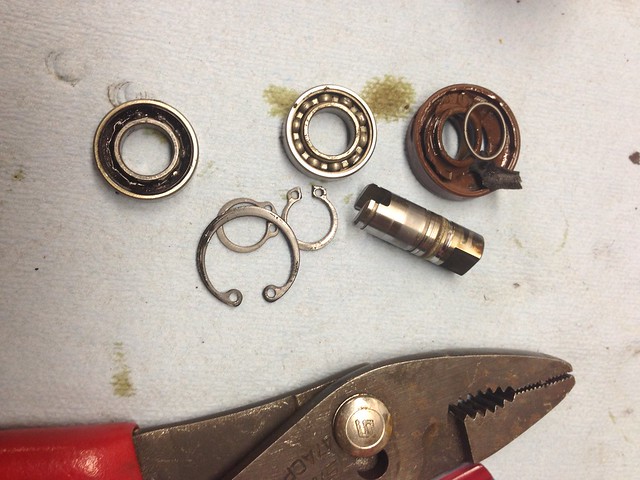
Old water pump shaft next to the new one from CJ. This is suposed to be good for at least 36k miles. -some have reported over 50k miles on this shaft. I guess we will find out!

Ktm 950 Adventure water pump install by Frank Vest, on Flickr

busted up old parts

Ktm 950 Adventure water pump install by Frank Vest, on Flickr

This grease is the grease the instructions say to use. I couldn't find it anywhere until I googled what it was and it's just simply plumbers grease. Lowes had it for $3. I also found that the local hardware store had it, though it was about $1 more. I wish I could have boughten a little single use package of it because I only used a little bit.


Ktm 950 Adventure water pump install by Frank Vest, on Flickr

And after a few bullets sweated out, she's in.

Ktm 950 Adventure water pump install by Frank Vest, on Flickr

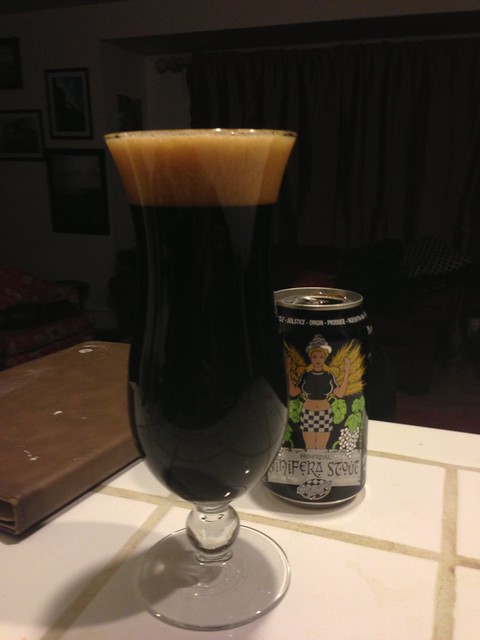
Now its time for this super tasty stout from SKA Brewing in Durango, Colorado

Ktm 950 Adventure water pump install by Frank Vest, on Flickr

It's time to flip the ratchet to the 'right' side and start putting everything back together!
 
Last edited:

Frank

Explorer
And she lives! I fired it up yesterday and took it for its maiden voyage of about 50 miles in 25deg weather! -around here, people look at you like you are crazy when you ride and its 25 out. haha!

I rode 25 miles to my parents house and right away, 3800-4300 rpms, she stumbled really bad. At full throttle, hang on! My first thought, bad gas. The fuel that was in it was about a year old, and has been in my garage with a vent-less 'blue flame' heater, known to put off a lot of condensation. I filled up both tanks with fresh fuel, hoping that would help it out. Nope, and actually, on the way back, it died on me a few times.

My second thought is that the jets are clogged. Like I said, the fuel that was in the tanks was old which means the fuel in the carbs is just as old, too.

I also have a hunch that a cap I placed on the carb when I removed the SAS/emissions crap came loose or isn't sealing properly.

She is back on the center stand and hopefully by the weekend, I can have it cleaned up.
 

Frank

Explorer
*edit* this was post 666 for me. Weird.

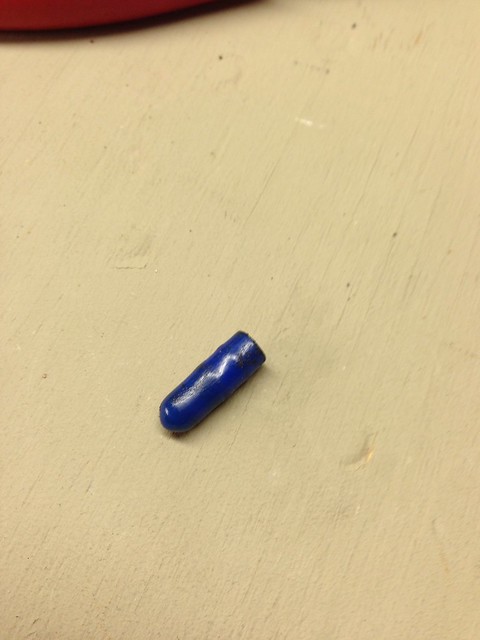
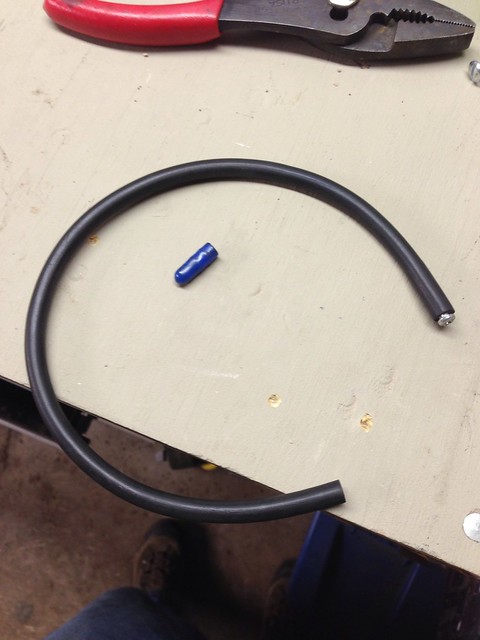
I pulled the bike apart to find that those little blue vacuum caps I thought were such a great idea, turned out to be a horrible idea. Evidently they got hot or something, expanded and one totally fell off and one was so loose that it was barely hanging on creating the inconsistency in response. These are from the vacuum ports on the right side of the carbs that were for the emissions equipment, which I removed.

This is where they went. If you want to get technical, its actually on the manifold that holds the carb's

Untitled by Frank Vest, on Flickr

The little cap that can go to hell. You can see how much it expanded. One completely fell off.

Untitled by Frank Vest, on Flickr

This is the replacement

Untitled by Frank Vest, on Flickr

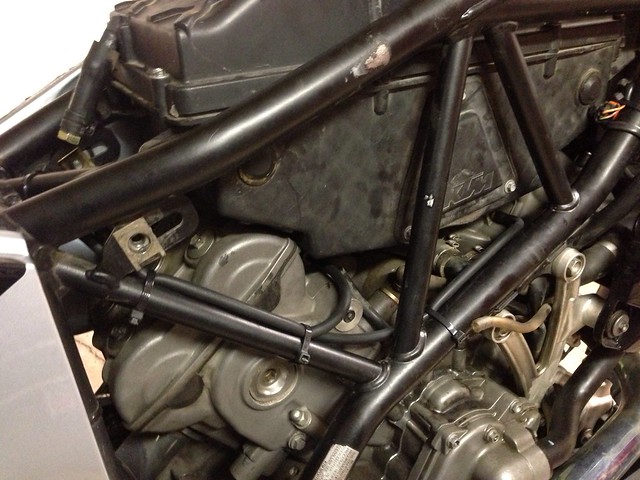
So now, these 'plugs' are actually ran all the way to the back of the air box where they are just ziptied along the frame rails. This is how the 'how to' on the KTM Hall Of Wisdom says to do it.
http://www.ktm950.info/how/Orange Garage/Emissions Equipment/groomez/g_canisterectomy.html

Untitled by Frank Vest, on Flickr

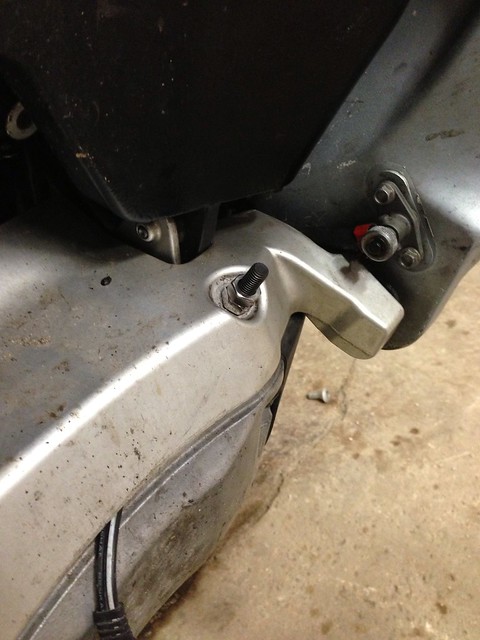
Also, when I was first putting the crash bars on, they were such a royal PITA. -so much that after messing with them for a few HOURS, I gave up and decided to come back to them. I knew someone, somewhere created a trick and sure enough, there is. It appears installing studs is the way to go. After I loosened up the rear fairing that is behind the tanks and finesed everything together, it went together with ease. One bit of advice if you decide to make the studs; play around with the lengths of the studs before you put it all together with loc-tite. The side with the exhaust pipe is very tricky.
http://www.ktm950.info/how/Farkels/adventure/Crashbar_studs/crashbar_studs.html


Untitled by Frank Vest, on Flickr

Now I just need to wait until it warms up (20deg is my limit) a little bit to ride on a regular basis! By next Wed, the weather should be good to go! I can't wait!

Untitled by Frank Vest, on Flickr
 
Last edited:

Christian P.

Expedition Leader
Staff member
Well Frank, my KTM 950 is alive again too!!!!

As you may recall I had a pretty significant hole in my exhaust valve, so the engine had to come out and we redid both heads (and put new rings).

I have learned so much in this process it's insane. The bike was making all kind of scary noises for the first 10 minutes or so but eventually warmed up and settled down.

The engine revs so nicely now, it's unbelievable. Can't wait to go try it tomorrow after I finish up all the loose ends...
 
Last edited:

Christian P.

Expedition Leader
Staff member
Did you do anything special with your tanks while they were off of the bike for an extended period of time? I keep hearing horror stories about them deforming after being removed for over a week. It seems like no one has really figured out exactly why they are deforming, or for that matter, how to reverse the process. I have been putting off my spring tear-down until I have a chance to do everything over a weekend. If moisture is the cause of the expansion, I'm not too worried as Wyoming is pretty dry, but it is a problem I don't want to deal with.

I would not say it's not a horror story but mine have definitively deformed. My KTM is black and I have the issues with the tank overflowing many times.
I think a combination of outside heat, internal pressure and perhaps questionable quality control have contributed to this.

it's not the end of the world, but it does take a few more minutes and efforts to take the tanks back in place.

I think you really have to approach these machines with a different mentality.
They are closer to a racing bike than a high production motorcycle and as such needs constant adjustments, maintenance and follow-up.

I am still loving this bike, but my next one will be a Yahama Tenere...

:)
 

Forum statistics

Threads
188,395
Messages
2,904,142
Members
230,274
Latest member
mbauerus1
Top