Back to work on the sliders. Finished wiring up the first slider and now onto the second.
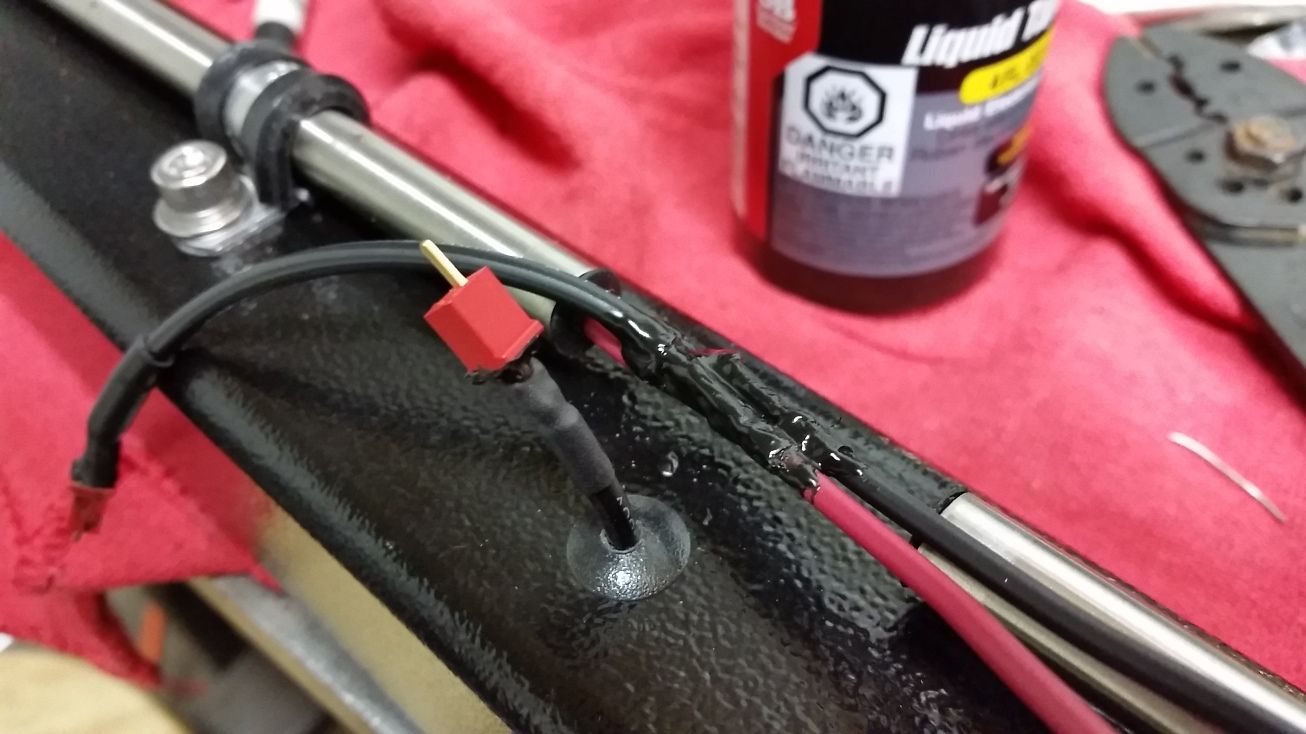
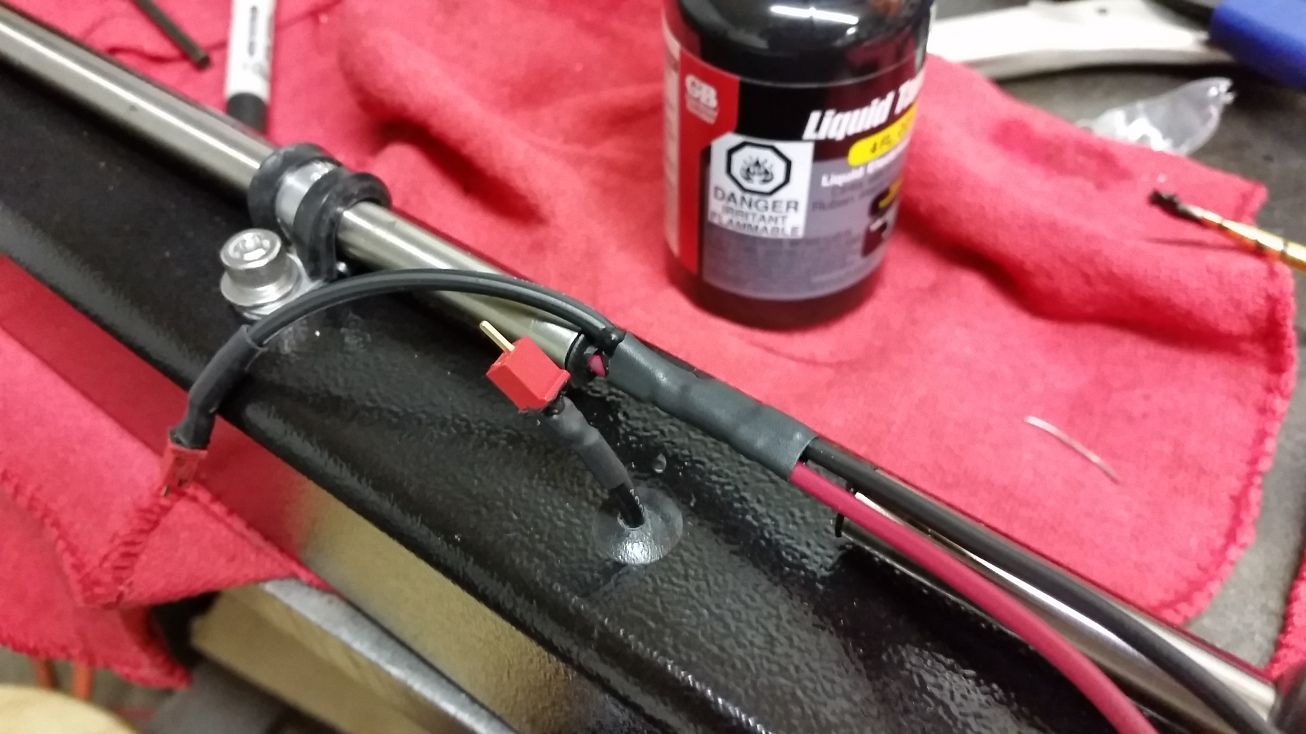
Here I've soldered the connections and applied a coat of liquid electrical tape to seal out any moisture.
Now slide the heat shrink over the coated connections and shrink it in place.
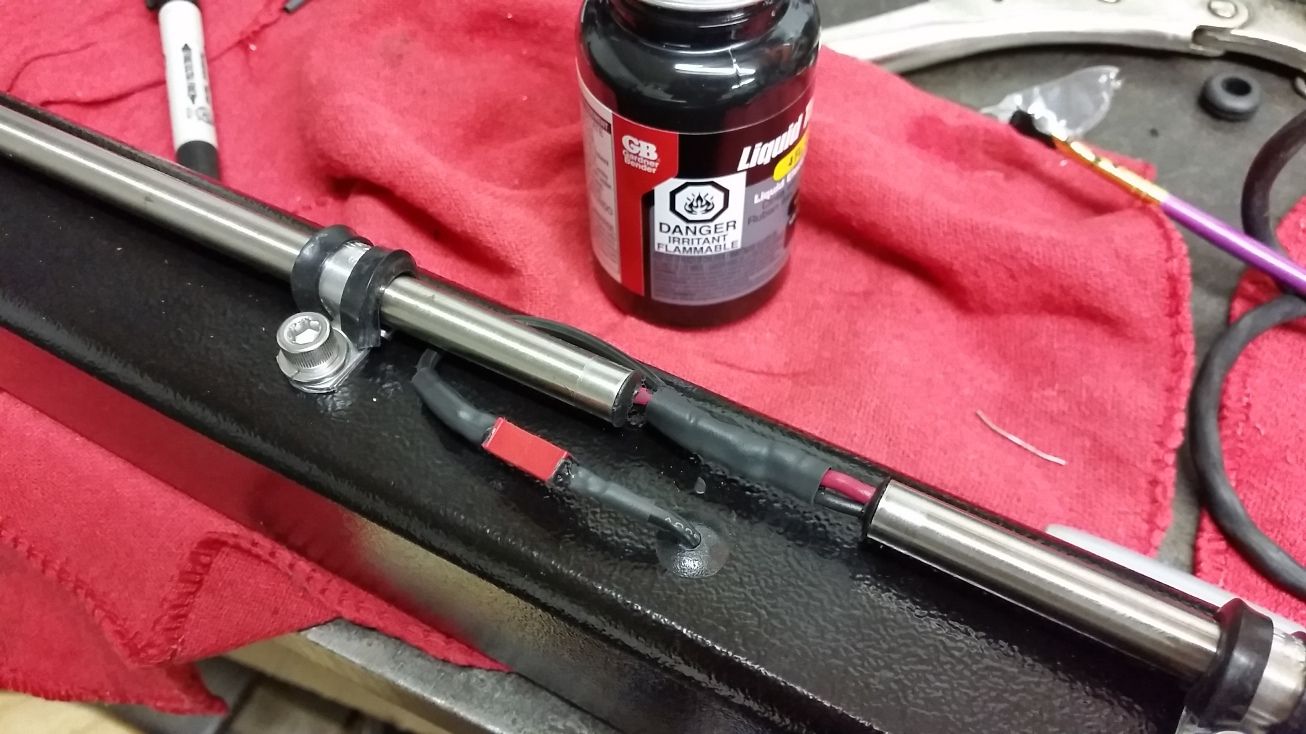
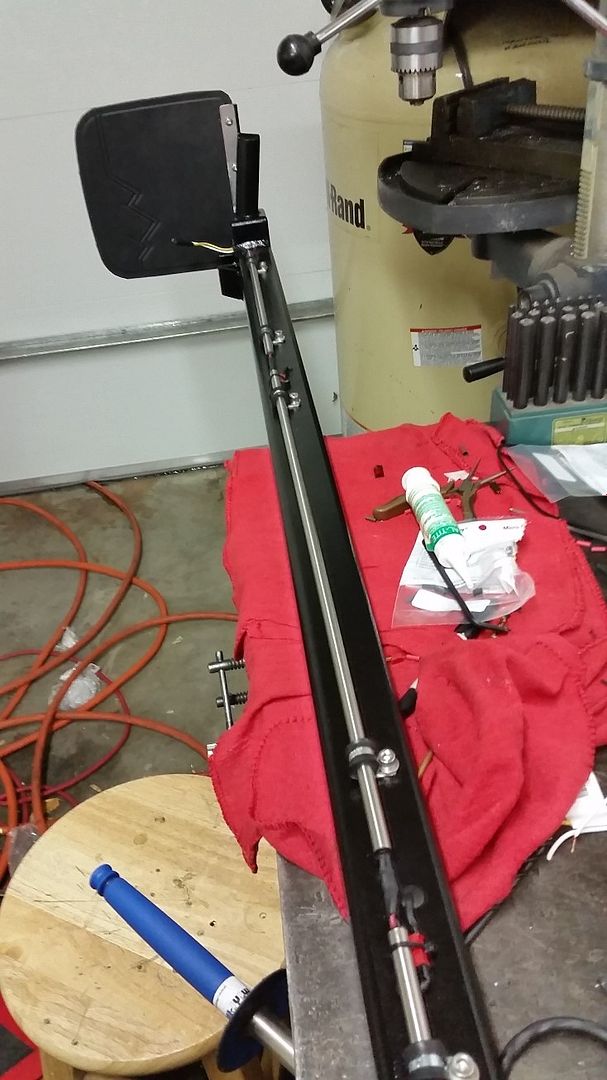
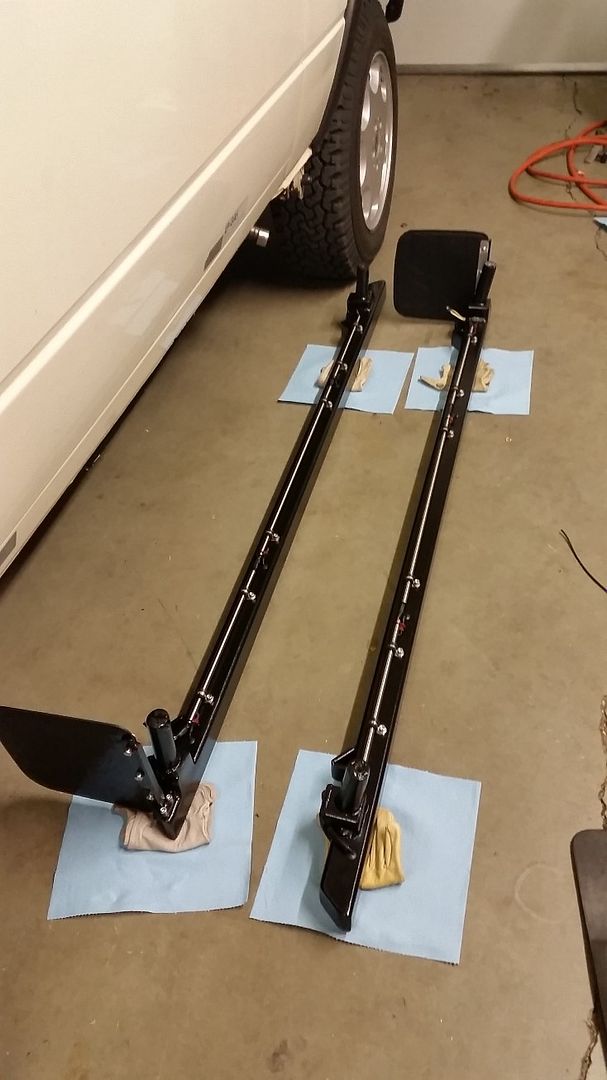
Wired and ready to bolt up. I installed SAE plugs to connect the sliders to the wiring harness on the van itself, before installation I tested the wiring/lights and they all lit right up
And bolted up.
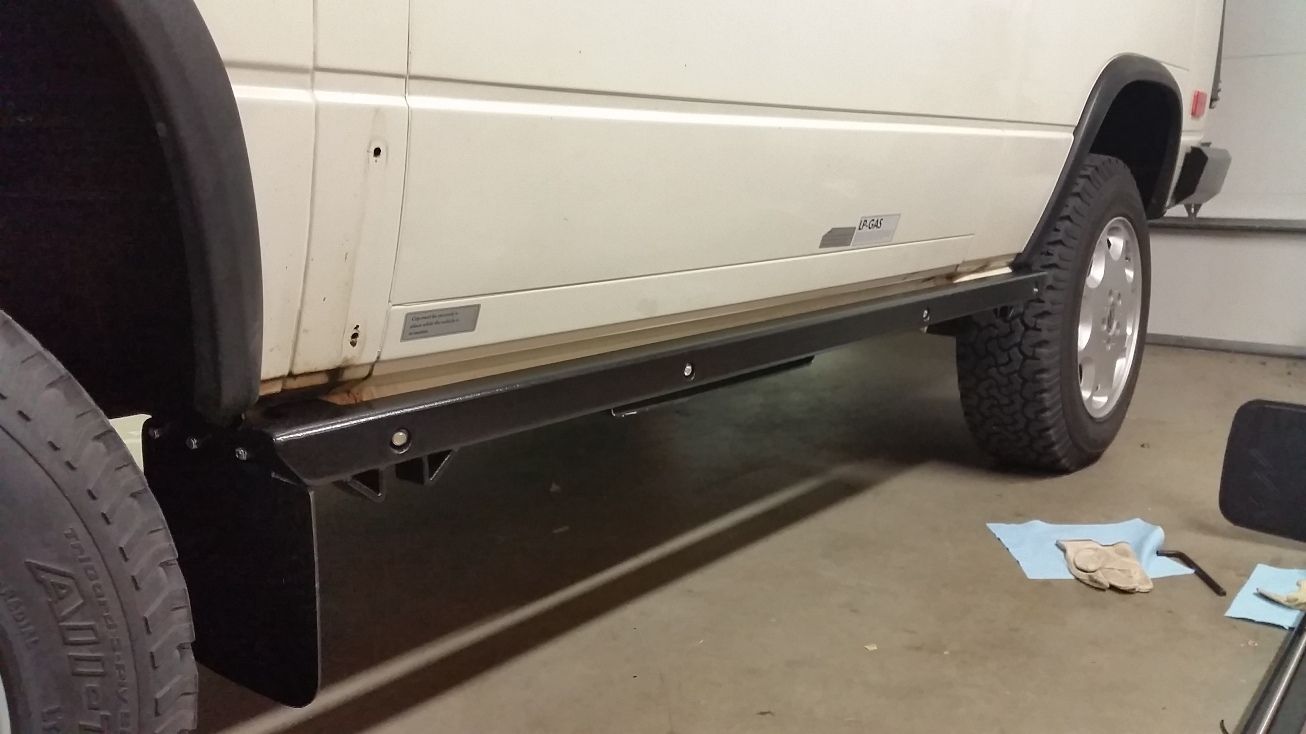
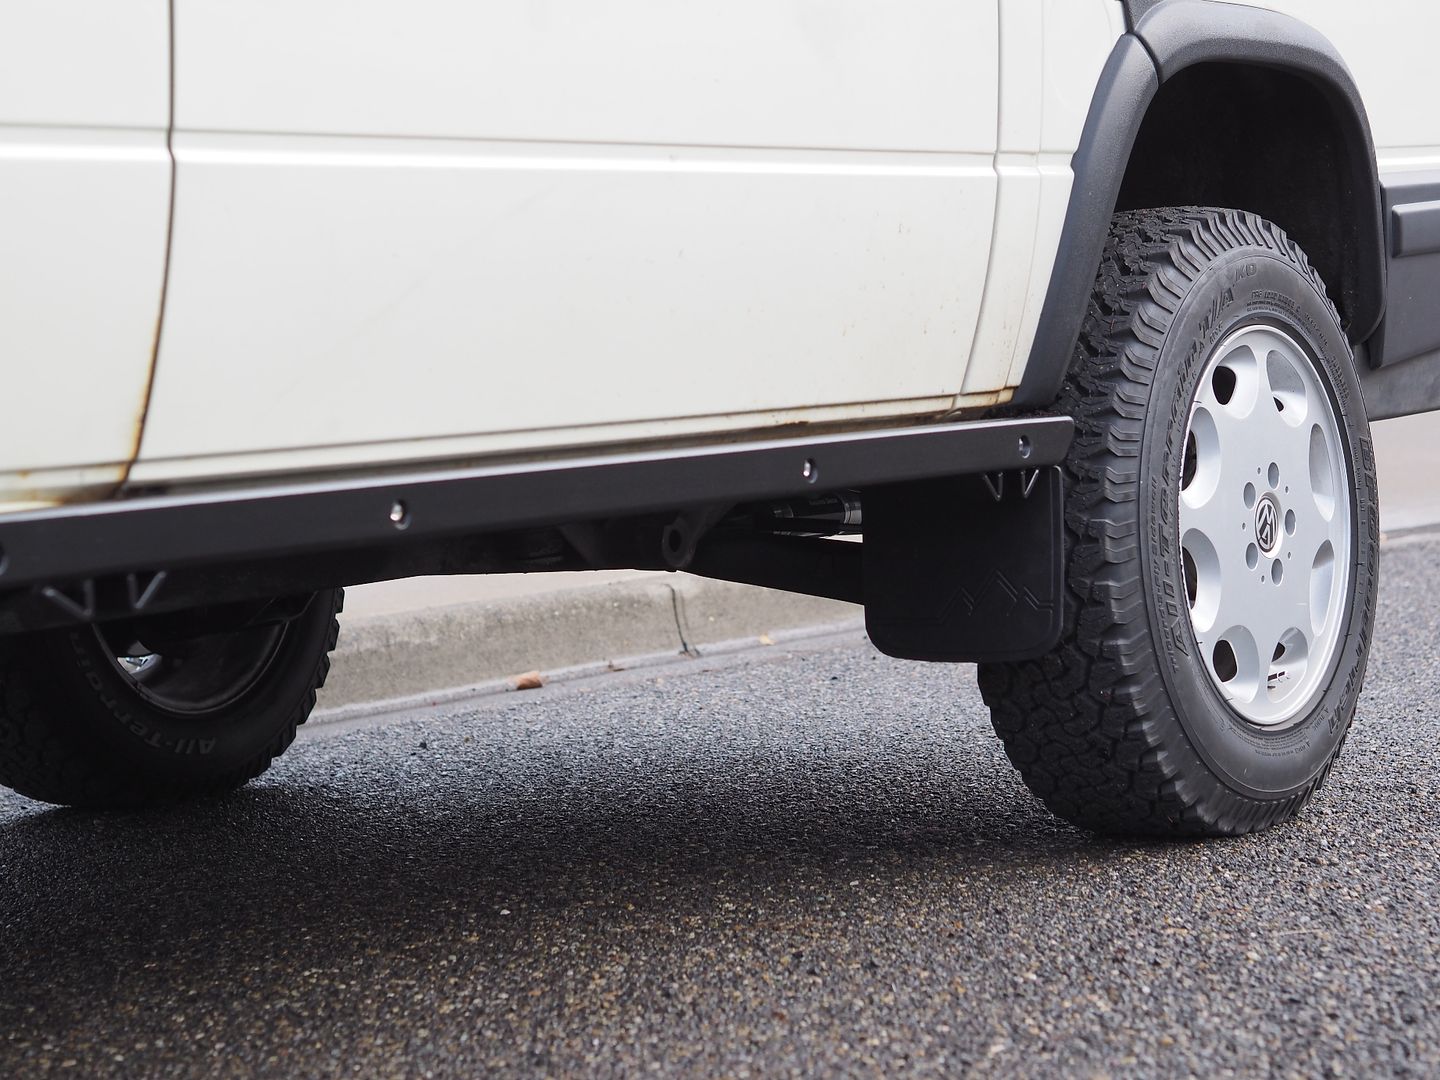
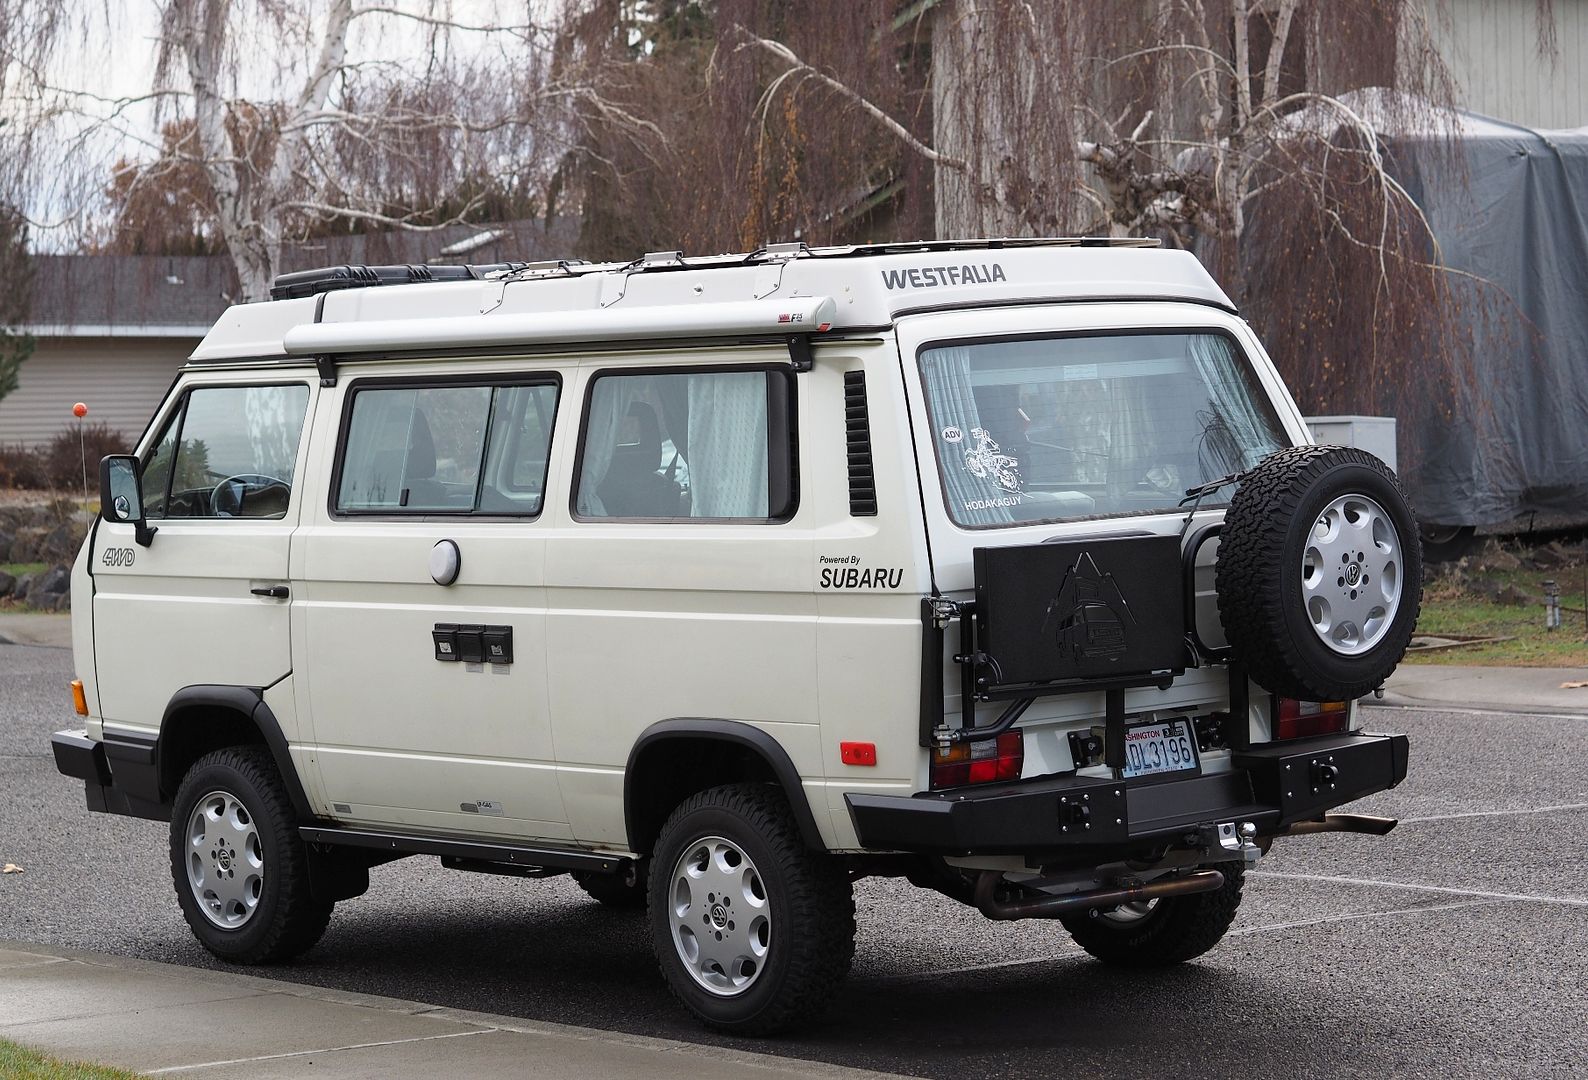
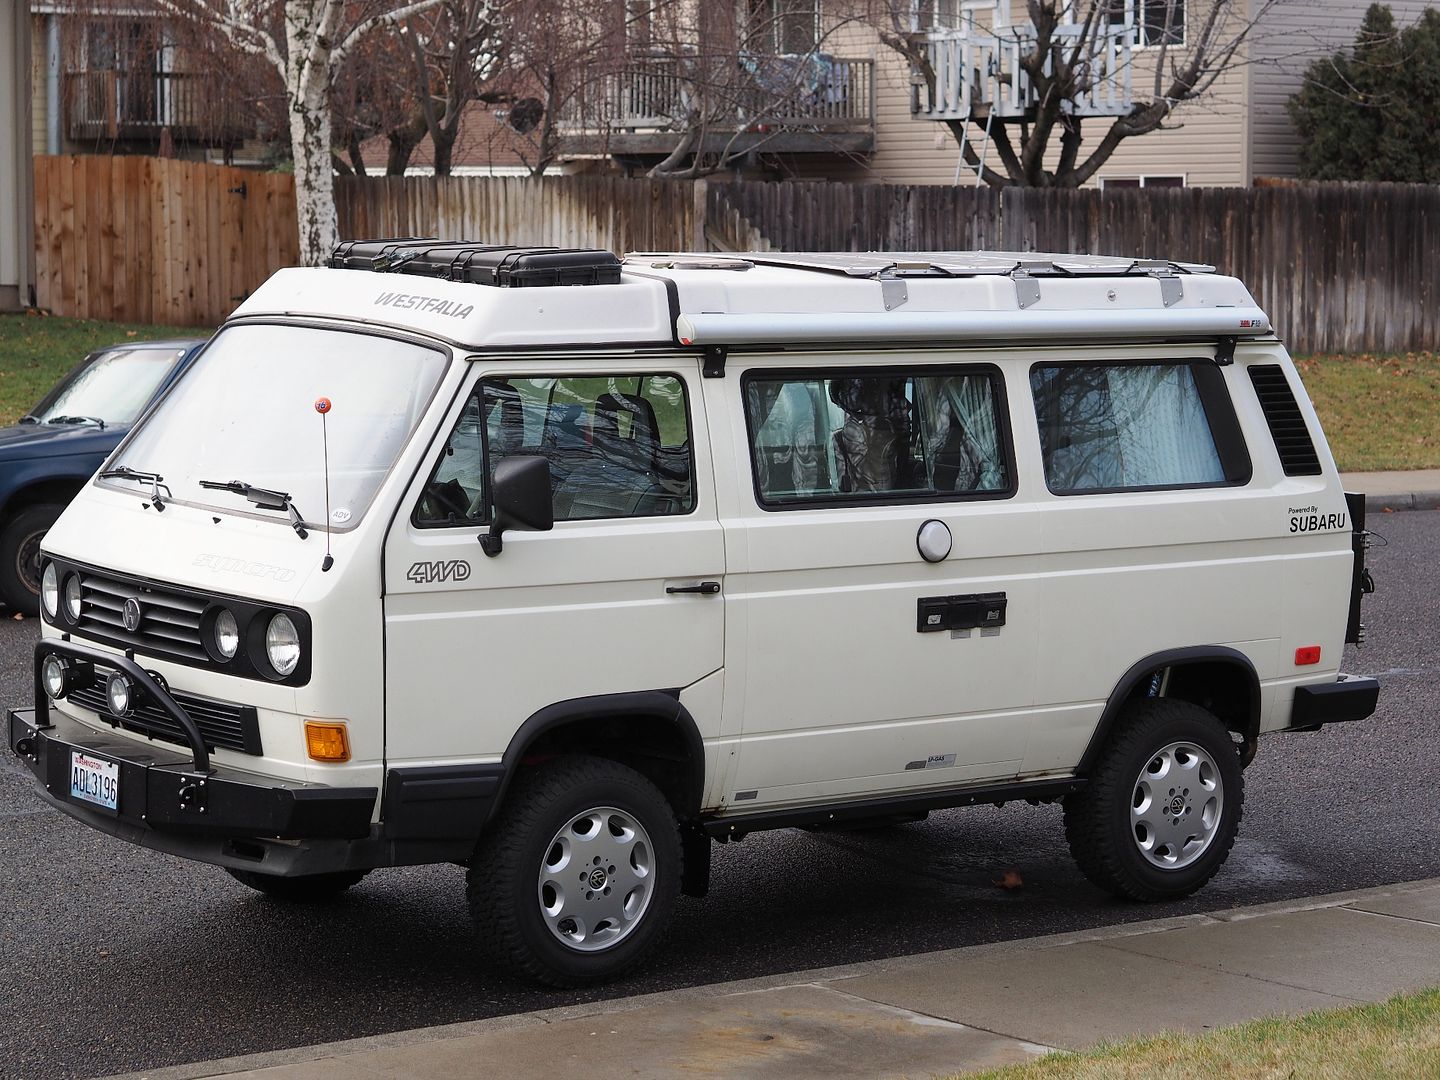
Mud flaps should do a good job of keeping the rocks from chipping off the rocker panel paint. You can see evidence of rock chips from past gravel roads.
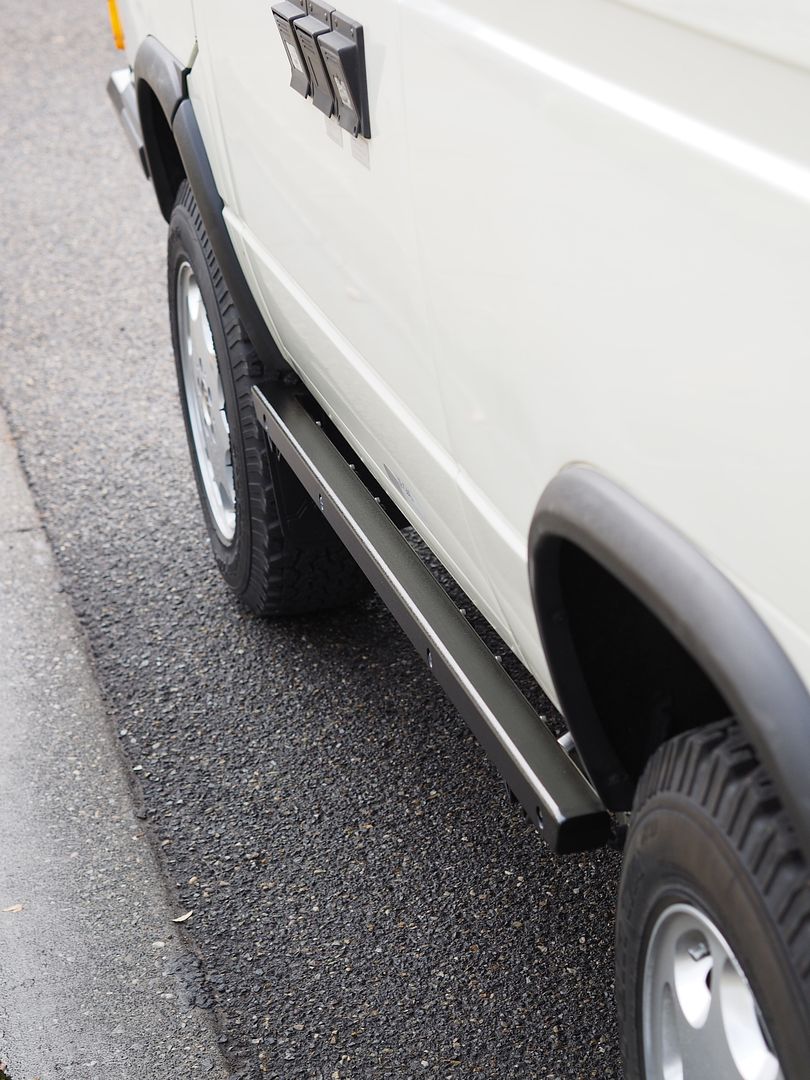
The finish on the sliders matches the RMW bumpers perfectly.
Now I just need to get time to wire the lighting to the van.
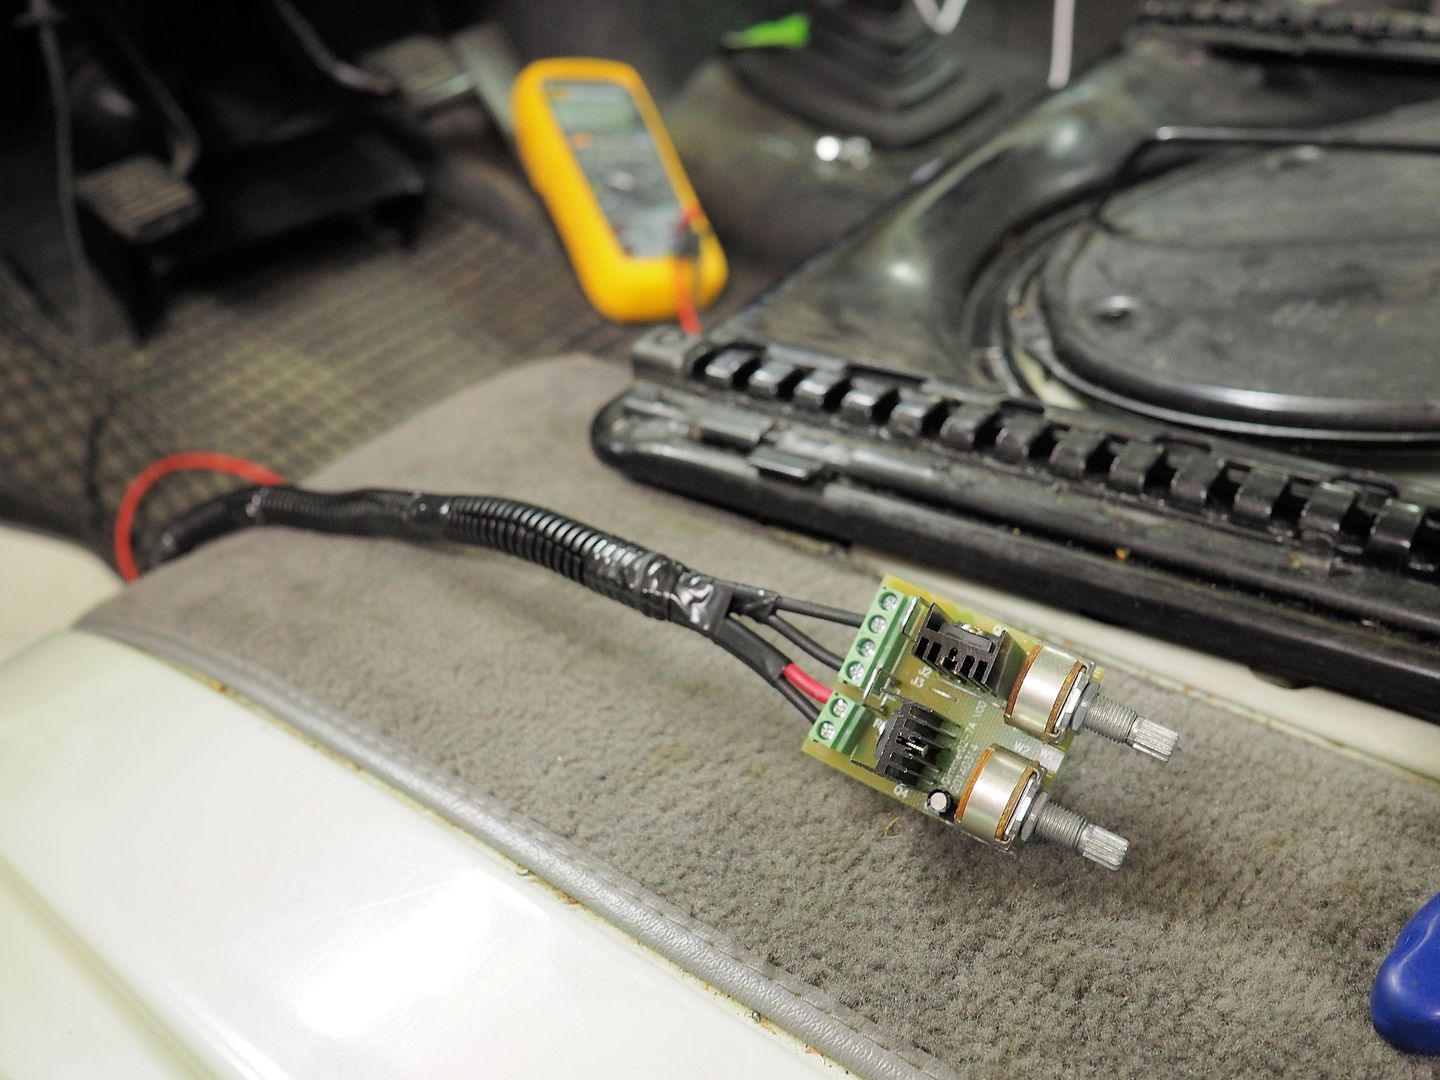
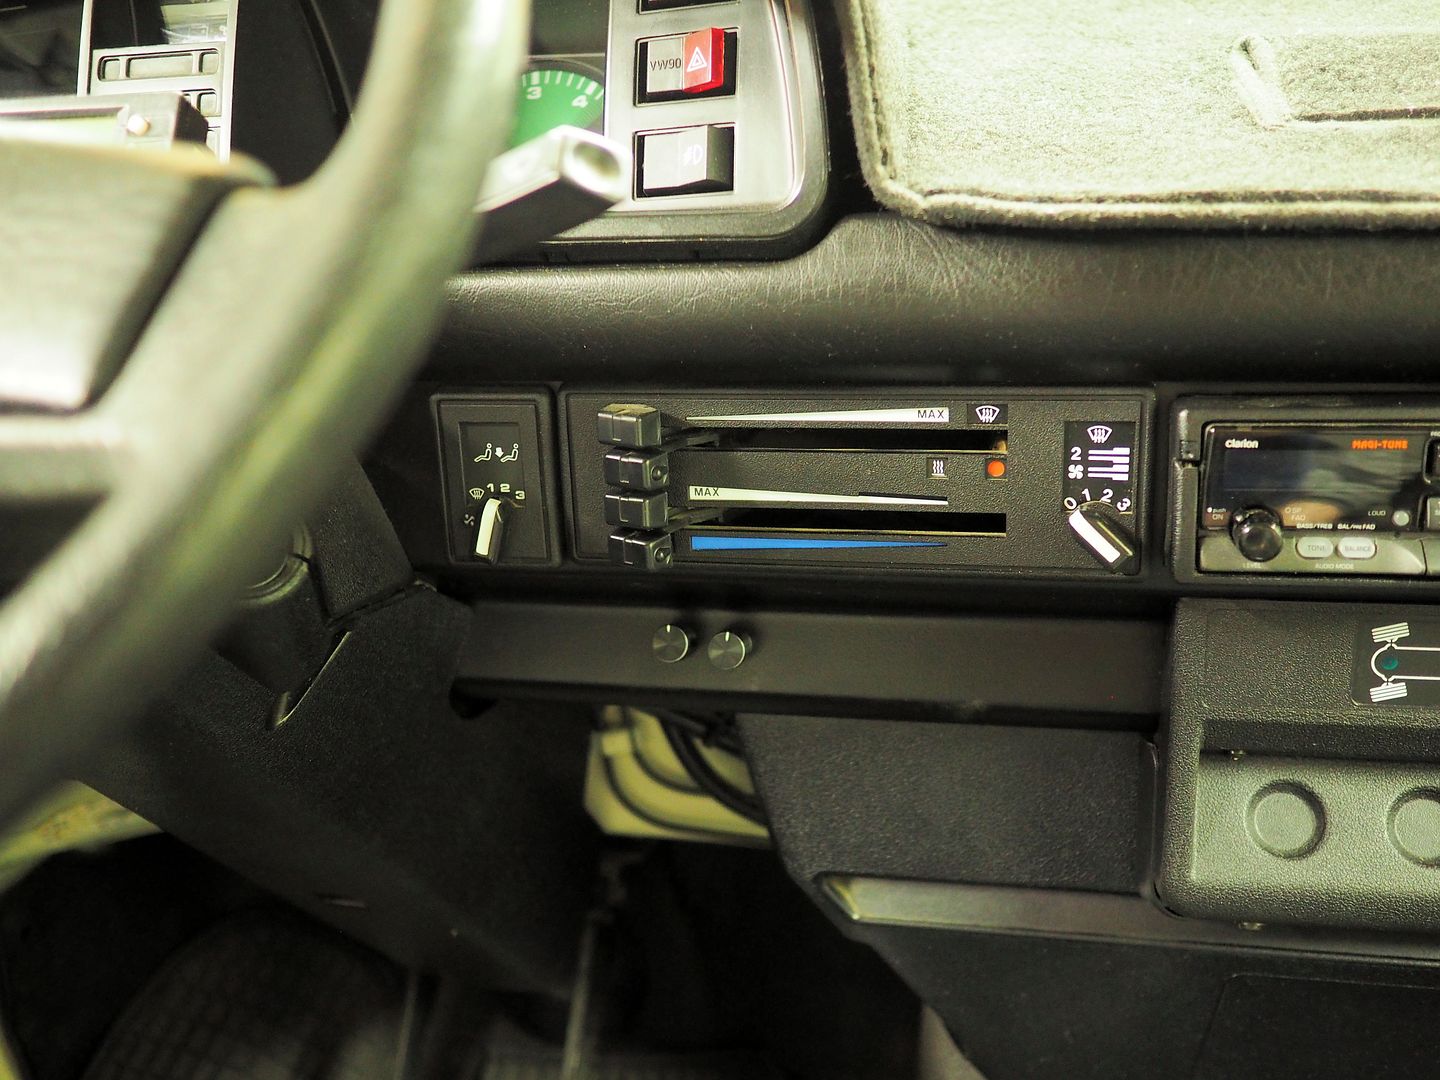
Finally got around to wiring the sliders. Each side is wired to it's own on/off switch that also acts as a dimmer circuit, eventually I will tie both sliders into the door stitch as well. I used a small aircraft panel switch assy and mounted it on the dash right below the heater controls so it's easily accessed when on the road and while camping in the van.
Can't wait to try them out camping, should be great for around camp in the evenings when dimmed way down.
Wiring in the switch.
Switch assy mounted
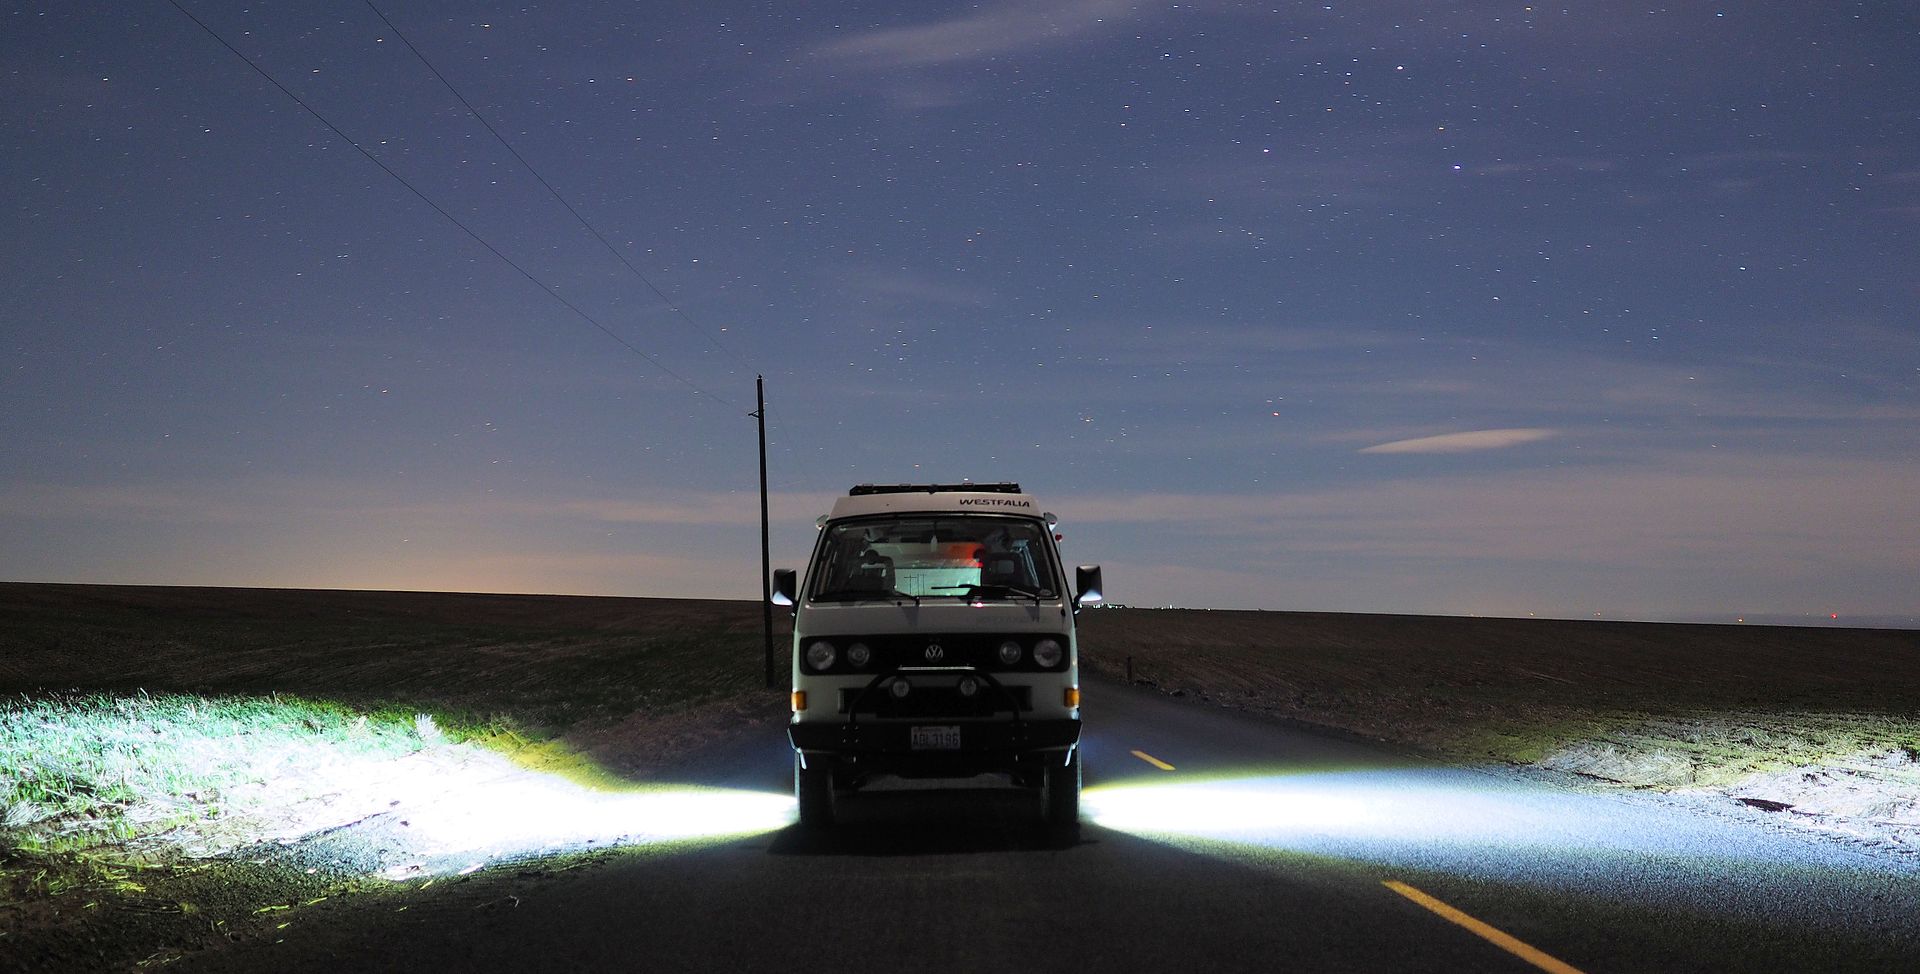
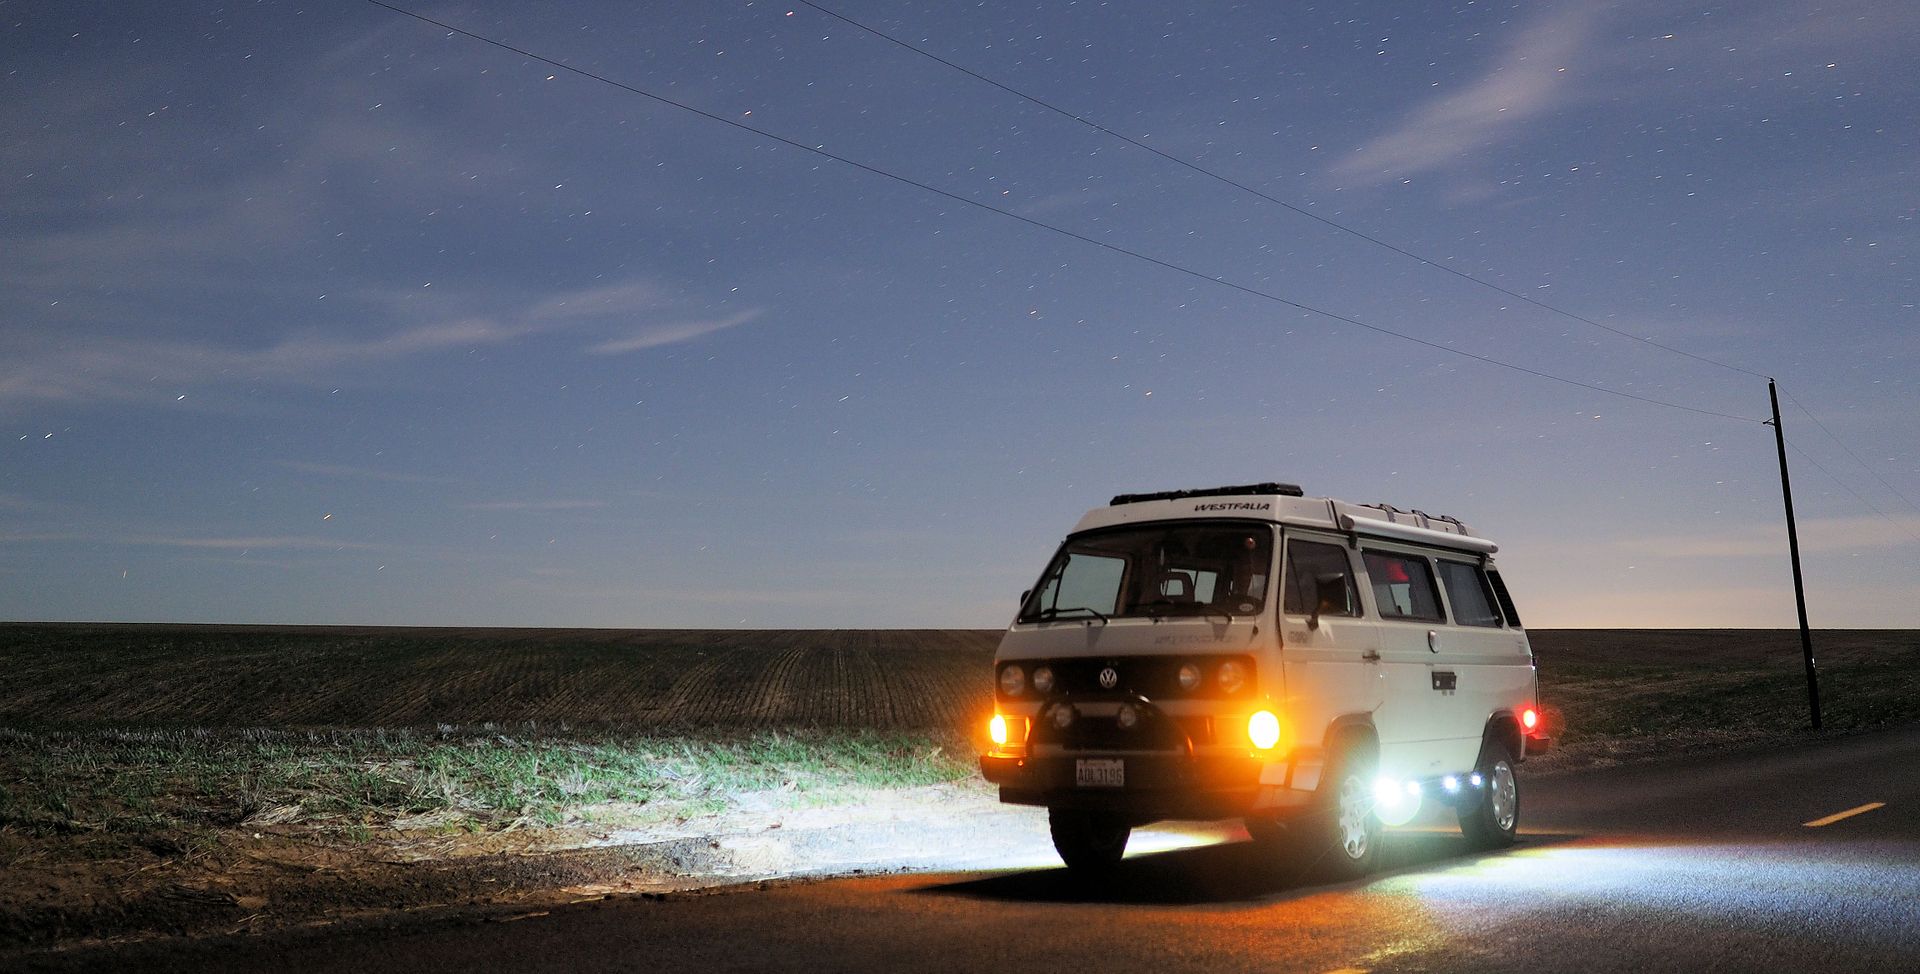
Snapped a couple pictures of the lights in action last night, both pics are with the lights on full bright.
Stickers baby!...In case anyone wants a shot of my ugly mug on their vehicle Etc. Lol. My buddy wants me to start a "I spotted Hodakaguy" setup where people tag me with a pic when a sticker is spotted in the wild. I've had several requests for these so figured it was time to get the ball rolling and have some made
This site uses cookies to help personalise content, tailor your experience and to keep you logged in if you register.
By continuing to use this site, you are consenting to our use of cookies.
")