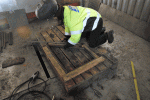
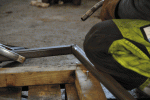
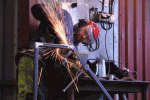
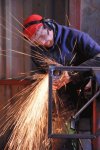
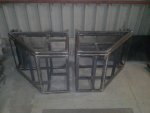
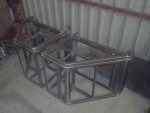
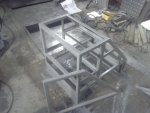
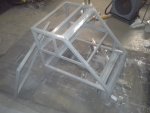
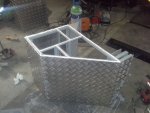
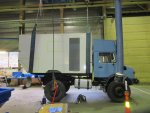
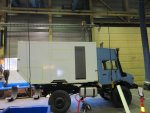
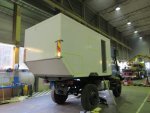
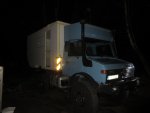
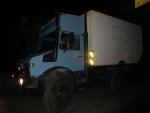
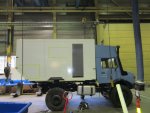
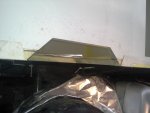
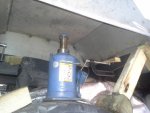
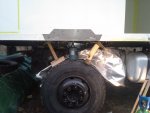
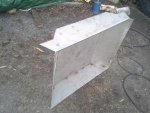
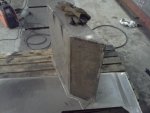
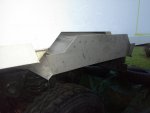
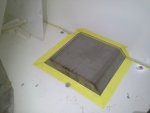
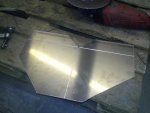
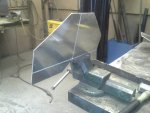
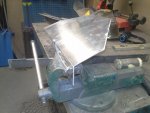
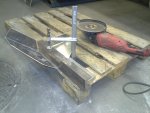
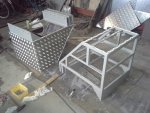
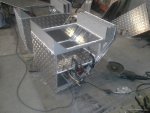
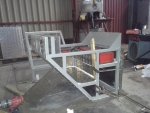
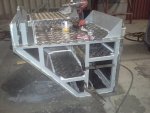
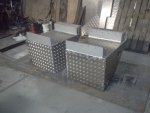
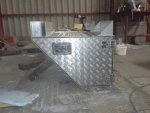
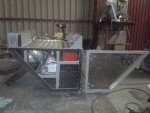
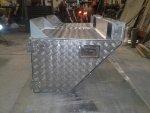
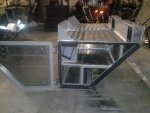
Next on the list were the rear storage boxes for both sides of the truck, with integrated fixing for rear lights
First off all we needed to decide what type of rear lights we would like to use for the truck, since this would affect how we designed the rear storage boxes. The original rear lights which were mounted to the truck when we bought it, were partially cracked in the plastic housing and damaged from corrosion inside on the electrical connections. After some searching around the choice fell on LED “hamburger” lights from Hella.
Rear hamburger LED lamp for flush/integrated mounting (Hella part# 2SD 344 100-001:
https://www.rexbo.eu/hella/combination-taillight-2sd344100001
Rear hamburger LED lamp for outside mounting (Hella part# 2SD 344 100-101):
https://www.onlinecarparts.co.uk/hella-934980.html#
Rear LED fog lamp which matches the hamburger lamp (Hella part# 2NE 357 026-031):
https://www.rexbo.nl/hella/mistachterlamp-2ne357026031
These have a outer diameter of 140mm and in the classic Halogen version they have more or less been the European standard for most trailers for the last 40 years. The LED version hasn’t been around for too long, but it looks to be quite sturdy made and it even comes integrated breathing membrane to allow for moisture to exit from the light housing. The layout and outer dimension for this new LED lights are identical to the old halogen lights, which means that if one the LED lamps should brake along the road, it can easily be replaced with the widely used halogen versions made by Hella and numerous other suppliers.
We decided to go for 2 hamburger lights on each side + one additional at each side mounted high up at the outer corners of the camper box. We will also mount one rear fog light lamp on each toolbox, these are also Hella LED, Ø=140mm, so they should match the hamburger lights quite nicely.
Now for the actual storage boxes we spent quite some time thinking about how to make them, what shape they should have, how the sealing and hinging of the doors should be made, what type of locking mechanism to be used, what items we would want them to be used for, how the compartments inside should be separated, and so on. – A lot of questions, and a lot of possible solutions! After some concept drawings and some hard thinking we came up with some ideas.
Right side storage box:
This will be separated into compartments for two toolboxes, 4x4L oil cans, towing chain, + general storage space for jumper cables, winching equipment ++.
Left side storage box:
This will act as electric compartment and will house 3 secondary batteries for the living unit, charging device, extension cable and plug-in connection for external power supply + some general storage space.
Both boxes have a steel frame made out of 30x30x3 RHS tubes, 30x30x3 angle bars and 30x3 flat bar. These where then cut and adjusted before welding together so that they form a frame for each of the storage boxes. 3 mm alu-cheeker plates where than cut and bended to fit each of the boxes. The plates will be fixed to the steel frame using M6 bolts in A4 quality. Sikaflex will be added to act both as a sealant to obtain watertightness, and as a membrane to help reduce the effect of galvanic corrosion (since we’ll be mixing different types of metals together in the same structure). When completed the storage boxes will be bolted directly on to the support frame, and if we’ve done things correctly, there will be enough clearance on the inside towards the chassis frame so that this can flex as much as it wants to without any interference with the storage boxes.
