Odyssey jeep trailer

ex m38a1er

Adventurer
Well,after a few moths of real life and the birth of my second child(a son)
i'm back to the project.
It's just that life is getting more and more complicated and this is why for the
next couple of years we're only gonna be camping only for a short time(each
time) and only during summer.
So my original plans for a pop up-slide out have to change.
I think have to go for a trailer tent.It's easier,cheaper and i might(?)have it
ready for this summer...
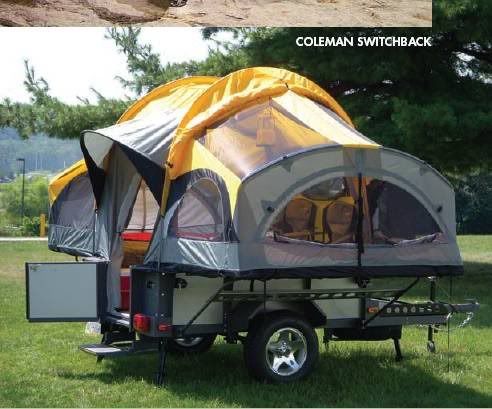
I've found lot's of ideas while cruising on the net but this is what caught my
eye...
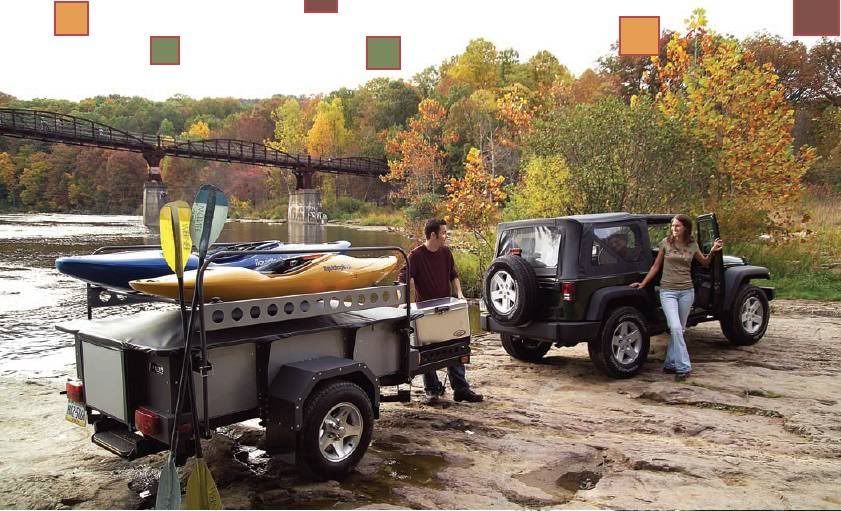
YEAHHHHHHHHHH.jpg


opa.jpg

Light,modern,plenty of (standing)room etc
 

ex m38a1er

Adventurer
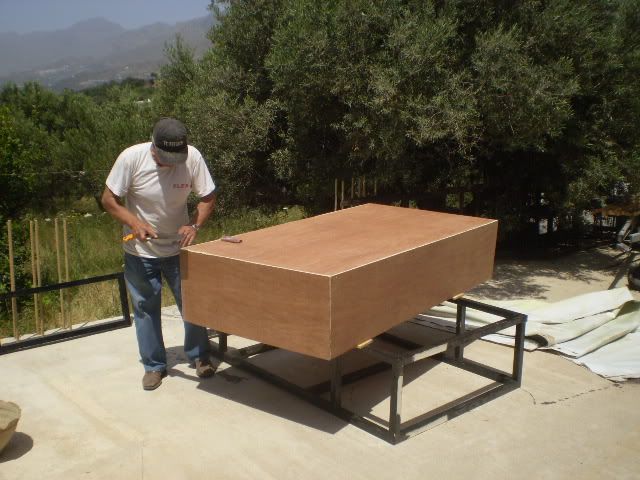
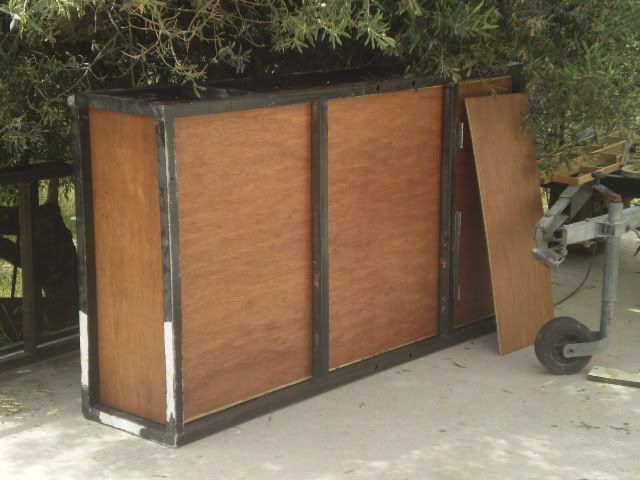
So with this in mind and after this long break we (dad and I) started building
the basic box using 15mm marine plywood for the bottom and 9mm of the
same material for the sides.
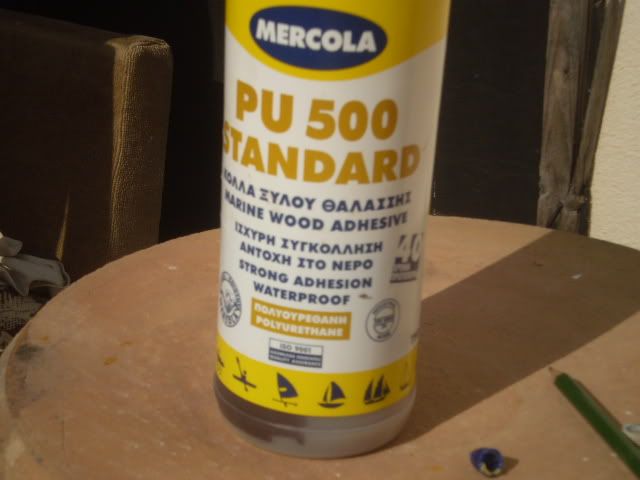
We used polyurethane glue and screws to bond them together...
treiler.jpg

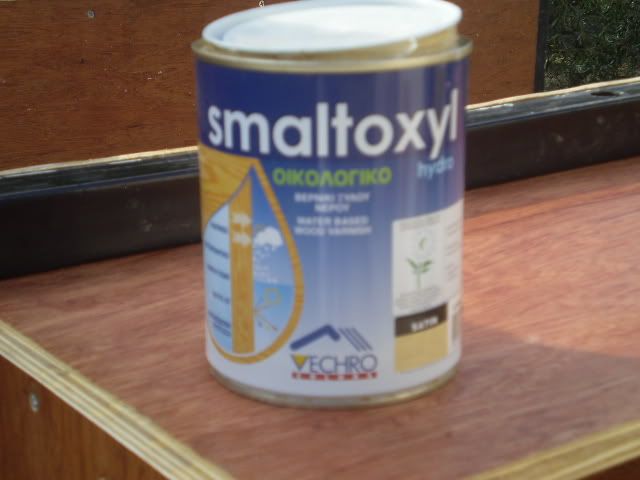
We used one coat of primer.
After that 2 layers of waterproof laquer.One layer horizontal wait to dry,sand paper and a second one vertical.
1505dad1.jpg

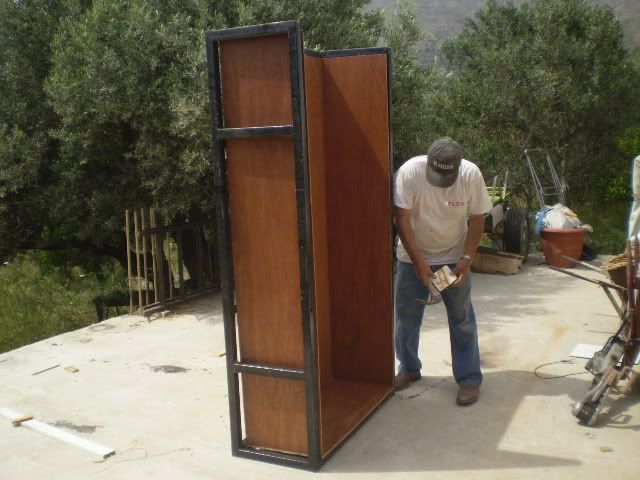
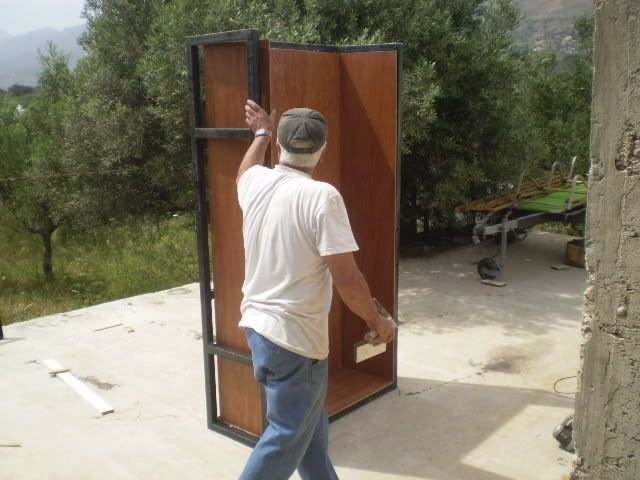
Next it was time to fit the wooden box into the metal frame.
Considering the very hot weather we made the wooden box big enough
to snugly fit into the frame.
Heat cause wood to expand...
1505dad.jpg

My father had to use his hummer(using a plank of wood not to hurt the plywood)while i was taking pictures...
At the end we screw the box to the frame and put it aside so it can
completely dry...
1505shade.jpg
 

ex m38a1er

Adventurer
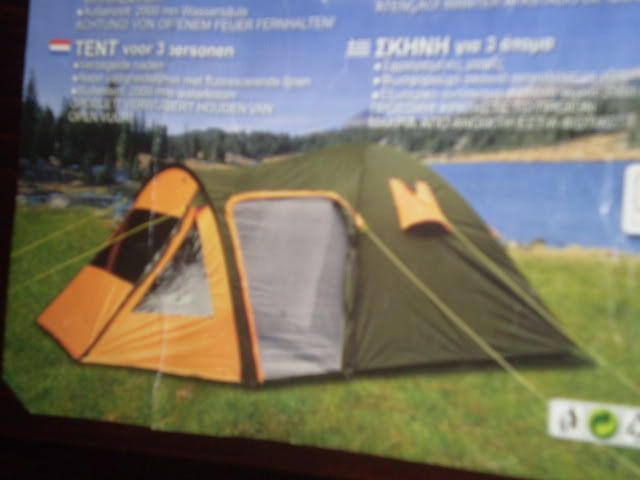
Here is a (bad quality)photo of the tent i plan to convert and place on top of my olive drab coloured trailer.
SKINI.jpg

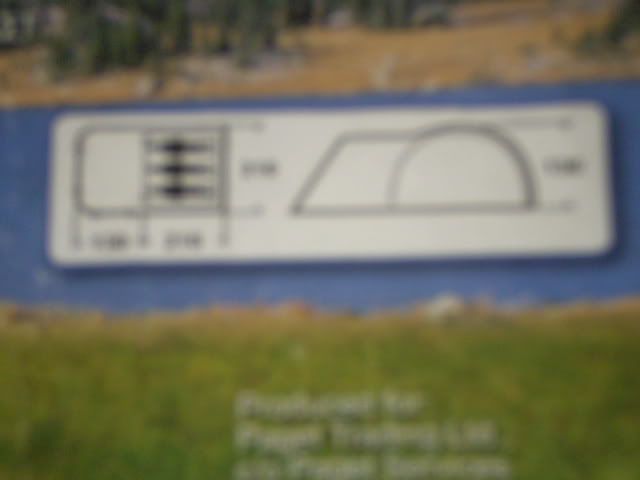
And a(rough) floor and side plan...
SKHNH.jpg

The main part of the tent is 7X7 feet and there is another part(front)7X3 feet.
Height is 4.5 feet and if you add the side heught of the tub(another 2 feet) goes
up to alost 6.5.
Hmmmm it's gonna be tight...
 
Last edited:

ex m38a1er

Adventurer
Sunday,finally

Sunday,yesterday so we've spend some time on the "Odyssey trailer"...:wings:
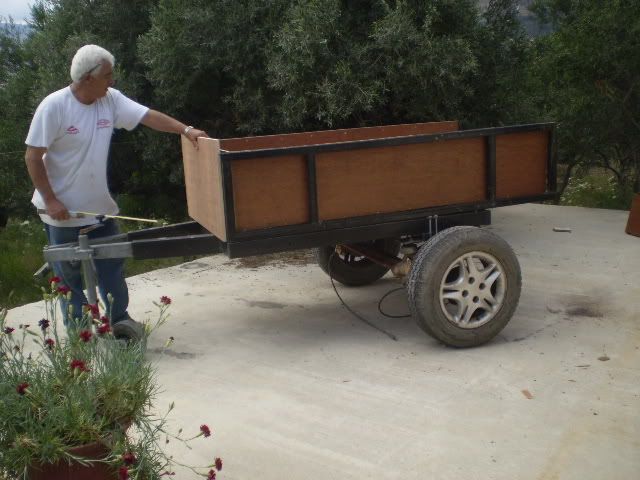
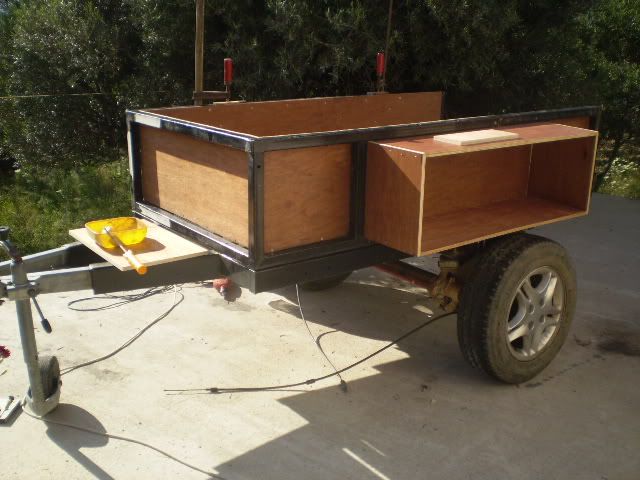
With the tub on the frame the "thing" started taking shape and this was
the boost for the rest of the day...
DAD.jpg

After we assembled the panels for the side boxes there was some fitting test
DAD1.jpg

Swing down doors are not shown..
One box is going to be our kitchen and the other one for storing...
Plus the tongue box that as usual is going to accept electric power components.
Sandpaper work ,applying the wareproof laquer and more sandpaper,sand paperand more sandpaper,...:
DAD4.jpg

Time for the boxes to be fixed on each side of the tub.
We again used special marine polyurethane glue(that expands and seals all
openings...)
DAD3.jpg

And of course stainless steel screws...
DAD2.jpg

Here's a pic of how it sits now.
The temptation of this color scheme is strong(I love wood)...but on the
other hand ,Olive drub has so much influance on me since the good old days
that i was building plastic Willy's MB scale models...
DAD5.jpg
 

ex m38a1er

Adventurer
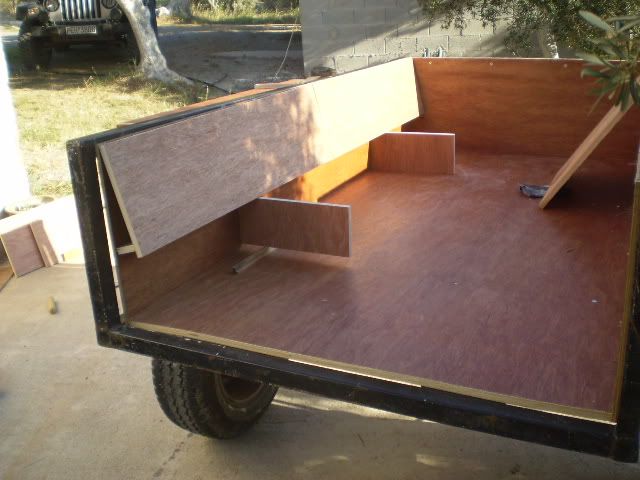
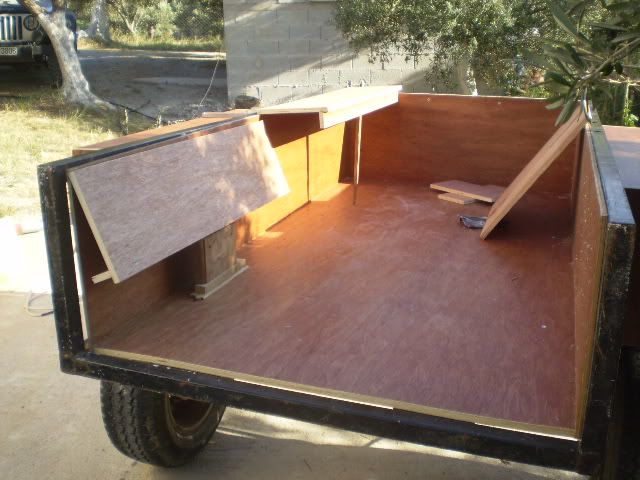
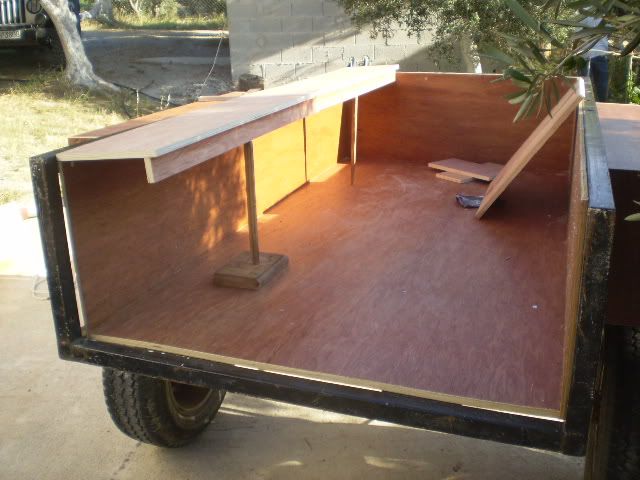
Lid is going to come in two pieces.
They will flip open one to each side and will be 7΄x22".
Since they're going to be used as beds,their width is not enough.
So iend up using the same bench we were using in the army M-35a2 trucks.
This way i gain 12" extra width.
Each side will come in two pieces so i can use any piece(compination) i want
every time
Trial fit,both down...(Lids are not shown in the pics).
DAD8.jpg

Half open...
DAD6.jpg

Both halves open...
DAD7.jpg


__________________
 

ex m38a1er

Adventurer
Tongue box is almost ready(I have to find a way to make it -at least-dust
proof)so i'll have a place to store the battery etc.
003.jpg

And another pic with some tools in it ,so you can have an idea about the size
004.jpg

Made 4 holes and used the jig saw to install the latches.
0010.jpg

For some silly reason i've been working under the hot sun for some 4 hours
and got a sun stroke(Headache,vommiting,dizziness etc).
Here you can see the latches i installed.
005.jpg

Did the same thing for the side boxes
009.jpg

As soon i finish the boxes i'm gonna take care of the electrical system so i
can get a licence for the trailer and be free to move it around and test it.
I''ll be using my TJ's tailights(since i upgraded to Euro style tail lights and
an extra light for reverse...
007.jpg
 

ex m38a1er

Adventurer
Thank you Scott!
Any ideas of what colour to paint the inner part of the tub?
It haw to be practical(easy to be cleaned),pleasand and match my
Olive drab scheme...
 

deepmud

Adventurer
So - I love the latches - but I am concerned the one on the front will capture water/dirt from above and direct it into your box there.

005.jpg


Also - do you have enough clearance for tire up-travel? it looks like you don't have much, and car suspensions are usually pretty supple, and allow a lot of up and down travel.

009.jpg


I'm jealous of the axle assembly - not available in the U.S. and it looks perfect, and I know it has to be durable to hold up to the work and abuse of a delivery-type van.
 

ex m38a1er

Adventurer
Good point!

You have a good point on the latches.
My intention is to put a rubber flap on top of it ,as well on top of the piano hinch.
As far as fender clearance goes ,it is not as bad as it looks in the pic.
There is enough.
The real distance can be seen on the 1st pic on post#34.
Very satisfied on the axle choice!!!:victory:
Thanks a lot for the comments!
 

jeeper92

Adventurer
I would love to make somrthing

I would love to make somrthing on my trailer. good luck with your build , i look forward to seeing your progress
 

ex m38a1er

Adventurer
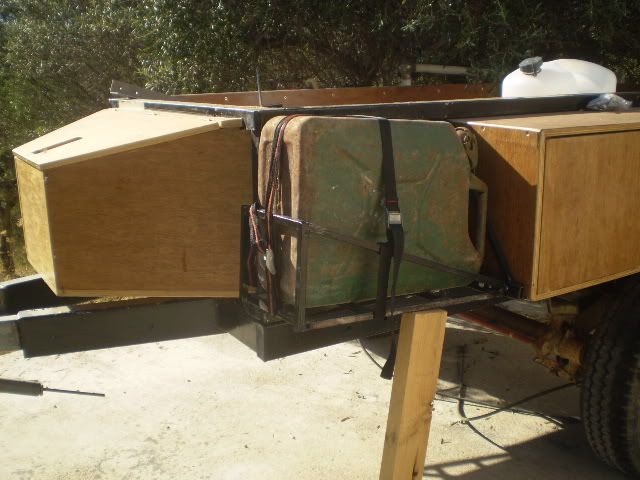
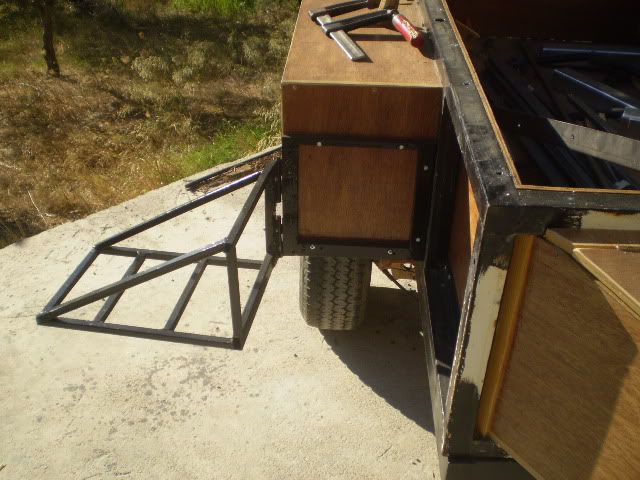
Thought i should share this idea of mine...
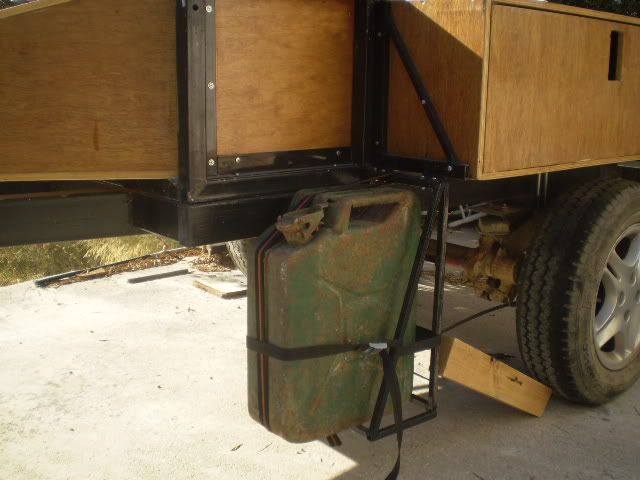
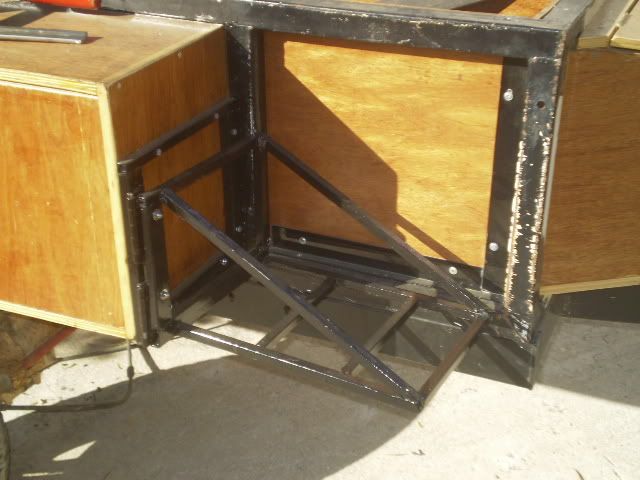
I fabbed a Jerrycan carrier...
P8070003.jpg

That swings down(?)
DSC01235.jpg

The Jerrycan will collect all the grey water through a flexible tube from my sink
(Here with my 1952 rusted Jerrycan for display)
Travelling mode...
P8070005.jpg

Camping mode...
P8070004.jpg
 
Last edited:

ex m38a1er

Adventurer
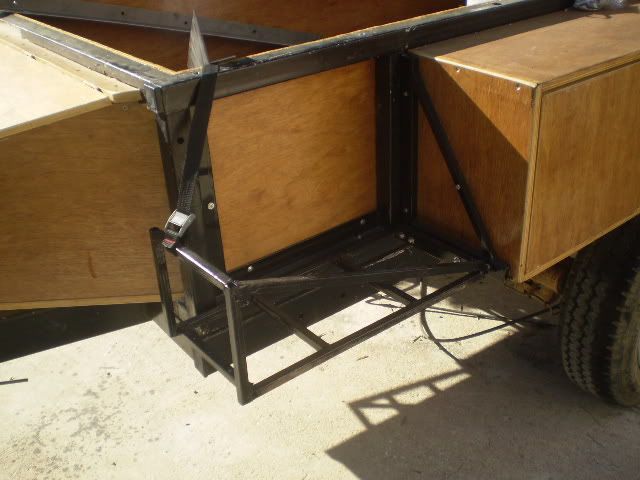
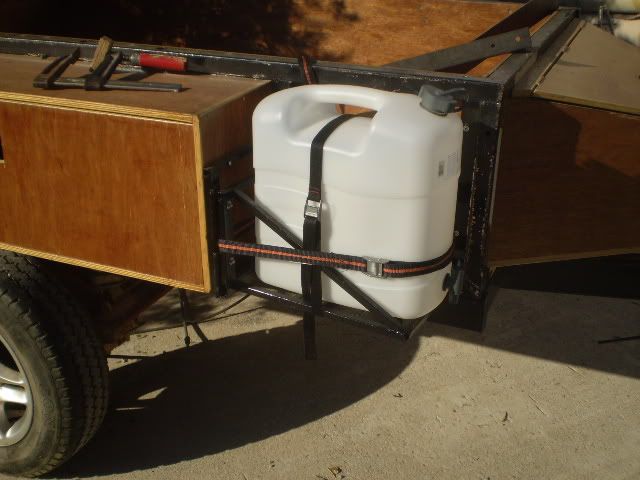
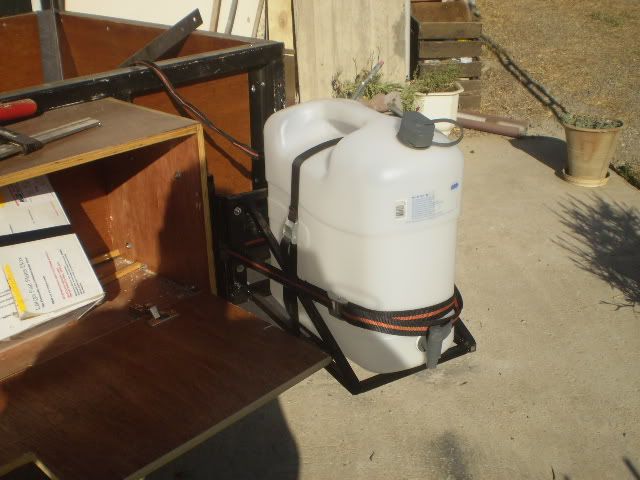
Here's the co driver's side swing out Jerry can carrier.
Travelling mode
P8070006.jpg

With the can attached for display only
P8070008.jpg

Camping mode
P8070007.jpg

In combination with my kitchen box.
P8070009.jpg

A removable sink will take it's place in front of the Jerry can.
The Jerry can is plastic and aprooved for drinking water(20lts).
 

Forum statistics

Threads
188,919
Messages
2,910,961
Members
231,329
Latest member
greggarnett
Top