Off-road teardrop scratch-build

rob cote

King in the Northeast
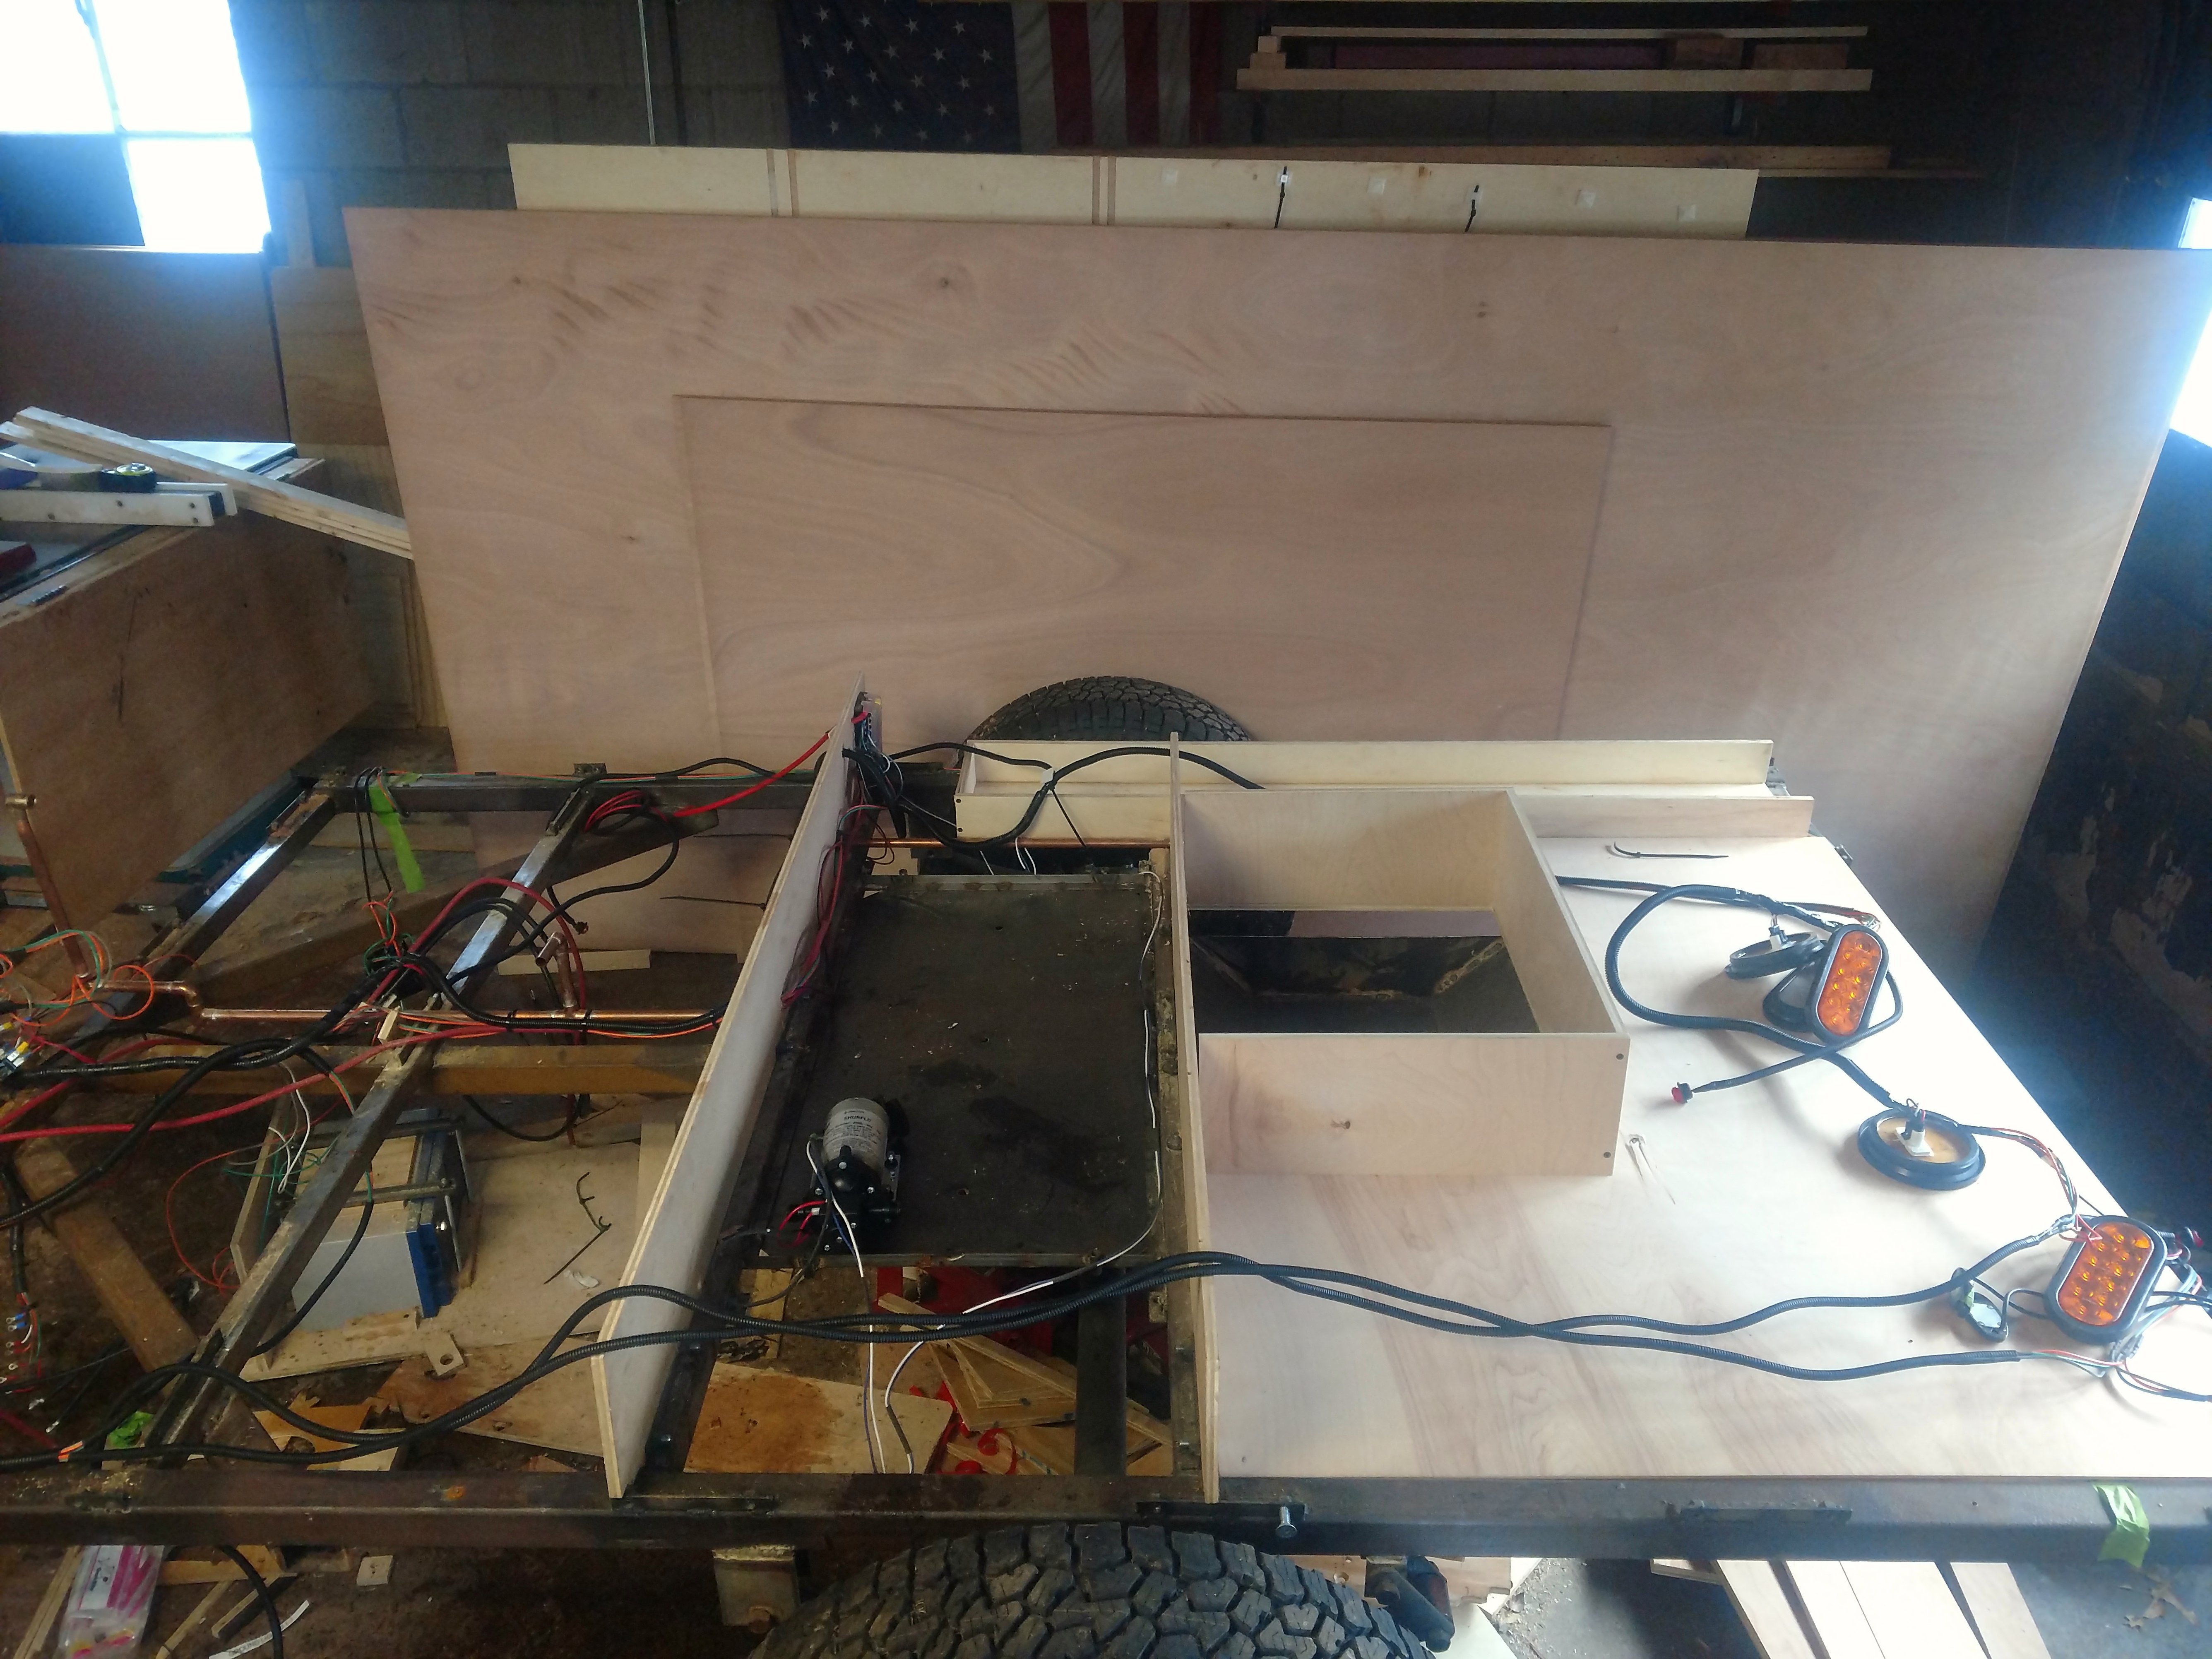
The front wall (the panel with the openings for fridge and water heater) will be secured with glue and screws to the inner vertical walls shown above, as well as to the exterior side walls. The curved panel will have the same attachment method. To interface the front and top panels with the side walls,the plan is to secure a board (picture pine strapping) to the inside corner. Screw/glue the strapping to the wall and to the front.

Is this helping or further confusing you?
 

ottsville

Observer
I think I understand what you are trying to do and that was kind of what I was thinking.

It seems like putting the front panel on should occur after your sides are on if the sides go underneath/behind the front wall so that the curve doesn't get skewed from one side to the other. Or I picture the pine strapping you mention being an actual curved rib from that top shelf to the interior wall(I tend to overthink/overbuild though). See the red lines(and orange maybe) in the drawing. The blue line is where I imagine you will be putting a board also? I also like some blocking along the vertical walls to offer something more secure than endgrain plywood to screw into.

arches.jpg
 

Justins_TJ

New member
I made the roof on mine in 2 assemblies. Basically a 2 inch frame of poplar and the the inner skin glued to it. I was able to build them and do the interior finish work with stain and poly. And then mount them on the camper as a completed assembly. Once they were permanently attached to the camper i ran wiring and put the insulation in then glued the outer skin on. I can attach a pic later if you want. But they're on my home computer
 

rob cote

King in the Northeast
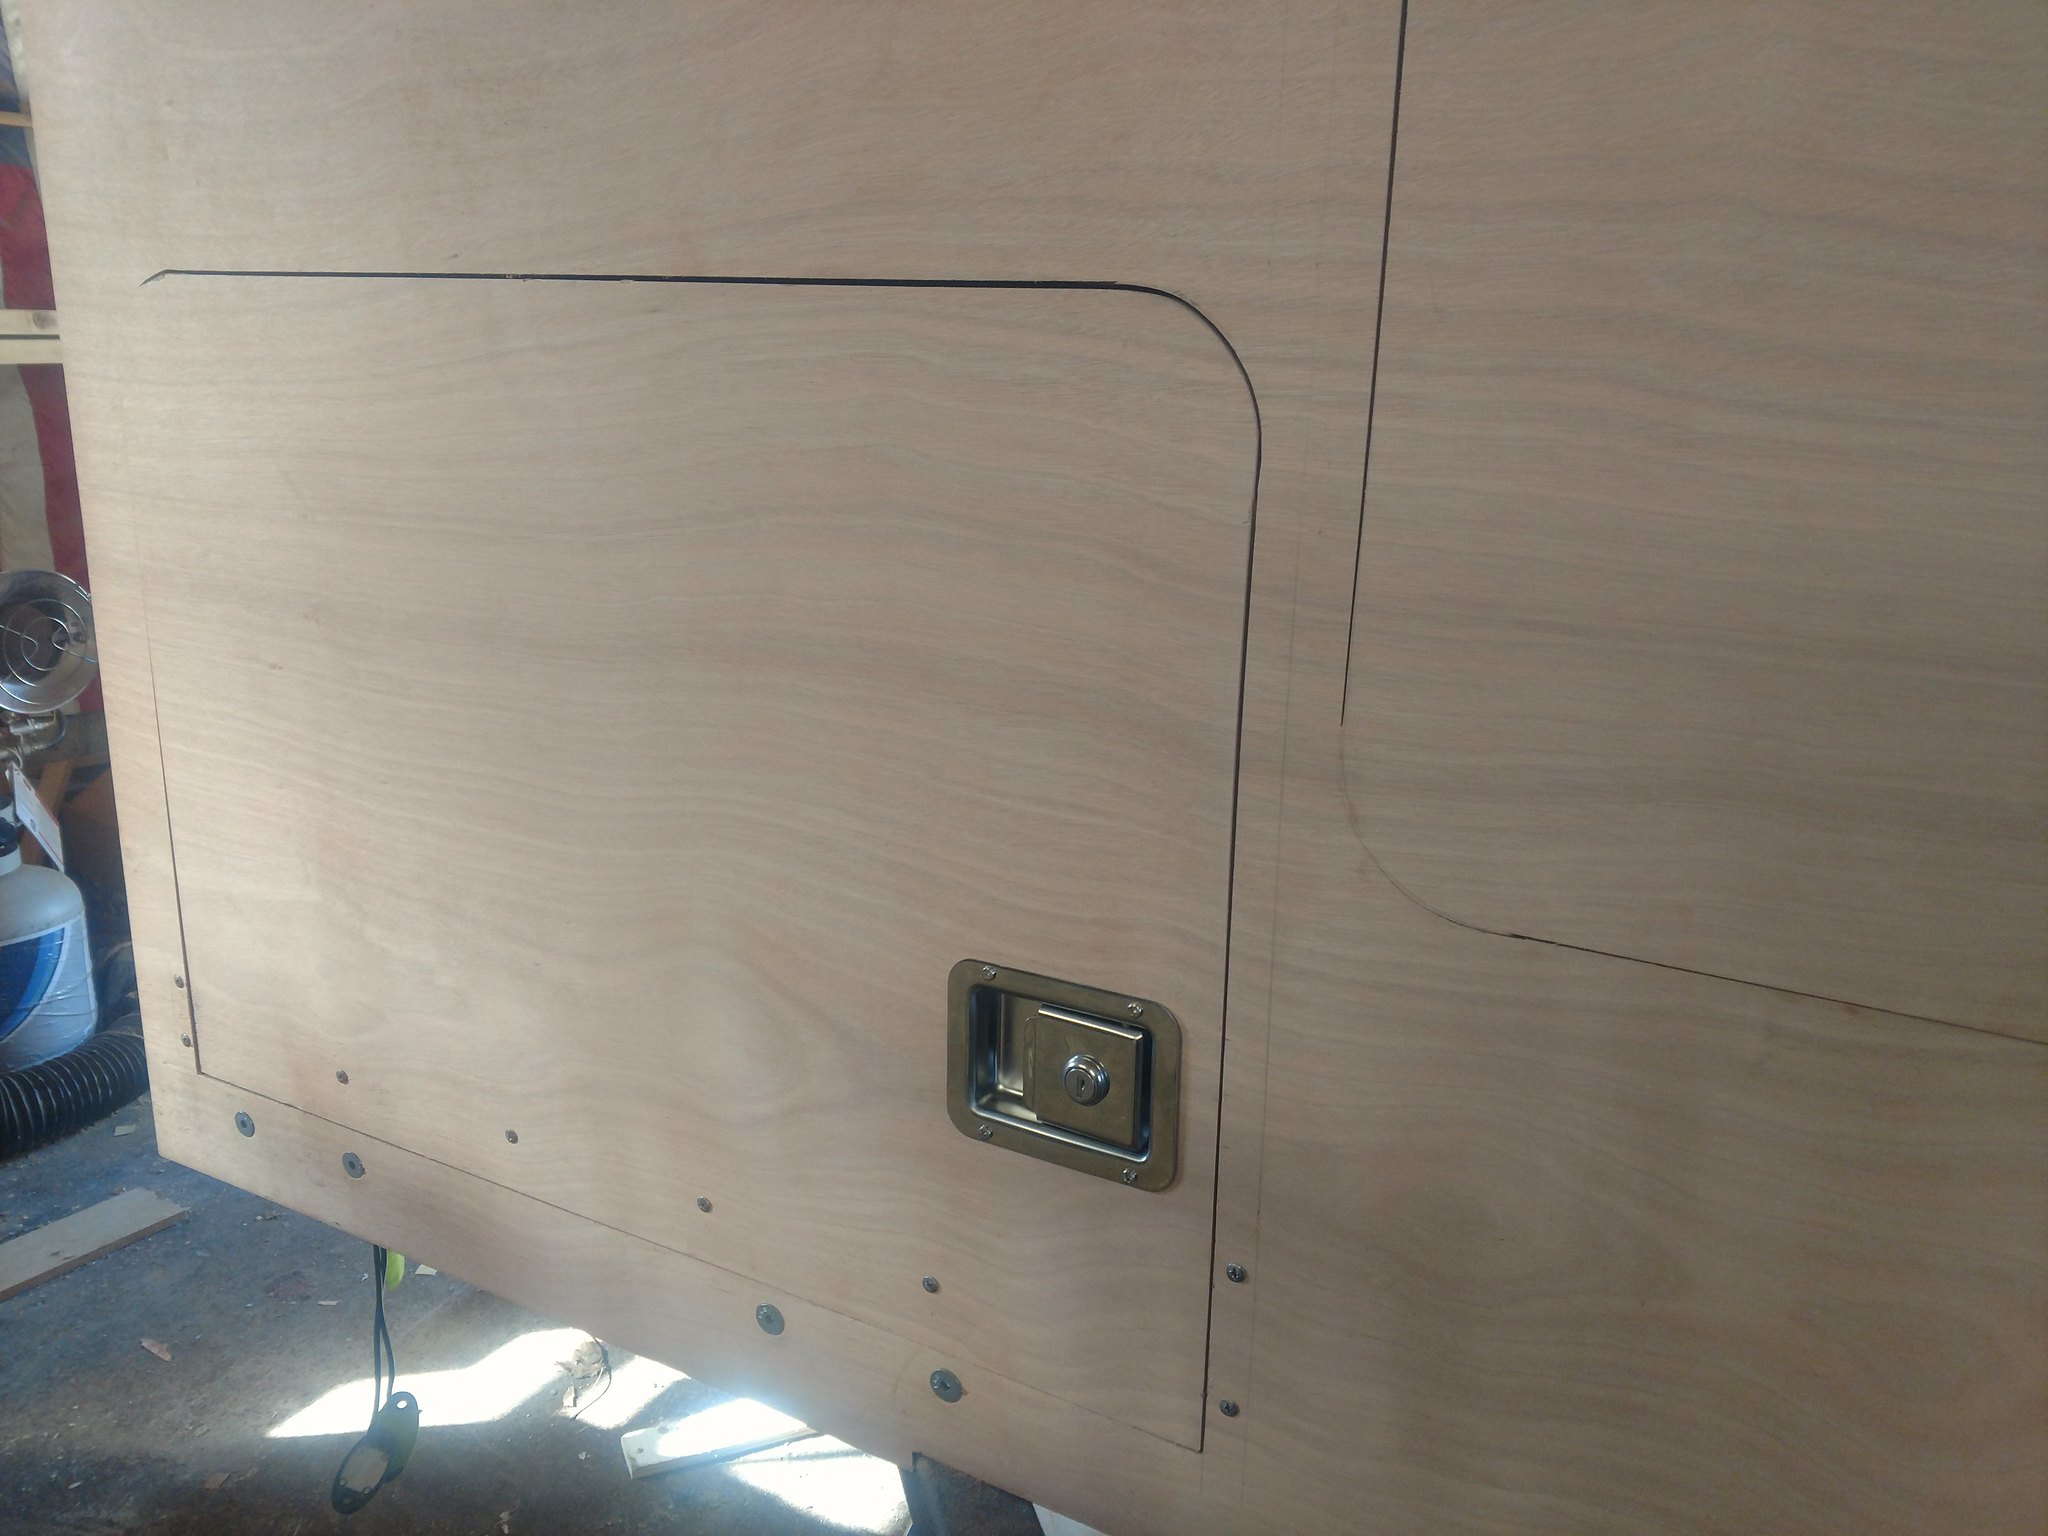
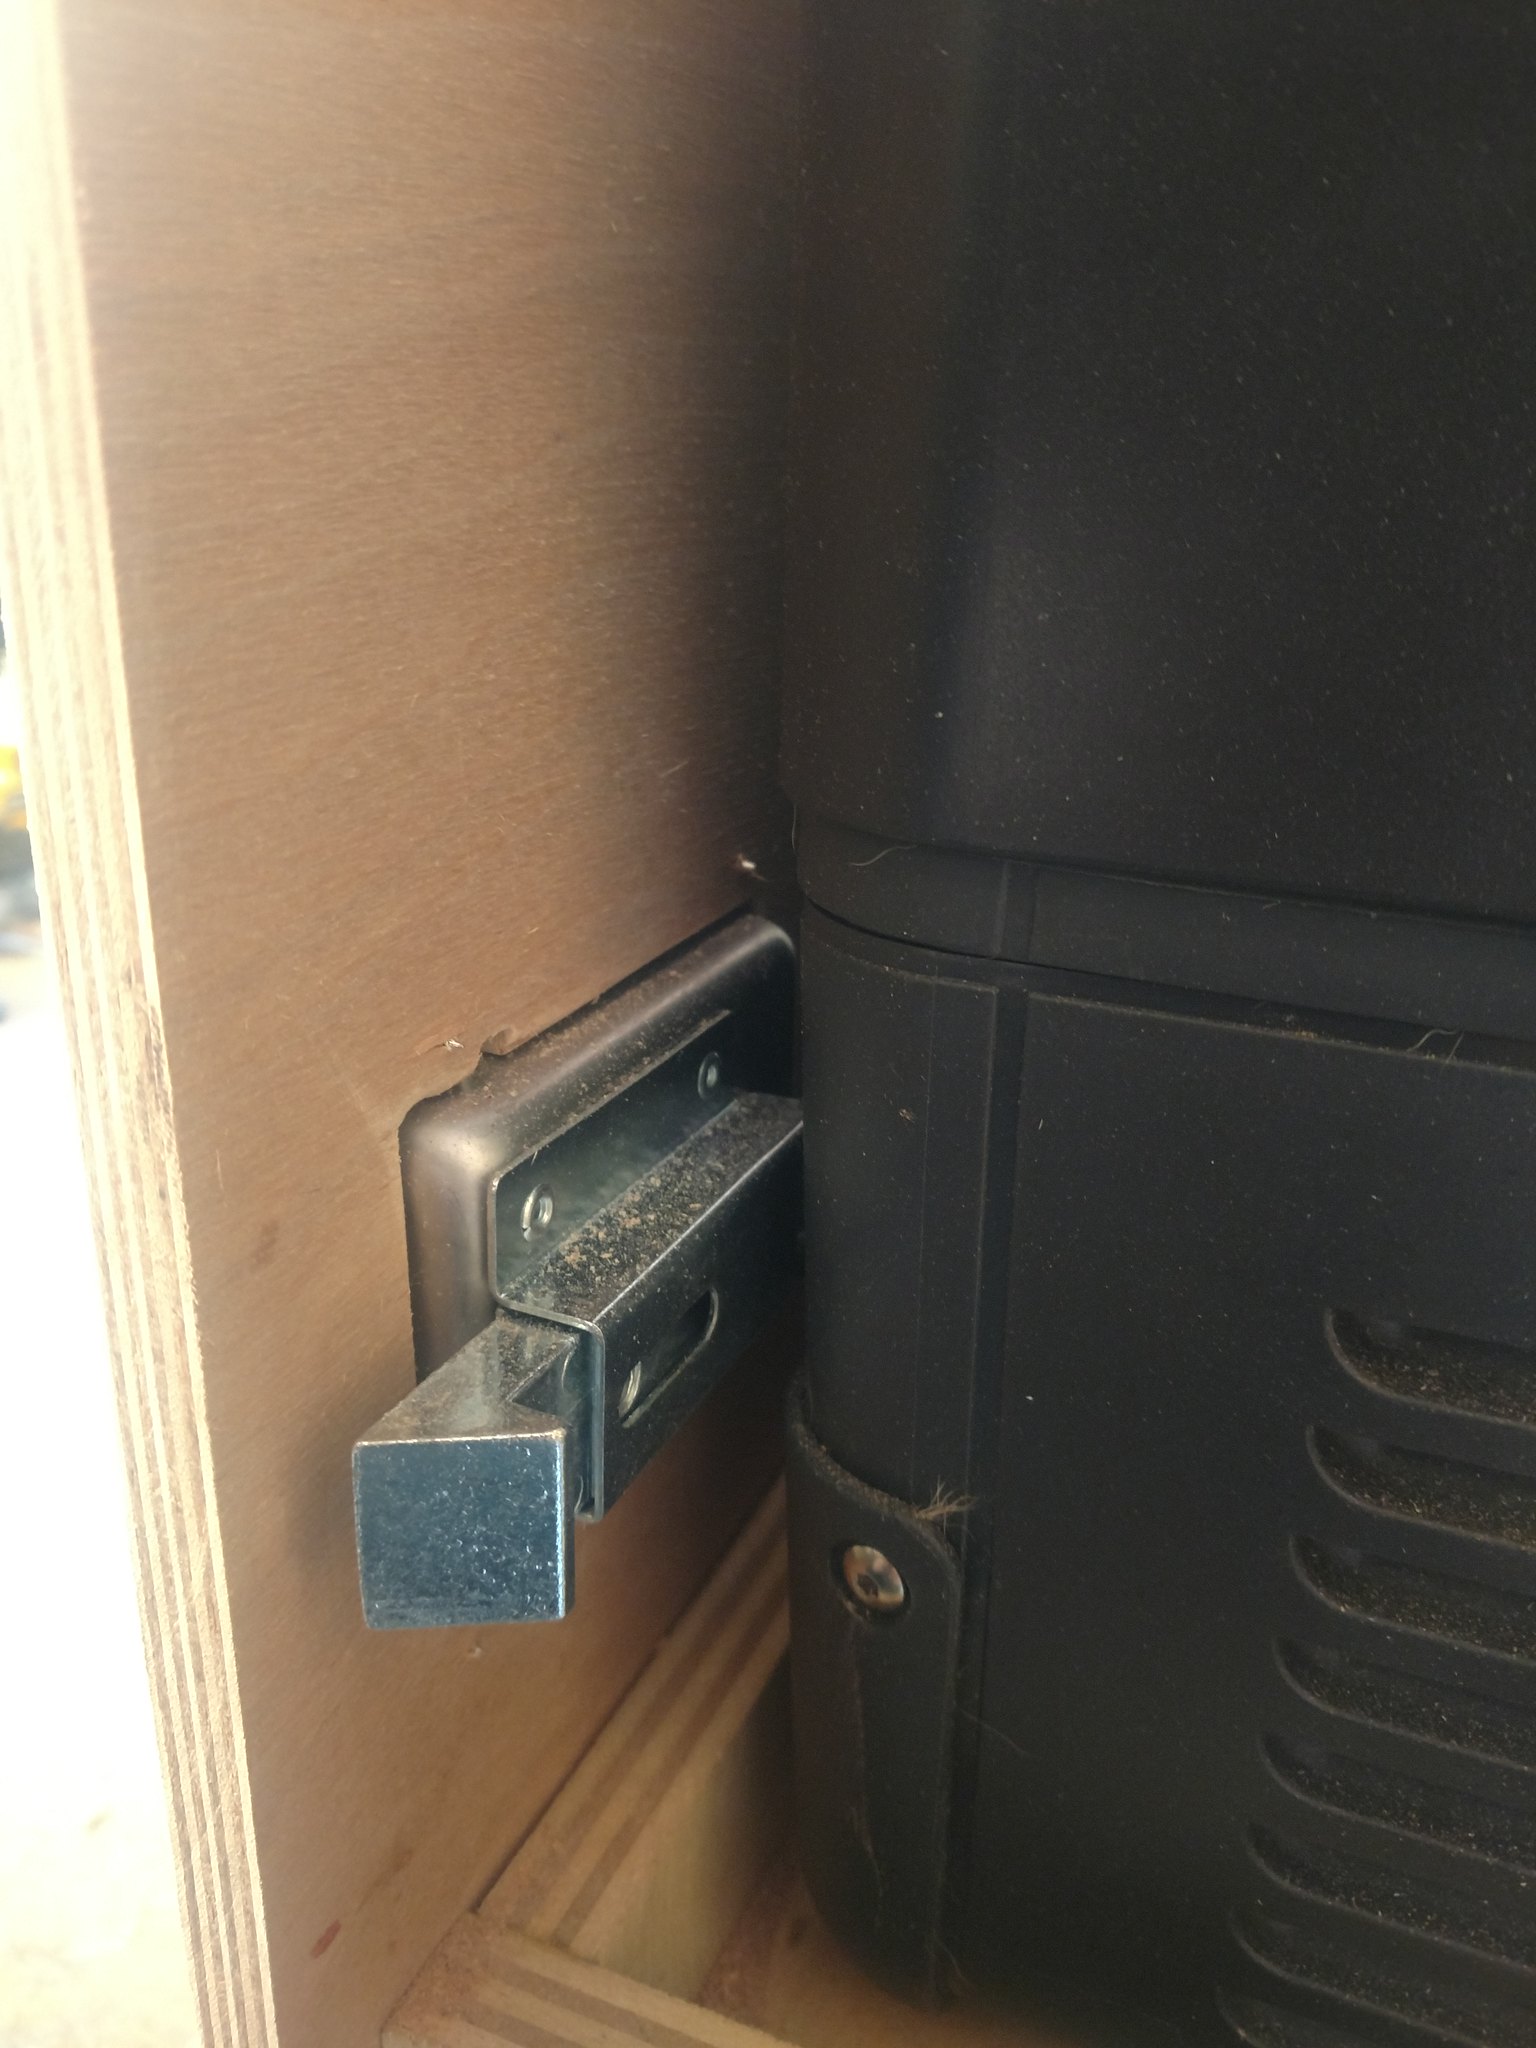
I got the latch and seal for the fridge drawer all sorted. I'm very pleased with the action of the whole system.

25631564517_ef100188ec_k.jpg


25631560247_6a3b3379a9_k.jpg


39606621255_5603b7468a_z.jpg
 

rob cote

King in the Northeast
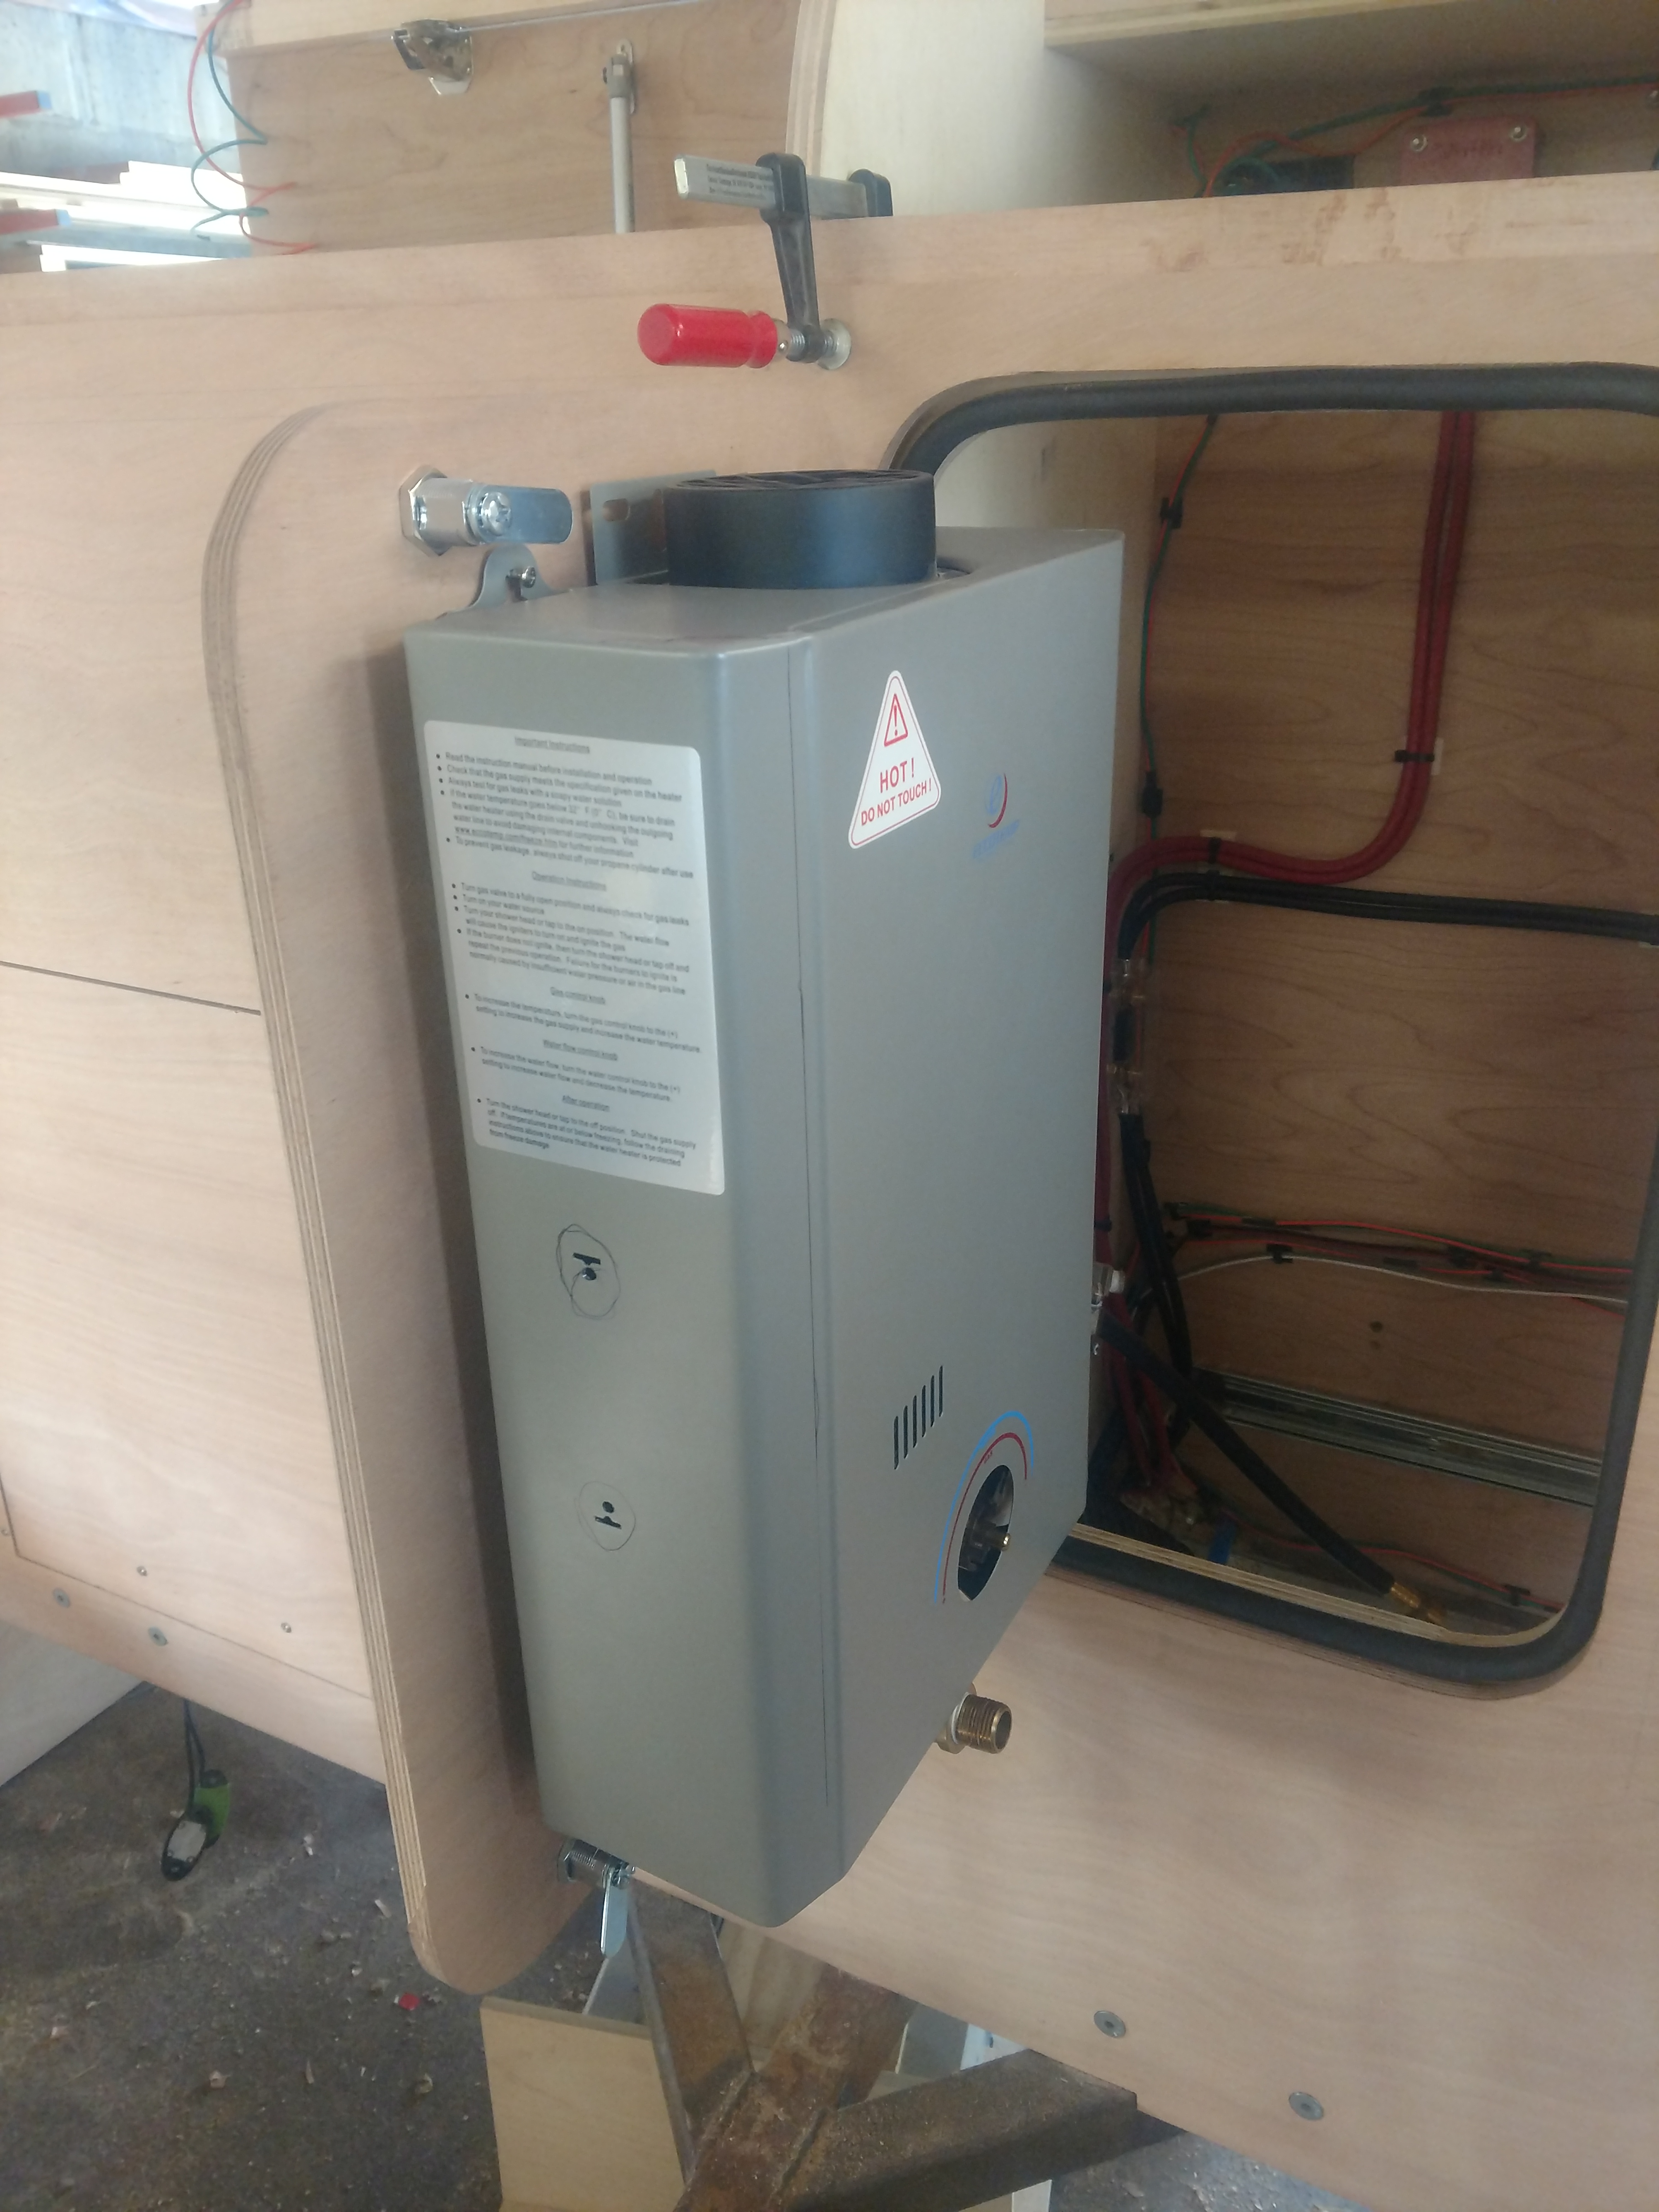
I got the door for the water heater all sorted finally. It took a little more doing than I had anticipated. I cut the rough opening in the front wall larger than the water heater. But once I put the trim for the door seal in place, the opening became too small. :oops:

I notched the case around a hinge to move it closer to the hinge side. I'll probably end up having to box that area back in somehow. I'll need to do some testing to see how hot it gets first.

Anyway, other than that, I'm really pleased with how it came out. We fiddled around with the hinges yesterday trying to get the panel gaps just right. They're really close, and as good as we can get them. Nothing gets hung up on opening and closing, and the door ends up pretty darn close to square and centered in the opening.

I also drilled then shaped the holes for the latches. That was more difficult than I anticipated it being. In the end, a piece of sandpaper wrapped around a threaded rod worked really well. I just kept repeating sand and check. Sand and check. Sand and check, until they fit in there snugly. Also, we spent longer than I figured it would take trying to orient them so that they're both righty-tighty and oriented the same in the lock and unlock position. But it was time well spent. The action of the locks feels very solid.

25752404837_a491028789_o.jpg


26751411428_40417b4d12_o.jpg


40622839211_6deb343c73_o.jpg
 

kolten493

New member
nice job! not sure if i just overlooked it but can you provide some more detail on your door build? i'm curious as to mostly how you are sealing them, as well as sources for the hinges/latches. thanks!
 

rob cote

King in the Northeast
Oh sure. I don't think you missed it, I didn't provide a lot of detail on door seals. All the latches and seal came from Amazon. The hinges are typical cabinet hinges from Home Depot. If you need the actual links for product pages let me know.

I created a ring from plywood for each opening that has an inside "diameter" one inch smaller than the that of the door opening. This gives a half inch all the way around for the seal to sit on. The seal is adhesive-backed. The plywood ring also has a outside dimensions about 2 inches larger than that of the door opening. This gives me one inch all the way around to secure the ring to the trailer's interior walls. Unfortunately, I don't have any good detail pictures of that right now, but I can try to remember to take some later today if it would be helpful.

Next up the trailer is getting completely stripped down. We started last night, actually. We talked a while about how to proceed at this point. Originally, I had planned to put a slot in the exterior walls of the trailer that the bed support would sit in, and the same for the headboard panel. So I left those panels wider than the trailer frame by 1/4" per side. I realize now that was a bad plan and I don't want to do it that way anymore, so I need to take that 1/4" off those panels. It would be really difficult to do it in place, so we have to take those off. Then we realized that it doesn't make sense to take them off just to throw them right back on again, because we also still need to paint the frame. We held off on painting it much earlier, because I figured (correctly) that we'd probably end up finding things that needed to be added/moved/removed to or from the trailer. I have determined several more small brackets that need to be added.

So, our plan is to strip it down to nothing. Weld on the remaining brackets. Paint it. Epoxy the wood components. Do final assembly. Then cut the walls and roof and assemble them only once.
 

rob cote

King in the Northeast
It's been a little while since I've updated this. That's mainly because I feel like I've so little to show for the work that's been done. I've been busy, but it hardly looks different. Lots of little things have been updated, but the trailer has looked almost unchanged until just recently.

Let's just go chronologically. Last you saw, we'd stripped nearly everything off, taking the trailer back down to just a basic frame. We finished that process, and got it down to just the ladder frame and axle again. We made jokes about doing it backwards and moving in the wrong direction. The purpose was to get all the flammables out of harm's way so I could complete the welding. As the trailer was going together earlier, we'd found some places where we wanted to move or add some small brackets and things. We had anticipated this, which is why the trailer isn't painted yet. Additionally, after the first round of cutting off brackets way long ago, I got smarter and only tack-welded the remaining ones, just in case they would need to be moved. So those all got finish-welded during this time. We also thought a bit about how the rear storage door is going to open, and that brought us to the realization that the brackets for the rear wall had to go away, and instead it will be bolted through the rear tube.
26914914408_7f2e139d02_h.jpg


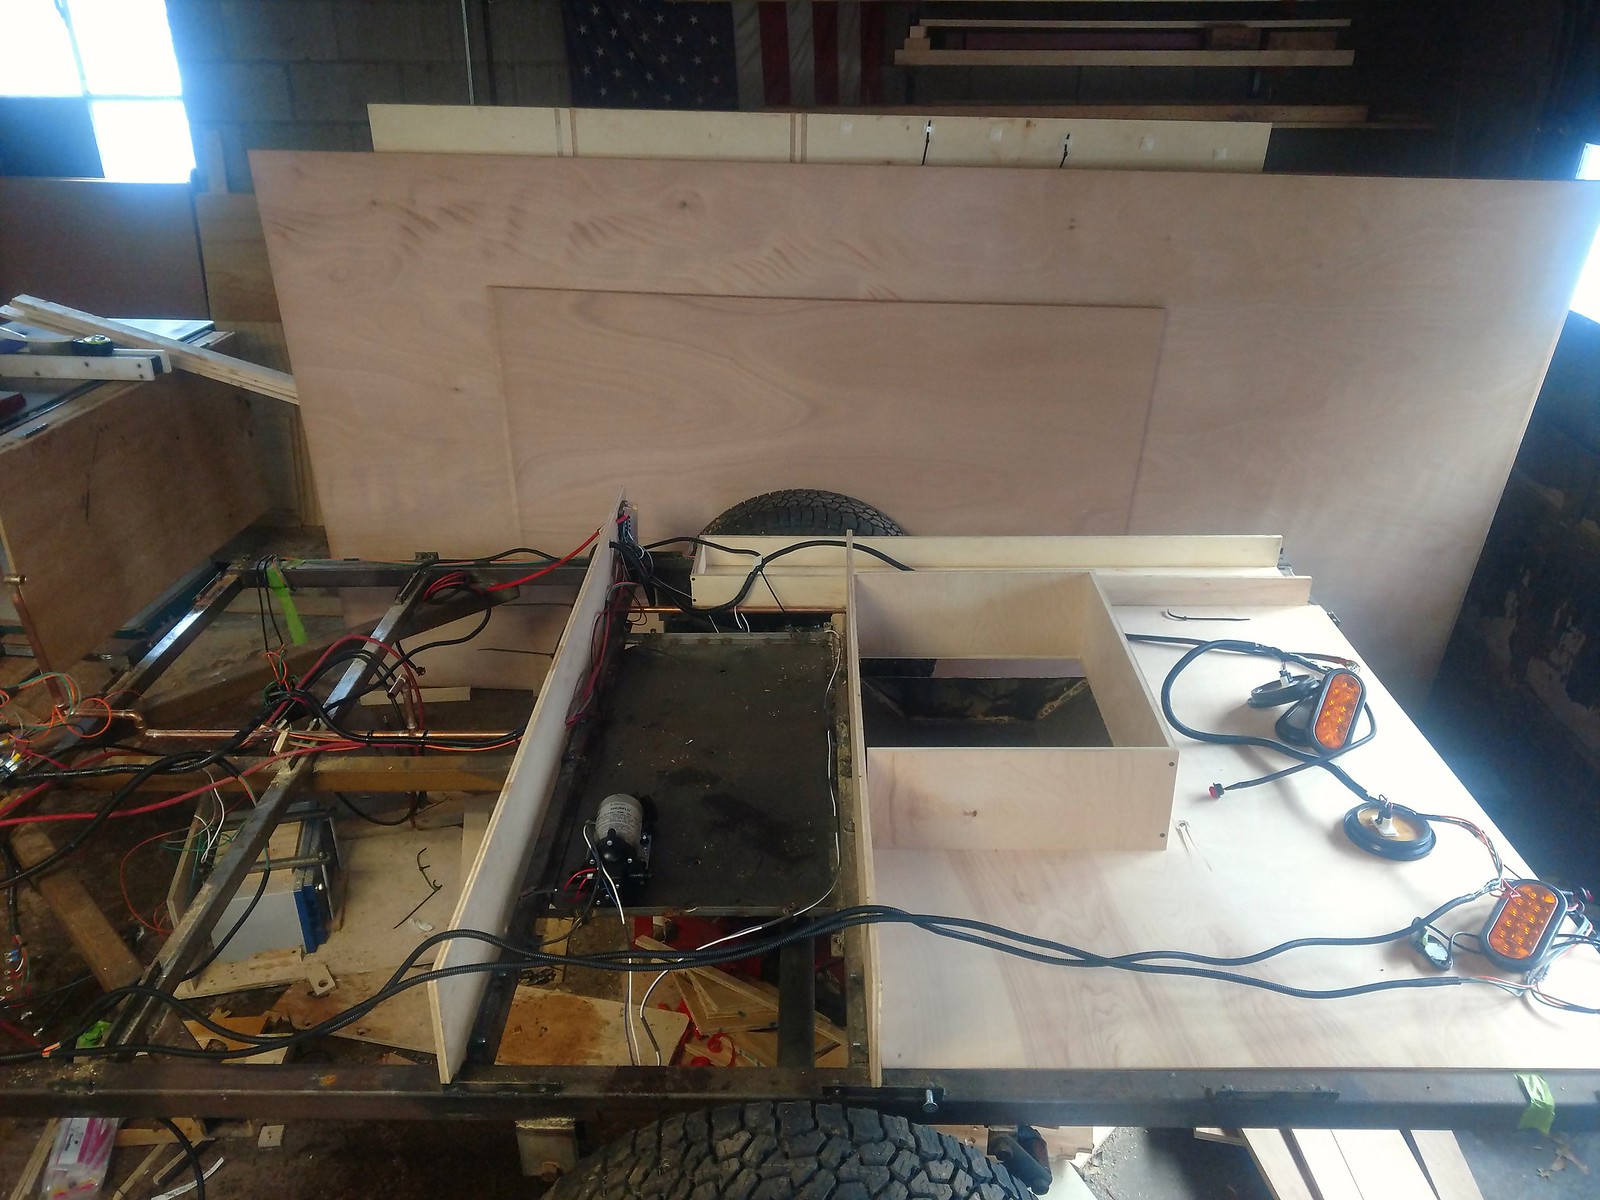
I screwed up the rear storage "floor" piece (seen above, on the right), by about a half inch. I don't know how I managed to, but that kind of sucked. I located the holes for the brackets starting at the rear, and when I got to the front edge, the holes in the brackets lined up with the edge of the panel, so that wouldn't work. If you recall, this was the second iteration of this piece, because the first was just not to my liking. It was a crappier plywood, and it had some bad tearout on a couple of the holes. So I made the THIRD version, and it came out excellent. Looks nearly identical.

Earlier in this process, when most of the stuff was assembled, so we were close-ish to the final weight (less the weight of the walls and roof, which is not insignificant), we tested the stabilizer jacks and found that they performed just fine. However, the channels they were mounted to did not. There was enough bending that I was uncomfortable with it, even though it was elastic. I picked up another length of 1.5" square tube to replace the channel sections. This was the most significant change in recent weeks, really. Well, one of them.

So, lots of little changes, that don't really make for good photo opportunities.

28080566358_52a255f281_h.jpg


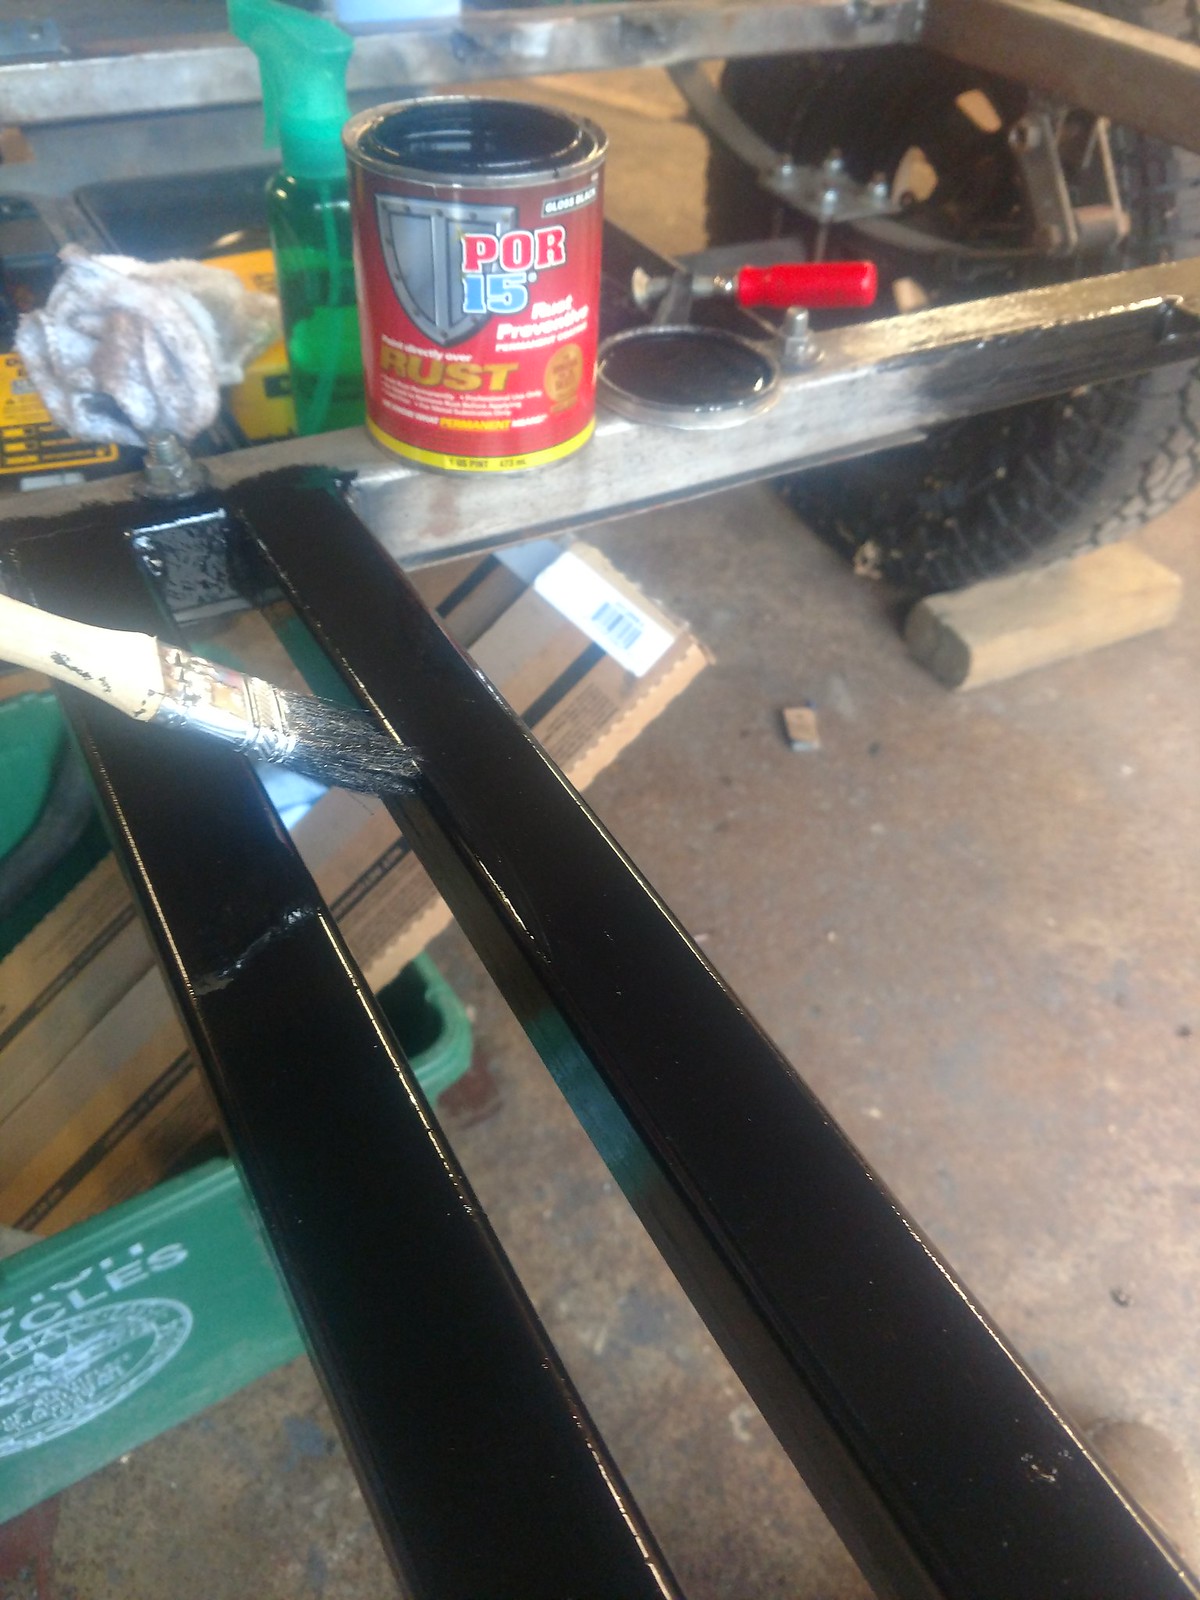
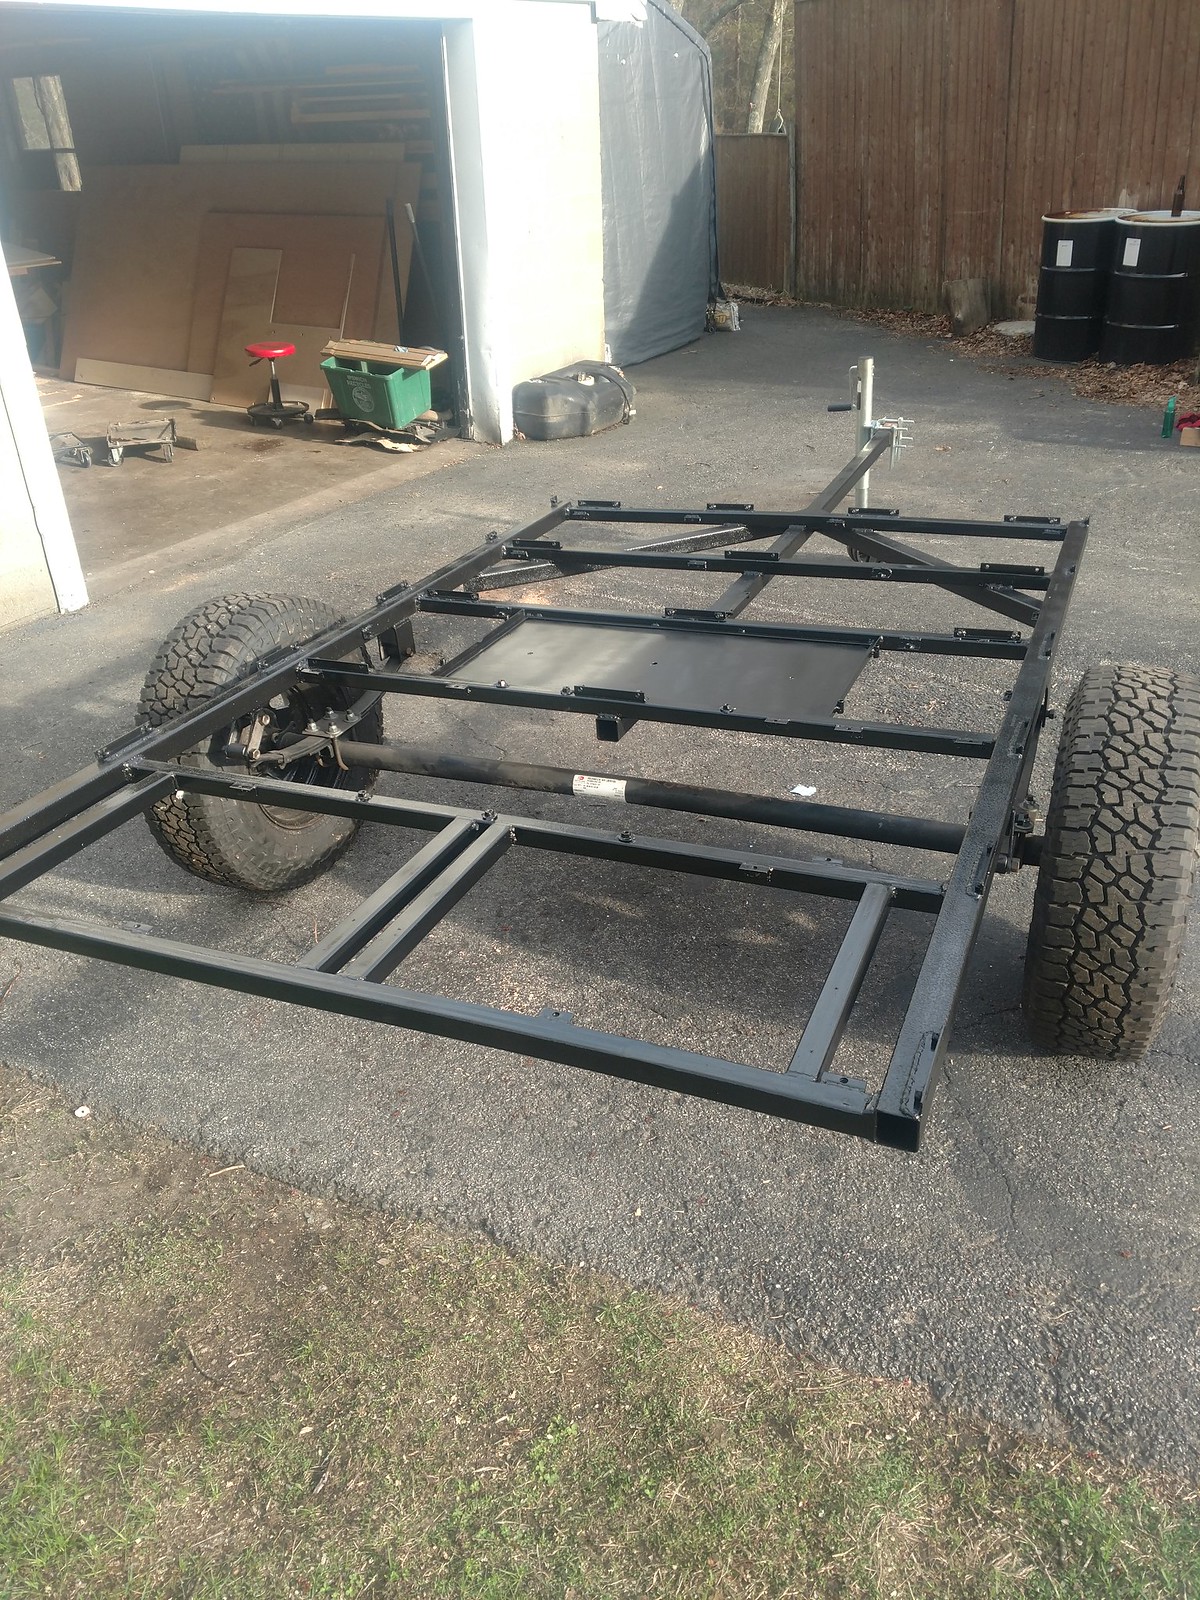
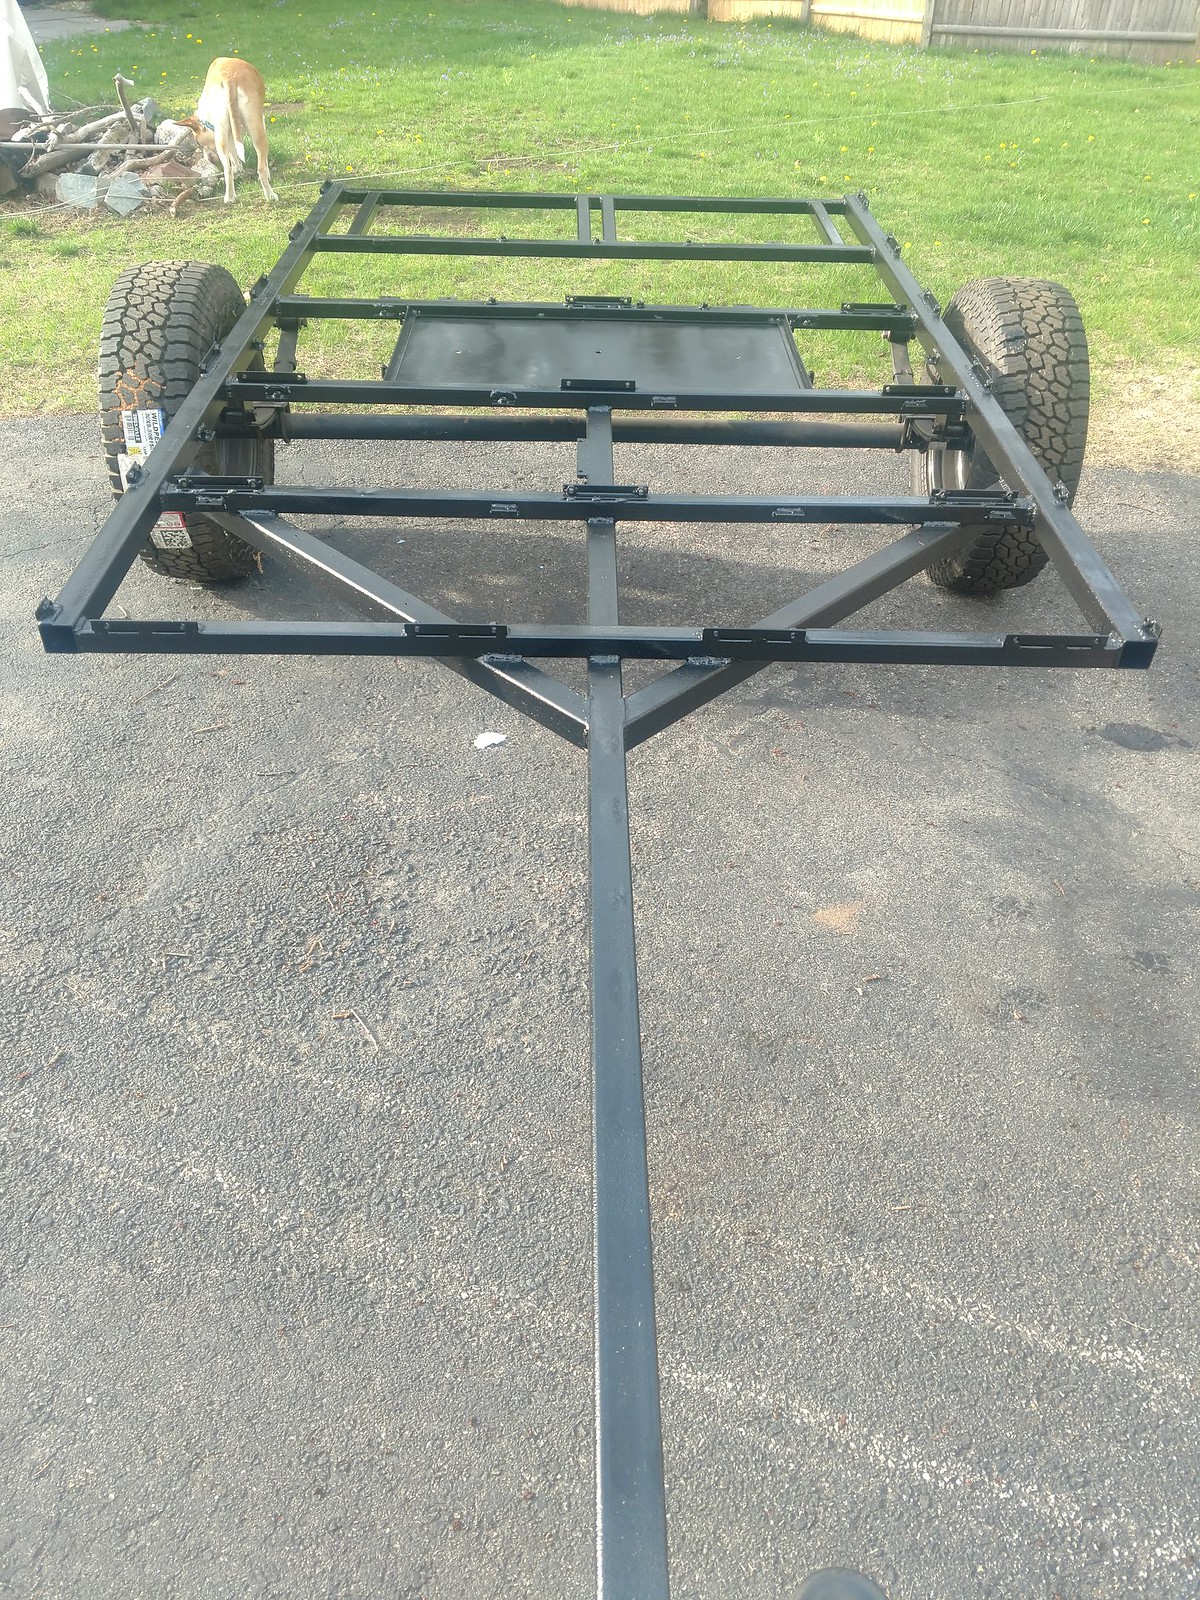
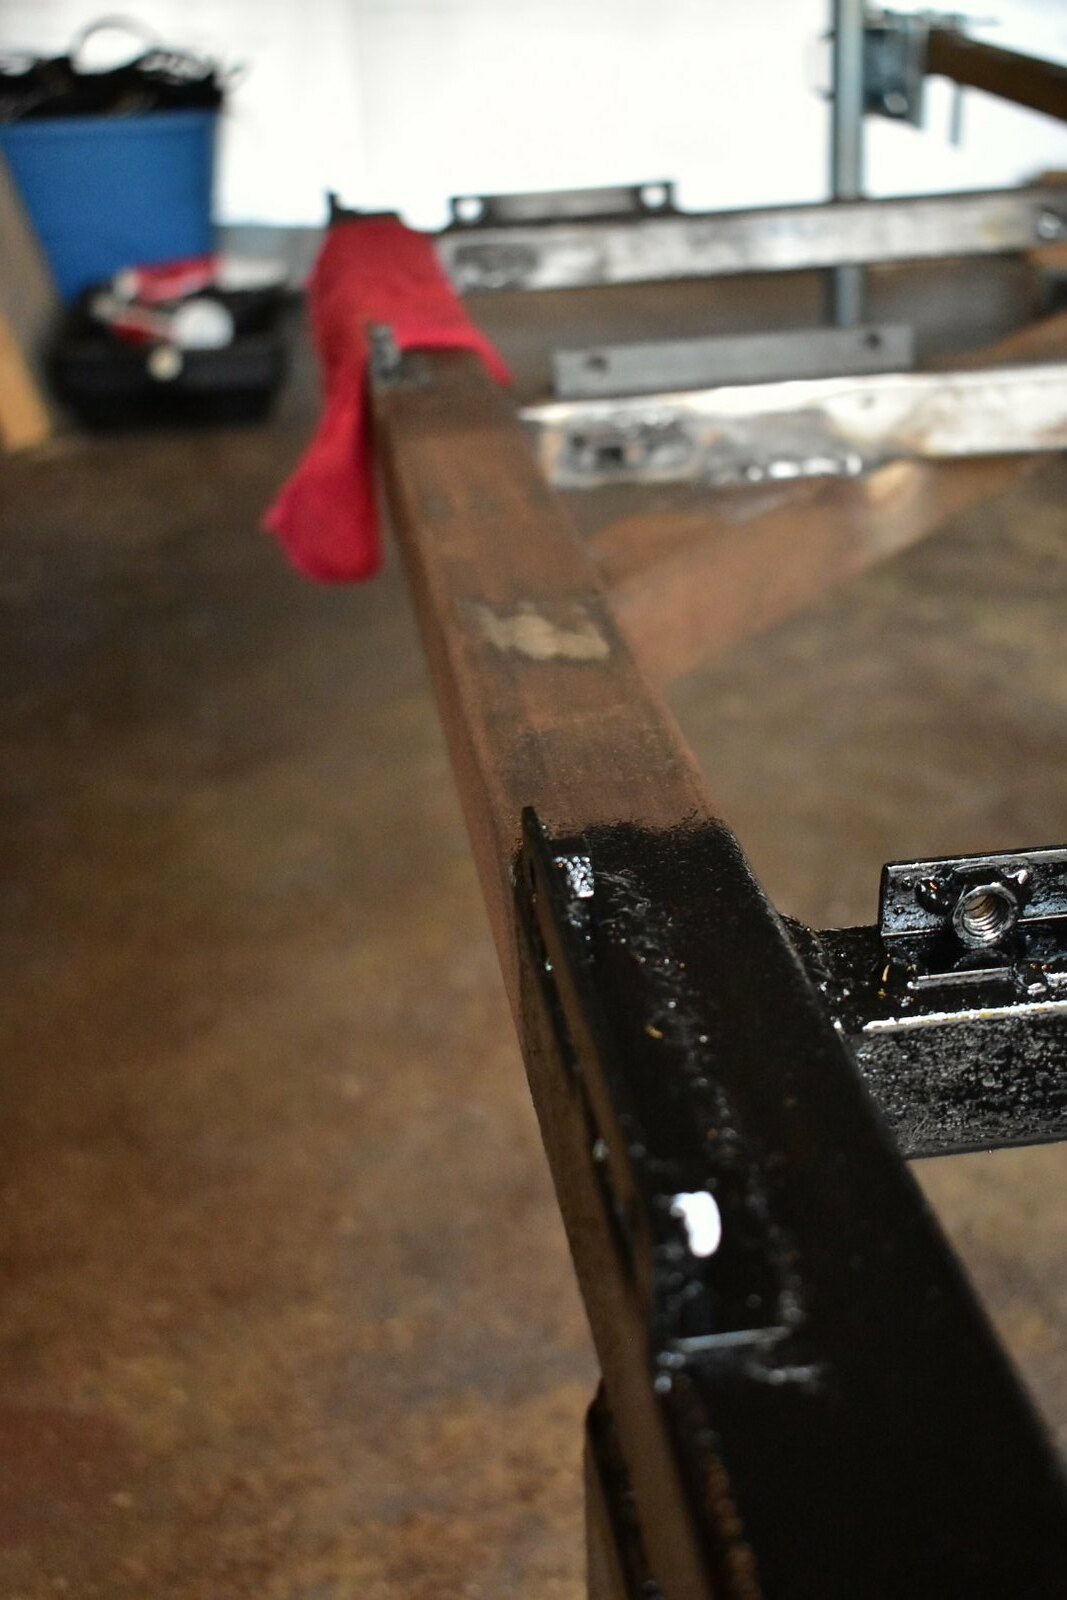
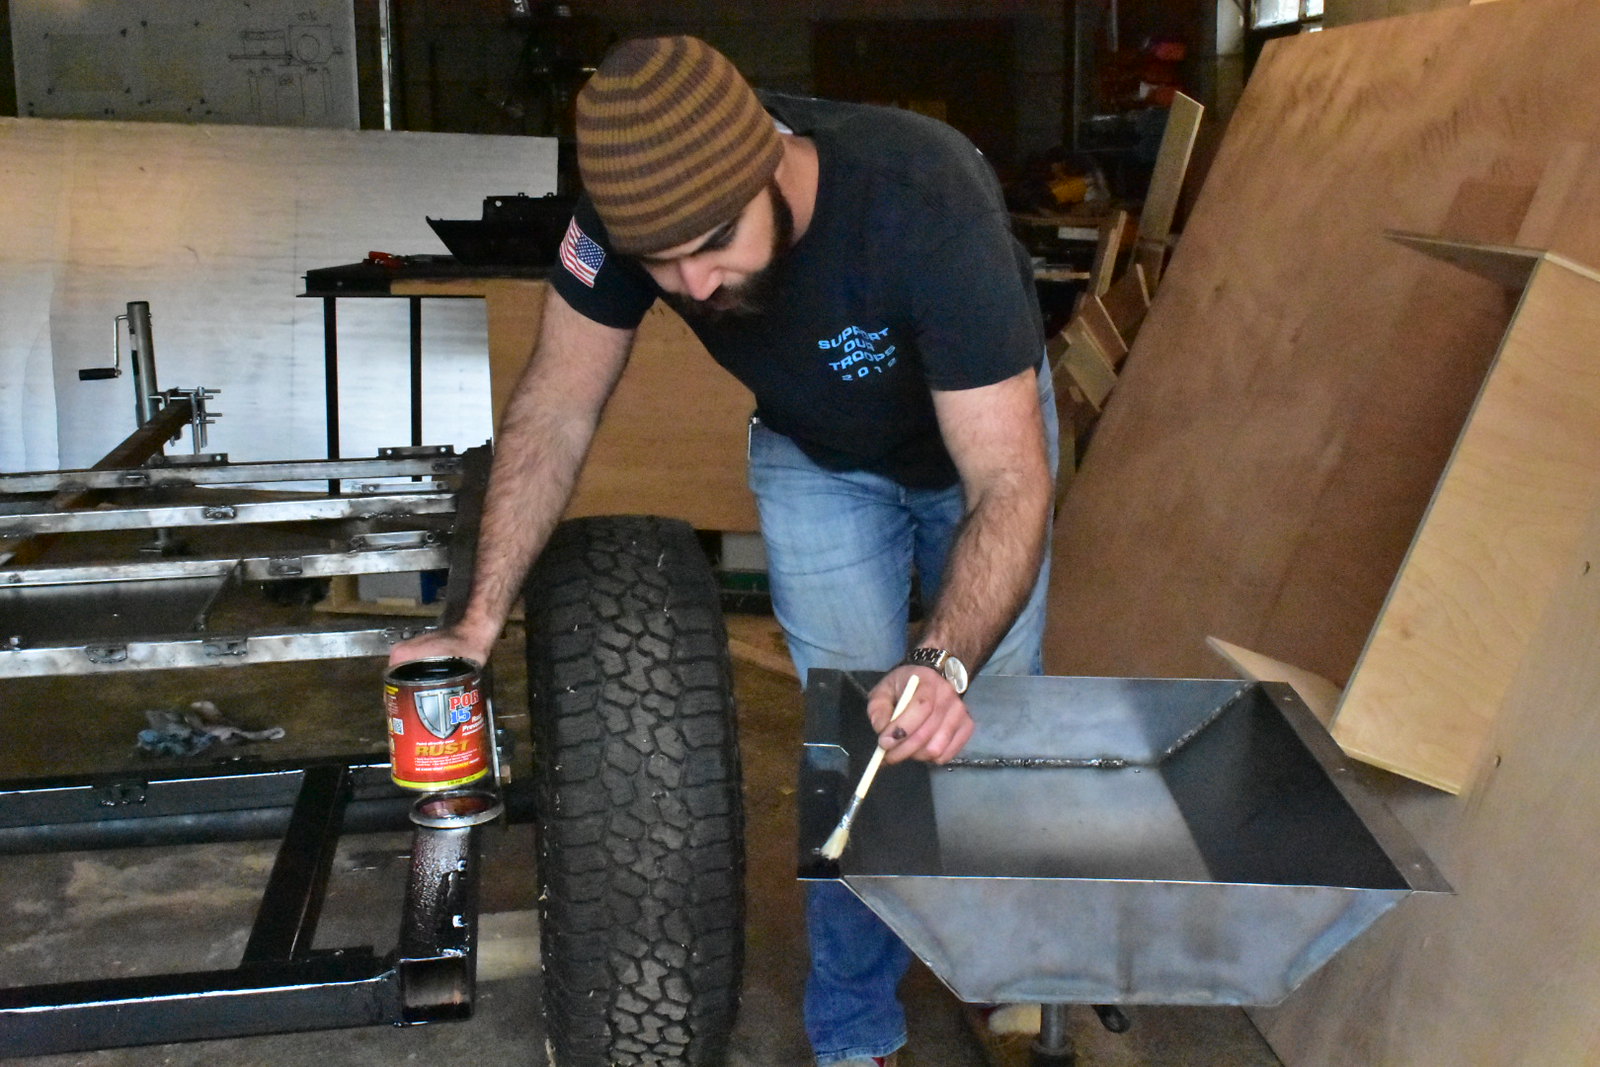
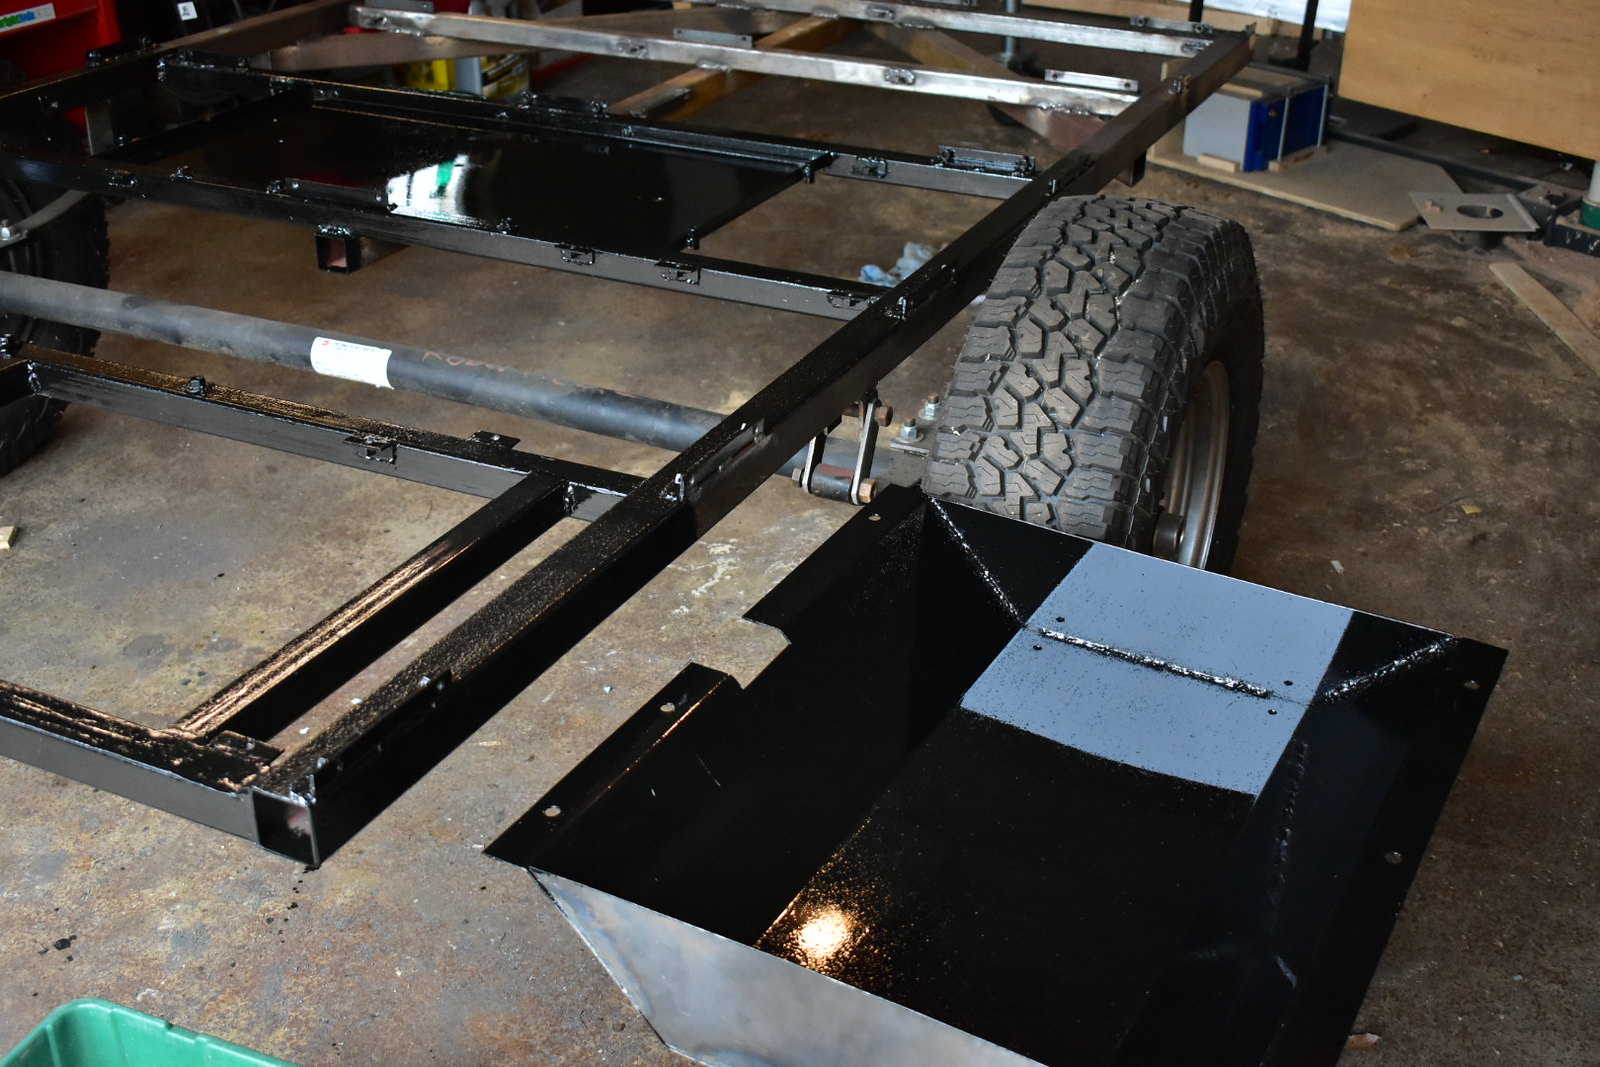
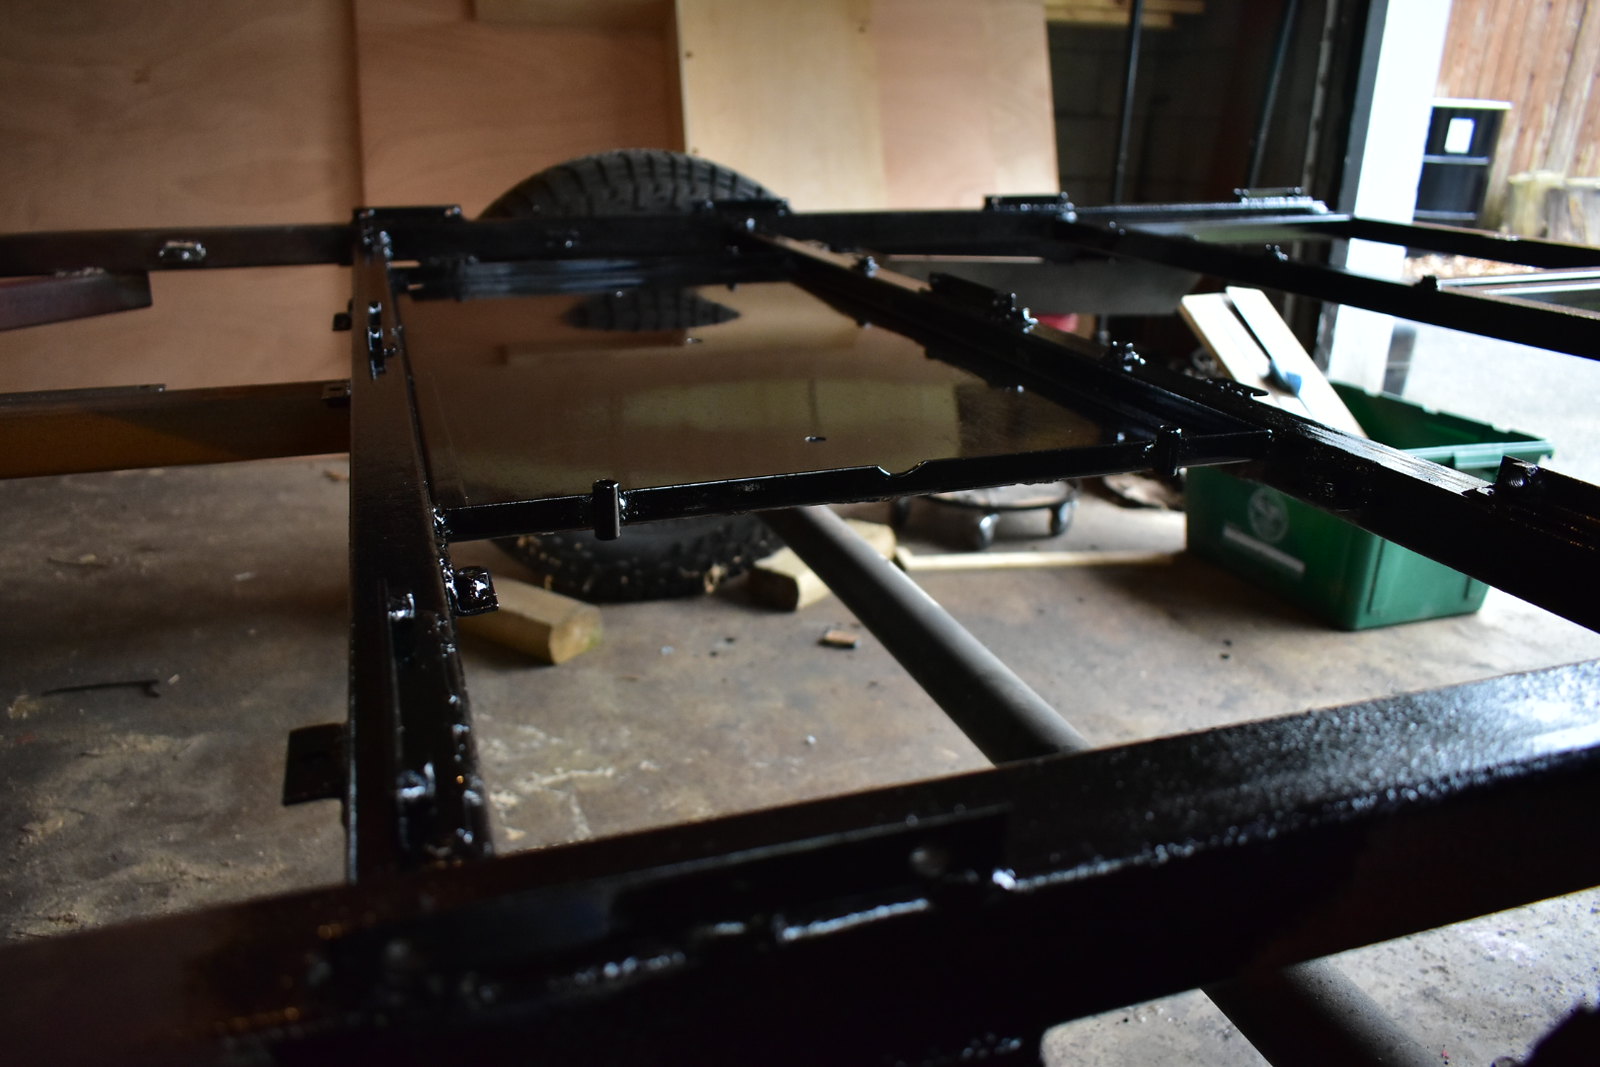
The most exciting part, and the main reason I finally felt like it was worth posting an update, is because we finally put down paint! First, I had to grind some of the welds down, for certain clearances. Then I cleaned up all of the welds with a wire wheel. We prepped the whole frame, and then spent a few days applying POR 15, flipping the frame over and back again, so we could paint the bottom. Then it got top-coated with a satin black spray enamel. It's not super exciting, but it does feel like a major milestone has been passed. It looks great all in one color. You can't even see the most of the booger welds!

Here you can see the stabilizer jack tubes that replaced the channel sections:

41951013371_5f65a4c454_h.jpg


40144544780_00938b8fe7_h.jpg


28080567848_2e10299389_h.jpg
 

rob cote

King in the Northeast
You'll note that we don't have shocks installed yet, and that you don't see any mounts. I just ordered them, and I know I'll have to grind away a little bit of paint to install them, but it's just whatever. Deal with it.
 

rob cote

King in the Northeast
I got the stabilizer jacks mounted up last night, and sprayed the inside of the few remaining tubes that were missing paint. I also got some pictures from the camera that are just in-process pictures from the paint nights. Nothing really new to show, but just a little bit better pictures.

41063896525_533925eed8_h.jpg


28092071788_3cc21b7166_h.jpg


27094249567_b3246a4cff_h.jpg


41963072711_dfbc390cd0_h.jpg
 

rob cote

King in the Northeast
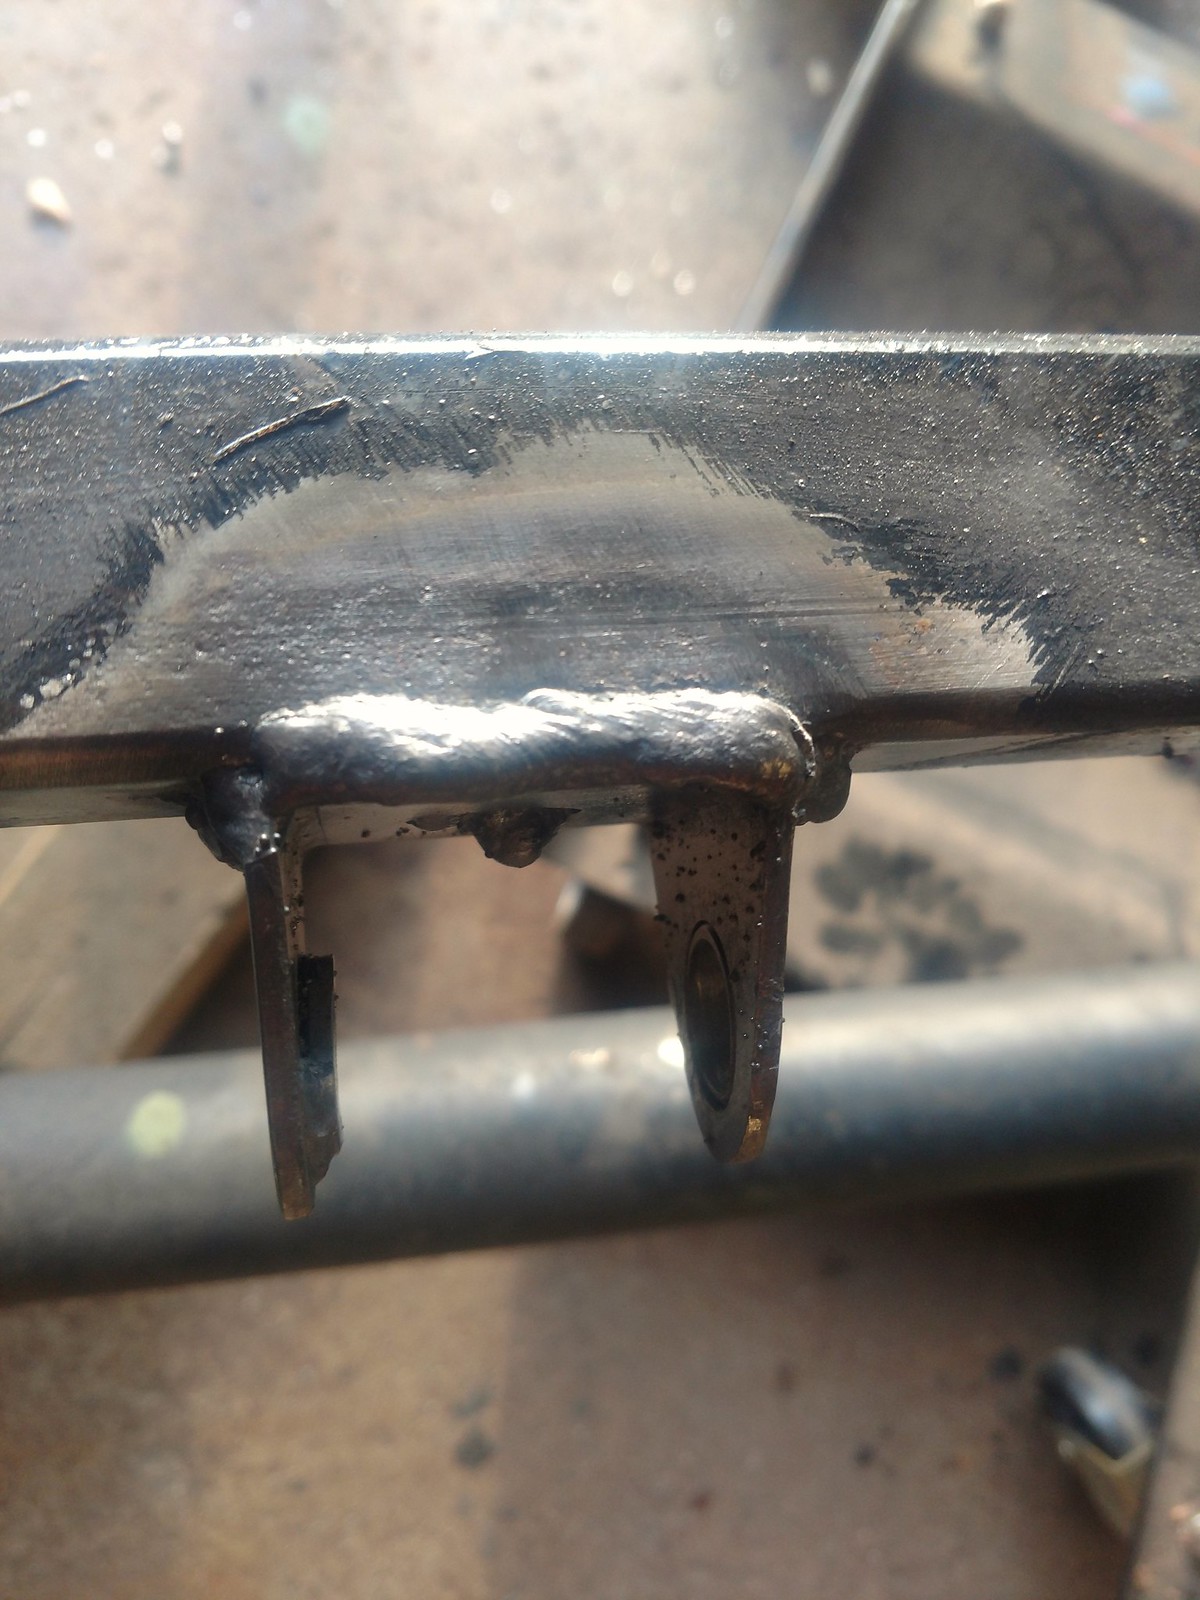
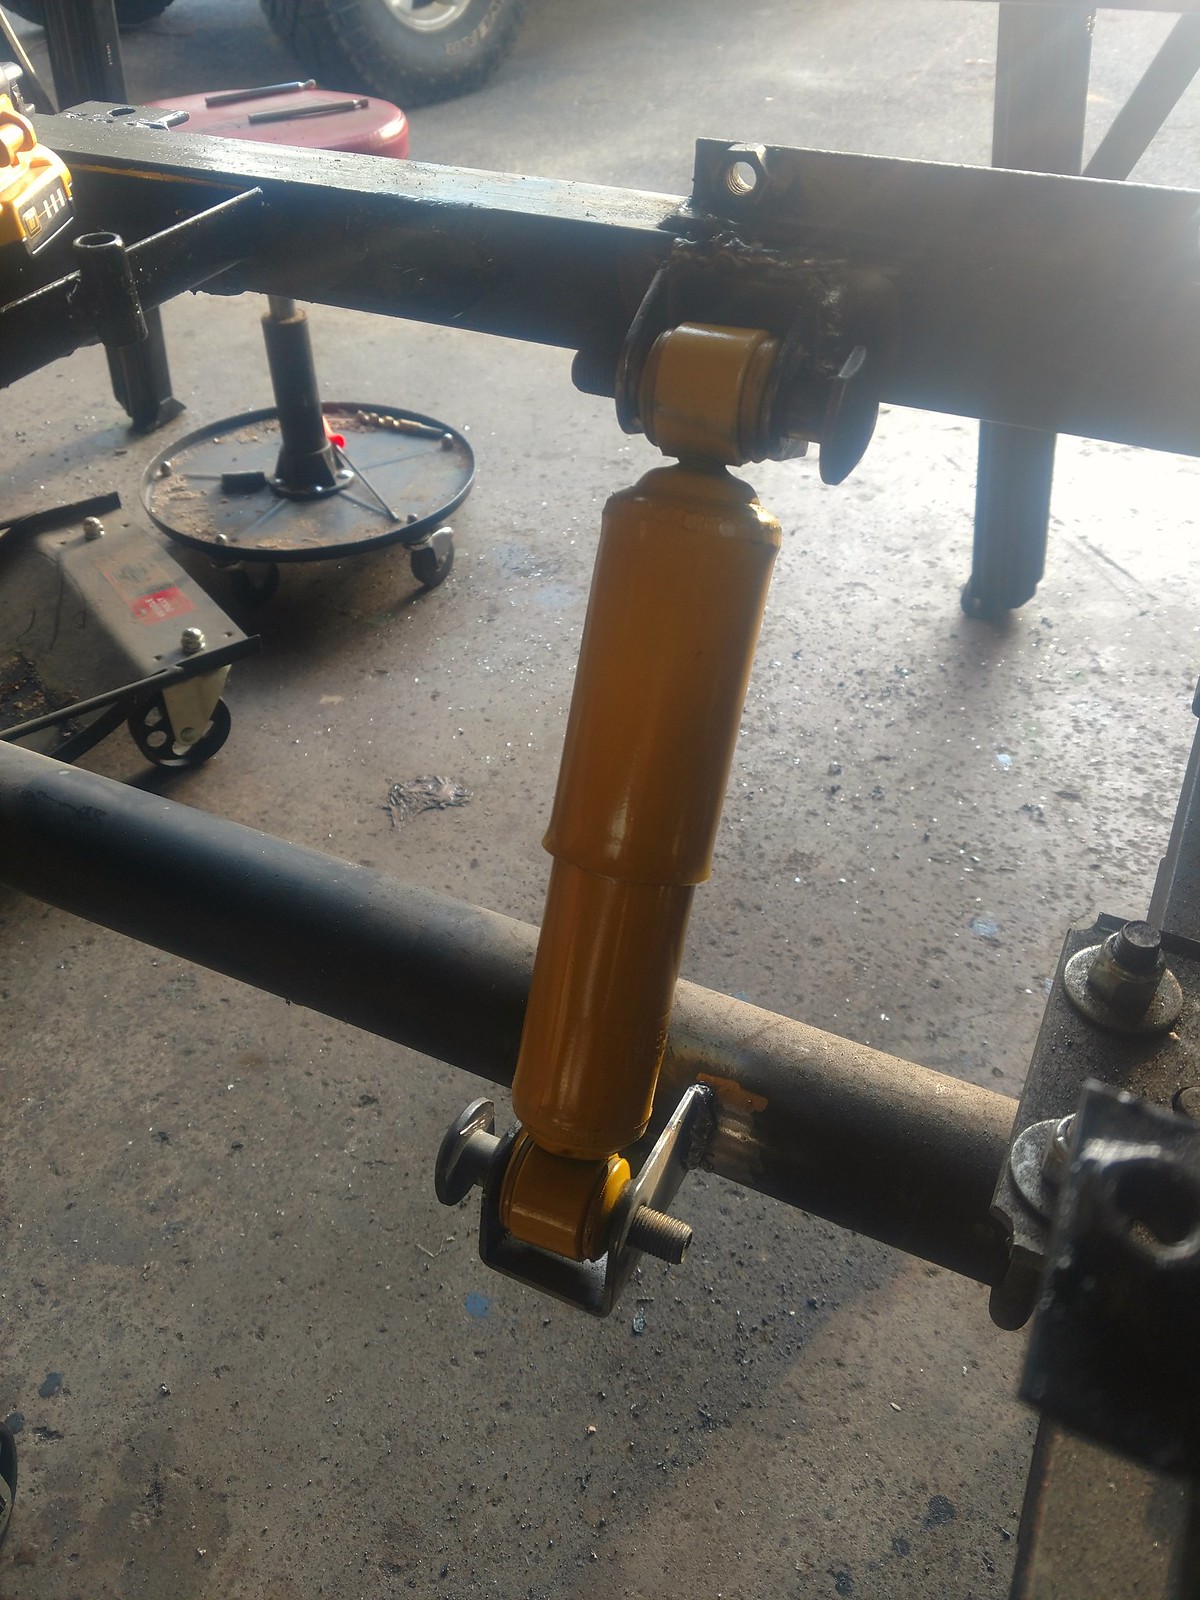
I took a small step backward to weld on shock mounts.

27239562587_939edcc444_h.jpg


42064242062_1aa3da950c_h.jpg


But now that's done on both sides. I need to touch up the paint in that area. Then, as far as I know, unless any surprises come up (which, at this point I'd be......surprised), the painting will be 100% done.

I also began applying epoxy to the plywood panels. It's going to be a bit of a process I think, but I've got one side of a bunch of panels ready at this point. I need to flip them over and get the other side sealed up, as well as the edges.

My aim is to get as much of the epoxying done as I can this week. The paint touch-up is straightforward, except that I want to try to do some touch-up on vehicles at the same time. I've found that each round of opening the can of Por15 is progressively more difficult. I think it'll be the last time I'm able to open this particular can, which is unfortunate, because it's only about half used.

Anyway, there's that. Another thing to note why this seems to be moving so slowly is that we are in first responder training one night a week, we took a Skywarn training recently, and we are active in the community emergency response team. So that stuff all takes up some of our nights, but I think it's really helpful skills that carry over to overlanding in a lot of ways. So it's fun, and worth the trailer delays.
 

Forum statistics

Threads
188,352
Messages
2,905,912
Members
230,115
Latest member
smpltech
Top