VanIsle_Greg
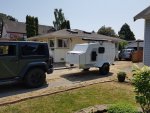
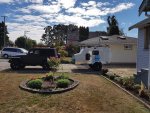
I think I need a bigger truck!
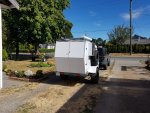
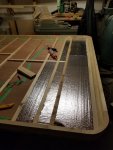
I managed to sneak away for a few hours of work again today... it seems that my busy life / Job / Kids / etc keeps me limited to only 1 day a week at most. Well, we made the best of it today and managed to get all but the last upper aluminum skin installed. The front corner was tricky, and I am REALLY hoping that it turns out as well as I think it will. That was tricky as we had done the side skin first, and then needed to bend, clamp and secure this in place while ensuring the seam was tight. It gets a piece of trim over it, but still... you want to know that all the seams are 100% sealed and well, gaps suck.
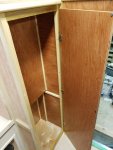
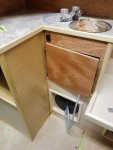
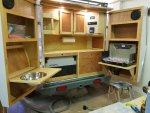
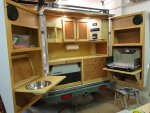
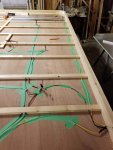
Mike was a busy guy last week and managed to get the interior jst about 100% completed. Well the trim at least. There is only the bed extension and the doors on the cabinet above the sink to install... and a BUNCH of wiring and a bucket load of varnishing to do. heh
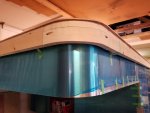
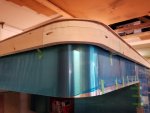
The front corners are rounded with about a 6" radius as I recall. I really wanted to do this rather than a square or a chined corner. Personal preference and an architectural detail that turns out to be a PITA. Lots more work that square or chined, but I like the look and when the roof is installed it should look rad.
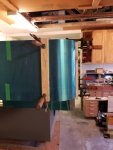
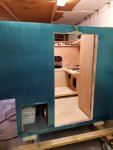
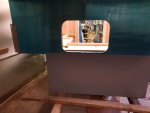
Front lower skin installed. Once its dry we trim out the windows!
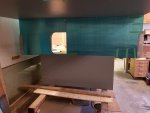
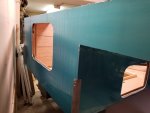
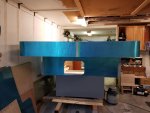
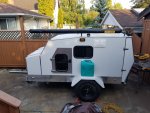
I like it in translucent blue. Might need to consider a wrap or spraying it that colour one day? heh
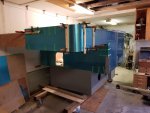
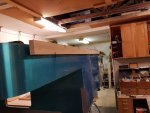
Big ole slab of aluminum on this side. Nothing too exciting. This side will be getting the awning and the awning room installed. Nice dry place out of the rain and a good place for kids to sleep!
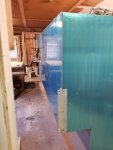
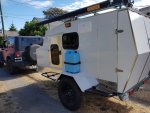
Rear skins done. Note the fact that the LPG cubby is skinned over...lol. Need to get that cut open again, the varnish and all of my painting / varnishing tools are in there!
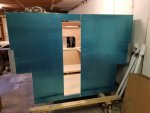
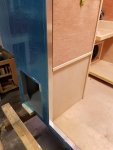
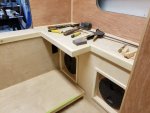
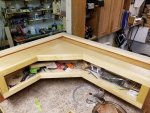
Interior trim is in... need to trim up those plugs. Oh and you might notice the BIG pool of glue in the corner of the seat behind the trim. When we turned the camper this morning, the glue bottle fell over and spilled. I am glad it was 90% empty. Going to wait for this to dry up and peel it off rather than make more of a mess wiping it up. Ugh...FML.
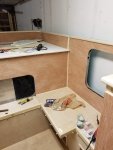
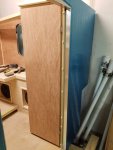
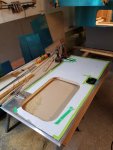
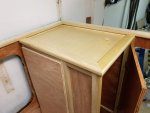
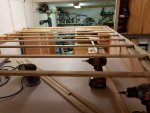
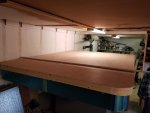
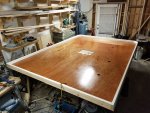
Mike finished the lid on the top of the drawer / hanging locker cabinet this past week. I really dig the way this turned out and am trying to decide if I should leave the birch ply (varnished of course) or install some of the counter top material? Hmm... thoughts?
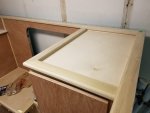
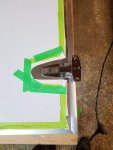
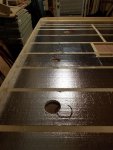
We both signed this and I put a nice Sika smiley face for fun. If this ever telegraphs through (the smiley not the sharpie) I will not be upset. heh LOTS of Sika on this thing, the skins we have installed and pressed onare stuck on there forever... that stuff will not let go once dry. As it cures it seems to pull itself flatter and tightens up. We had to pull off 1 small 4" long piece and Mike destroyed the aluminum getting it off... the wood luckily survived... but he needed to cut it off. Crazy stuff.
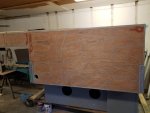
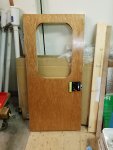
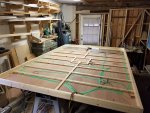
Next up, the last piece of nose skin and a buttload of corner trim! Oh and framing in the door openings so we can finish the doors and tune the gaps up. Coming along... oh and the roof too. heh
Mike was a busy guy last week and managed to get the interior jst about 100% completed. Well the trim at least. There is only the bed extension and the doors on the cabinet above the sink to install... and a BUNCH of wiring and a bucket load of varnishing to do. heh
The front corners are rounded with about a 6" radius as I recall. I really wanted to do this rather than a square or a chined corner. Personal preference and an architectural detail that turns out to be a PITA. Lots more work that square or chined, but I like the look and when the roof is installed it should look rad.

Front lower skin installed. Once its dry we trim out the windows!

I like it in translucent blue. Might need to consider a wrap or spraying it that colour one day? heh

Big ole slab of aluminum on this side. Nothing too exciting. This side will be getting the awning and the awning room installed. Nice dry place out of the rain and a good place for kids to sleep!

Rear skins done. Note the fact that the LPG cubby is skinned over...lol. Need to get that cut open again, the varnish and all of my painting / varnishing tools are in there!

Interior trim is in... need to trim up those plugs. Oh and you might notice the BIG pool of glue in the corner of the seat behind the trim. When we turned the camper this morning, the glue bottle fell over and spilled. I am glad it was 90% empty. Going to wait for this to dry up and peel it off rather than make more of a mess wiping it up. Ugh...FML.

Mike finished the lid on the top of the drawer / hanging locker cabinet this past week. I really dig the way this turned out and am trying to decide if I should leave the birch ply (varnished of course) or install some of the counter top material? Hmm... thoughts?

We both signed this and I put a nice Sika smiley face for fun. If this ever telegraphs through (the smiley not the sharpie) I will not be upset. heh LOTS of Sika on this thing, the skins we have installed and pressed onare stuck on there forever... that stuff will not let go once dry. As it cures it seems to pull itself flatter and tightens up. We had to pull off 1 small 4" long piece and Mike destroyed the aluminum getting it off... the wood luckily survived... but he needed to cut it off. Crazy stuff.

Next up, the last piece of nose skin and a buttload of corner trim! Oh and framing in the door openings so we can finish the doors and tune the gaps up. Coming along... oh and the roof too. heh

