Post up your drawer/storage system

Yuman Desert Rat

Expedition Leader
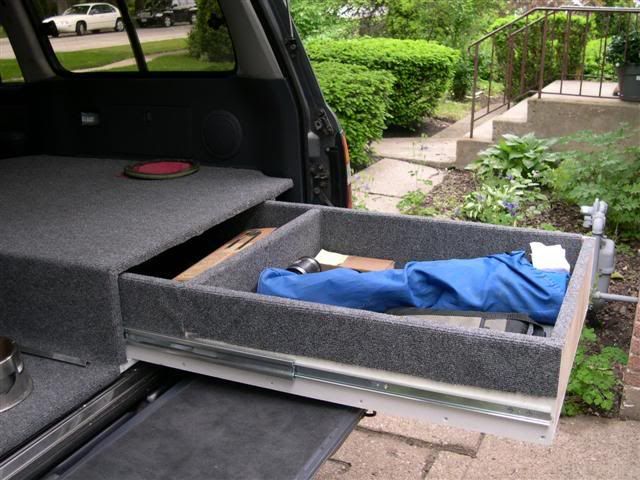
I used accuride and knape and Vogt HD locking slides for my build up. They have performed flawlessly so far. The accuride slides the whole system out and the KV slides move the fridge and upper drawer out sideways.
 

Titanpat57

Expedition Leader
Yes Sir...and thank you.

I really need to check the balance and payload of the drawers one more time. I want to fit a recovery rope and some D shackles in there, so I just need to revist the contents for old time sake.
 

Wildcat

Adventurer
4Runner set up

here is mine in the new-old 2nd gen t4r.

3/8" plywood
1x8 pine
turnbuckles and coated screws

the front has an open space for spare parts, axles and such. rear slide outs. no drawer slides, just wood on wood. still need to build another drawer for the other side. i "might" add sum cutting board strips later but not worried at the moment. the drawers are 31" deep. the space up front is 11" deep. i also reserved the triangular space just behind the seat. it is a perfect spot to hide a certain sumthin sumthin. i will add some padding in that spot next.

:gunt:

Picture 009.jpg

Picture 012.jpg

Picture 016.jpg

Picture 015.jpg
 

Attachments

  • Picture 007.jpg
    Picture 007.jpg
    161 KB · Views: 108
  • Picture 014.jpg
    Picture 014.jpg
    151.5 KB · Views: 107

WeebleWobble

New member
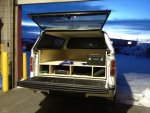
F-150 liner/drawer system.

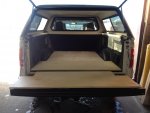
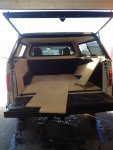
With some inspiration from some the many amazing ideas here on this thread. I designed this for the back of my 2012 F150. I wanted organized storage, and a nice flat platform for my dogs when traveling. The line is constructed using 3/4 Birch plywood and only had access to a circular saw and jigsaw to get the pieces cut. I'll be looking for a table saw to build the drawers.

A quick Sketch-Up drawing of the idea in my head. I want something that slides in and out so I can still have full use of the box with the washable plastic liner.
Box Liner-1.jpg

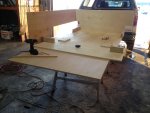
Test fitting the bottom and front pieces.
Box Liner-1-2.jpg

Test fitting the side pieces.
Box Liner-1-3.jpg

Initial dry assembly. The blocks are just there to square the sides and hold the bottom together before the dividers and top platform are installed.
Box Liner-1-5.jpg

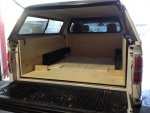
Installed in the truck after day 1. Notice the notches cut for the canopy clamps. Right now this keeps the liner in place as the clamps keep it from sliding and lifting.
Box Liner-1-6.jpg

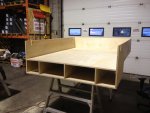
Day 2 installation of the dividers and the top platform. The smaller end holes will have 2' drawers for my tire chains, hitch, tow strap and shackles. The 2 larger ones are 6' long and will hold tools and other miscellaneous gear.
Box Liner-1-7.jpg

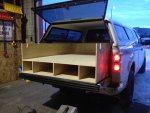
Final install of the liner in the back of the truck.
Box Liner-1-8.jpg

Just storing a few items in the drawer holes until I can get the drawers completed.
Box Liner-1-9.jpg

I'll post and update when I get the drawers complete and installed.
 

WeebleWobble

New member
why have the perimeter 'walls' extend higher than that drawers?

I chose to go with the high walls for the sake of my dogs. I wanted a 'box' for them to be in while I travel, if i take a corner and they are standing they won't slide down in the crevices down the sides. I'm also going to attach a fire extinguisher and flashlight mount to the sides, and maybe someday Ill work in a small electrical panel with a 12V outlet (for fans, heaters and other 12v accessories) and switches for interior lighting in the canopy.
 

bbbflash

Observer
Hi all,

The storage / platform for our '98 4Runner is %99.99 done so I thought I'd share some pics with the ExPo crowd. I've been posting progress on this over at Central Overland, but I thought it'd be fun to de-lurk here and share a little. There's some great stuff in this thread! :cool:

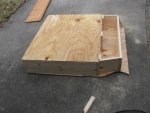
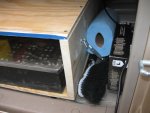
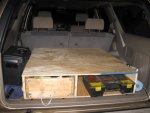
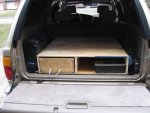
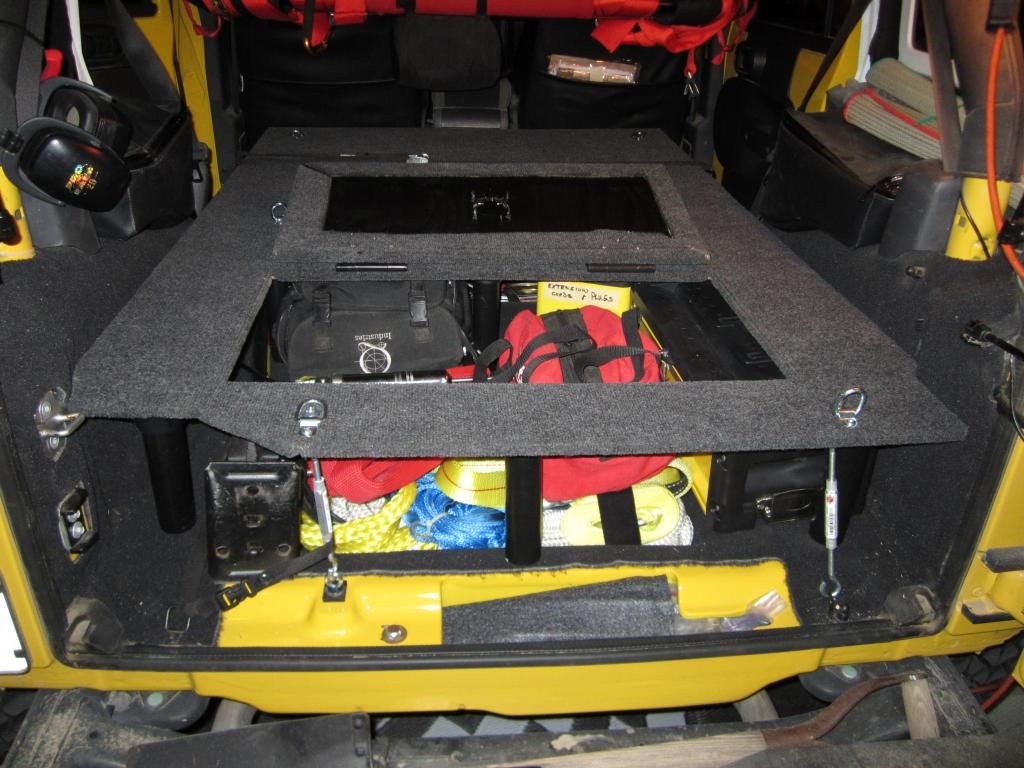
My goal was to consolidate various bags and boxes of gear into a couple of drawers, maximizing space and keeping things as light as I could. The box and drawers are 1/2" birch ply, doweled and glued, spar varnished with flat black Rustoleum on the exposed exterior faces and carpet on top, back and sides. I used UHMW tape in place of HD drawer slides so I could maximize drawer width between the two wheel wells. The cabinet bolts to the floor of the cargo area with four bolts at each corner.

View attachment 105774 View attachment 105775 View attachment 105777 View attachment 105779

The carpet edge was trimmed/sealed with black RTV silicone as a stopgap until I could find or make a suitable metal edge trim. It has held up so well, though, that I've decided to just leave it that way. Looks clean and blends well with the black finish.

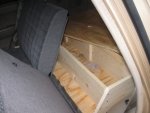
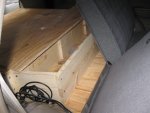
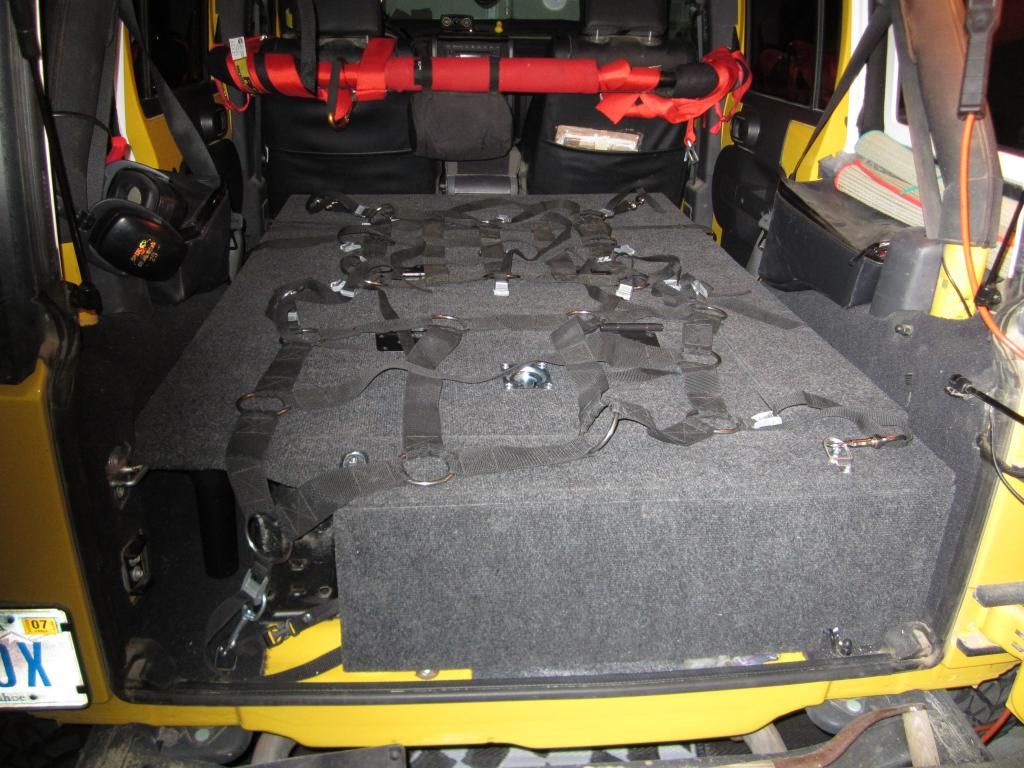
The second part of the project was a platform extension in place of the rear seat. We only need three seats for the family, so the extra seat was just taking up valuable space even when folded. The seat was removed and the platform was designed and built to act as a sleeping space for one (me, when we all go camping we use a tent) with storage below for recovery gear & misc. stuff. When on the road & trail the dog, cooler, etc. ride on the platform. Same materials and finish as the drawer cabinet with the addition of aluminum brackets that utilize the four bolt locations from the deleted seat.

View attachment 105780 View attachment 105782 View attachment 105783 View attachment 105785

Plenty of room for me to sleep, and SOOO much more storage / dog space even when there's additional gear in the back. Might add some little things here and there, like some tie-down points on the platform area, etc. but for now I'm calling it done. :wings:

Oh, almost forgot: There's a few additional pics here.

Great build! I will probably be doing something very similar in my Grand Cherokee. Thanks for the ideas.
 

JIMBO

Expedition Leader
:sombrero: Sorry, no DRAWERS, just doors-

IMG_0614_zpsba5f662a.jpg


IMG_0612_zpsd606d0a5.jpg


Can sleep onit too, although not like the home California kingsize-just tolerable !

:costumed-smiley-007:wings: JIMBO
 

Jgrider16

Member
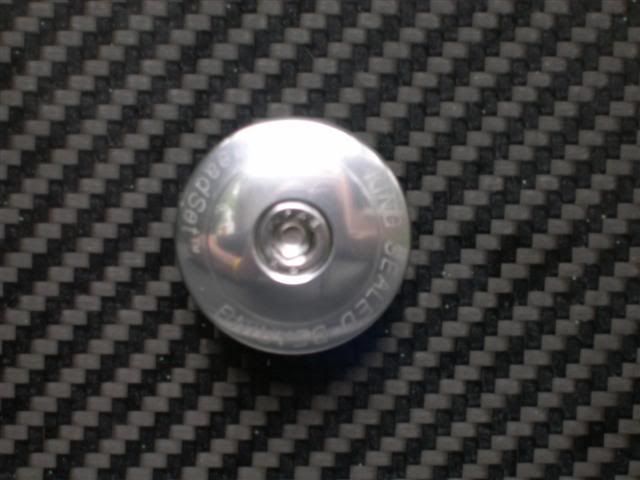
Perfect pull knob ... love it!
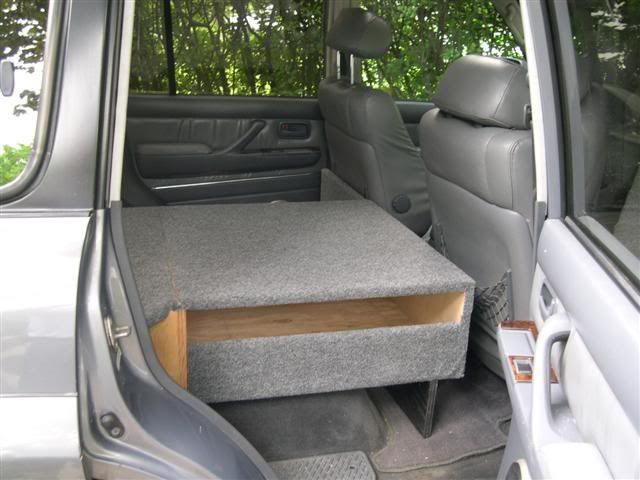
Mine was built out of 1 full sheet of 3/4 ply and the reast was scrap i had around (ok fine, I save everything)
Test Fitting
Drawersetup7Small.jpg

inside
reardrawer001Small.jpg

Drawer extended
reardrawer002Small.jpg

Carbon Fiber drawer front with Chris King drawer pull
reardrawer008Small.jpg

Inside Passenger side door:
reardrawer003Small.jpg


Good luck and have fun building.

B.
 

Forum statistics

Threads
188,028
Messages
2,901,368
Members
229,411
Latest member
IvaBru
Top