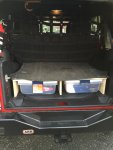
Post up your drawer/storage system

scbrooks87

Observer
After a lot (LOT!!!!) of other work on the jeep I have finally got to the fun part of building my drawers. Not sure yet how they will turn out but I'm hopeful it won't be to bad.
Reshaped the floor to give me more area under the drawers for storage and who knows what.
After rust removal and sheet metal repair I bed lined it all. Got the Grand cherokee seats bolted in to let me have a working length and started working through it. Here's where I am at so far....

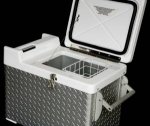
I can't wait to see this storage system come along. I'm thinking of making something somewhat similar, but maintaining the rear seats for my dog's sake. I assume the slide out section is for a fridge? If so, are you going to do any kind of shelf above it?
 

kayak15

Observer
Just got mine really together tonight. Go back finish it Saturday. Scrap wood and a lot of glue and screws.
a7b446bf19c0d7001a7ce9de73b81213.jpg
bf49a86b544be094b1941c2bc5e218ce.jpg


Sent from my iPhone using Tapatalk
 

jeepdreamer

Expedition Leader
I can't wait to see this storage system come along. I'm thinking of making something somewhat similar, but maintaining the rear seats for my dog's sake. I assume the slide out section is for a fridge? If so, are you going to do any kind of shelf above it?

You are correct sir, drivers side is predominantly a slide for the fridge. It has been more of a hassle to think through than I'd like to admit but I'm getting there. Because my fridge, and I'd assume most, is fairly tall it makes for an interesting challenge on where to place it. I wanted to be able to access it while driving yet also get to it when set up to camp. Add in the desire to have at least some area on top to lay larger flat stuff and its been interesting. I did come to a new decision yesterday for the passenger side of the set up. I was originally all gung ho about making two shallower drawers for that side but decided against it. I honestly just couldn't justify all the extra work while basically limiting what can go in each drawer due to size. One full size drawer seems a much better idea as I can always subdivide it internally as gear changes.
Not having a metal brake is one of my biggest headaches. I could have saved a LOT of effort and energy, not to mention fabrication time, If I had simply been able to buy a couple sheets and have them bent to the drawer sizes. Alas...I'm not that lucky so its made me construct the skeleton out of 1x and then skin it with sheet. That being the case I think the quality has gone down due to trying to learn to work better with thin sheetmetal and its odd tendency to act funny. :O
Still trying to work through the design as I go. You'll see its a little quirky when you build yours. And while I don't see any reason you can't keep your back seat...You may be surprised at how the "trunk" space disappears rather quickly.
 

Attachments

  • fridger.jpg
    fridger.jpg
    13.6 KB · Views: 1,931
  • fridge 2.jpg
    fridge 2.jpg
    548.4 KB · Views: 131
Last edited:

scbrooks87

Observer
You are correct sir, drivers side is predominantly a slide for the fridge. It has been more of a hassle to think through than I'd like to admit but I'm getting there. Because my fridge, and I'd assume most, is fairly tall it makes for an interesting challenge on where to place it. I wanted to be able to access it while driving yet also get to it when set up to camp. Add in the desire to have at least some area on top to lay larger flat stuff and its been interesting. I did come to a new decision yesterday for the passenger side of the set up. I was originally all gung ho about making two shallower drawers for that side but decided against it. I honestly just couldn't justify all the extra work while basically limiting what can go in each drawer due to size. One full size drawer seems a much better idea as I can always subdivide it internally as gear changes.
Not having a metal brake is one of my biggest headaches. I could have saved a LOT of effort and energy, not to mention fabrication time, If I had simply been able to buy a couple sheets and have them bent to the drawer sizes. Alas...I'm not that lucky so its made me construct the skeleton out of 1x and then skin it with sheet. That being the case I think the quality has gone down due to trying to learn to work better with thin sheetmetal and its odd tendency to act funny. :O
Still trying to work through the design as I go. You'll see its a little quirky when you build yours. And while I don't see any reason you can't keep your back seat...You may be surprised at how the "trunk" space disappears rather quickly.

I can totally relate to the problems one faces when you just don't have the right tool for the job. It certainly makes for interesting workarounds though. Since I'm just seeing the build through pictures on the internet, it's hard to tell for sure but I think it's looking great! Especially if you plan to do some clean-up sanding and painting once it's all said and done.

I plan to build my storage system with wood, mostly because metal fab is such a pain in the *** when you don't have a press brake or a plasma cutter. I like the system made by Drifta (AUS company) but I can't really see myself being able to afford that any time in the near future. They have a slide out "kitchen" system that basically sets up like a table to create a good bit of work surface. I'd probably build as low profile of a fridge slide as I could manage just for that quick beverage pull on the trail, but when set up at camp I'd want to be able to take the fridge all the way out I think.

You're right about the "trunk" space filling up quick though! We have taken a couple beach trips and just adding a big cooler, camp chairs, food, easy up, towels, the dog, etc... it was pretty tough to get it all to fit. Of course I still have a 31" spare sitting in the back at the moment, but I'll be getting a tire carrier bumper shortly to remedy that problem!

Anyway, I can't wait to see your system progress! Please keep posting up the pictures as you go along, I'll be following this one.
 

Kevin108

Explorer
i think you need to use your own sensibility. some guys use framing lumber and flake board instead of marine plywood. some use nails instead of construction adhesive and through screws. some pocket screws and butt joints instead of structural joinery with weather resistant adhesive.

rather than have woodworking become another hobby (unless that's your intent), plan on using:

the most water resistant product you can source

the most dimensionally stable product you can source

the most water resistant adhesive you can source

corrosion resistant fasteners everywhere

dado / rebate / interlocking joints everywhere

most folks admit they've learned "for the next one".


the next 10 responses will explain why none of this is necessary and "you don't need ....." and (fill in the blank) " ... worked fine for my buddy's rig".

post pictures when it's done.

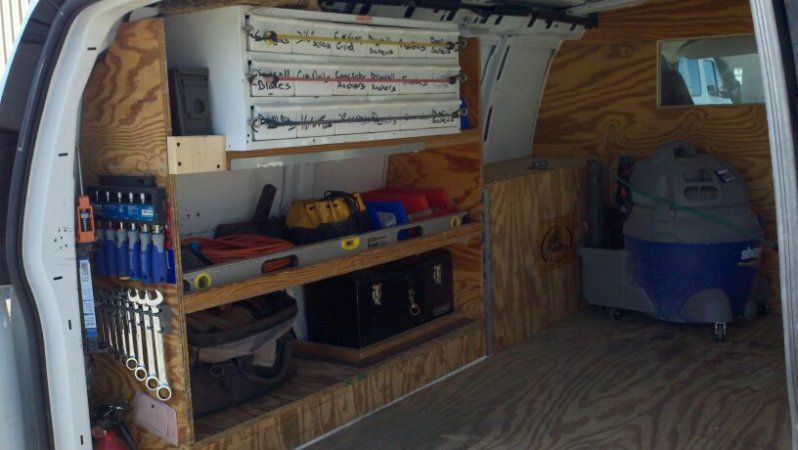
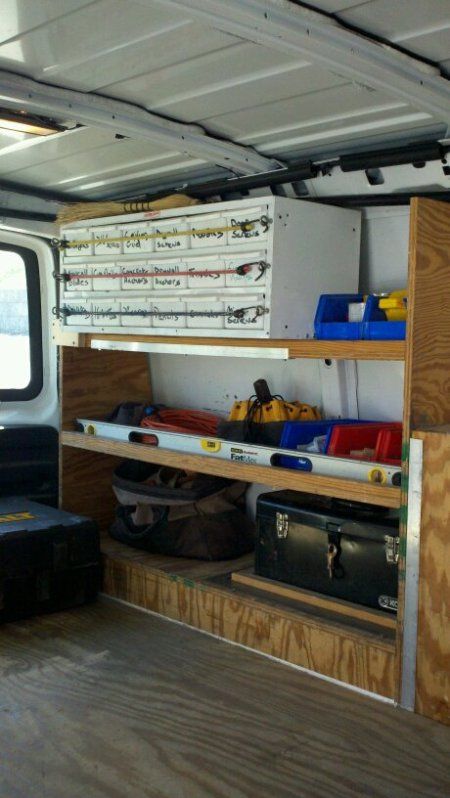
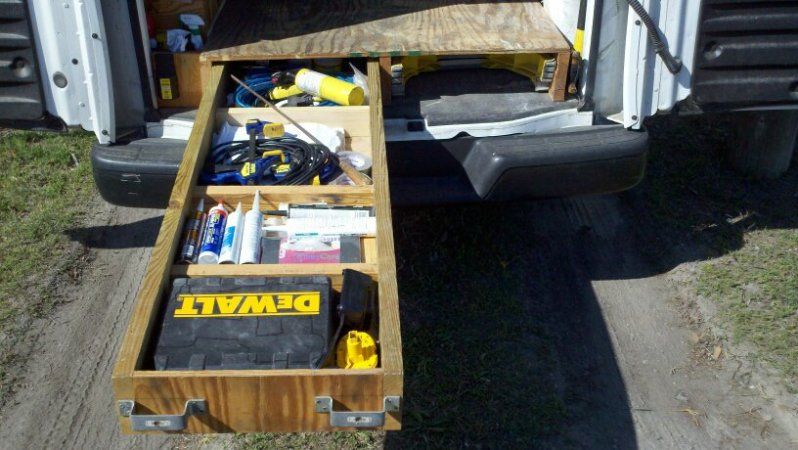
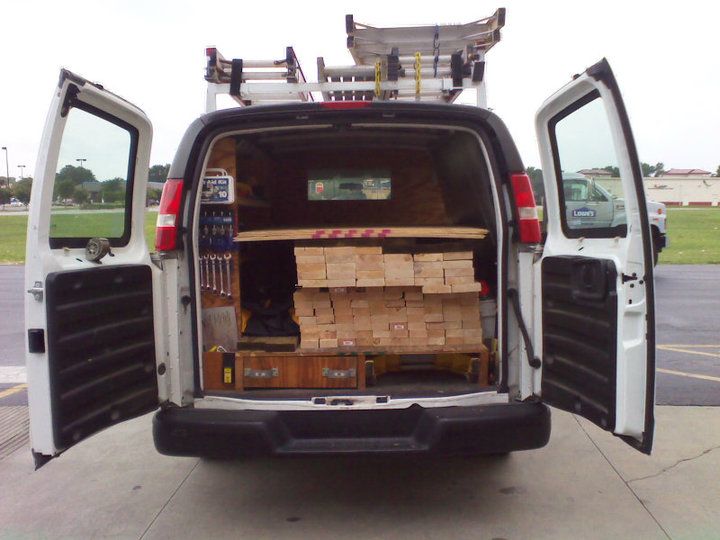
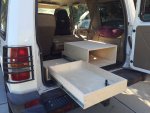
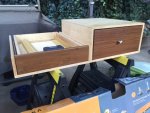
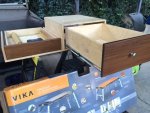
I don't really agree, but everything I did below was as a career carpenter. This isn't my expo build, but my work van. I built it in 2006 and handed it off to a coworker last year. It's been in the weather every day and held up great. Plywood is just standard BC 3/4" from Lowes. Everything was secured with deck screws except for what went into metal, though everything was pre-drilled. No adhesive or locking joints. Wanting to weatherproof interior components is lost on me. I'm not saying I don't appreciate overengineering and craftsmanship, I'm just saying some of what you've mentioned is not required to produce a durable product.

210123_214772505200270_6114824_o.jpg


209153_214772578533596_4534599_o.jpg


221579_214772561866931_1683863_o.jpg


40104_152099724800882_1982810_n.jpg
 

elliottblackwood

Adventurer
I decided to tackle this project based on a few ideas I've seen on Expedition Portal and elsewhere. There are no plans or documented measurements as I just designed this on a cocktail napkin and constructed in the parking garage of my apartment (0/10, wouldn't recommend). I chose to use doors, instead of drawers, to keep the cost and weight REALLY low. The current iteration weighs less than 40 pounds and can be remove in less than 2 minutes. I plan to add a detachable platform that will allow a full size air mattress to be used while camping, that should be the easy part. Most materials are 1/2" birch with some very strategic supports to increase strength but again, keeping the weight minimal. Would love to hear any feedback as this is my first attempt at wood working (I'm generally more comfortable with metal fab).

6W8vD3z.jpg


zVZgIr6.jpg


SawbxO7.jpg


ikKpsOW.jpg


PspKDHJ.jpg


eO87WFJ.jpg


3vuIF2F.jpg


DVcBIZH.jpg
 

don simon

New member
I decided to tackle this project based on a few ideas I've seen on Expedition Portal and elsewhere. There are no plans or documented measurements as I just designed this on a cocktail napkin and constructed in the parking garage of my apartment (0/10, wouldn't recommend). I chose to use doors, instead of drawers, to keep the cost and weight REALLY low. The current iteration weighs less than 40 pounds and can be remove in less than 2 minutes. I plan to add a detachable platform that will allow a full size air mattress to be used while camping, that should be the easy part. Most materials are 1/2" birch with some very strategic supports to increase strength but again, keeping the weight minimal. Would love to hear any feedback as this is my first attempt at wood working (I'm generally more comfortable with metal fab).

6W8vD3z.jpg


zVZgIr6.jpg


SawbxO7.jpg


ikKpsOW.jpg


PspKDHJ.jpg


eO87WFJ.jpg


3vuIF2F.jpg


DVcBIZH.jpg
Looking good for a first attempt, and no one can ever take away the fact that you did it yourself. Like me, you have surface mounted the angles for support, when I next take mine to bits and have somewhere nice and warm to work, I'll be recessing them so there are no obstructions when I slide things in and out of the drawer area.
 

Retired Tanker

Explorer
I decided to tackle this project based on a few ideas I've seen on Expedition Portal and elsewhere. There are no plans or documented measurements as I just designed this on a cocktail napkin and constructed in the parking garage of my apartment (0/10, wouldn't recommend). I chose to use doors, instead of drawers, to keep the cost and weight REALLY low. The current iteration weighs less than 40 pounds and can be remove in less than 2 minutes. I plan to add a detachable platform that will allow a full size air mattress to be used while camping, that should be the easy part. Most materials are 1/2" birch with some very strategic supports to increase strength but again, keeping the weight minimal. Would love to hear any feedback as this is my first attempt at wood working (I'm generally more comfortable with metal fab).

First off, well done!! Nice work tailoring the bits around the shape of the cargo area! And the pride of doing it yourself can't be measured!

I would be a little concerned about supporting the fold outs on the sides. Right now all of the force on those areas would be carried by the piano hinges. Between the fact that they're thin and brass (maybe brass plated) and the leverage forces, they're going to pull apart in short order. You may think about some fold out supports mounted to the sides of the side upright supports. But in any case, I'd replace the piano hinges with something more substantial.

Good job!
 

elliottblackwood

Adventurer
First off, well done!! Nice work tailoring the bits around the shape of the cargo area! And the pride of doing it yourself can't be measured!

I would be a little concerned about supporting the fold outs on the sides. Right now all of the force on those areas would be carried by the piano hinges. Between the fact that they're thin and brass (maybe brass plated) and the leverage forces, they're going to pull apart in short order. You may think about some fold out supports mounted to the sides of the side upright supports. But in any case, I'd replace the piano hinges with something more substantial.

Good job!

You're absolutely right. Actually, I have plans to add a small angled bracket on the interior body panel to support a more substantial load. It will need to be supported on the back side of the panel but should provide a low profile, easy solution to support the wings. Thanks for the feedback!
 

barukinzs

Observer
I just finished my drawer system using 3/4" baltic birch wood and brazilian hardwood for the drawer face.
fridgeslide.JPG drawerslide.JPG
drawerA.JPG drawerC.JPG
drawerD.JPG
 
Last edited:

kayak15

Observer
Progress! Just have to add drawer faces, trim, carpet and a few other touches.
1d6ff8baa69721aa245ab10d85fa957a.jpg


Sent from my iPhone using Tapatalk
 

Fritzoc

Observer
Built phase one of the storage system for my JKU over the past couple of days. I'd like to top it with a rubber-like mat. I need it custom cut to fit the top of the storage. Any recommendations on where to buy a custom cut rubber mat? Home Depot didn't have anything, and a quick search on line didn't turn up too much. ImageUploadedByTapatalk1448667344.190277.jpg
 

Forum statistics

Threads
188,205
Messages
2,903,754
Members
229,665
Latest member
SANelson
Top