Ian,
Progress looks great. Had a chance to test those valves yet? I ended up looping my second calorifier coil in series with the first in the end, so going to go with those change over valves on the engine instead.
I tested the valve on the bench only. It opens and closes and doesn't leak!
The new job is inevitably taking more time and I've been travelling pretty well every week since I've started. So progress has slowed.
Here's where I am
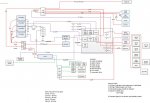
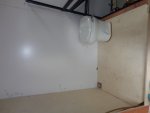
The plumbing is now done excepting for the sinks and radiators being fitted (can't do these until the cabinetry is progressed). You can see here where the 2L pressure vessel has been to fitted to keep pressure in the diesel heating circuit along with the filler circuit, pressure gauge and pressure relief valve.
In essence the system is:
- 2 fresh water tanks of ~250L each
- Grey water tank of 180l
- Black water tank of 220l. All inboard
- Currently no filtration on the water intake – but room for it in the future.
- Pressurised hot water circuit off a 5KW Eberspacher Diesel heater going to the calorifier (22L) and one blower radiator with Ts and room for a second
- Second hot water circuit from the engine (shown earlier) connecting to the second coil in the calorifier.
- 220V 1KW heater element for hot water when “Shore” power is available.
- I'm considering also including a small drinking fresh water tank. I saw a number of vans in Central America with this.

The Diesel heater has been fitted into an external metal locker which I had made up from galvanised steel. This also has an air line reel and will be used to carry the jack and heavy tools down low.


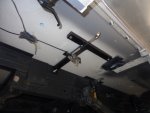
I also had a box for the batteries made. This will be bolted up under the floor and the batteries will be accessed from inside the storage area in the van.
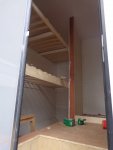
I also fitted the roof hatch and a window. Both needed some adaptation to deal with the 55mm wall/roof thickness.
Roof and hatch


You can see the filler slip I made for the window here

I had a worrisome discovery when I got up on the roof. Quite a lot of the trim was lifting. I'll have to get the guys out to fix this.

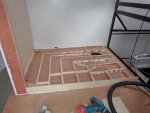
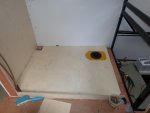
The carpenter started this week and he's fabricating the kitchen units, beds, bathroom and seating area. Here's how we're doing the construction to save weight:

This is a sandwich of 4mm Birch Ply screwed and glued to a 12mm x 80mm BP frame.
The press fronts will be 12mm white laminated BP with the ply edges showing.


