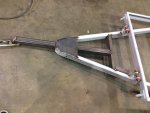
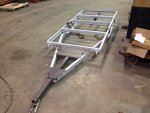
I recently purchased a M101A3 from a Marine recently returned from active duty. He purchased the trailer through GovLiquidation.com and brought it back to South Jersey. He also maintained the surge brake, checked the wiring, converted the bulbs to 12V before I found it. I was actually responding to a CL ad for a M101A2. As the A3s are getting harder to find, I was very happy to hear he had one. Evidently he buys trailers and other government surplus and resells regularly. I thought the price was fair, and always like to support anyone who serves.
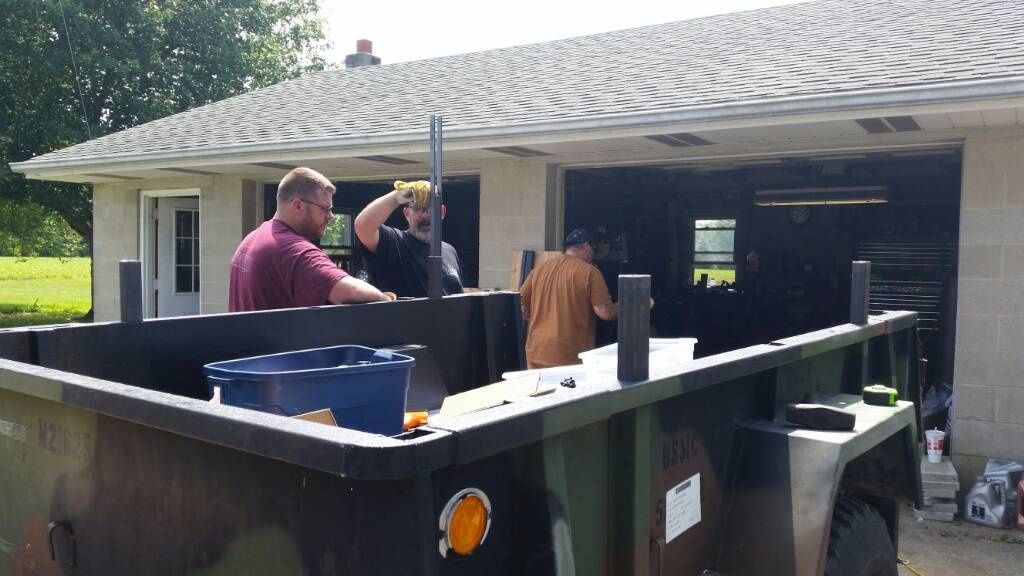
My son and I brought it over to a friends house to check it out and determine if it needed anything done prior to getting a title and plate for the trailer.

The trailer came with the bows and the tarp. The tarp has a few small holes, but nothing that can't patched up if I find a use for it. For now, I'm holding onto everything that came with the trailer till I determine it will no longer work with the trailer as I make it mine.
The tires, wheels, axle, wiring, trailer as well as the bed are in excellent condition. If someone asked if I thought it was ever deployed, my answer would be "maybe to move things around inside a warehouse".
POST BUILD EDIT:
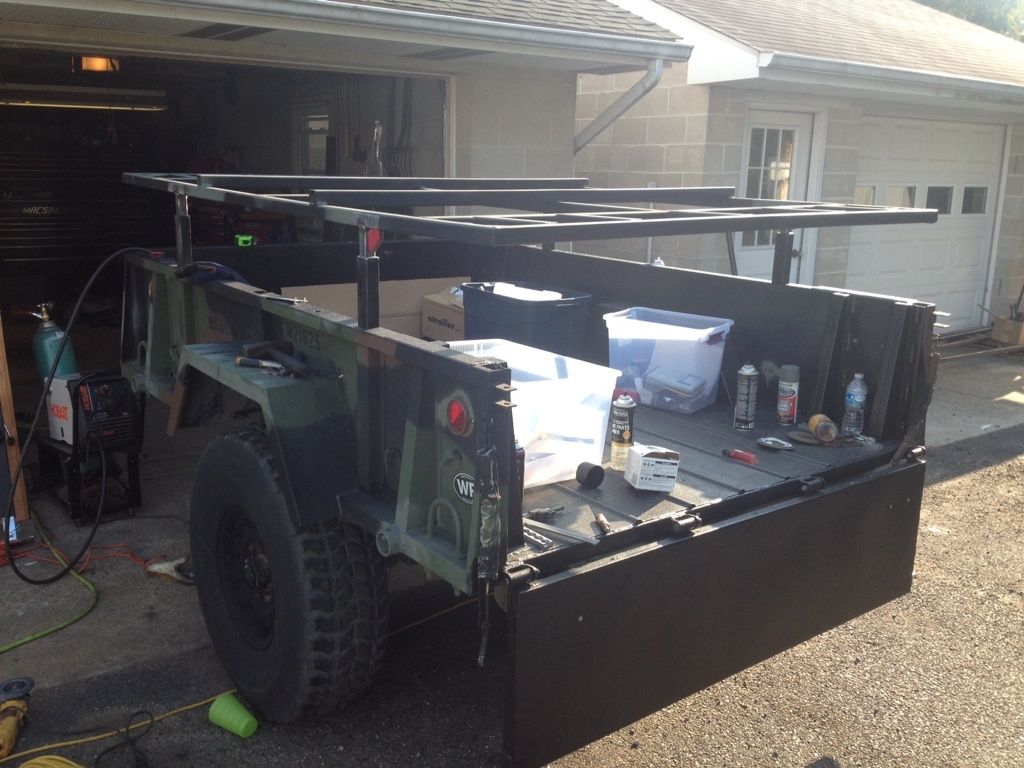
If you are going to weld anything close to the bed of the trailer, either have ample fire extinguishers available and/or wait until after you are done welding to bedline the bed. Welding will cause the bedliner to catch fire. In my experience not a large burn down the garage fire, but it will burn, and it will stink, and you will need to at least sand and re-bedline the area.
END OF POST BUILD EDIT
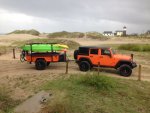
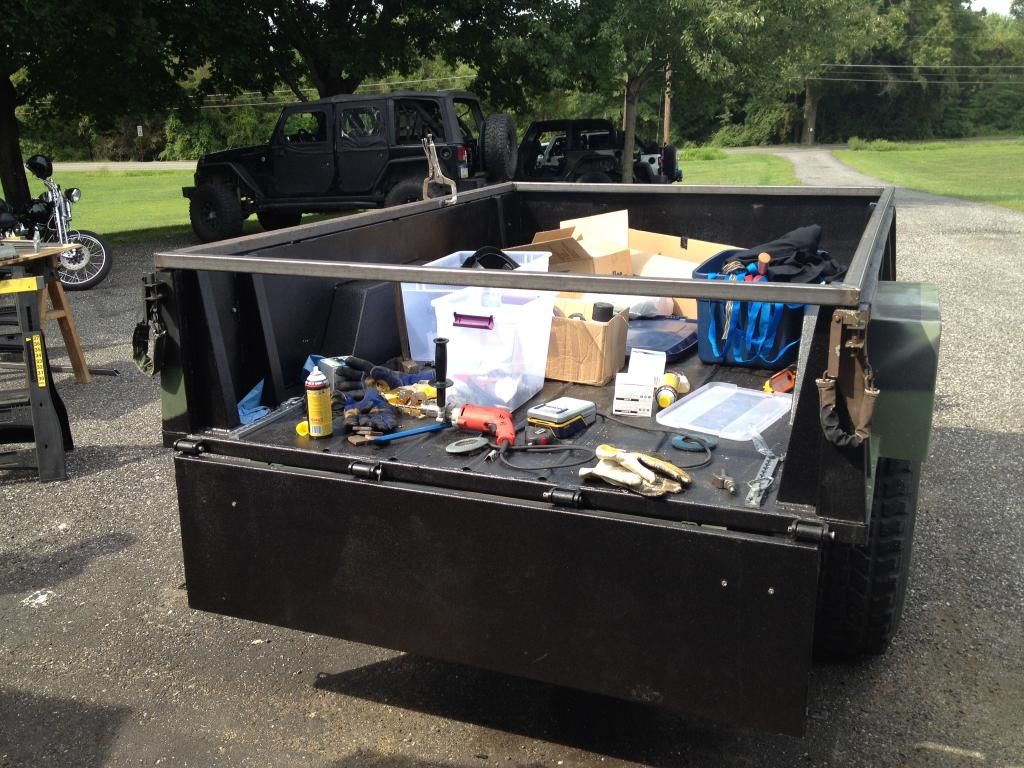
As you can tell by the picture, I have a 4 door Jeep Wrangler. I had recently bedlined the interior using Rustoleum bedliner and was very happy with the price and the result. So the first thing I've done to the trailer is to bedline the bed.
I took off the drop gate and gave it a good sanding using some large grit materials

I gave the drop gate 4 coats of bed liner, the walls of the tub 2 coats, and the bed of the tub 4 coats. Waited a day, and put it back together.

Since then I've driven it to pick up some Military Surplus cases in NE PA and used it to carry all of my and a friends camping gear out to the Grand Canyon of PA and back.
The trailer tracks right behind the Jeep and the Jeep does well with some of those very long climbs going up the NE Extension.
I'd say the only issue I've had is learning how to back up a trailer. I'm getting better at it, but most people get a kick out of watching, till they get bored and go away.
My plans are many. The overall goal of the trailer build is to store everything needed for 1 - 5 people to go out and have an adventure. If I can get my wife to join me just once a year for a few nights away from it all, I'll call it a success. My kids and I are already planning trips for the summer between their Junior and Senior years of HS. A week with Dad, his Jeep, and his Trailer, they pick the place, and navigate.
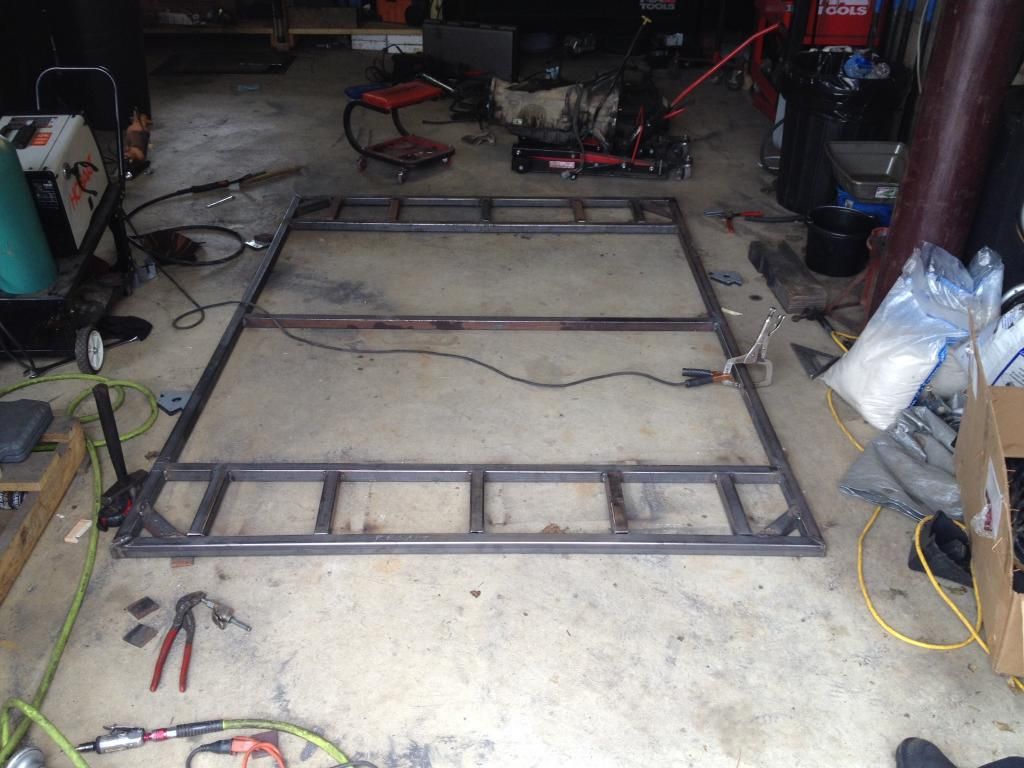
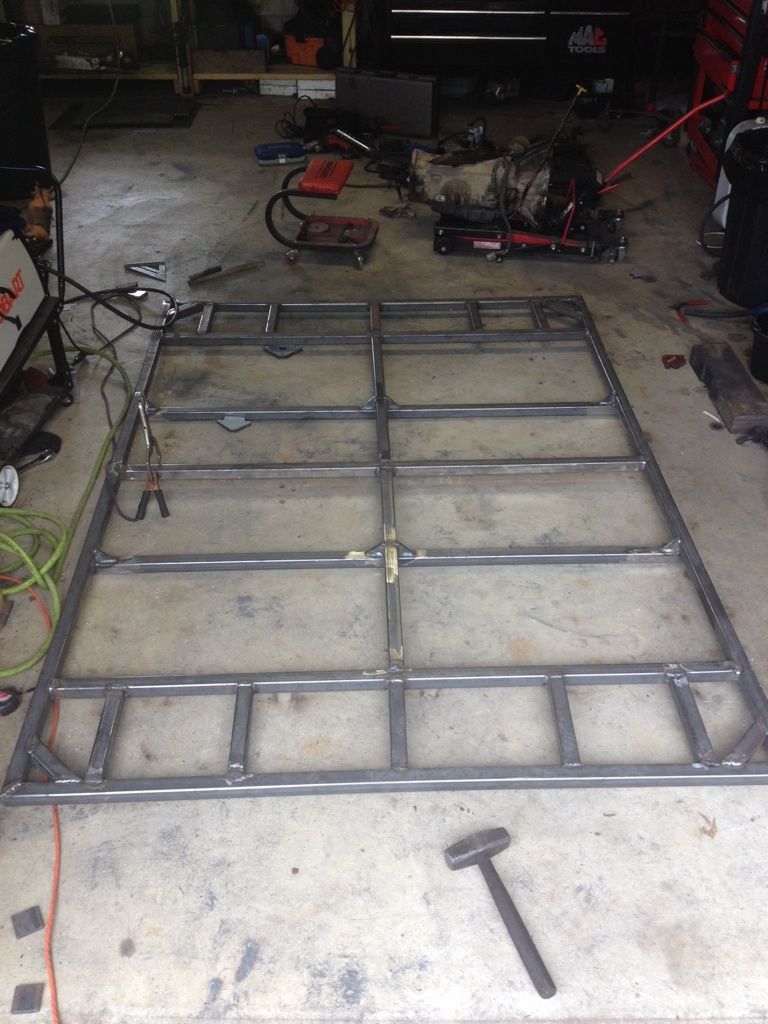
Phase 1 is to build something similar to Box Rocket's telescoping RTT rack. My friend and I picked up the steel last weekend and will start cutting and welding with a group of friends next weekend. I hope to have the rack built before the end of August.
We are going to use the existing bow pockets in the trailer. I've already picked up a cold steel chisel to remove the spot welds of the clips inside the pockets that keep the bows in place. Should be a loud first step.
I'm going with 3/16 ID rectangular pipe, most of it 1 1/2 square. I've ordered a decent sized box of toys from Mc Master, and will make sure to take plenty of pics during the build.
Other than that, the only decision I've made is to wait to reduce weight. I'll eventually go with a different hitch, most likely something like the max coupler.
I really like the 37s on the trailer, my Jeep has 35s, which gives it a slight tongue down stance when empty.
I like using things till they are ready to be replaced, and this axle and the tires look like they have at least 50K to go.
My son and I brought it over to a friends house to check it out and determine if it needed anything done prior to getting a title and plate for the trailer.

The trailer came with the bows and the tarp. The tarp has a few small holes, but nothing that can't patched up if I find a use for it. For now, I'm holding onto everything that came with the trailer till I determine it will no longer work with the trailer as I make it mine.
The tires, wheels, axle, wiring, trailer as well as the bed are in excellent condition. If someone asked if I thought it was ever deployed, my answer would be "maybe to move things around inside a warehouse".
POST BUILD EDIT:
If you are going to weld anything close to the bed of the trailer, either have ample fire extinguishers available and/or wait until after you are done welding to bedline the bed. Welding will cause the bedliner to catch fire. In my experience not a large burn down the garage fire, but it will burn, and it will stink, and you will need to at least sand and re-bedline the area.
END OF POST BUILD EDIT
As you can tell by the picture, I have a 4 door Jeep Wrangler. I had recently bedlined the interior using Rustoleum bedliner and was very happy with the price and the result. So the first thing I've done to the trailer is to bedline the bed.
I took off the drop gate and gave it a good sanding using some large grit materials

I gave the drop gate 4 coats of bed liner, the walls of the tub 2 coats, and the bed of the tub 4 coats. Waited a day, and put it back together.

Since then I've driven it to pick up some Military Surplus cases in NE PA and used it to carry all of my and a friends camping gear out to the Grand Canyon of PA and back.
The trailer tracks right behind the Jeep and the Jeep does well with some of those very long climbs going up the NE Extension.
I'd say the only issue I've had is learning how to back up a trailer. I'm getting better at it, but most people get a kick out of watching, till they get bored and go away.
My plans are many. The overall goal of the trailer build is to store everything needed for 1 - 5 people to go out and have an adventure. If I can get my wife to join me just once a year for a few nights away from it all, I'll call it a success. My kids and I are already planning trips for the summer between their Junior and Senior years of HS. A week with Dad, his Jeep, and his Trailer, they pick the place, and navigate.
Phase 1 is to build something similar to Box Rocket's telescoping RTT rack. My friend and I picked up the steel last weekend and will start cutting and welding with a group of friends next weekend. I hope to have the rack built before the end of August.
We are going to use the existing bow pockets in the trailer. I've already picked up a cold steel chisel to remove the spot welds of the clips inside the pockets that keep the bows in place. Should be a loud first step.
I'm going with 3/16 ID rectangular pipe, most of it 1 1/2 square. I've ordered a decent sized box of toys from Mc Master, and will make sure to take plenty of pics during the build.
Other than that, the only decision I've made is to wait to reduce weight. I'll eventually go with a different hitch, most likely something like the max coupler.
I really like the 37s on the trailer, my Jeep has 35s, which gives it a slight tongue down stance when empty.
I like using things till they are ready to be replaced, and this axle and the tires look like they have at least 50K to go.
Last edited:

