Project Serenity: an 08 Tacoma DC overland build-up

frozenground

Adventurer
rear diff breather relocate

Time for rear differential breather relocation.

parts used:

* Breather Plug (part #90930-03136)
* Union fitting (part #90404-51319)
* Around 6ft of hose (i used fuel line)
* 2 hose clamps
* zip ties

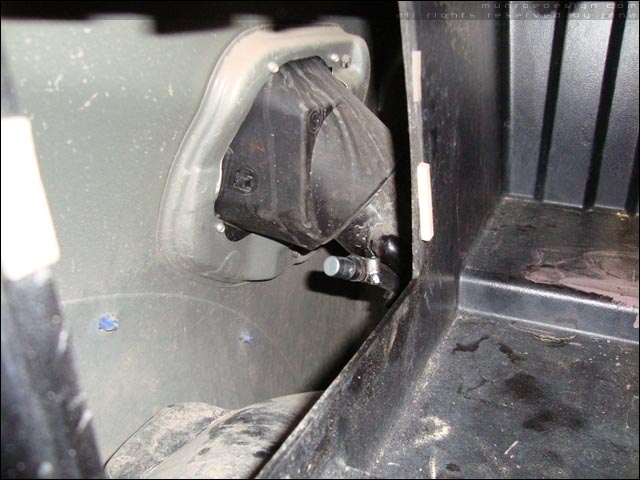
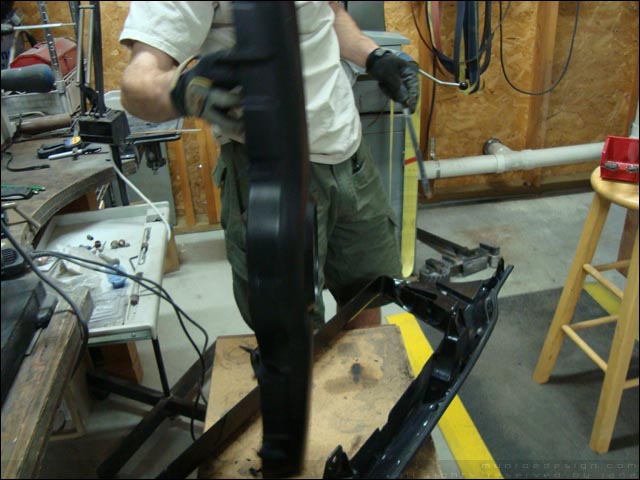
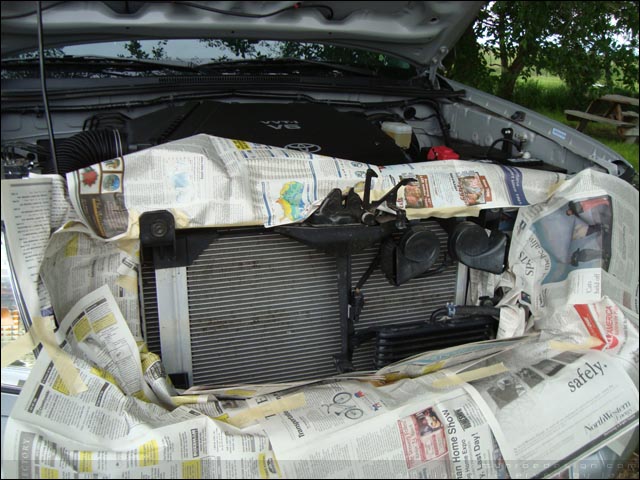
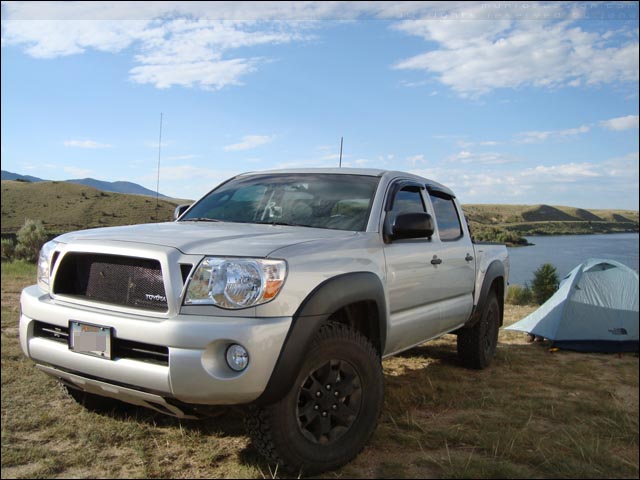
here's where I put it originally, alongside the fuel filler hose between the bed and the body. Later I moved it to the outside of the plastic wall in the fuel port door area..
serenitybuild09_17.jpg


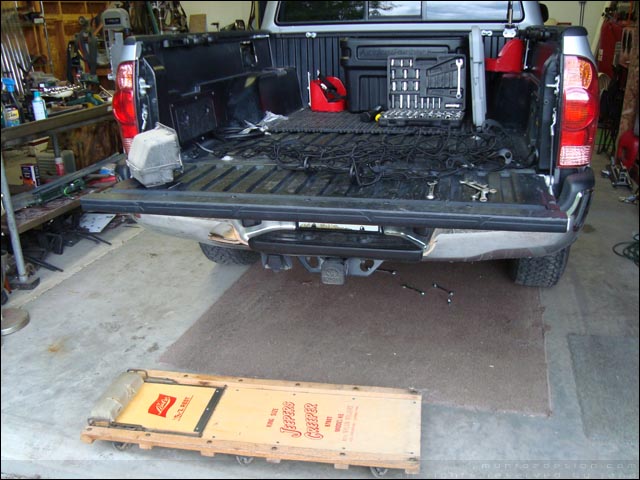
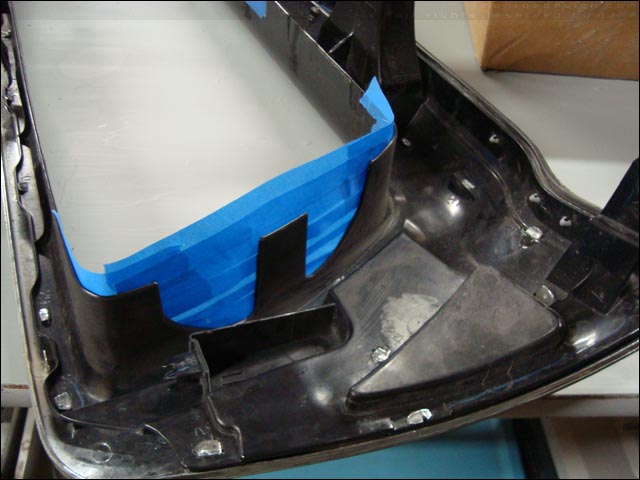
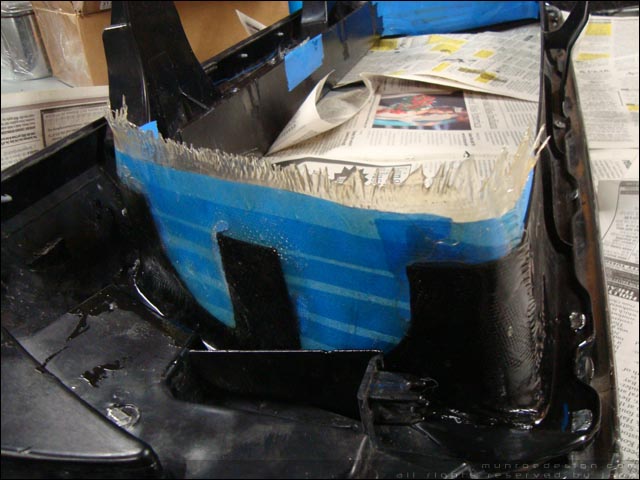
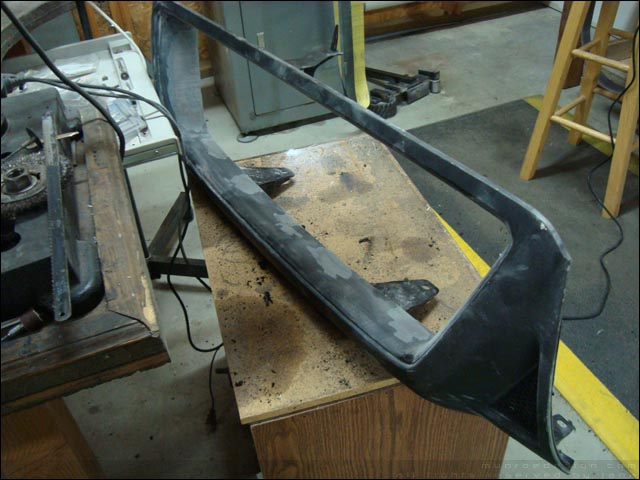
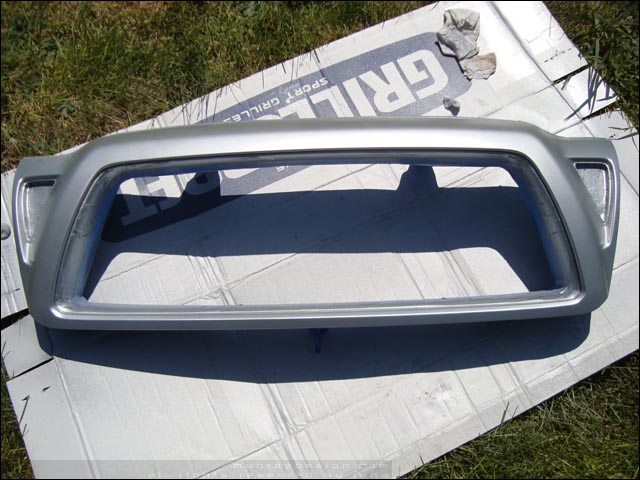
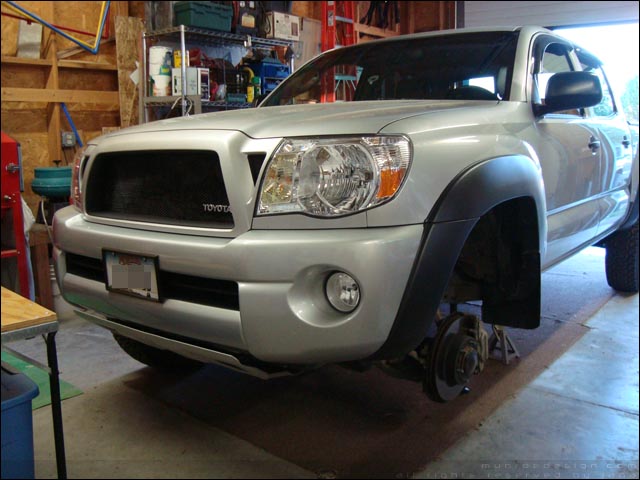
can't remember what this pic was supposed to show, but it was in the album so here ya go
serenitybuild09_19.jpg


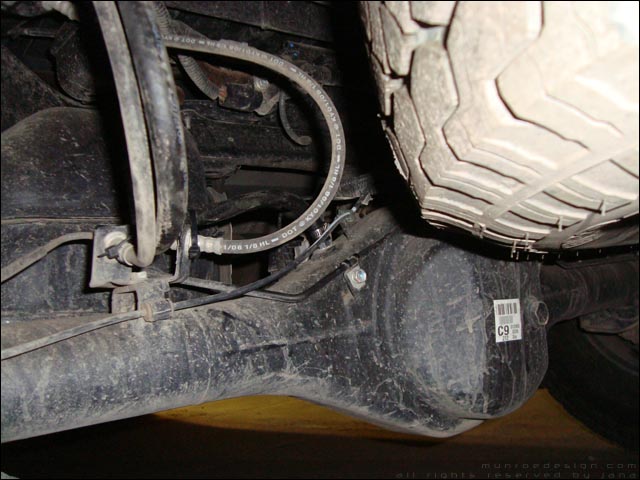
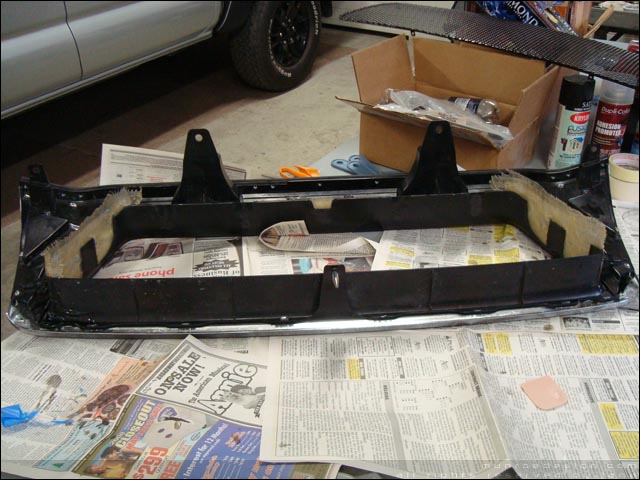
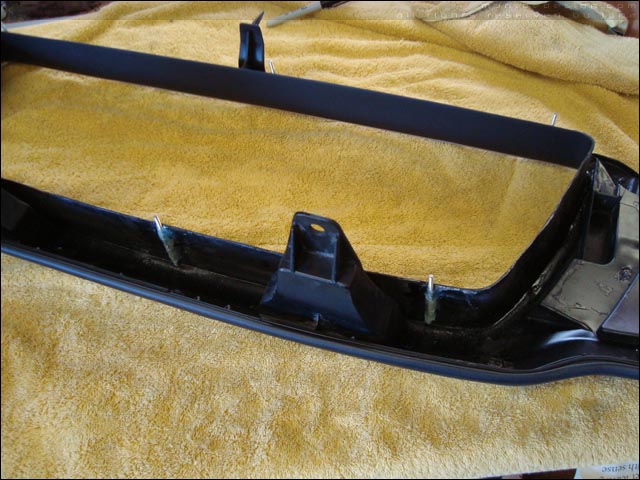
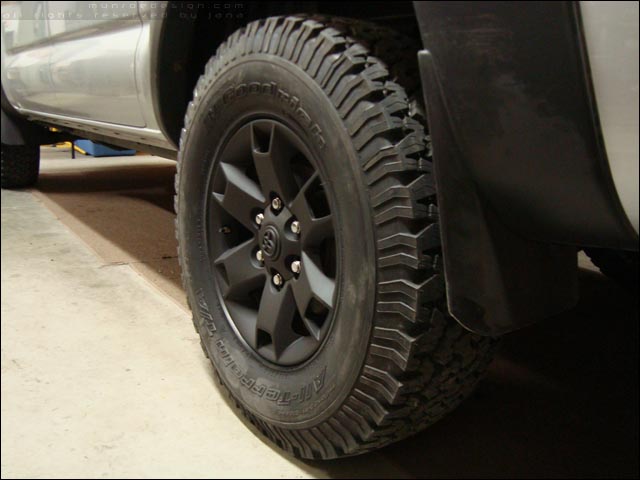
kinda hard to spot but there's the union fitting and hose routed alongside the brake lines, Later on I re-routed it when I replaced the brake lines.
serenitybuild09_18.jpg
 

Overland Hadley

on a journey
Welcome to ExPo!

Good looking build.

How do you like your Timbrens? I have a pair on order for my rig. Did you order a custom sized rubber spring?
 

frozenground

Adventurer
some misc stuff..

debadging using a hair dryer and teflon fishing line:
serenitybuild09_16.jpg


head unit removed for installation of the ipod adapter:
serenitybuild09_28.jpg


and here are some shots of her still looking pretty stock
projectserenity_11.jpg


projectserenity_12.jpg


projectserenity_13.jpg
 

frozenground

Adventurer
Welcome to ExPo!

Good looking build.

How do you like your Timbrens? I have a pair on order for my rig. Did you order a custom sized rubber spring?

thanks! your build thread has been very helpful to me :)

The Timbrens have been great, much better than the harsh bottoming on the stock bumpstops but I crave even more so have been eyeballing jounce shocks lately..

I didn't order a custom spring, but I did specify vehicle type, not sure if that mattered or not.
 

007

Explorer
Nice truck, you do nice work!

The open bed, racked rtt is an awesome set up. I love that you can access anything with the lift of a lid.

No shuffling for buried items, or undoing a swing out to lift a window to lay down a tailgate, so that you can pull out a drawer! Its all just there and nothing moves.

There are two of us in Helena that do trips, if you ever want to join us, let me know.
 

frozenground

Adventurer
Nice truck, you do nice work!

The open bed, racked rtt is an awesome set up. I love that you can access anything with the lift of a lid.

No shuffling for buried items, or undoing a swing out to lift a window to lay down a tailgate, so that you can pull out a drawer! Its all just there and nothing moves.

There are two of us in Helena that do trips, if you ever want to join us, let me know.
Thanks! I agree on the open bed setup. We debated a topper for awhile but wanted a little more versatility and a little less weight.

Cool to know on the trips! Got some in-laws in Helena :elkgrin:
 

Overland Hadley

on a journey
thanks! your build thread has been very helpful to me :)

The Timbrens have been great, much better than the harsh bottoming on the stock bumpstops but I crave even more so have been eyeballing jounce shocks lately..

I didn't order a custom spring, but I did specify vehicle type, not sure if that mattered or not.

I am glad my thread could be of help. :)

I ordered my Timbrens with a custom spring, as the Dakars put the rear higher than stock.
 

frozenground

Adventurer
I am glad my thread could be of help. :)

I ordered my Timbrens with a custom spring, as the Dakars put the rear higher than stock.
I am currently running about 2 inches over stock height in the rear and don't know if I would want the rubber any longer for my setup. Once the bed is loaded they sit pretty close to the frame..
 

frozenground

Adventurer
Satoshi!

ok here's where things started to get interesting.. ever since i saw this photo of a concept tacoma from the 08 SEMA show i wanted a grill like this:
sema08_tacomav8.jpg


So with a little research I decided to cut up the original and try my hand at some fiberglass and bondo work. Used a dremel and a hacksaw blade to cut out the factory grill:
serenitybuild09_29.jpg


Grill removed from surround, no turning back now
serenitybuild09_30.jpg


Making a mask for the fiberglass
serenitybuild09_31.jpg


Fiberglass applied
serenitybuild09_32.jpg


Setup, masking removed and ready for bondo fill
serenitybuild09_33.jpg


Meanwhile, wifey painted the radiator etc with a high temp flat black engine paint
serenitybuild09_34.jpg


Bondo all set and being sanded down to match the surround
serenitybuild09_35.jpg


Days of sanding later haha.. ready for paint! Multiple coats of duplicolor and clearcoat, and it still didn't hold up..
serenitybuild09_36.jpg


Ready for Grillcraft insert. Used threaded rod cut to length in order to attach the insert to the inside of the surround..
serenitybuild09_37.jpg


Couldn't find a good pic of the surround with the Grillcraft attached out of the truck, but here's how it looked all finished up. I used the Toyota badge from the tailgate for the lower corner of the grill. Deep-dish mod complete!
serenitybuild09_55.jpg
 

frozenground

Adventurer
new rubber!

ok so we're up to new shoes! The gloss finish on the wheels was bugging me, so we had them powder coated flat black. And since the Ragged Fails sucked in the loose and slippery stuff, I got some BFG AT K/O's in 265/75R16 on there

serenitybuild09_40.jpg


nothing quite like getting new tires :smiley_drive:
serenitybuild09_41.jpg


first run on the ATs:
projectserenity_14.jpg


projectserenity_15.jpg


hazing the bison, lol
projectserenity_16.jpg
 
Last edited:

007

Explorer
ok here's where things started to get interesting.. ever since i saw this photo of a concept tacoma from the 08 SEMA show i wanted a grill like this:
sema08_tacomav8.jpg

I wish I knew what color that was, i'd paint my truck with it!, they should have all came with those grills.
 

Forum statistics

Threads
186,787
Messages
2,888,042
Members
227,280
Latest member
Smithmds77
Top