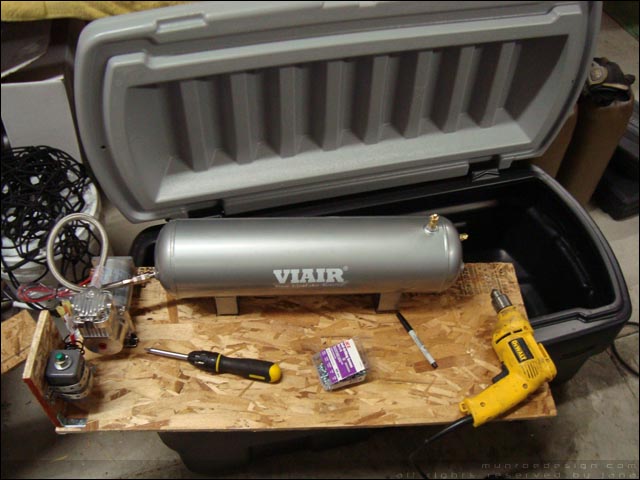
up to onboard air install.. I decided on a Viair system with 2.5 gal. tank and pressure switch.
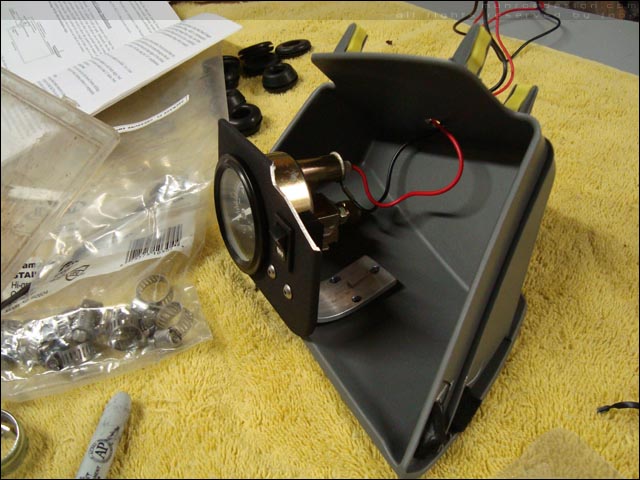
Here's a pic from when I was making the mounting board for the ActionPacker, which was a temporary solution while I was hunting for the perfect aluminum toolbox to mount everything in. Later, I rebuilt this system in a weatherguard box.
Custom bracket setup for the pressure gauge and on/off switch
Installing switch and pressure gauge..
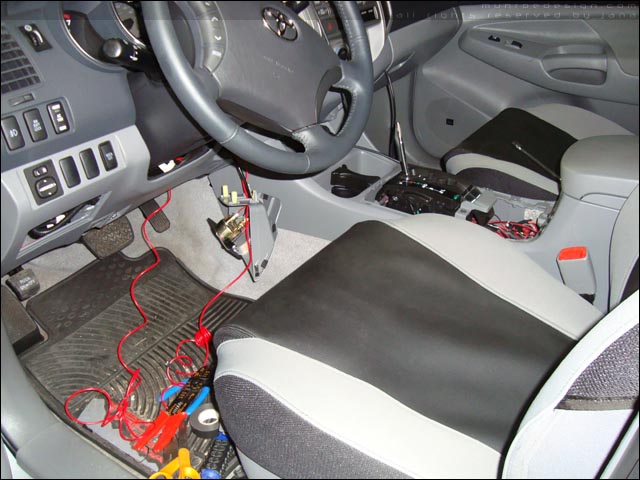
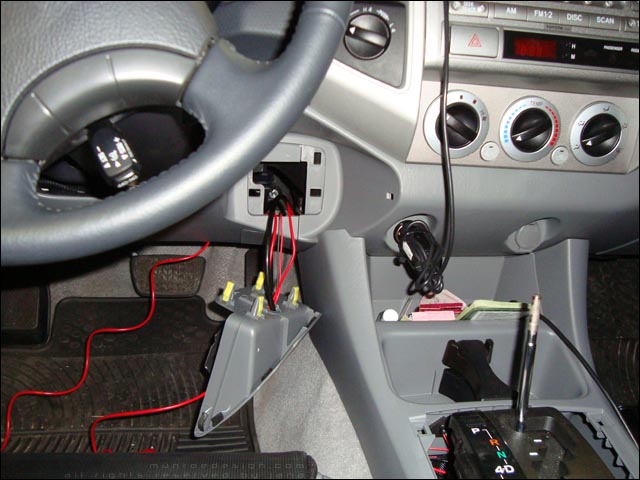
hole drilled in bed, wires and air line routed up and ready for air system/toolbox
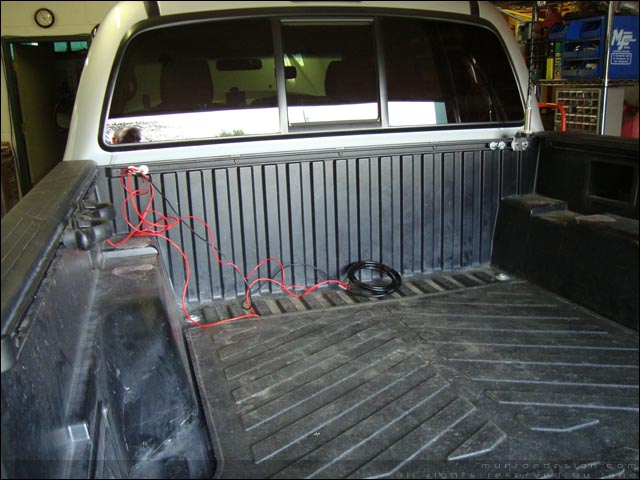
almost complete. box mounted to bed and compressor/pressure switch all wired. I later mounted an adjustable regulator on the dividing wall for the main air line..
So now we get to arguably the most important mods so far, the life support systems. At this point in the build I was in a rush trying to finish everything up before we left for a wander through southern Utah (via Las Vegas :sombrero, so I didn't get many pics of this stage...
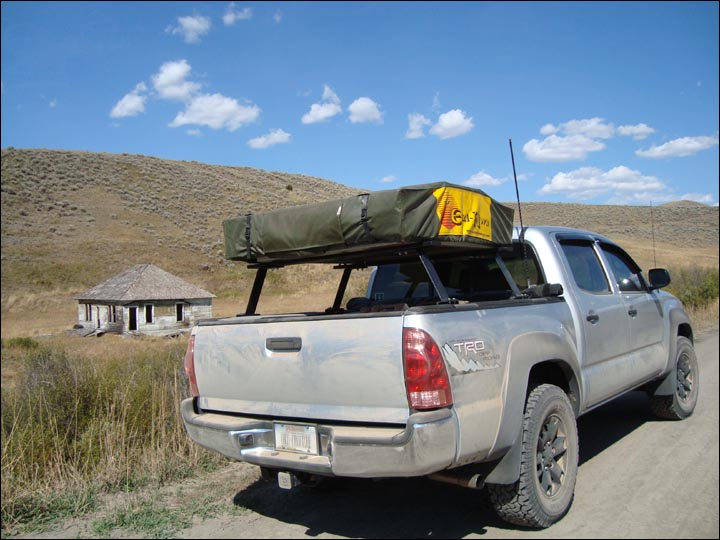
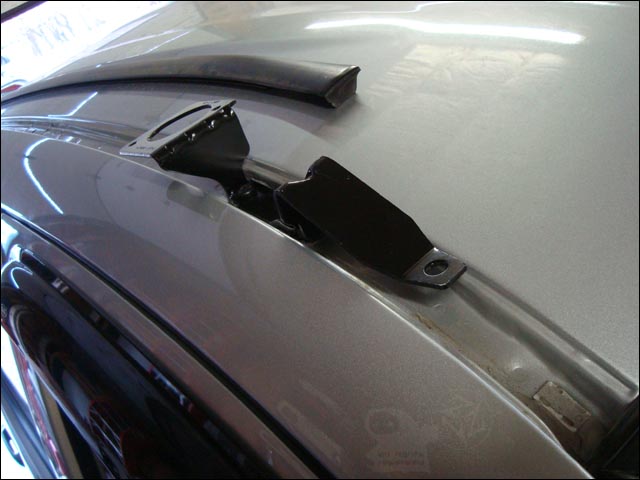
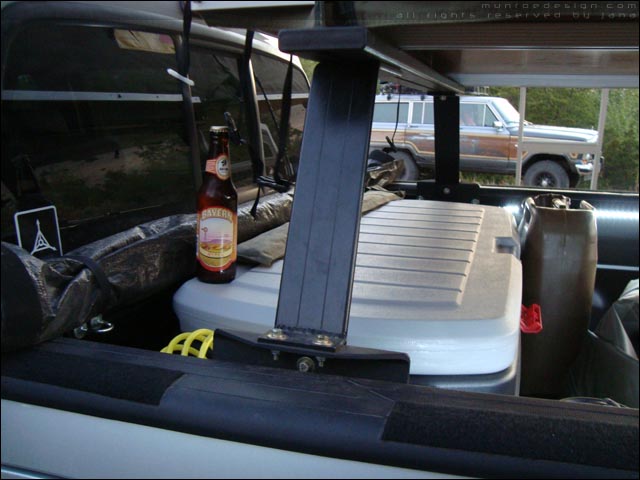
First I had to figure a way to mount the FrontRunner Bakkie on the factory bedrails since I wanted to have a quickly removable/adjustable mount for the rack instead of drilling the bedsides for something more permanent. Also, it had to be done with a quickness. I fabricated these "feet" for the rack from 3x3 angle iron.
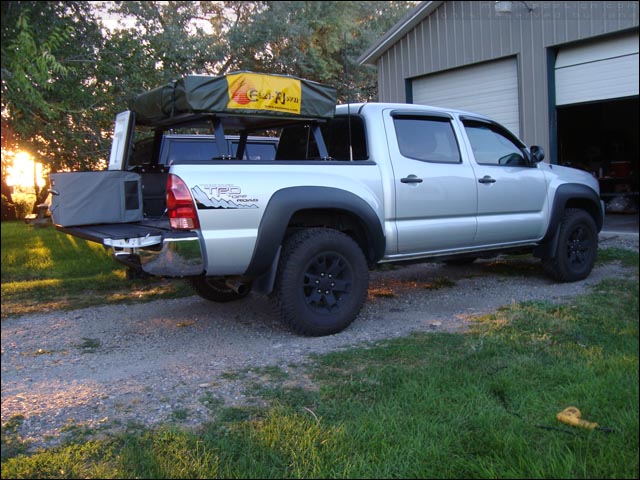
A few months later I re-built the whole system :snorkel:
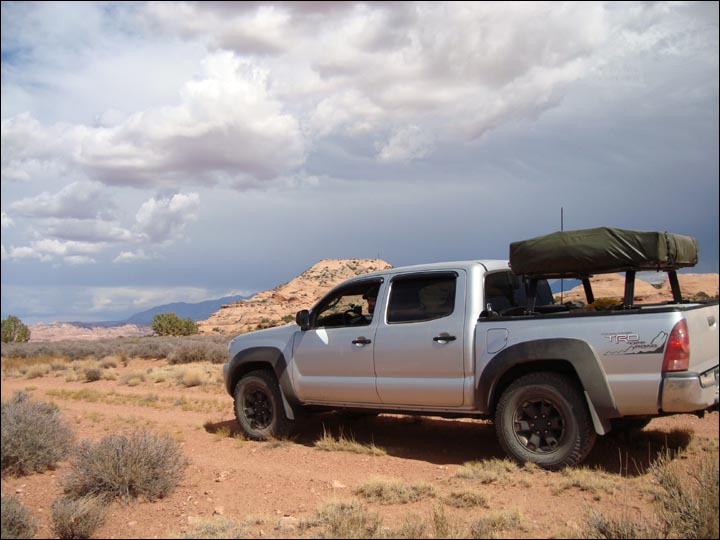
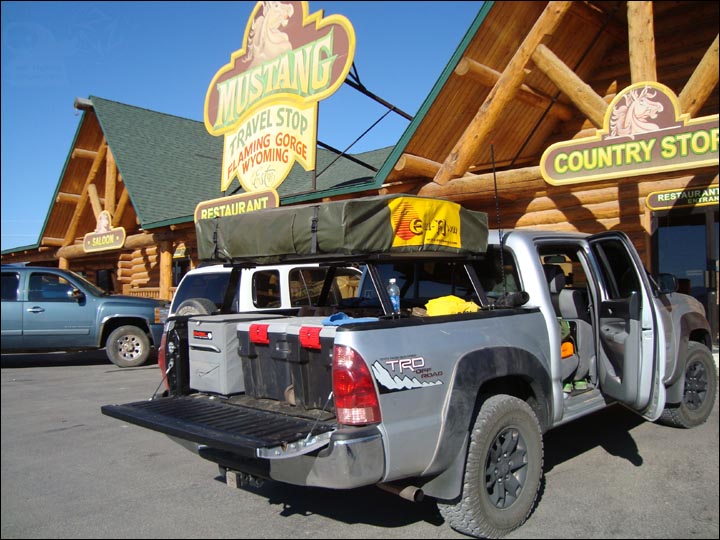
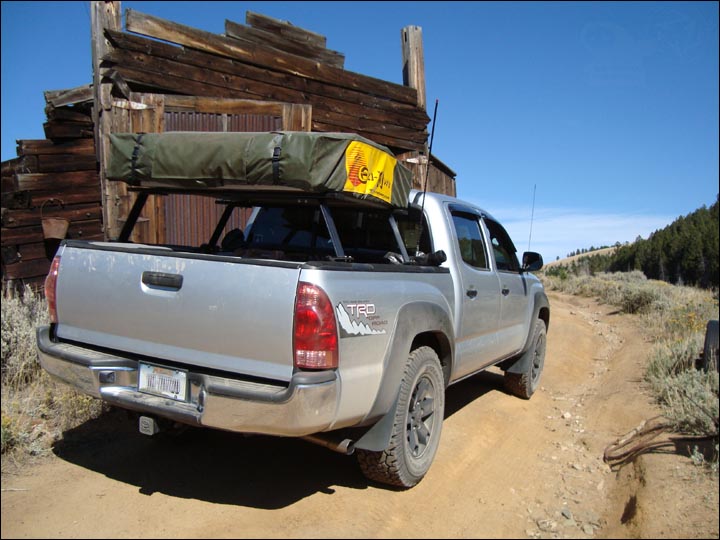
I actually took this pic a little while after I had put everything together, after we got back I think.. but it shows the rack feet pretty well. You can also see our OG bed tarp solution there lol
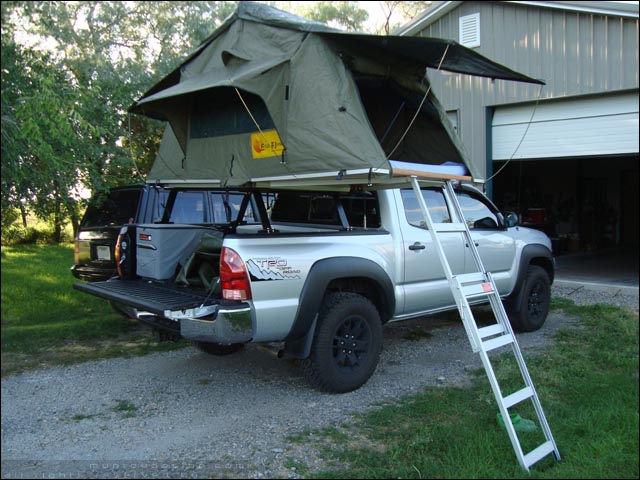
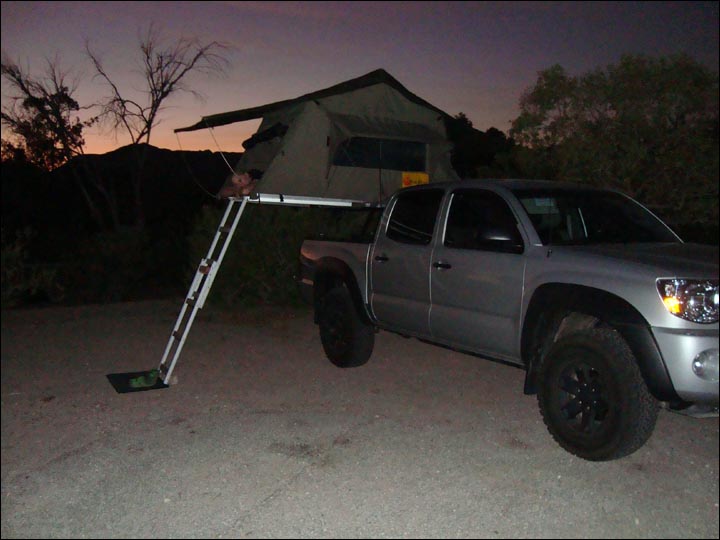
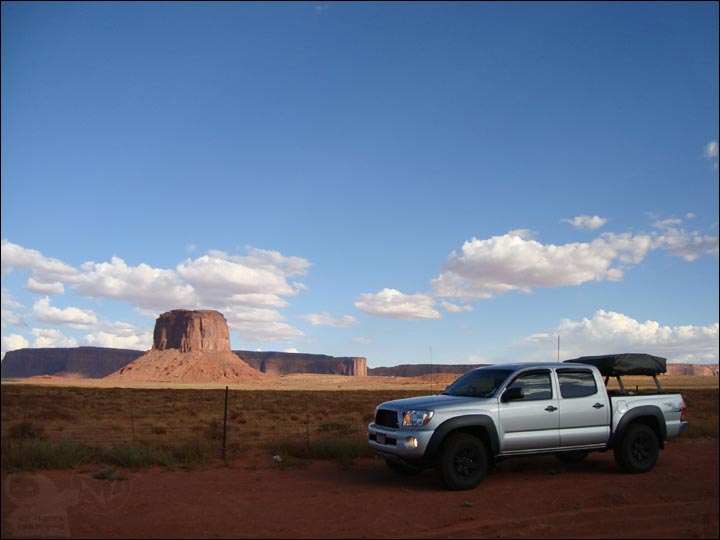
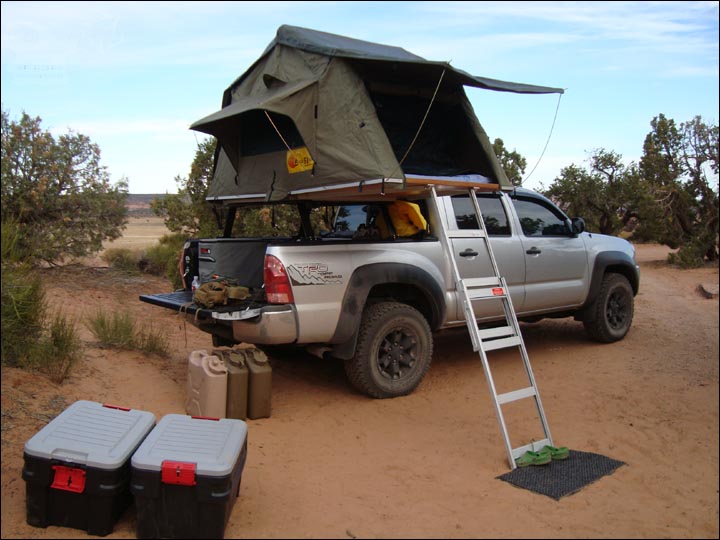
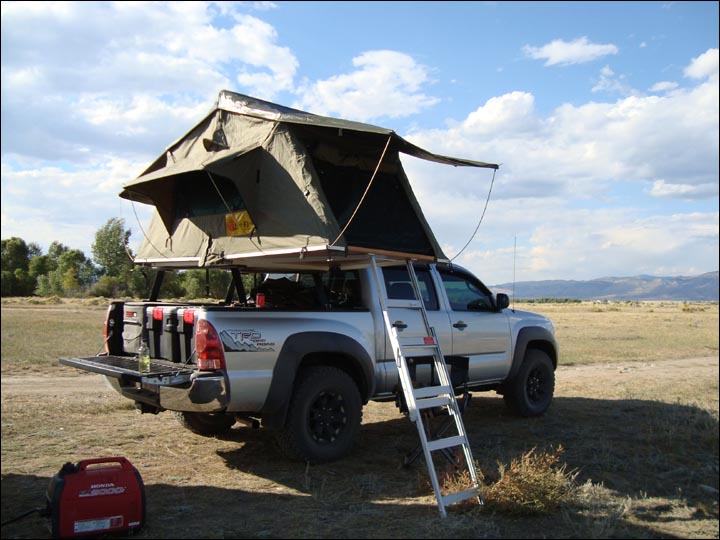
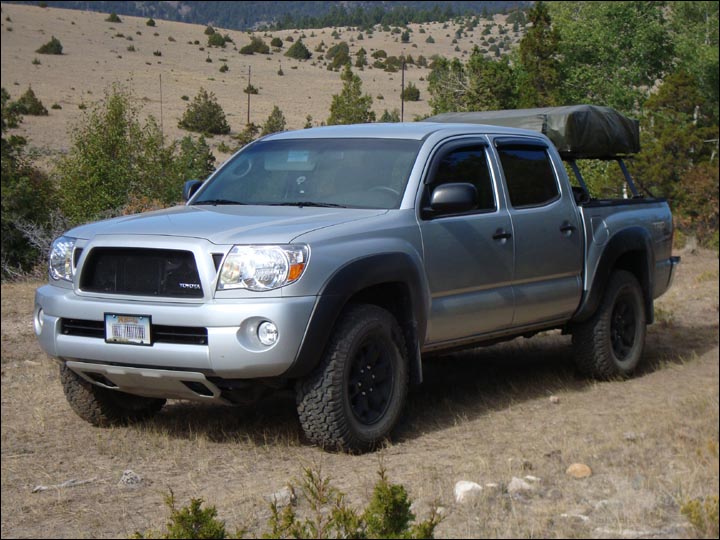
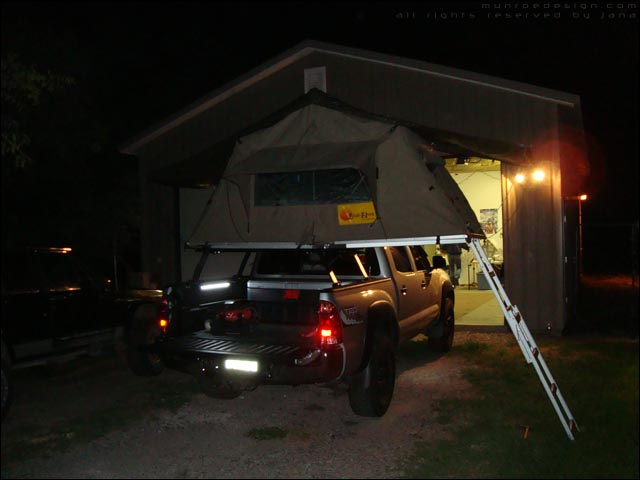
Here she is the first time we deployed the Eezi-Awn after mounting it to the rack!
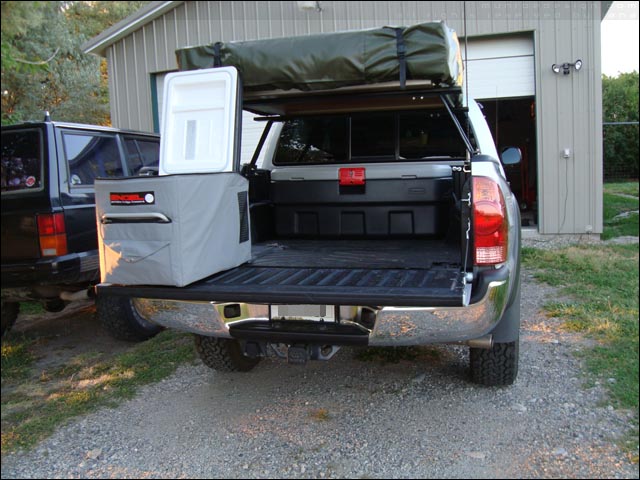
Also had to get the fridge installed before that trip, so here's a couple pics.
First I wired a 12v outlet into the storage cubby on the driver side of the bed as a power source for the fridge..
12v outlet ready.. Installing the Engel Slidelock onto the bed.. had to cut the bed mat, and couldn't cut it straight but later on when I redid the bed I cut it again with a straightedge so there
Engel installed with Transit Cover in place!
I think we finally got everything installed about 8 hours before leaving :coffeedrink:
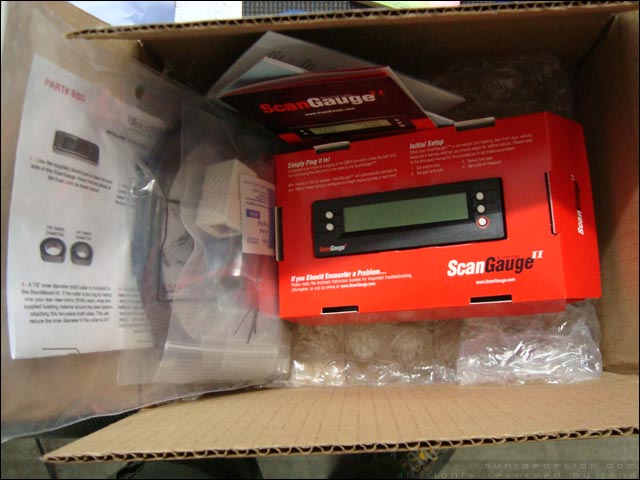
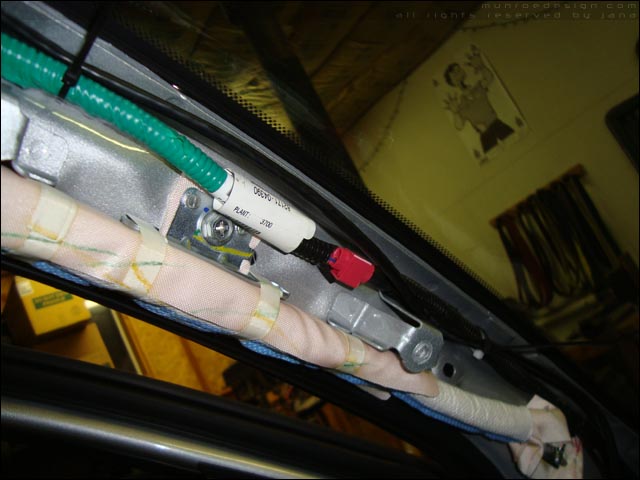
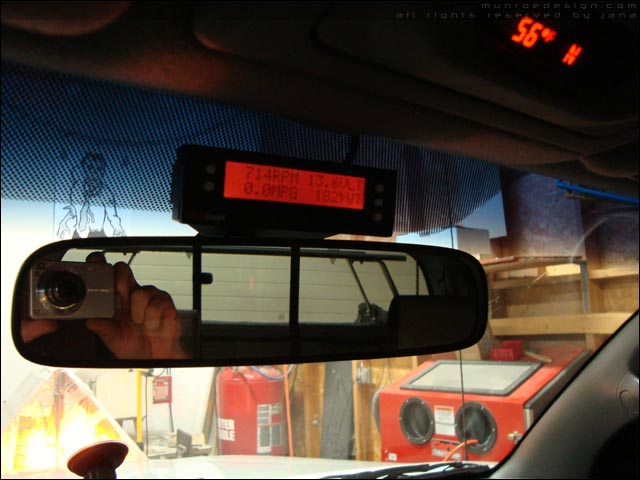
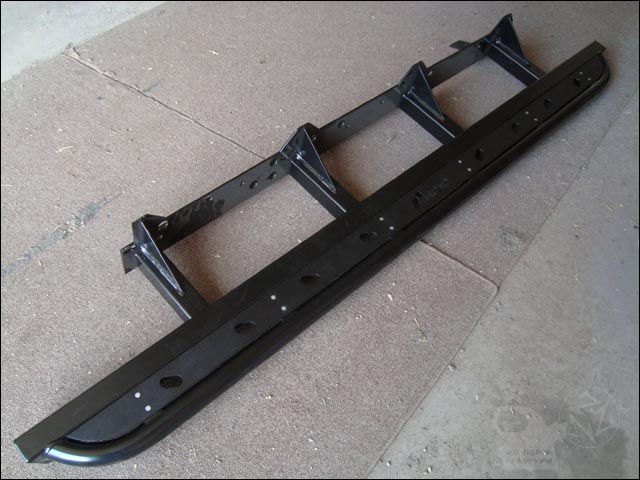
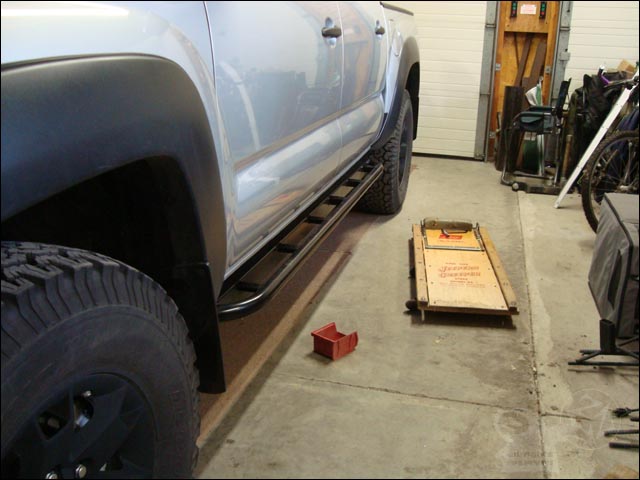
At that point I started collecting some parts for a dual battery setup and going over options for sliders. In the meantime I installed a Scangauge. Very straightforward install, altho the Blendmount took awhile to get adjusted to fit as it was a 3 handed operation at times..
Here's the unit and the Blendmount mounting adapter:
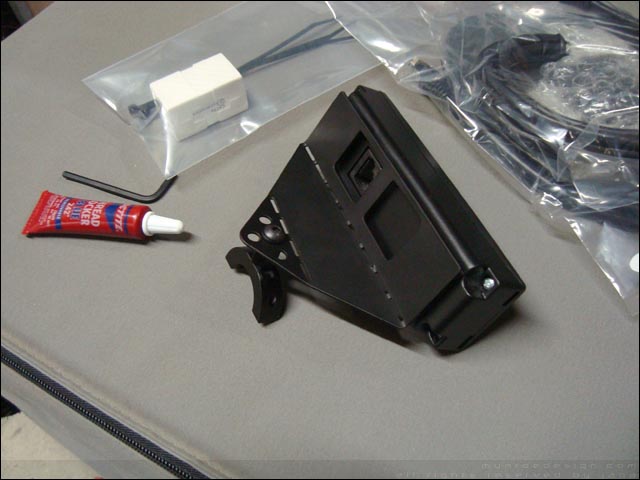
Blendmount assembled and ready for test fitting, I used blue loctite on all the screws for the final assembly:
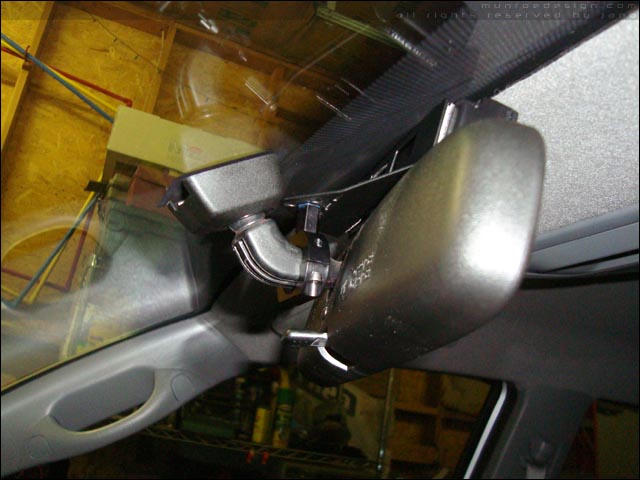
this is kind of a weird pic, but you can see the Blendmount collar and bracket attached to the rearview mirror stem:
Ran the CAT5 cable under the headliner, over to the driver side A-pillar, then down thru the dash:
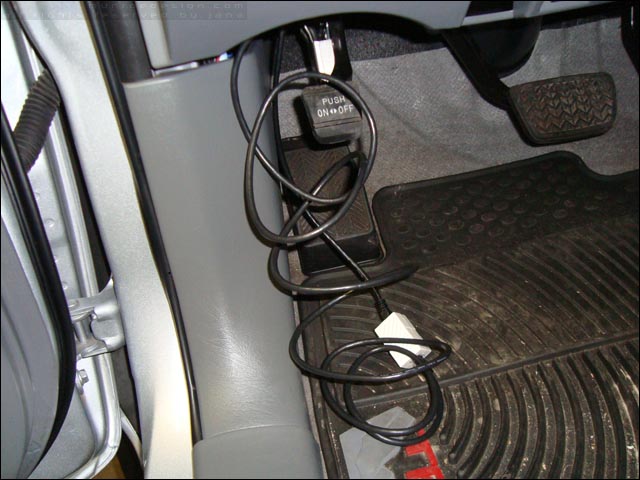
And under the dash where it plugs into the CAT5 connector. Then the cable that came with the Scangauge is pugged into the connector and ran to the ODBII port. Had a bunch of extra cable, so after this pic I just coiled it up with a zip tie and tucked it behind the kick panel for now..
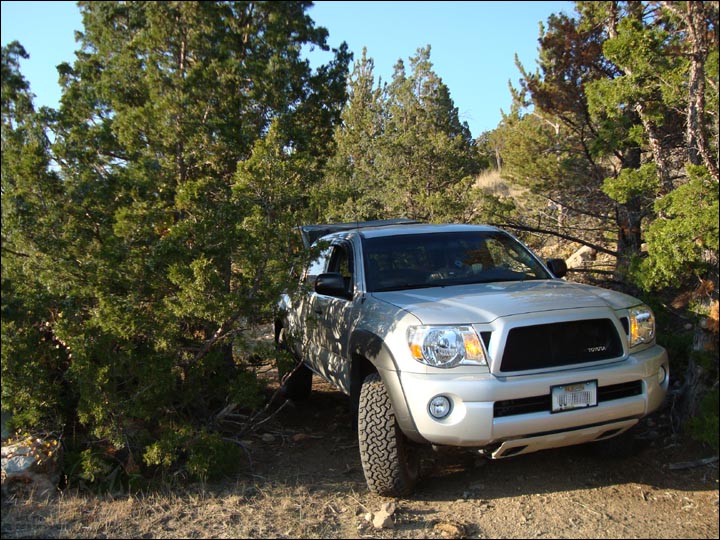
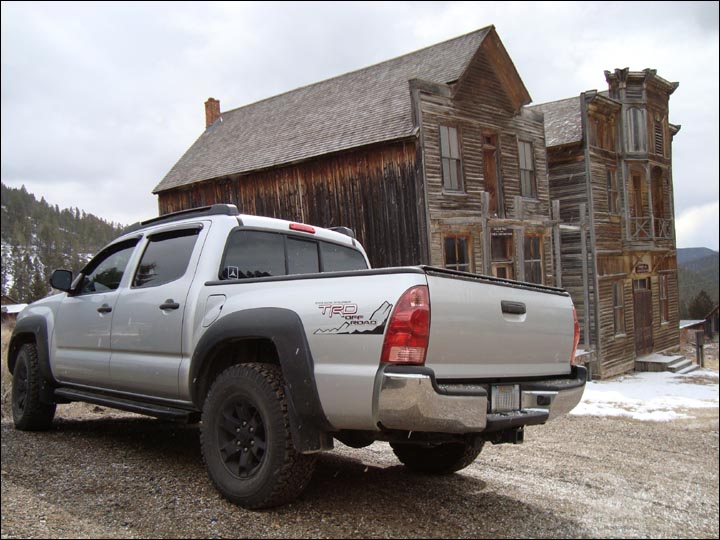
round about that point I got really busy with work and we mostly just spent our free time driving the truck rather than working on it. Some pics from the time frame:
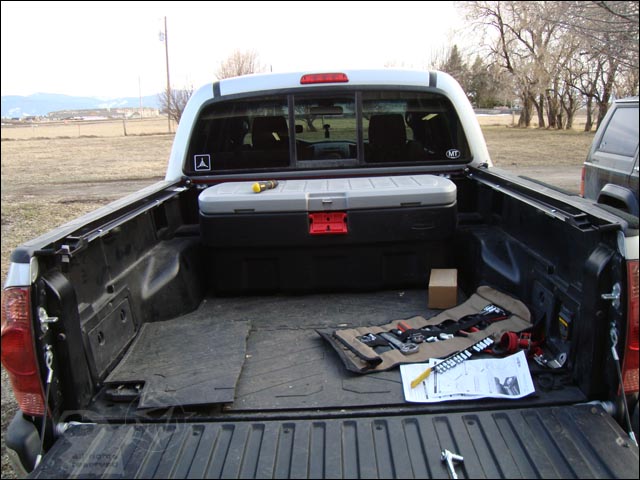
next up was a bed cover solution, as our original home built version was simply a stop gap and wasn't doing a very good job of keeping rain/snow out of the bed.
I had some very specific requirements for this, and after some lengthy research I settled on the Truxedo Lo-Pro cover mainly for it's versatility and modifiable installation method. Later on, this bed cover needed to work with my planned upgrade to the bed rail system and seal the bed independently of the bed rack assembly.
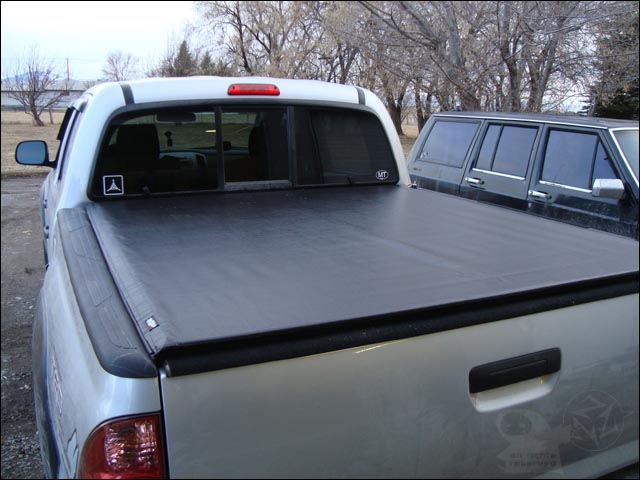
install was quick and easy, and had what appeared to be enough adjustment to work with the future bed rail system..
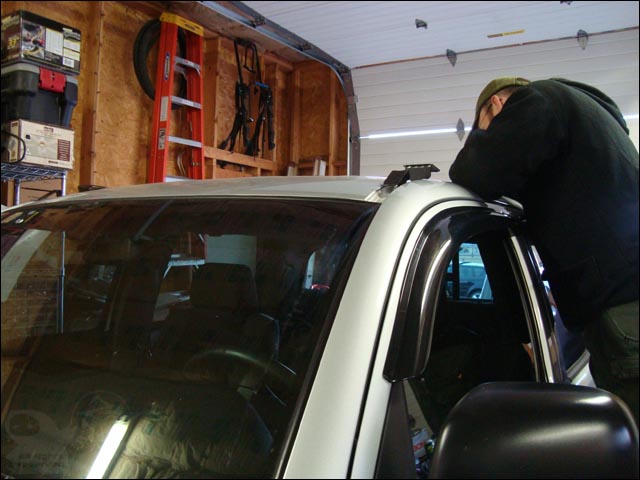
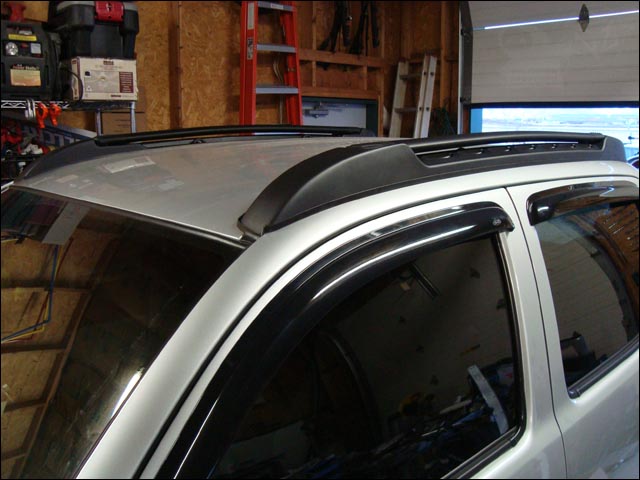
next up was the roof rack and basket system. Mostly I saw this as an expensive platform for mounting lights and antennas, but room for extra gear is always nice..
I wanted a nice low profile lightweight rack and basket system, and since we didn't need this to bear a lot of weight I selected the factory optional oem roof rail/crossbar system and a BajaRack basket. BajaRack had recently started making a vehicle specific cargo basket for the Tacoma DC, unfortunately we goofed on ordering the correct model and had to wait awhile to get the right basket.
installing the factory roof rack bars:
installation complete, crossbars in folded position:
Thanks! Shedhorn sports is great, dangerous to the wallet though :ylsmoke:
I havn't spent much time exploring the Tobacco Roots, but have been all over everything to the east of them. Lots of fun places in the Gravelly Range over there too.
As a DC TRD Taco owner, I am drooling over your truck. It is very well done, good show! As a browncoat sympathiser, I am liking the Firefly decal! Subscribing to this thread and taking notes...
Like to learn more about your navigation system/laptop.
OBTW, for your reference, I'm thinking of an auxiliary fuel tank too and the XJ tank (20 gal) does fit between my gen's frame rails with about an inch clearance. But it hangs a little lower than I'd like - more than the spare did - so I'm looking at different fuel cells.
just caught your edit and wanted to say thanks for the added info. I had only done some rough measurements last time I had to drop the XJ tank to replace the fuel pump and it looked darn close.
for navs, we are currently using a Dell laptop in a RAM mount running DeLorme Topo (mostly). GPS antenna is a GlobalSat BU-353 Waterproof USB puck. We also use a Magellan Roadmate unit, which has proven to be less than reliable (POS) and is basically only good as a food/fuel finder.
This site uses cookies to help personalise content, tailor your experience and to keep you logged in if you register.
By continuing to use this site, you are consenting to our use of cookies.
")
")

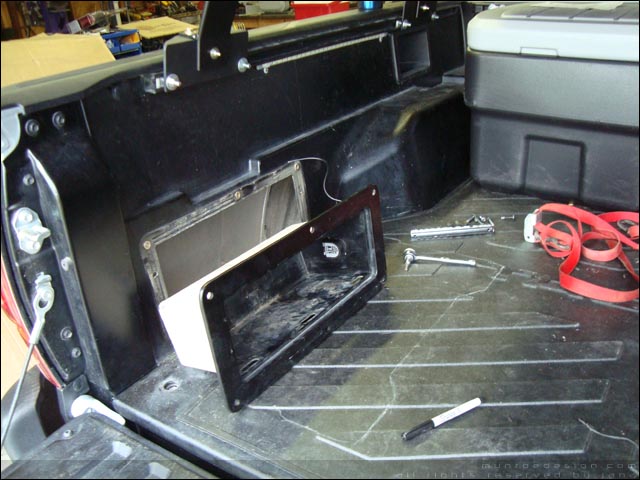
 but later on when I redid the bed I cut it again with a straightedge so there