So we turn our attention to the 10.5" rearend. I had been waiting on a few extra parts that didn't come in the "master rebuild kit" - I ordered an extra inner pinion bearing to use as a check bearing; I ordered a new outer pinion slinger cuz the old one was buggered-up and they don't give you a new one in the kit; and I always order an extra crush sleeve - just in case.
I didn't show any details when doing the front axle, so I'll share here with the rear axle.
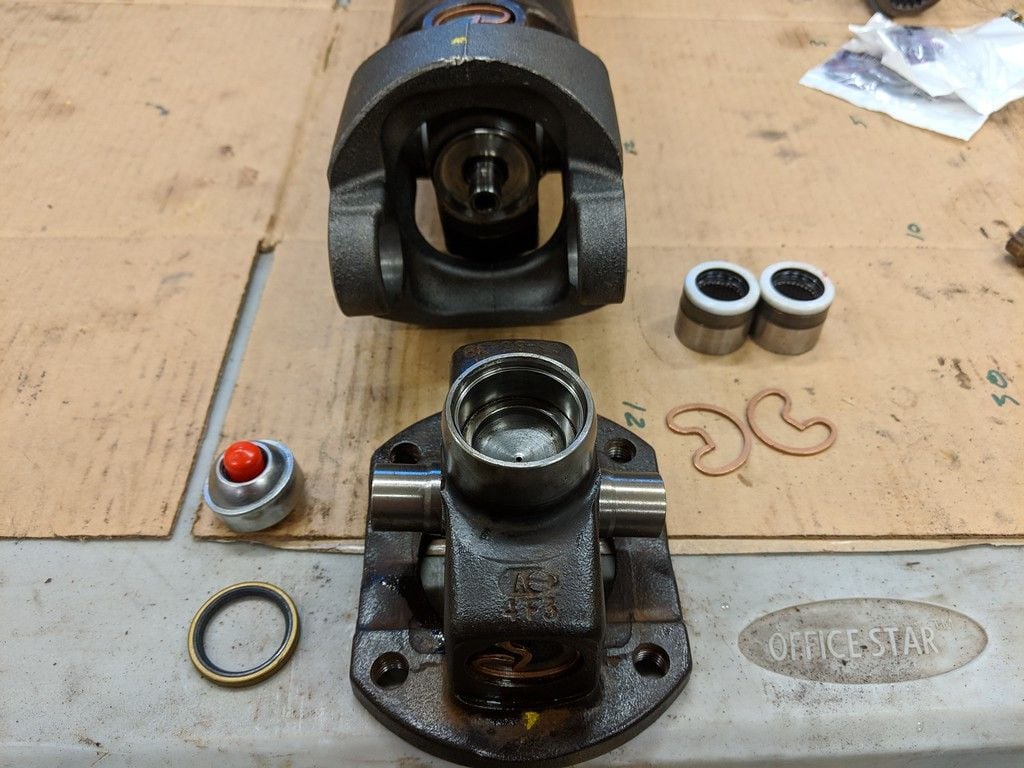
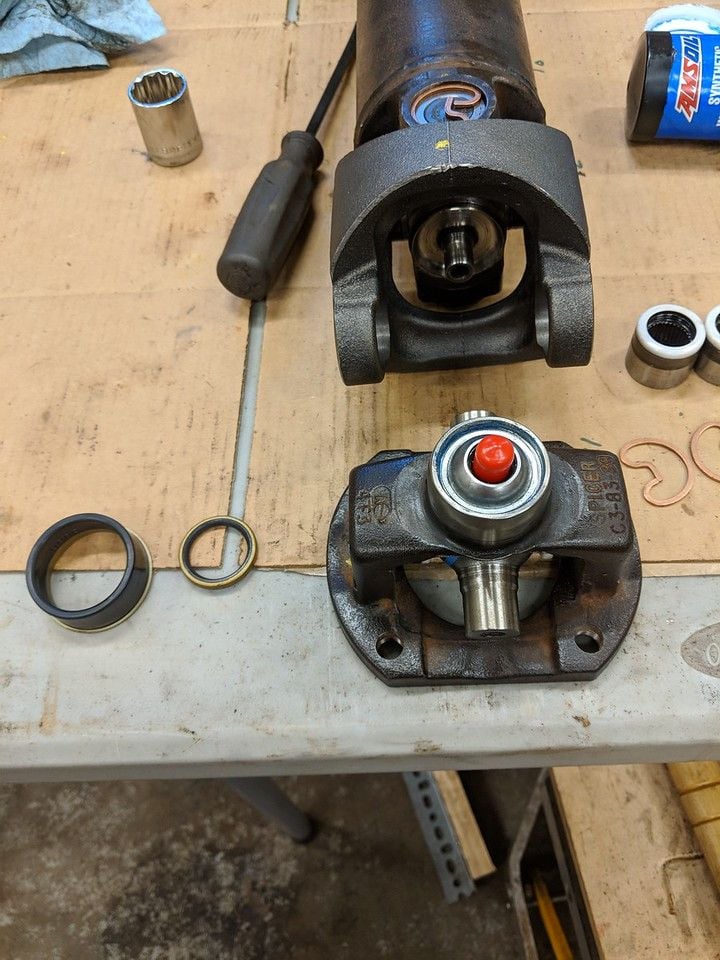
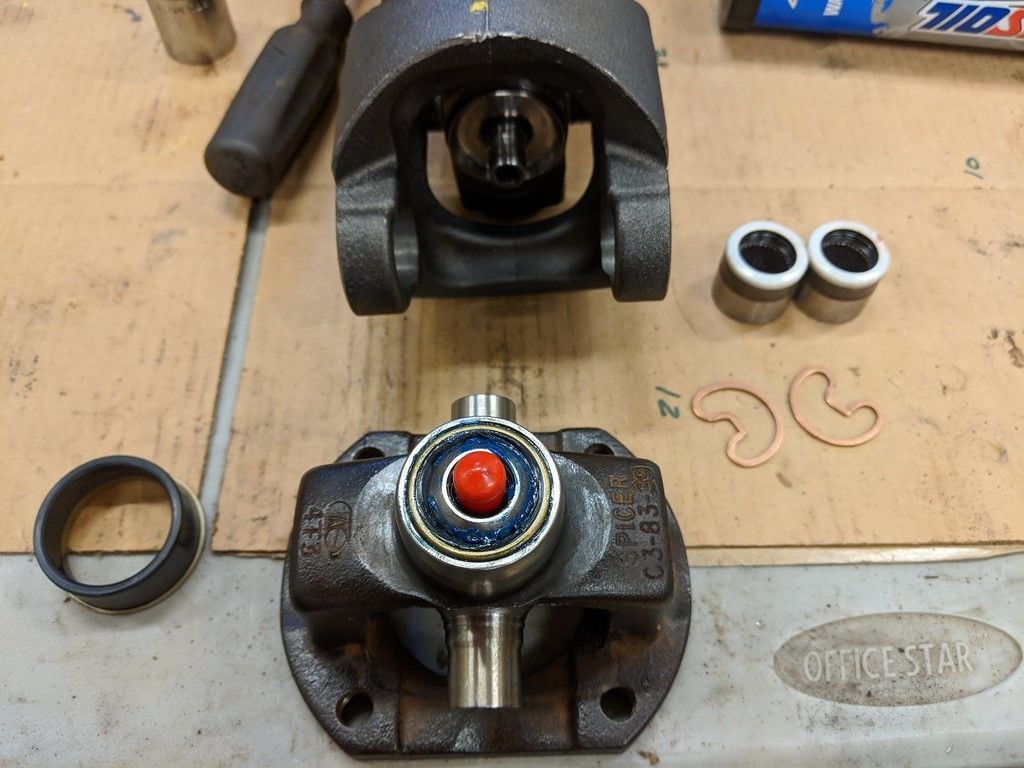
First up is making a pinion check bearing. Pinion depth is adjusted with shims between the pinion gear and the inner pinion bearing. The inner pinion bearing is pressed onto the pinion shaft - this is decidedly inconvenient when you have to add/remove shims. The solution is to buy an extra bearing, gently clamp it in a vice and using a drum sander on a drill, sand the inner bore until it just slides onto the pinion shaft. Here's a pic of the shims and the sanded check bearing slid onto the pinion shaft - for clarity, I didn't slide it all the way on..
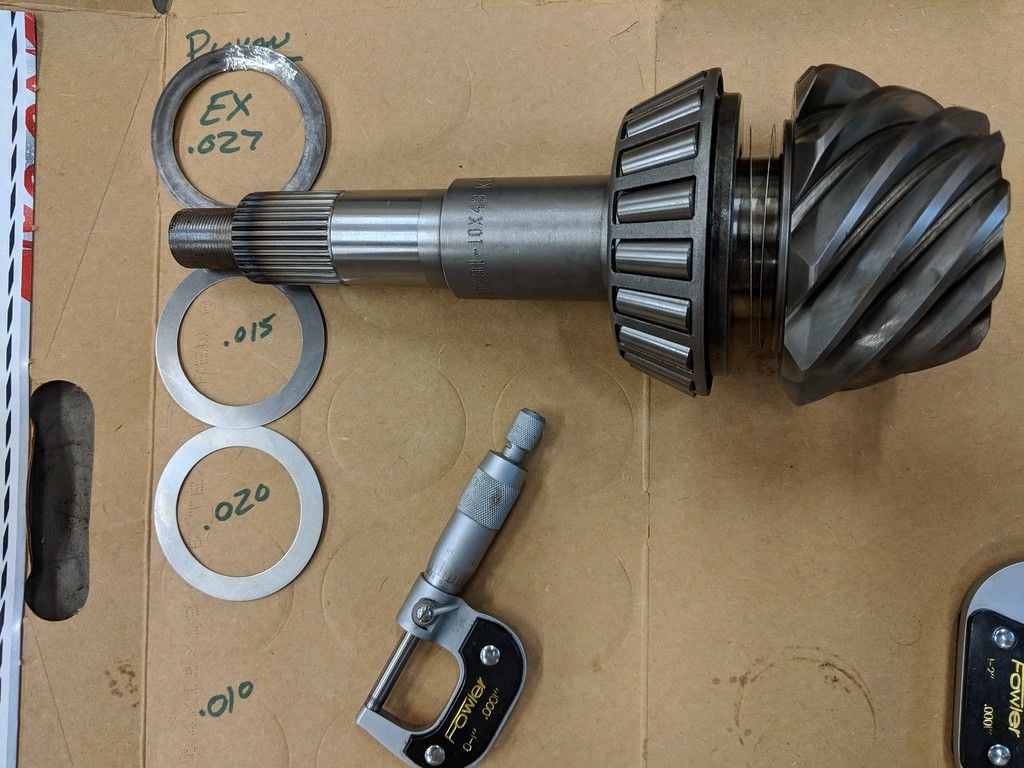
If we were just changing bearings, we could probably just re-install the shims that were on the old shaft and the pinion depth would be close, but when we replace the ring and pinion, there is always some adjusting to do. The old pinion had a 0.027" shim - its a good place to start with the new pinion (notice in the pic I labelled it EX .027 - I bent it getting it off the old pinion shaft so I'm not going to reuse it - but I needed to know how thick it was). I don't have a 0.027, but I have a 0.15 & a 0.012 equalling 0.027. So I put those two shims on, slide the check bearing on and drop it into the case.
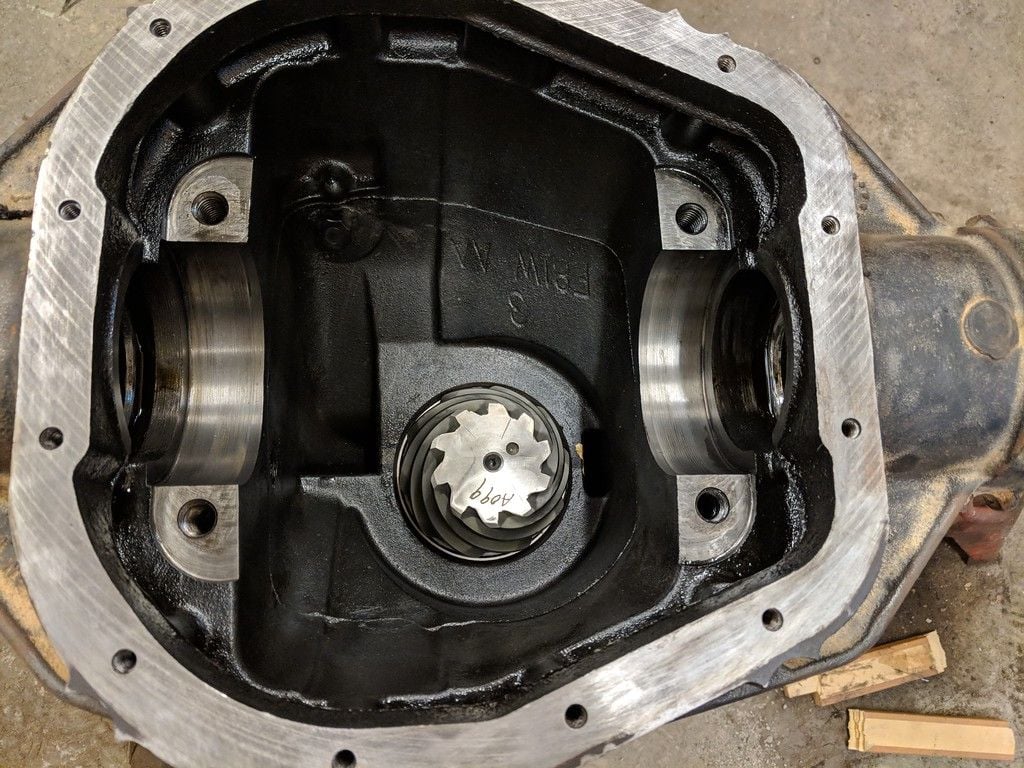
I've already pressed new bearing races into the rearend housing.
Next you slide the crush sleeve, outer pinion bearing and pinion flange onto the pinion shaft and tighten the pinion nut slightly - until you have just a little bit of preload on the bearings. I use the old pinion nut because we are going to be removing it several times. For final assembly, we'll use the new pinion nut.
We have a problem Houston! With one hand in the case and the other trying to get the other parts slide onto the shaft, I'm having trouble getting the bearing on. ******!
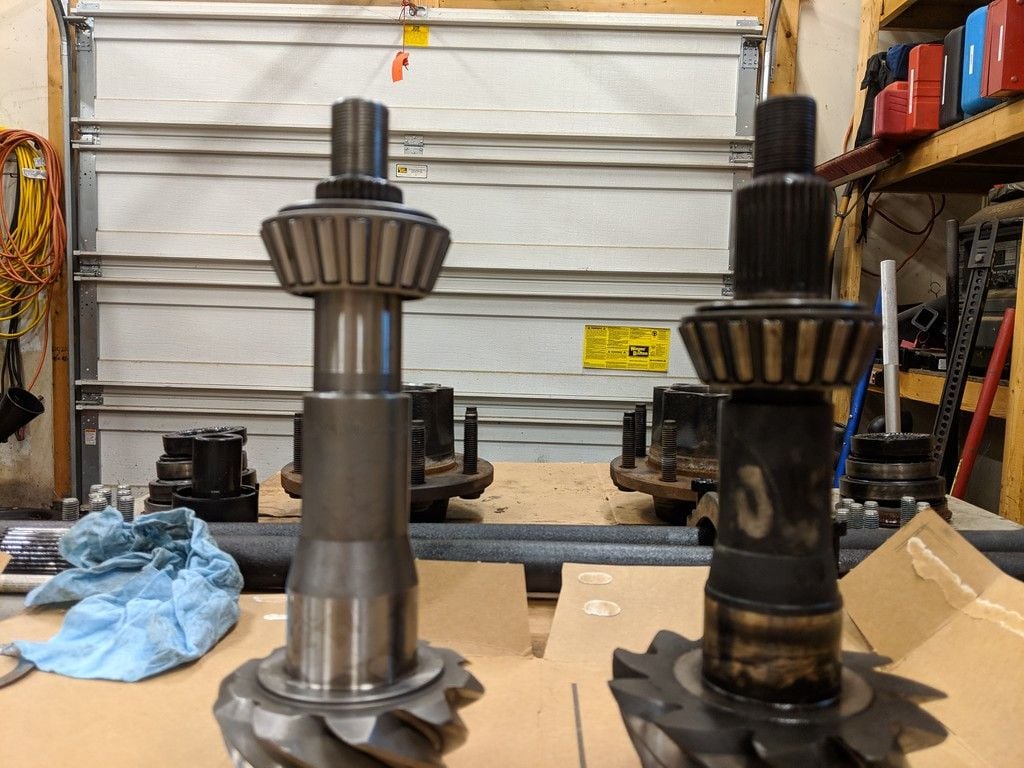
This ain't right! On the left - the new bearing on the new pinion. On the right - the old bearing on the old pinion.
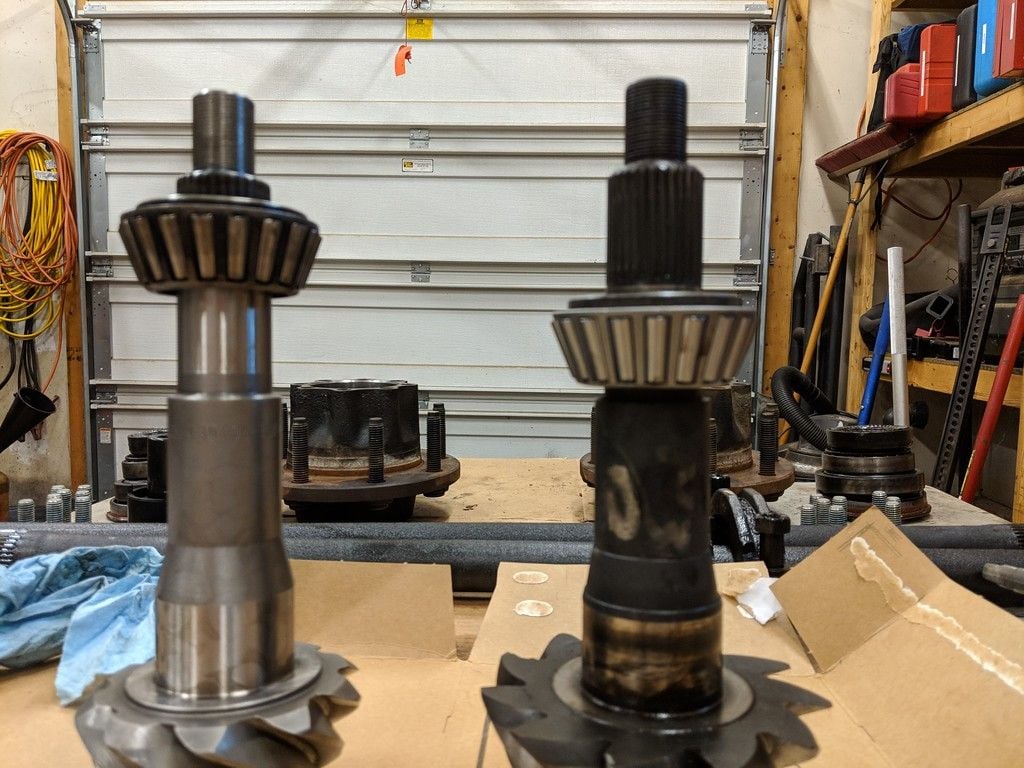
Yeah, its supposed to slide onto the bearing journal (the shiny part of the shaft). Maybe its the wrong bearing? Nope the engraved numbers match. Here on the left - the old bearing on the new pinion. On the right - the new bearing on the old pinion.
I measure the shaft and the new pinion is a half-a-thousandths too big (0.0005)! Grrrrrr! Not the end of the world, but definitely a PITA.
Stay tuned - more to come. The solution will involve the lathe.

CR
