Rango.....1942 Willys MB

Metcalf

Expedition Leader
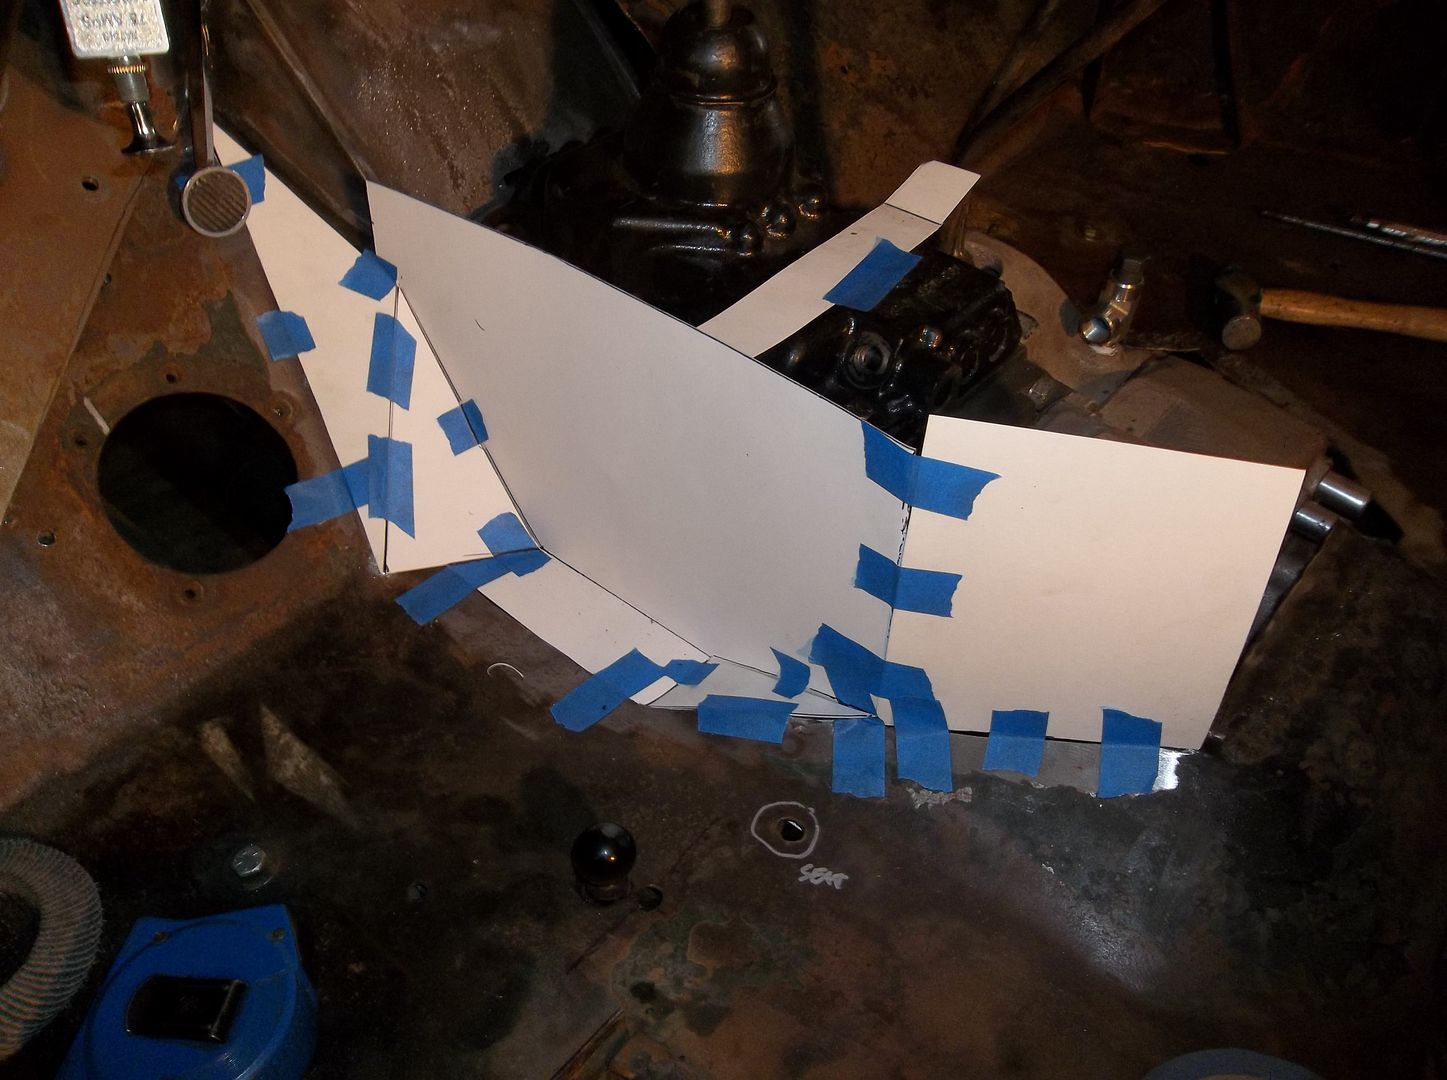
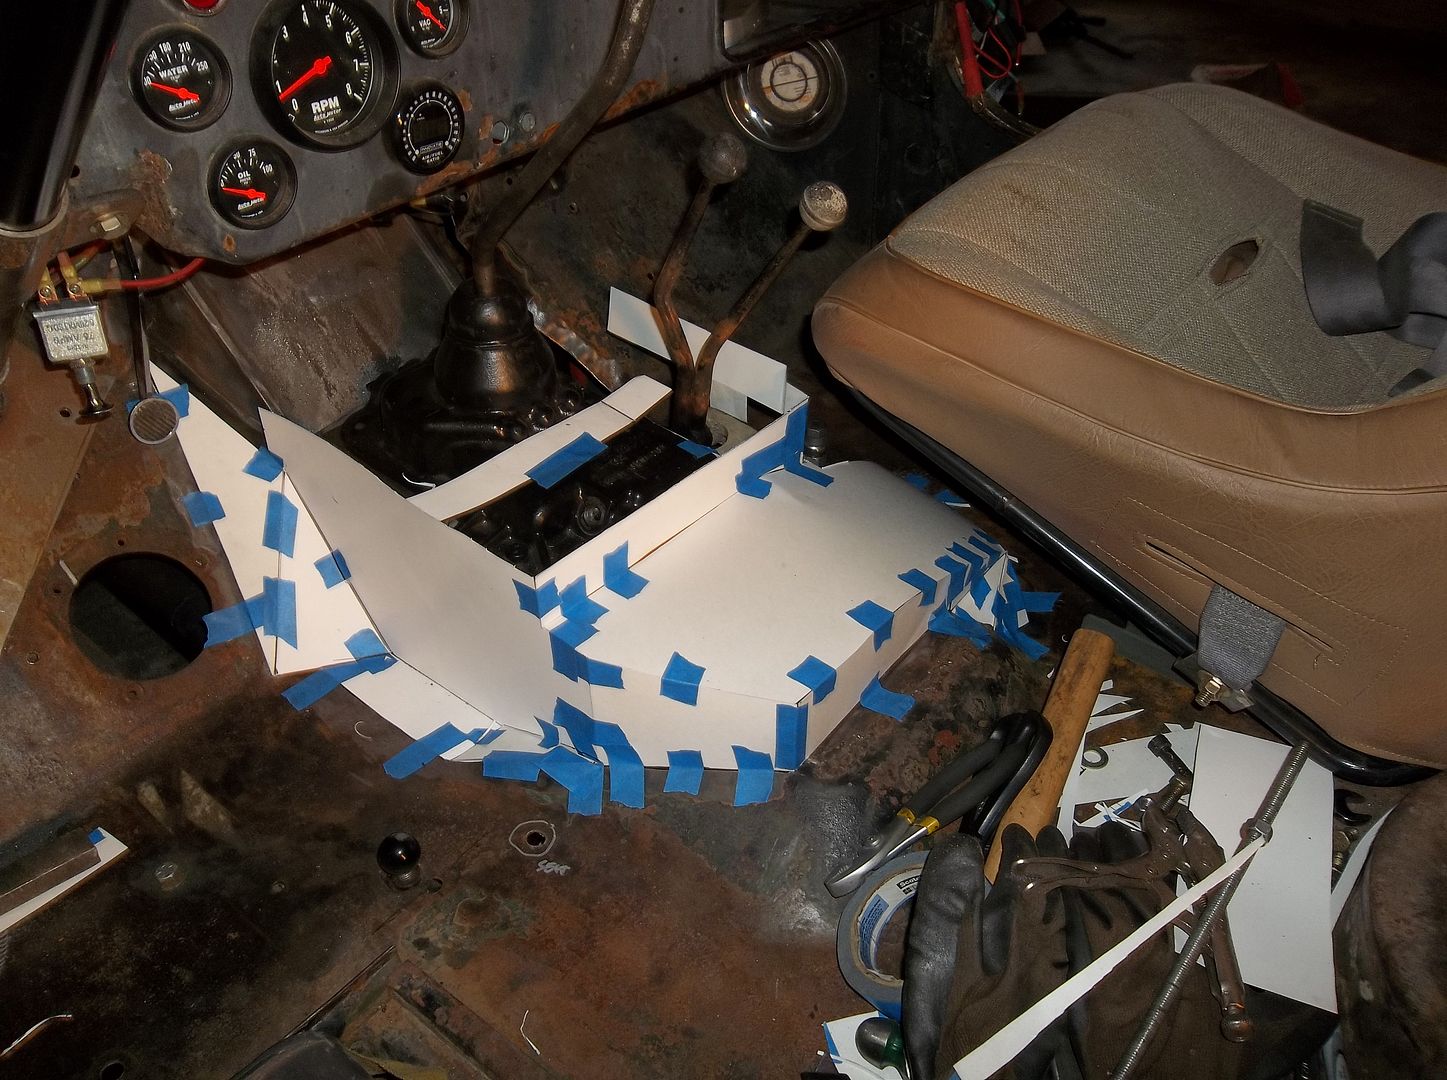
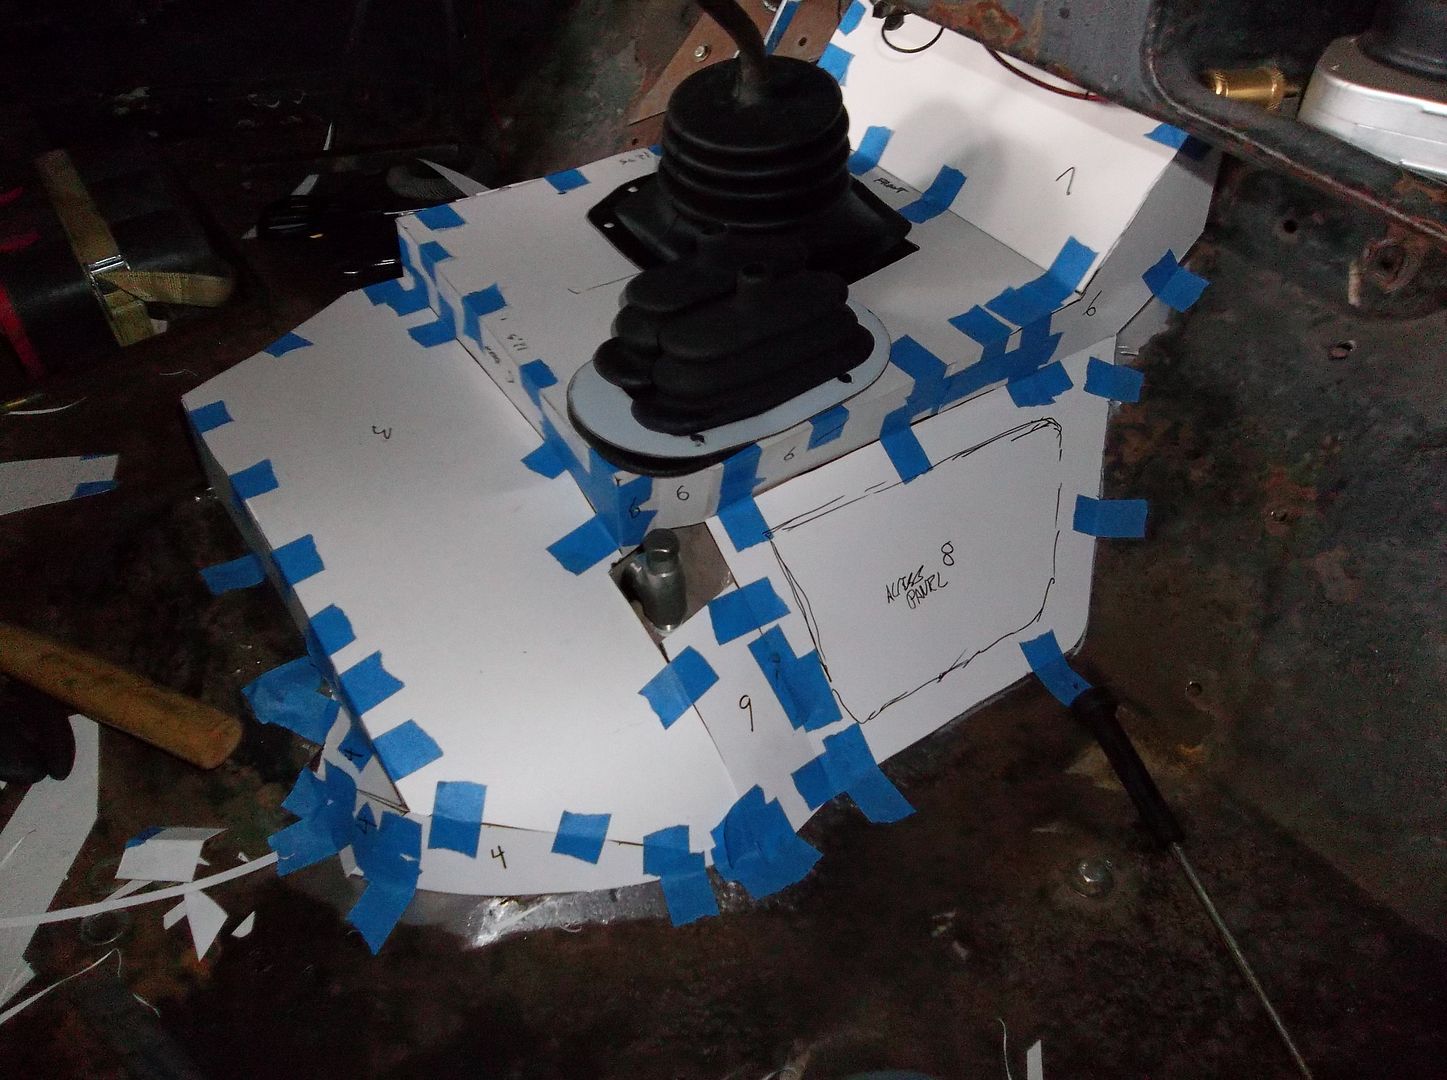
Just a little bit tonight.....

20130308_183808_zps37ad2616.jpg


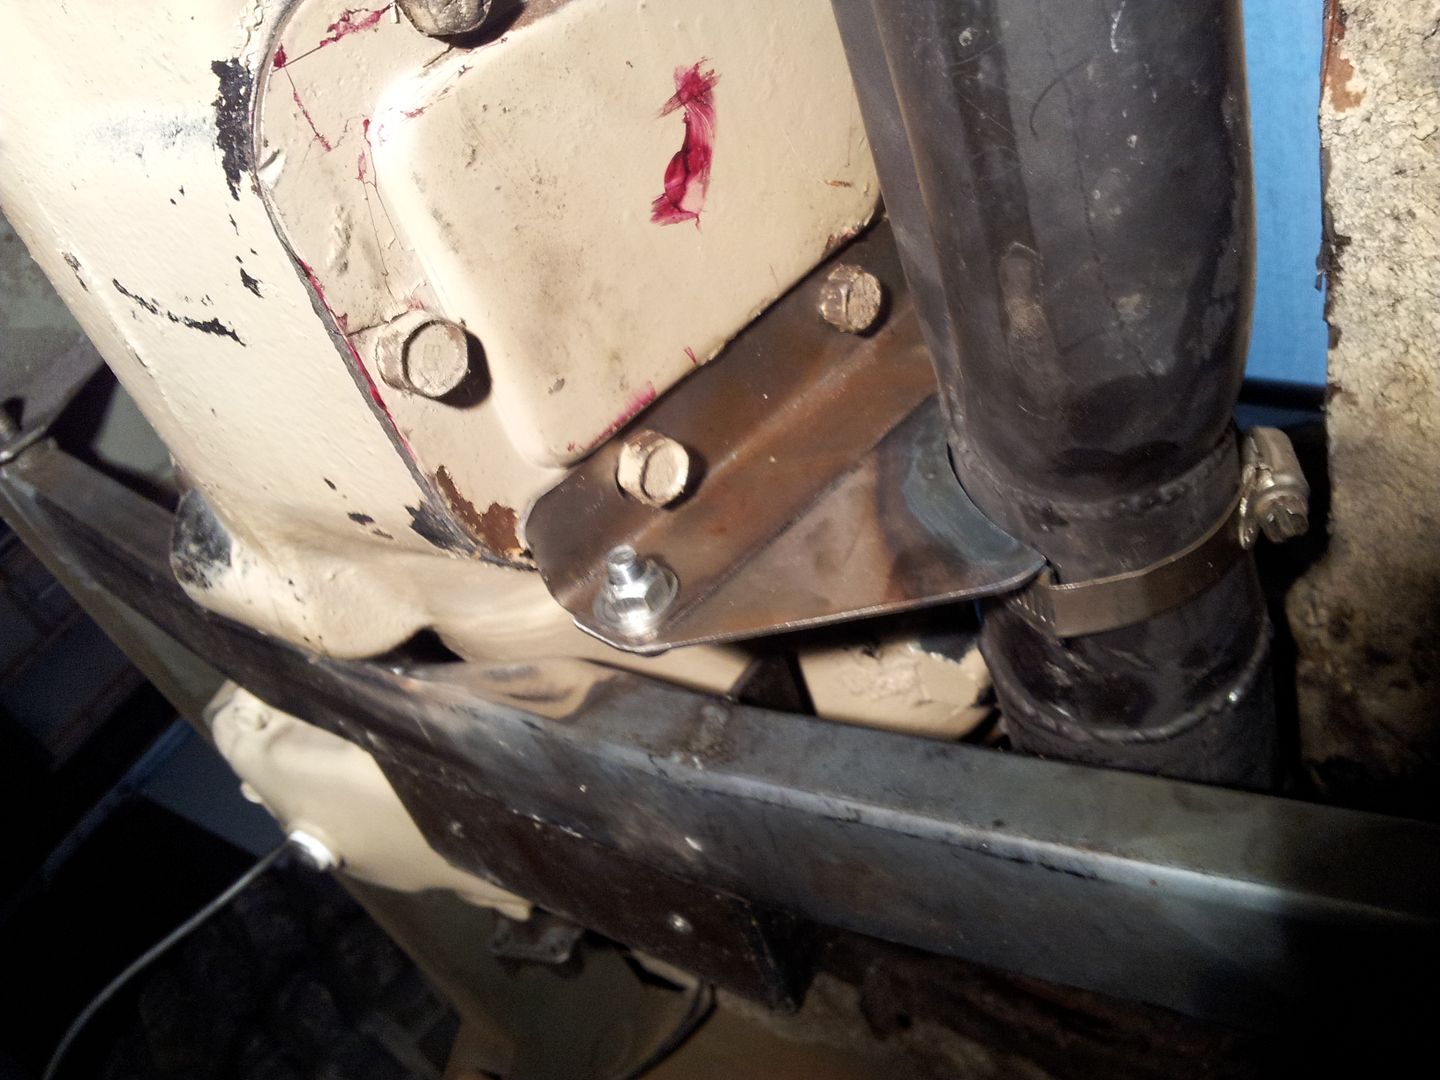
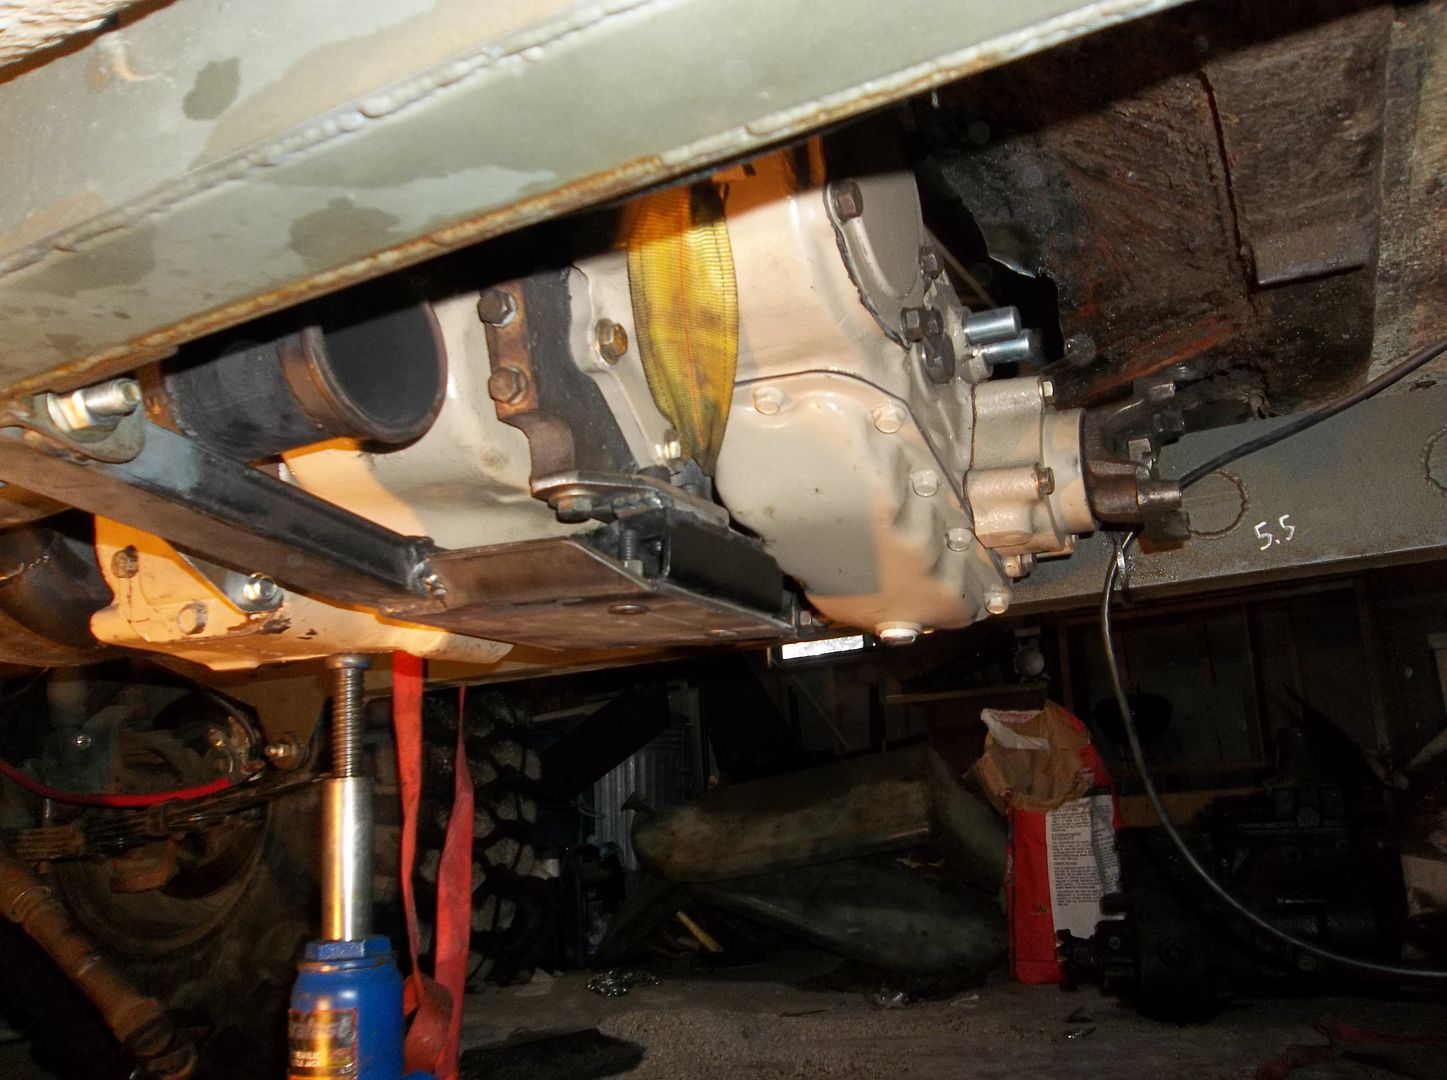
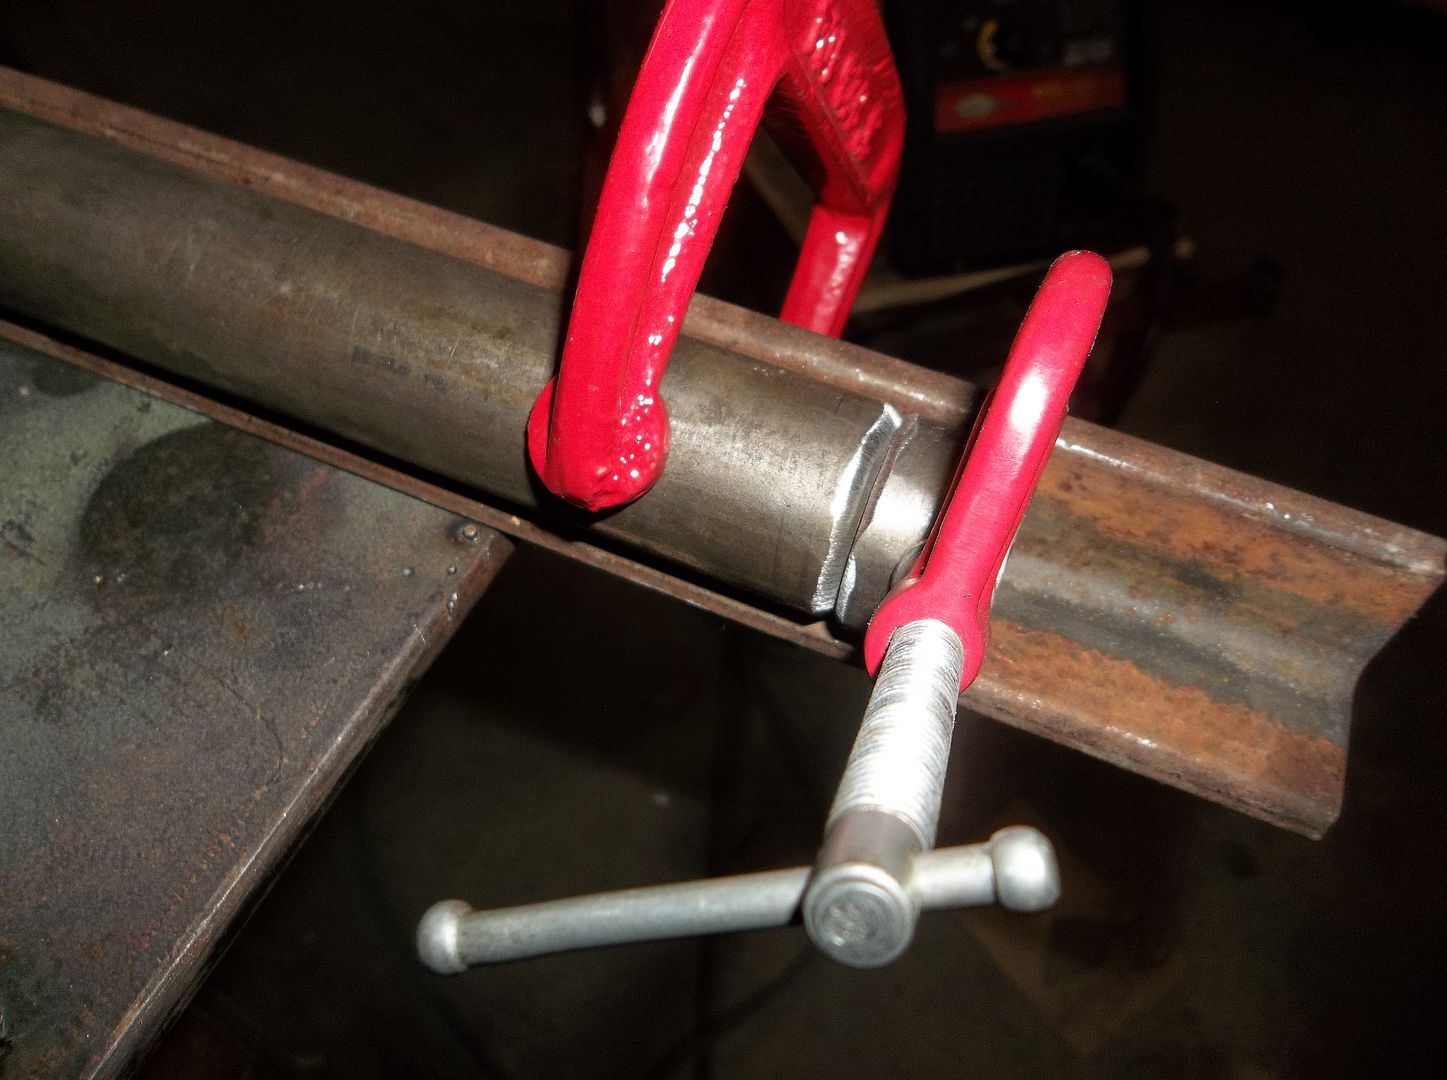
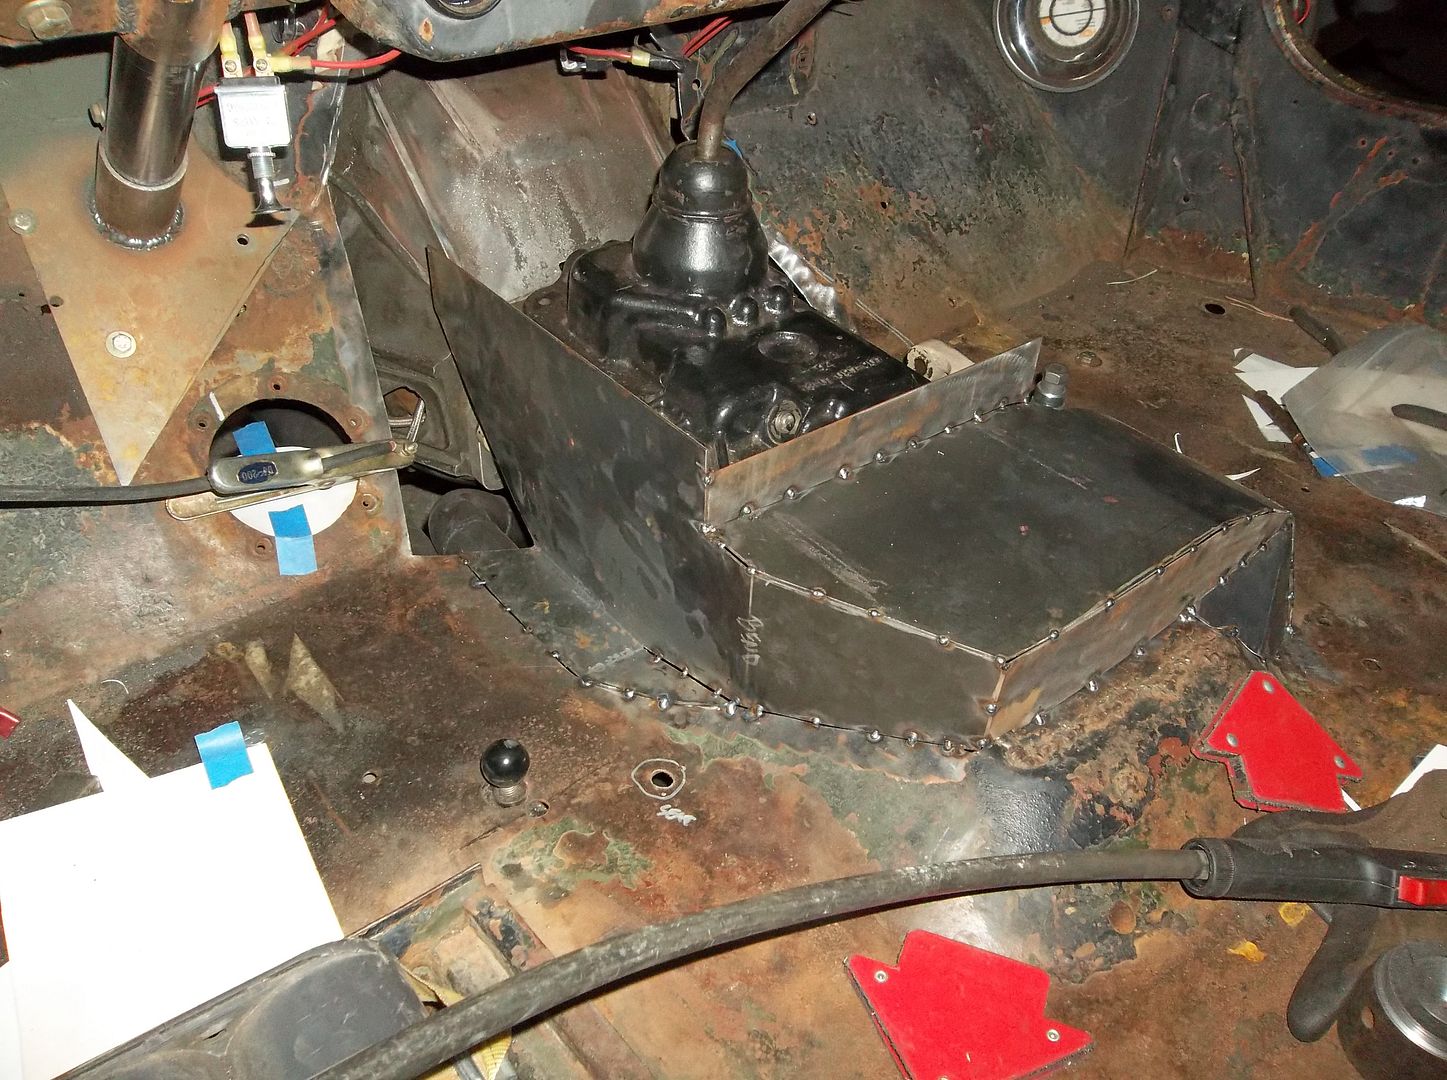
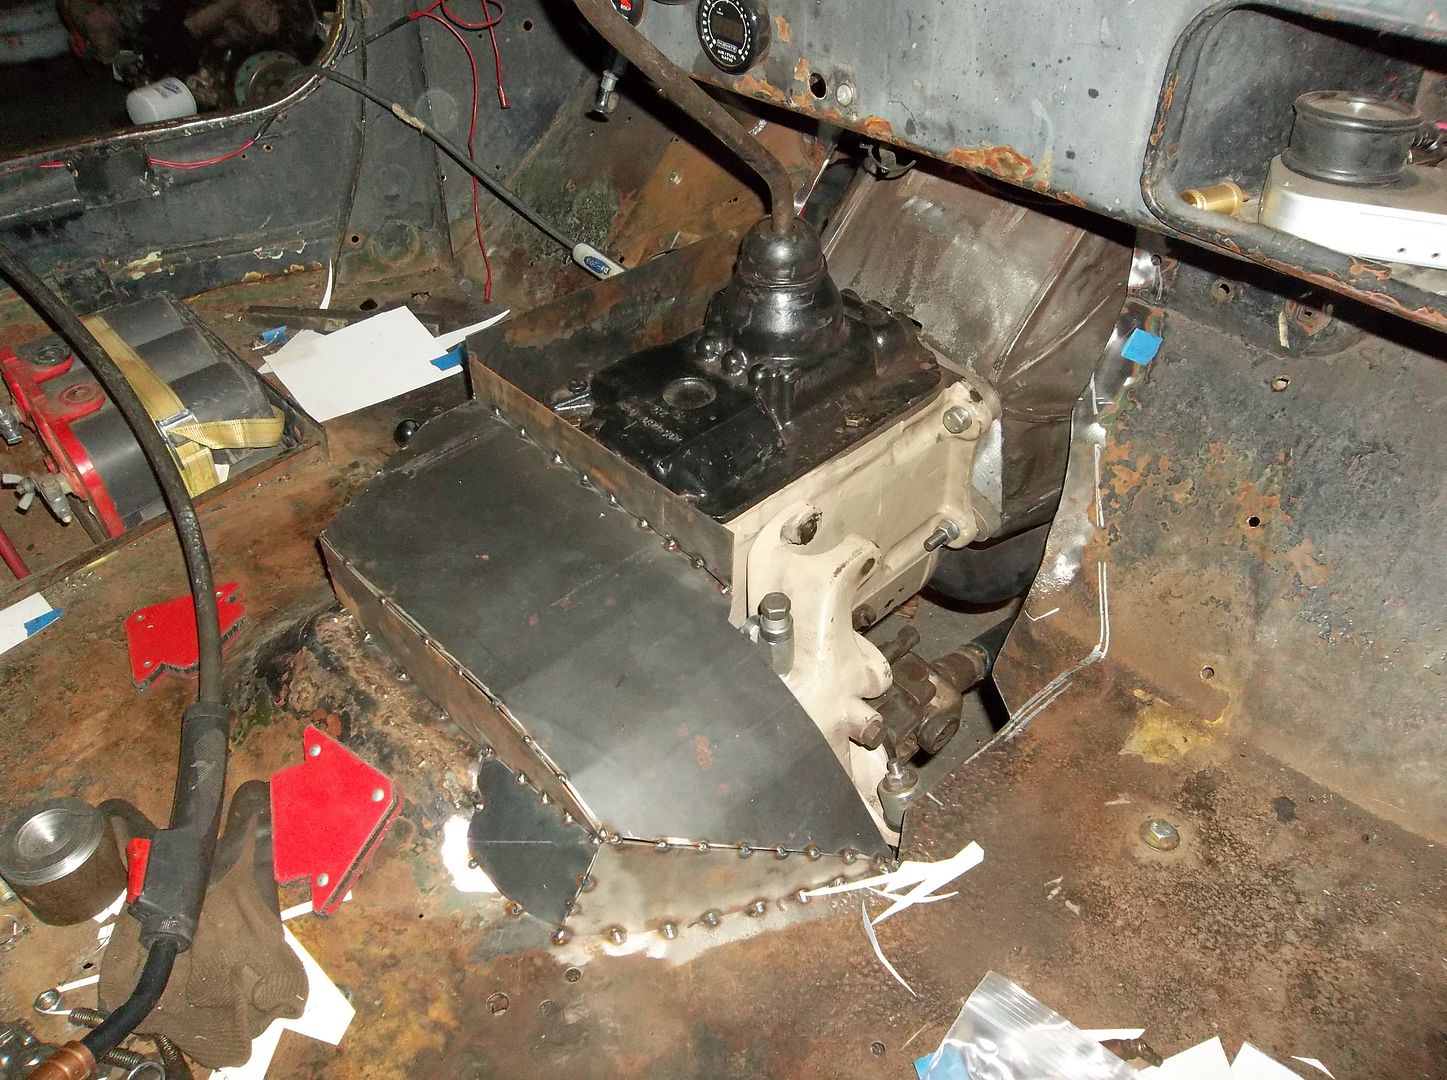
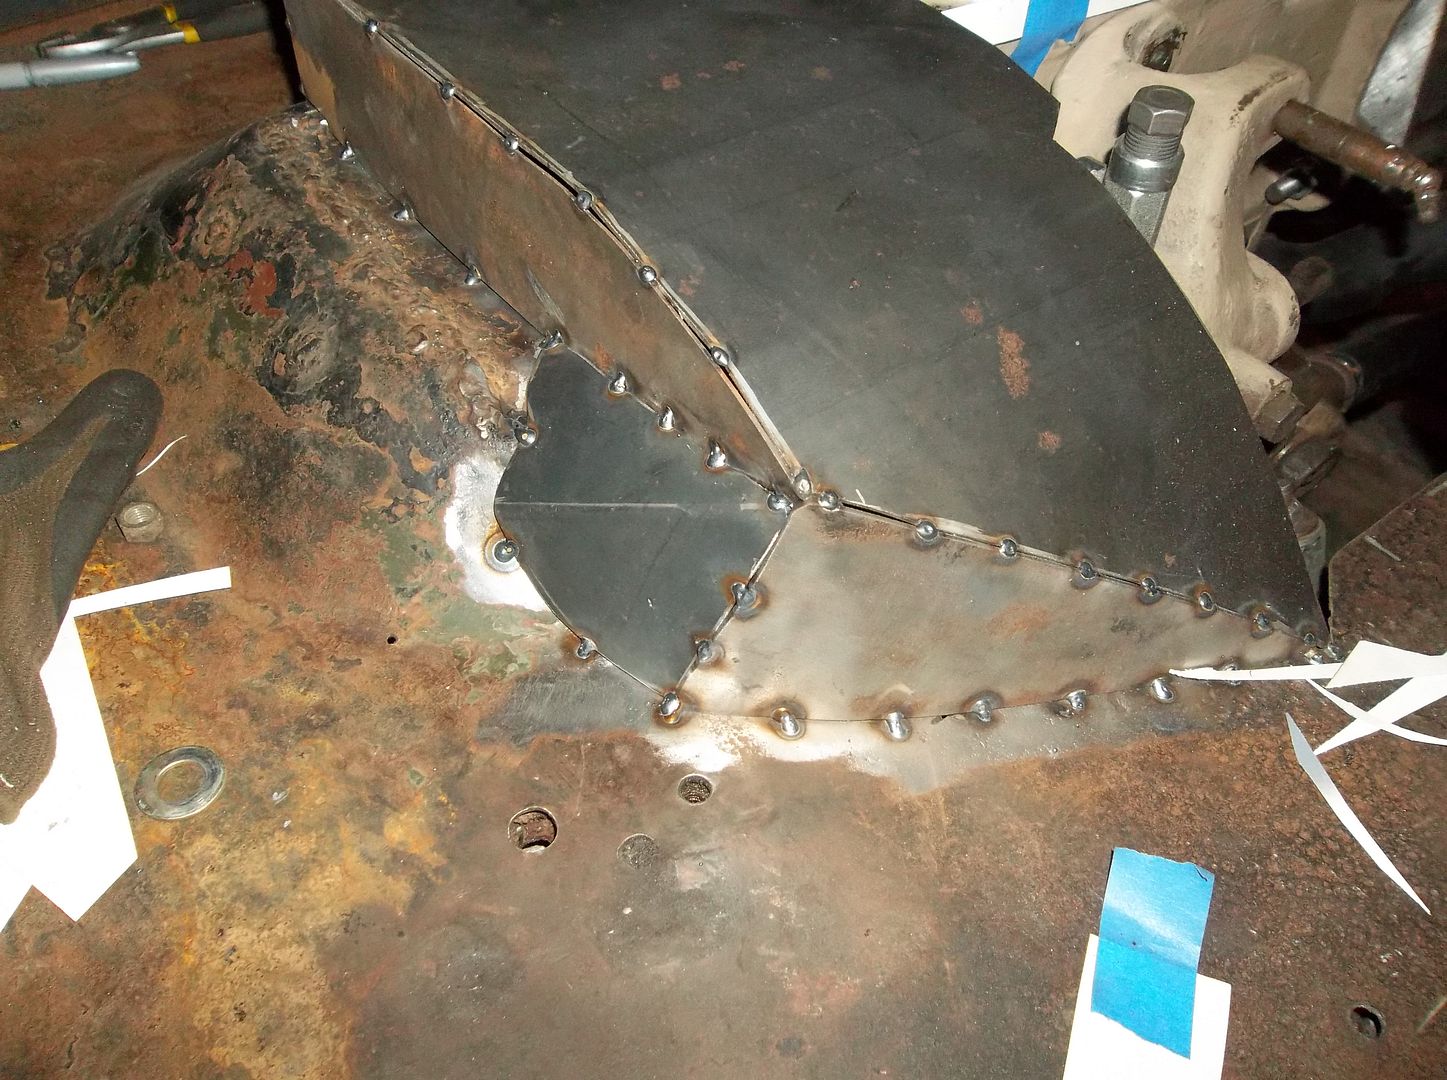
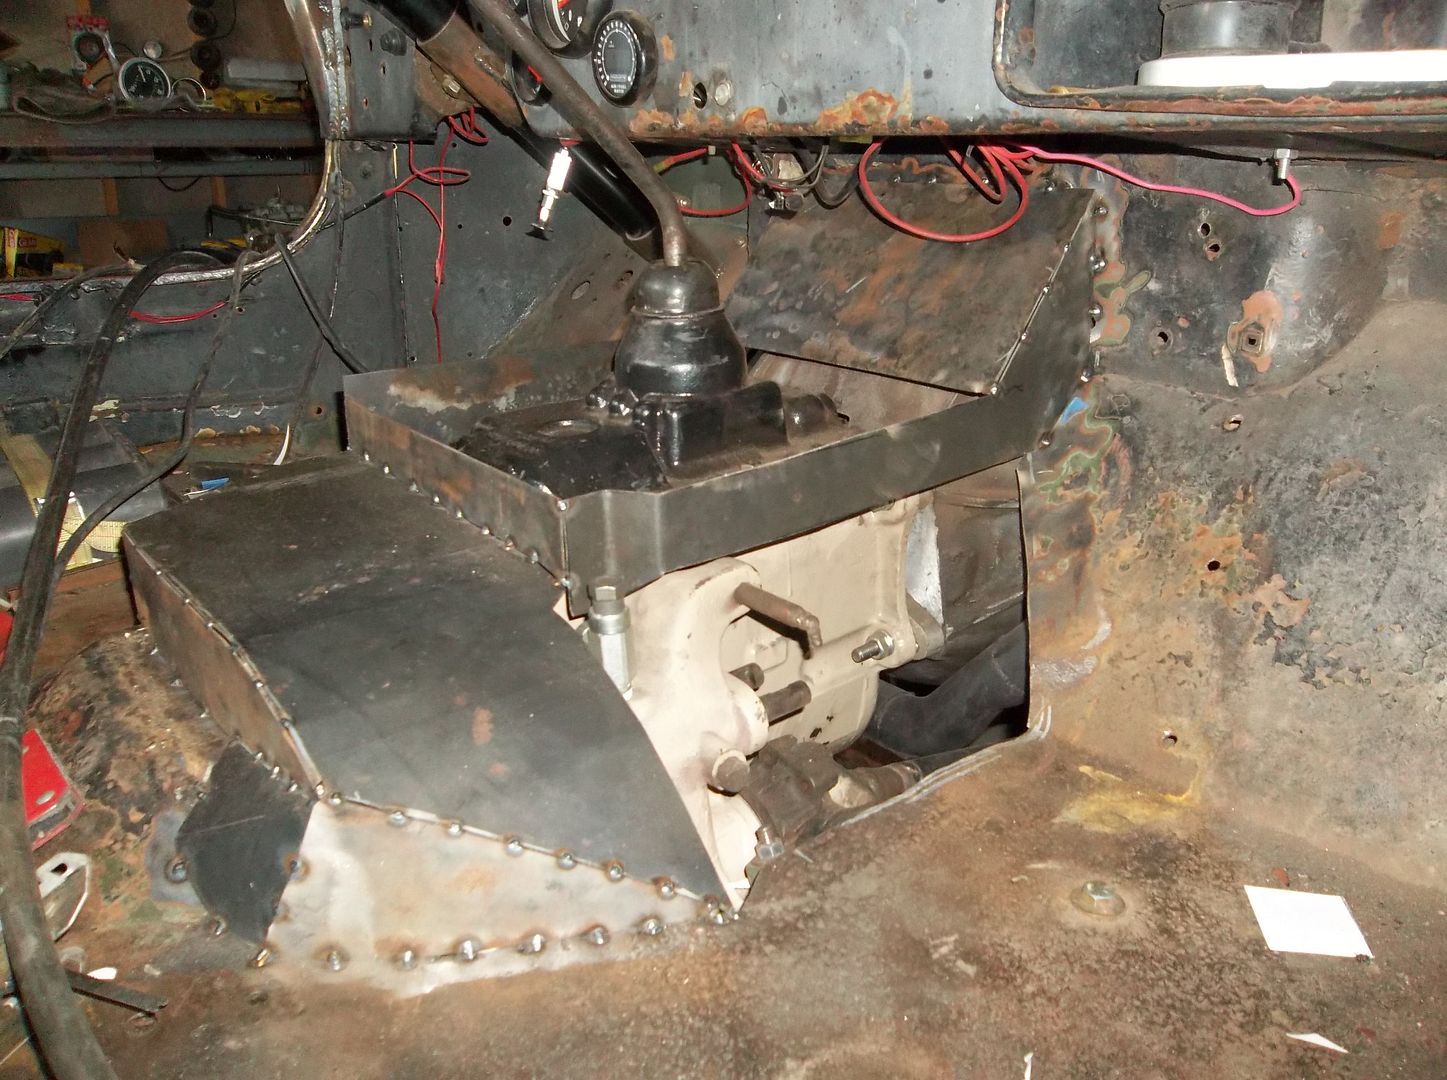
I made a rigid bracket for the exhaust the the transmission PTO cover plate. I ran this setup with the SM420 and really liked it. Basically I think it helps keep the Y-pipe from banging around and helps keep all the flex isolated. Just behind the V-clamp is a stainless steel flex coupling. The rear section of the exhaust is mounted on rubber hangers....

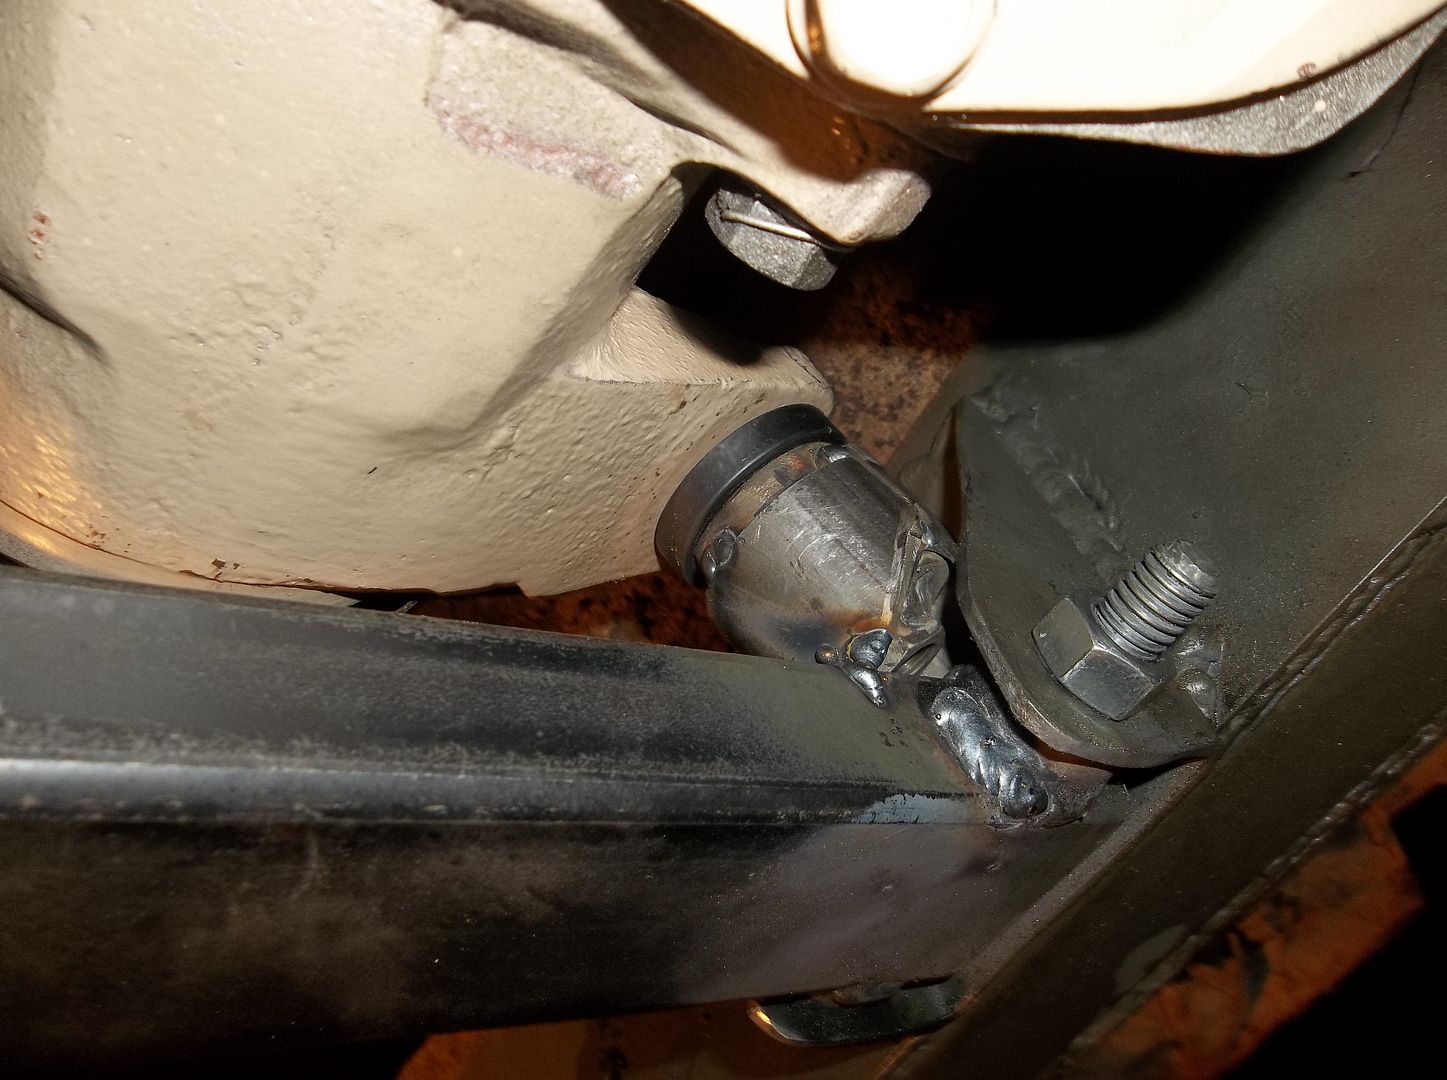
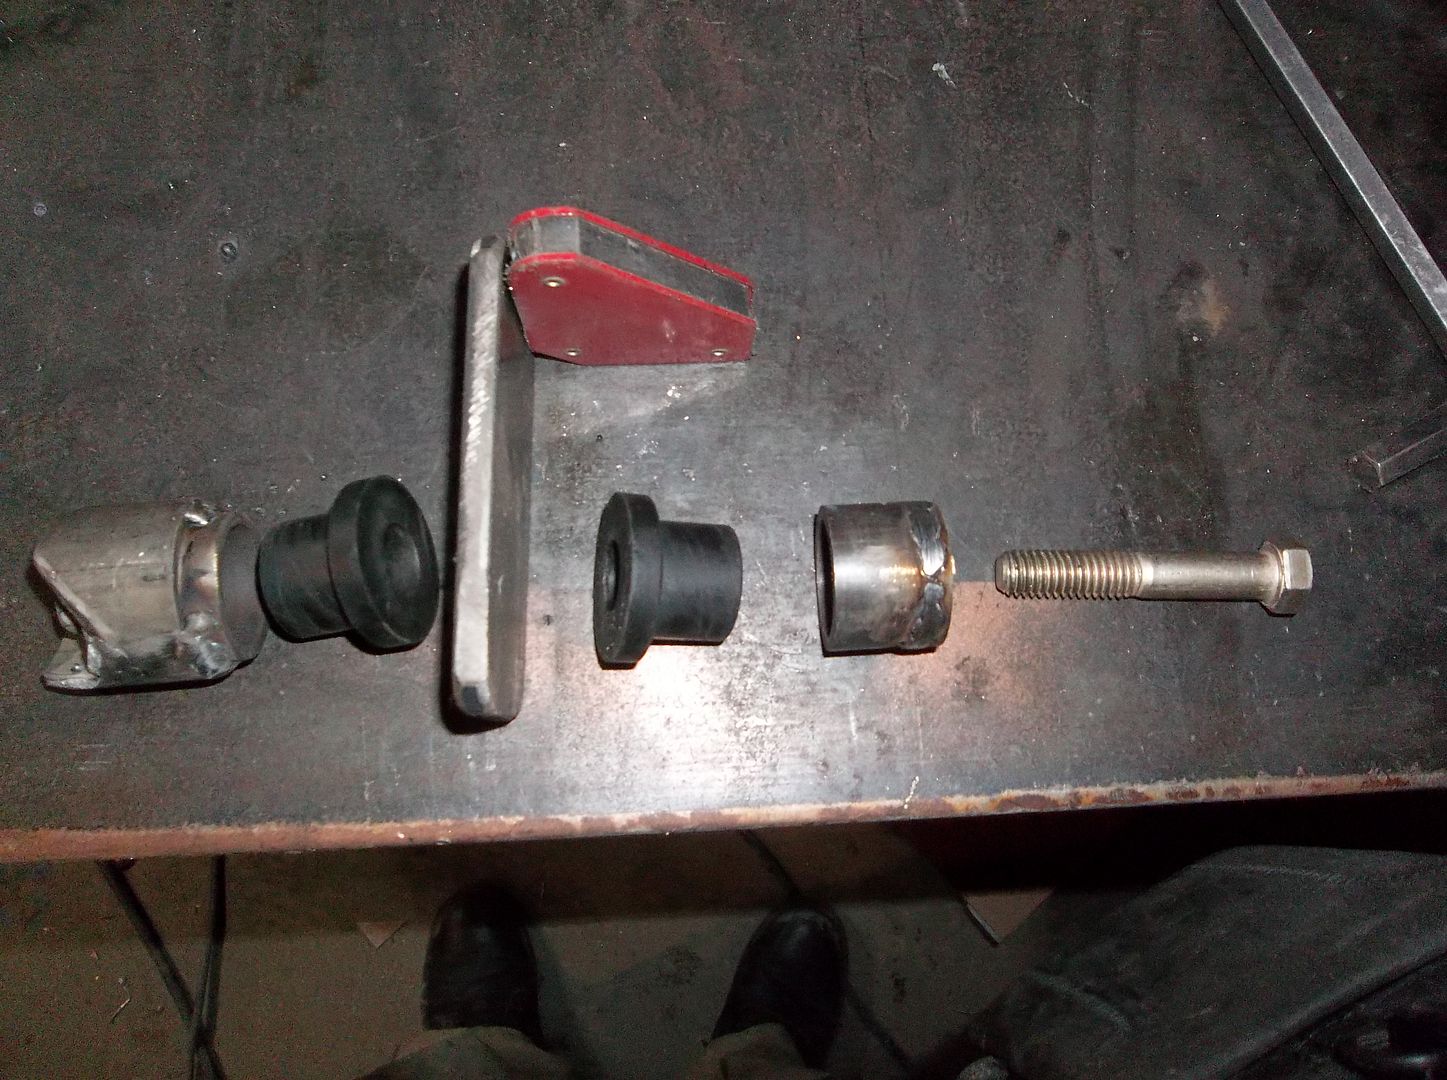
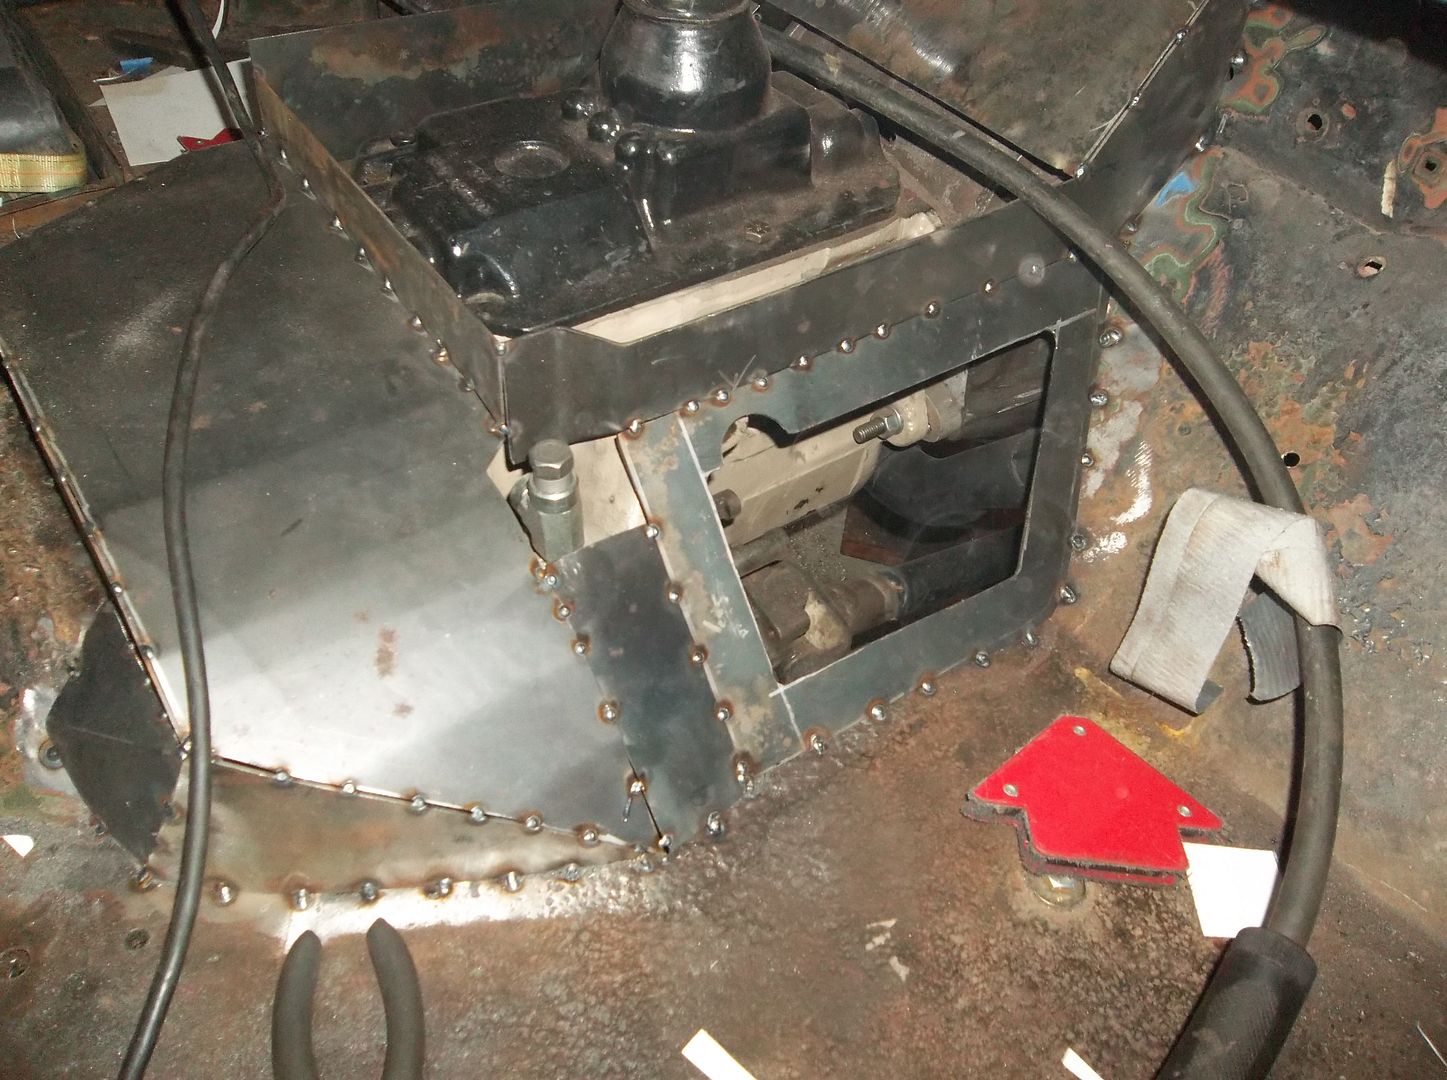
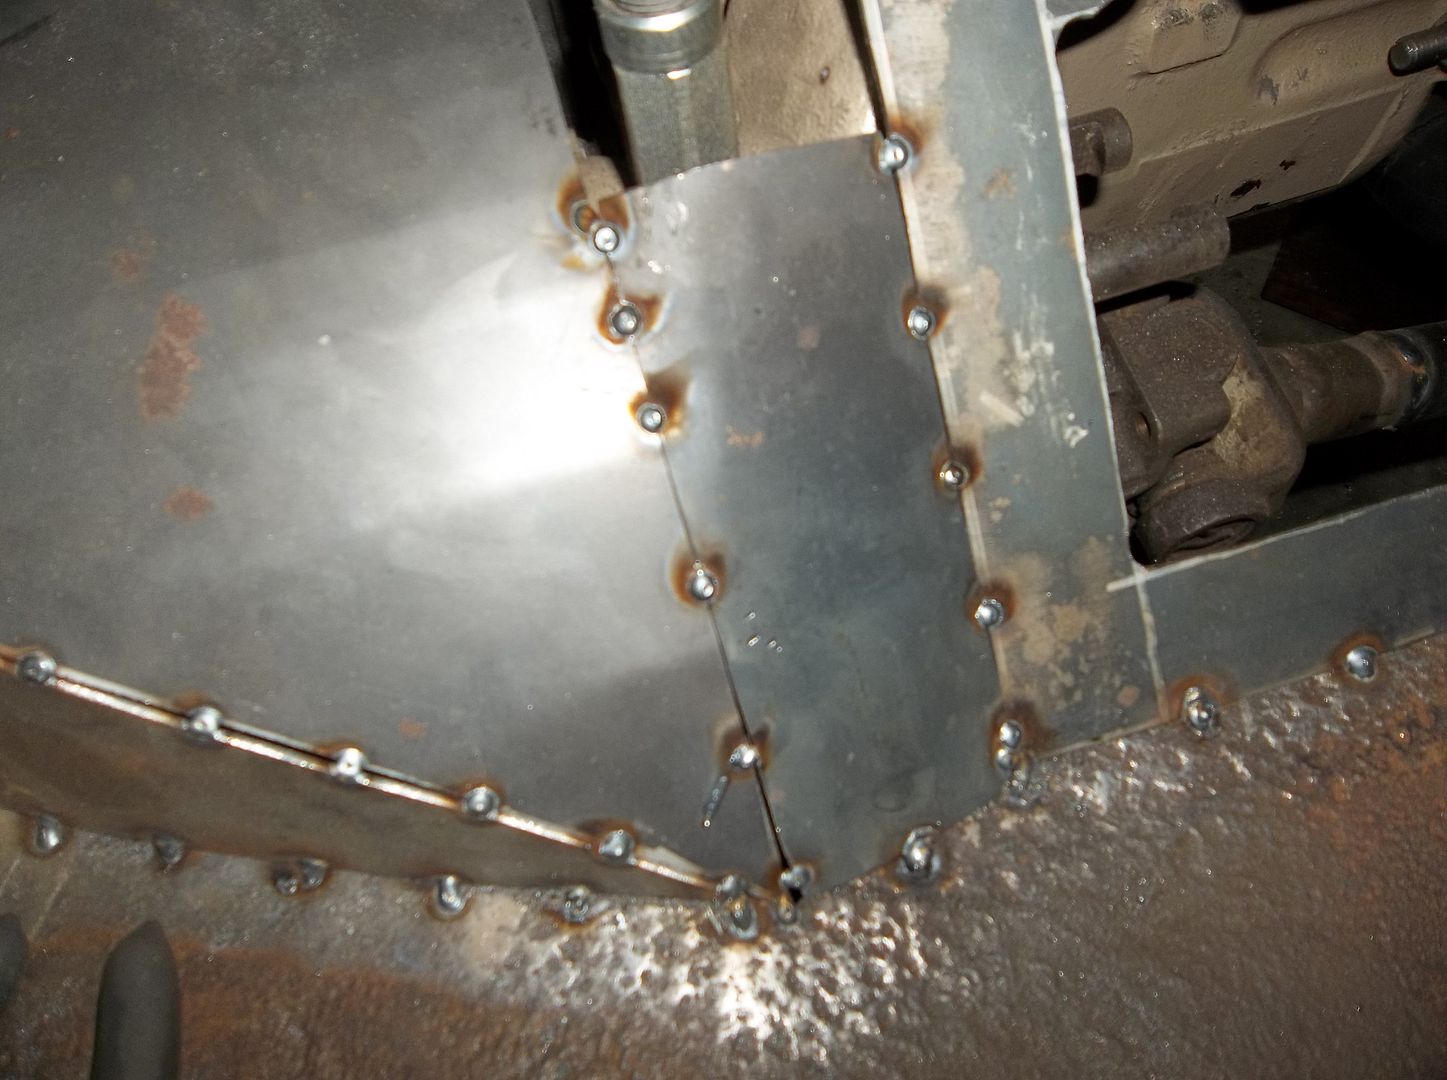
I really like how this one turned out. It took about 1.5 hours to make but it ended up being pretty clean and simple looking. It comes apart in two pieces to make removal easier under the vehicle.

Tomorrow I will tackle the transmission mount and torque mount I hope....
 

Metcalf

Expedition Leader
I don't know how it took five hours....

100_1844_zps9f1ad234.jpg


100_1843_zps28511e60.jpg


I finished modding the old crossmember to make it work with the new transmission. I didn't really feel like starting over, but I spent a pretty long time working on this....maybe I could have made a new one easier....

I used the same easy to find GM 2wd transmission mount. They are only about $10 at any auto parts house.

The mount had to be offset and shimmed from the stock mounting holes on the D18 factory adapter. I used some 1/4" plate to make the adapter mount. I guess the transmission mount is upside down compared to factory but I don't think it matters much. The stock T18 adapter uses 7/16 hardware which I had to make a run to town for.....and donuts.....

100_1846_zpsacba4168.jpg


My old torque mount, which worked really well, wouldn't work with the transfer case in a slightly more rearward location. I ended up making a factory style(ish) replacement kinda similar to what Euroford did. I cut up the old poly bushing mount and made this weird little setup....

100_1845_zps29745c16.jpg


The factory torque arm ear sandwiches between the poly bushings halfs which sit in little pockets I made for them. The one on the left is welded to the crossmember and other goes on the top of the torque mount. A 3/8-16 grade 8 bolt holds the entire thing together....

Once I got everything welded I pulled the crossmember for some primer and paint.

The transmission crossmember is tucked up above the bottom of the T18 transmission and D18 transfer case. I used some tapered holes in the bottom of the transmission mount tab to keep it all smooth. I ended up with over 17" under the crossmember.

A cool little bonus to the new torque mount is that it is WAY easier to drop everything back apart....

Shop tip of the day....

100_1841_zpsde6c8e4c.jpg


If you want to make more than one of something just weld the blanks together for drilling and shaping. Tack weld it on the corner where you will probably but a radius anyways. Clamp everything in a vise when grinding the last corner tack weld to keep everything the same.

These where some 1/8" shims that go under the transmission mount to help account for wear in the bushing and setting when I put weight on the mount.

100_1842_zps959ab28a.jpg


When welding items of the same diameter together clamp then in a straight piece of angle iron. Tack weld in three places and then remove for welding. Rotate one of the tack welds to the inside corner to get all 3 evenly spaced.

Tomorrow I will reassemble the transmission crossmember and start on the tunnel perhaps!
 

Metcalf

Expedition Leader
It was arts and crafts day. Out comes the poster board, scissors, and masking tape...

100_1847_zps9375e2bc.jpg


100_1848_zps164d30cc.jpg


100_1849_zps8617c02b.jpg


I forgot how long this kind of stuff takes....
 

Metcalf

Expedition Leader
If only I had a magic wand that would turn poster board into steel.....

100_1851_zpscf505bec.jpg


100_1850_zpsb6f0ca71.jpg


This is my design for the tunnel so far. I still have a few little things to do like make a cover for the fill/vent fitting but that will probably wait until I have everything in steel. It will just be a cap that bolts over the top of that fitting.

I'm pretty happy with the design. I integrated a large flat panel over the front output the will allow some access to the front yoke and twin stick shifters. I will also have that panel integrate a small cover for a hole allowing access to the shifter rod pin for the transfer case.

Tomorrow I will take the paper model apart and start transfering it over to metal. I am going to try to make as few panels as possible to eliminate weld seams. The cover panel will bolt on and have a 90 degree flange around the left, right, and back edge. The front edge will have a flange bent up to match up to the welded panel over the bellhousing.

Room around the accelerator is better than I was. Foot room is a little better in general.

I also need to patch the brake master hole in the floor....

I also built a temporary front driveshaft out of some parts I had laying around. It ended up being 29" long. I think the small 1.25 tube will clear everything pretty well. It feels nice to get rid of the 2-pc front driveline. The one piece front shaft tucks up in the chassis pretty nice and shouldn't get wacked too much. Worst case I will need to slightly redo the Y-pipe around the driveshaft area for a little more clearance. I forgot to get a pic, opps. I also marked the old rear driveline for cutting and will trim it down at work on a bigger lathe. It ended up being 19.25" long with the new transmission and transfer case....

I am going to try and keep putting the vehicle back together as I work on the tunnel so I don't feel too rushed on the sheetmetal work...or having enough time to get the front clip and other misc stuff back together.
 

Metcalf

Expedition Leader
No problem. I was kinda wondering if anyone is still watching. Questions and comments have been thin lately....
 

Metcalf

Expedition Leader
Still watching!

A good day is any day with an update!

Thanks. I try and do a little something every day. EJS is coming up fast!
I am trying to do as good as a job as possible on some of the new stuff......rushed, but trying not to sacrifice quality.
 

Bushbunny

New member
WE ARE WATCHING YOU

I'm sure there are lots like me who follow Rango avidly but have nothing particularly sagacious or productive to add to the discussion. All I'm saying is thanks for filling cold snowy days with some vicarious productivity. I like your concepts and your style keep up the posts.
 

bishopdunn

Observer
From looking at the tower, it seems like everything except the top piece ant the full tube cover, and possibly the PS access plate are going to be welded in place. Correct?
 

Metcalf

Expedition Leader
From looking at the tower, it seems like everything except the top piece ant the full tube cover, and possibly the PS access plate are going to be welded in place. Correct?

Yes, mostly welded.

The top cover will be a bolt on unit. I wanted to be able to remove the shift cover on the transmission. That will be a large removable panel that will bolt on with a 90 degree flange around three sides and a flange bent up on the front.

There will be a removeable panel over the front output that will allow access to the transfer case shift lever pin and the front driveline yoke.

A small panel will cover the fill/vent fitting on the transfer case.

Eventually a center console ( ammo can maybe ) will go up over the transfer case portion of the tunnel to the main top flange.
 

Forum statistics

Threads
188,641
Messages
2,908,244
Members
230,800
Latest member
Mcoleman
Top