Rango.....1942 Willys MB

Metcalf

Expedition Leader
not a ton tonight. I had some dog containment upgrades to do....

I did get a pair of setup bearings made for the Dana 30 carrier. I used the Jantz method of honing the bearings out with a flap wheel in a die grinder. It took a little bit but worked well!

I also measured the free space in the carrier. That was between .060" and .061"

Hopefully tomorrow I can get the pinion in place using the headstamp as a base, measure the carrier to pinion space, and get the 1st set of shims on the carrier. I am very interested to see how close the Dana/Spicer head measurement is?

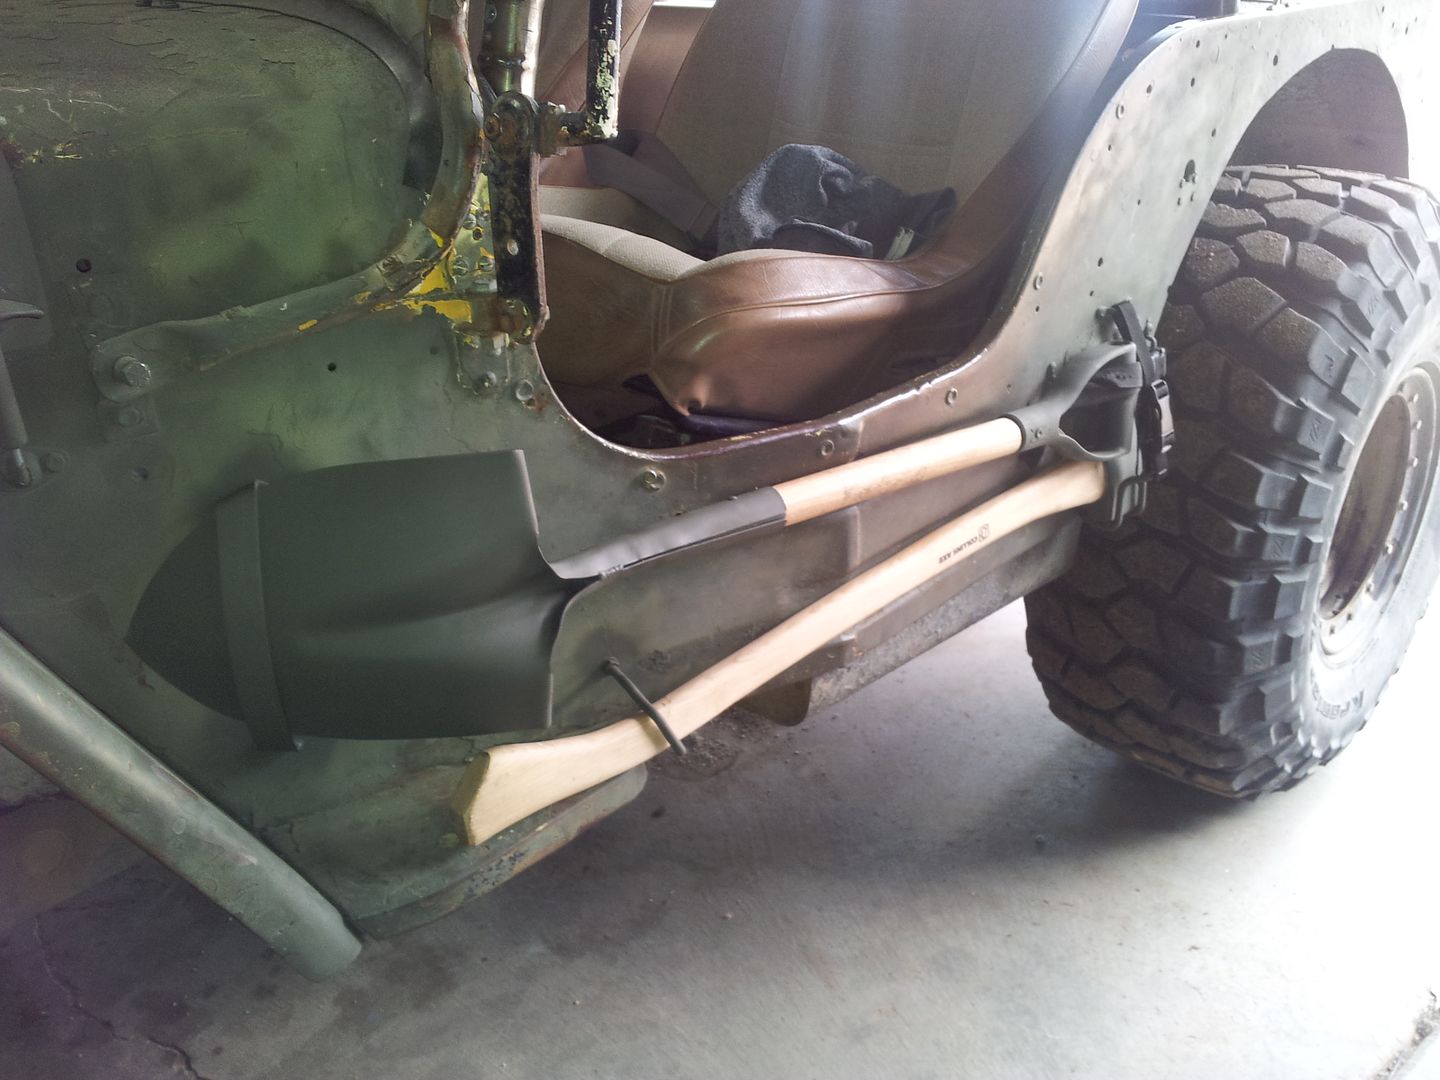
I did finally get my shovel and axe brackets in the mail. I will have to see if I can find the right hardware tomorrow after work. It will be nice to have that stuff mounted. I guess I need to make some straps too.

More tomorrow....
 

Metcalf

Expedition Leader
Its all back together....


That was a bit of a whirlwind in the shop!

-pinion preload set at just over 10 inch pounds. That took a few tries. The Nitro gear 'master' install kit didn't have enough pinion preload shims. I had extras, the D44 uses the same size pinion.

-baffle, new pinion seal, yoke, and new locknut with a bit of red locktite installed.

-New axle seals installed. Used a piece of tubing to knock them out. Used another to knock the new ones in place.

-Carrier installed with about .016 preload near as I can tell. I used the bottle jack to press the carrier bearings on. Worked again.

-Final backlash was .007 average.

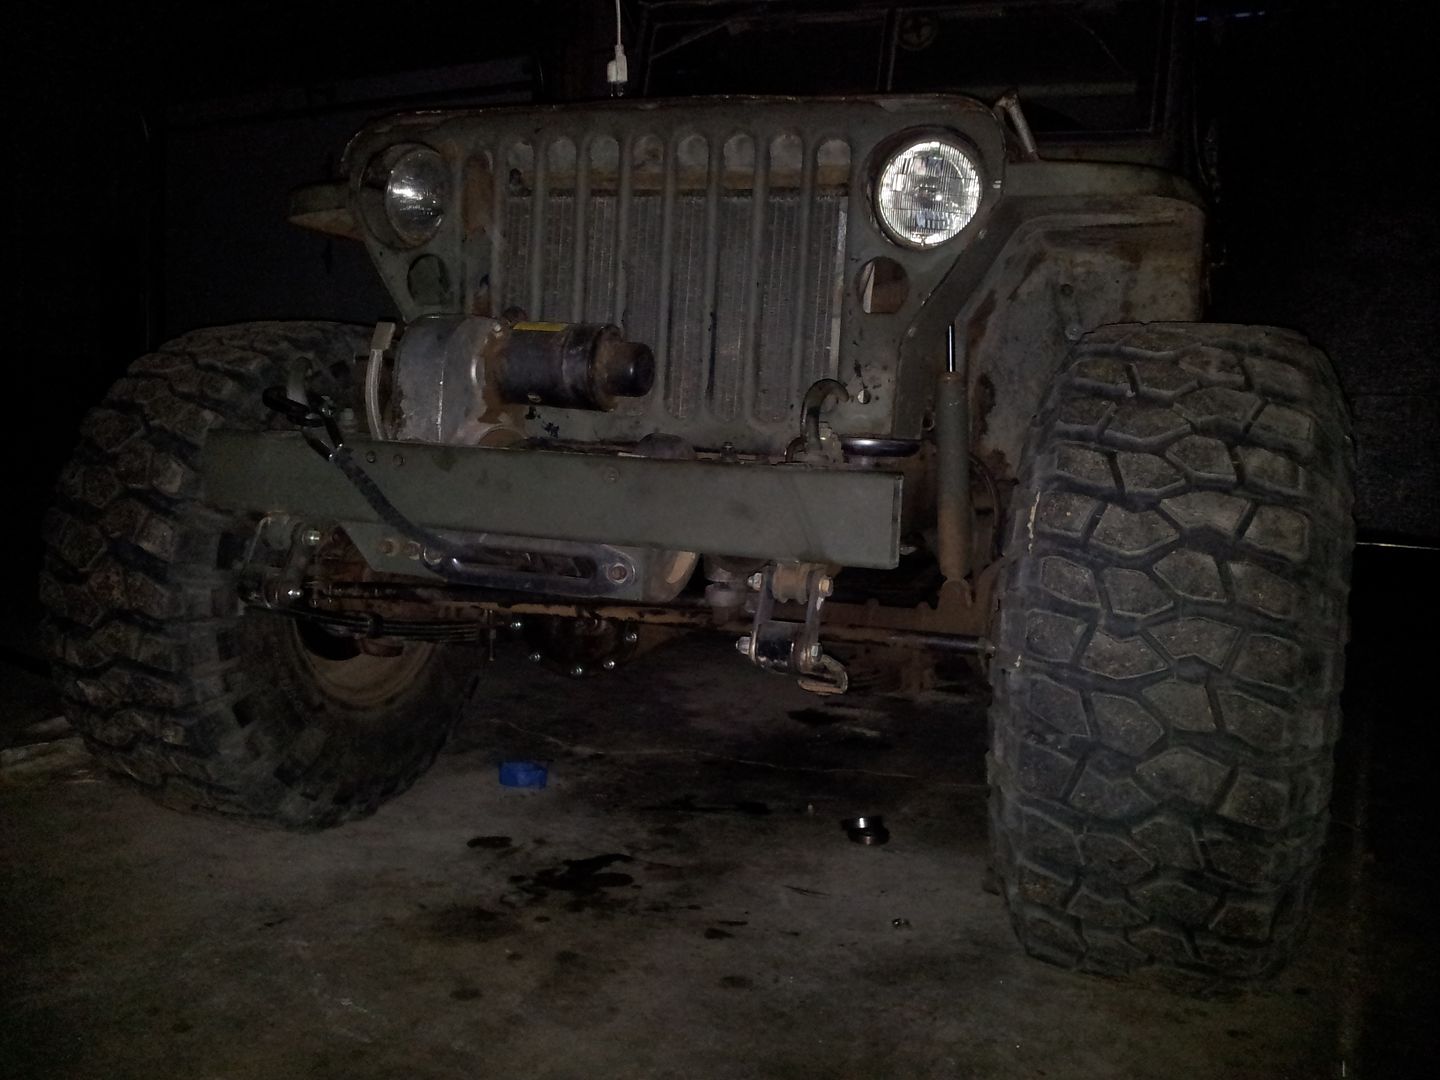
-Put the front end all back together.

-Dropped her back on the tires.

-Filled the diff with cheap break in lube.

I JUST about took it for a test drive but was pretty whipped by then.

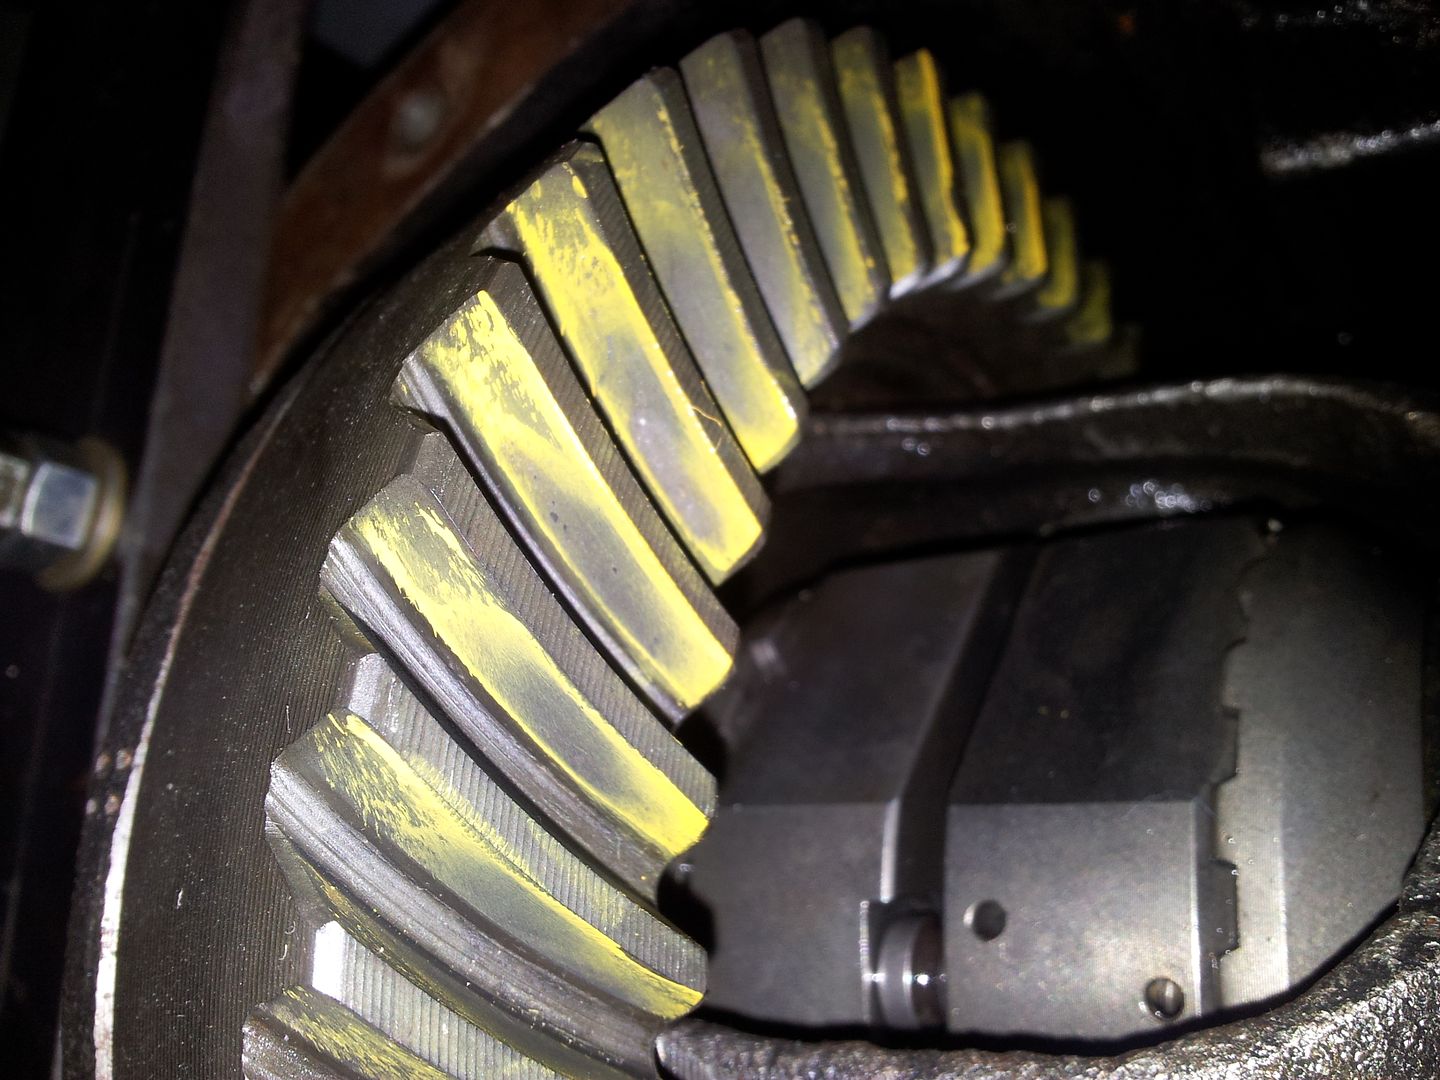
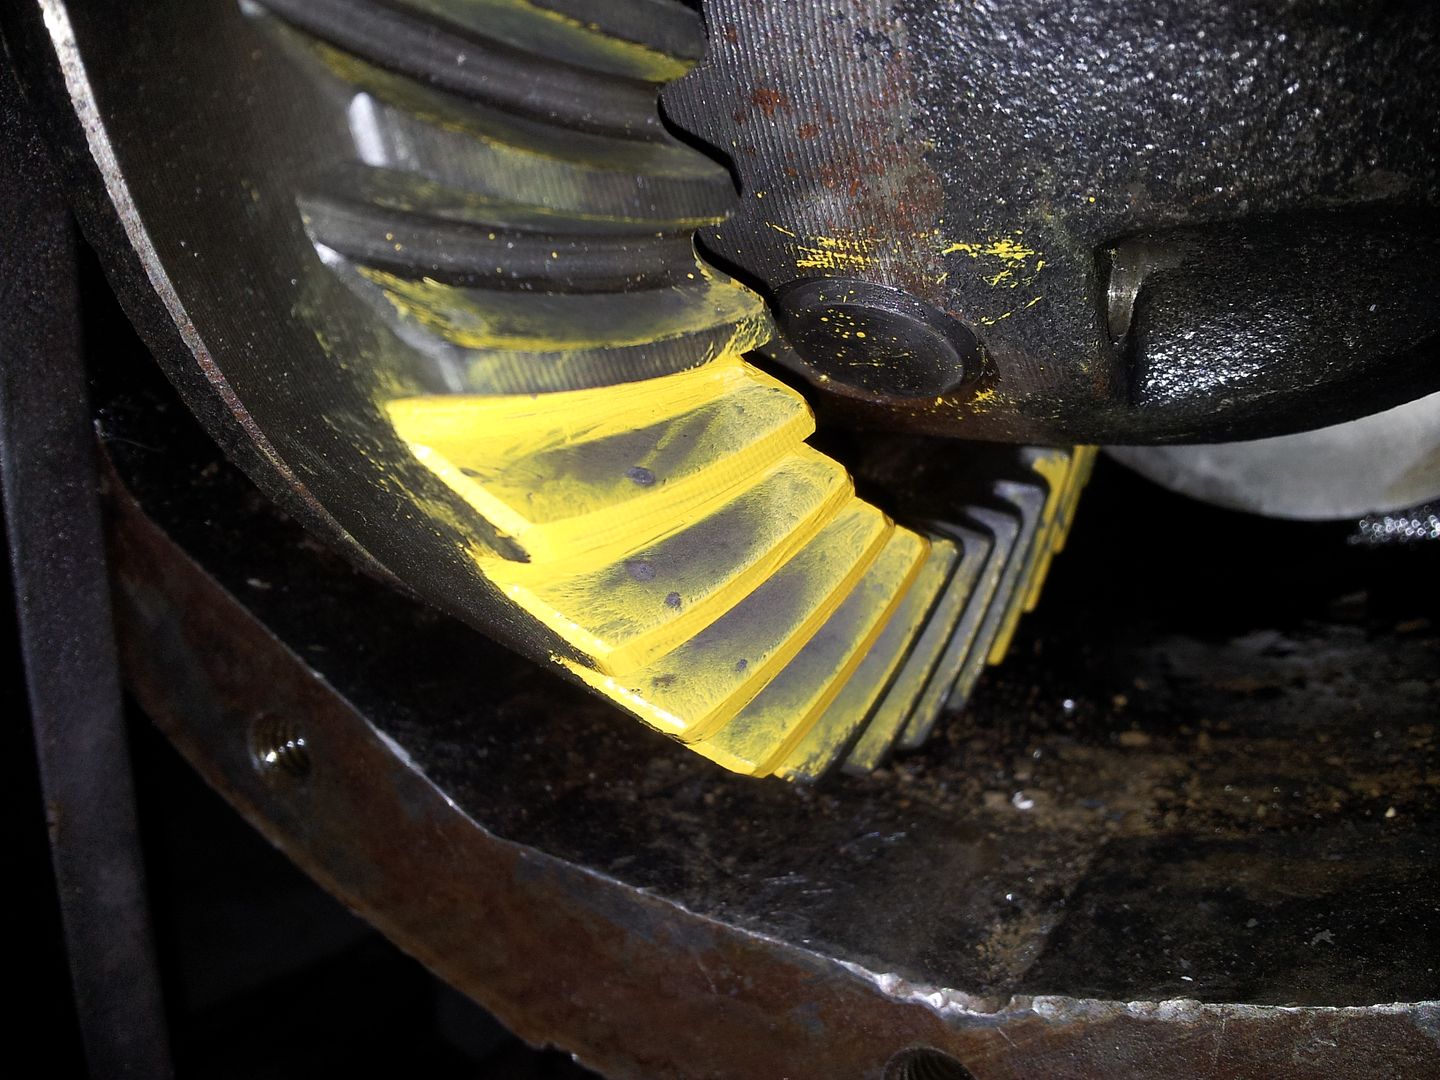
This was the final pattern....


Drive ( coast on the front )


Coast ( drive on the front )

It feels REALLY good to have it back together. Now I can mess with little stuff and pack for the next week before my big crazy road trip adventure.

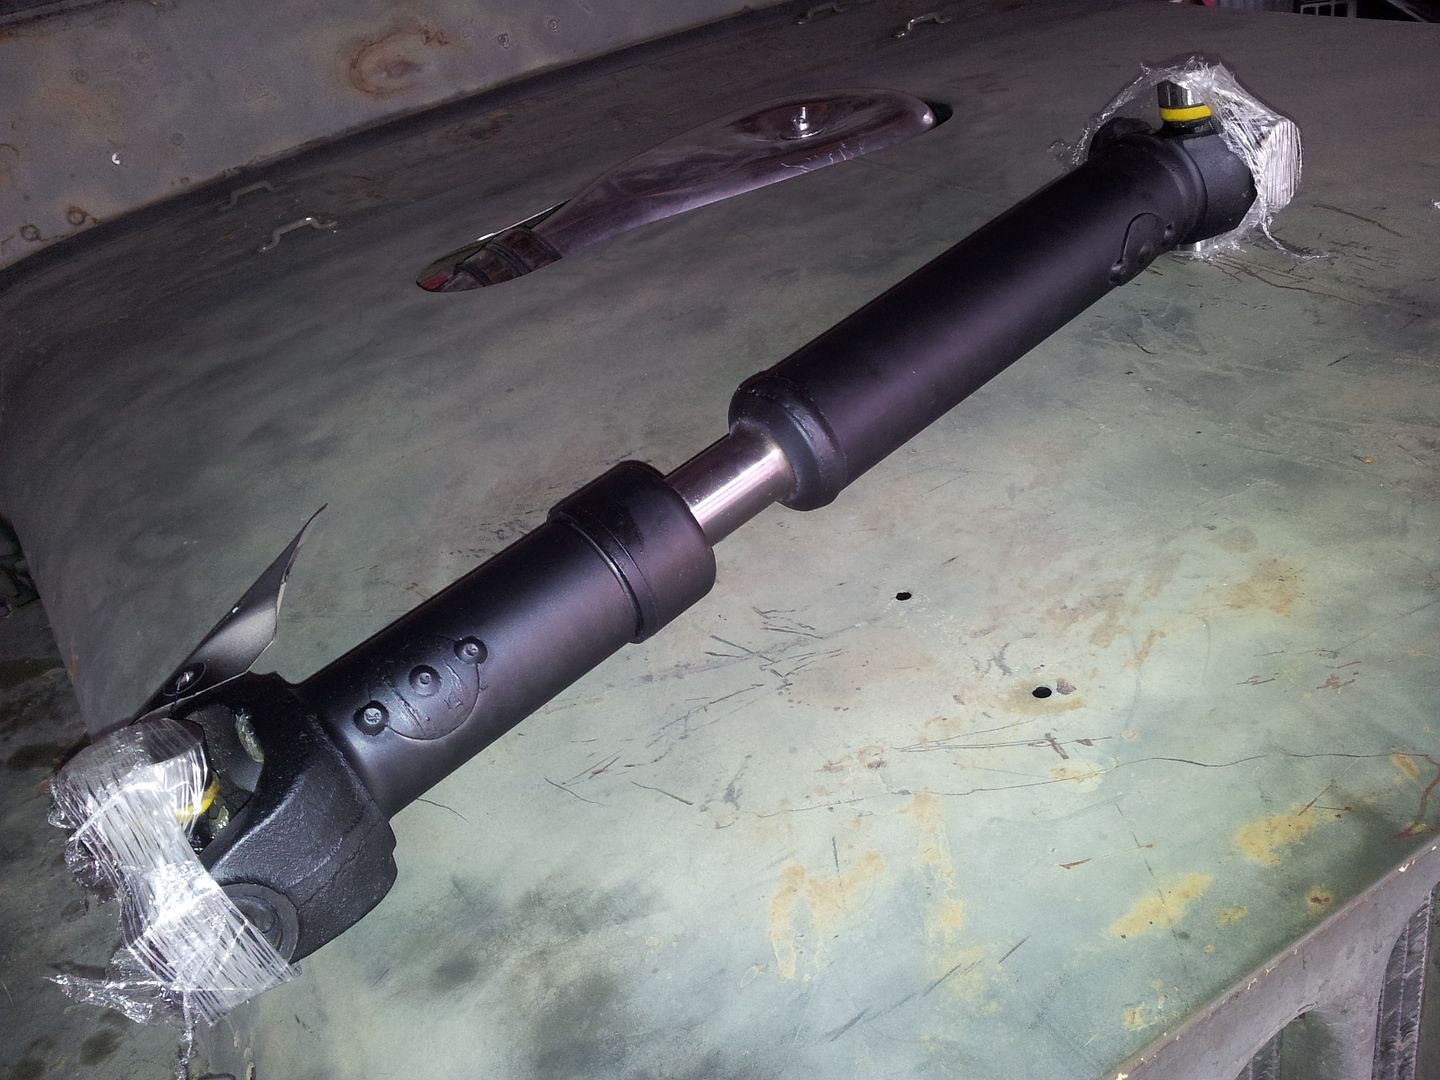
Oh, and I also ordered a new rear driveline. My homebuilt temp probably wasn't perfect nor balanced. The new rear shaft from Tom Woods should be here in a few days....
 

locrwln

Expedition Leader
Excellent work. Looks like you will be set now. You have to take a picture of the final packed up rig. I love seeing pics of jeeps loaded for long distance travel.

Jack
 

Metcalf

Expedition Leader
Excellent work. Looks like you will be set now. You have to take a picture of the final packed up rig. I love seeing pics of jeeps loaded for long distance travel.

Jack

Thanks. I still have a decent list of stuff I would like to do before I leave, but nothing major.

I will post pics of it all loaded up. Hopefully it won't look like it is too loaded up! I tend to be a minimalist to a point. I would like it if nothing much stuck up above the bed rail. I am sure I will end up with a large bag in the front seat, but I am going to try and pack light. What I can move forward in the chassis I will.
 

Metcalf

Expedition Leader
Still just doing stuff to prep for the trip. I have been trying to drive it a few times a day to get the gears broken in more also.


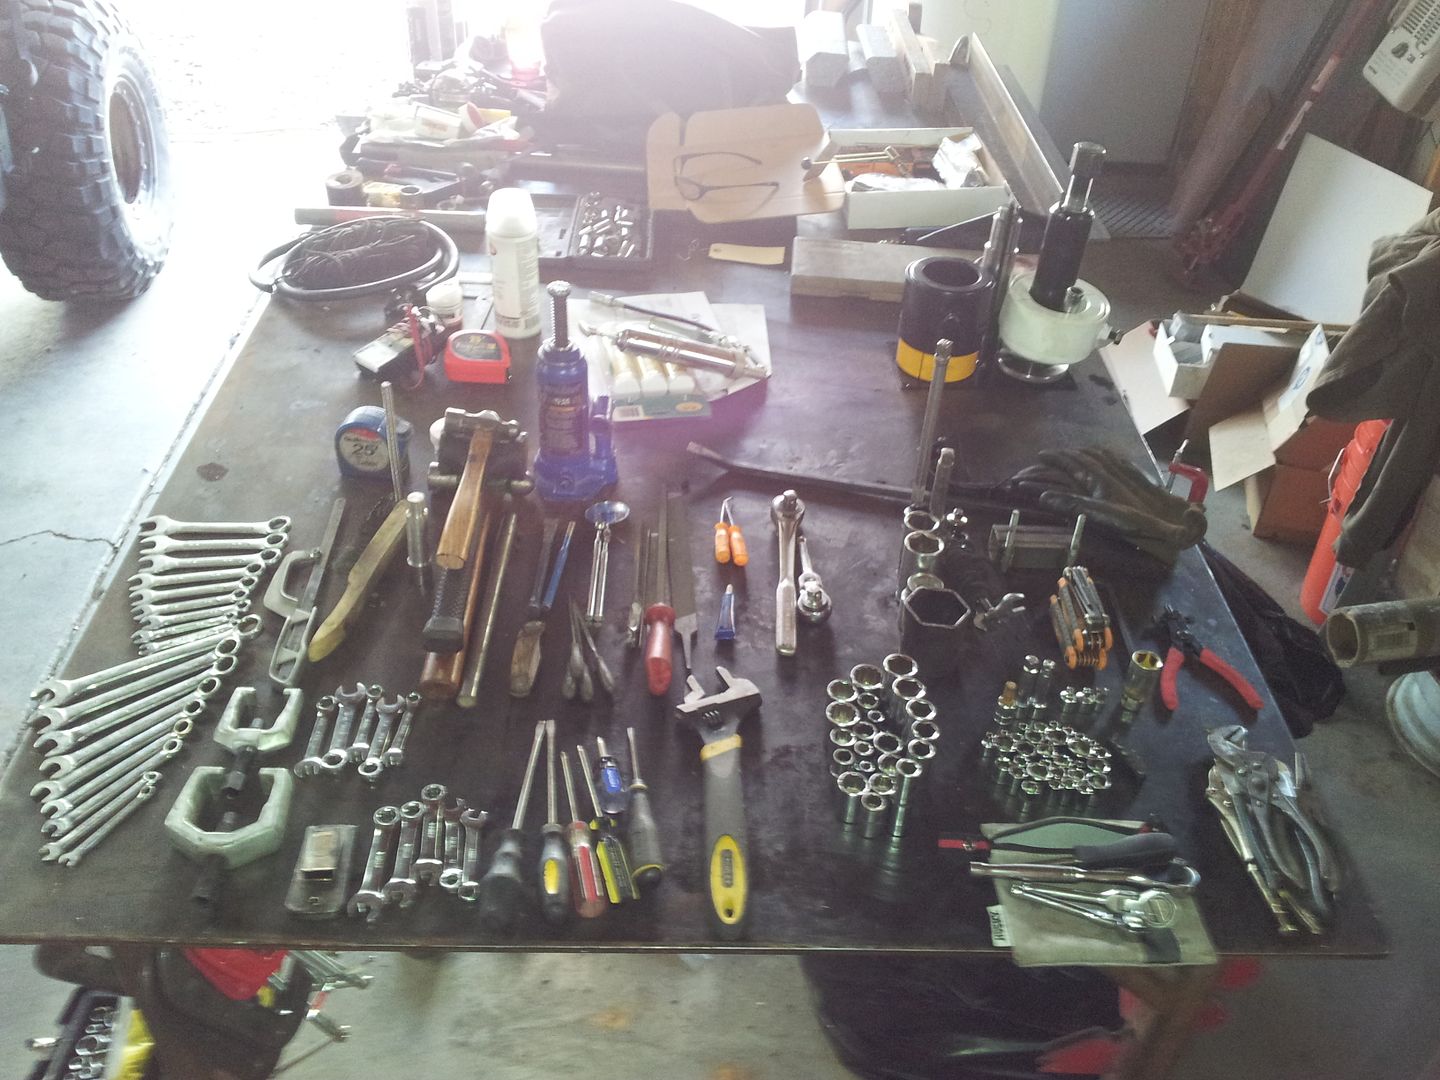
I sorted out my tool kit. That all fits in my tool bag. Nothing super fancy, but I think this was more than I needed to rebuild the entire thing :) Once I get more comfortable with a few things I will probably slim it down once more.


The shovel and the axe are mounted. I am not 100% happy with the black straps but they work well. Strapping the shovel in 'properly' took me a little bit to figure out.


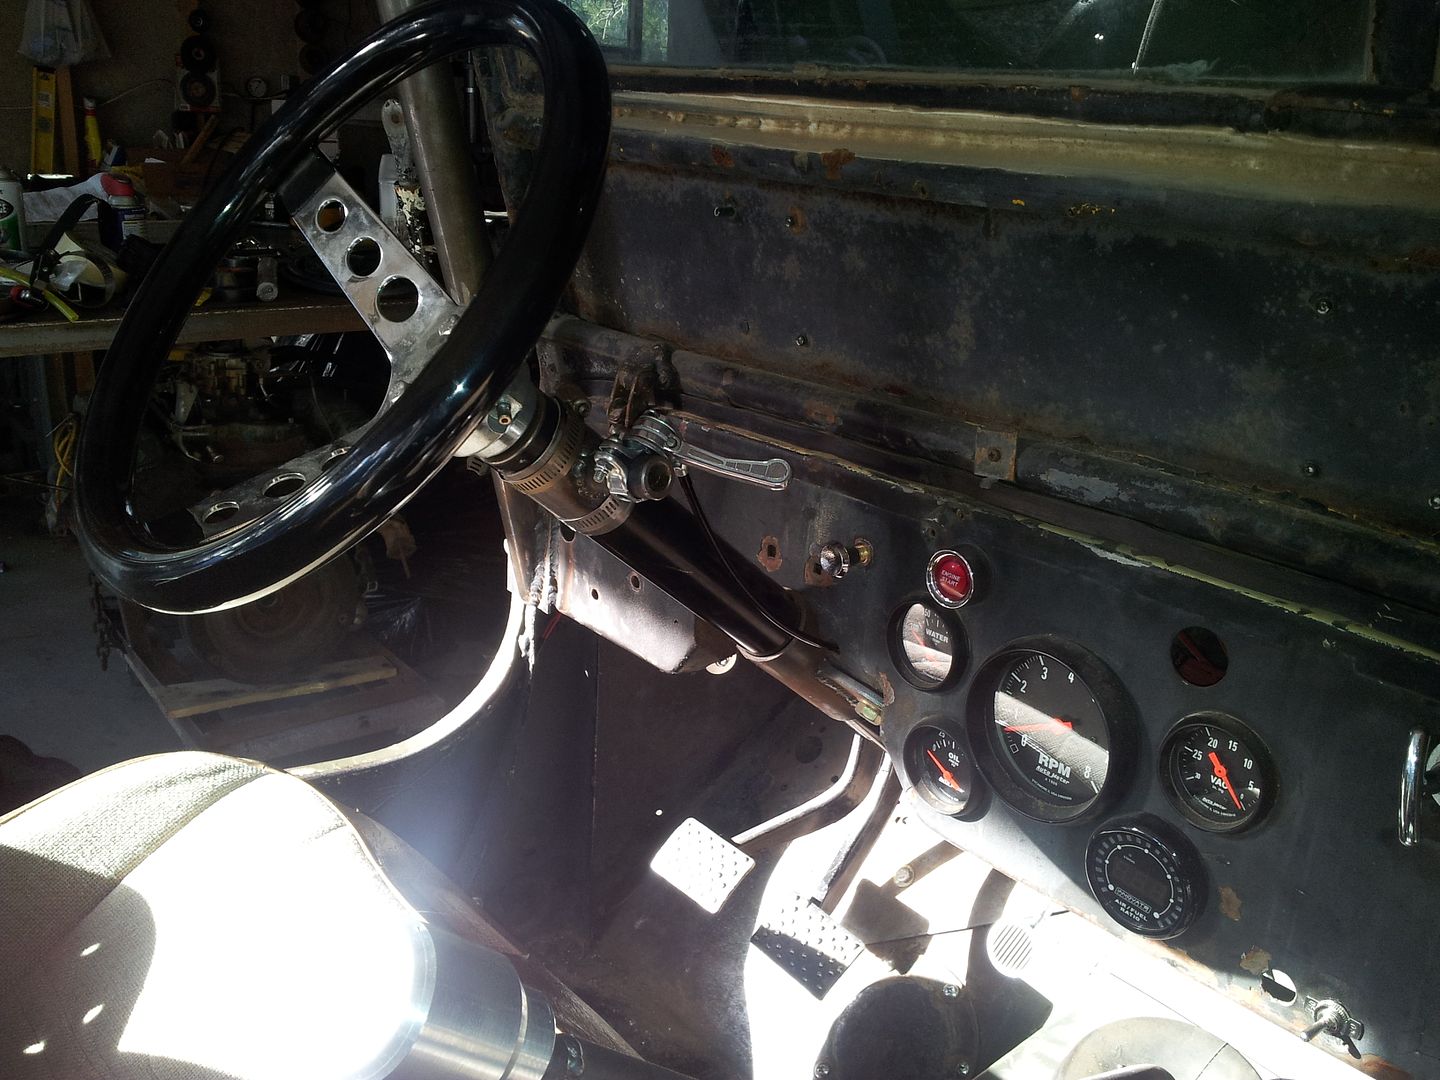
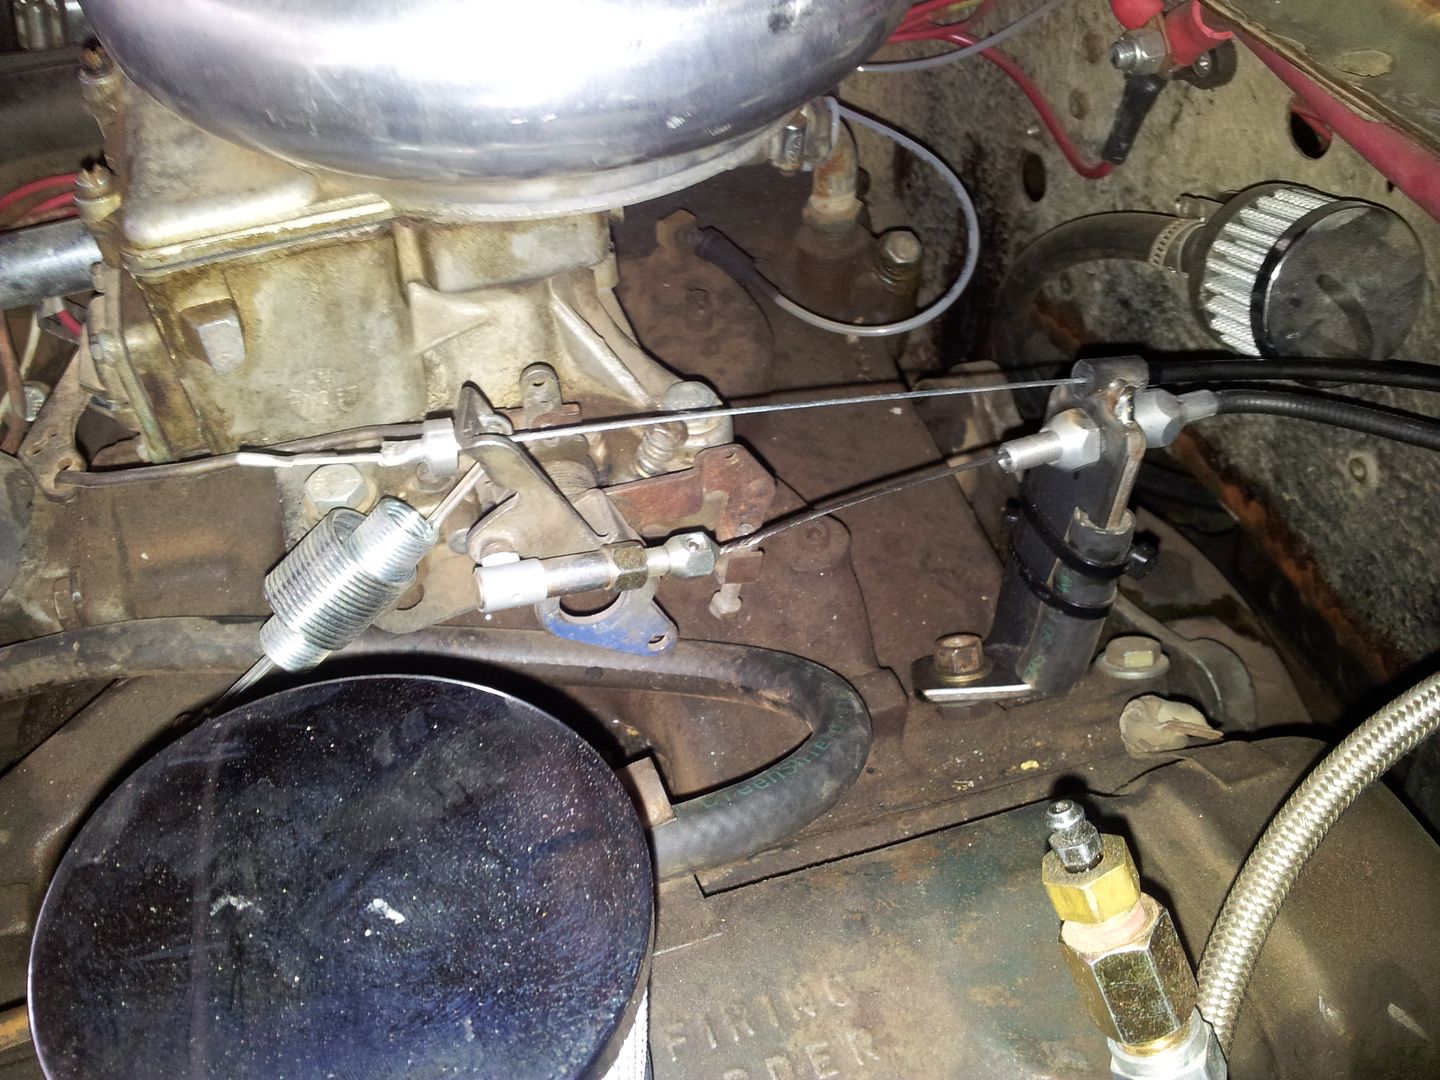
I built a manual throttle using an old bike shifter. It works really nice. I need to paint the bracket and get some shorter/cleaner looking hose clamps. It works VERY nice. The longer lever ratio is really nice for fine adjustments. I hope I can use it for an ultra-low idle speed controller too. Basically turn the idle down till it JUST chugs and then be able to bump it up for normal around town stuff.


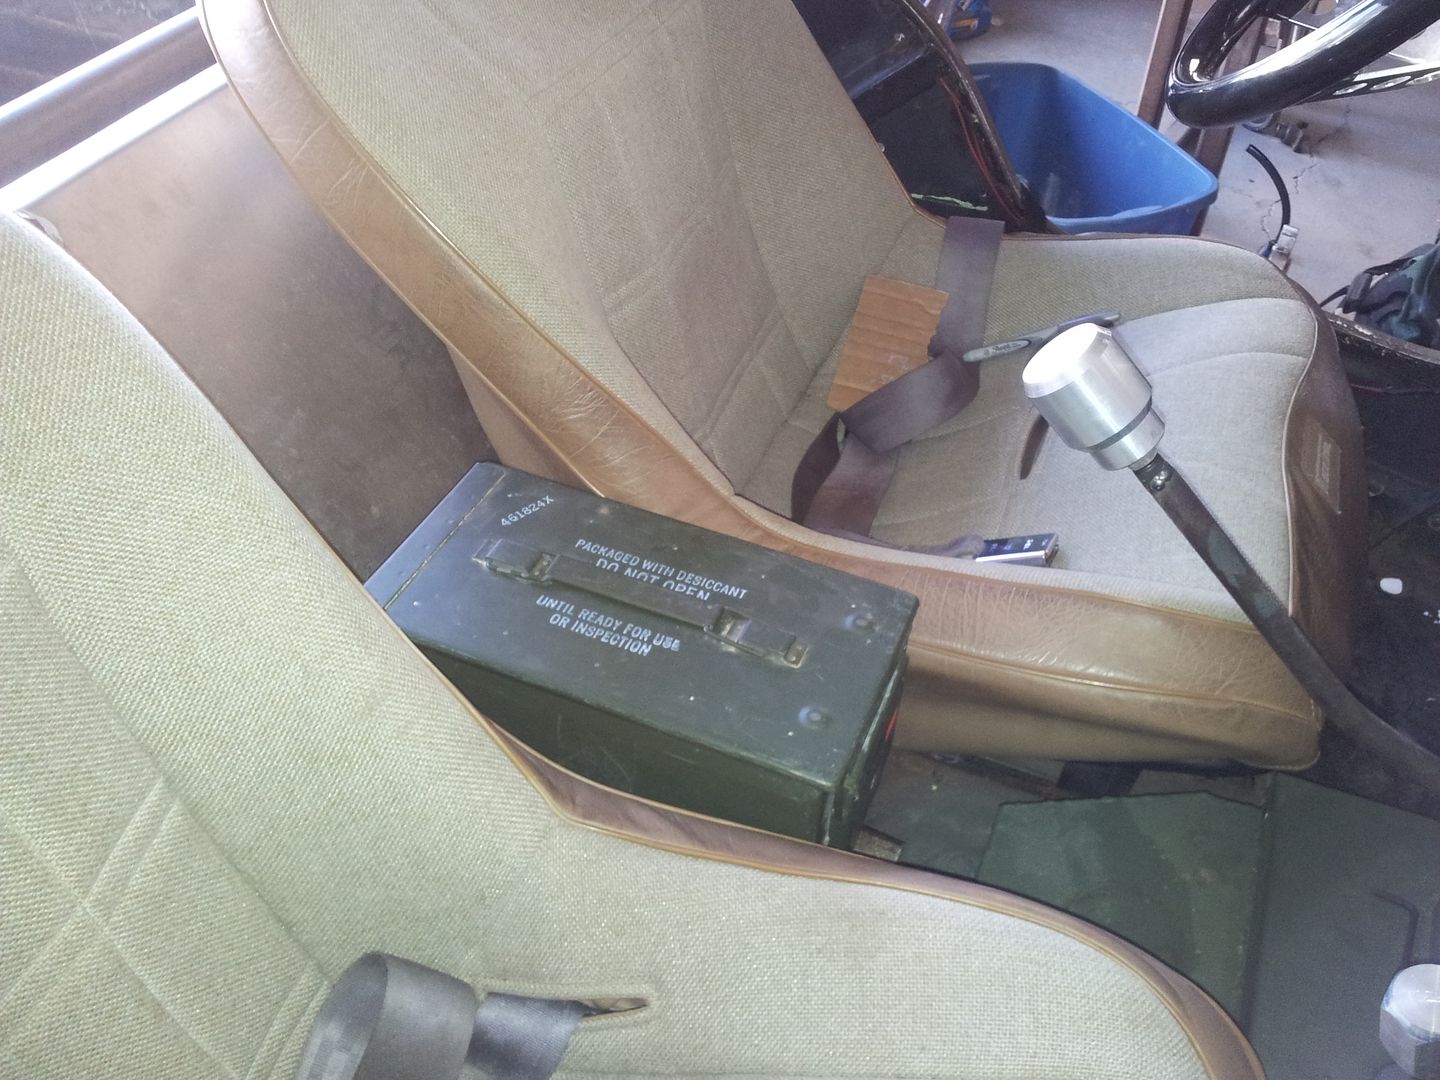
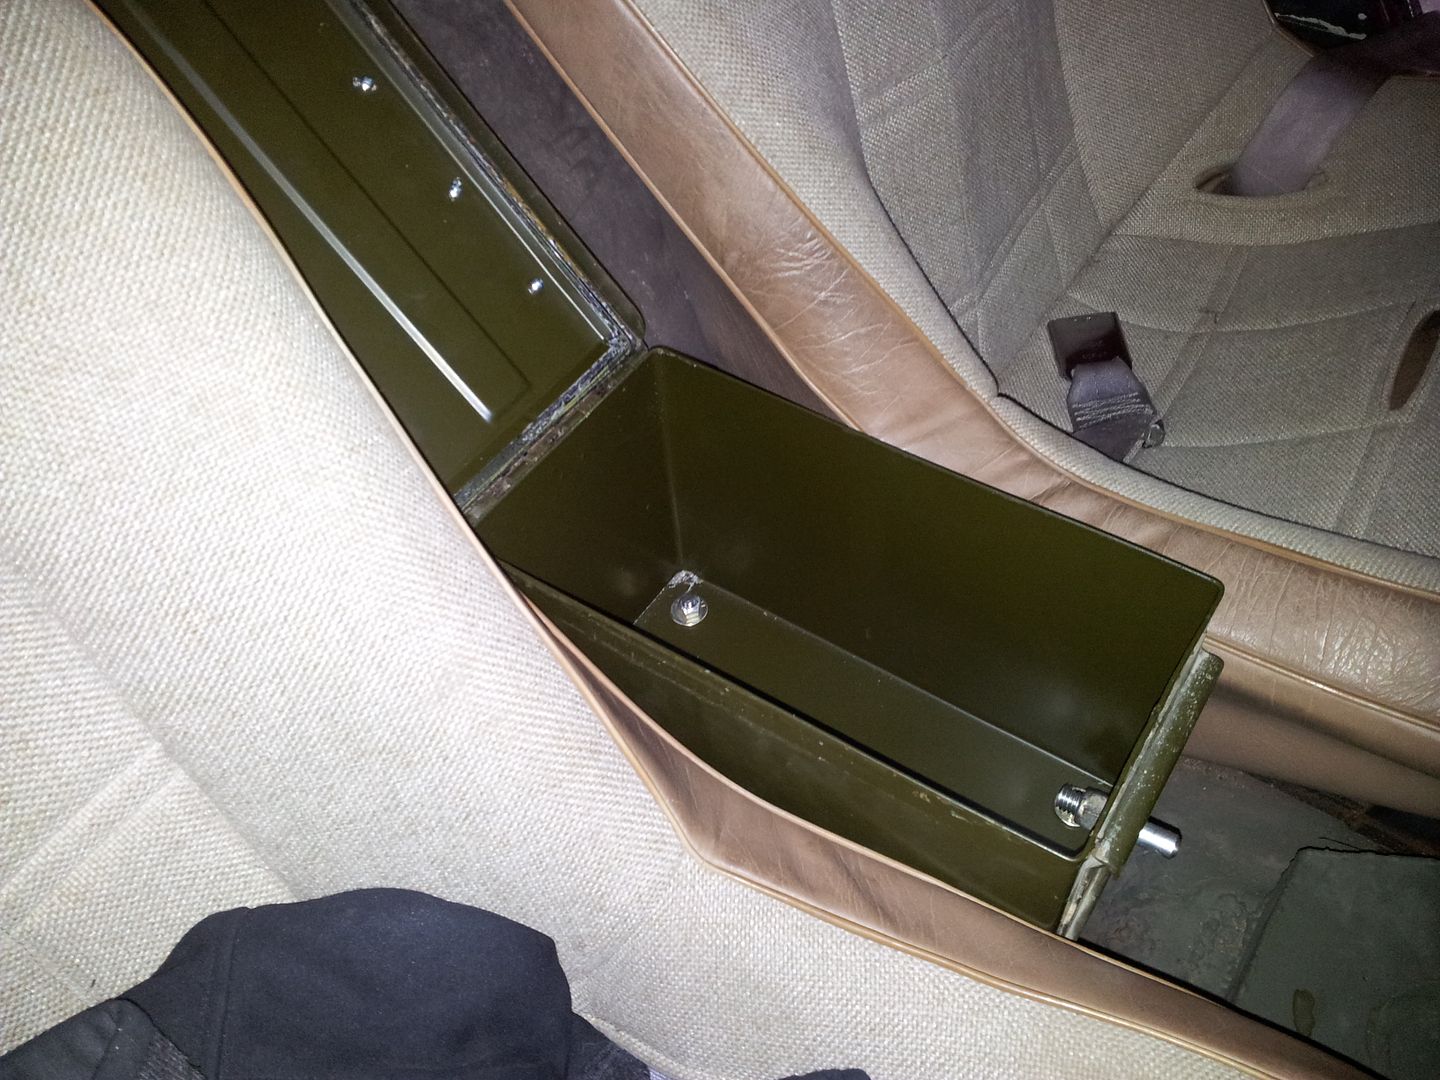
I also started fabbing up a locking center console out of a 50cal ammo can. It needs to be raised up off the floor a bit and will hopefully be high enough for an arm rest. I will probably make a padded canvas top for it. The paddle will be secured with a small padlock so I FINALLY have some lockable storage in the vehicle.
 

Metcalf

Expedition Leader
Finished the center console made out of an ammo can....


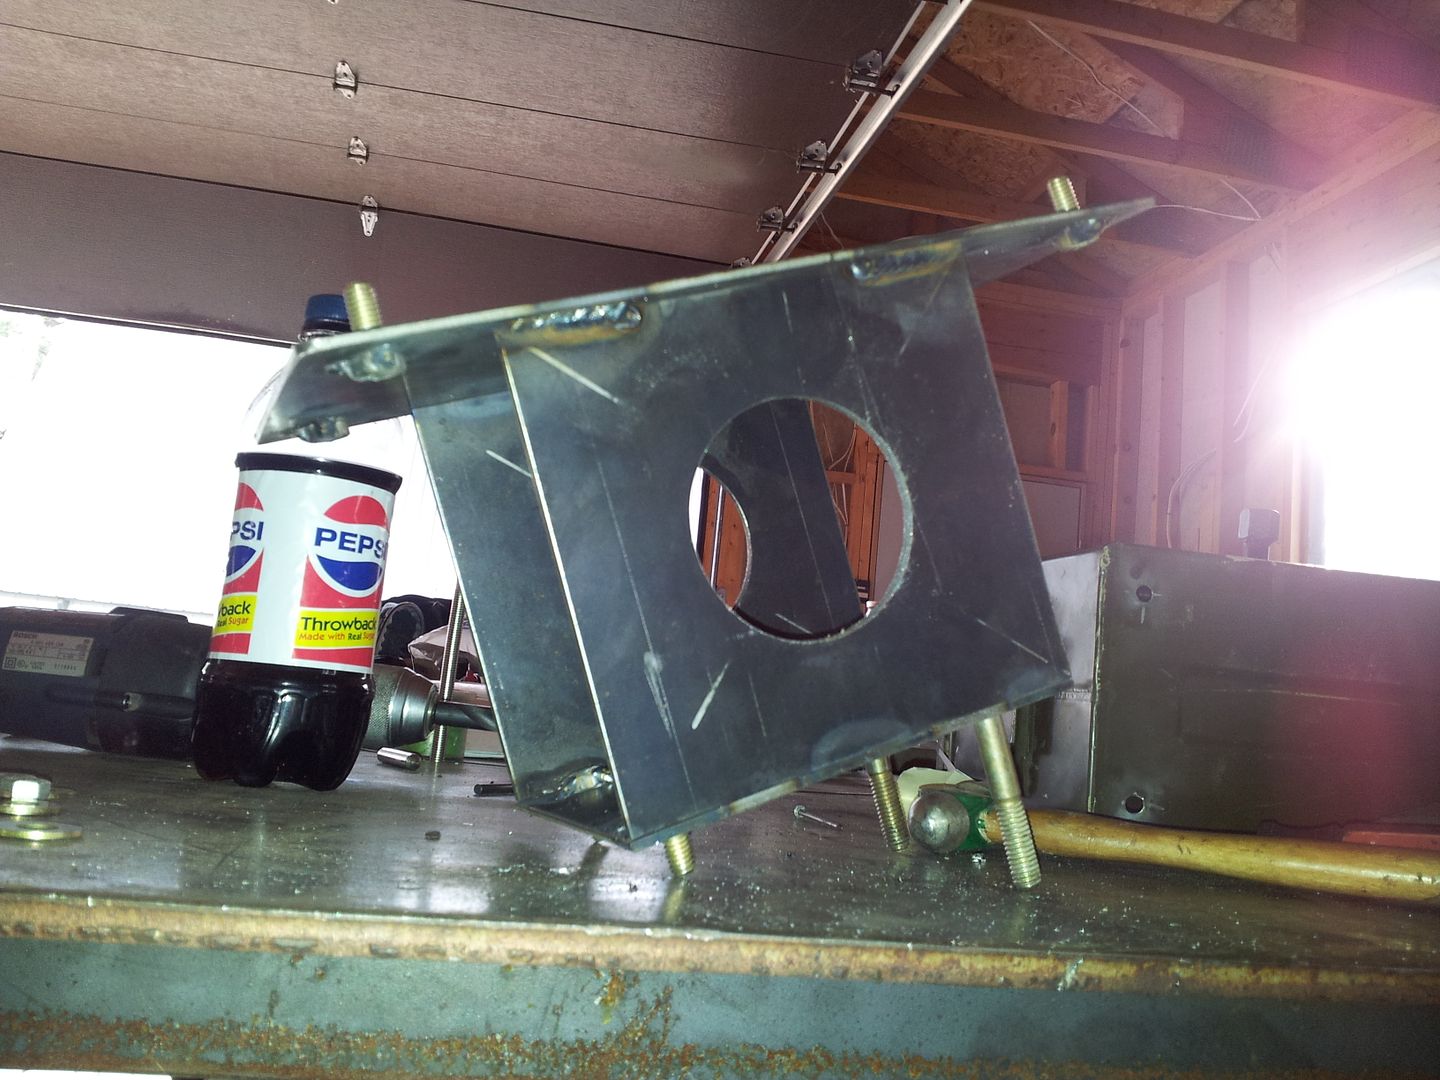
Made a bracket to raise the can 5.5" off the floor. The bracket was designed so you can slide stuff in from the front under the can for a touch more storage. In a flat fender you need every inch you can get....


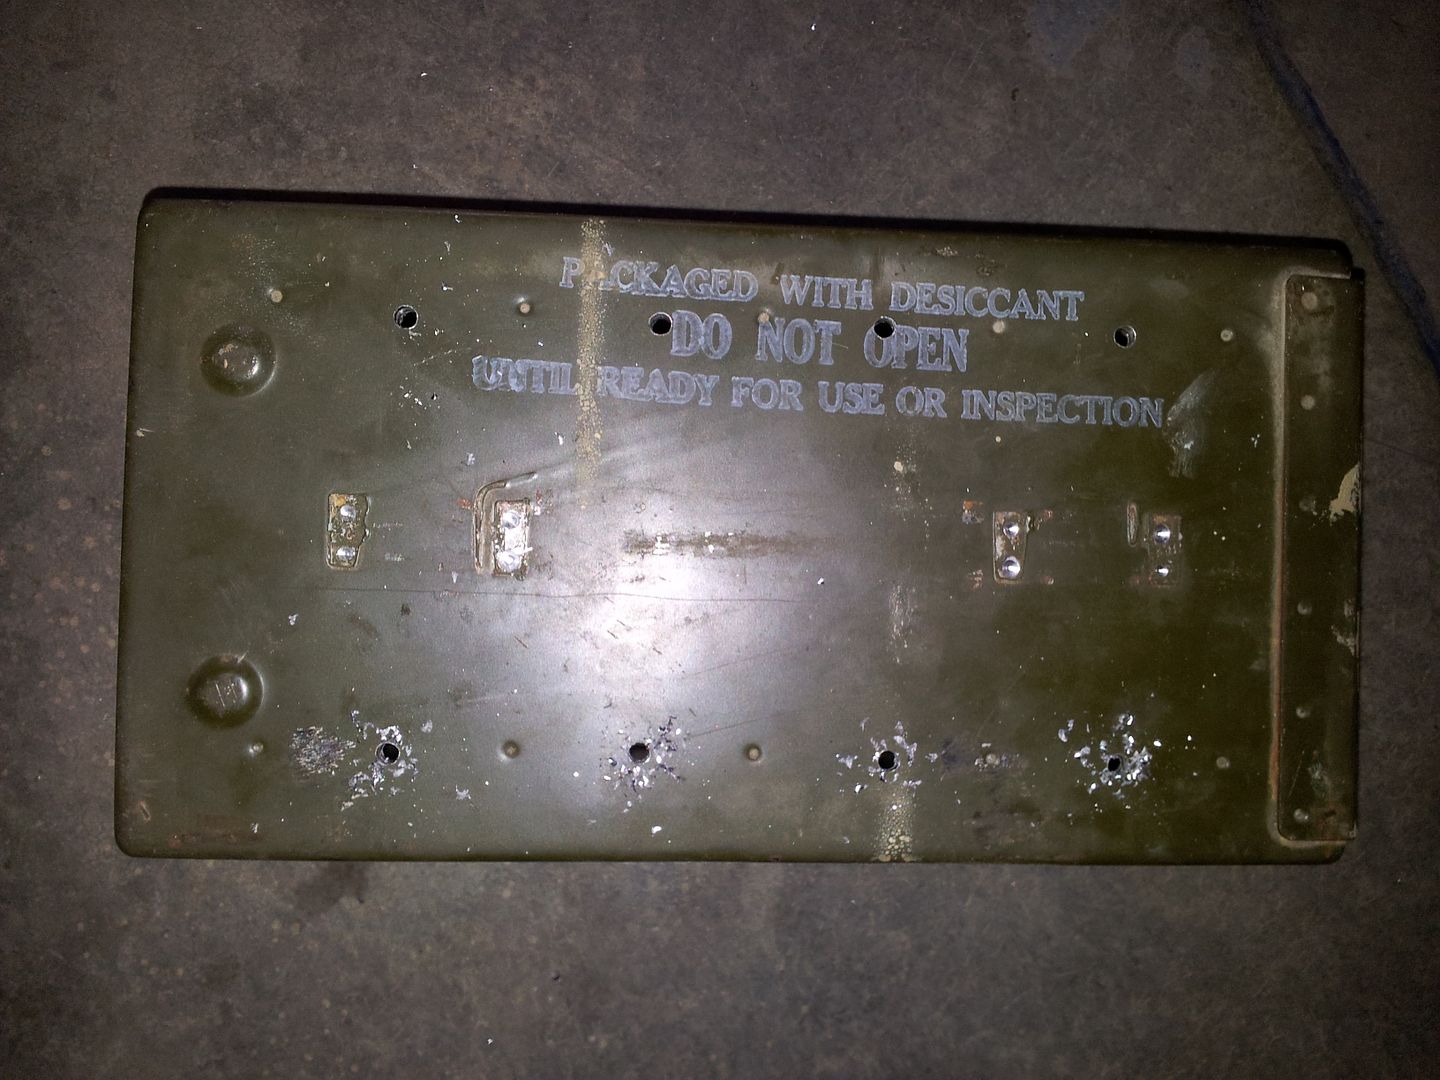
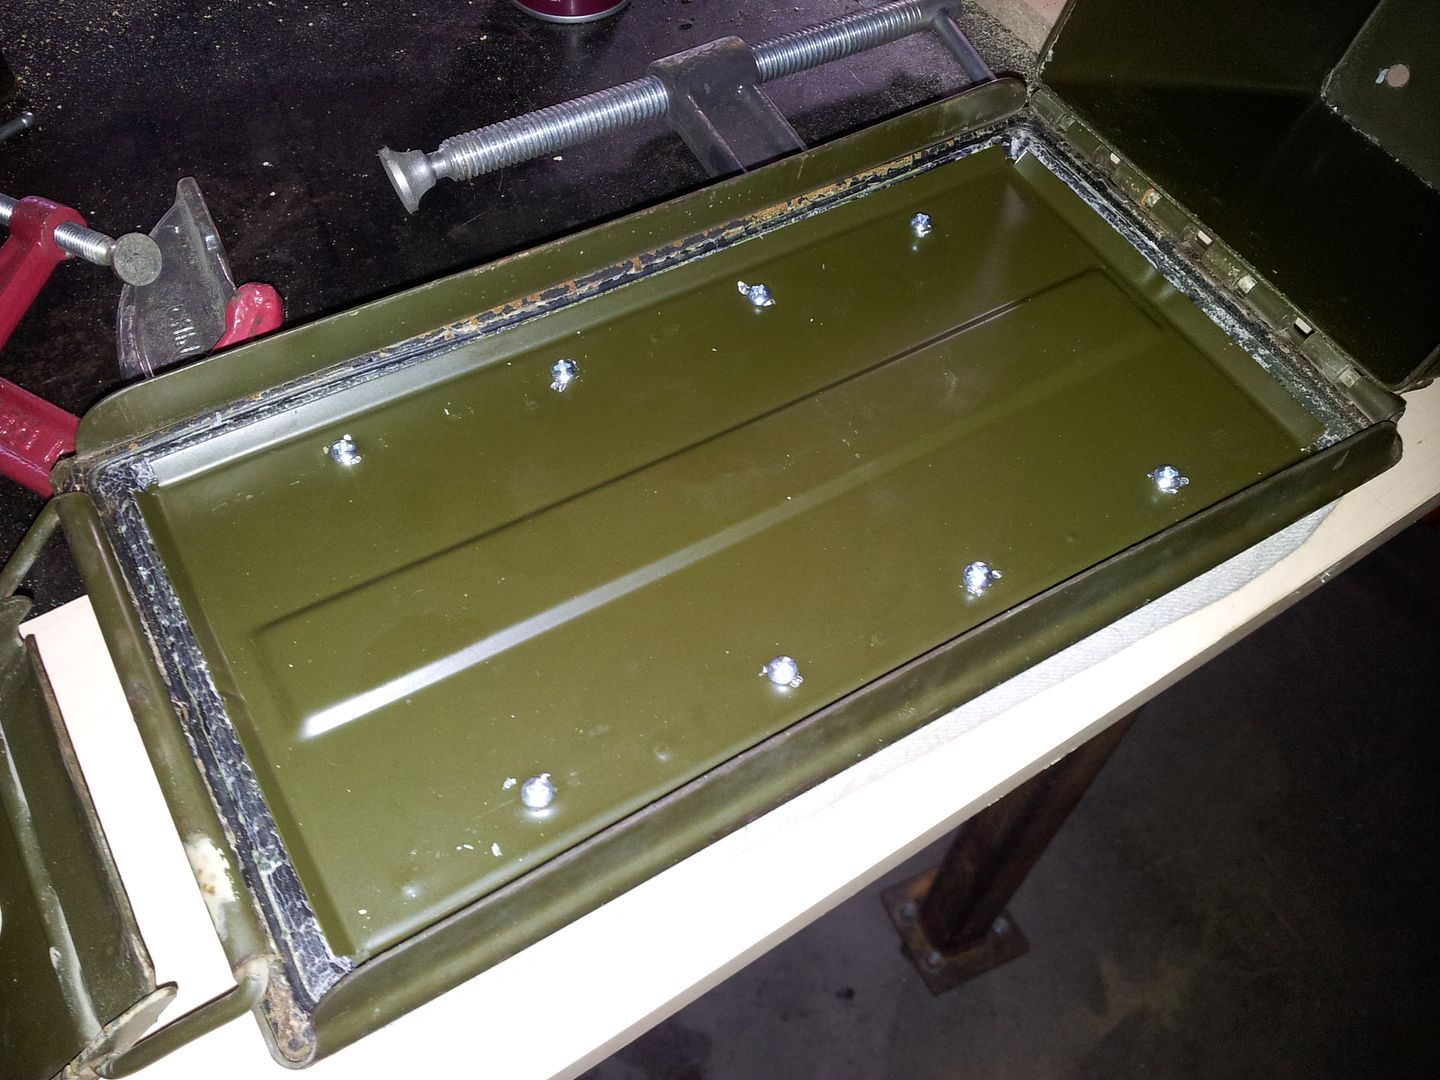
Drilled out the spot welds on the top to remove the handle. Drilled 8 mounting holes for the arm rest....


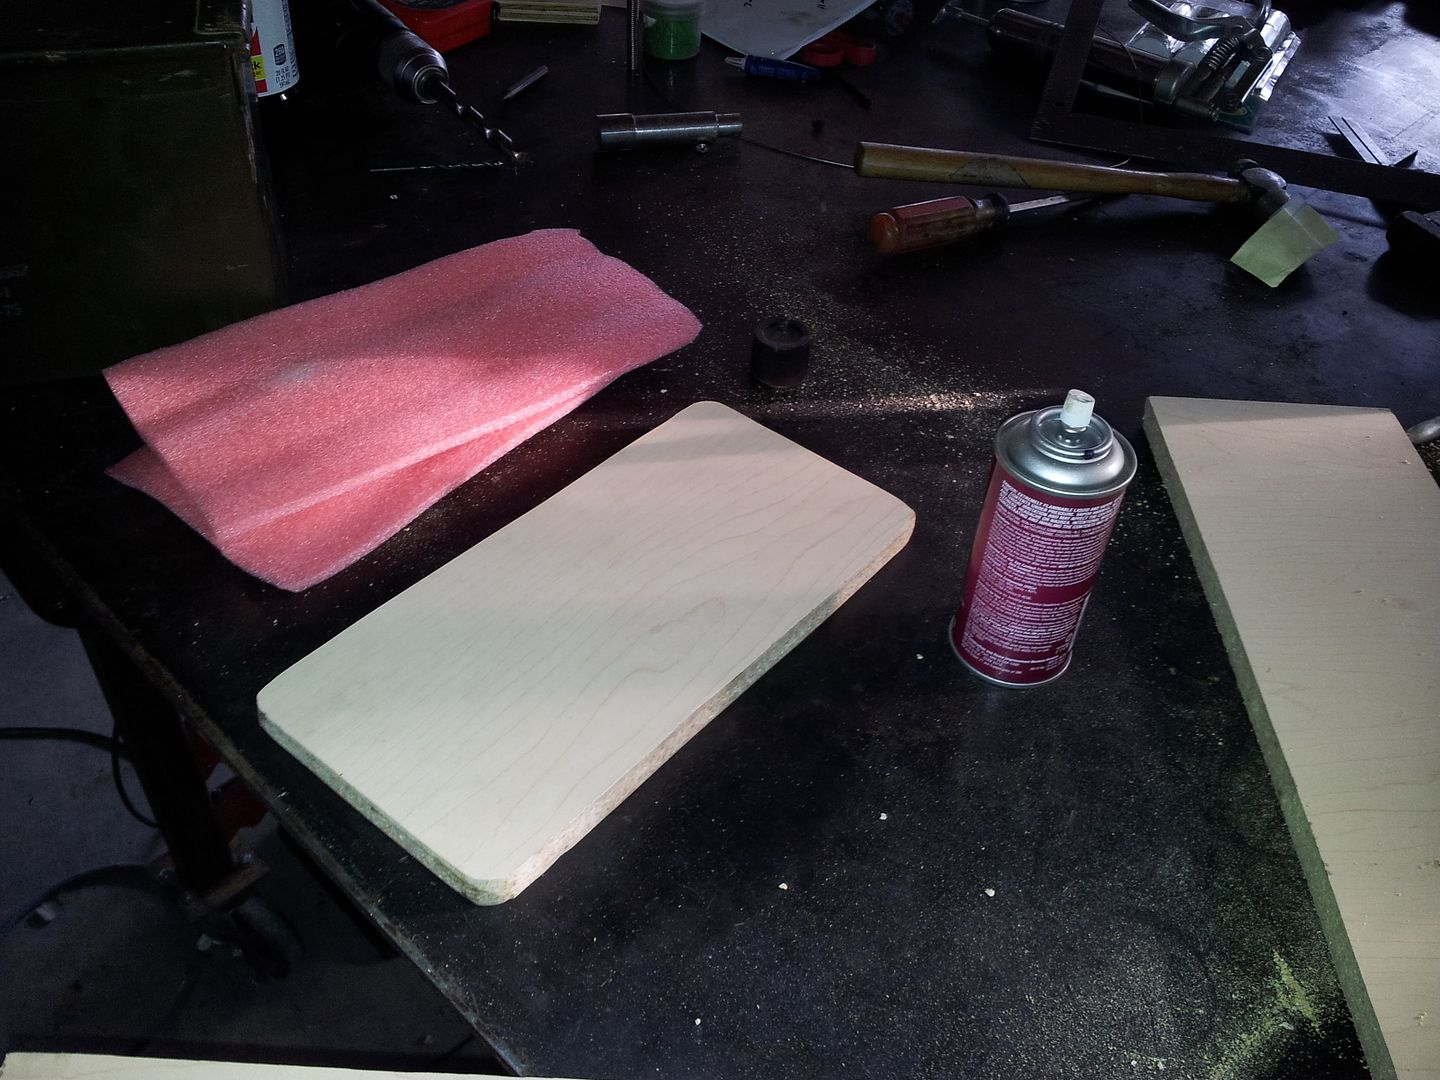
Cut out a scrap wood backer for the arm rest and some junk foam....


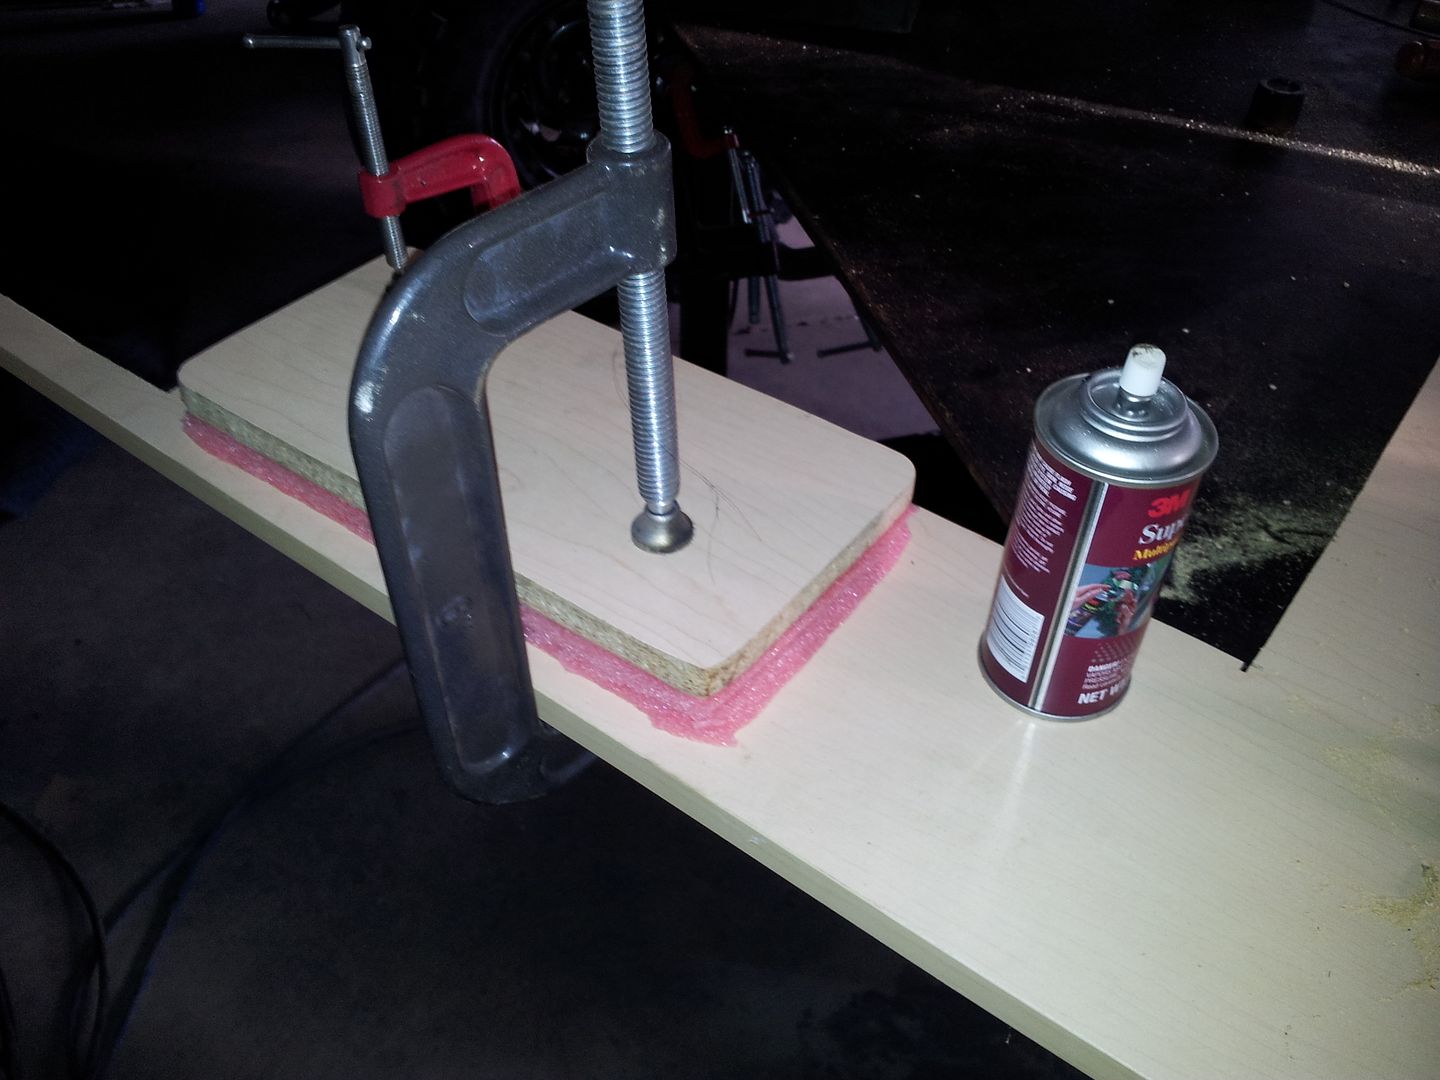
Glued foam to board in a makeshift press.....


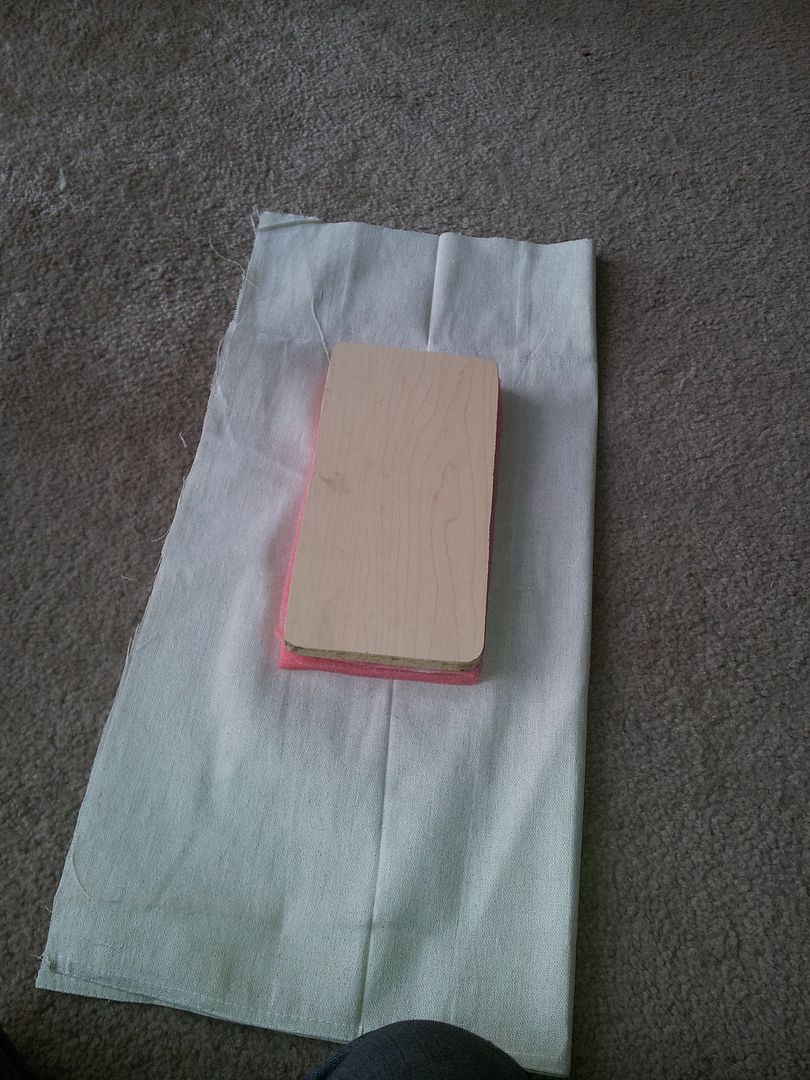
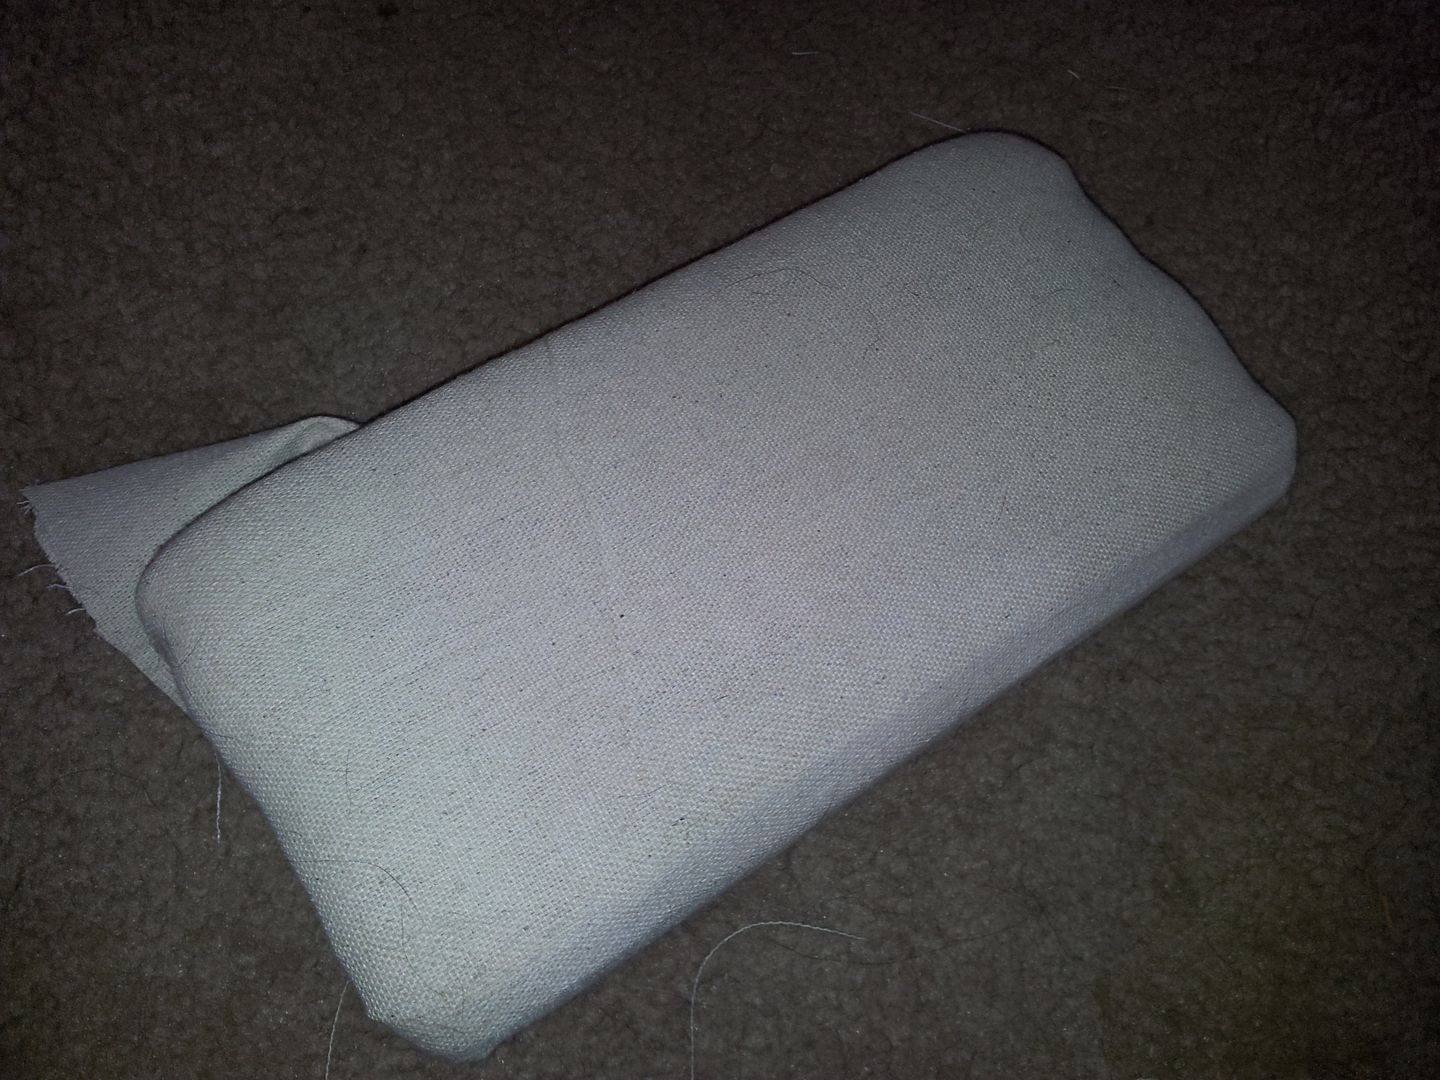
Cut some spare canvas fabric up to wrap the arm rest. I did two layers thick to keep everything looking a little smoother.


Wrapped the arm rest.........


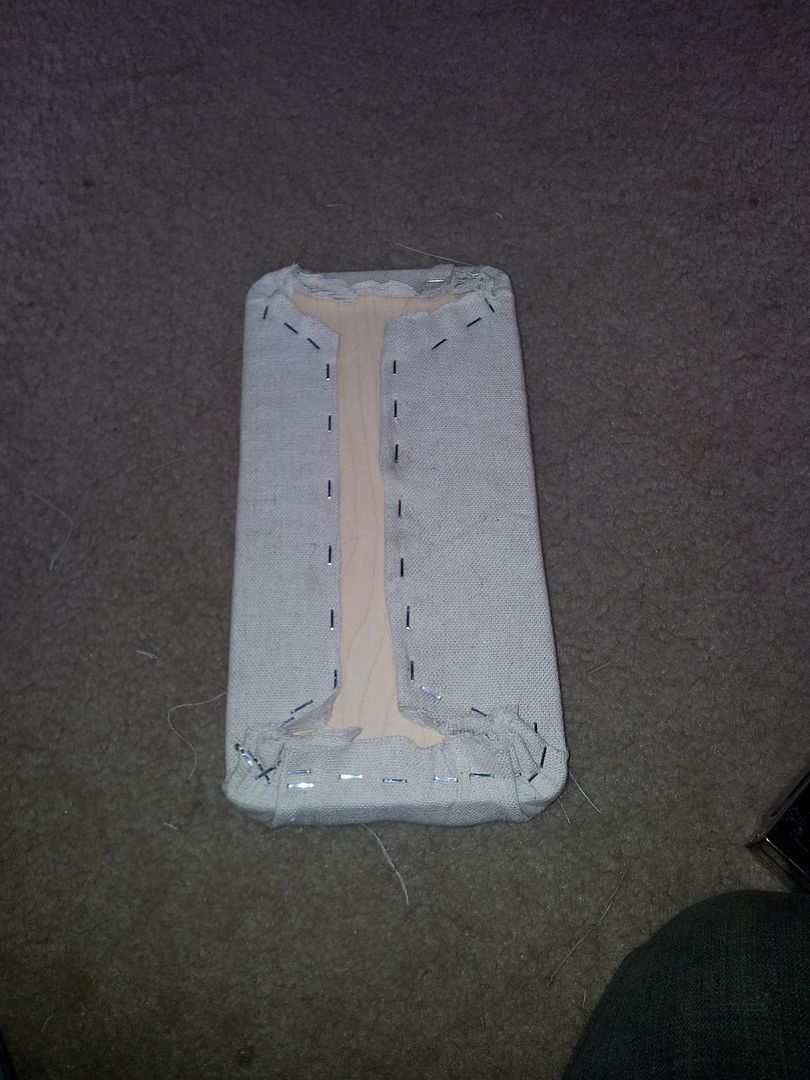
Trimmed the excess fabric off the back. Use lots of staples.....


Mount the arm rest to the top with some short screws that won't go all the way through the wood.....


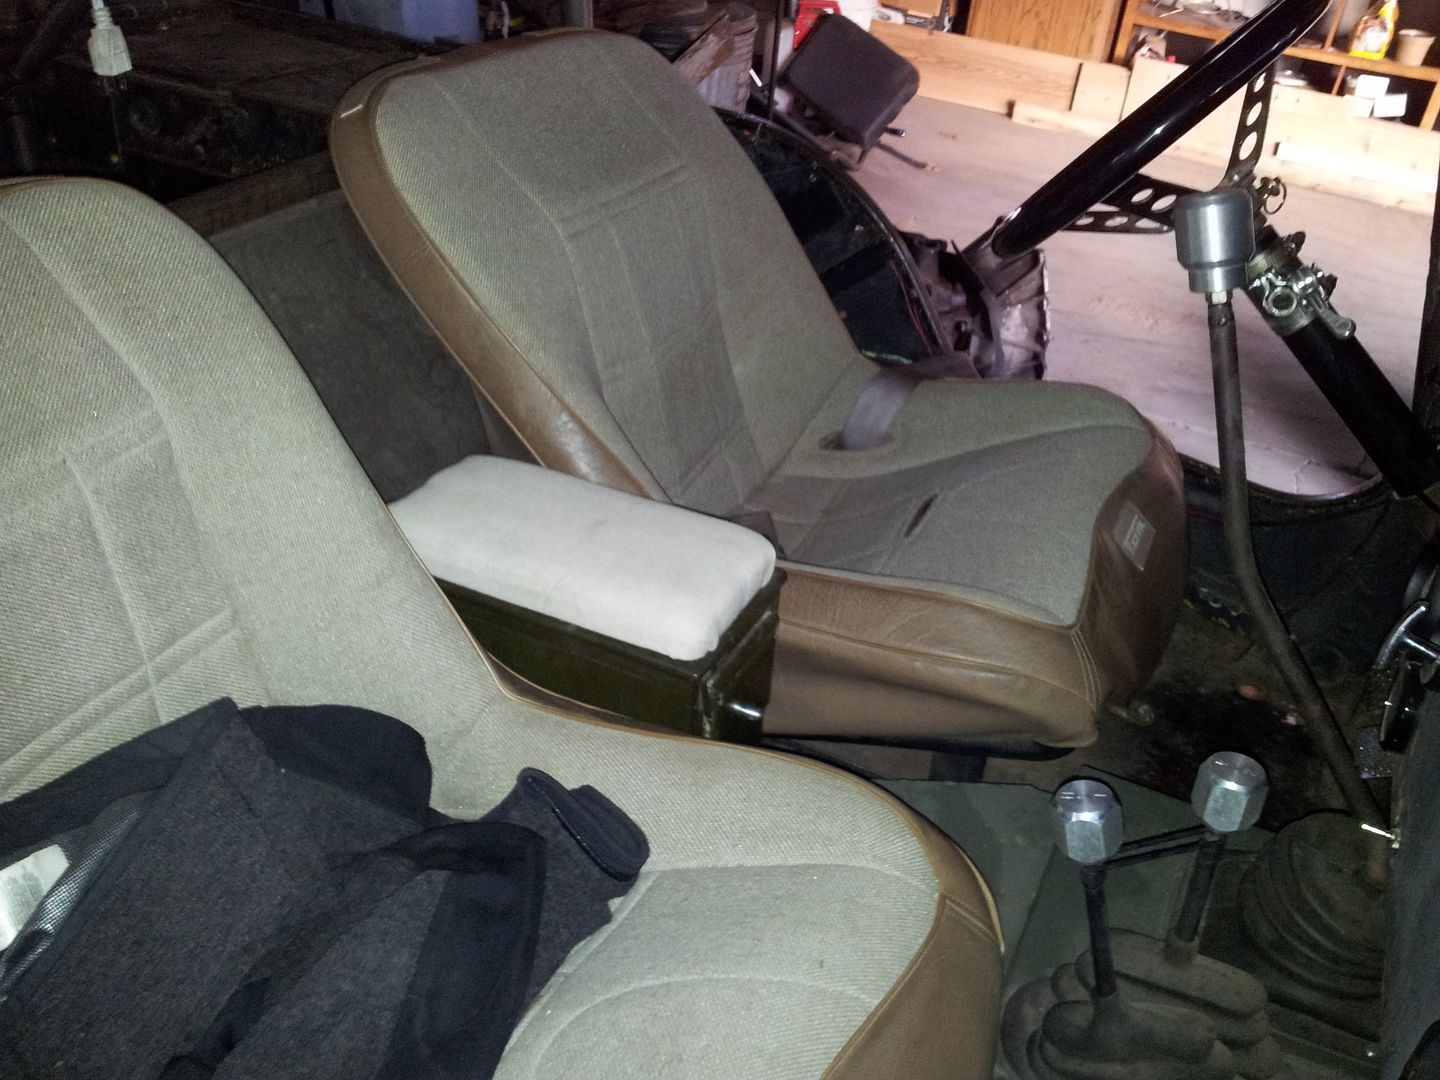
Installed. Needs some dirt on that new clean canvas....


Bingo, lockable almost waterproof storage with comfy arm rest.
 

Metcalf

Expedition Leader
More little stuff.....there is always little stuff you can do right?


New rear shaft from Tom Woods. It is there standard 2" dia 1310 driveshaft. Mine is now 19.5" with the new transmission and transfer case. My home-shortened shaft is getting demoted to trail spare.


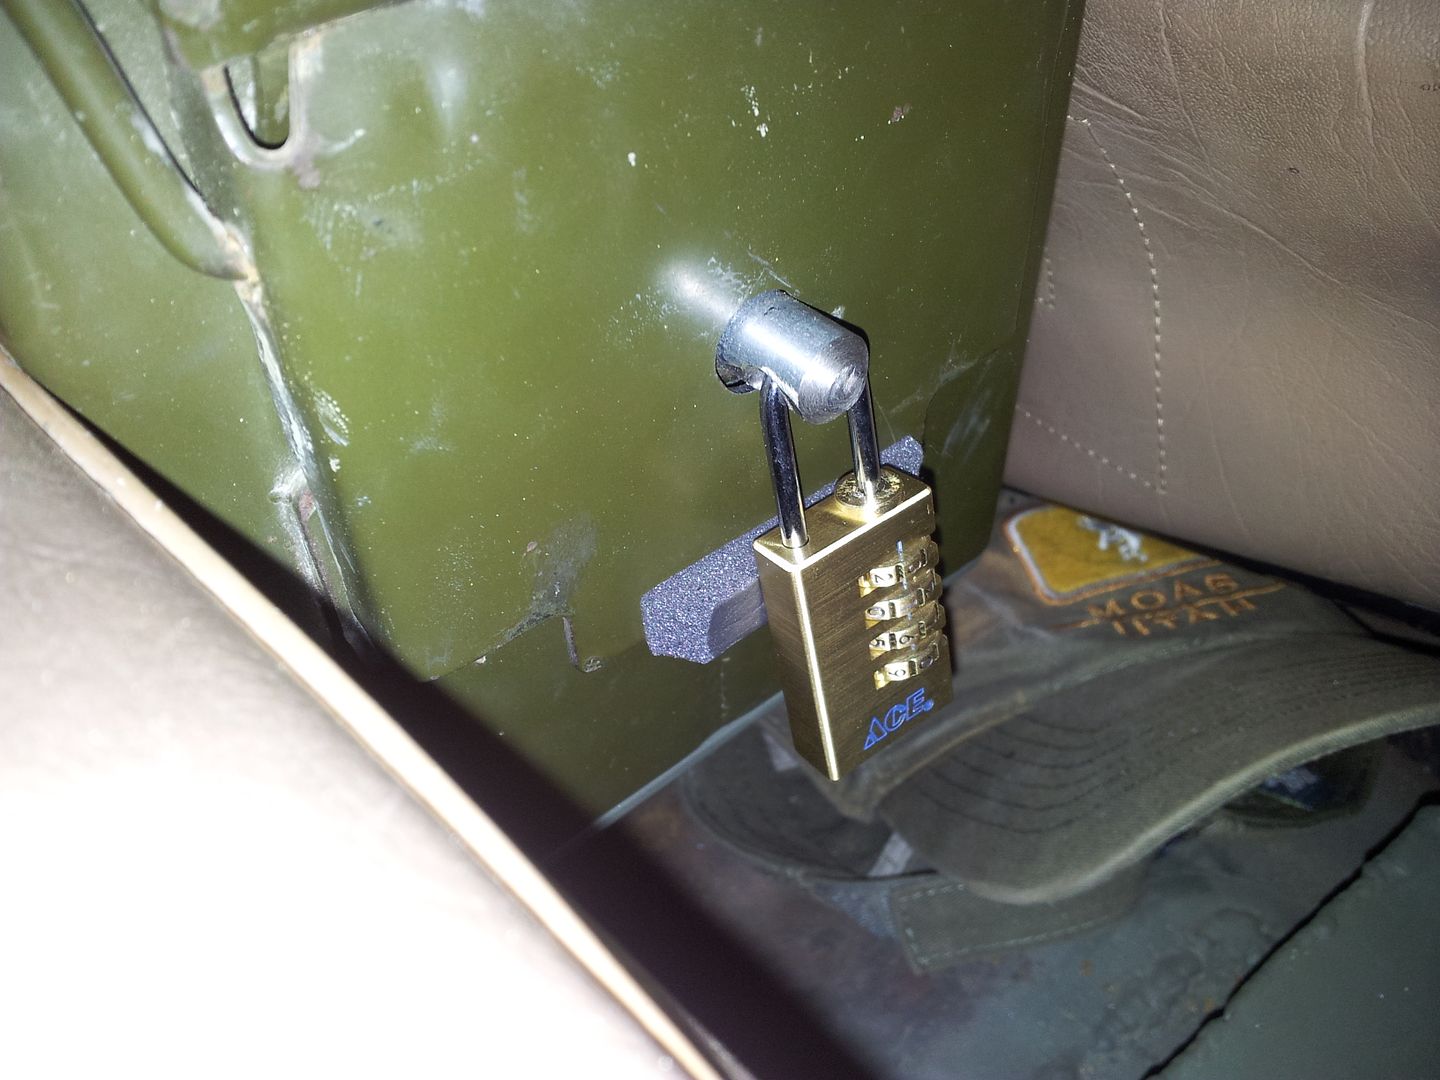
Here is a close up of the locking pin on the ammo can. I found a little combo lock for it. I didn't want to chance loosing a key.....and I don't have to have a key to drive it anyways. Note anti-rattle foam strip for padlock, very important.


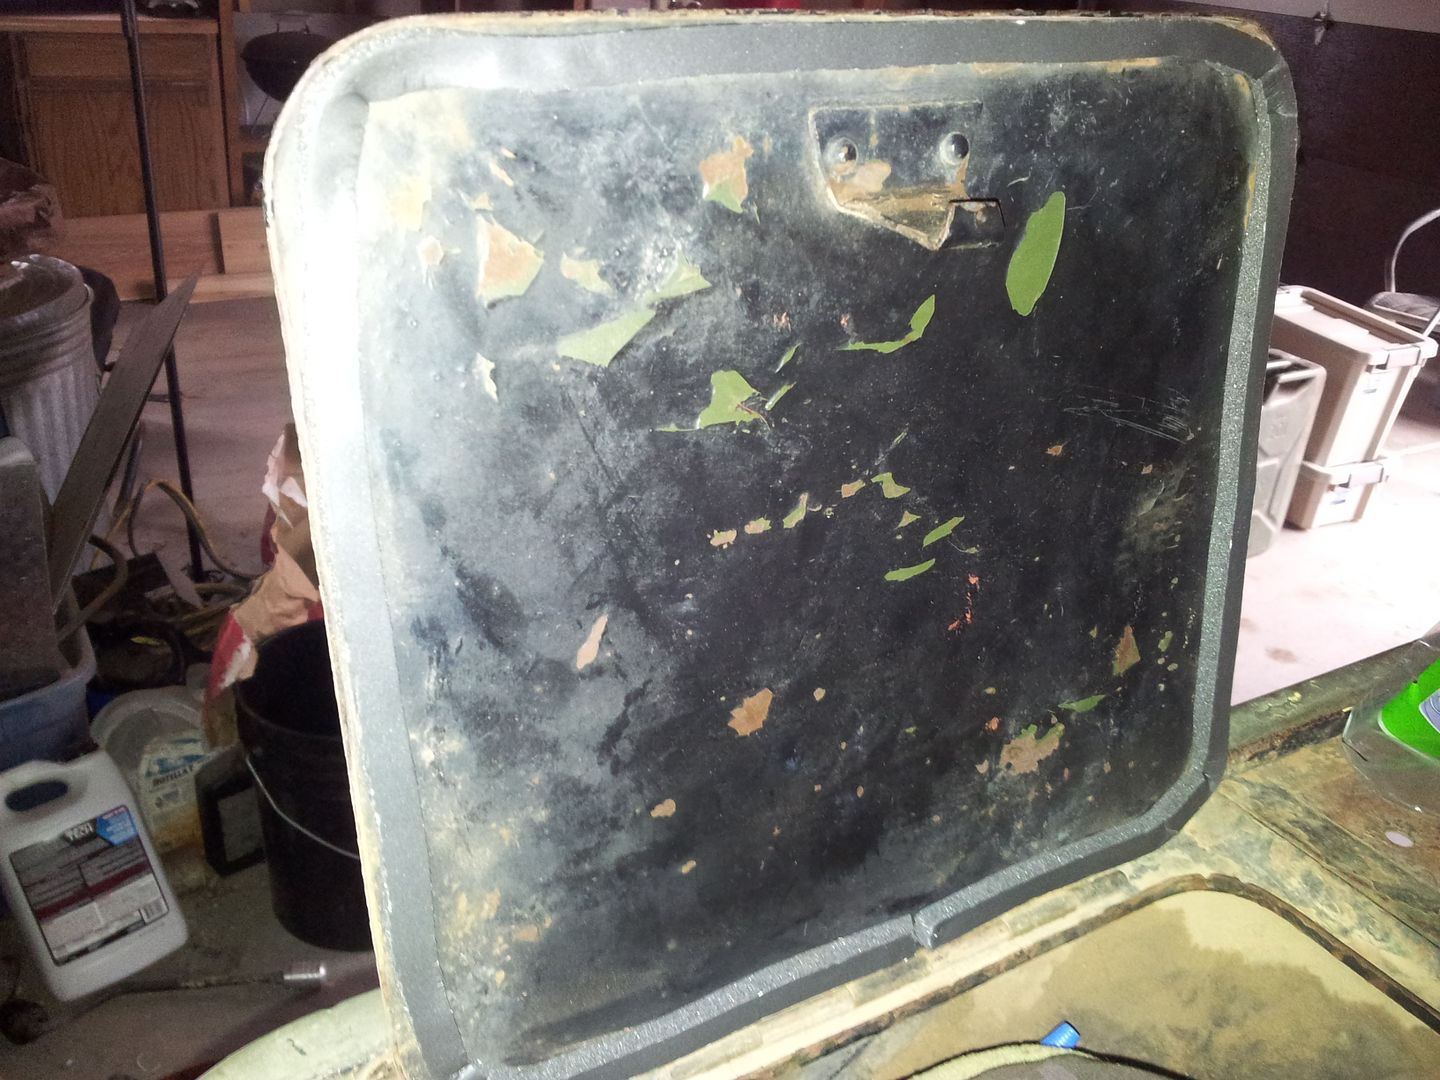
Then I was like. This foam stuff would be good on the rear toolbox lids to keep them from rattling.....


A shot of the cable linkage for my manual throttle. I turned the little piece for the cable end at the main throttle bracket and welded it on. It 'traps' the main cable sheath between the 'shifter' and the engine. This way nothing can come undone. I also turned the little stop on the end of the cable where it pulls on the throttle arm. This I made out of aluminum and crimped on with a lot of vise-grip love. I drilled the extra hole in the throttle arm on the autolite 2100. All in all it works slick. I do only have about 1/2-2/3 throttle with the manual system. That is just how the geometry worked out. That is still good for WAY faster than I want to go.......:evil:
 

Metcalf

Expedition Leader
Tonight I tackled the t-case shifter rattles a bit.


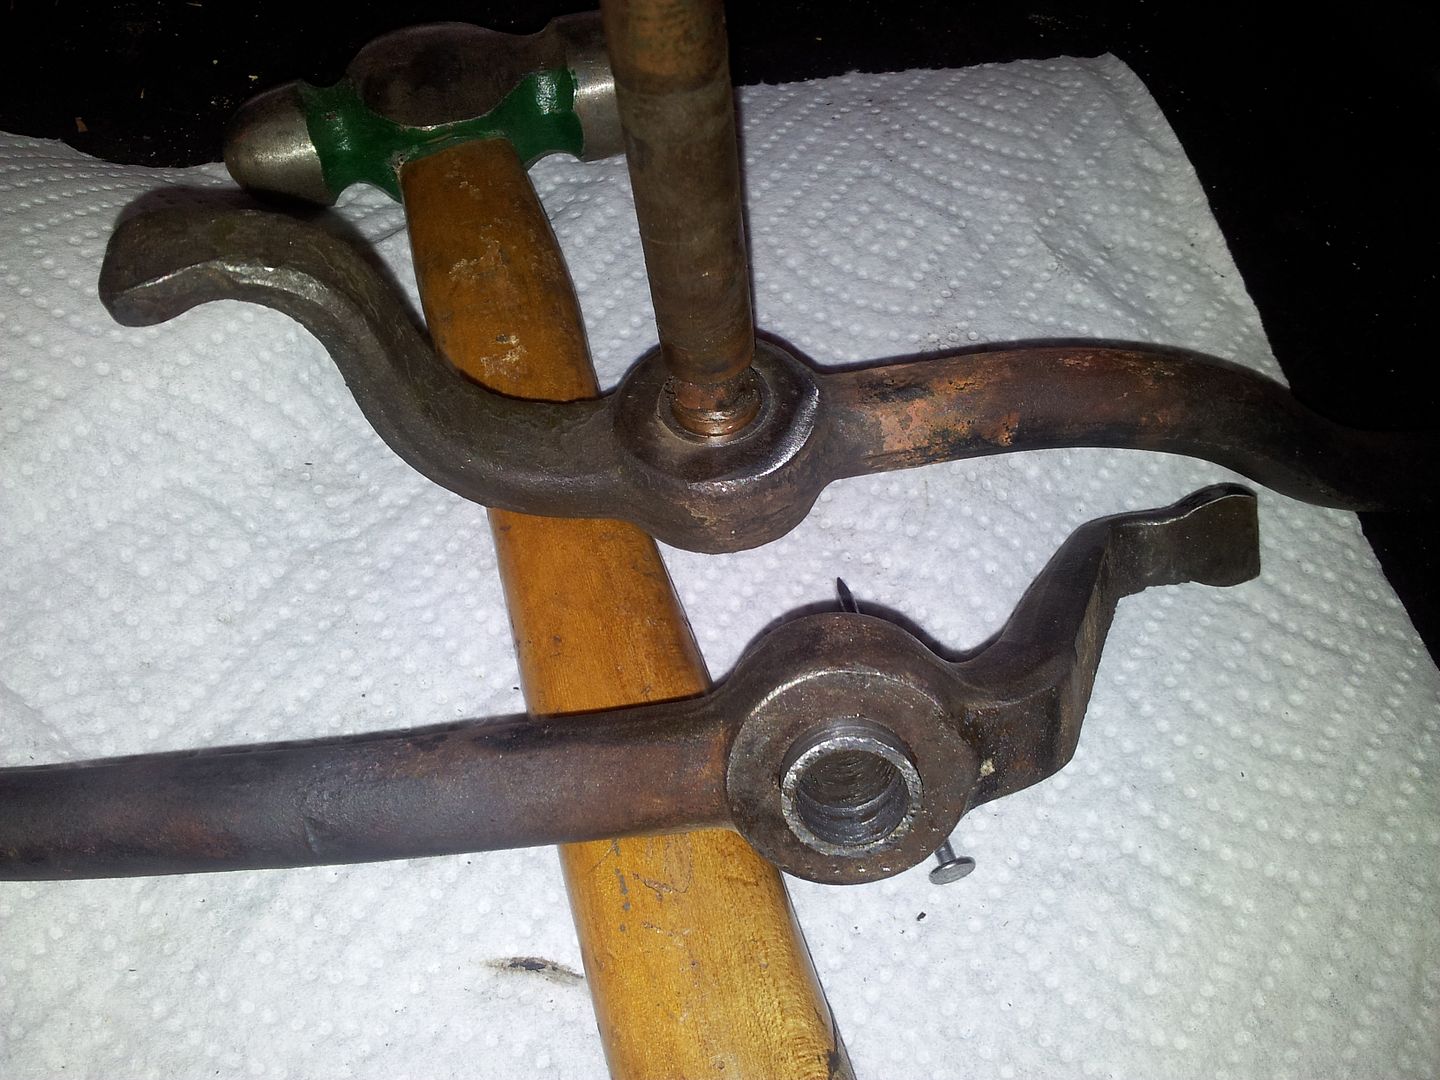
I bored the levers out to 5/8" and then turned a bushing that reduced back down to the stock 1/2" ID on the lathe. Pressed them in. Shaved them back down to the right width.


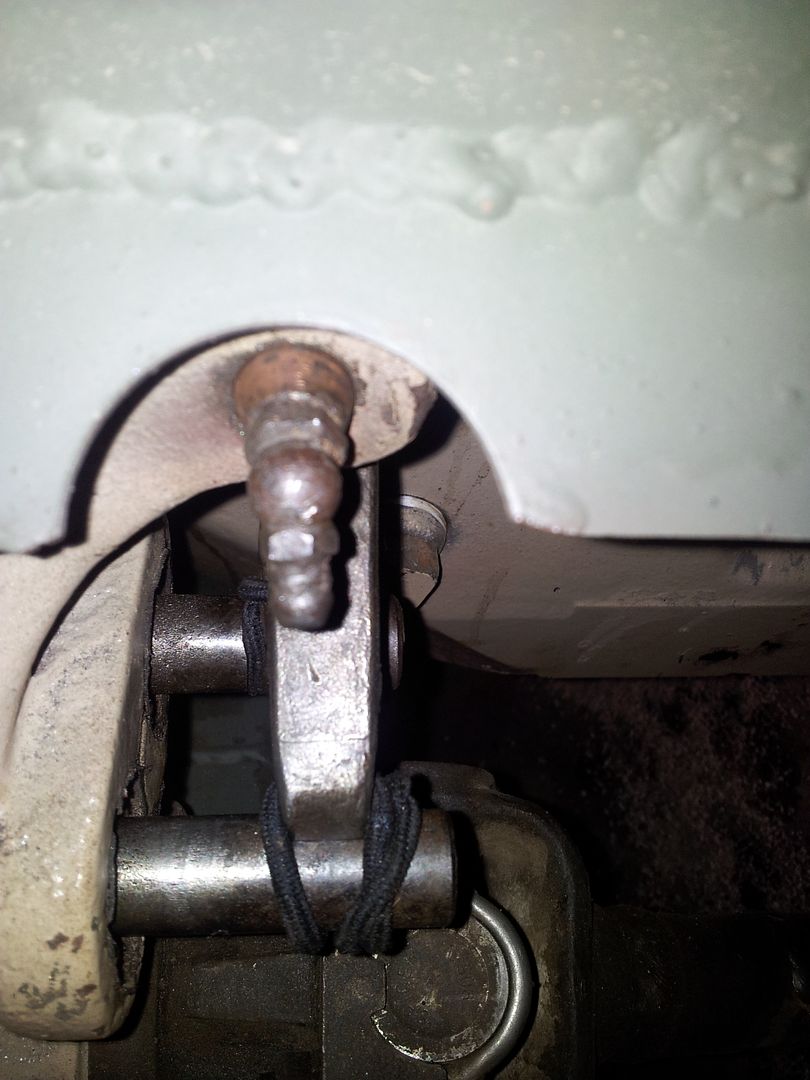
I also tried some hair tie rubber bands where the shift levers touch the shift rail to hold everything in place. I don't know how long they will last but it is worth a try.

Everything seems MUCH tighter than it was before. Hopefully tomorrow I can road test it to work.......
 

Metcalf

Expedition Leader
The shifter bushings and hair bands on the shift rails helped a lot! I still have a slight buzz at 2000-2300 in 4th if I am on the pedal. Once I get to 2500rpm in 4th it pretty much goes away. The tire noise and wind noise at 50+ probably help.....

A nice improvement though for an hour or so of time. No more sloppy shifters.
 

bishopdunn

Observer
Rear Suspension Question

I see you made an offset shackle for the rear springs. Was that just to miss hitting the rear bumper or was there additional reasoning?
 

Forum statistics

Threads
188,209
Messages
2,903,817
Members
229,665
Latest member
SANelson
Top