Redeth's Overland Trailer Build

Redeth005

Adventurer
i didnt get much time to do work in on the trailer these past 2 weeks due to the rain but i did get some stuff accomplished.
Here I've got the sliders tacked onto the chassis for a test fitment of where they would say and what they'd look like on the trailer.
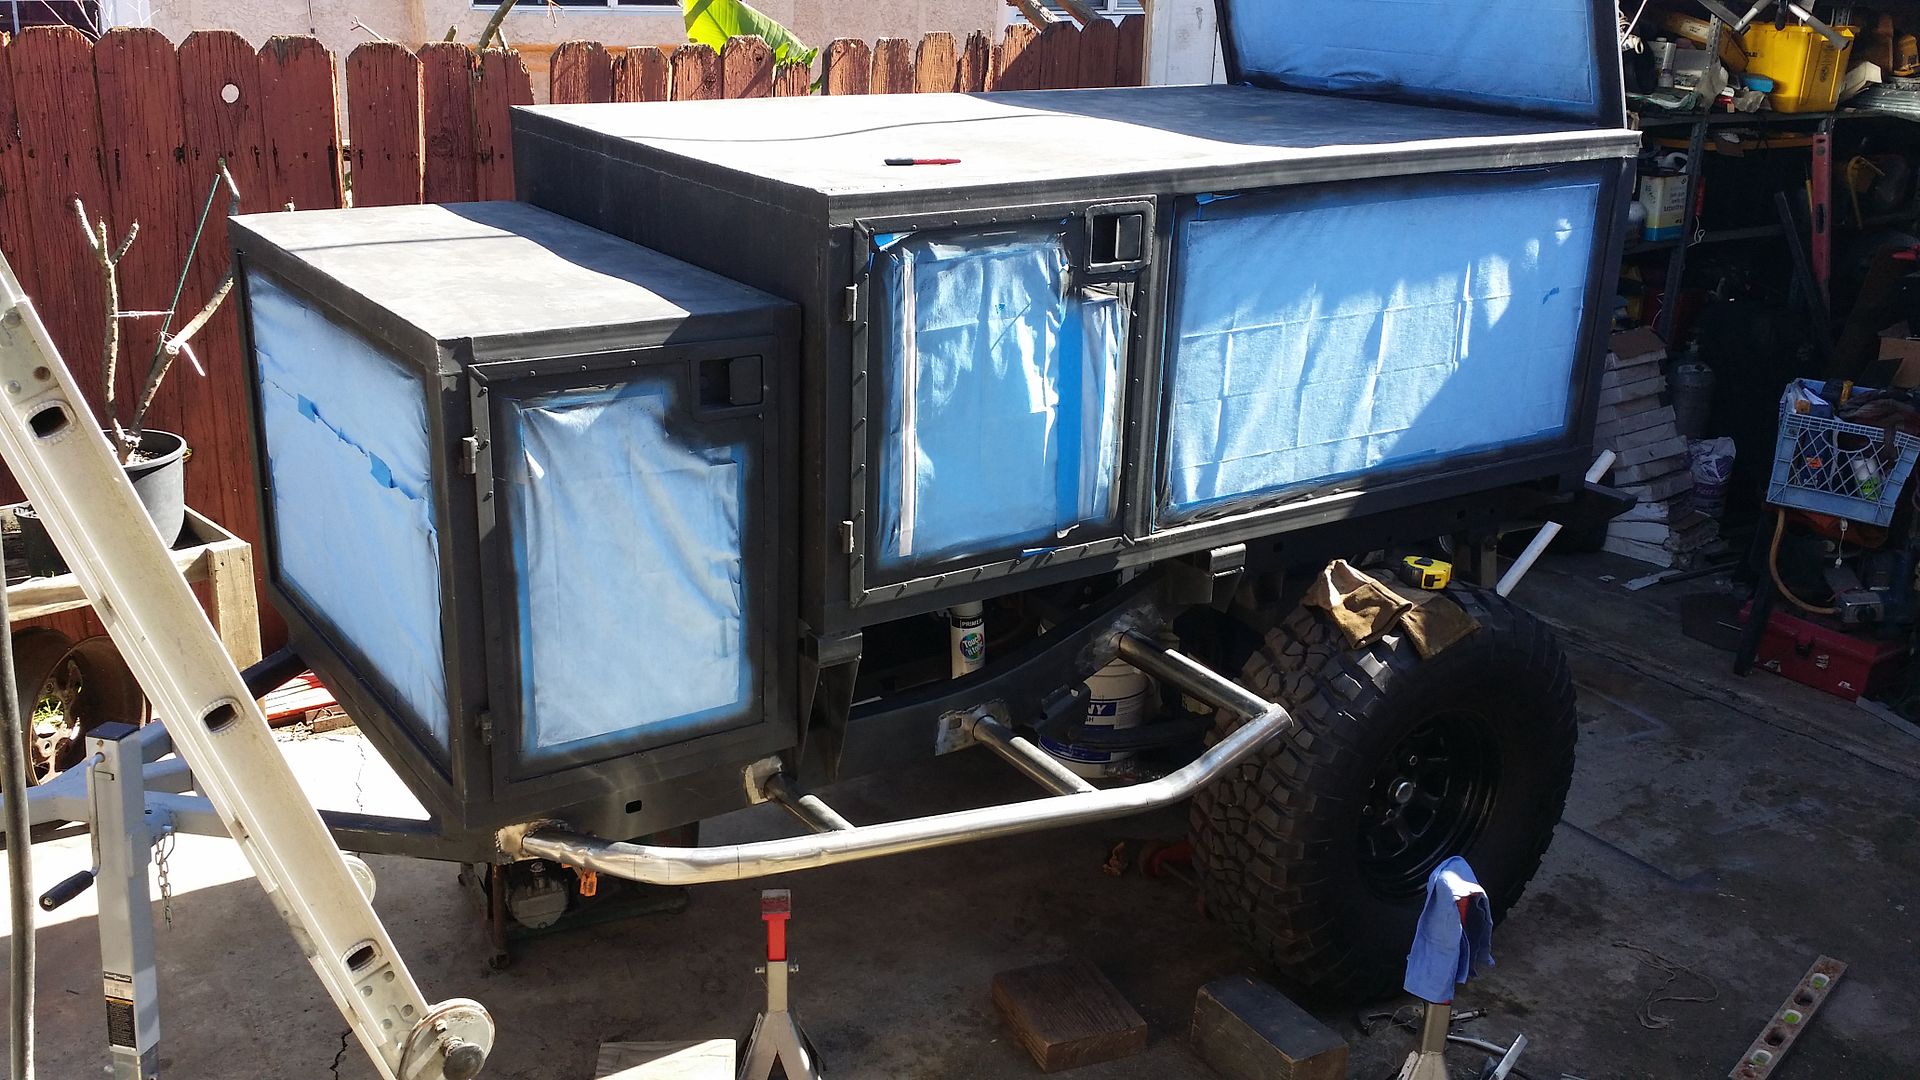
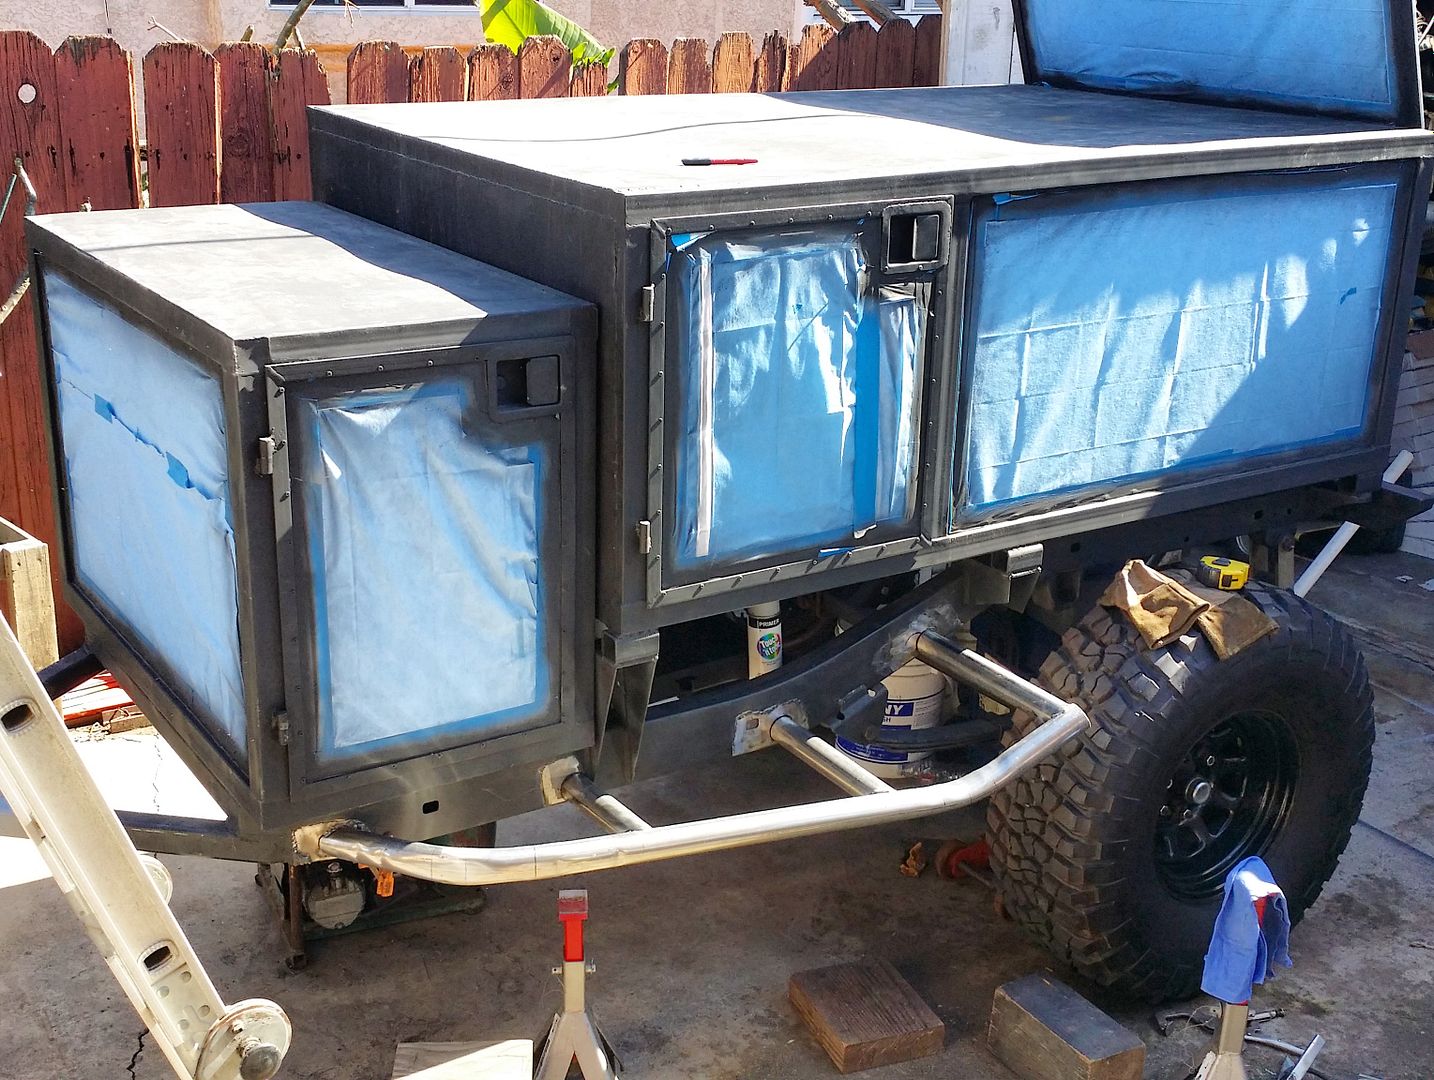

After i liked how everything sat i removed them and did the final welds and attaching it to the chassis then priming it o prevent surface rust.
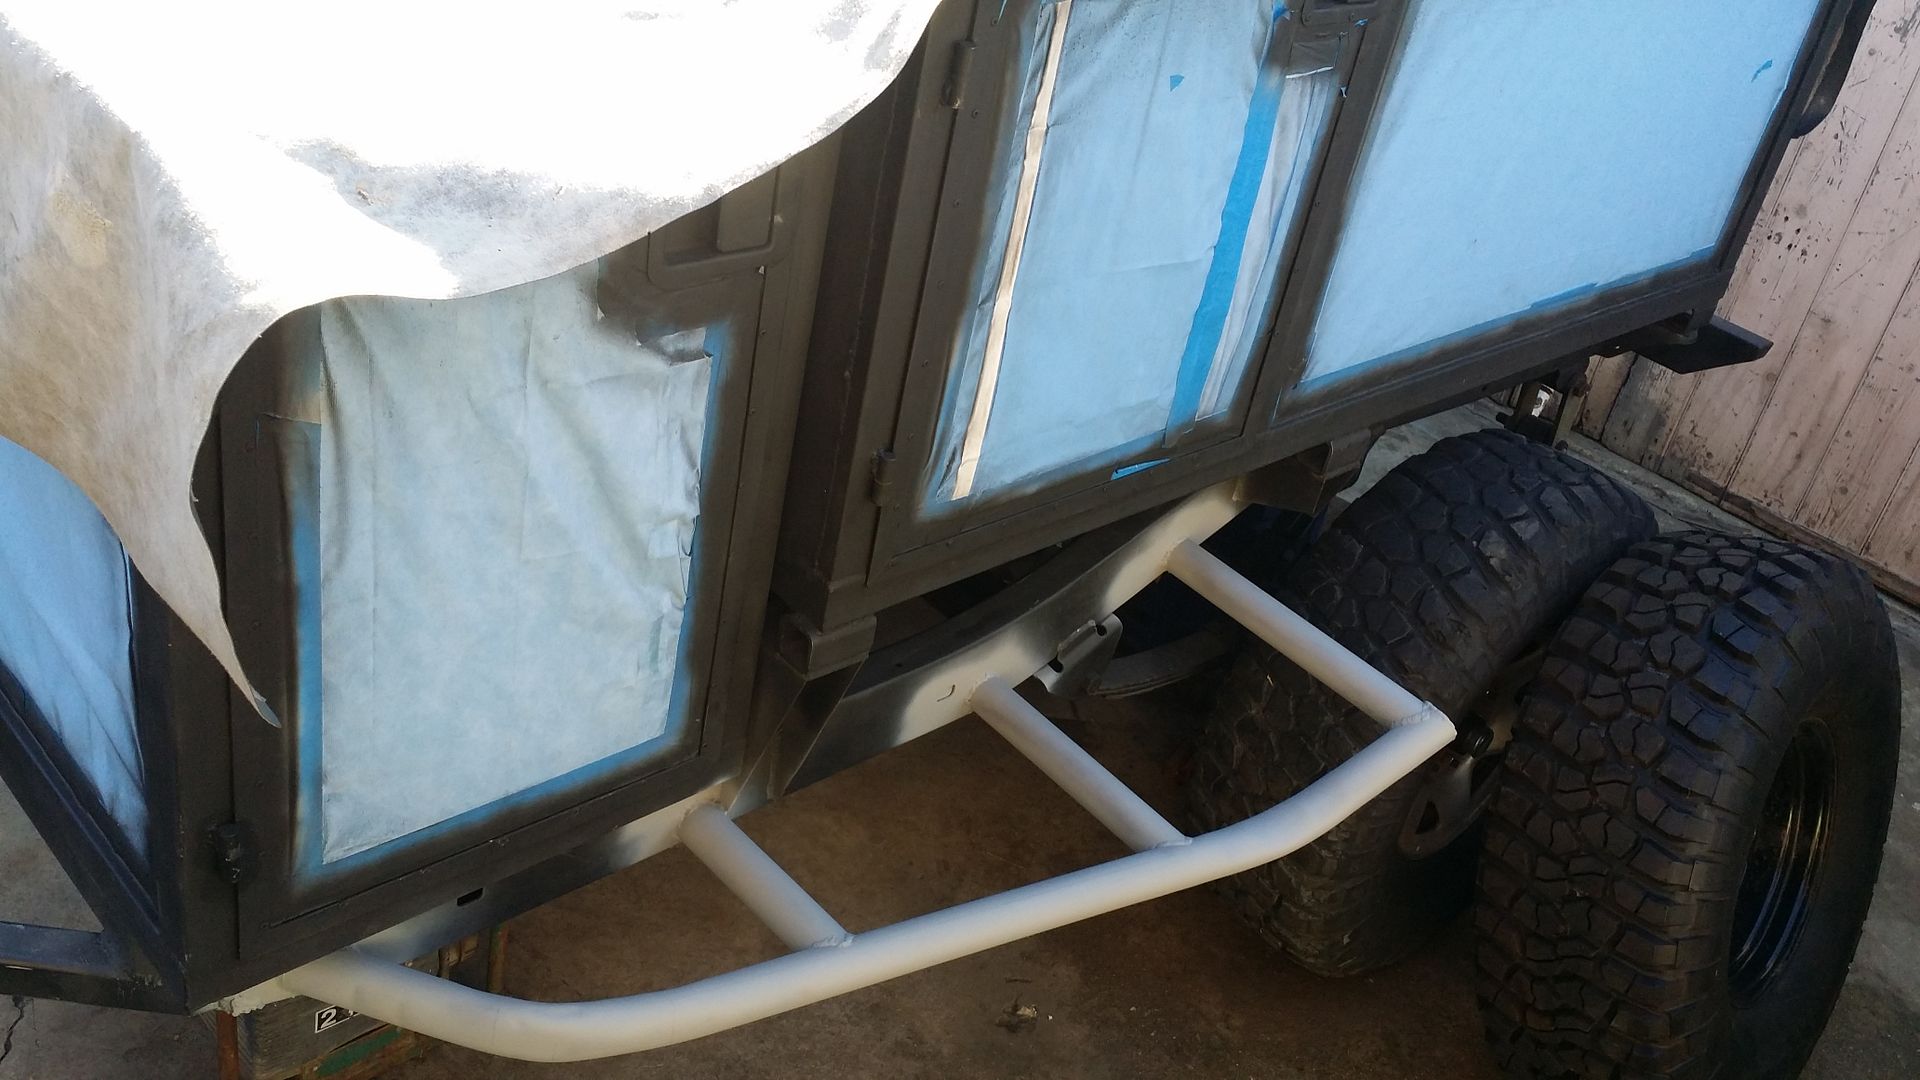

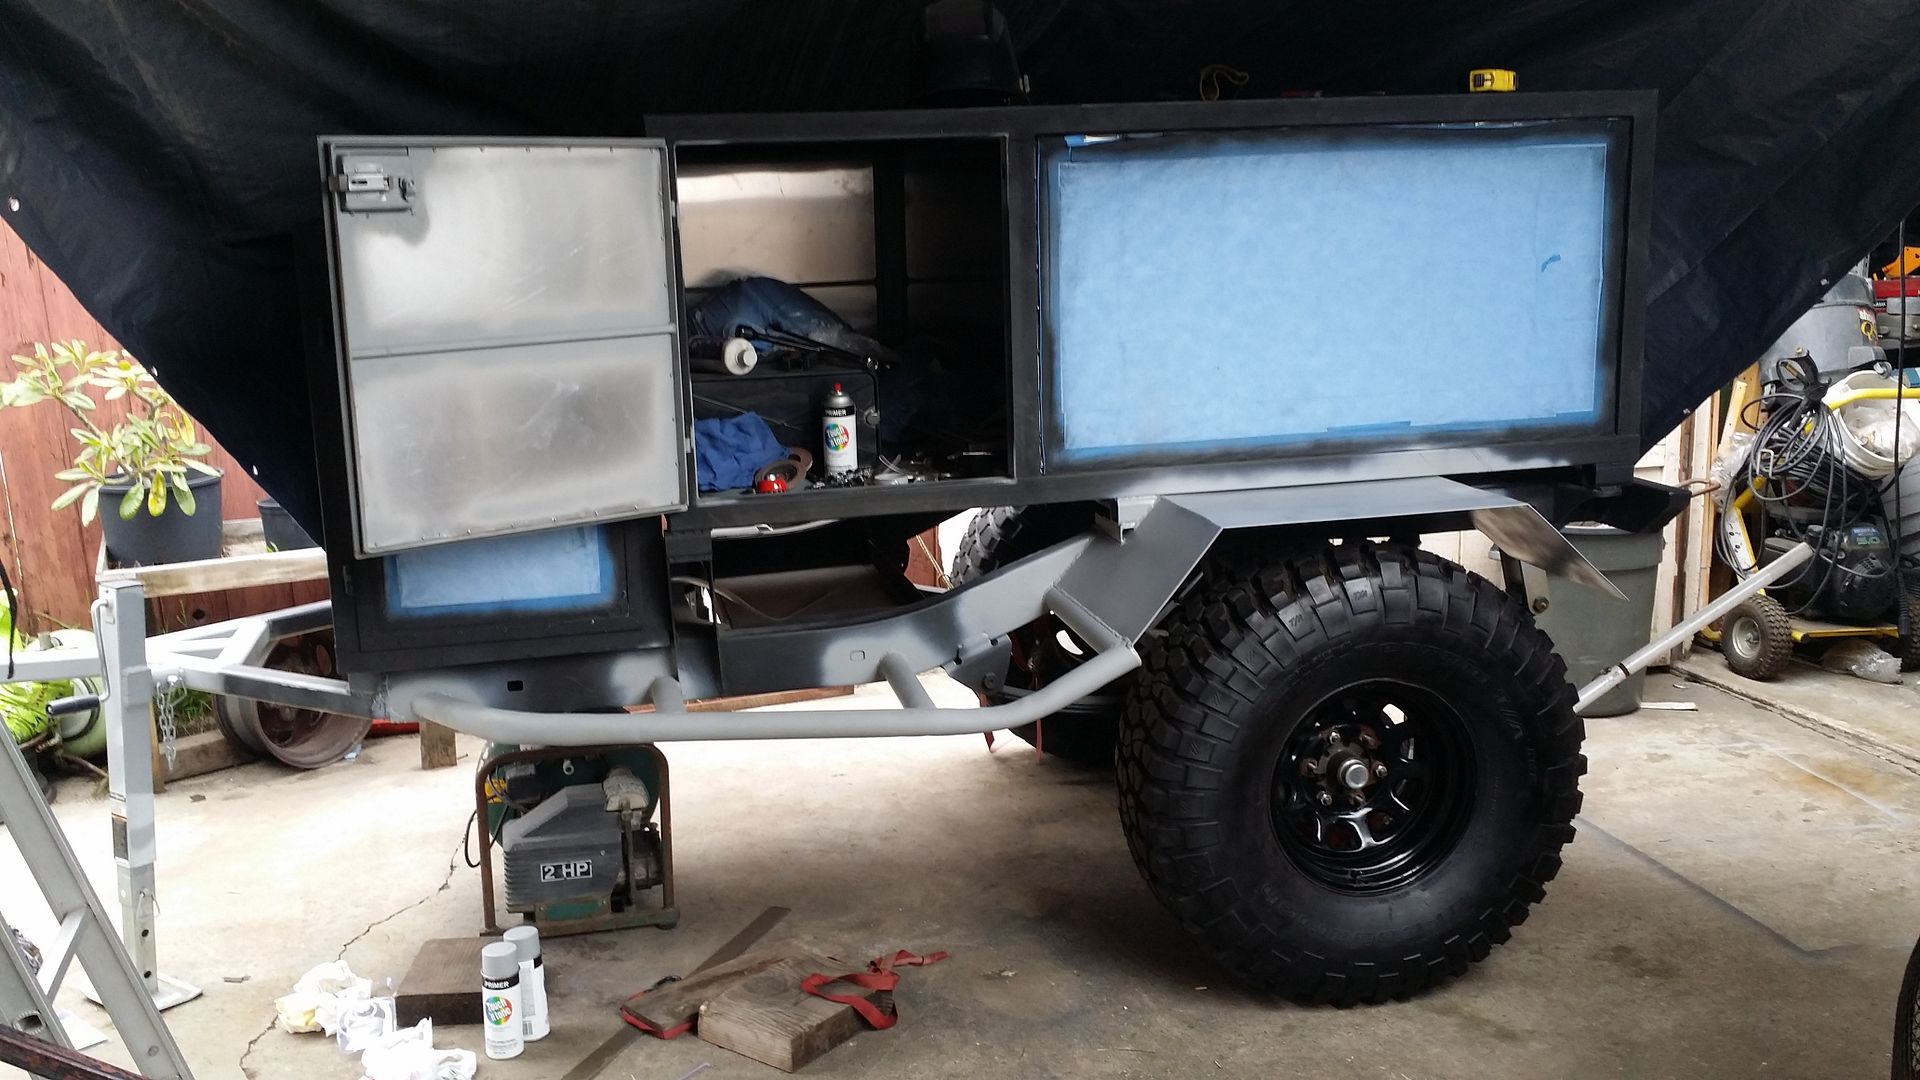
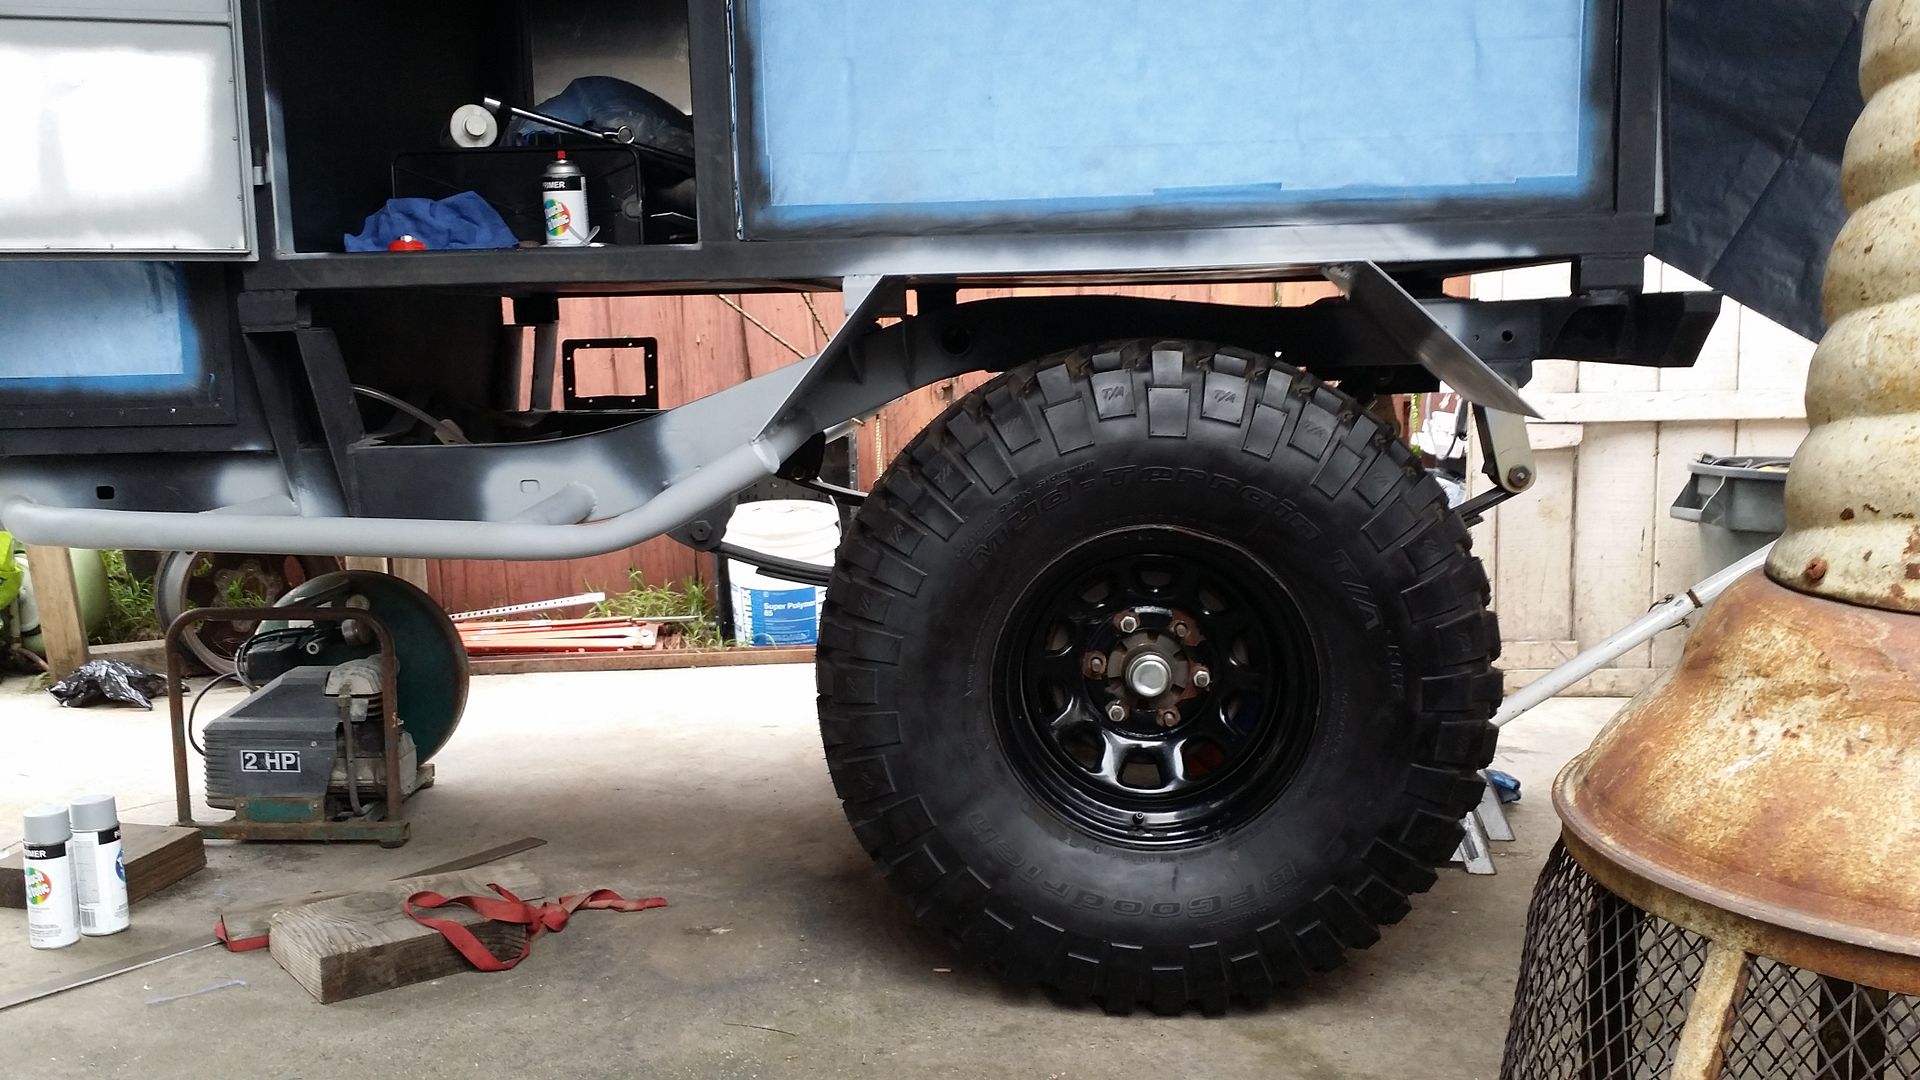
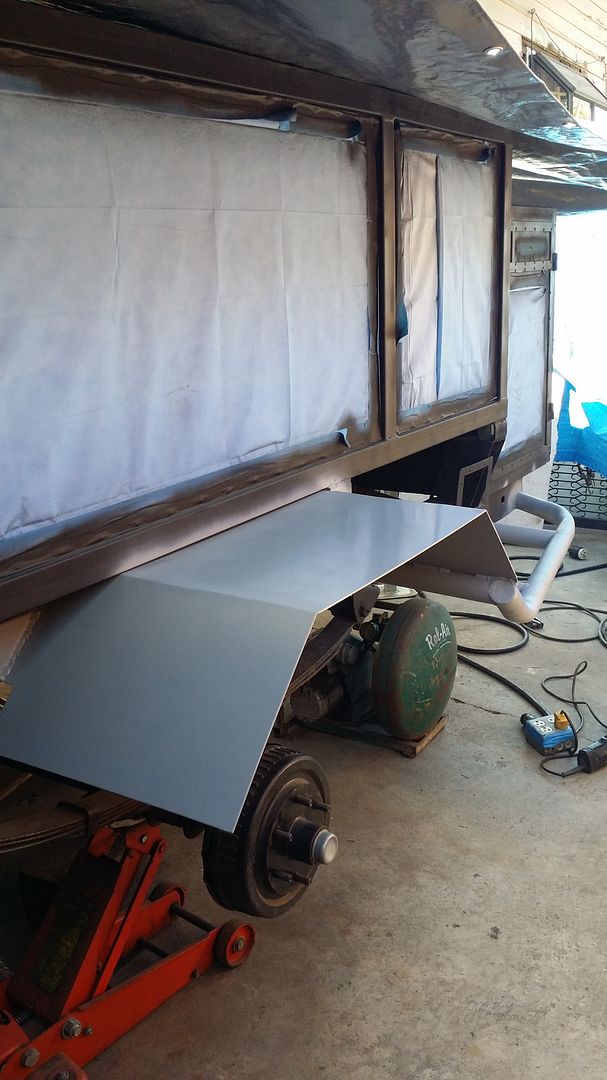
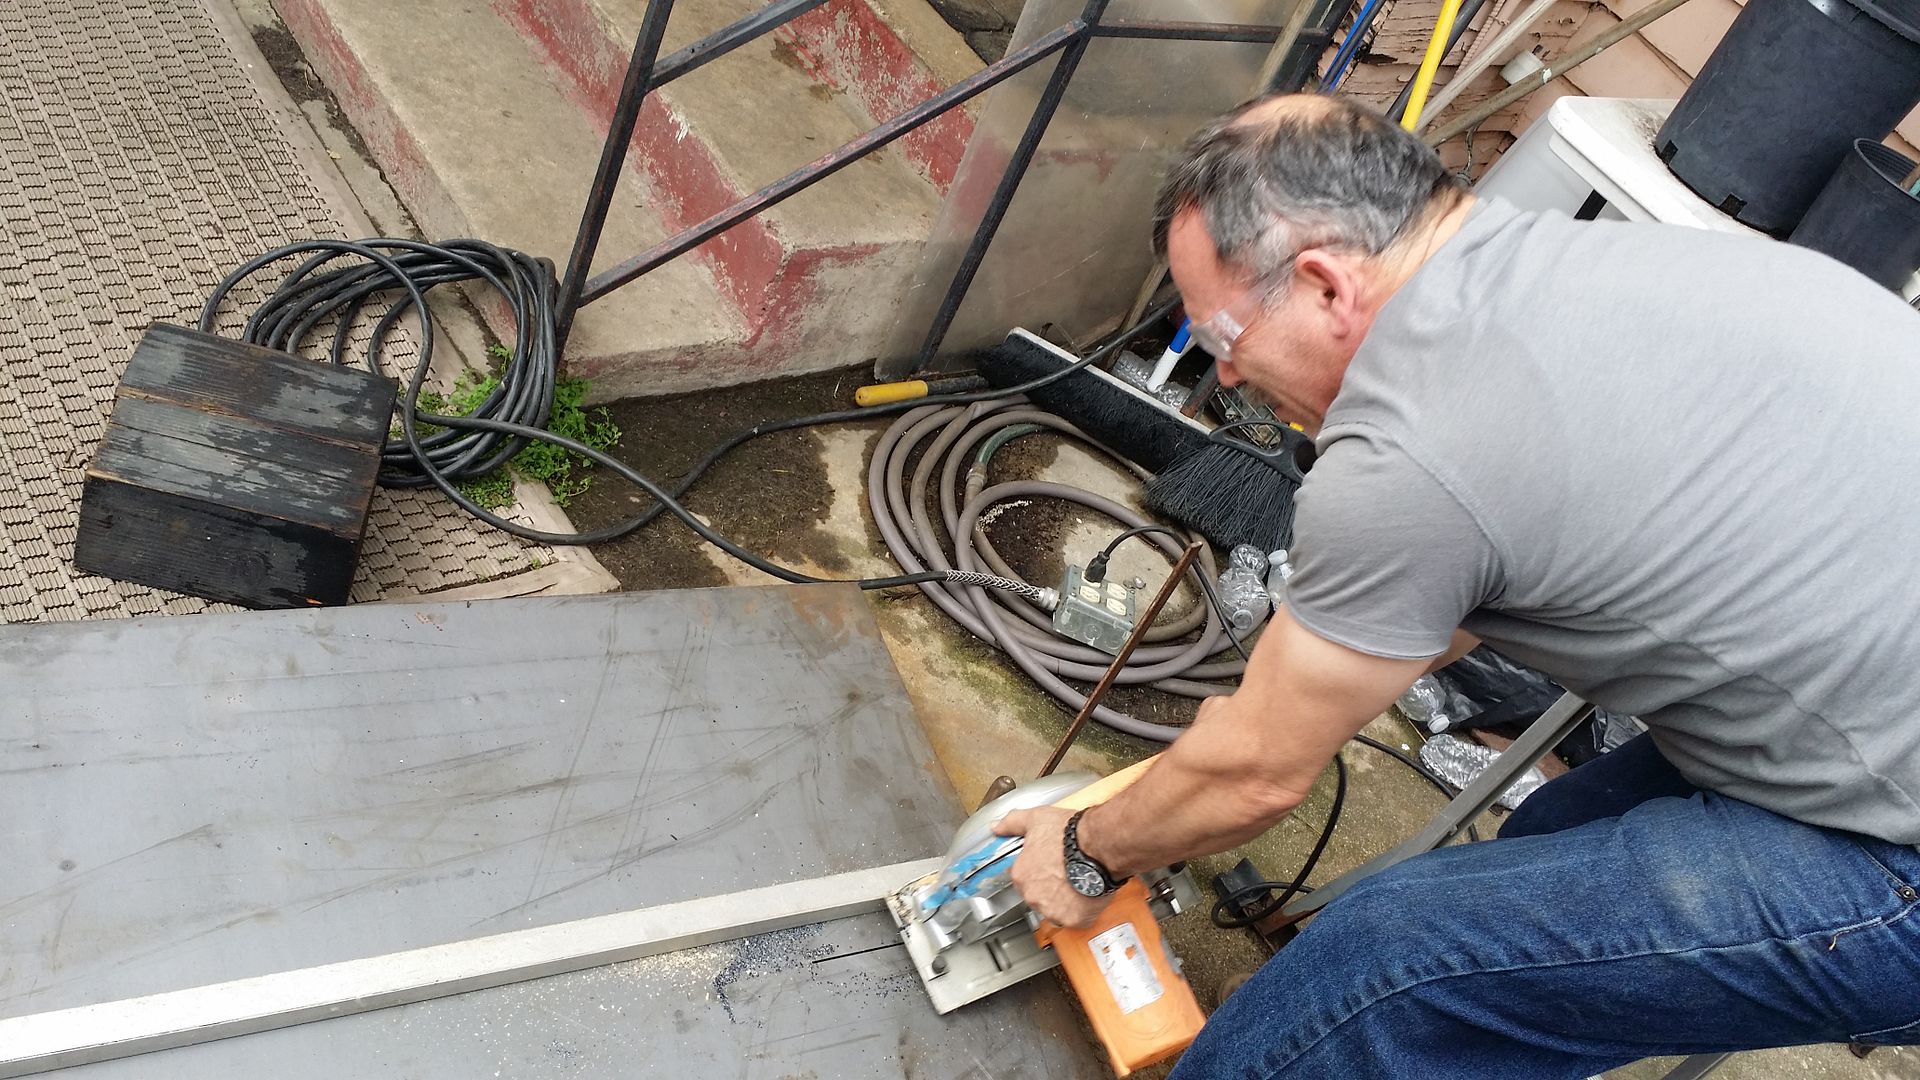
Then this past weekend we had a short window of cloudy weather when the rain had stopped for a few hours. So my dad and i got to work on cutting the pieces for the fenders. If you remember from the earlier pages i had planned to use prebent 1/16" fenders but they were too thin and i wanted the ability to stand on my fenders when loading up the trailer for whatever reasons they may be. So i sold the fenders and decided to make my own out of 1/8" thick steel. These fenders will be attaching to the sliders go around the tire and be a total of 5 inches away from the tire the whole way around the tires. I'm hoping that my tires wont ever need to flex upward 5" on the trail but you never know lol. Either way the current shocks i have on there will only allow for a total of 4.25" up-travel and 4.25" down-travel. After all I'm not building a trailer to go rock crawling like i do in my truck so i should be perfectly fine. I may just have to add a bump stop at some point if i find i am bottoming out the shocks but i don't think it will be necessary to add.

So here is my dad helping me out cut the steel.

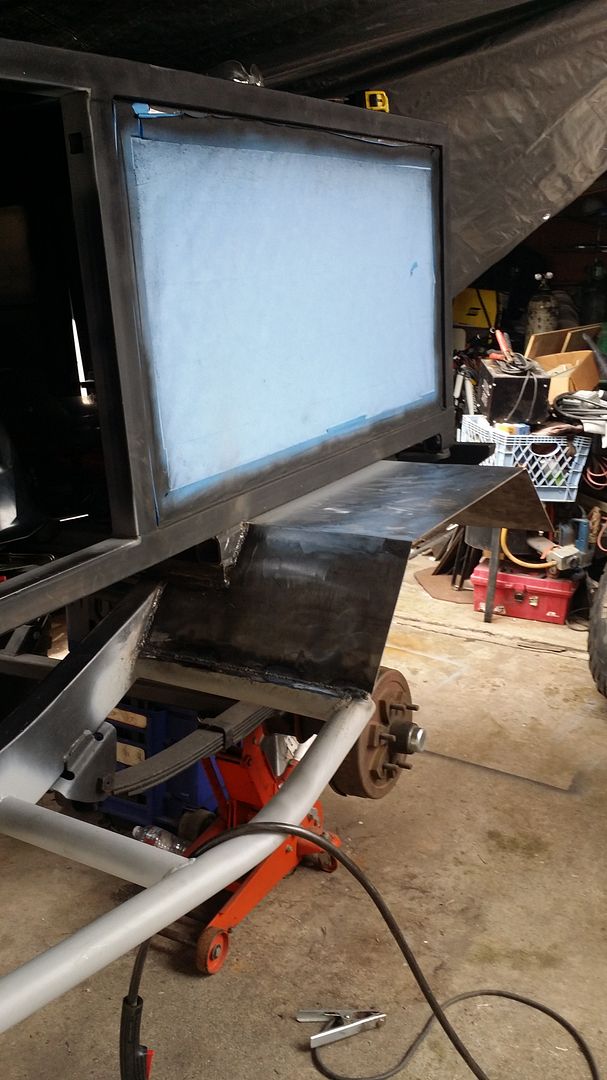
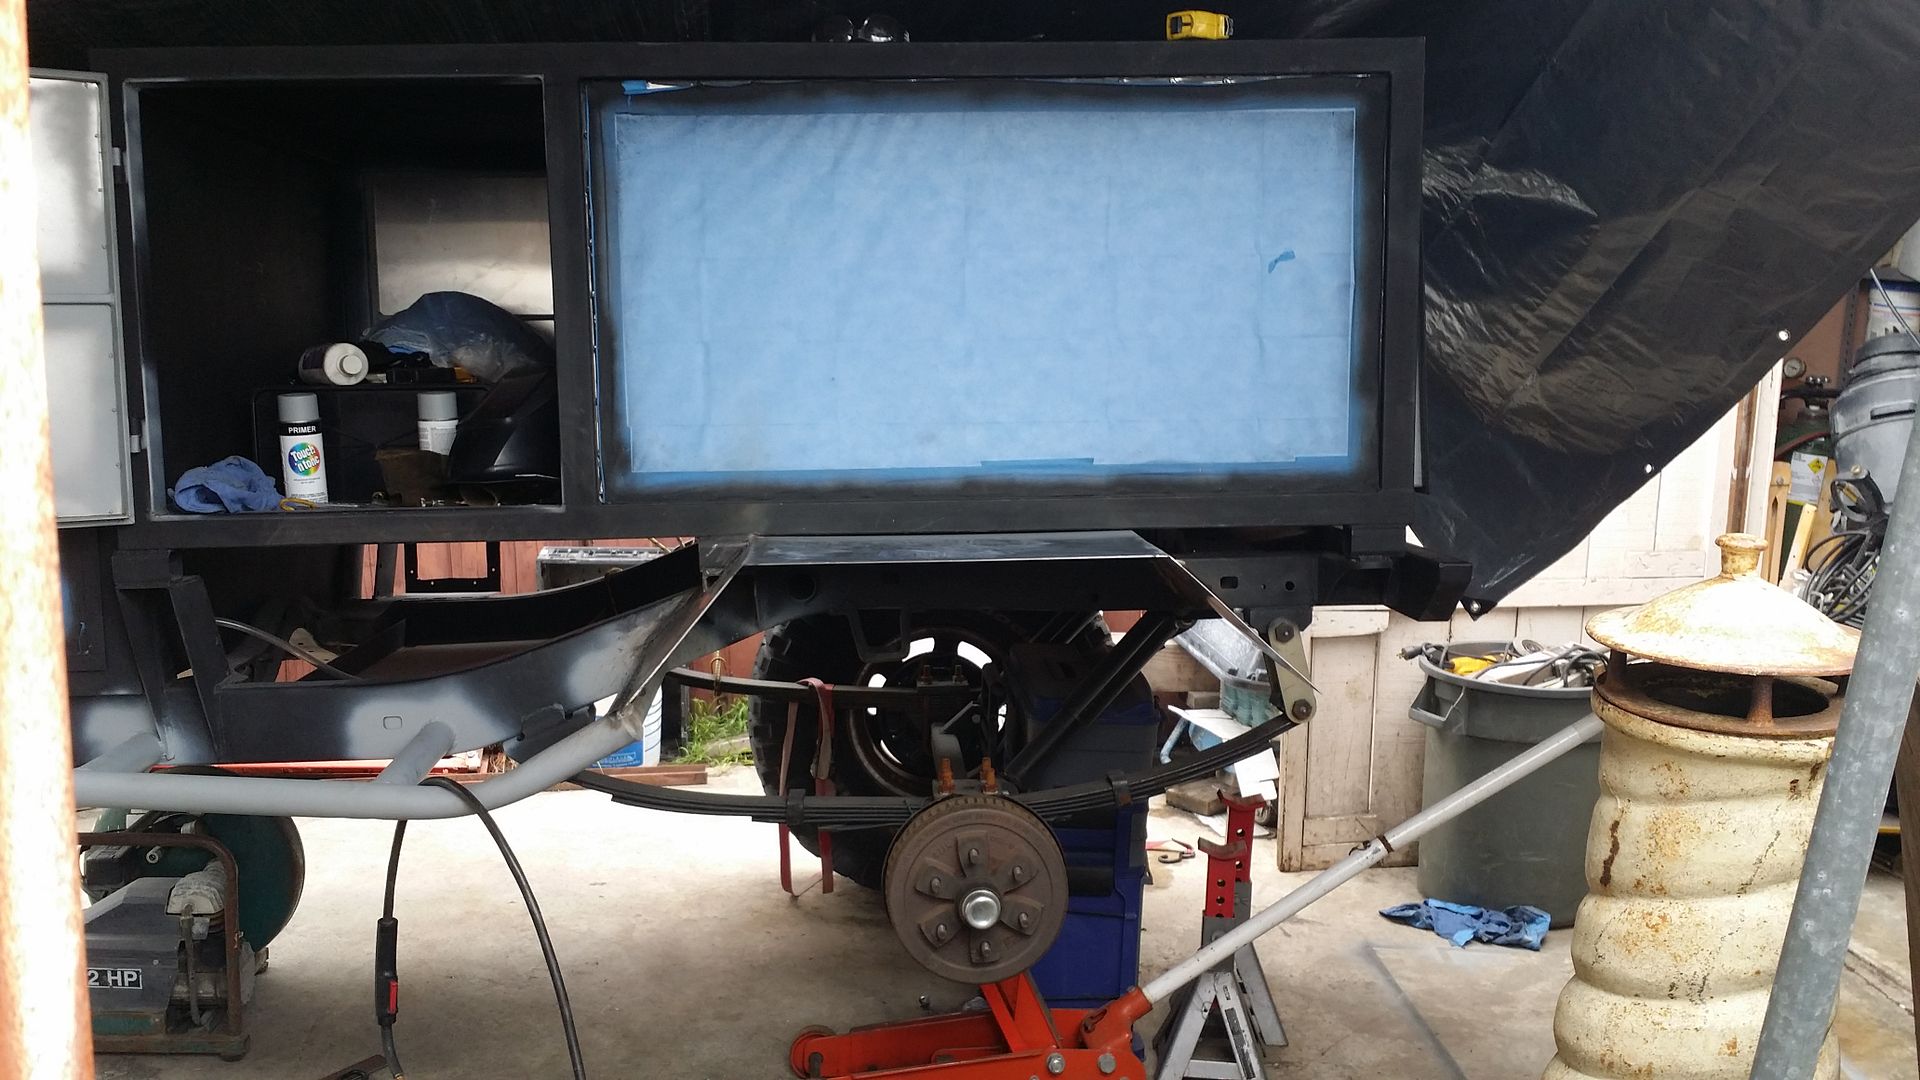
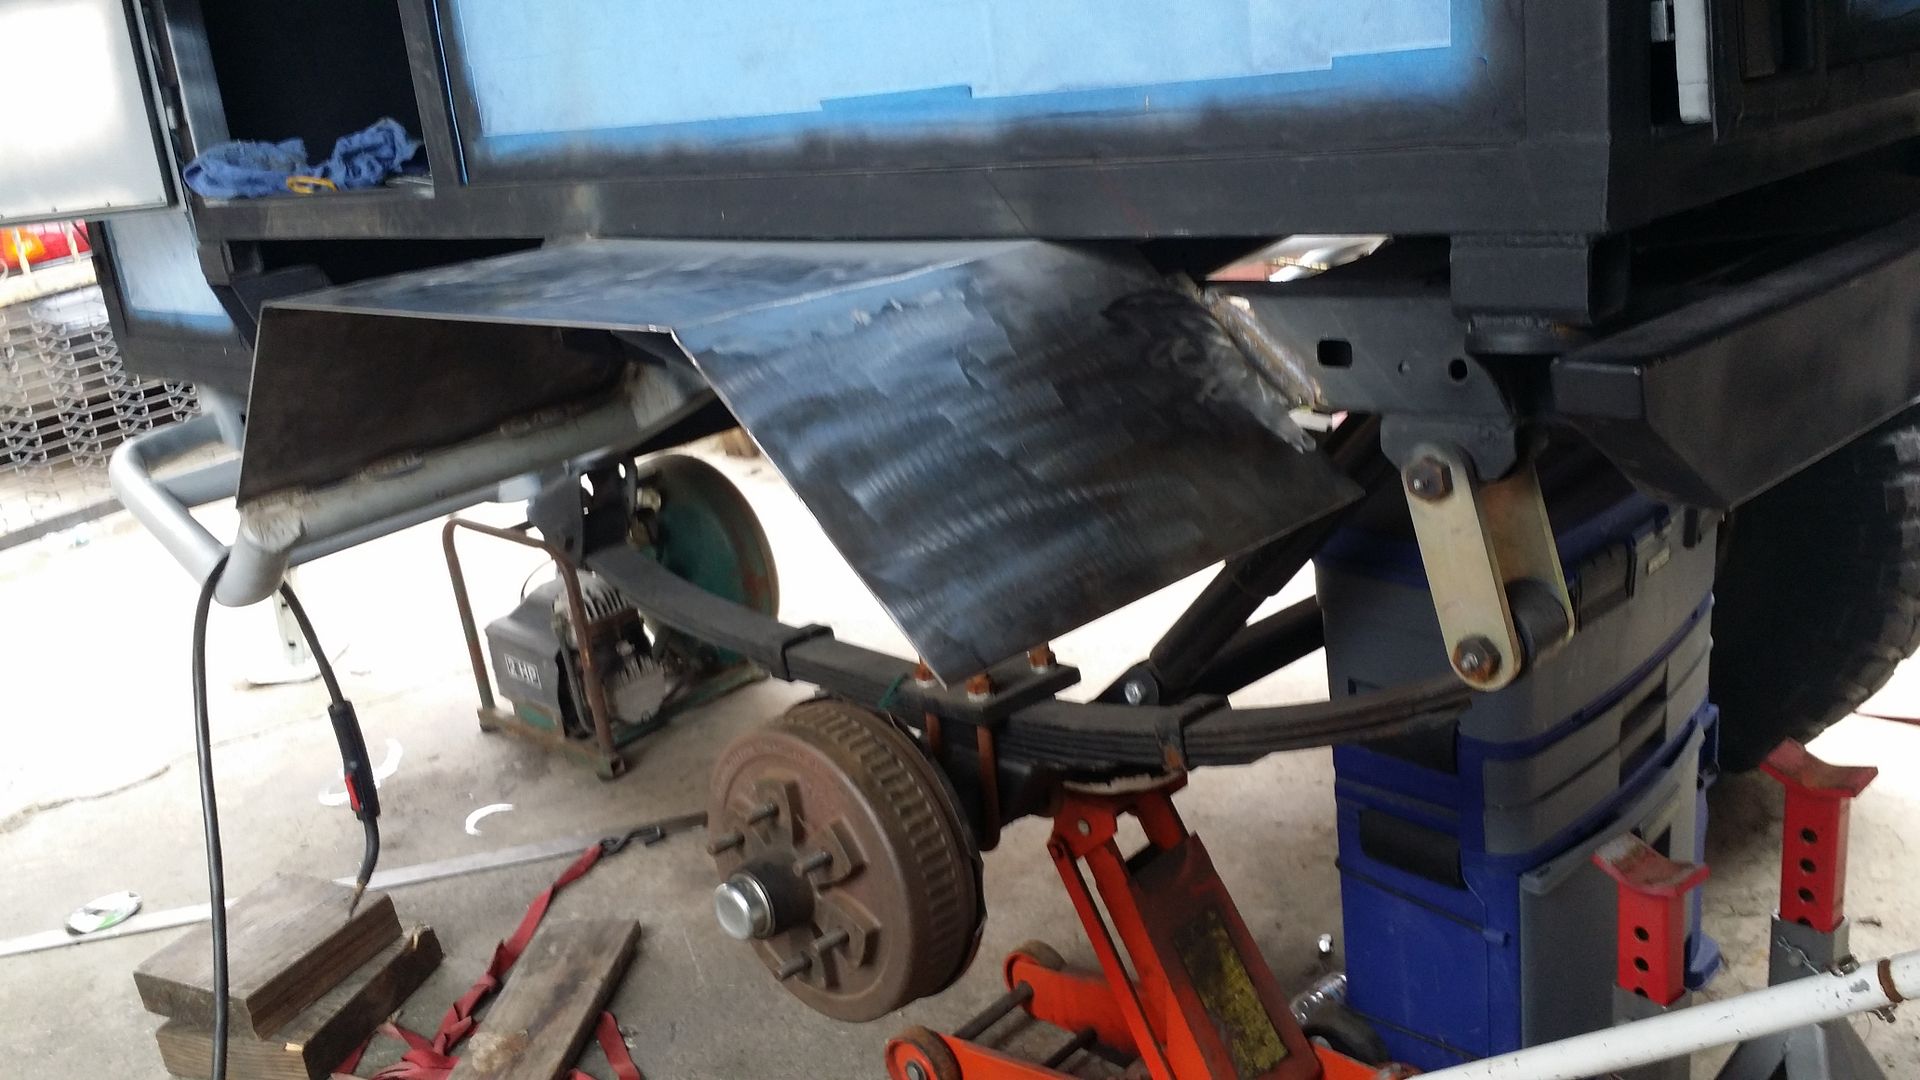
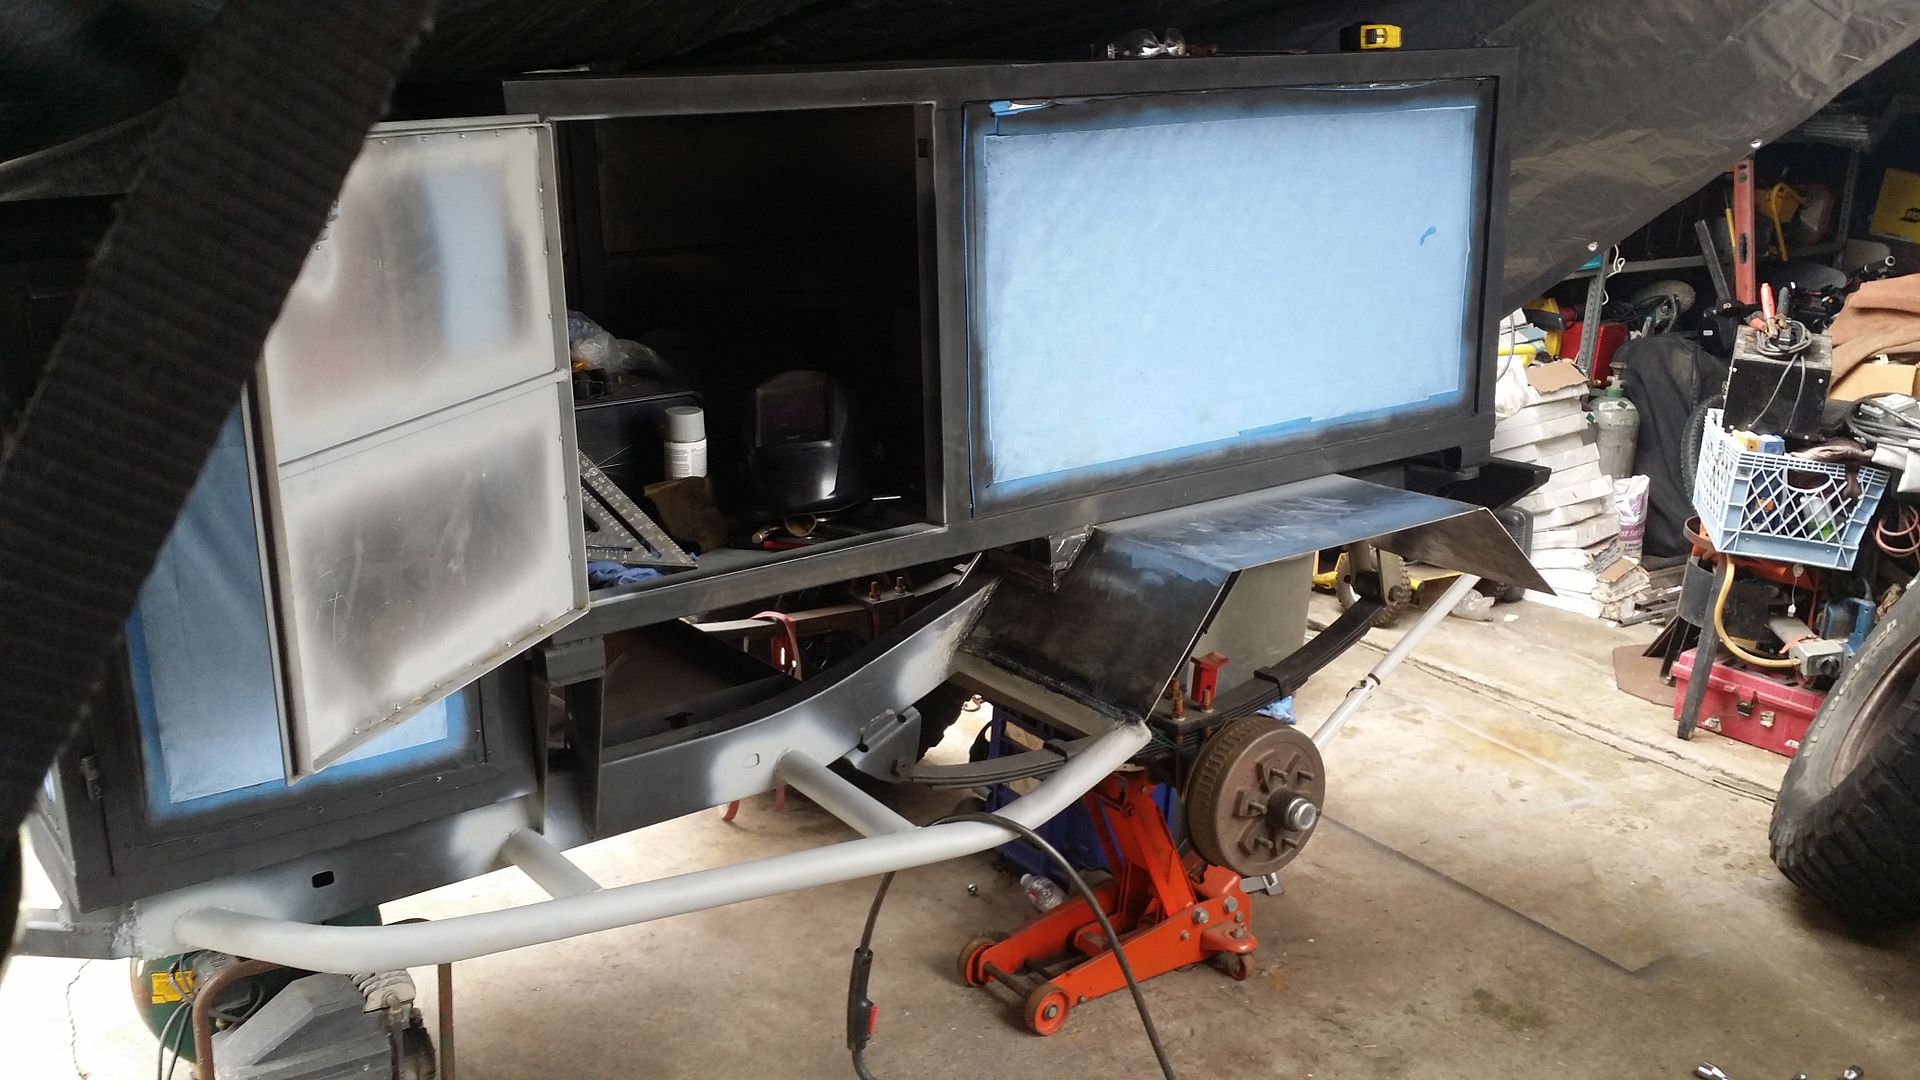
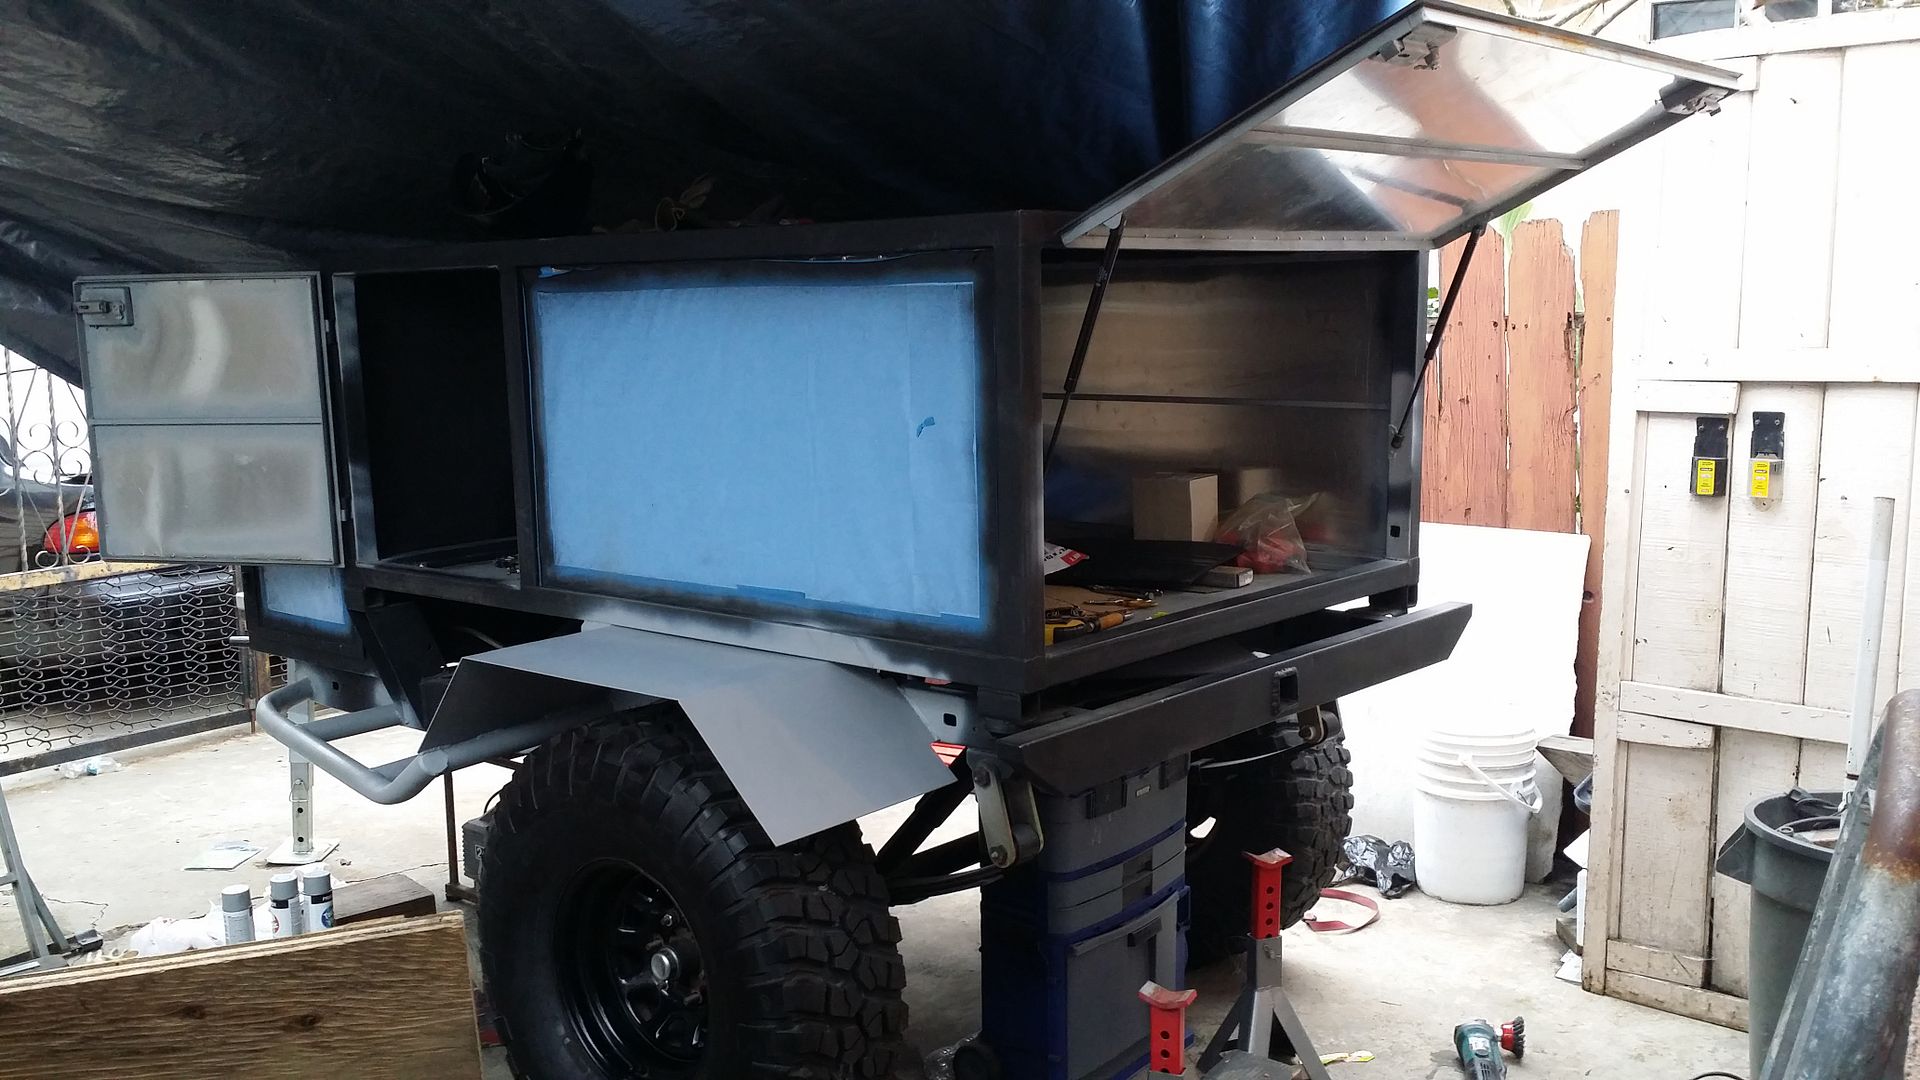
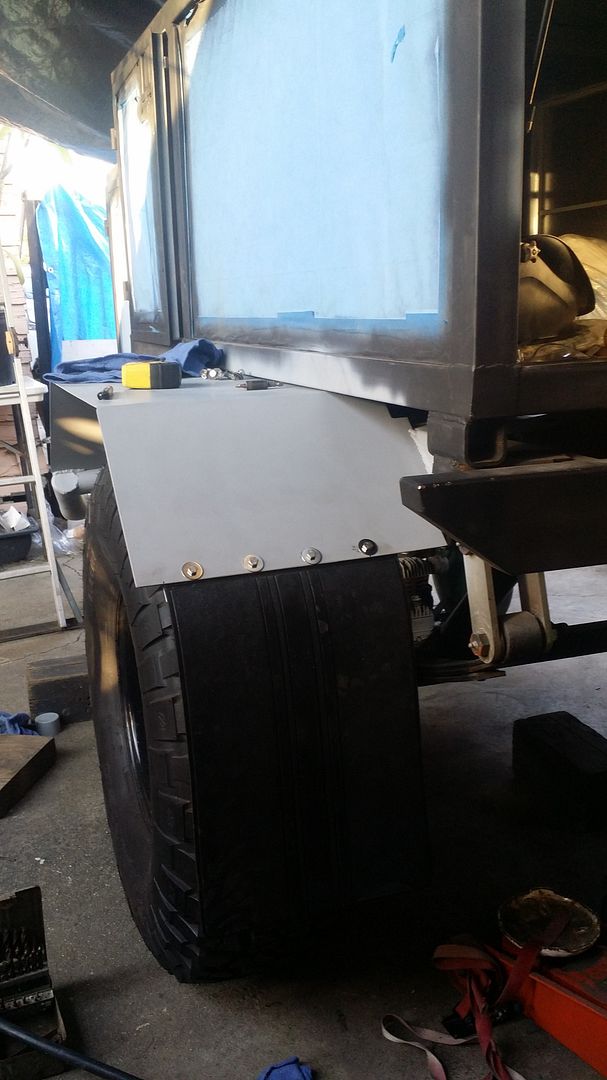
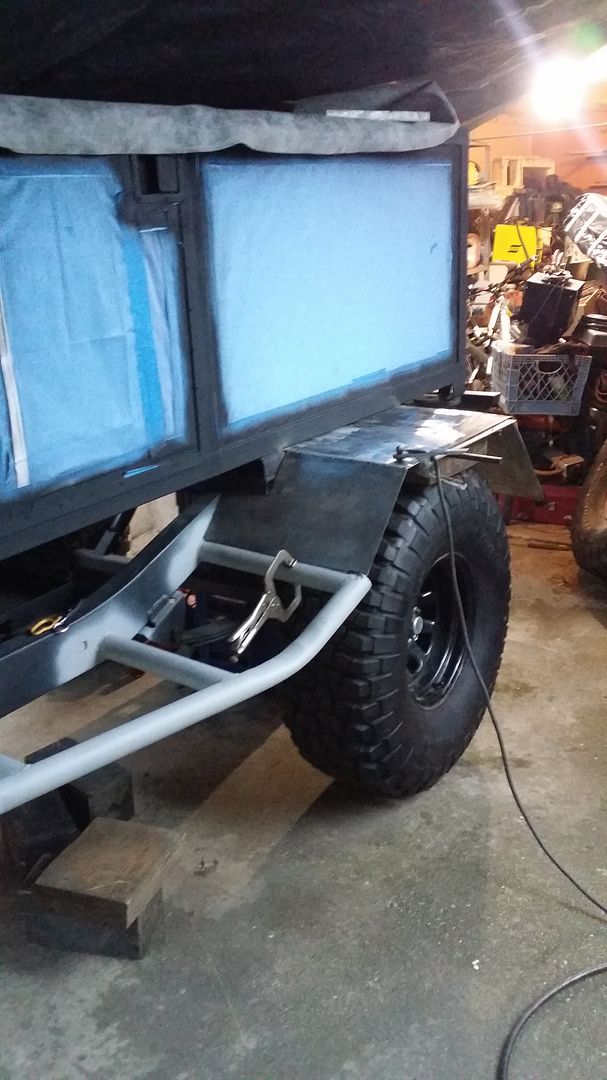
This is just a mock up for now but the fenders will basically sit like this. The mock up fender is already tack welded in place
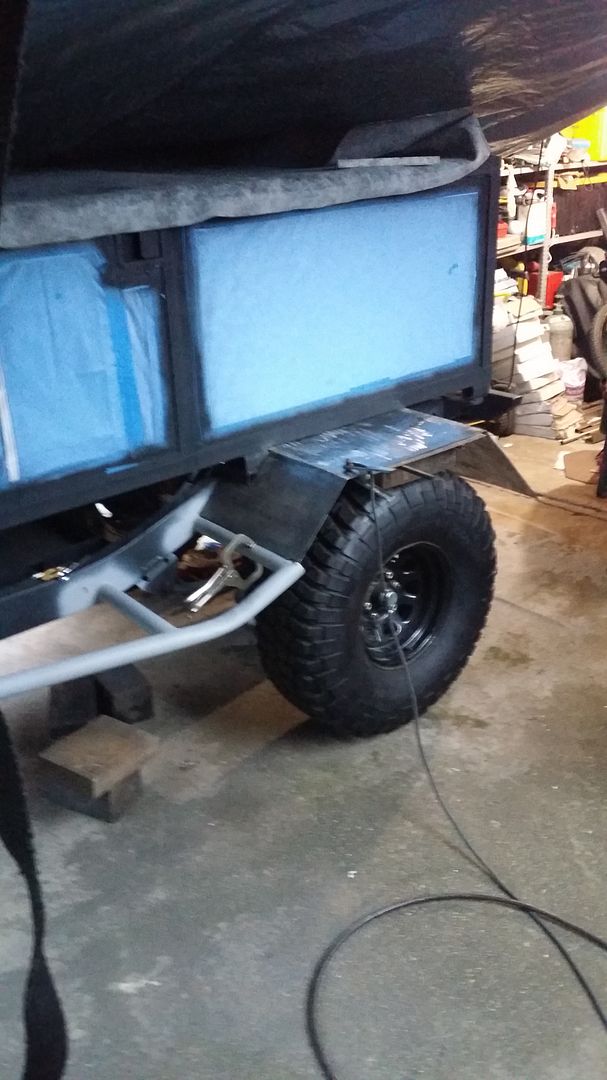

The mock up fender is already tack welded in place. the only difference is that rear porion of the fender will be made shorter a few inches so it doesnt hang down so low on the rear. From the slider to the top of the fender i have 10" distance. but on the rear side from the top to the bottom i had 17" lol and it just looked ridiculous. So i shortened the length to 11" to give it a more coherent look now it looks normal but i didn't have time to weld it in place once it was cut because it began to rain again. Hoping to get some time to work on the fenders this weekend. It'd be really nice to actually finish it up and add the mudflaps finally. Till then his is all i have to update.
 
Last edited:

Redeth005

Adventurer
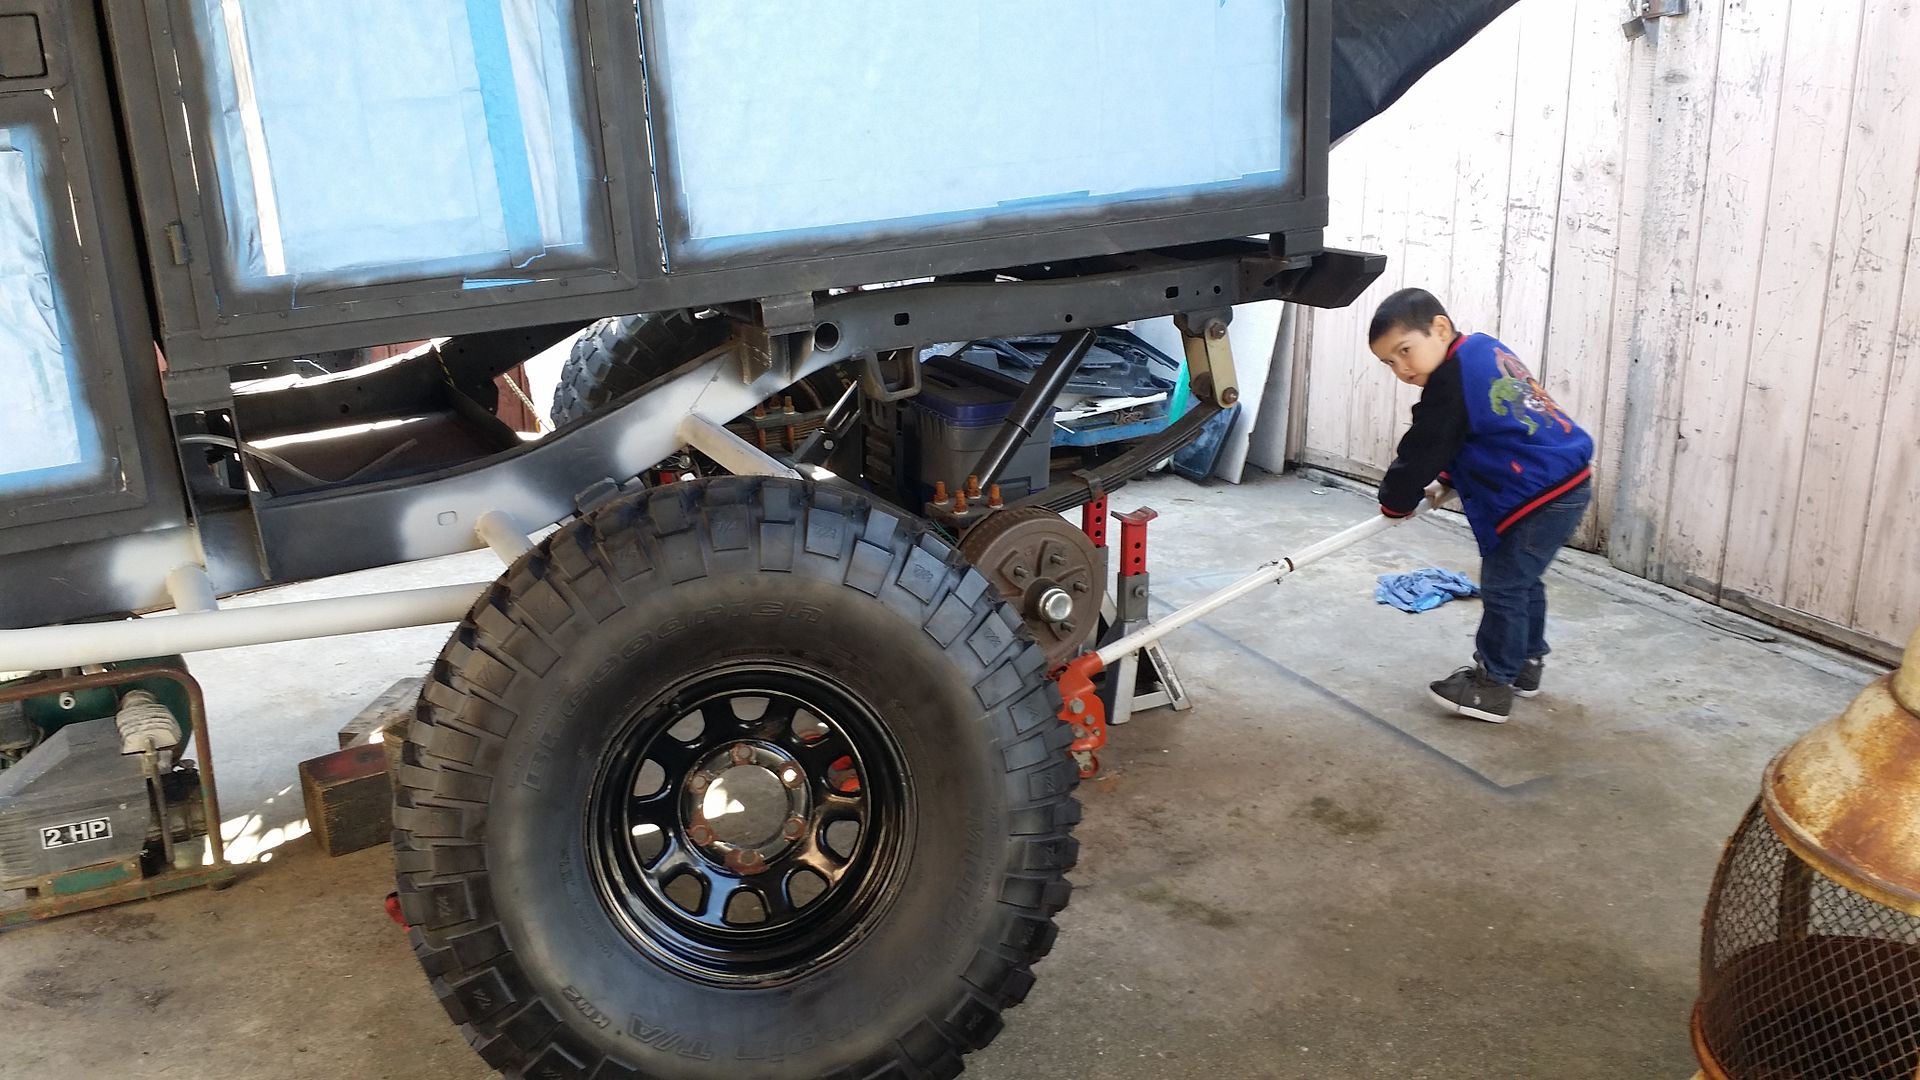
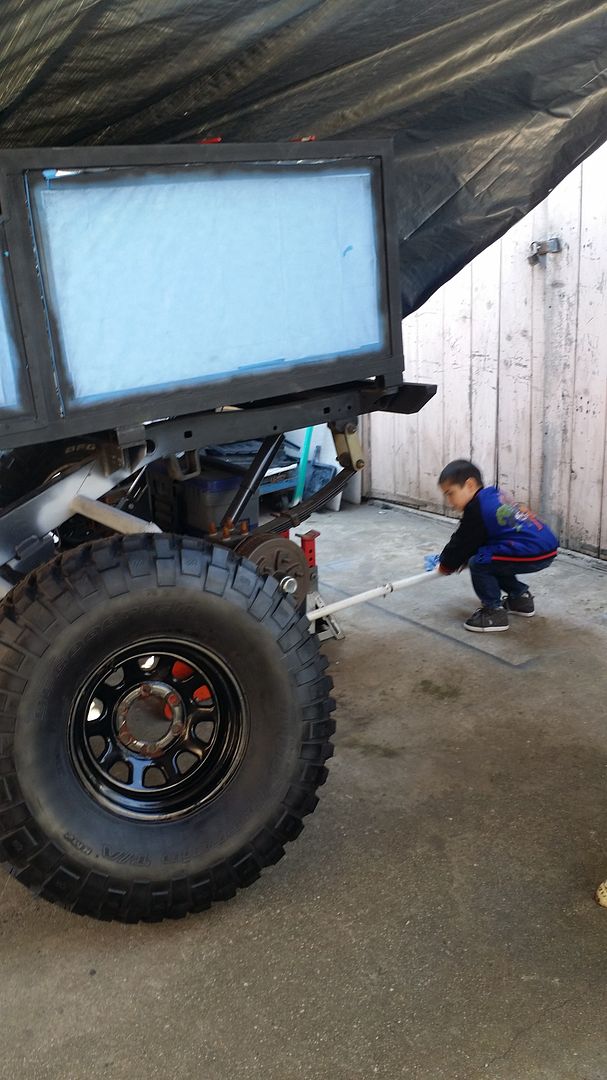
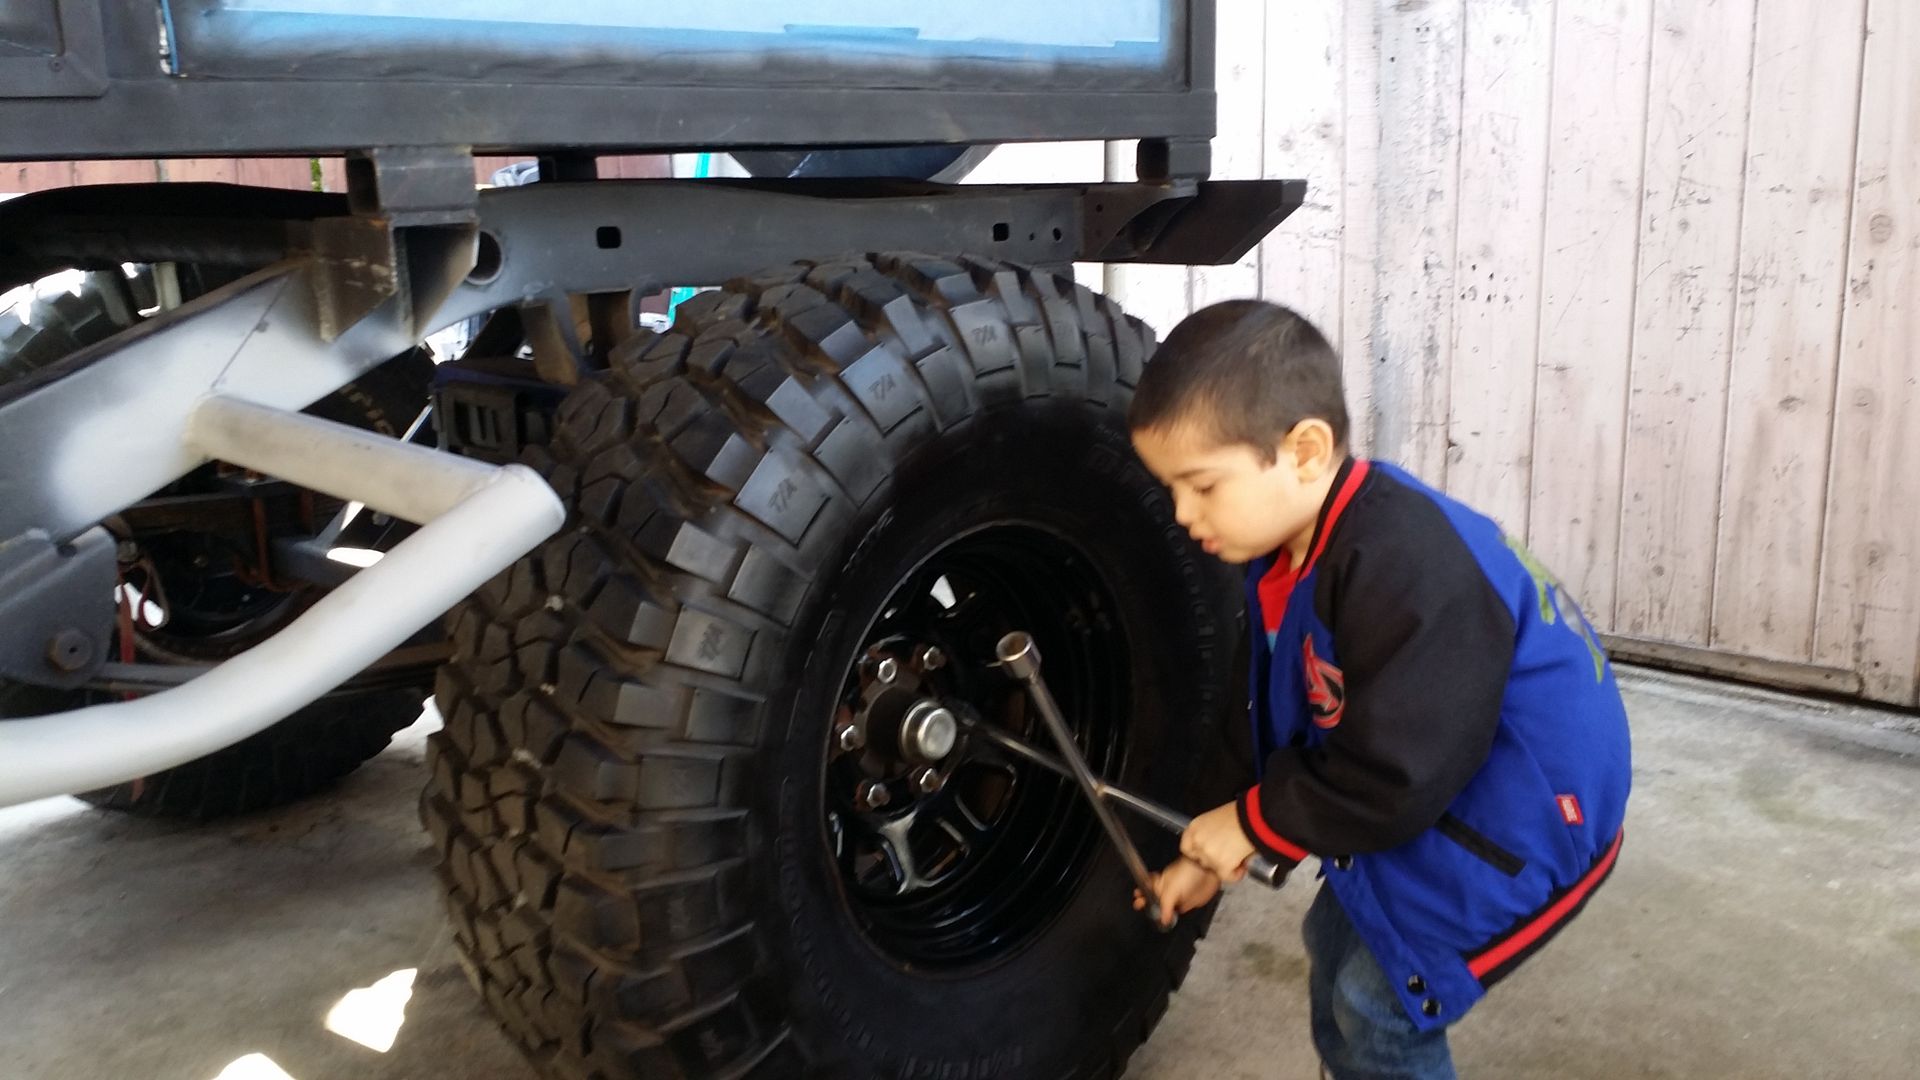
I started getting things ready to work on the trailer this weekend and my girlfriend's 3 year old son, Isaac, was eager to help me out. So I put him to work. Woooo free child labor lol jk.

Here he is jacking up the trailer.


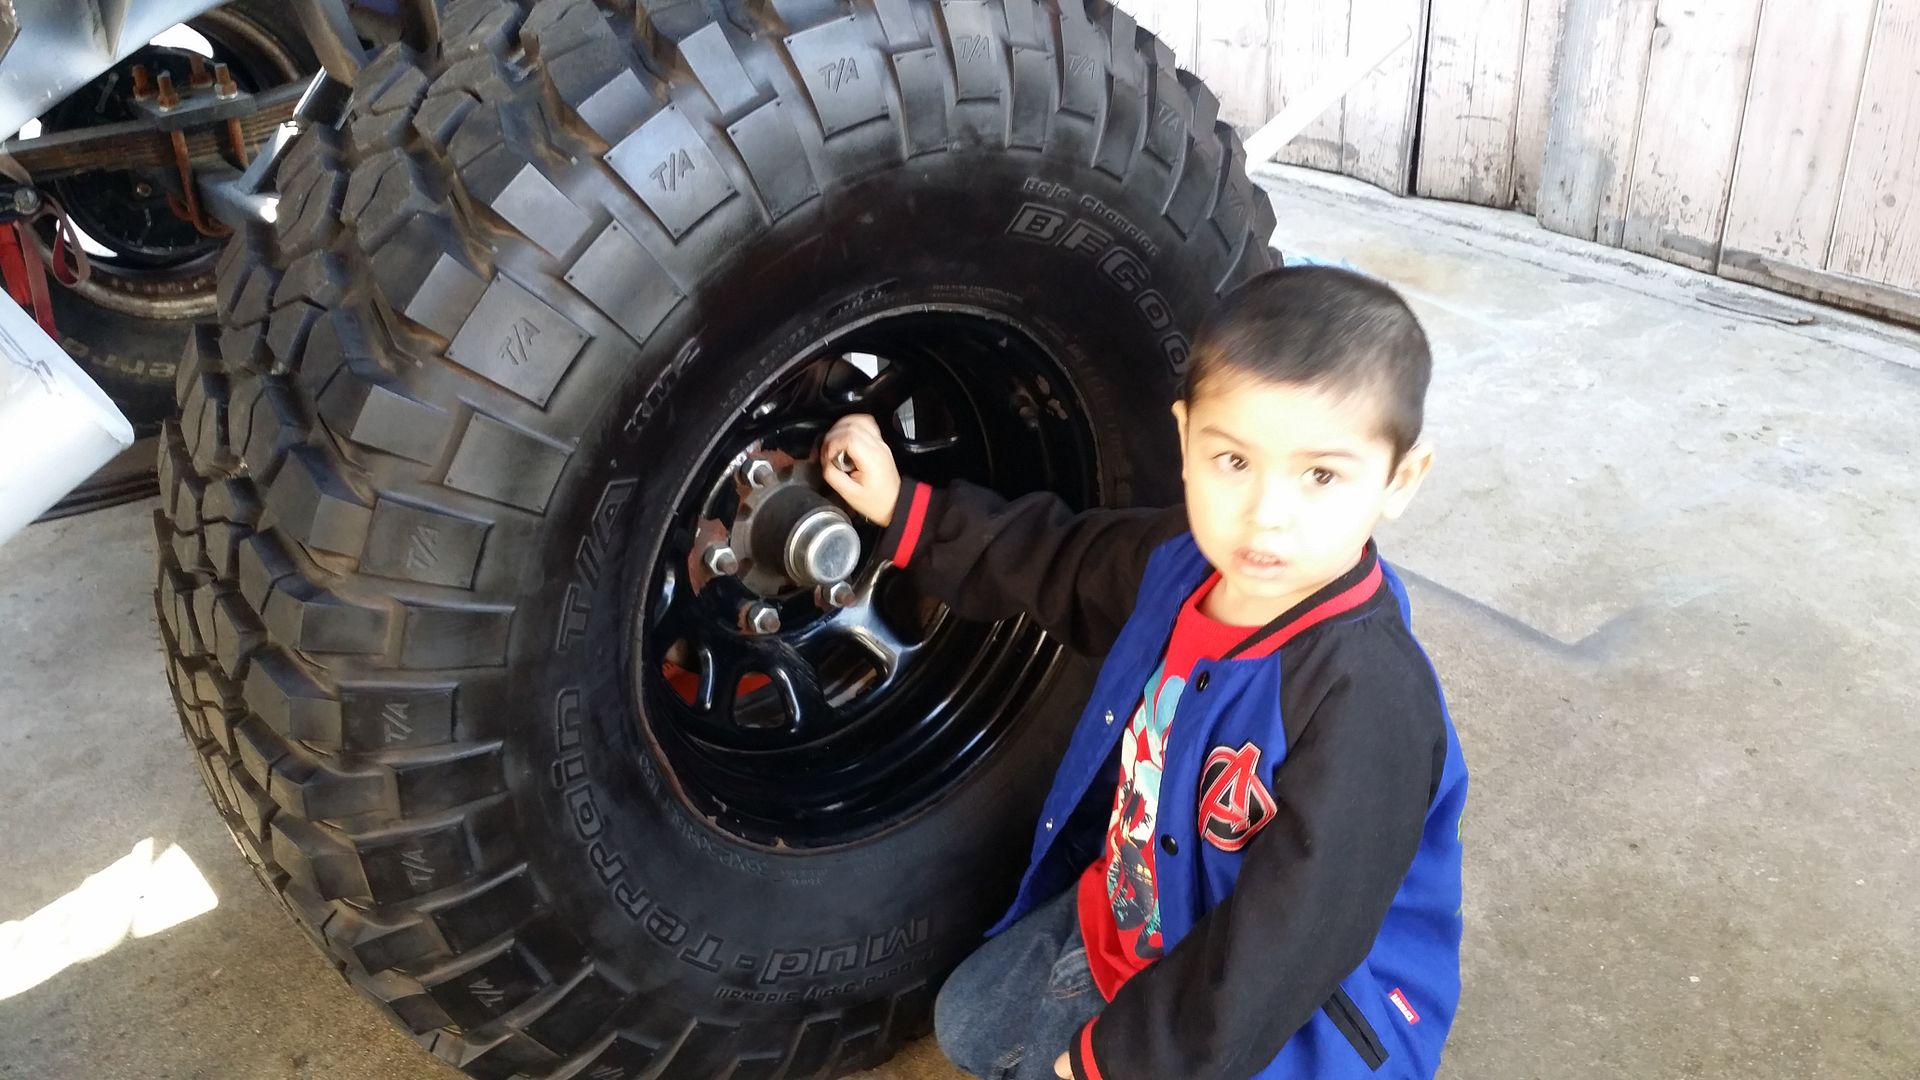
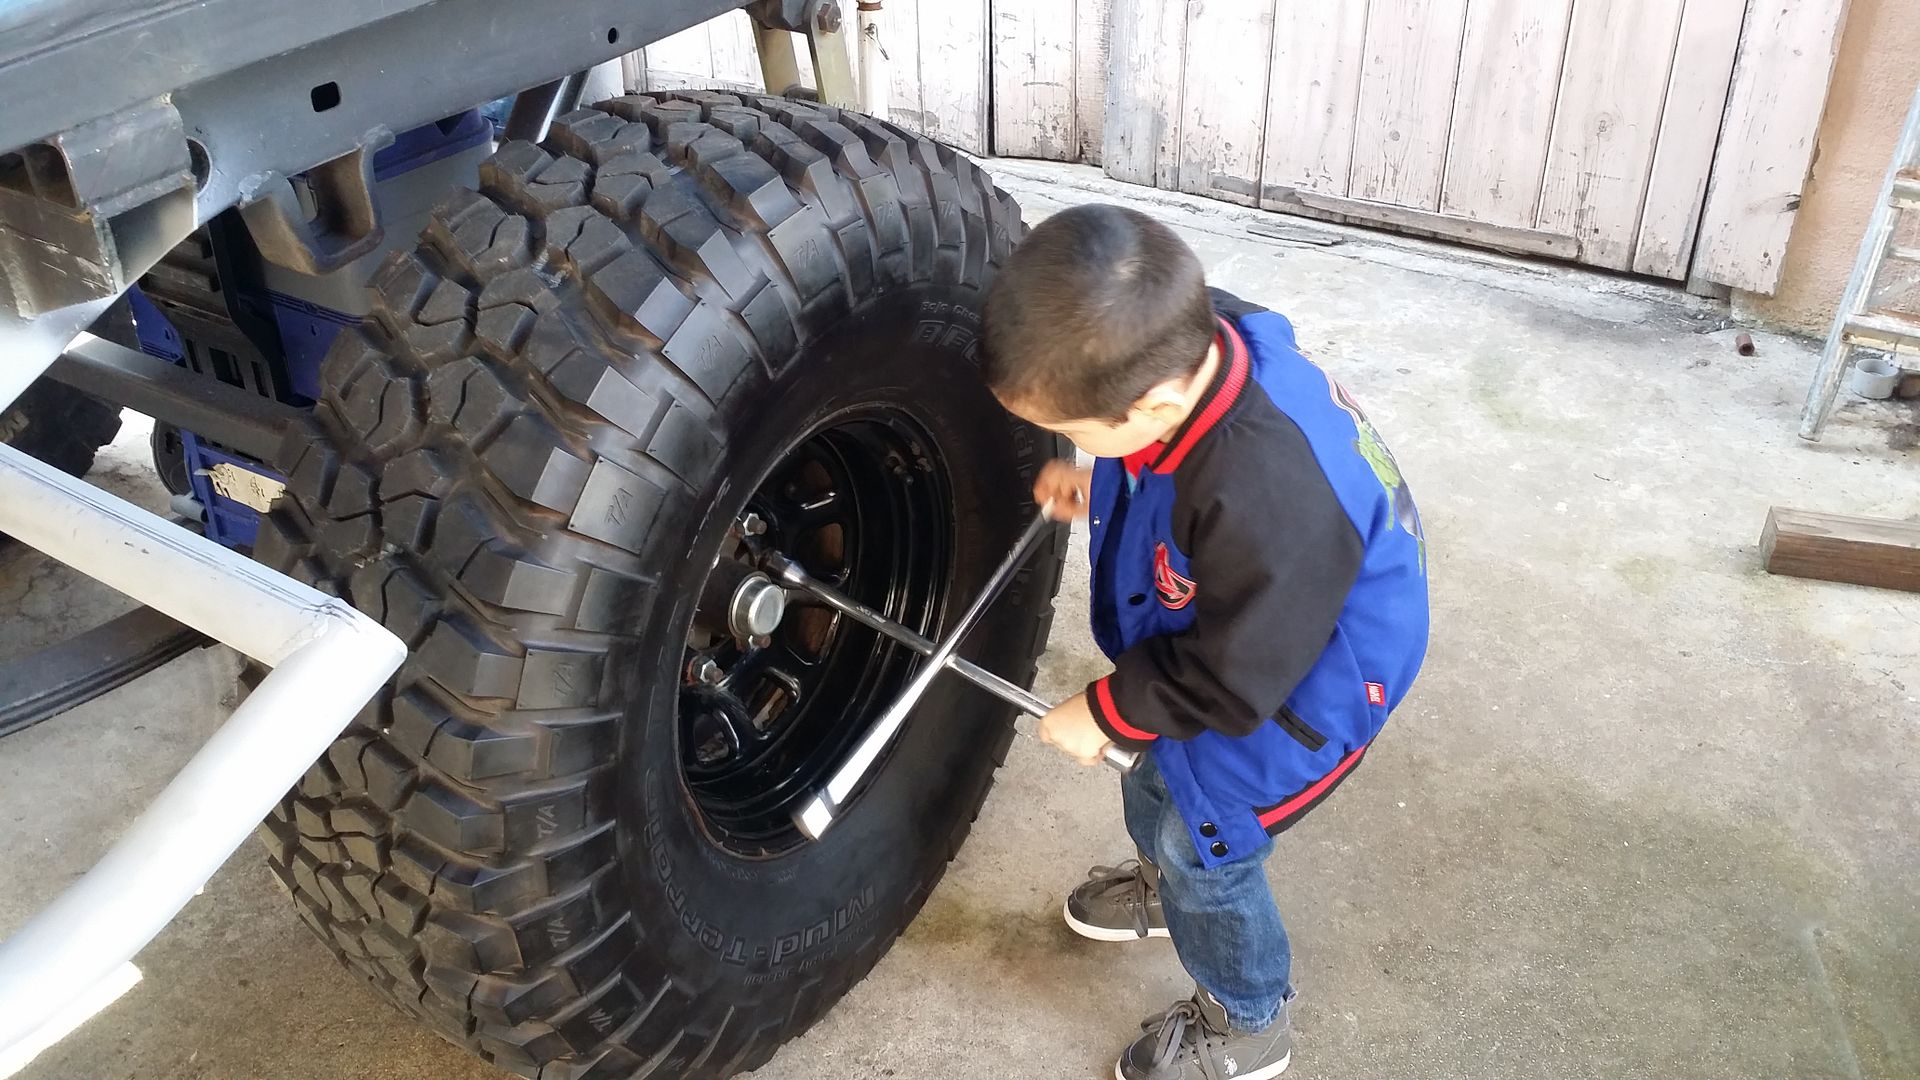
Then we put my truck's spare 35" BFG KM2 onto the axle hub. He insisted on helping lol I couldn't turn him down. Plus this is too adorable not to post. lol


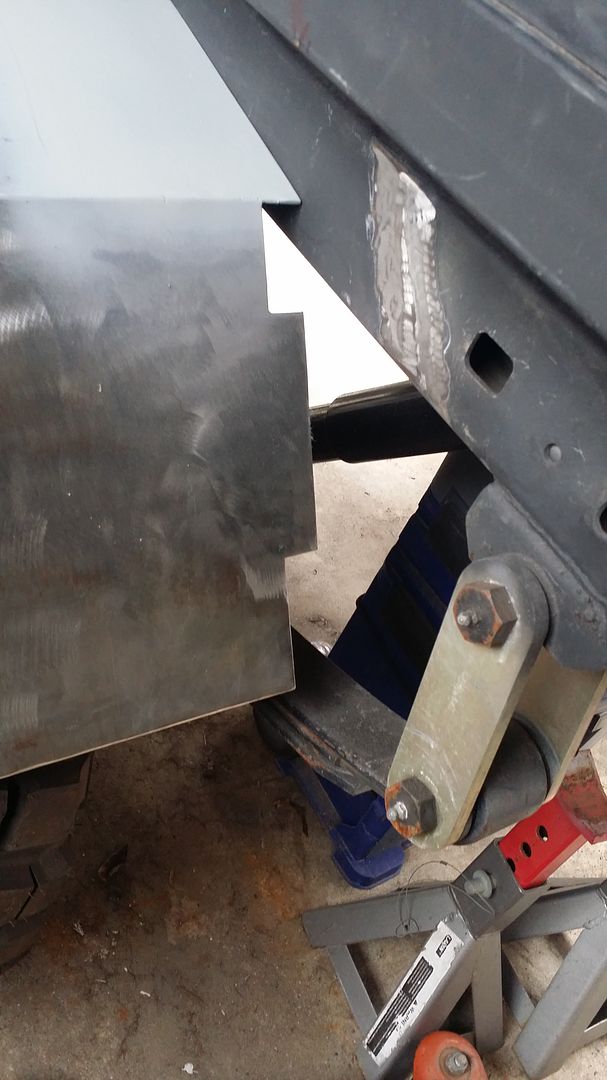
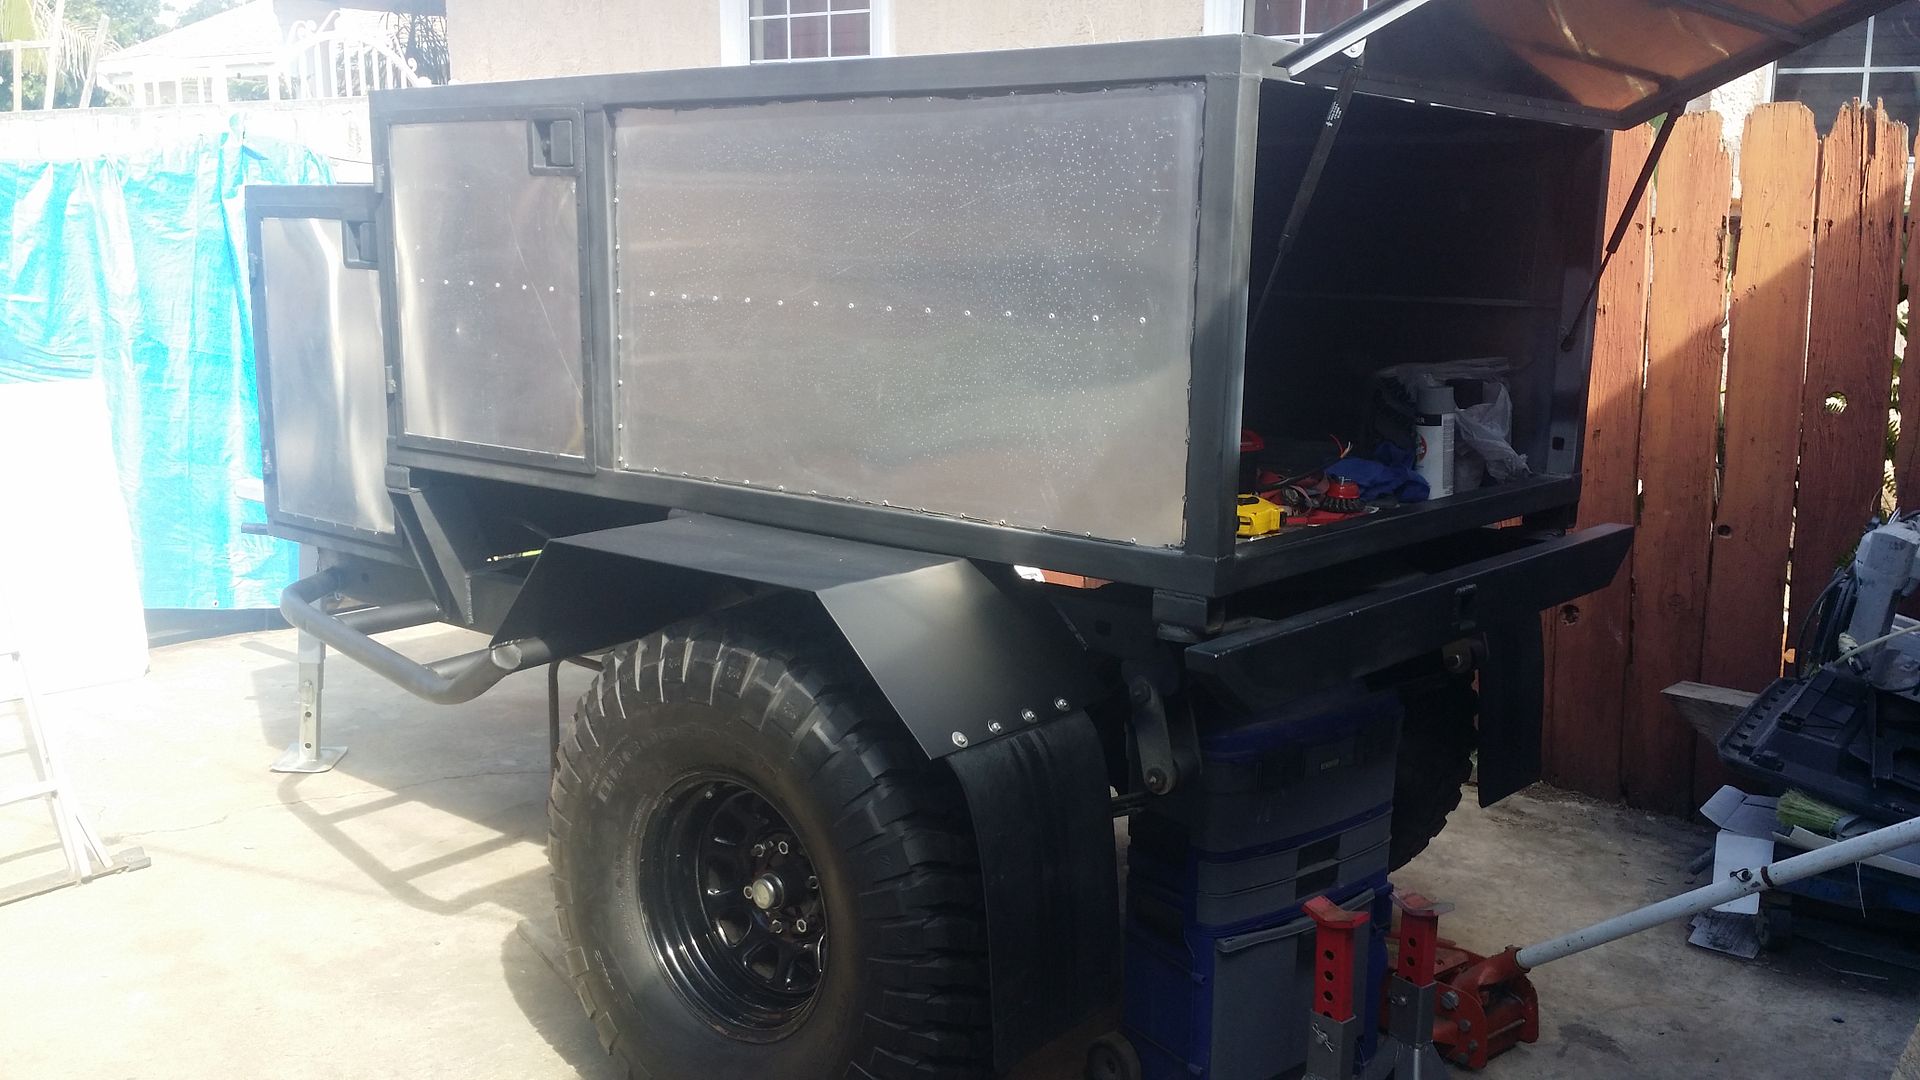
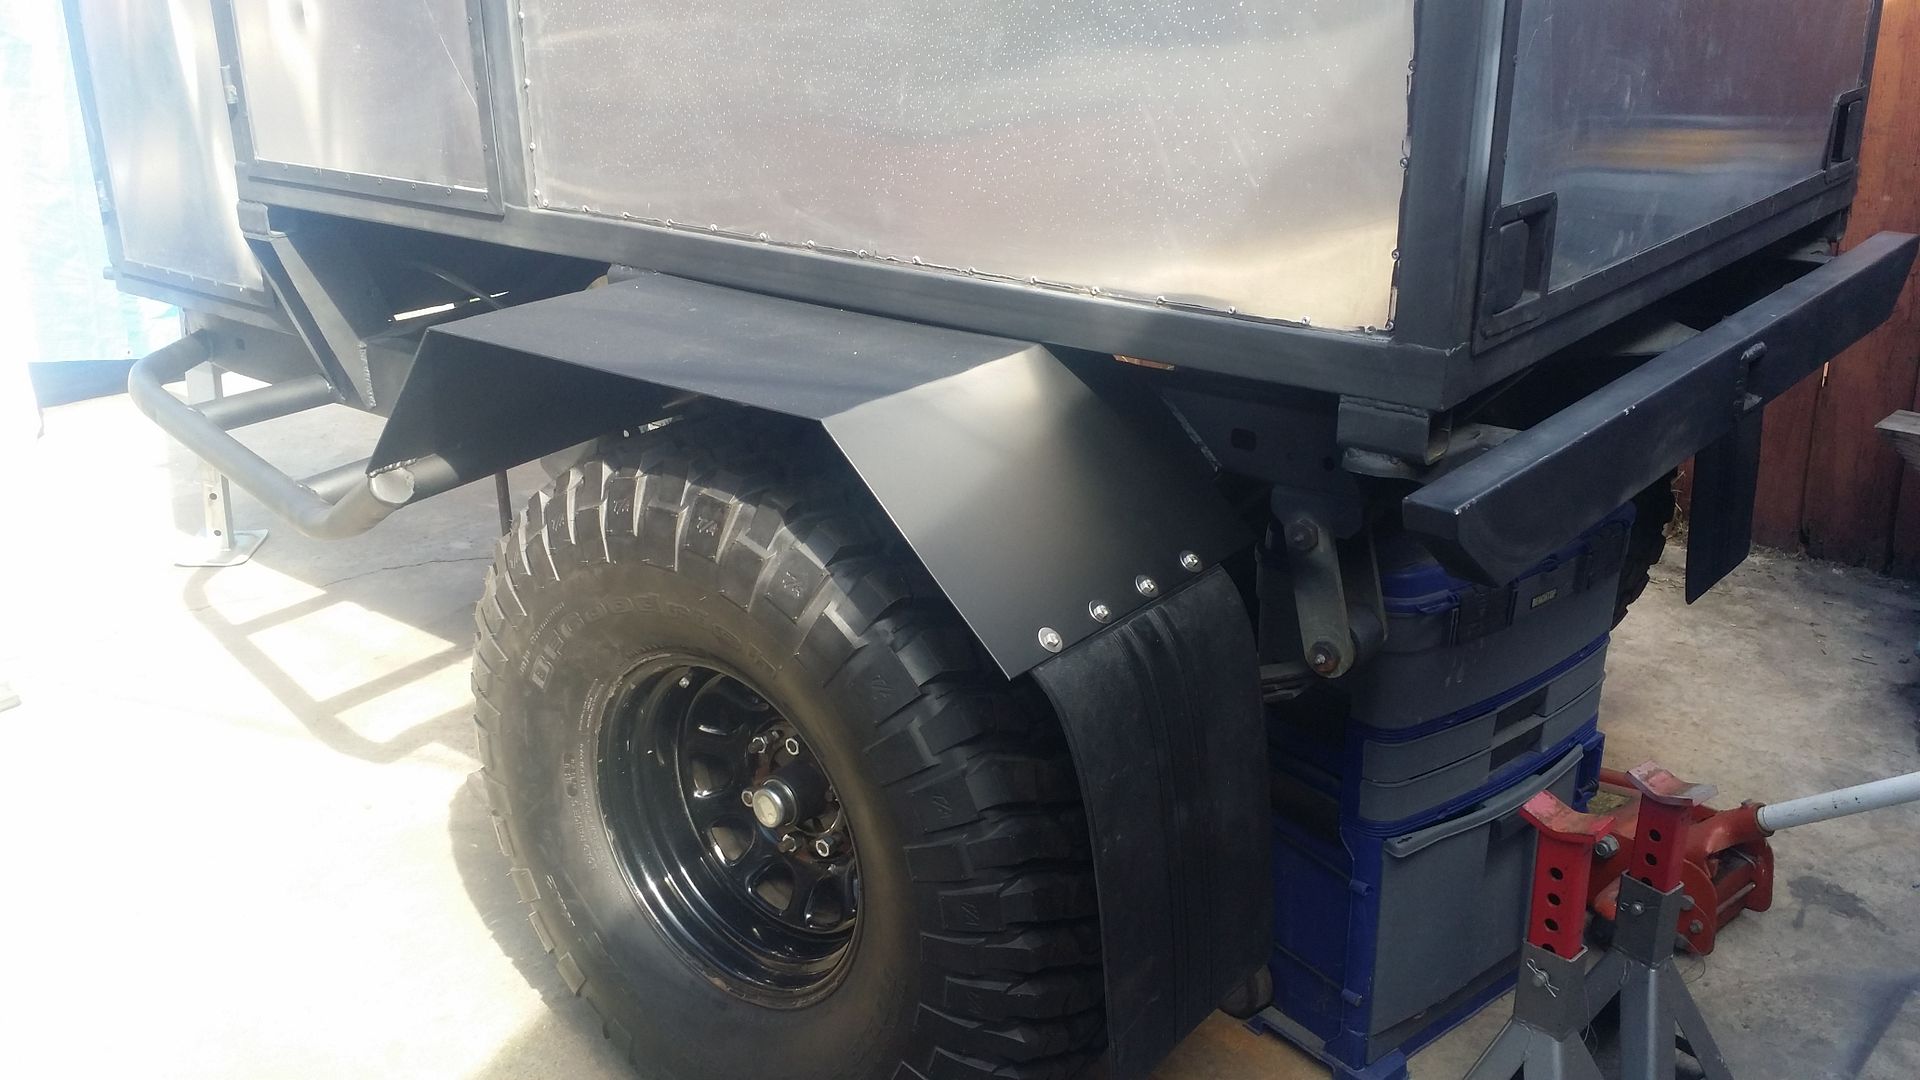
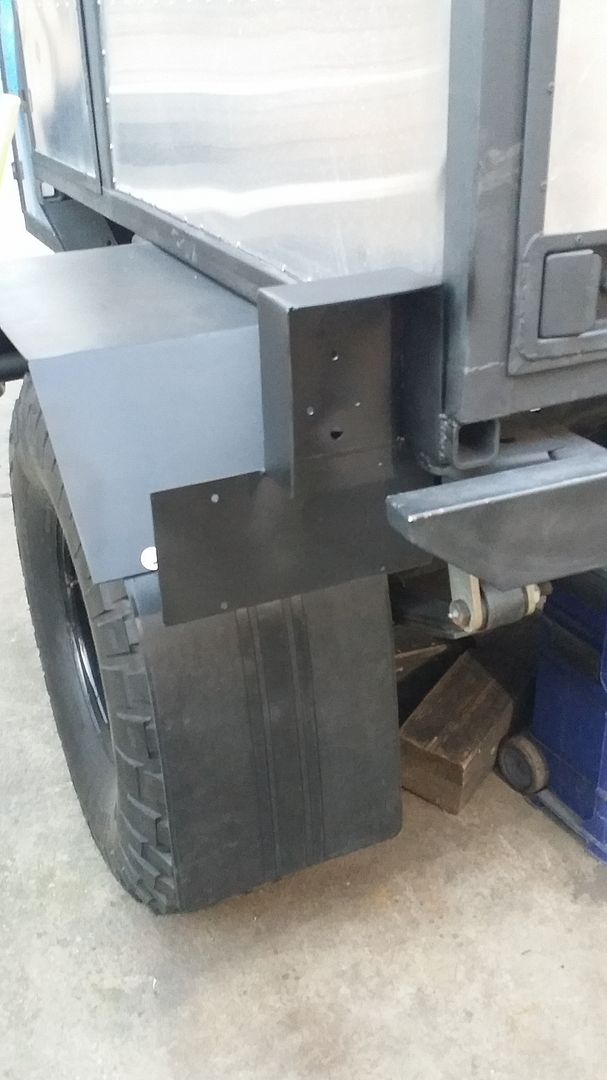
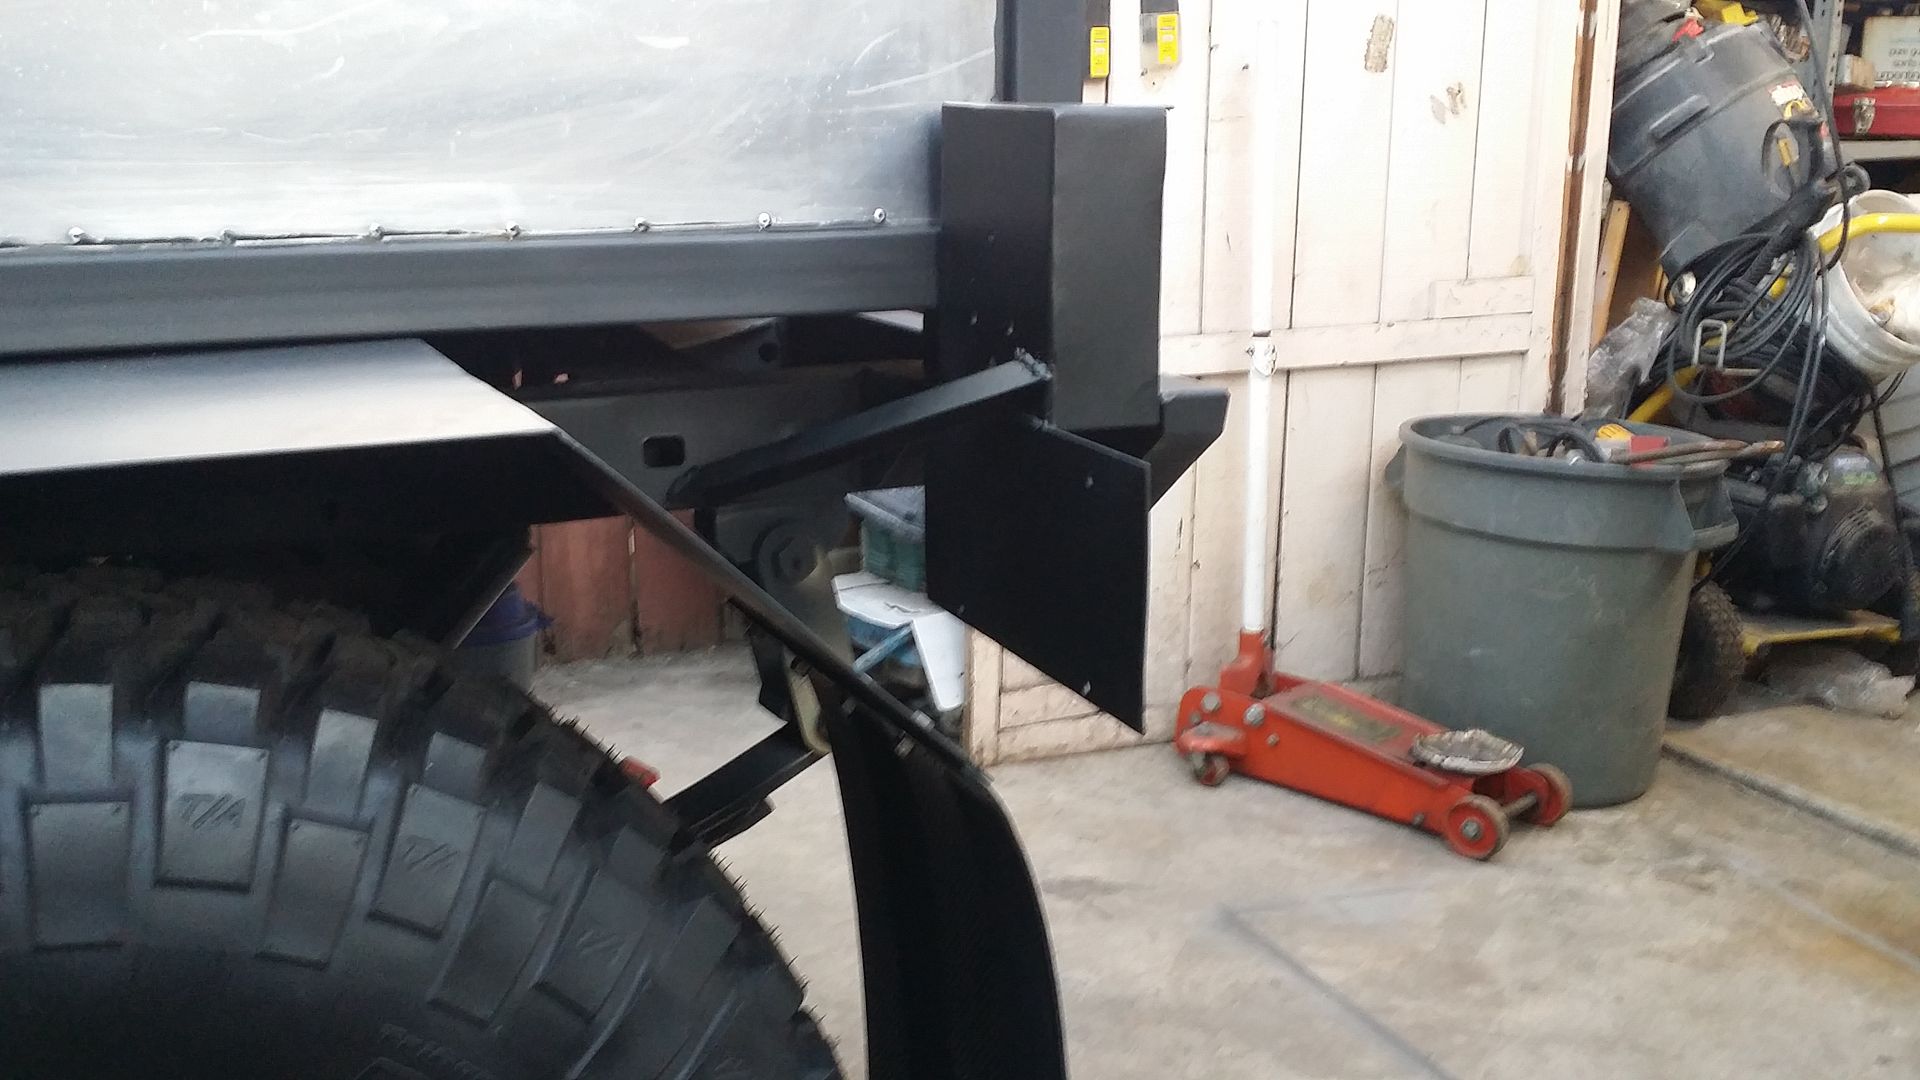
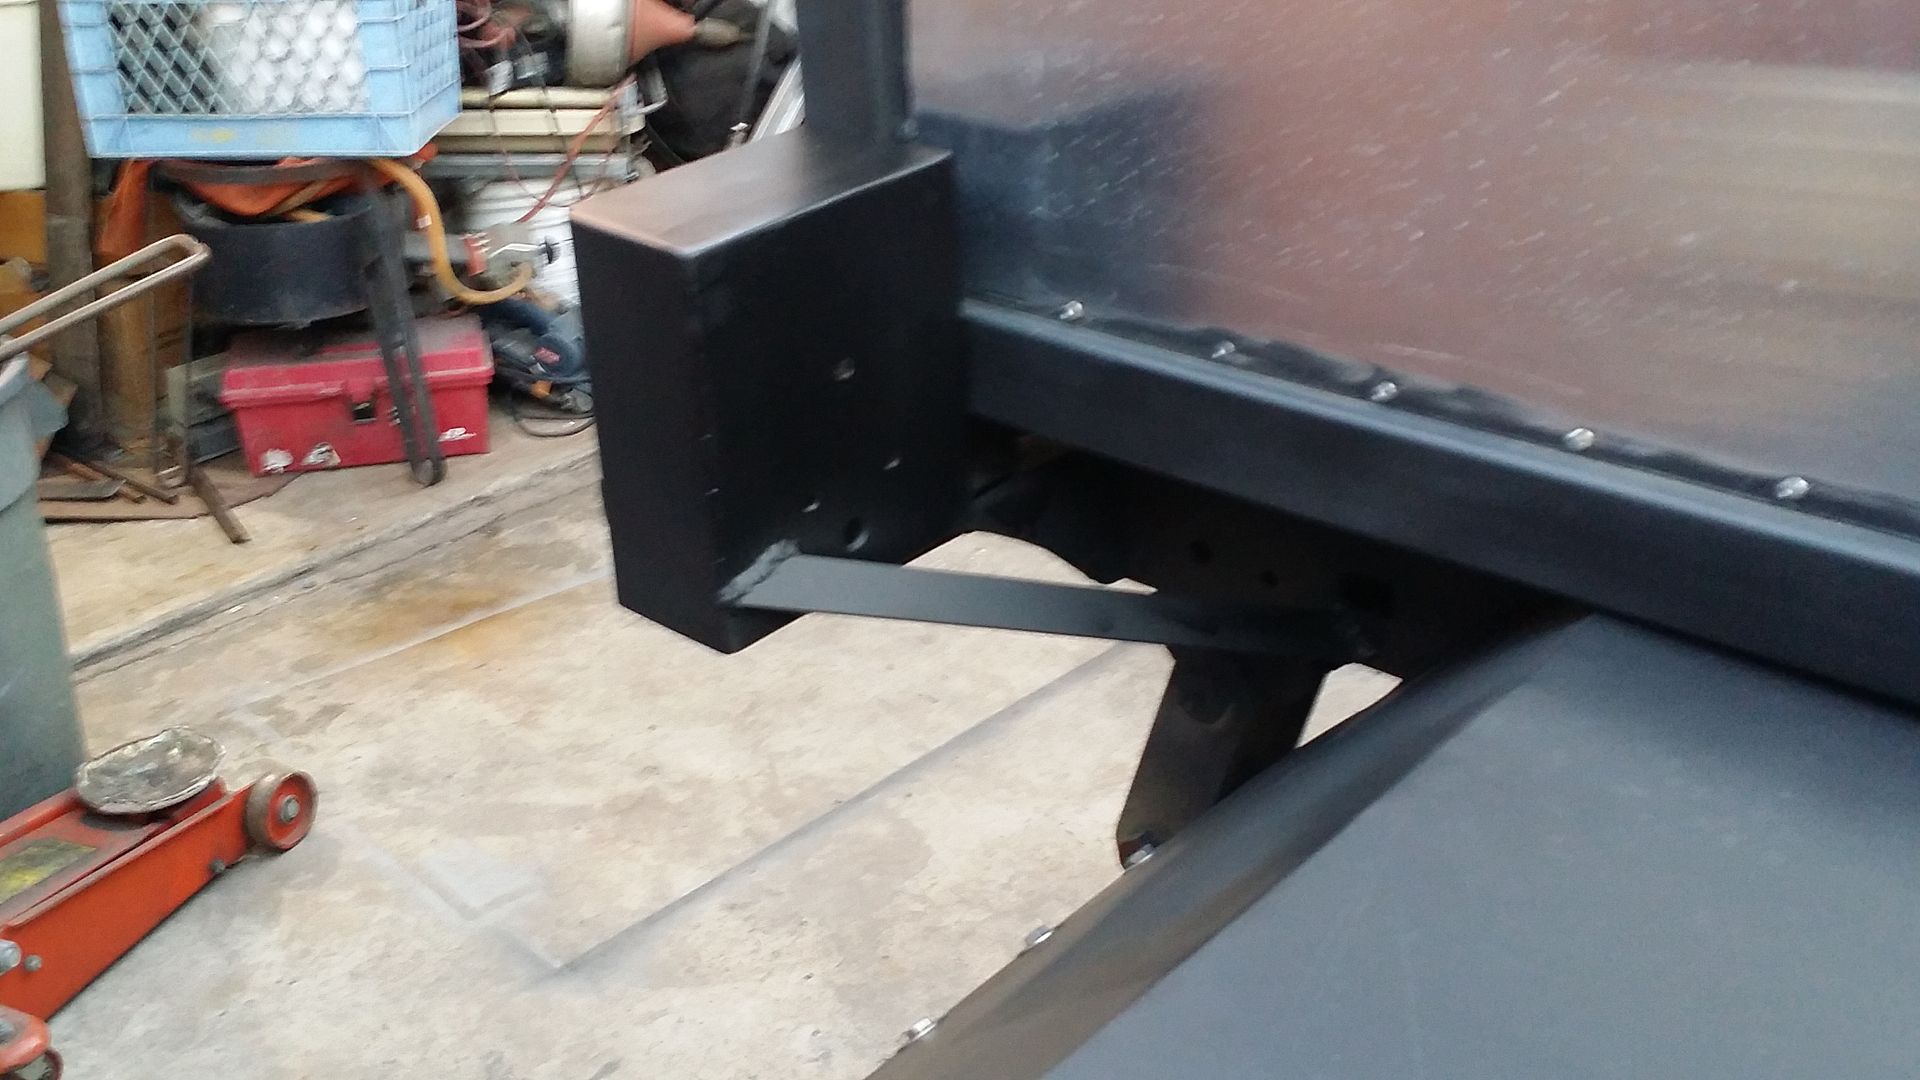
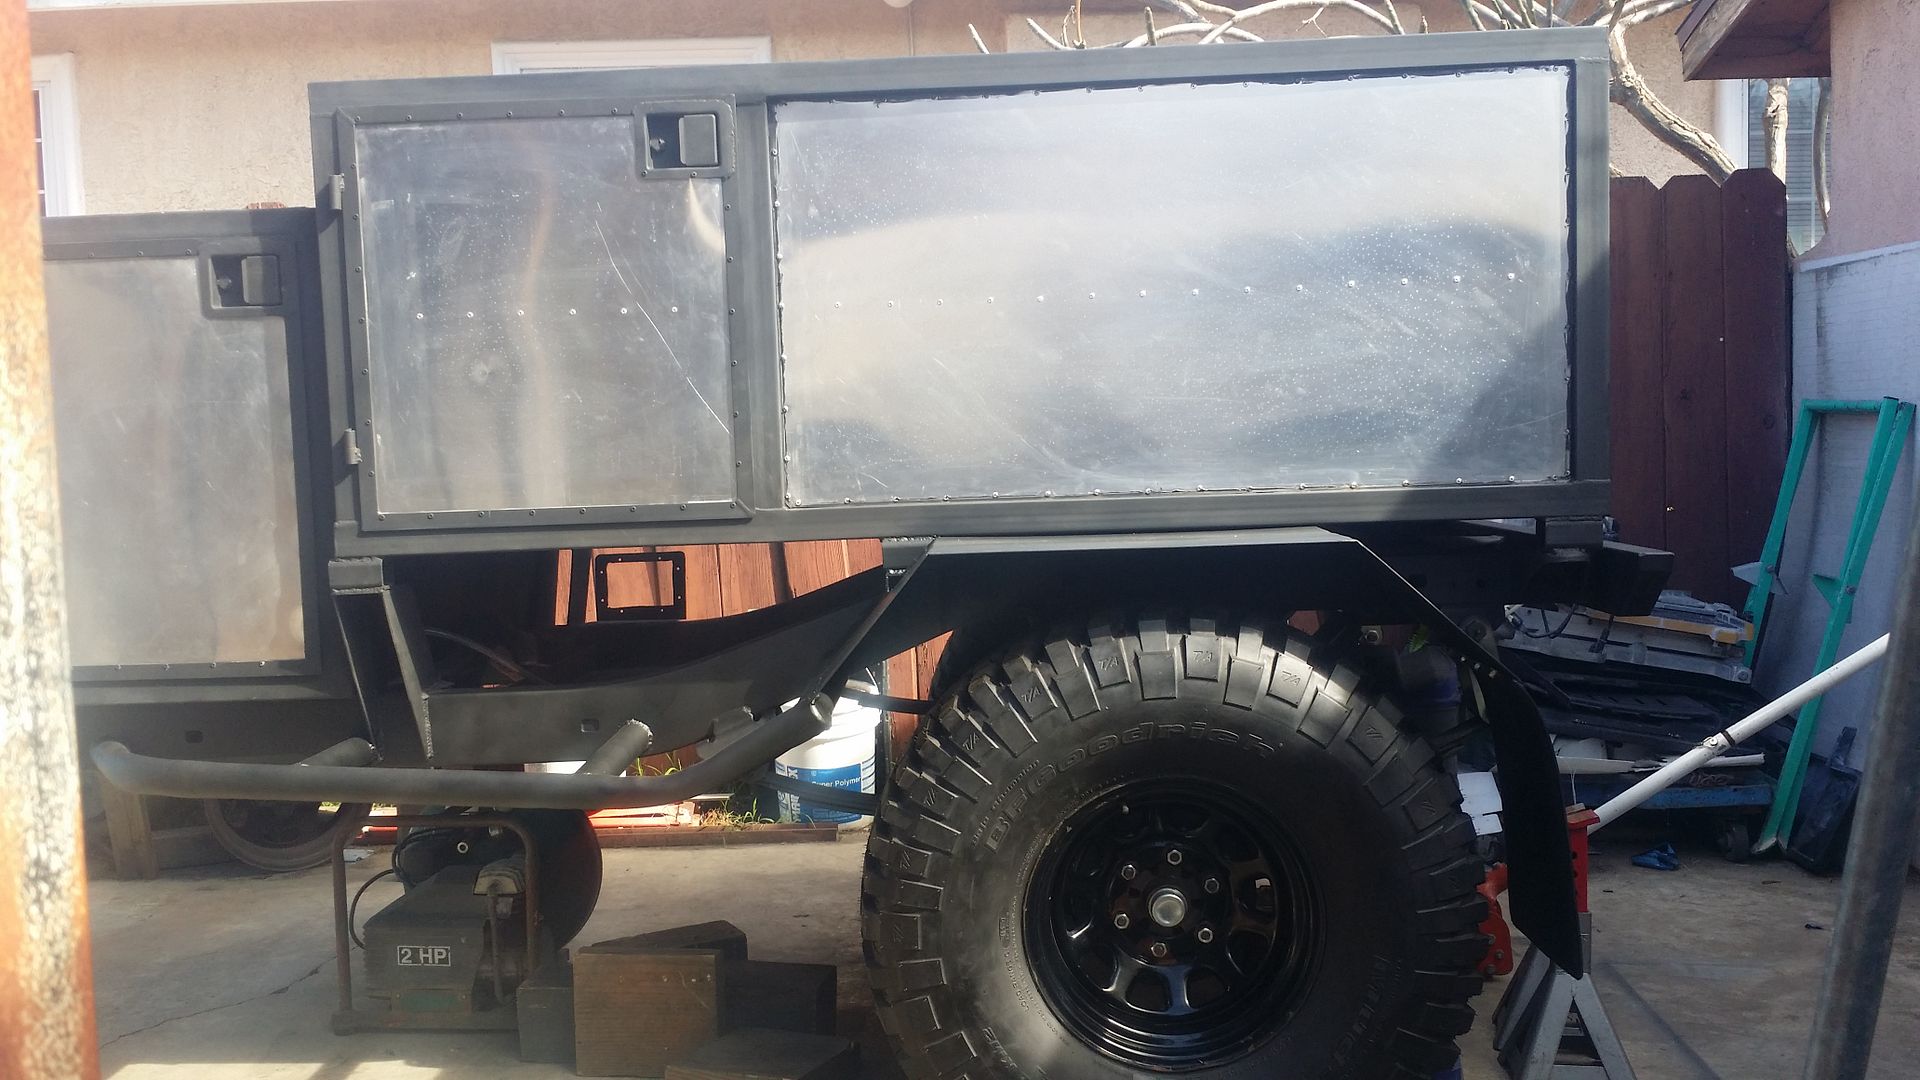
So This is on the rear of the fender. Note the shackle bolts. I had to cut 1" off to clear the bolt in the case that the shackles would move back and forth. My mistake is that i made the cut the entire length rather then just the section i wanted cut off. So i had to reweld a 5" piece back on lol It's all good, nothing a bit of welding cant fix. You can't even tell i had messed up lol


Here the fender is welded to the frame. just had to make a quick run to Harbor freight for 2 new wire wheels to clean off the flux core residue from the welds.


Love the way they came out. After the passenger fender is finished I'm going to get around to doing the mud flap mounts followed by license plate holder and tail light mounts.


...And i finally got around to installing gas struts for the rear storage door. These are 17" when fully extended. And there's the view of the rear side of the fender.


I didn't get a chance to finish working on the passenger side fenders. but i did get around to tack welding all the pieces together. Next time i will do the final welds on that side then mount it to the chassis. I am eager to get the mudflaps on. I feel like the next challenging part is going to be figuring out where im going to mount the tail lights and how to have enough space for the licence plate.
 
Last edited:
Redeth005

Adventurer
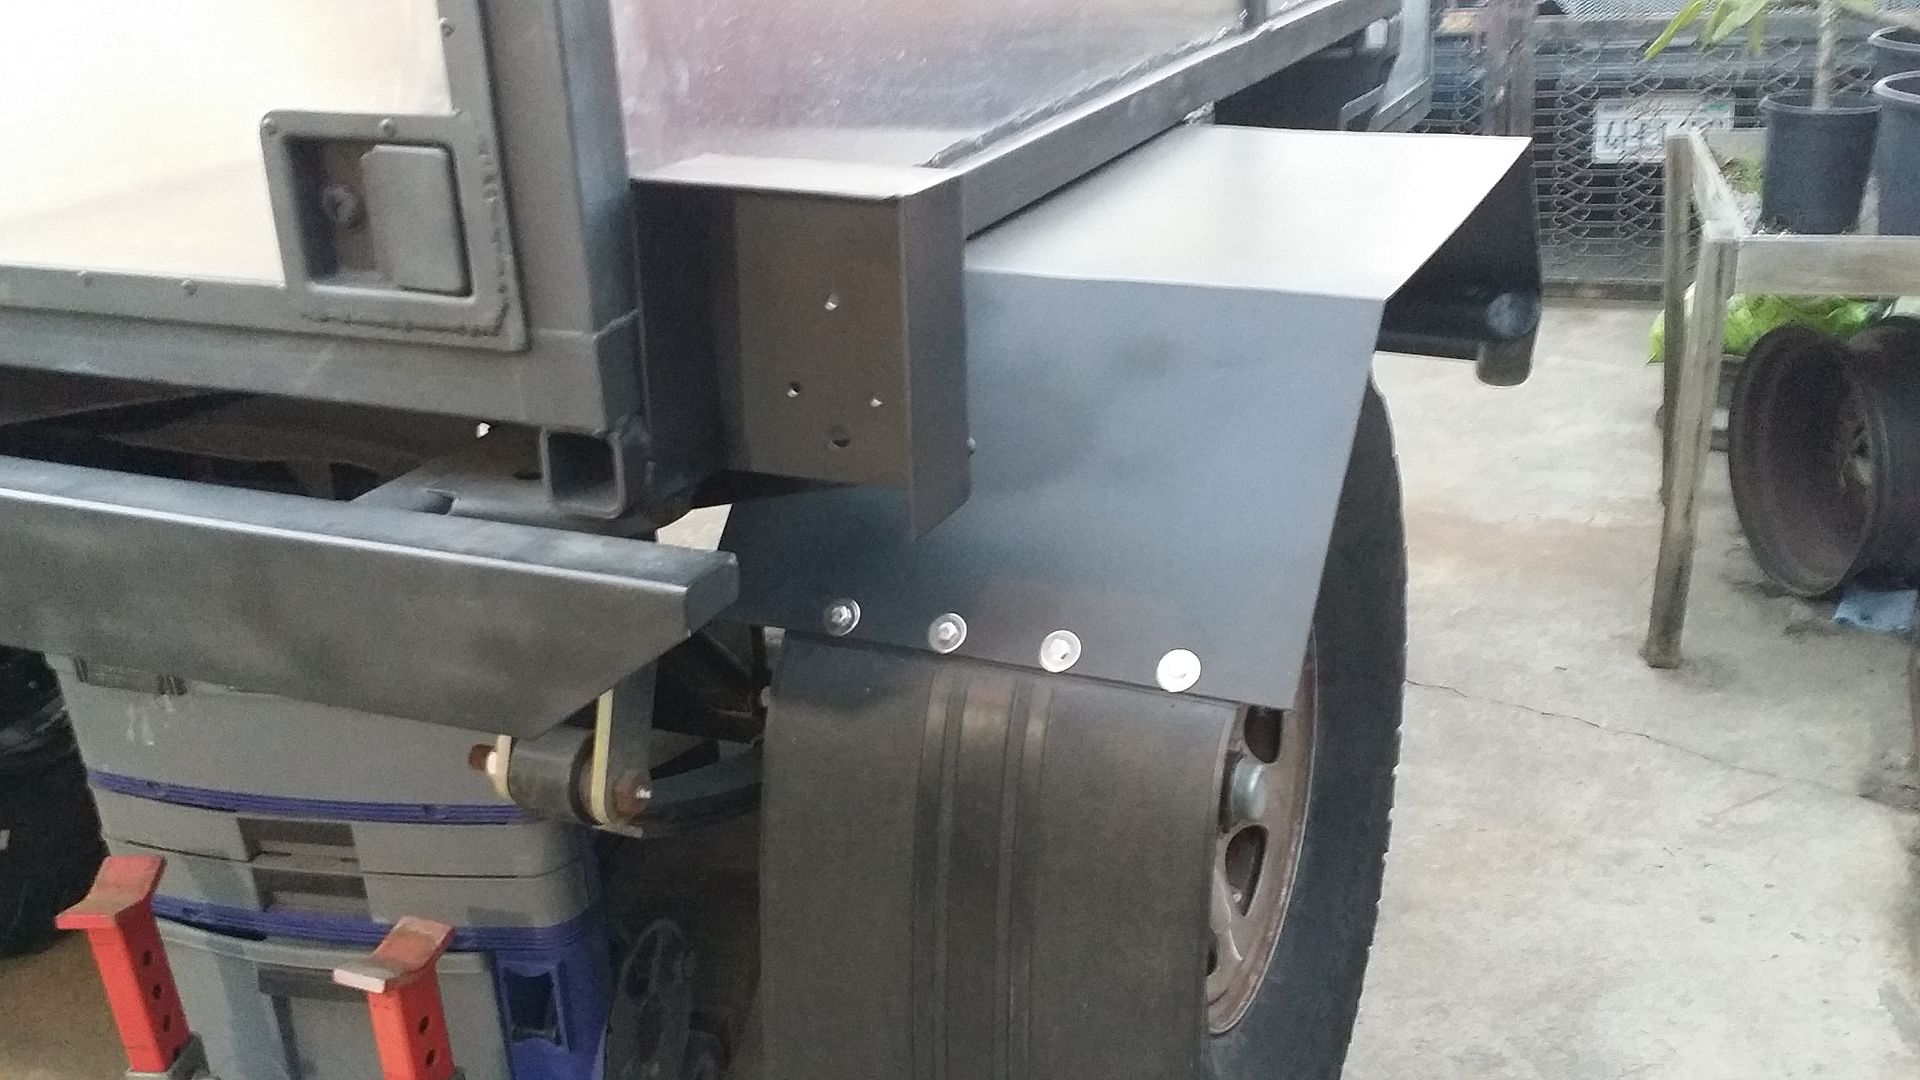
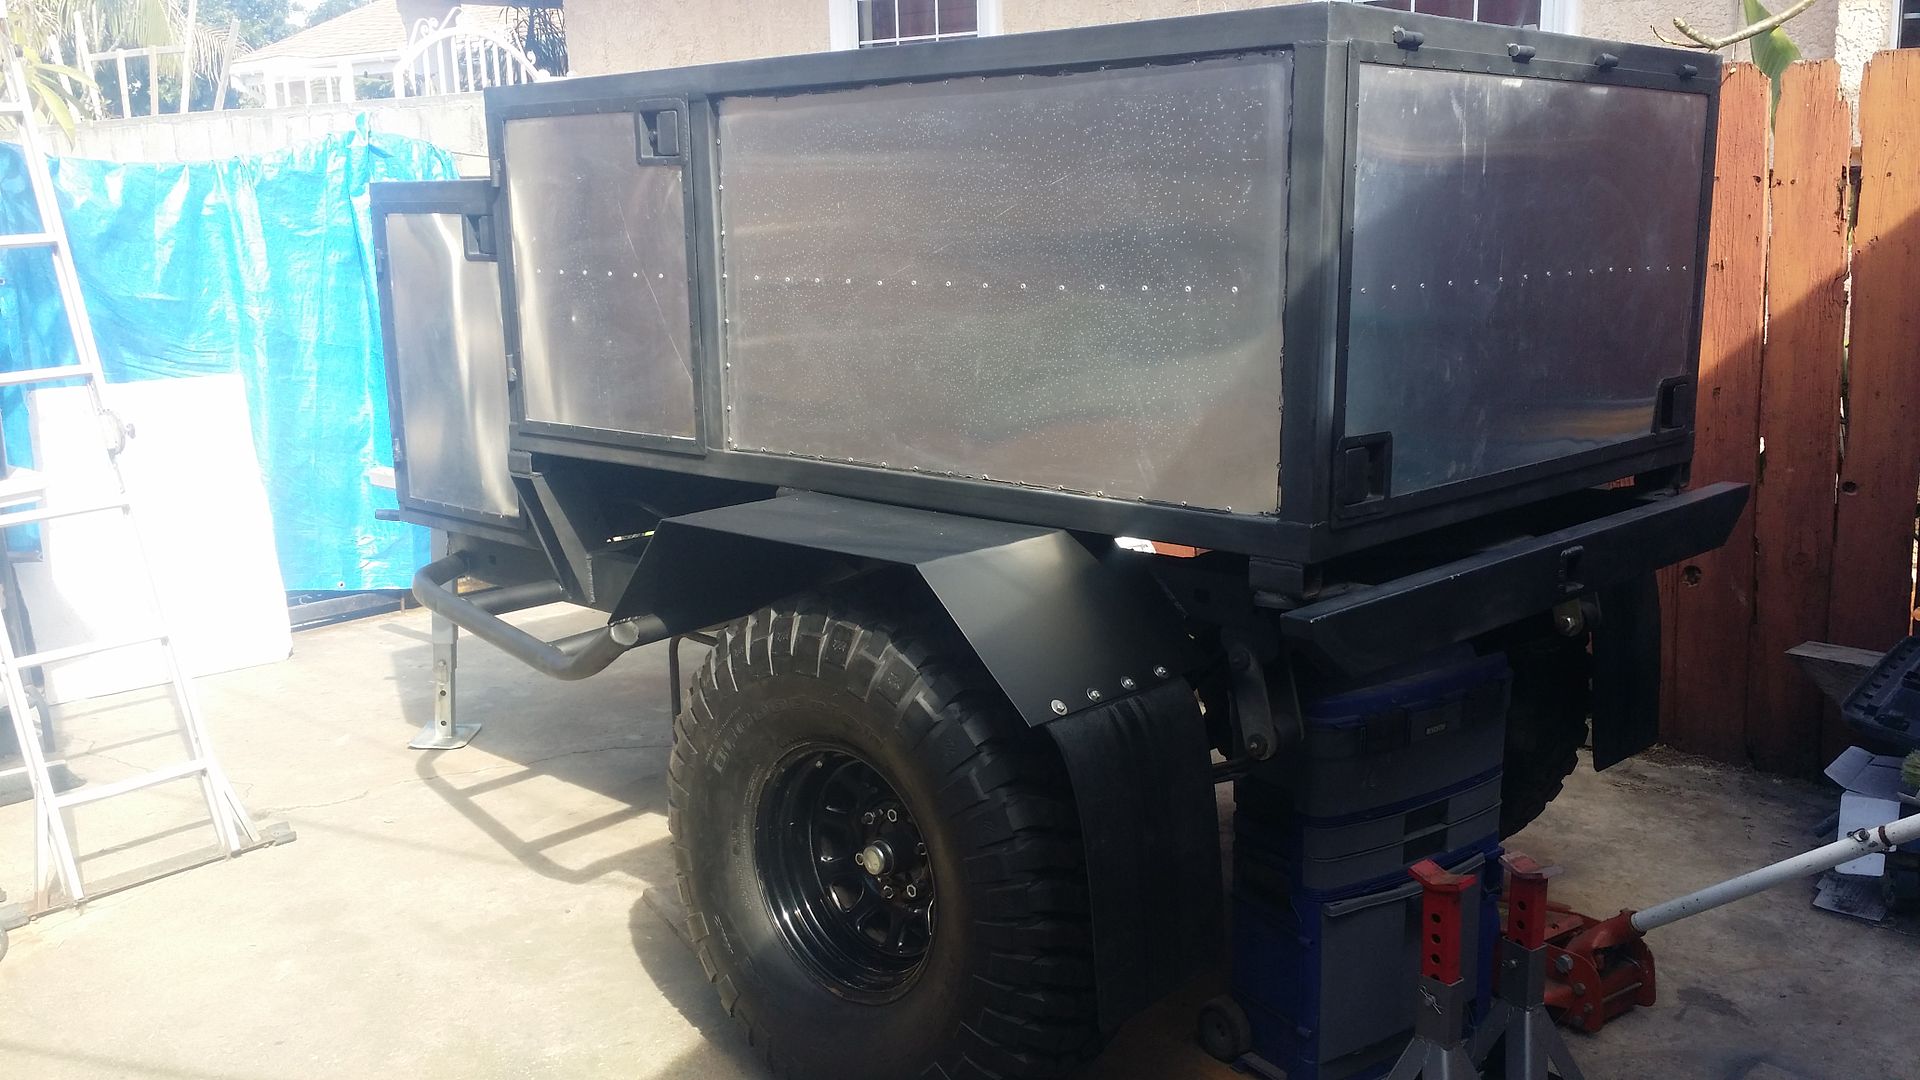
Passenger side all done.


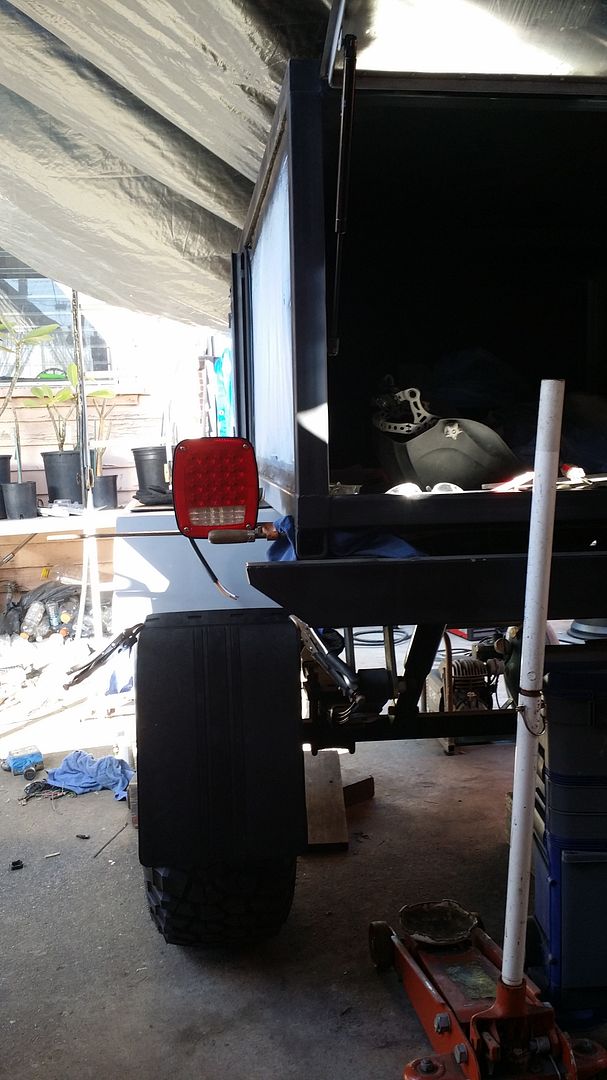
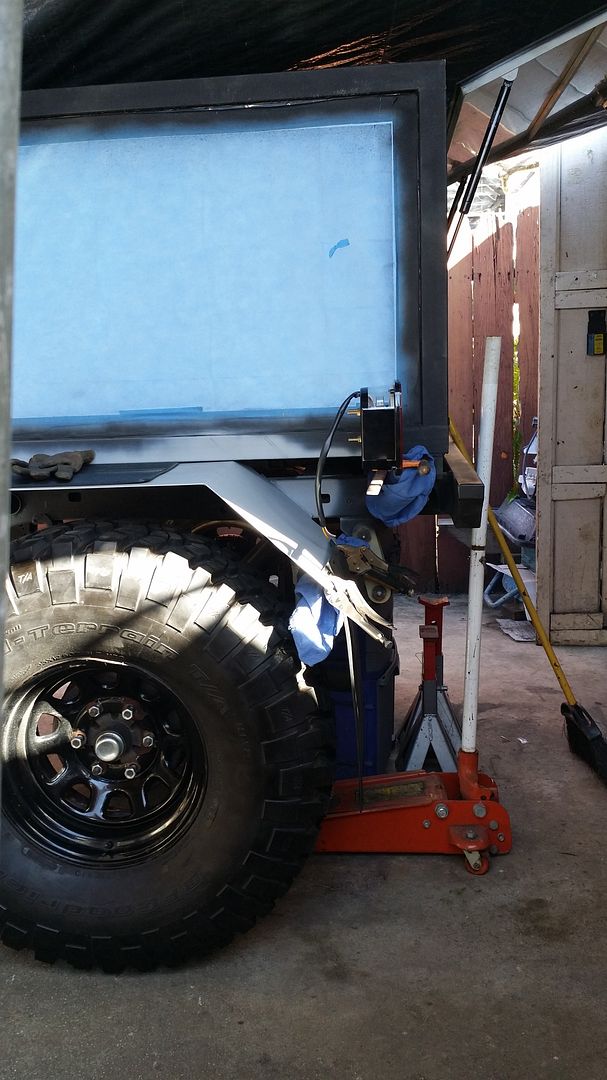
Just a little bit of brain storming here. Im trying to figure out where i should mount the tail lights at. Keep in mind i still have to mount the license plate under the light so that the bottom part of the tail light can illuminate my plate at night. This is kinda what i had in mind. The tail lights are raised above bumper level and are close to the rear of the trailer making the entire tail lamp visible. I am kinda leaning more toward this option here.


same tail light location; just a side view


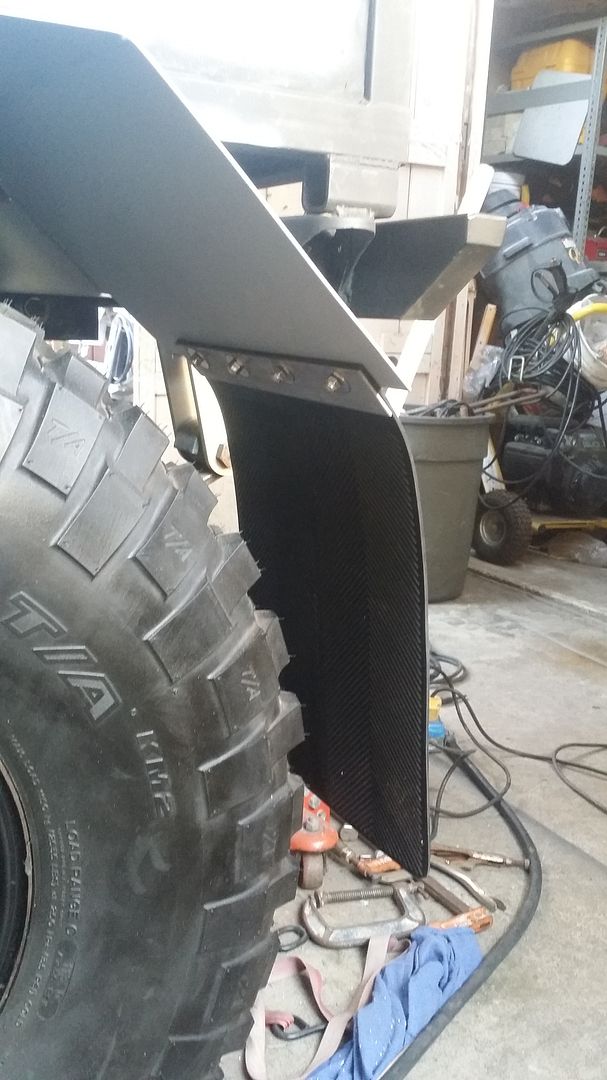
Boom! Mudflaps are now ready for install after final paint job on fenders. I drilled 1/4" holes for each of the four 1&3/4" x 1/4" bolts, and am using 1" washers on each side, with nylon lock nuts. All stainless steel hardware to prevent rust. Also cut these 1&3/4"×12" plates to use on the back side. These will not only distribute the tightness of the bolts along the length of the plate but since they stick out further past the edge of the fender they also help keep the mud flap away from the tire.

 
Last edited:
Srpat

Observer
Maybe buy a set of m416 tail lights with a bullet proof metal housing and mount it wherever you want? They make new led replacement ones someplace and the original ones only need new 12v bulbs to replace the 24v. Not the cheapest solution, but I can't tell you how many of those cheap plastic lights I have ripped off on some of my previous utility trailers.
 

DanCooper

Adventurer
I fear you will lose those taillights if you leave them there without some kind of protection. Anything that scrapes along the trailer over the top of the fender is going to catch it.

I love your build! It is STOUT!
 

Redeth005

Adventurer
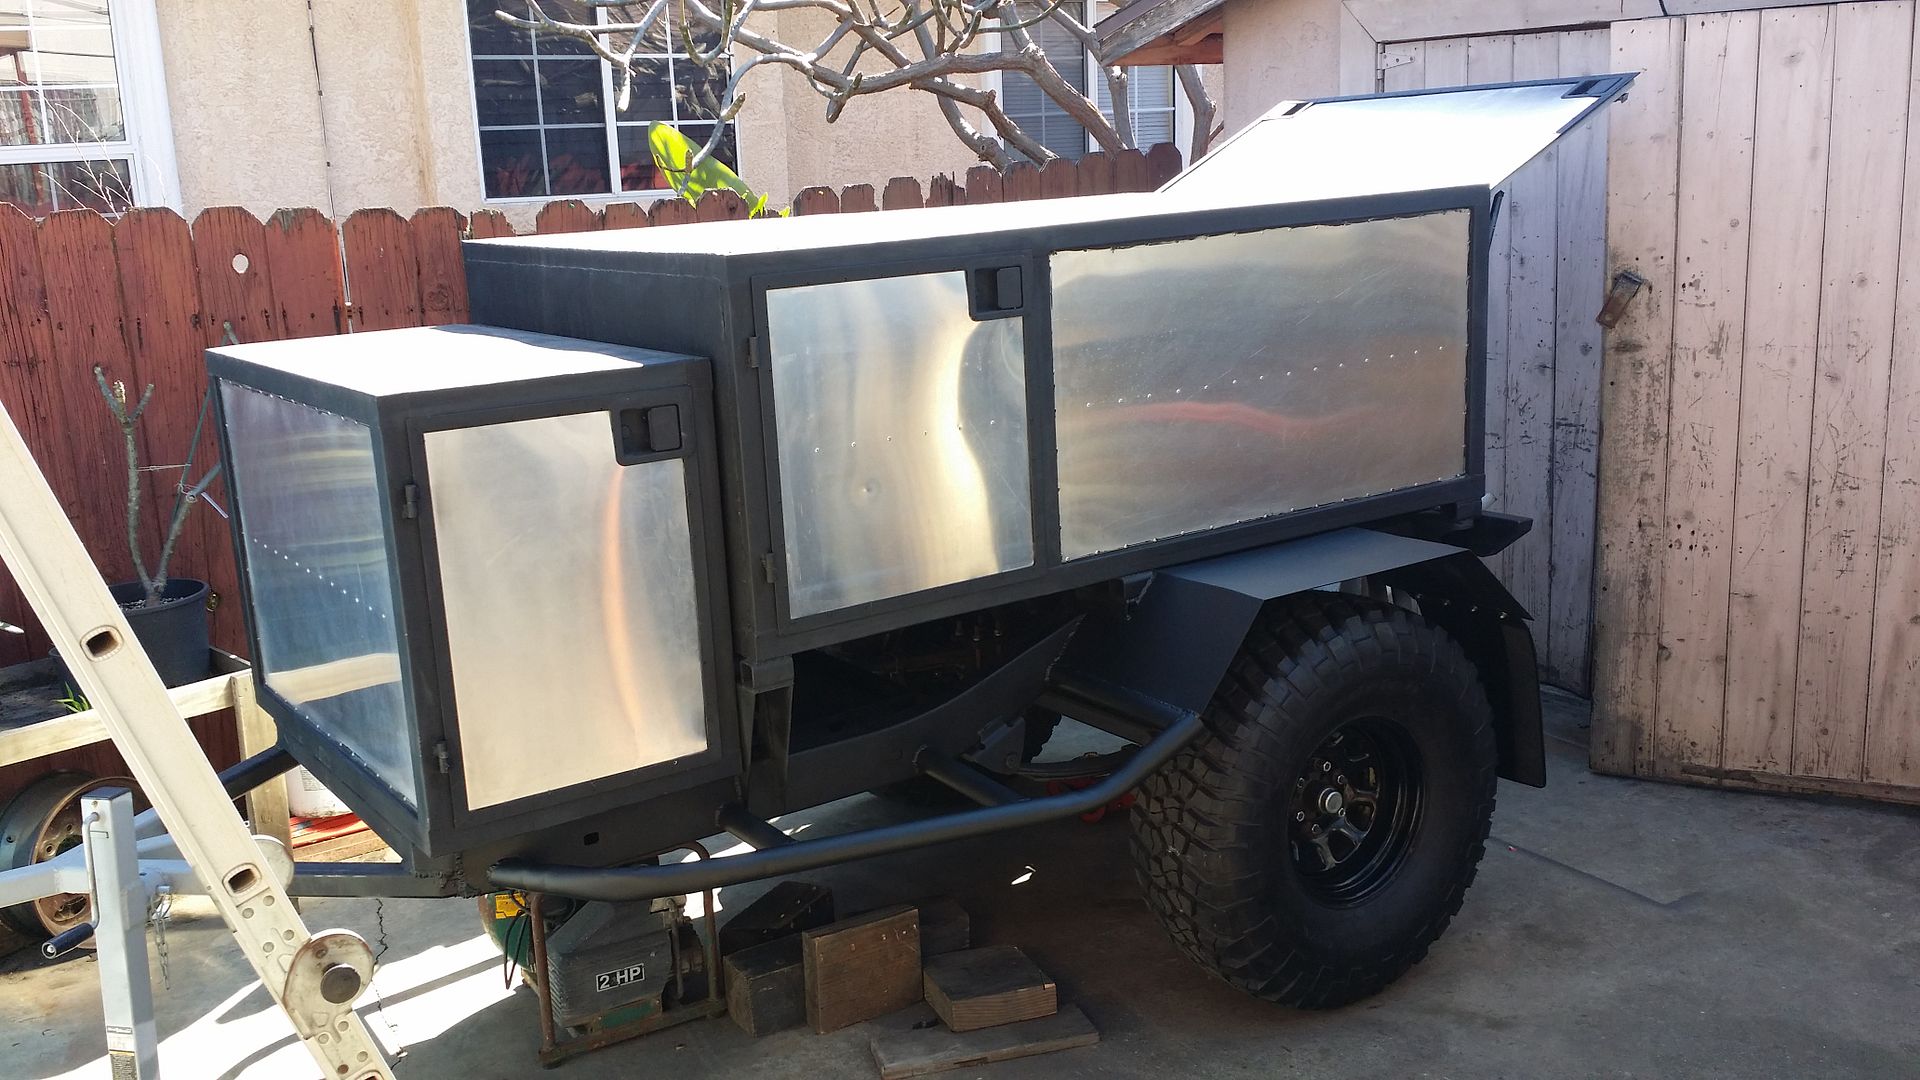
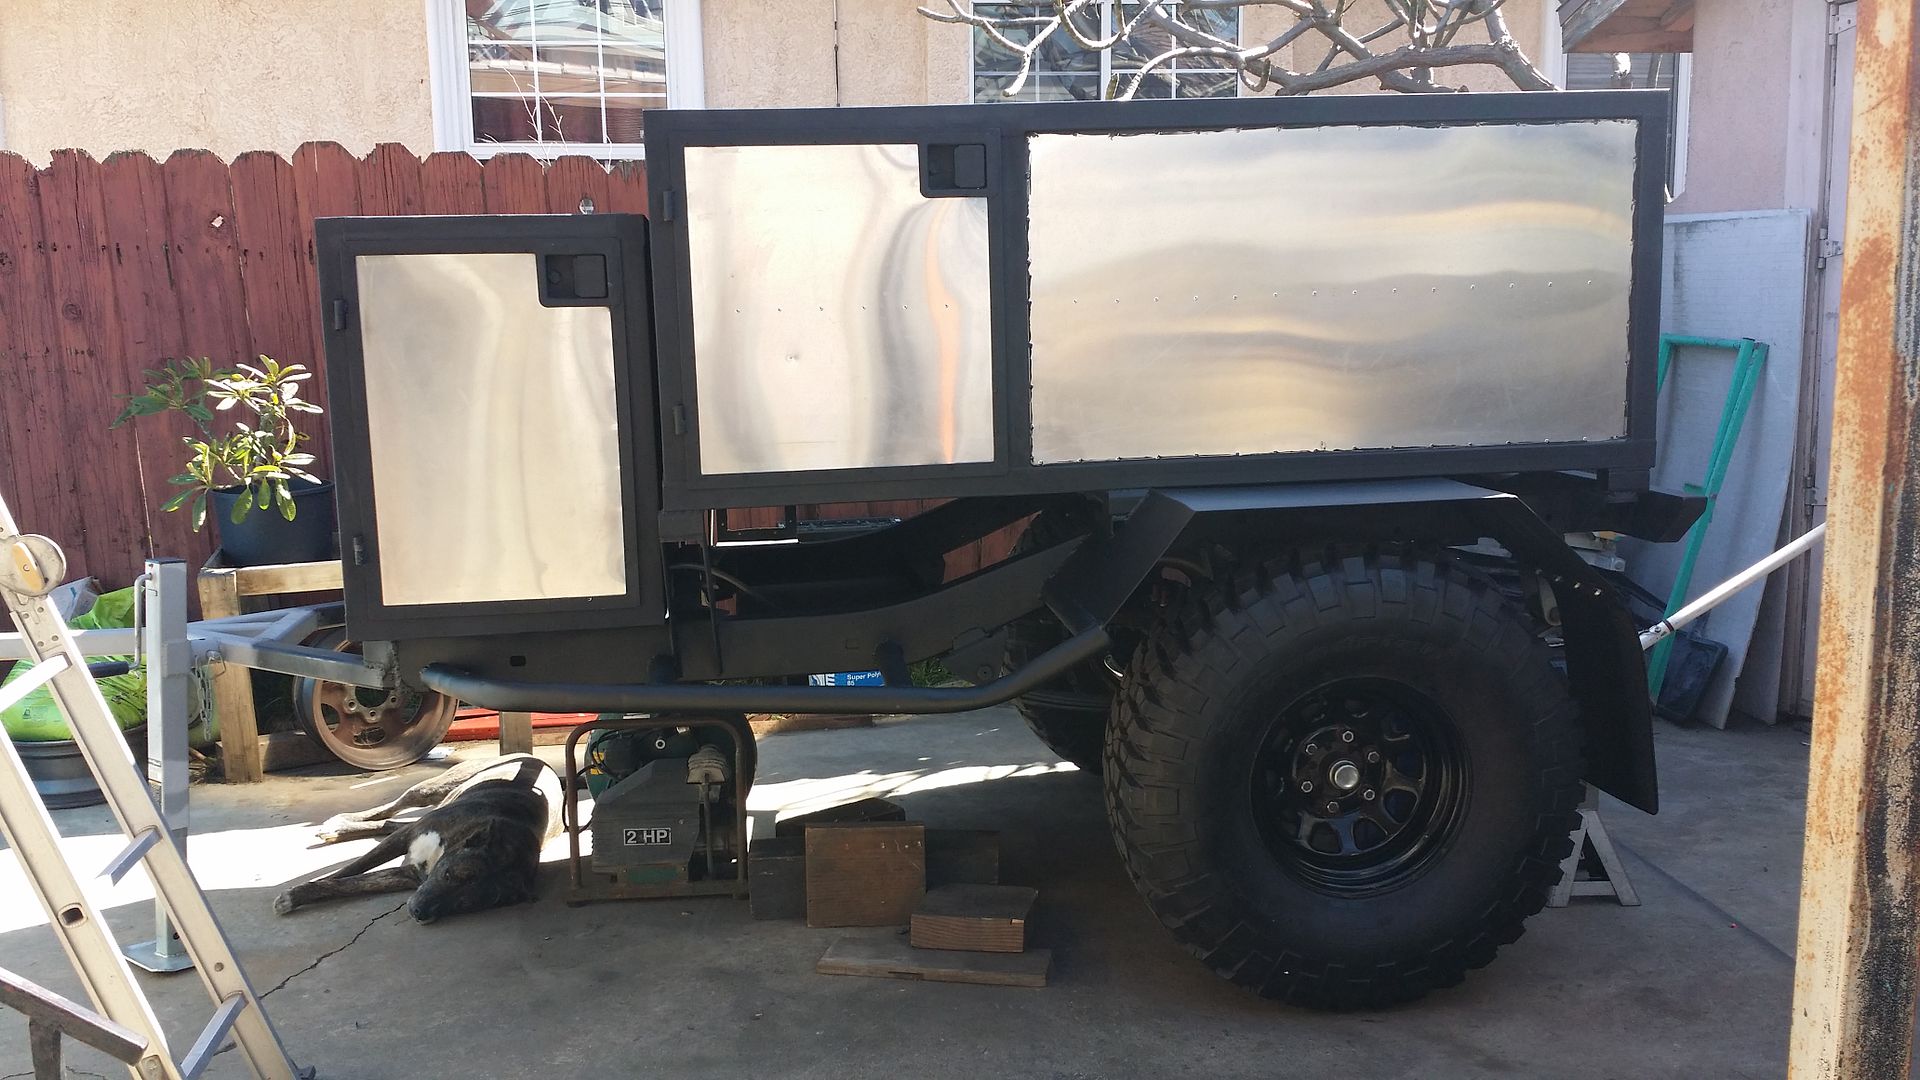
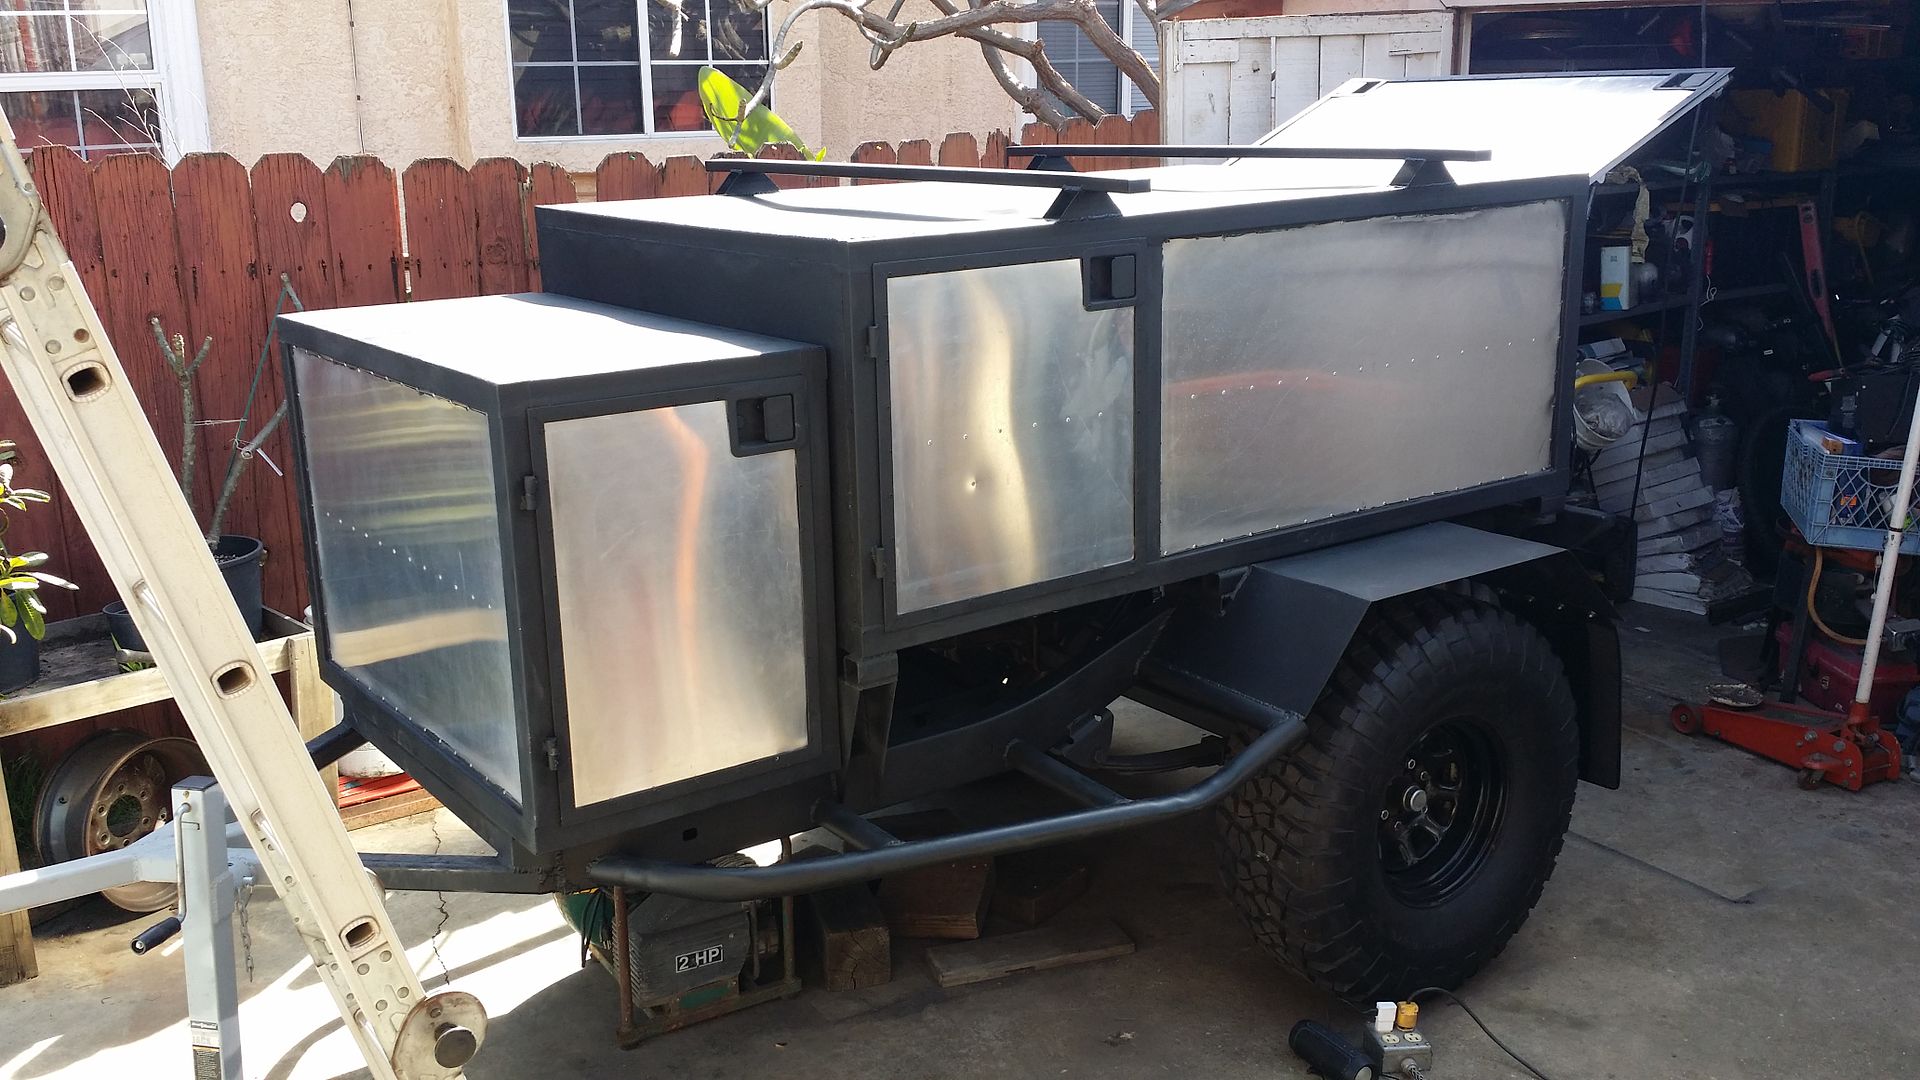
I didnt get around to doing very much today due to a dentist appointment that took an eternity to get out of. but I got around to painting everything its final color. Even mounted the mud flaps. I also took down the outer wall covers that I put when a few months ago when I painted the exterior. I forgot how nice this trailer looks when the bare aluminum walls and rivets are exposed. It's gonna look sweet when it's done.


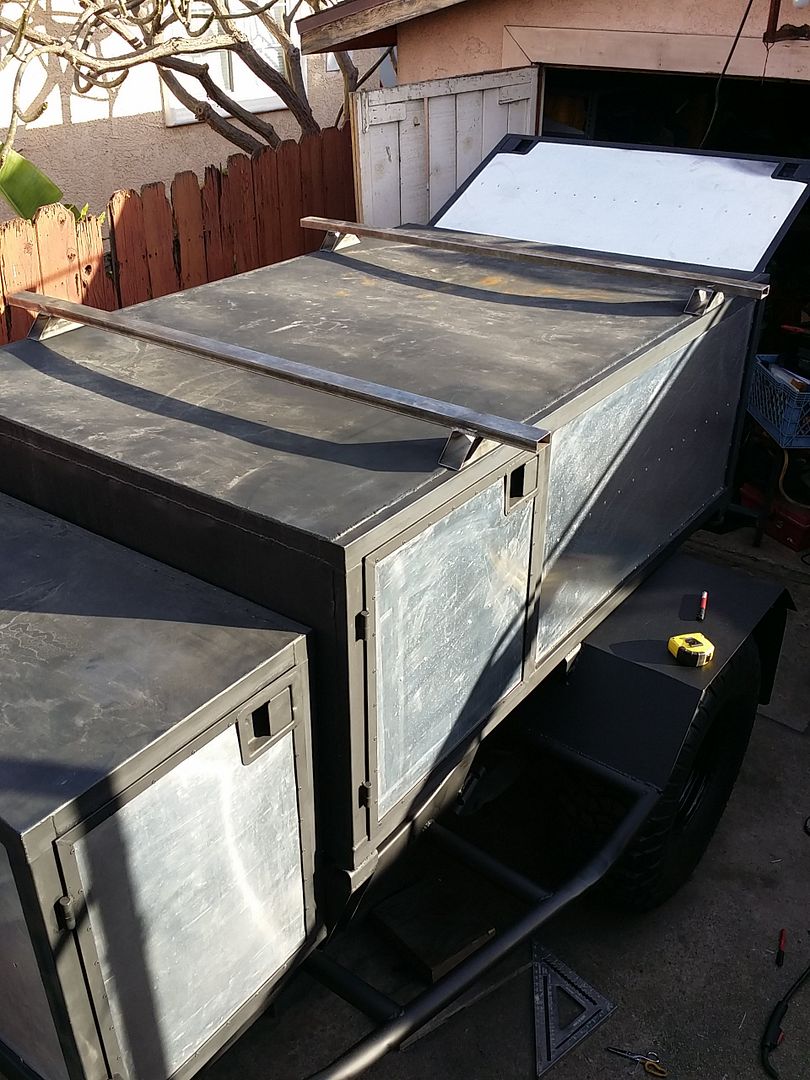
I was planning to weld the roof rack rails on the too until i saw that my roof had a bit of rust accumulating and after further inspection i saw that the entire roofs paint was starting to look nasty. i blame myself for using cheap paint back when i started. So i began to clean up all the paint on top and i reprimed the roof then when that dried i painted that. Really thats all i did today.


...to be continued tomorrow.
 

Redeth005

Adventurer
Maybe buy a set of m416 tail lights with a bullet proof metal housing and mount it wherever you want? They make new led replacement ones someplace and the original ones only need new 12v bulbs to replace the 24v. Not the cheapest solution, but I can't tell you how many of those cheap plastic lights I have ripped off on some of my previous utility trailers.
I fear you will lose those taillights if you leave them there without some kind of protection. Anything that scrapes along the trailer over the top of the fender is going to catch it.

I love your build! It is STOUT!
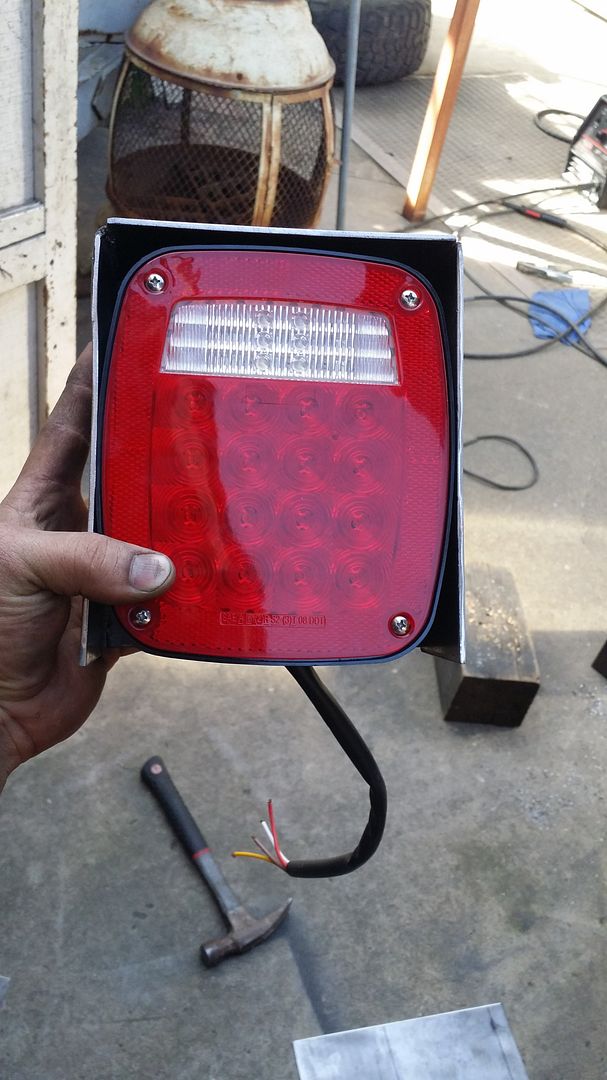
I wouldn't mind buying a different set of tail lights but i really don't want to spent more money on it if i don't need to. So what i plan to do instead so i can make my lights last is make steel boxes for them that encase the light so they don't get damaged on the trail. You guys made me think about them getting damaged. I'm sure having a steel casing around the entire tail light will hold up fine so long as i keep 1/4" lip past the tail light face. you get me?

Looks like i have a very busy day ahead of me tomorrow. Gotta finish up these roof rack rails. and get those tail lights installed because i might not get much time for it this weekend.
 

DanCooper

Adventurer
" I'm sure having a steel casing around the entire tail light will hold up fine so long as i keep 1/4" lip past the tail light face. you get me?"

I think that will solve any potential problem.
 

Redeth005

Adventurer
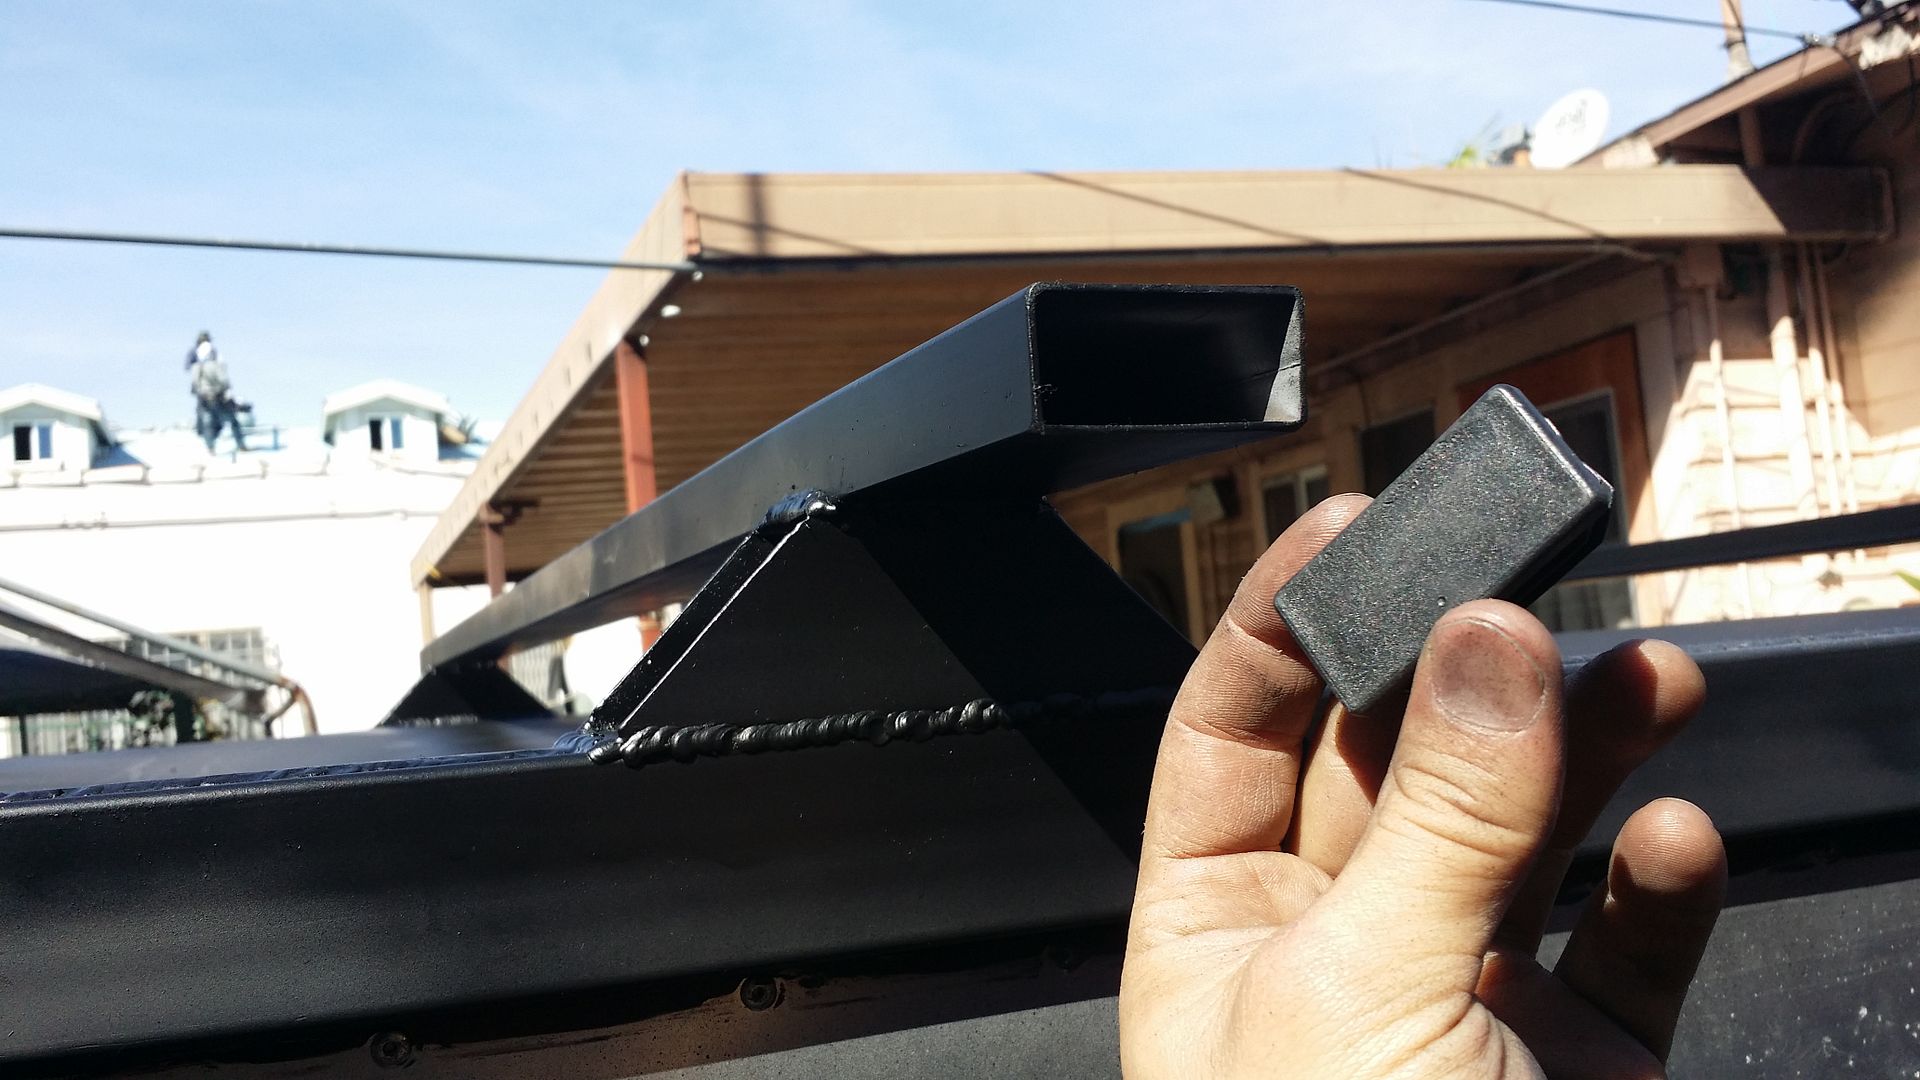
Today i got a bunch done. I woke up early to start with the roof rack. IT came out really sturdy. I called the CVT Tent main line to find out what the exact distance needs to be between these 2 rails for the future CVT Mt Rainier Summit Series tent that I plan to mount on top. 35" apart center to center.


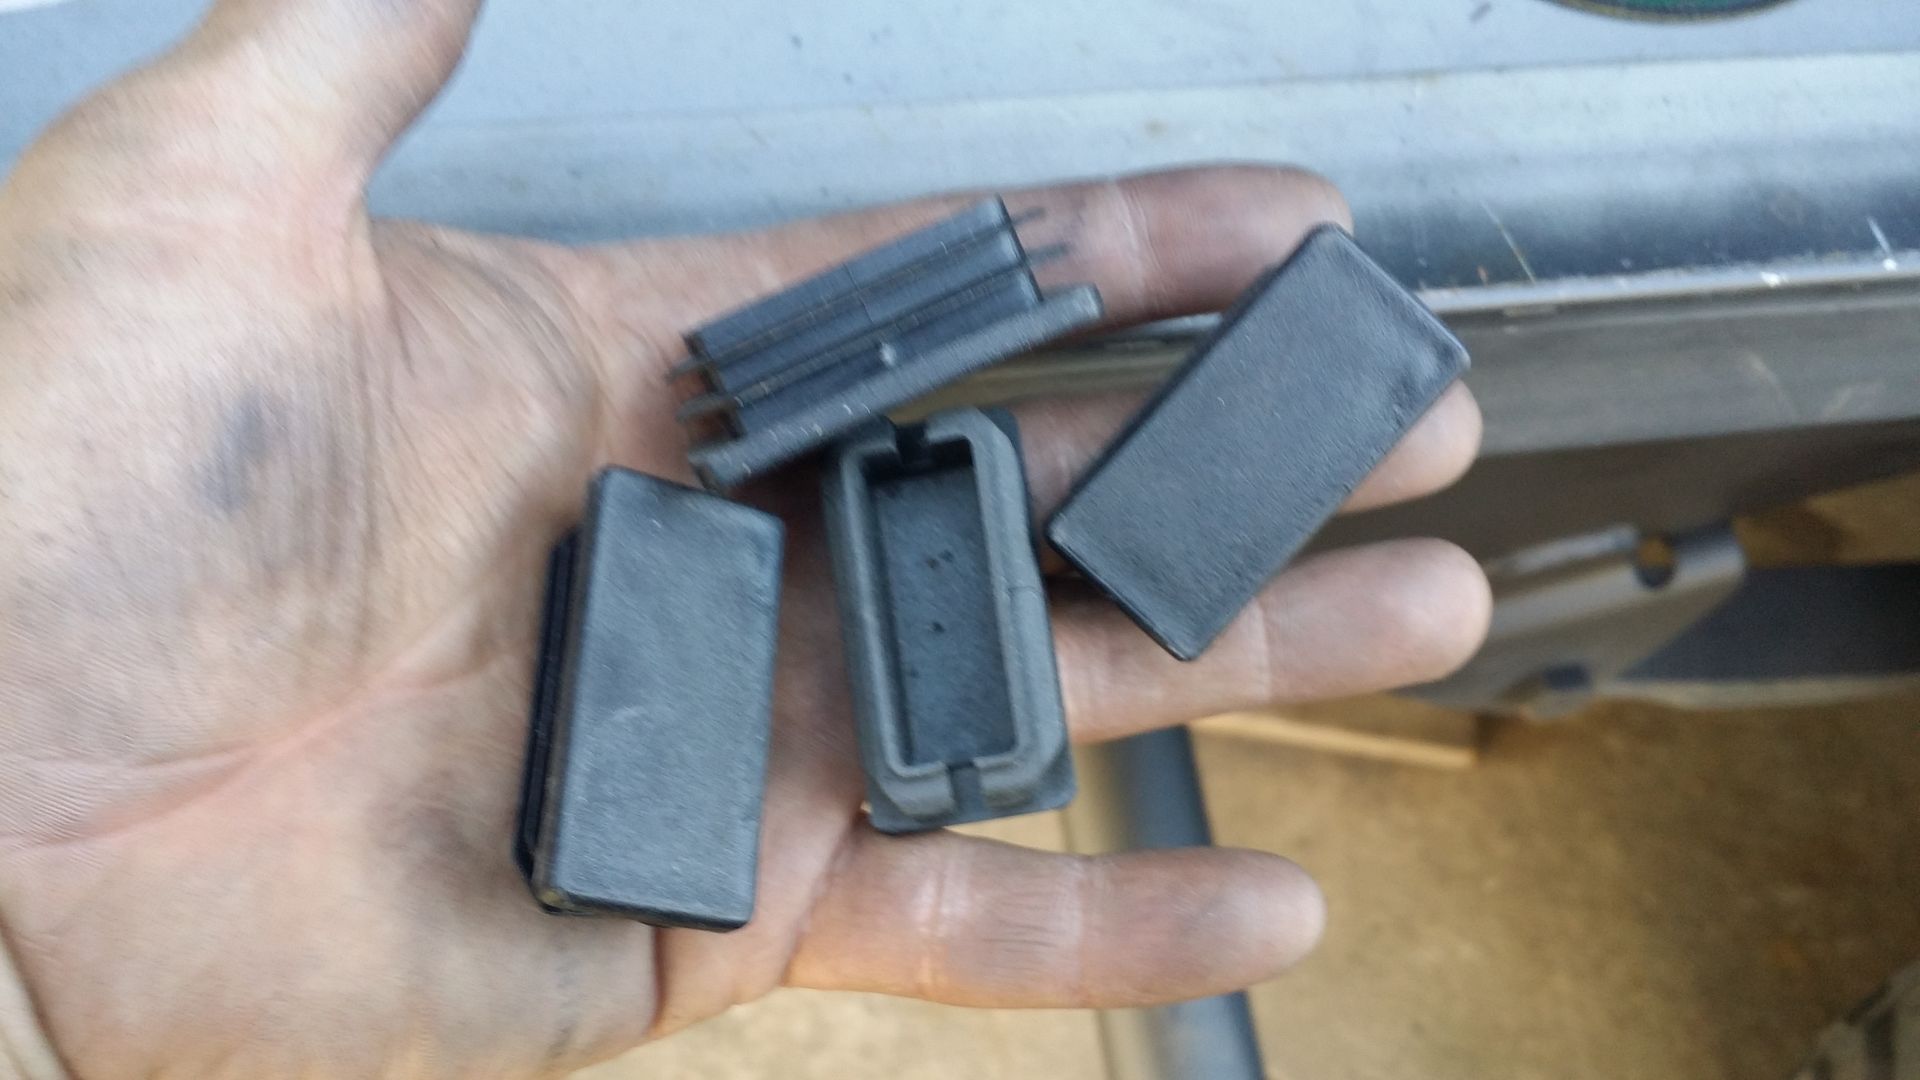
Also got end caps for the roof rack tubes so the inside isn't all exposed the the elements.


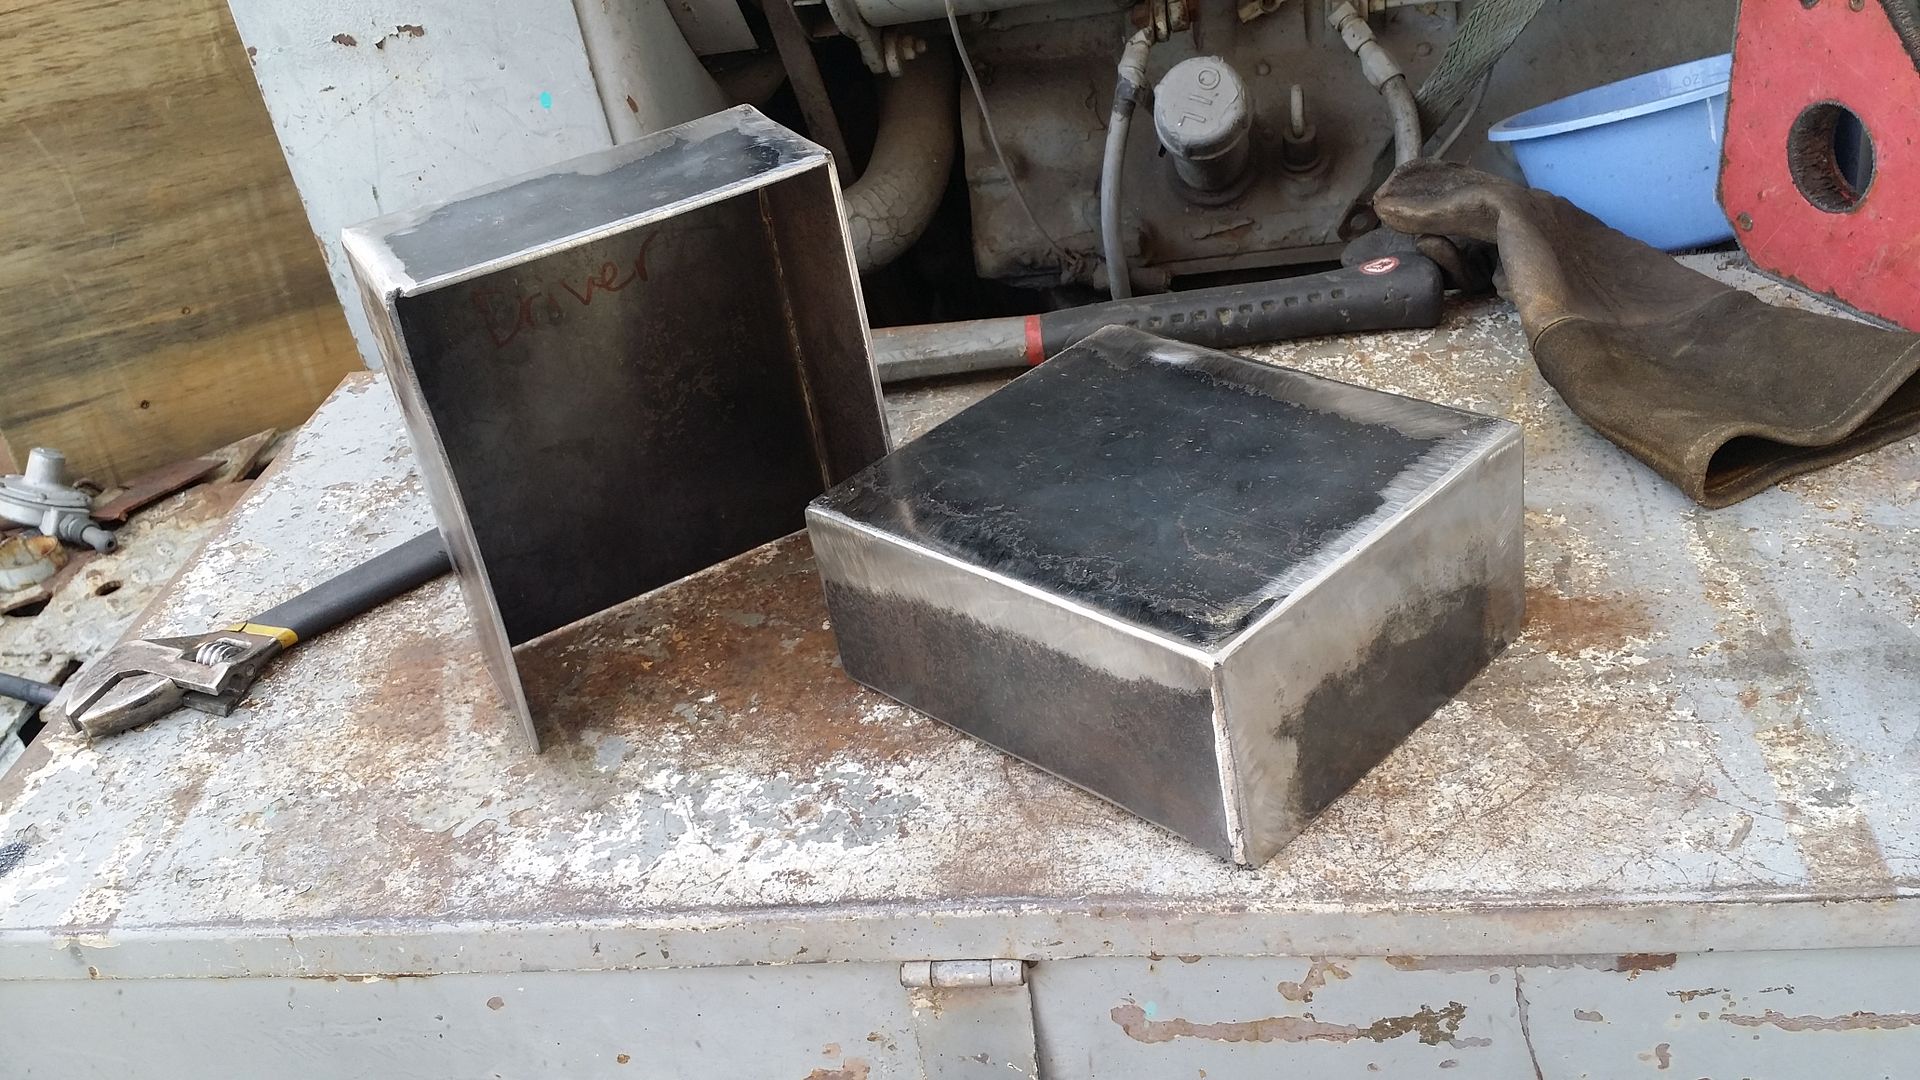
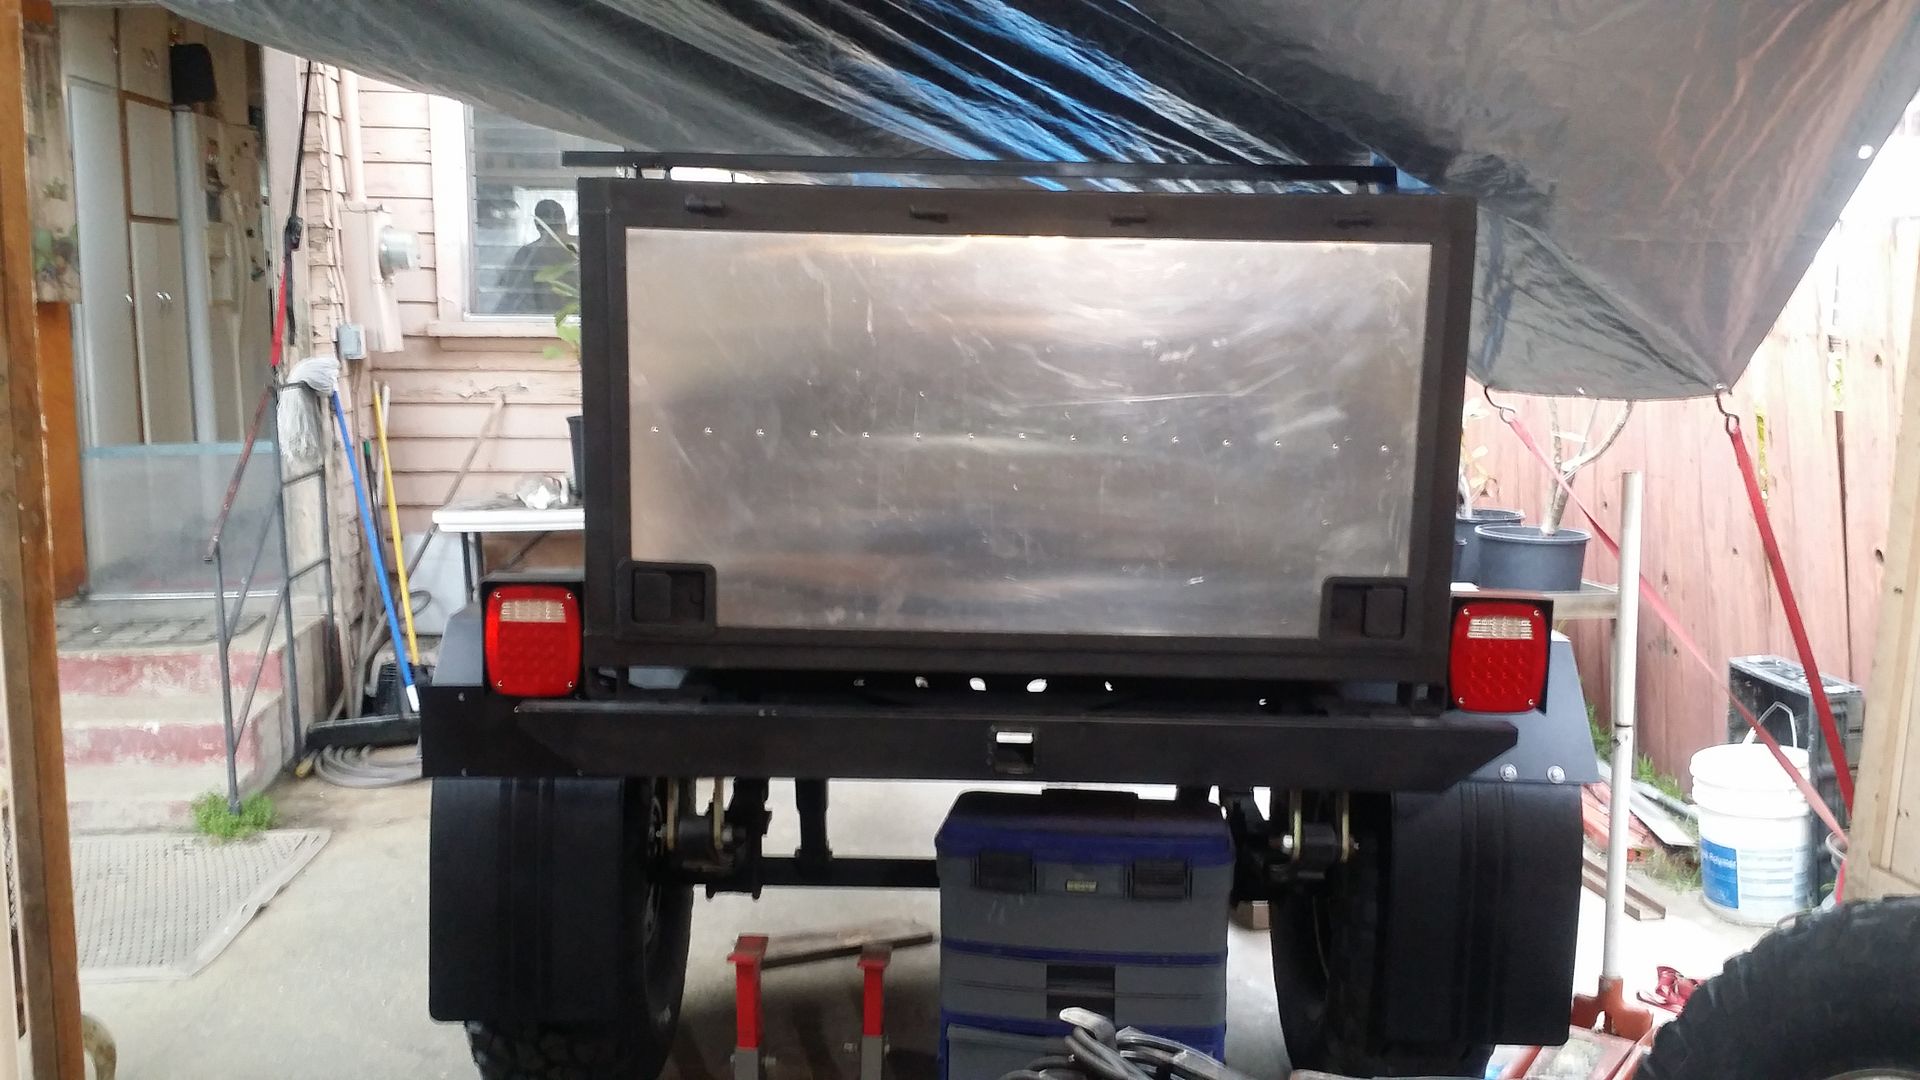
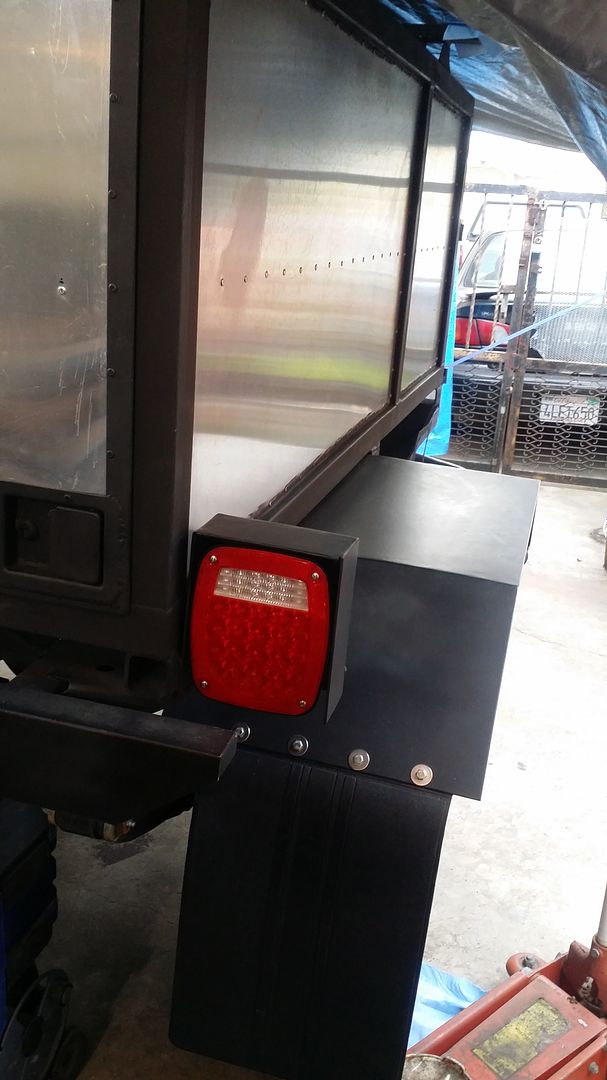
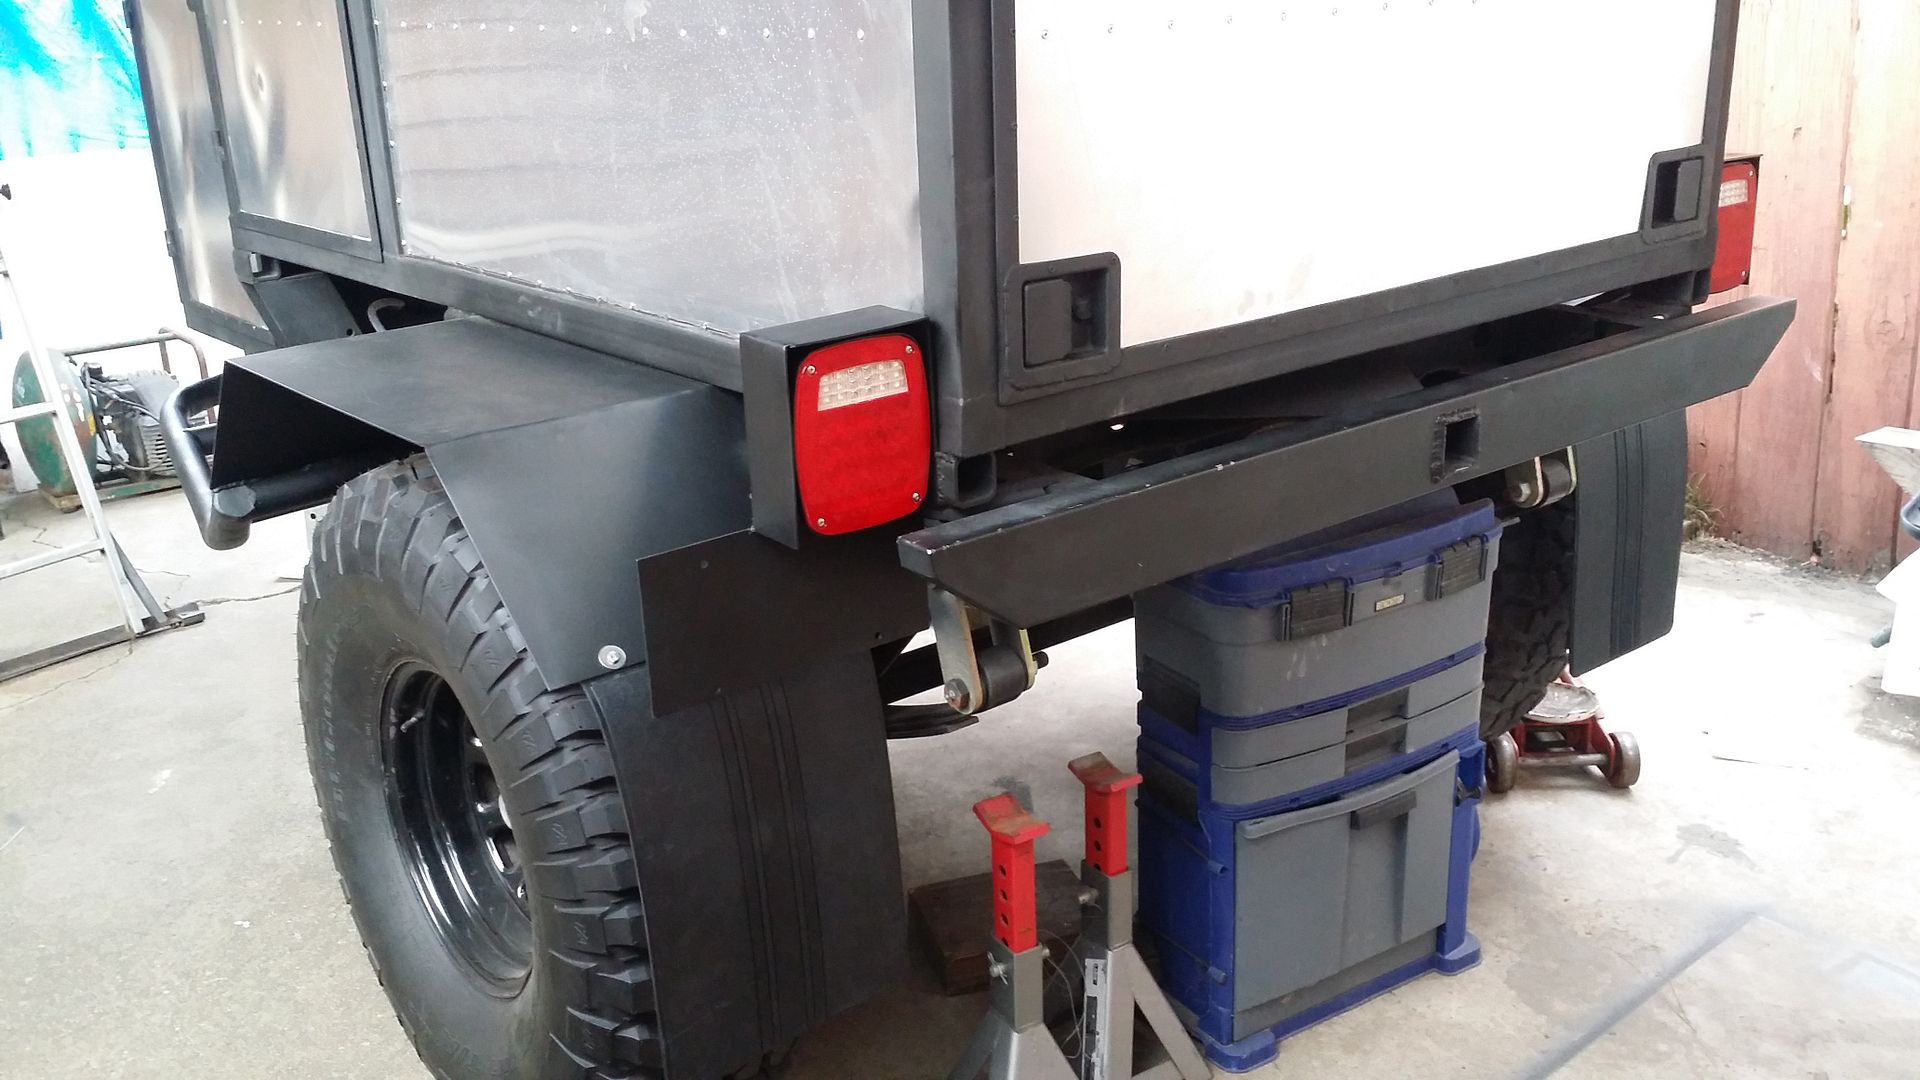
After breakfast i welded together the tail light armor that will encase the tail lights from bushes and some light tree branches. Anything really to keep them from busting on the trail.


Then i began to see how i would mount them onto the trailer other then just welding a 3" space because that wouldnt hold up much so i decided to add a 12" gusset of some spare "T" bar steel that i had left over. these mount from the outer/bottom of the tail light housings and attach onto the chassis. I Also decided to mount the license plate off center a bit from the tail light. it'll give cops or whatever others the ability to read the numbers on the license plate easily. If i hadnt done that the bumper would be covering more then it already does.

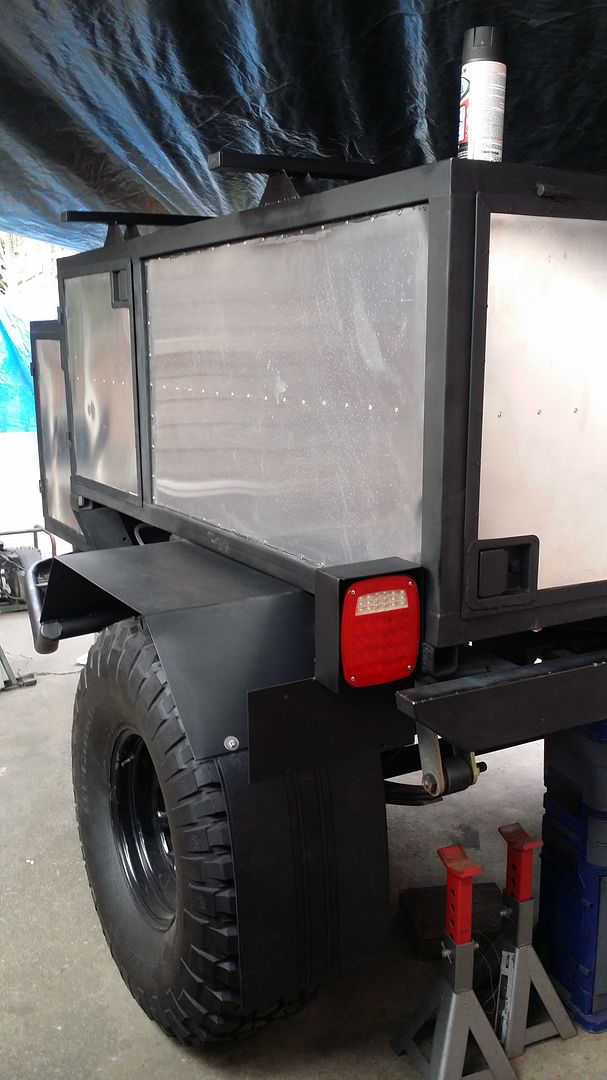
Finally! I'm exhausted but it's about time that these tail light mounts and license plate holder are get done. I'm quite happy with how they came out. Made each housing out of 1/8" steel. They are extremely rigid


Driver side


Theres the gusset i spoke about earlier


Passenger side

 
Last edited:
Redeth005

Adventurer
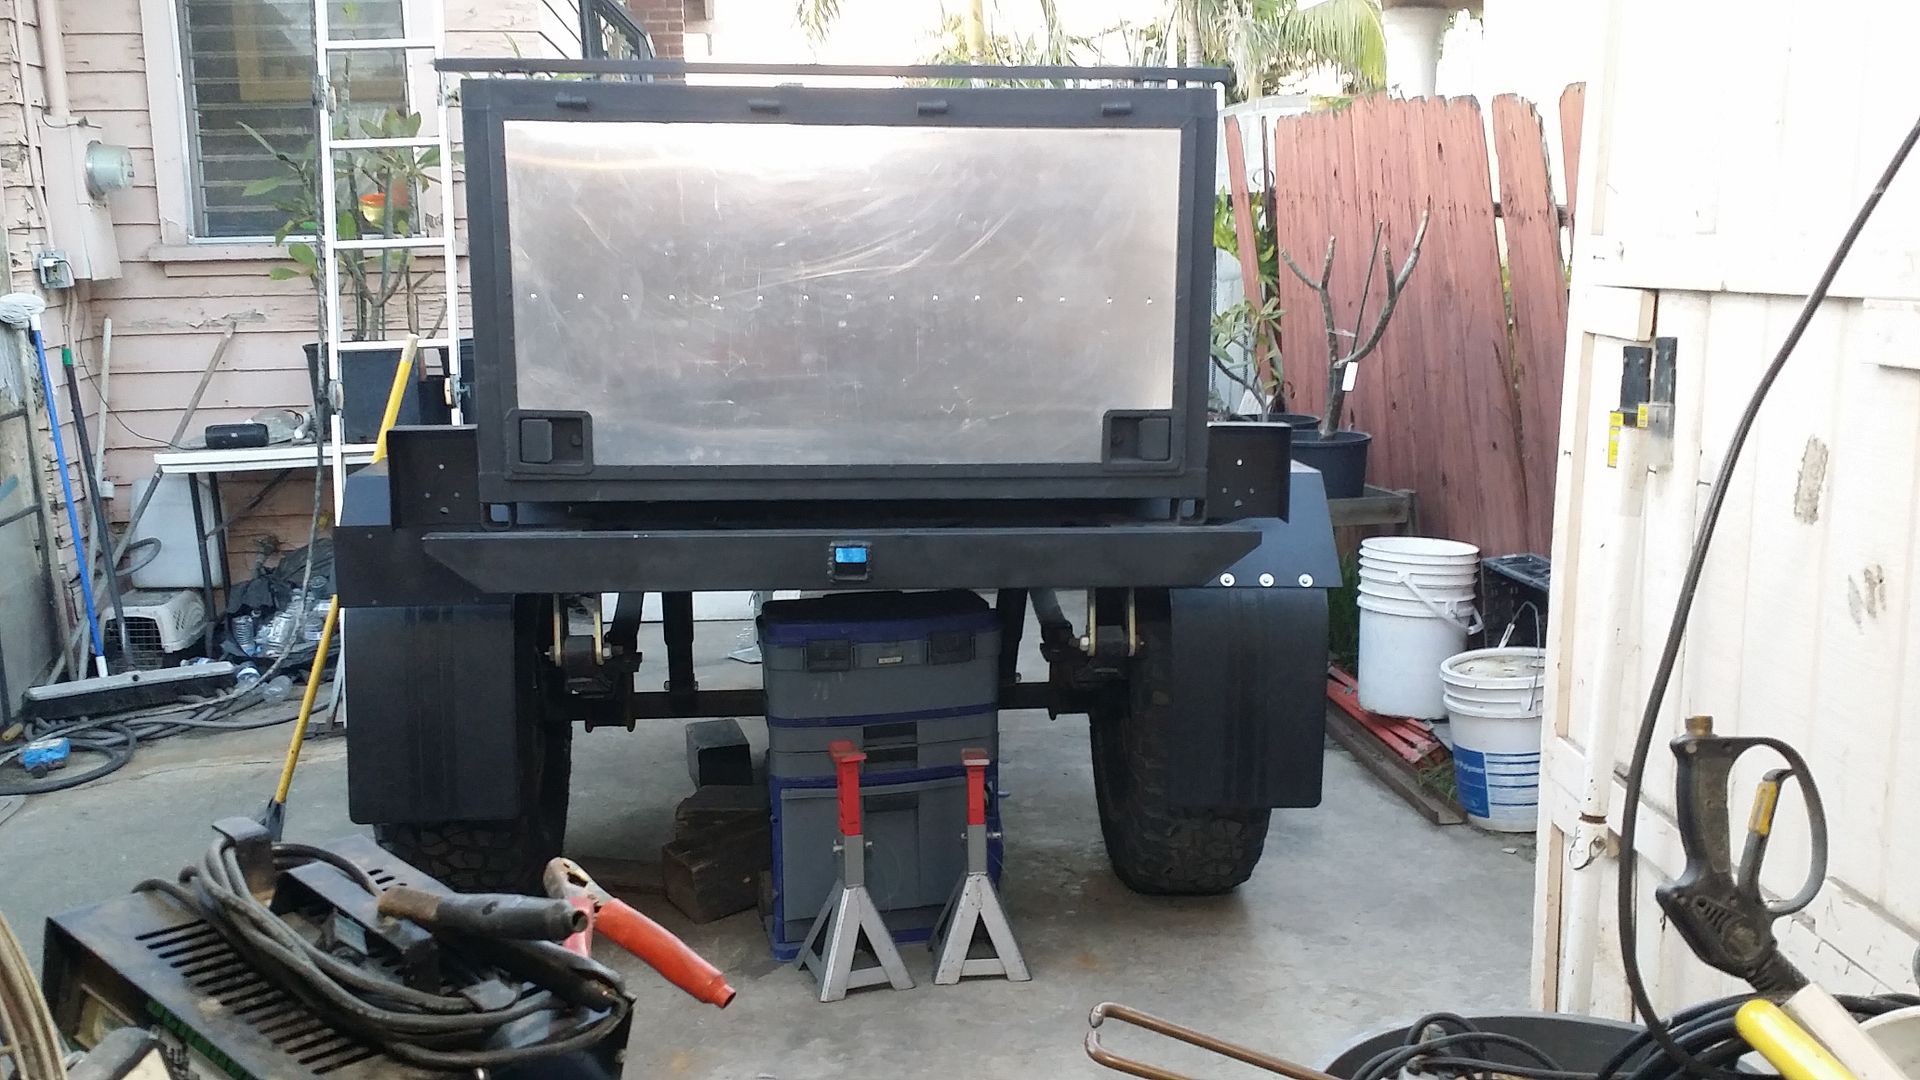
I didn't get much done today other then make multiple trips to various stores for electrical items. Soon I will be working on the trailer wire harness. I did get a teaser of how the tail lights are gonna look on the trailer though.
This is all for now.


Forum statistics

Threads
188,306
Messages
2,905,237
Members
229,959
Latest member
bdpkauai
Top