Redeth005
Adventurer
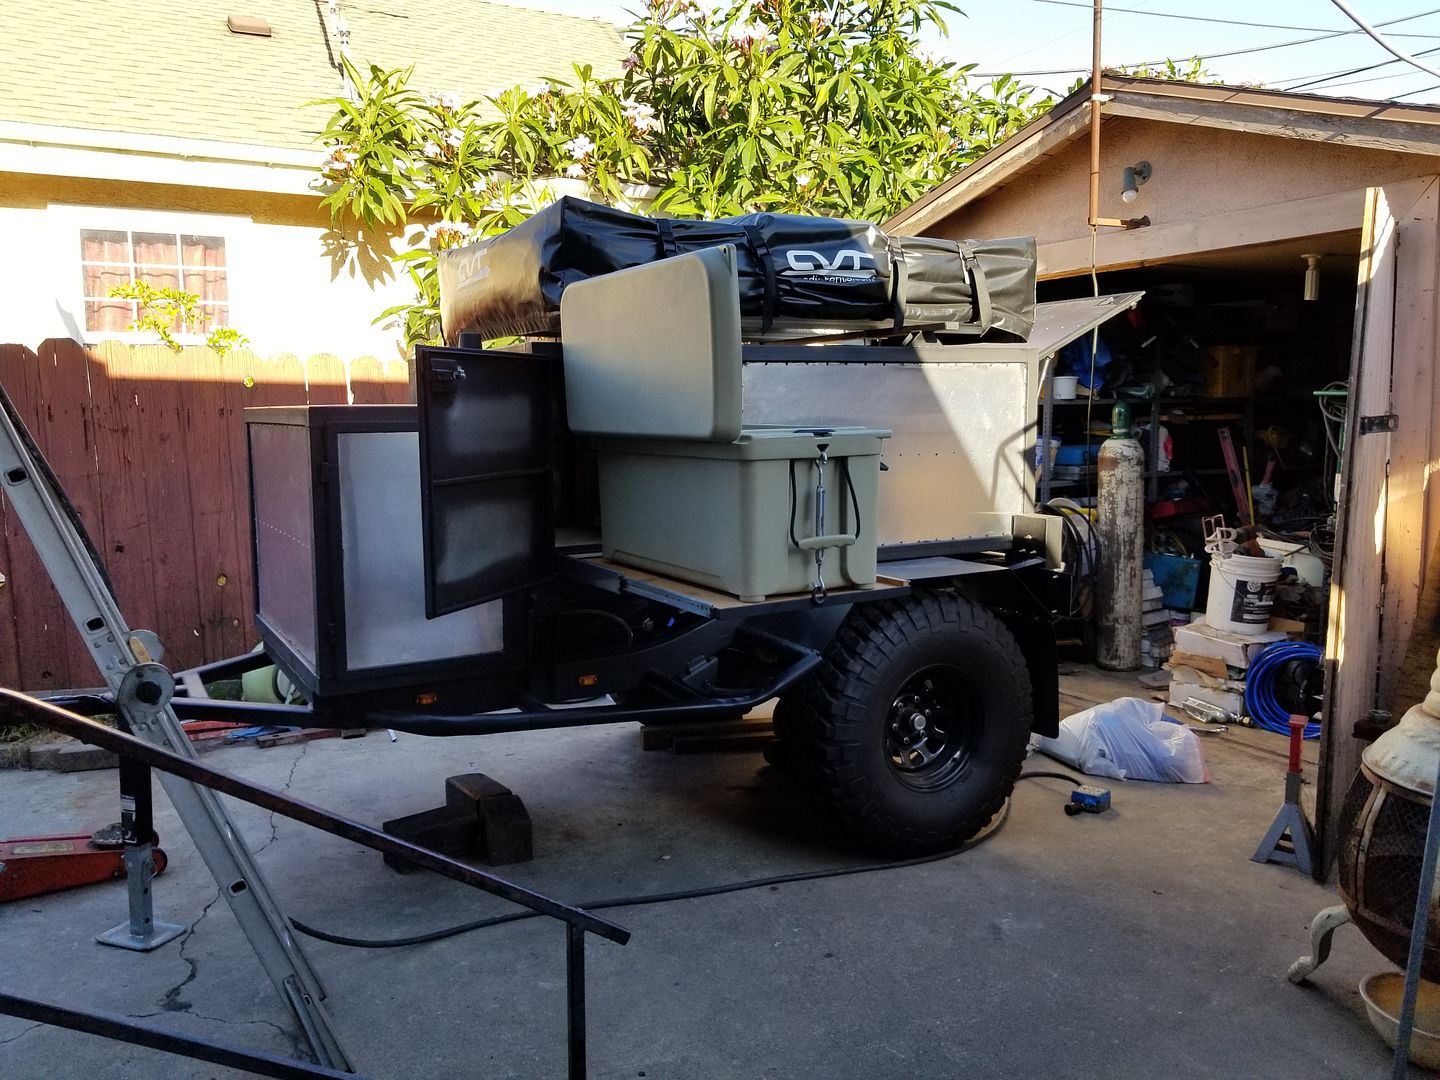
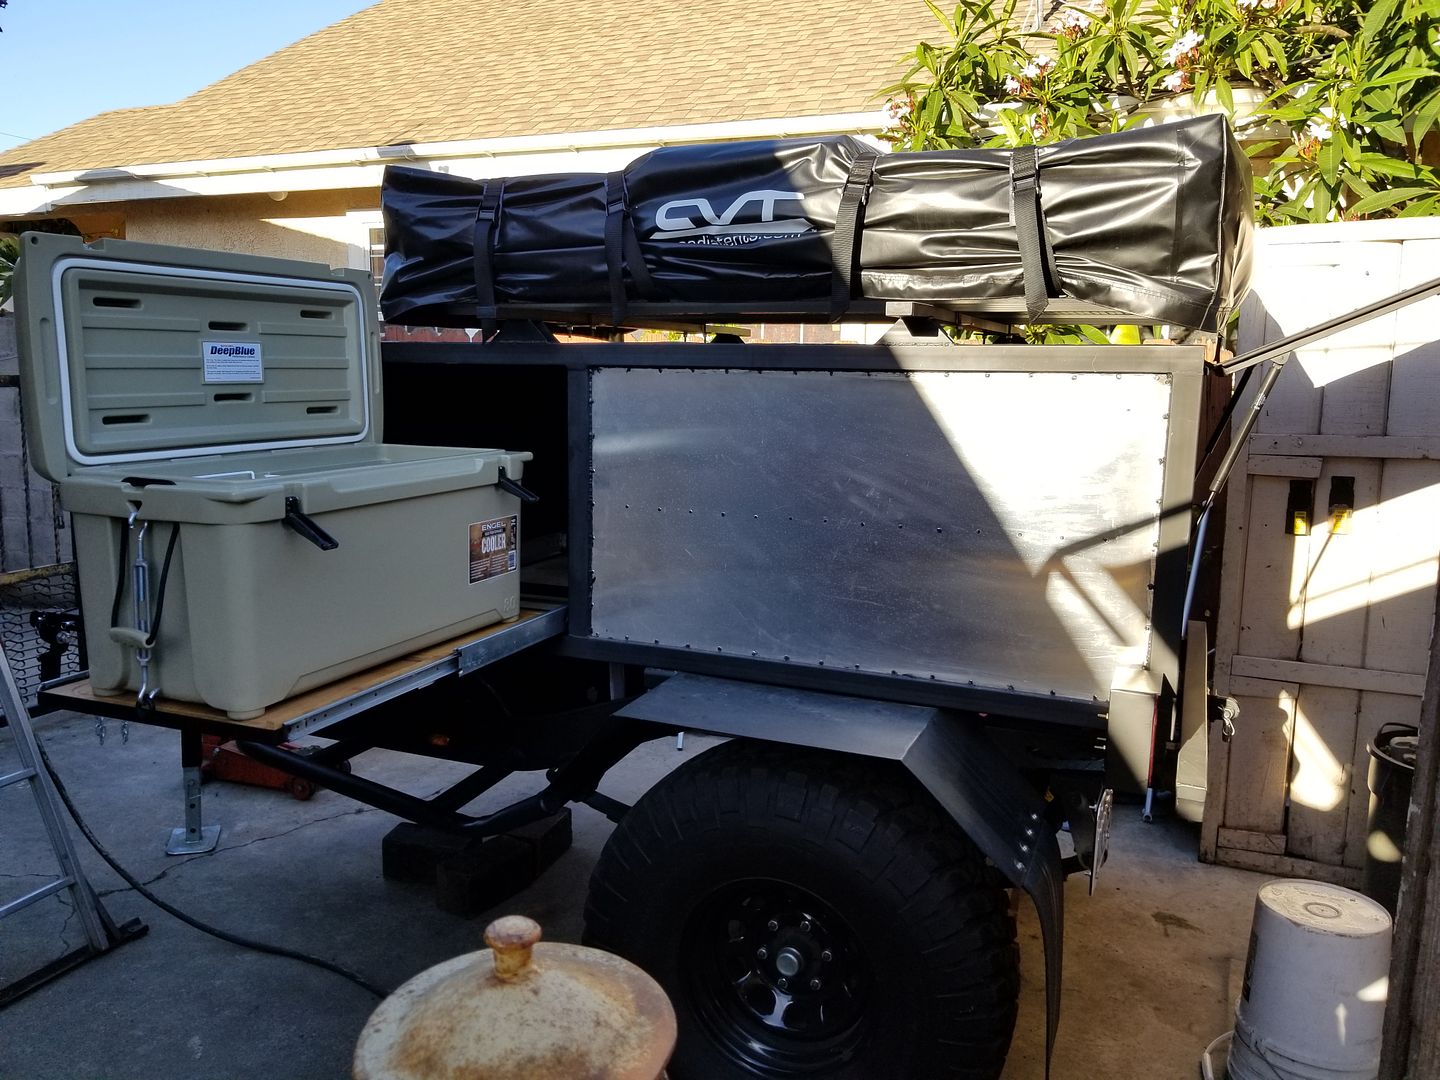
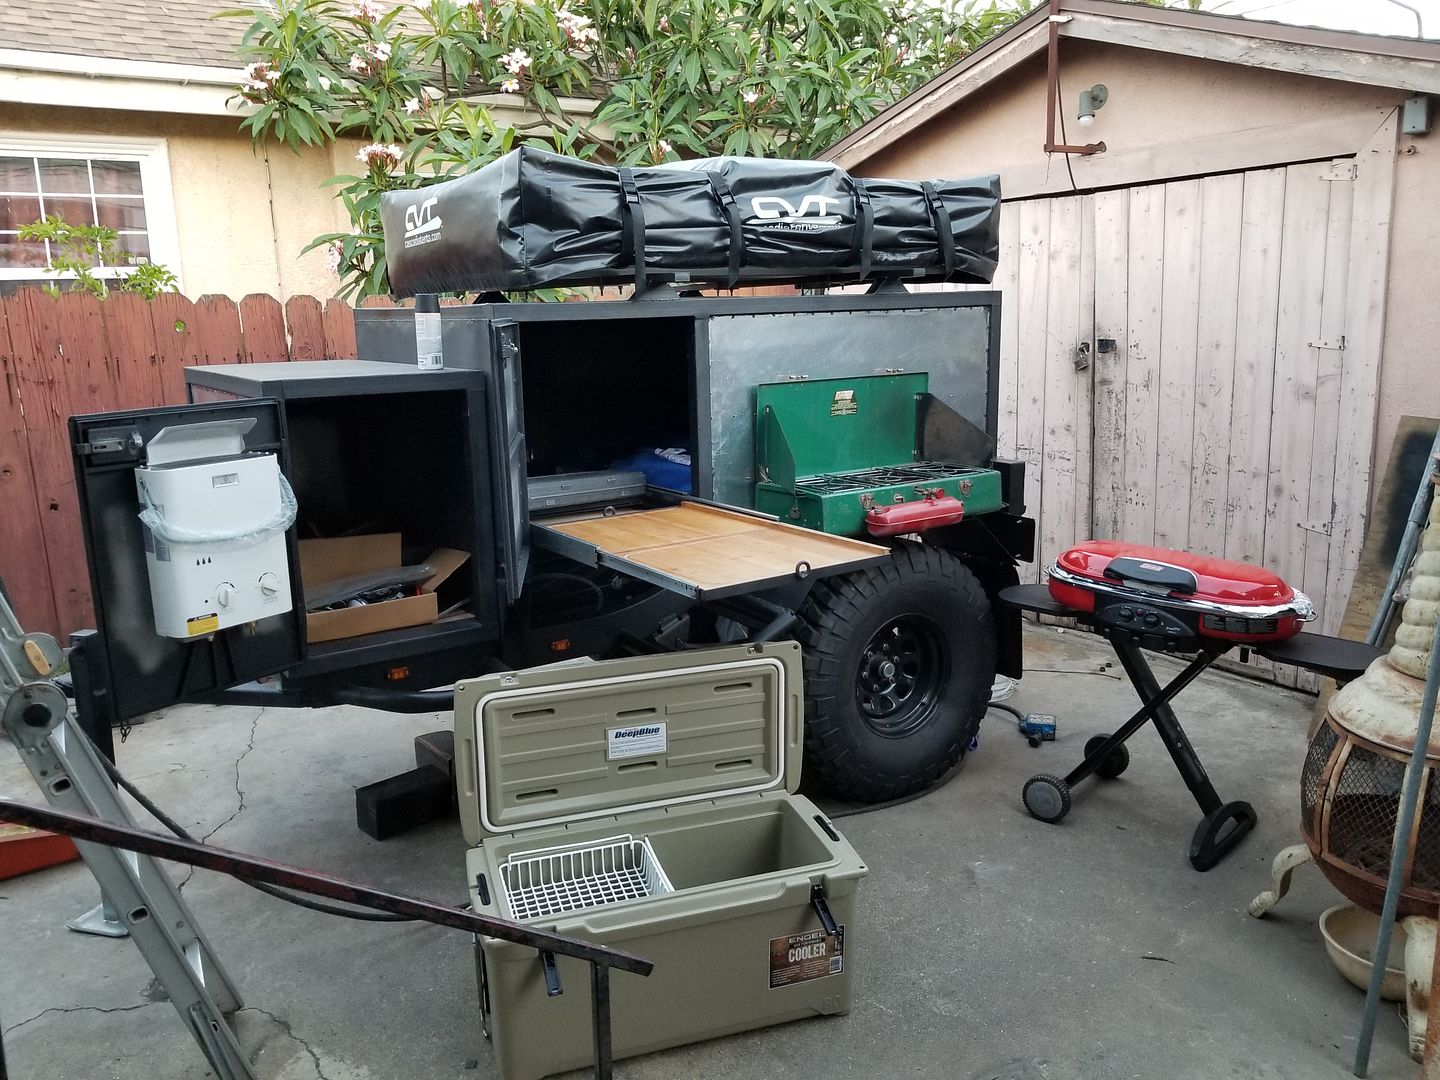
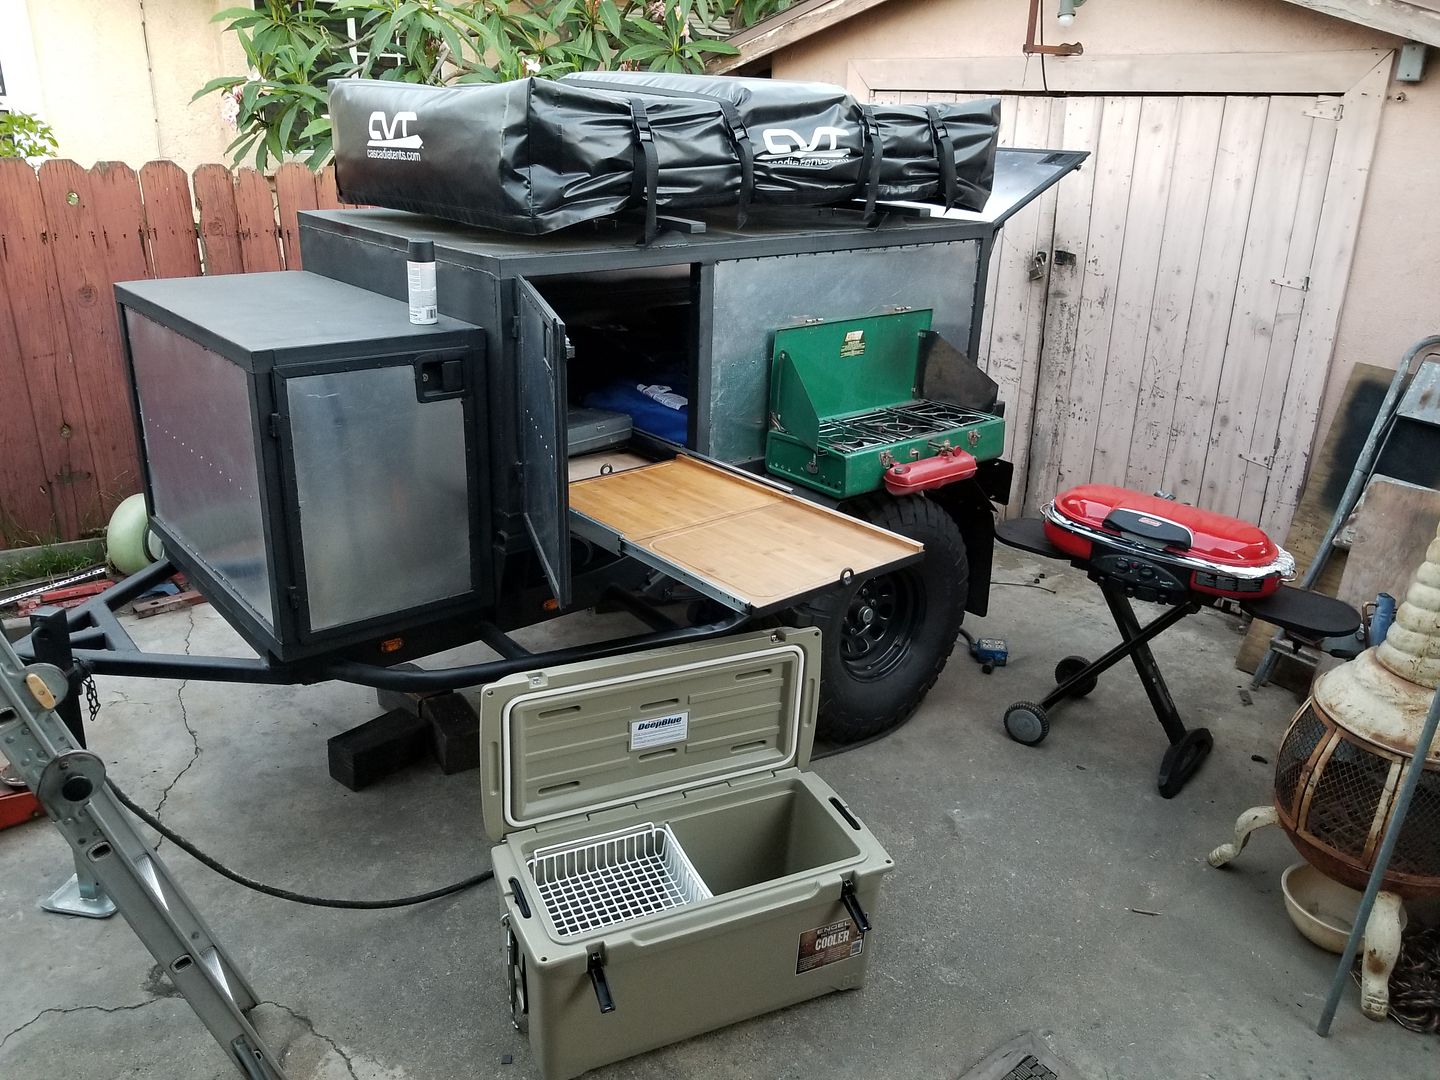
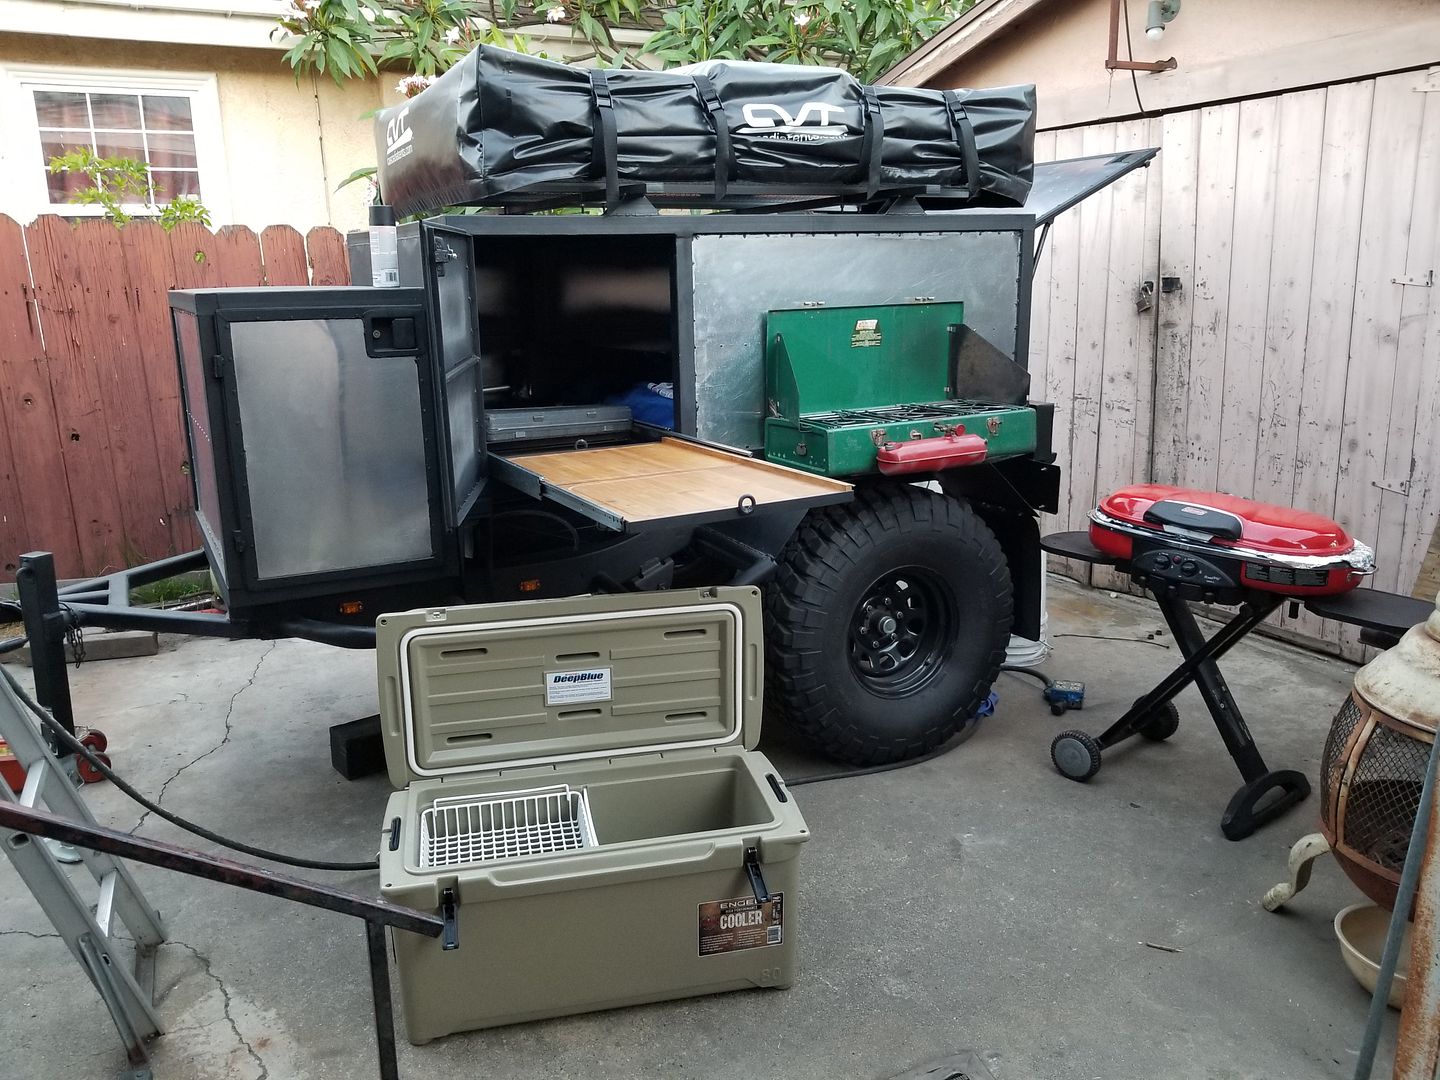
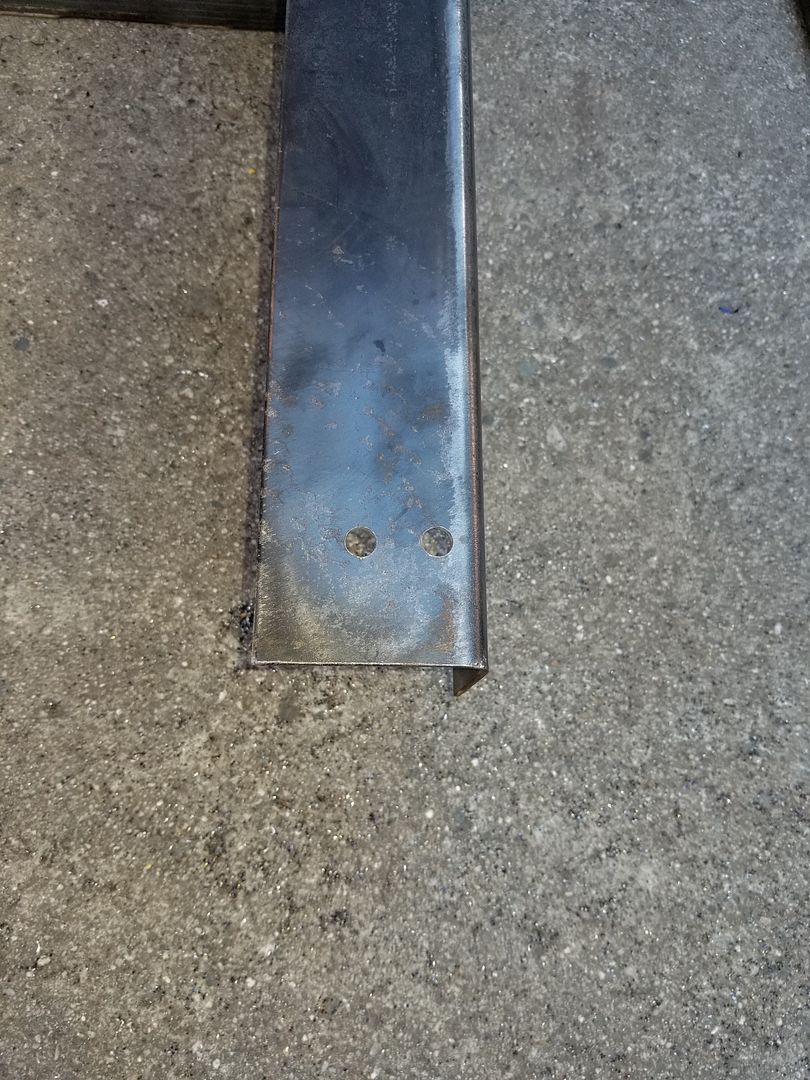
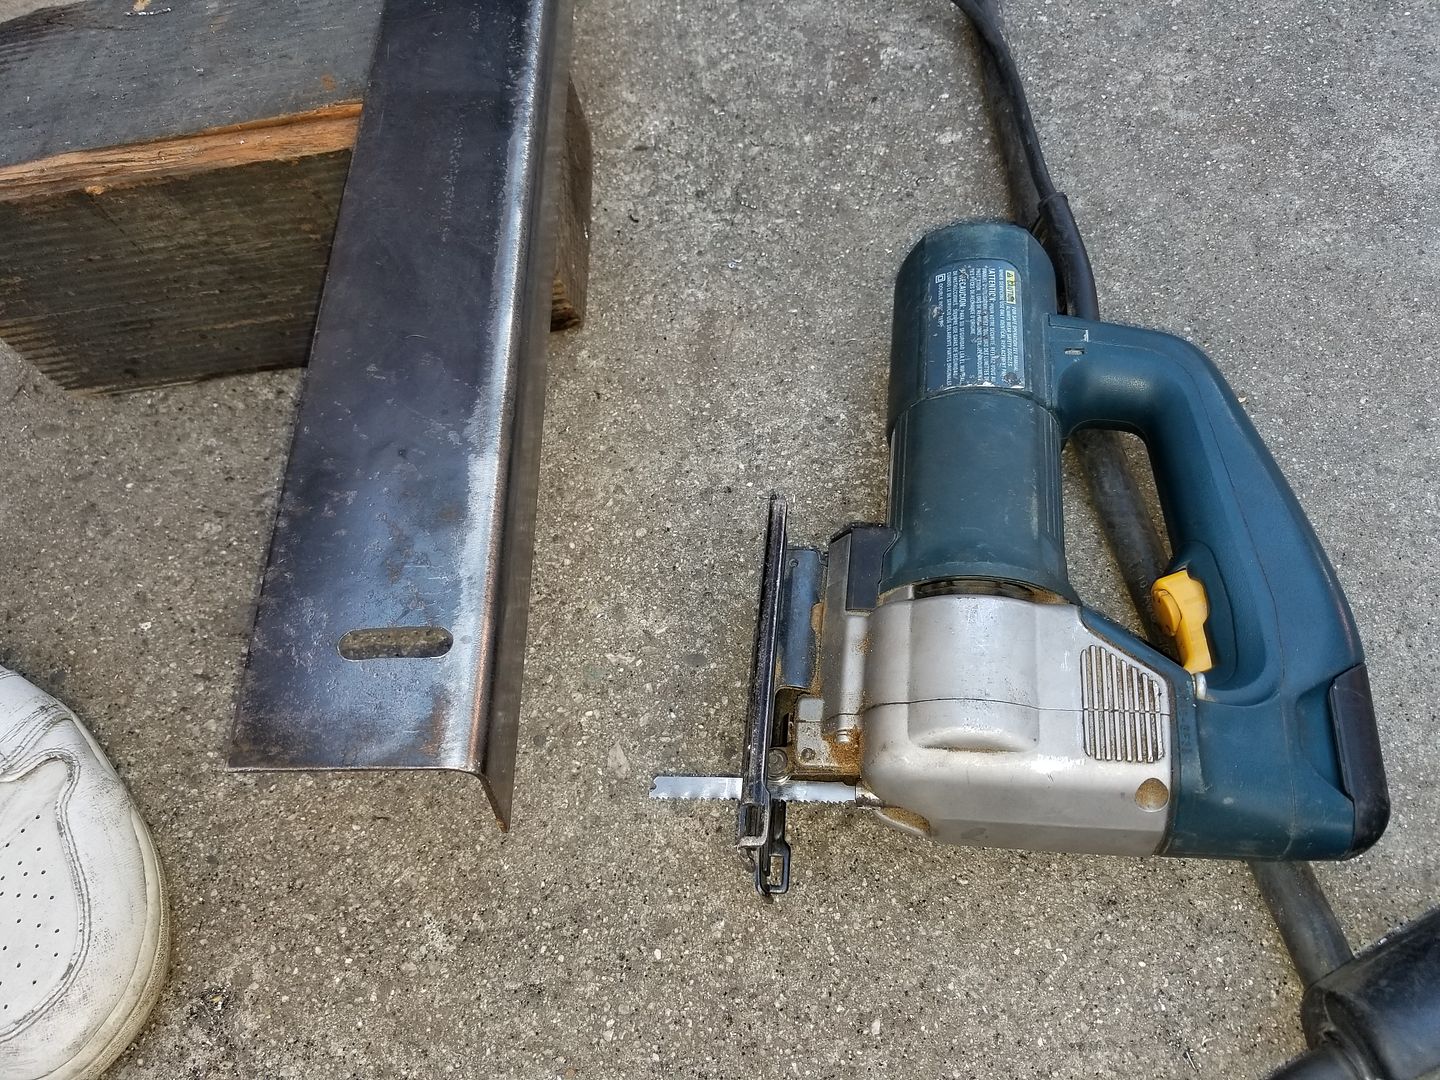
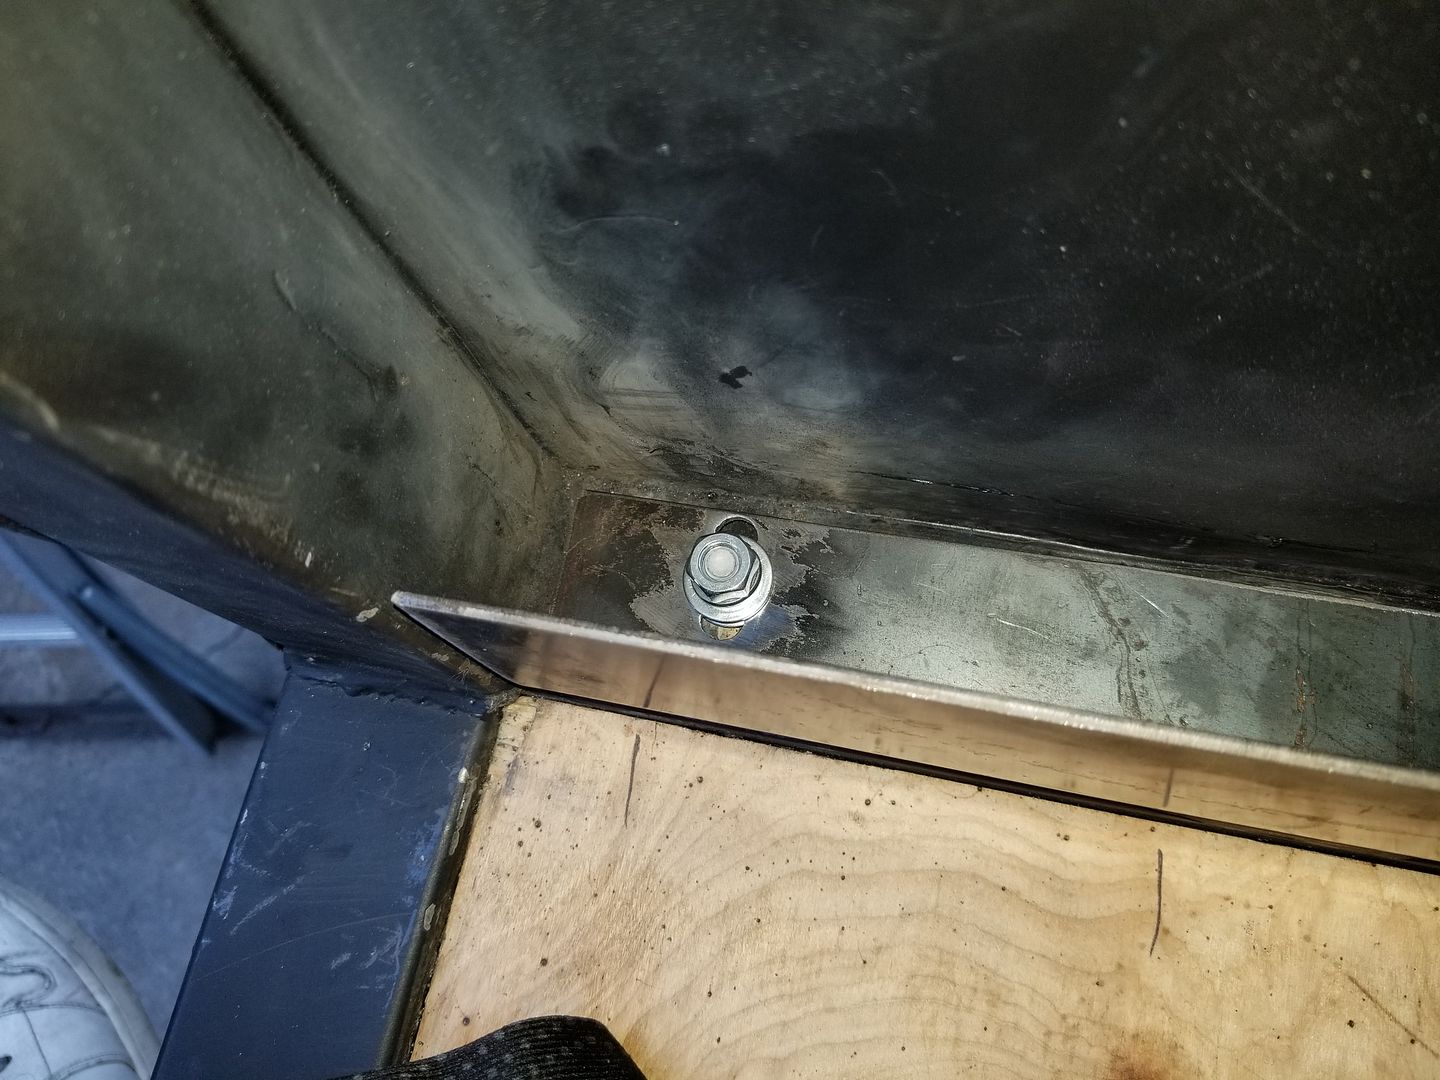
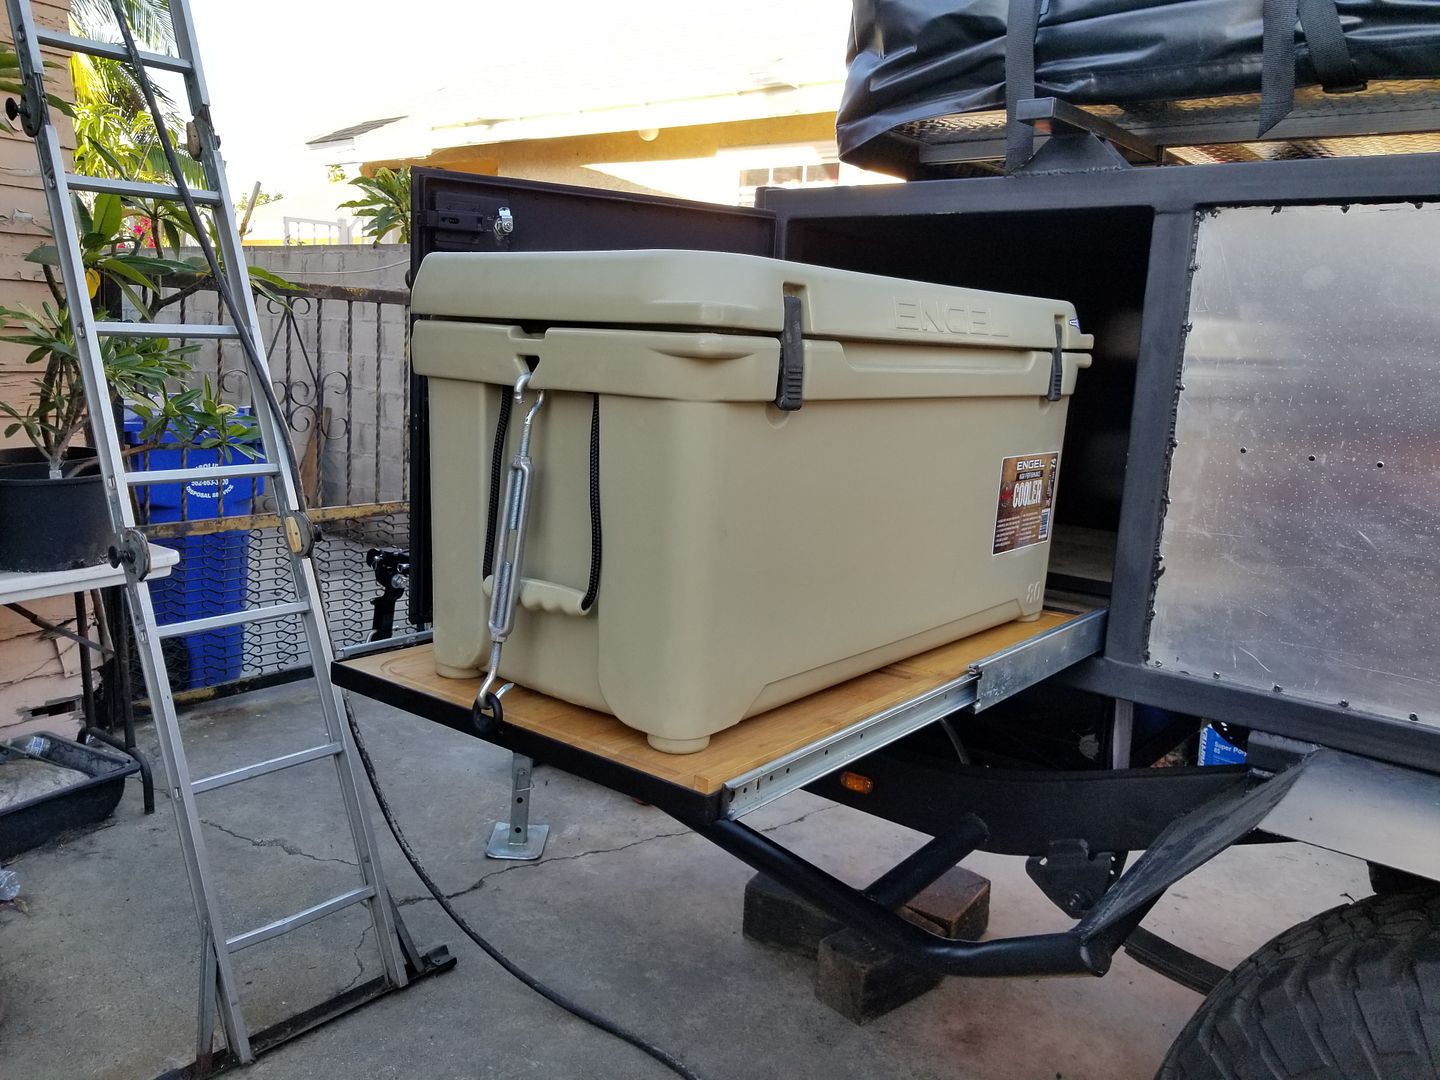
My dad and i finally got around to finishing up the cooler slide out this week. We wanted to make the slide out built to be adjustable to i drilled 2 holes and connected them with a jigsaw creating these oval holes that could then have a bolt through it and be adjusted back and forth then tightened when it was centered at the door.
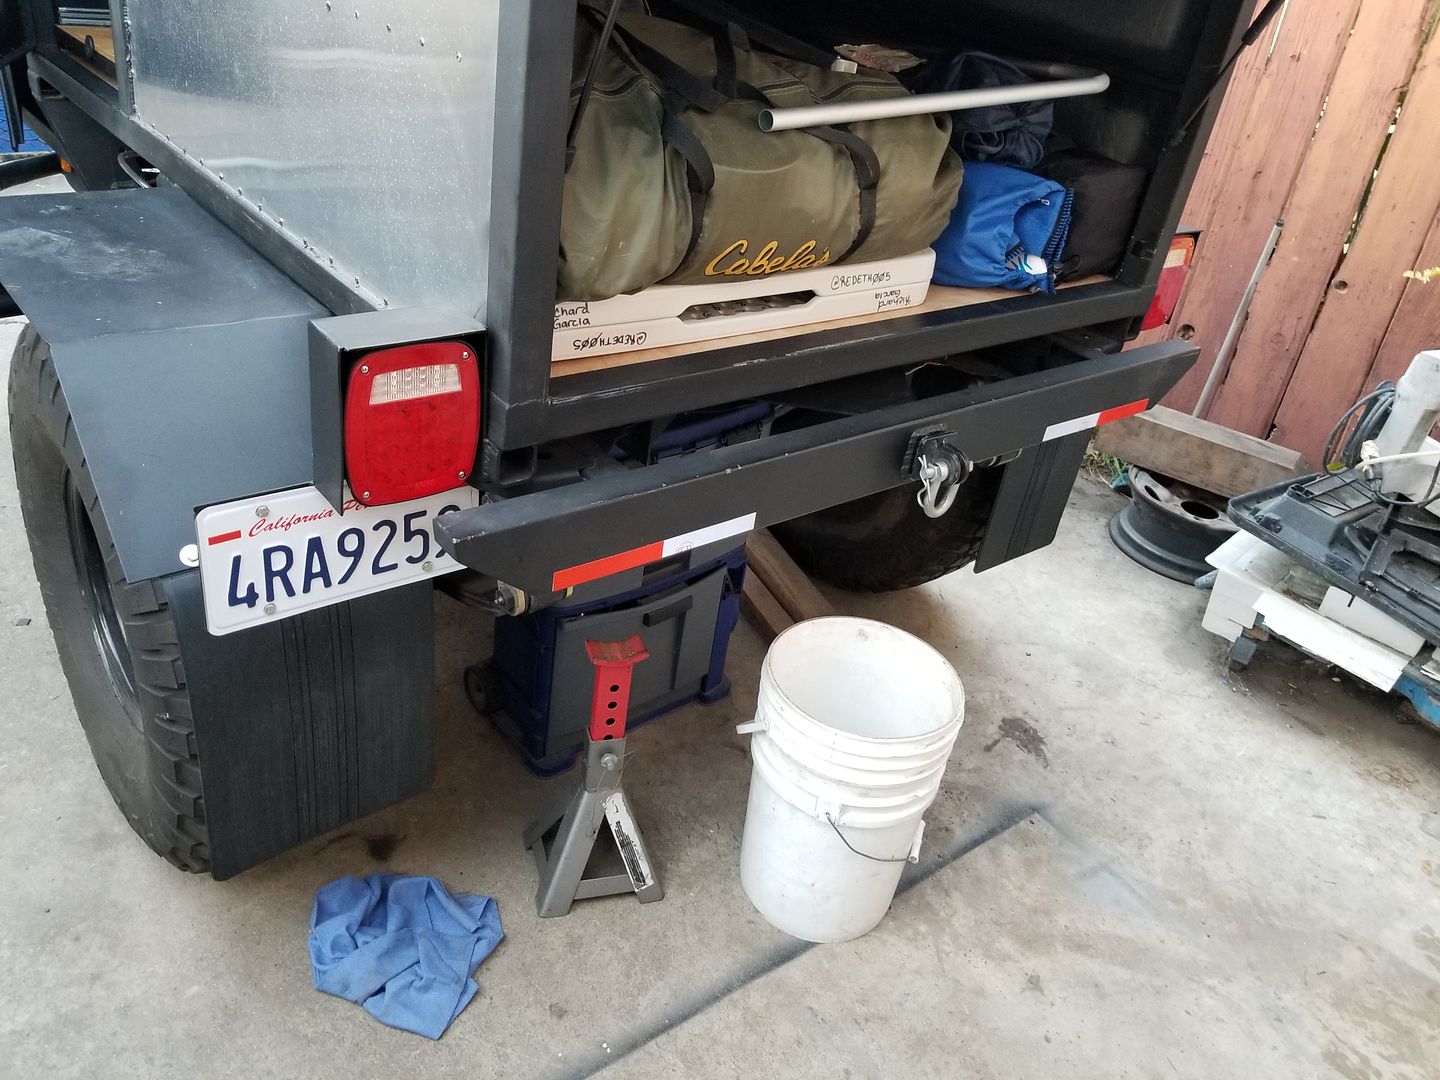
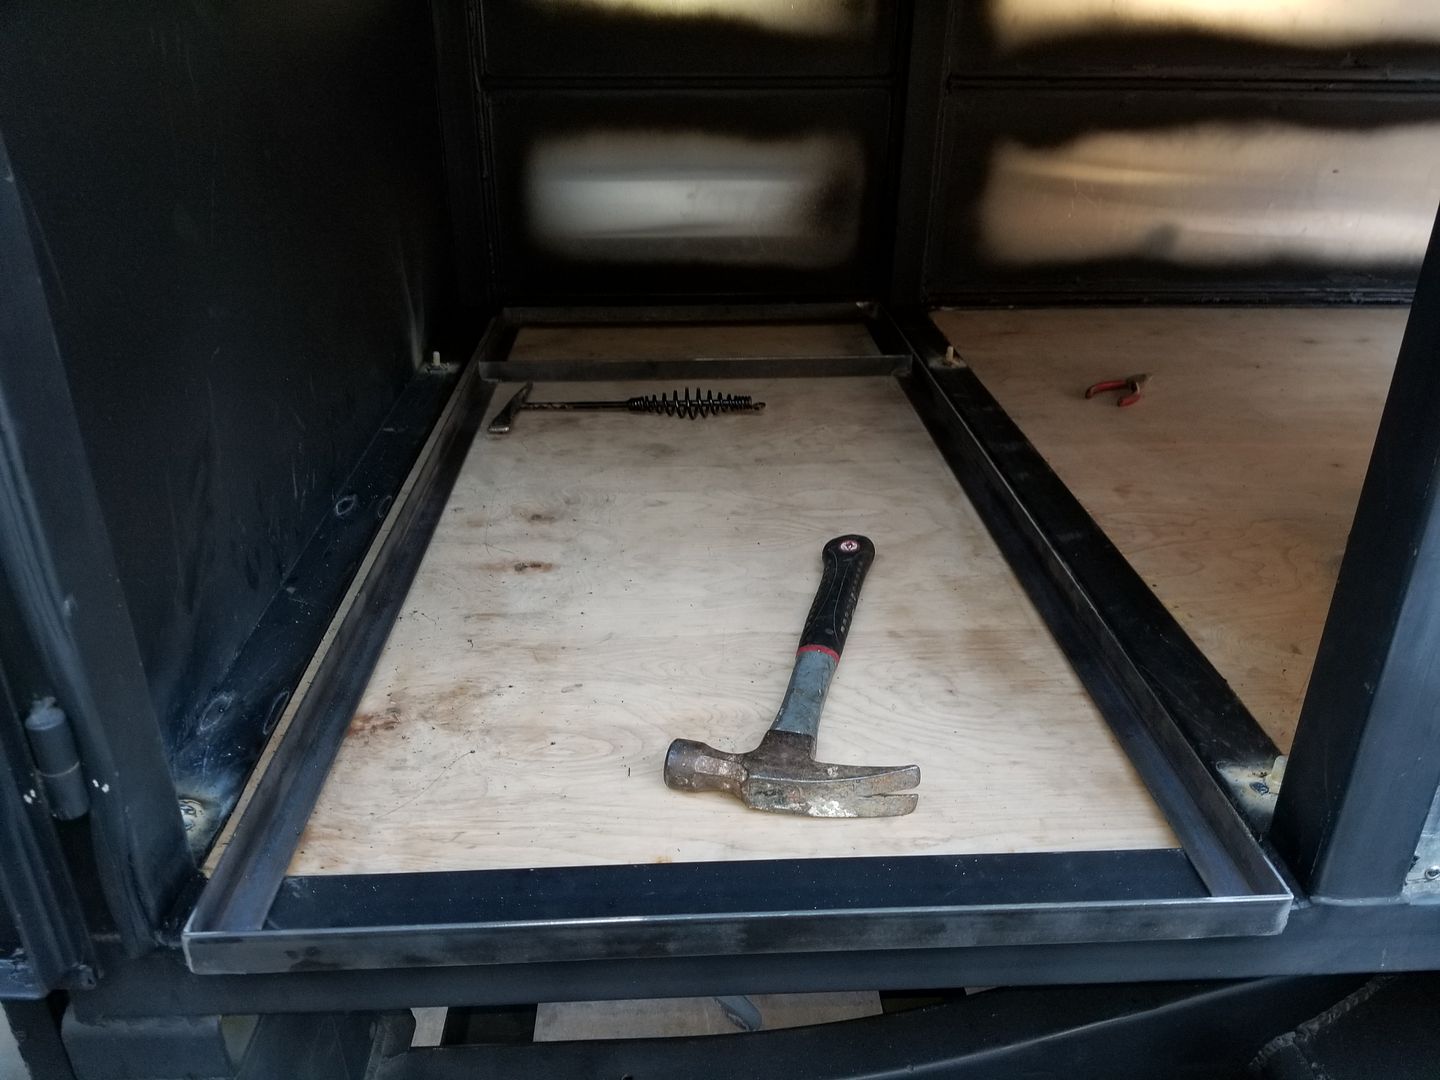
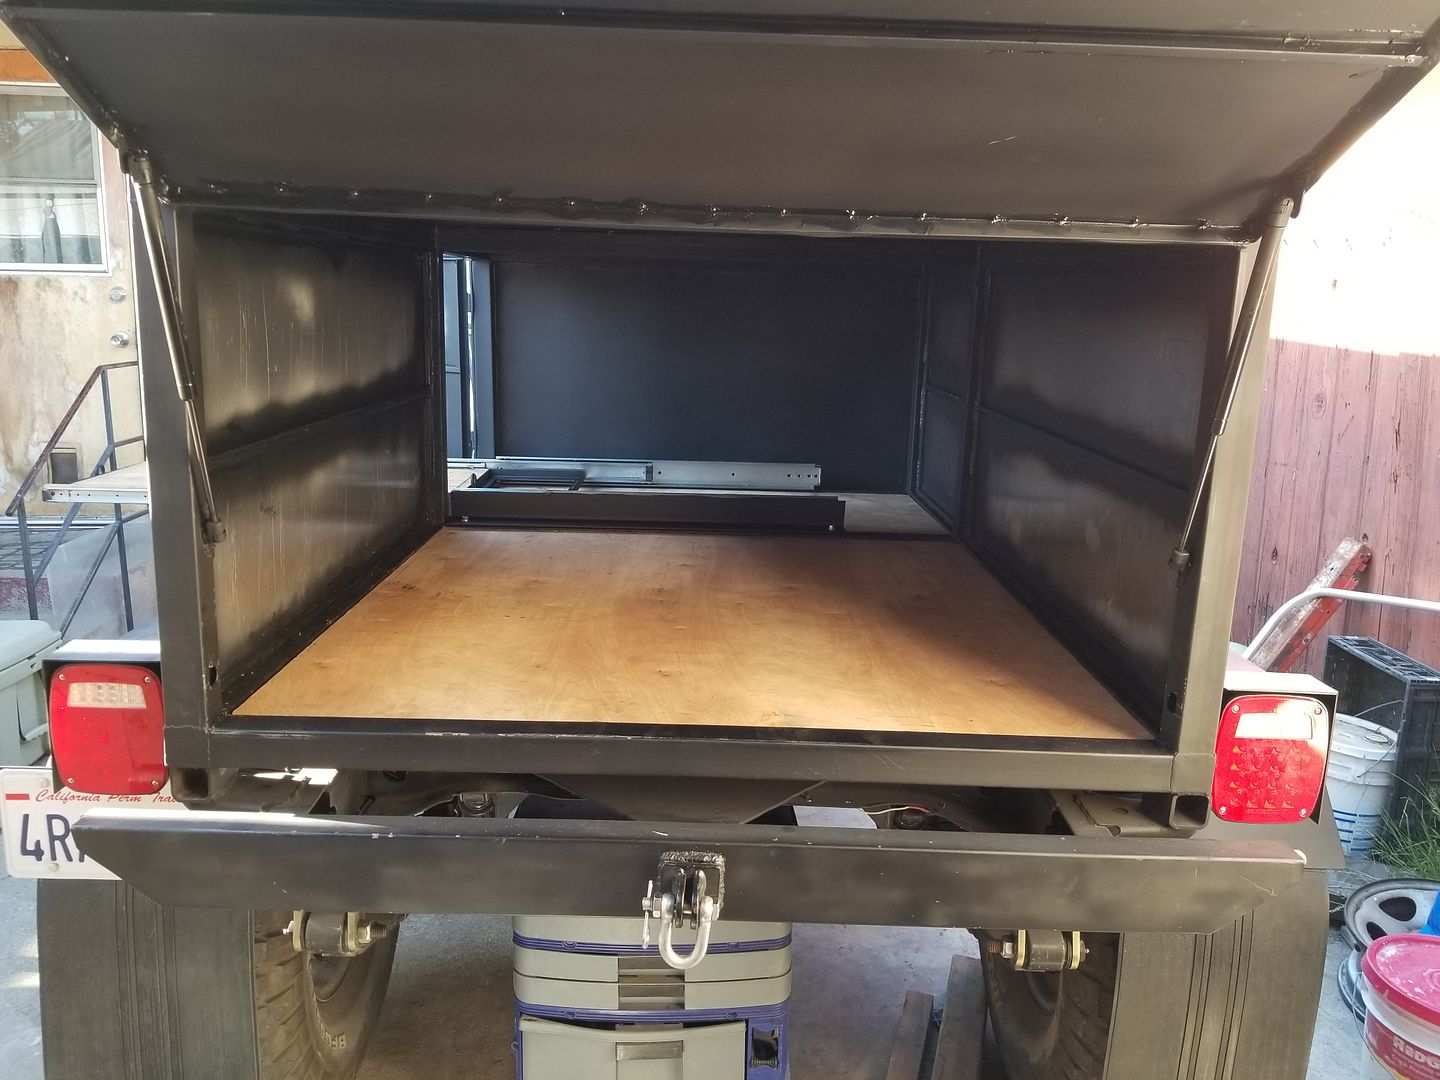
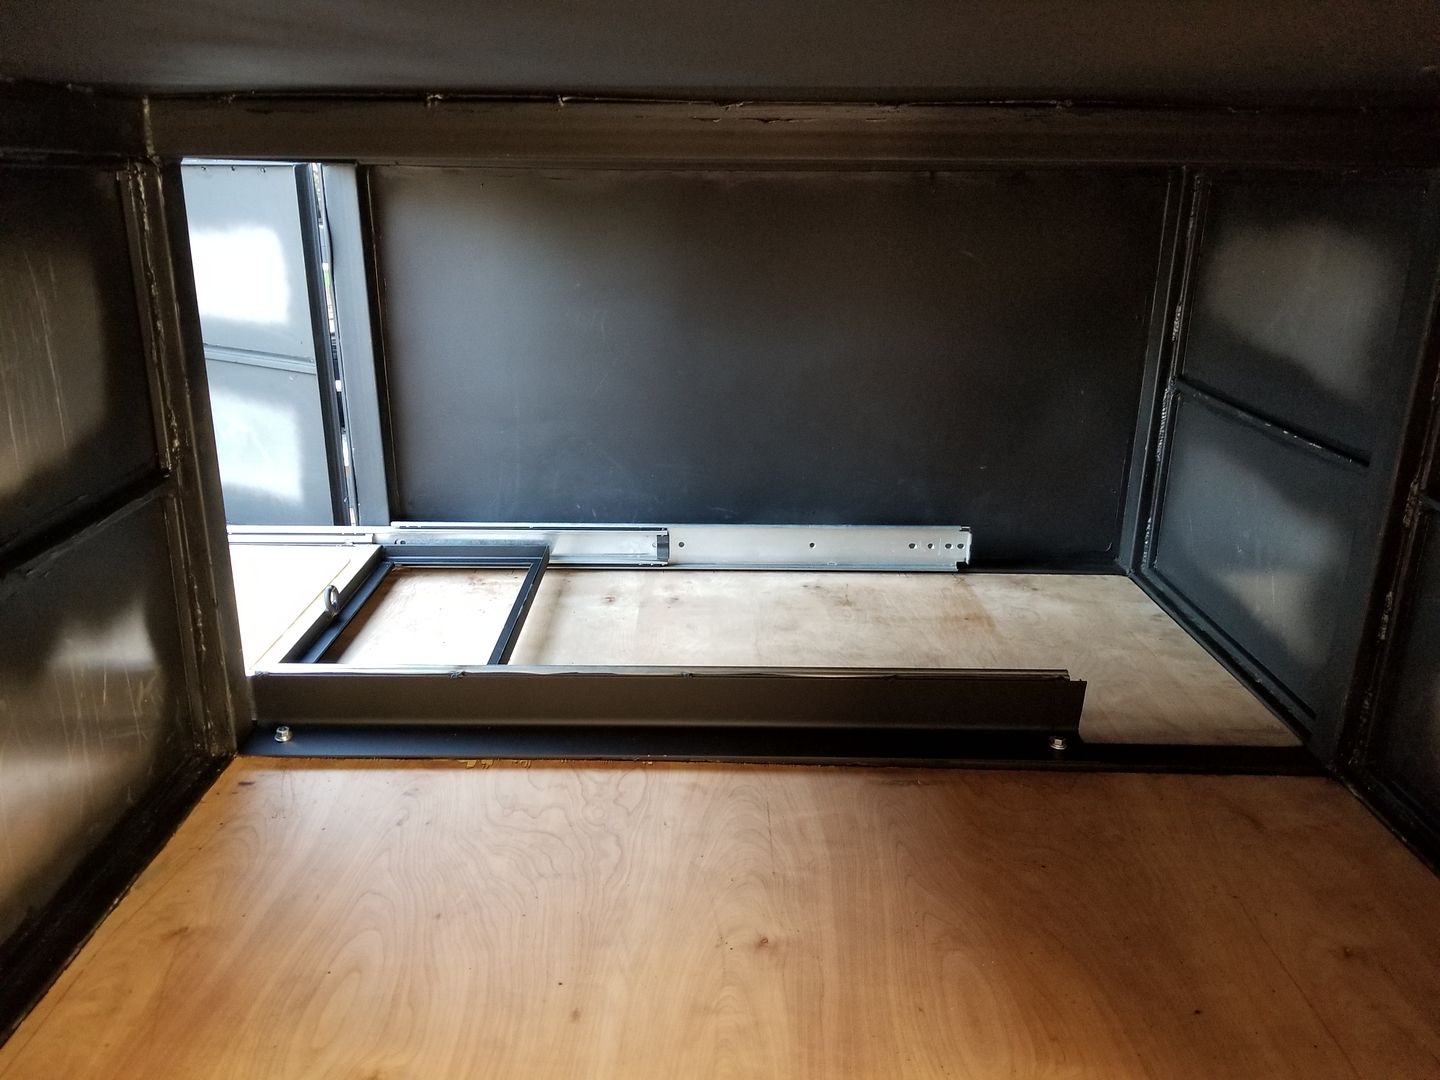
Here is the inside of the trailer. We welded the bolts onto the metal floor rails so we can use a nut on the top side of the slide out bracket to hold it in place. We achieved this by centering the tray that the ice chest would sit on first.
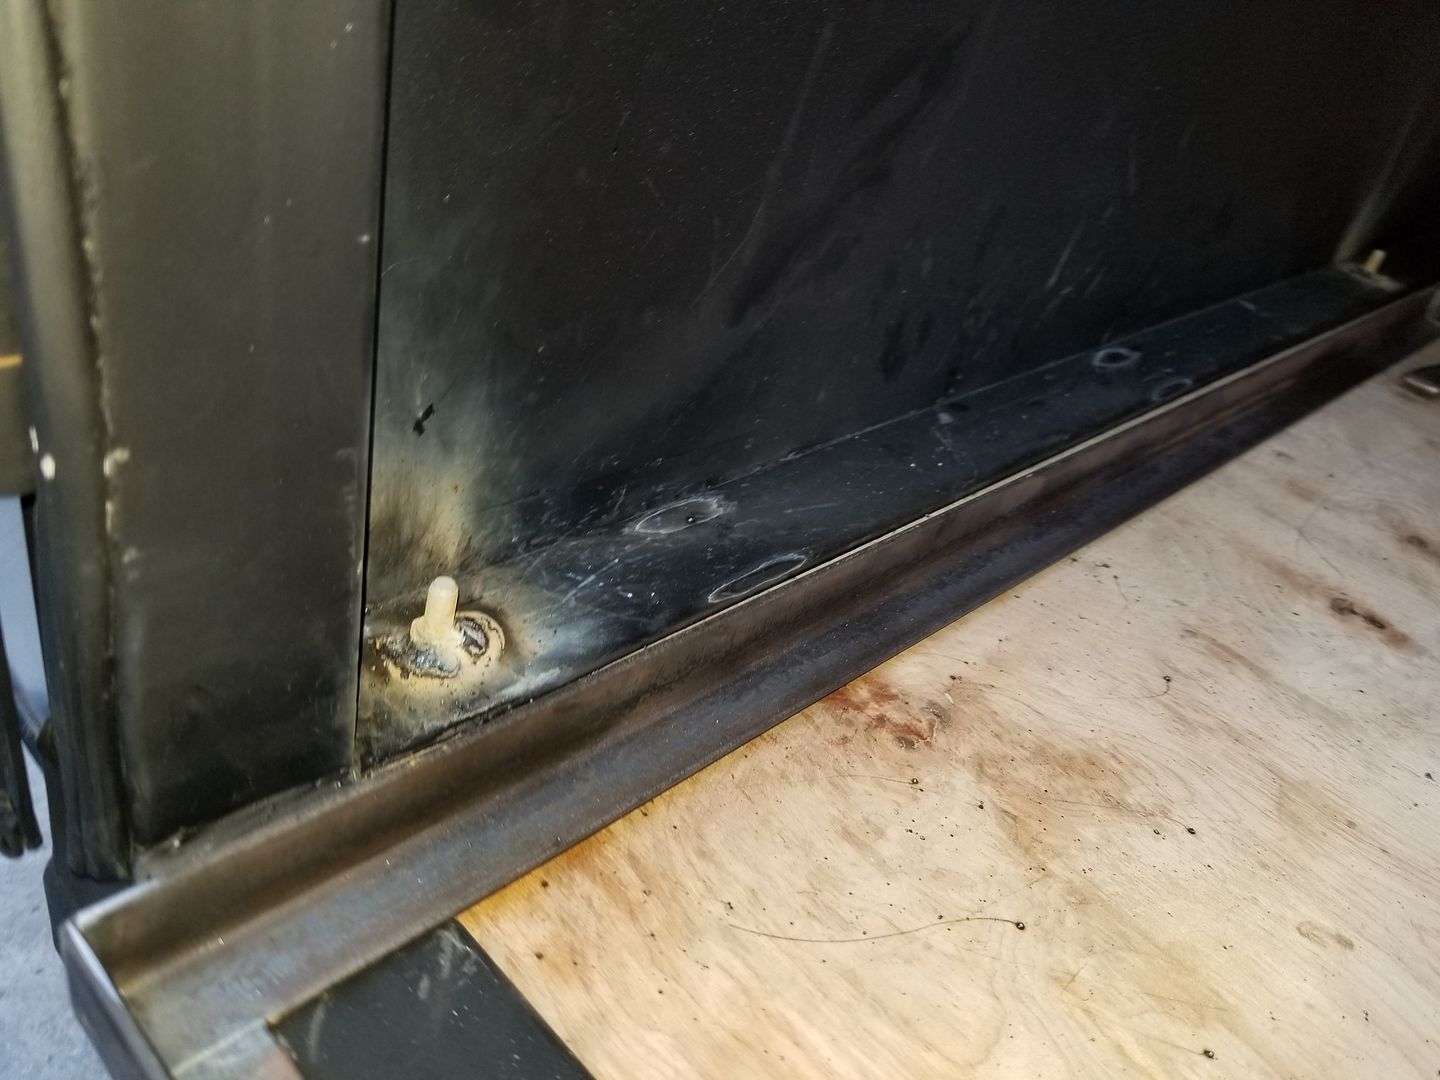
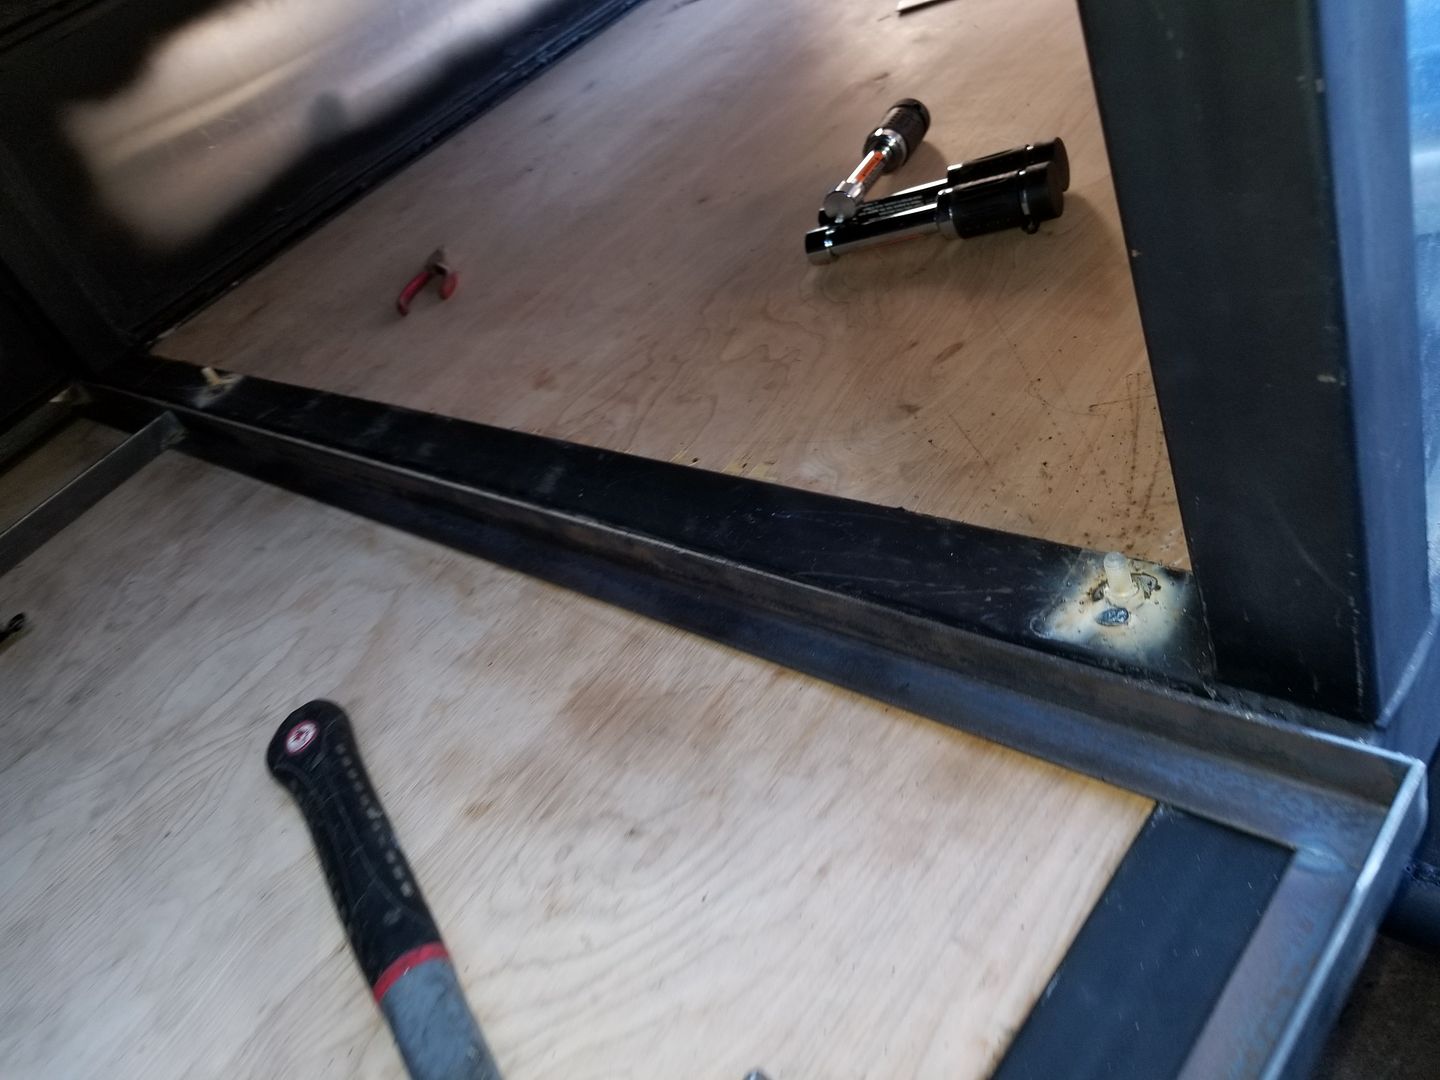
Here you can see how his design would make the rails adjustable.
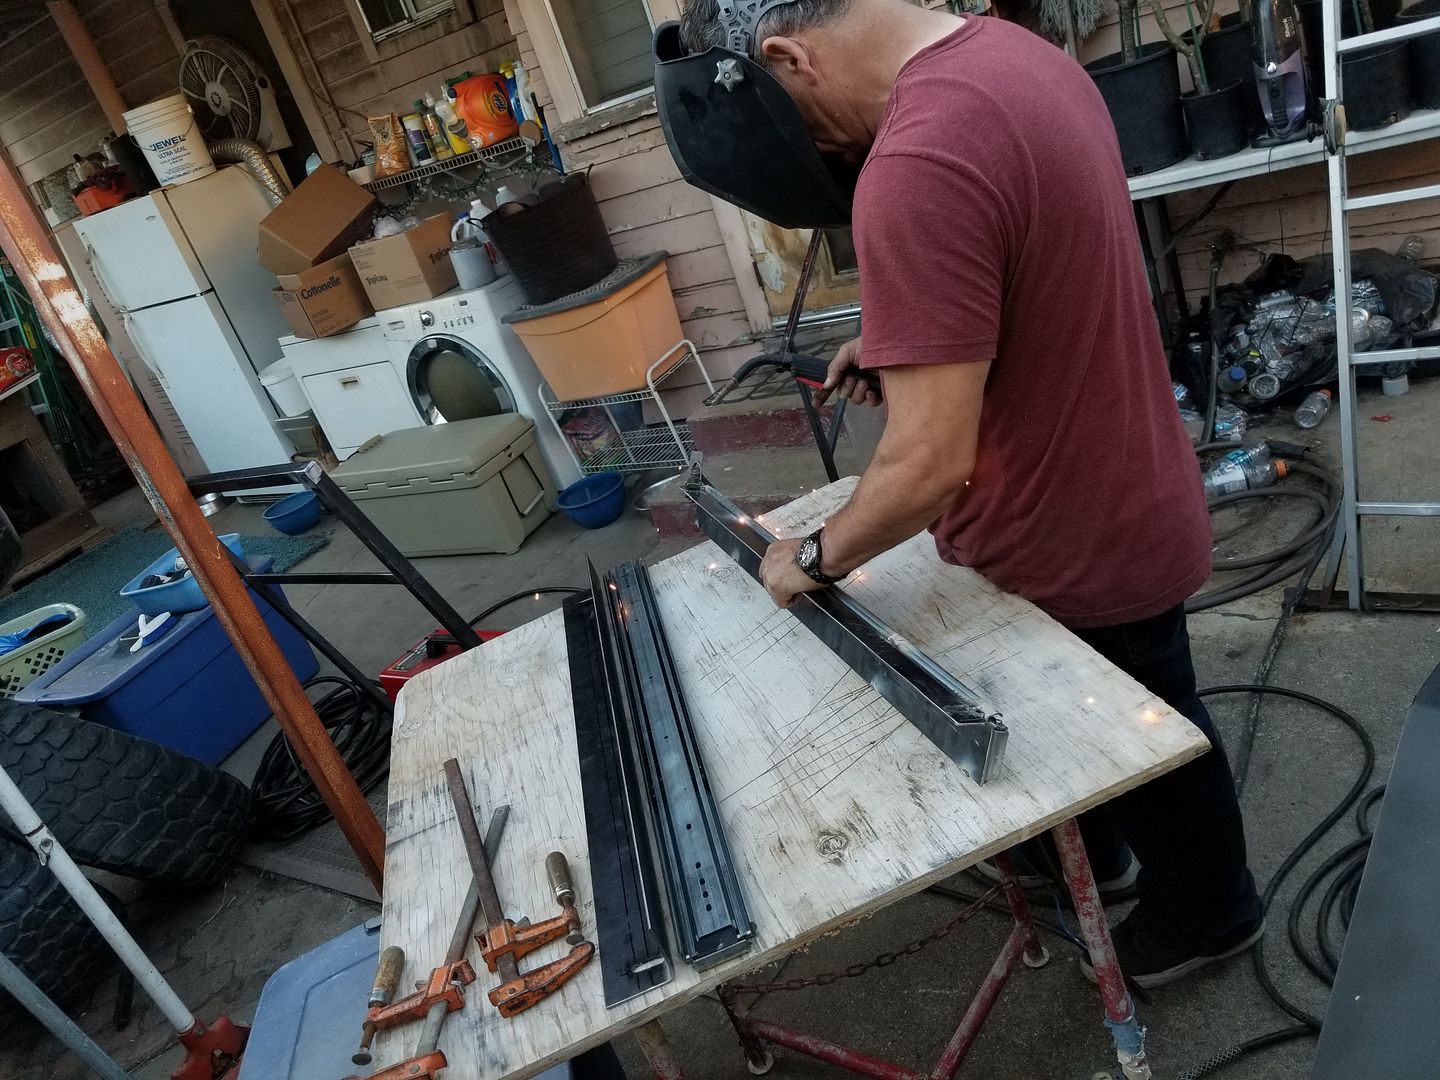
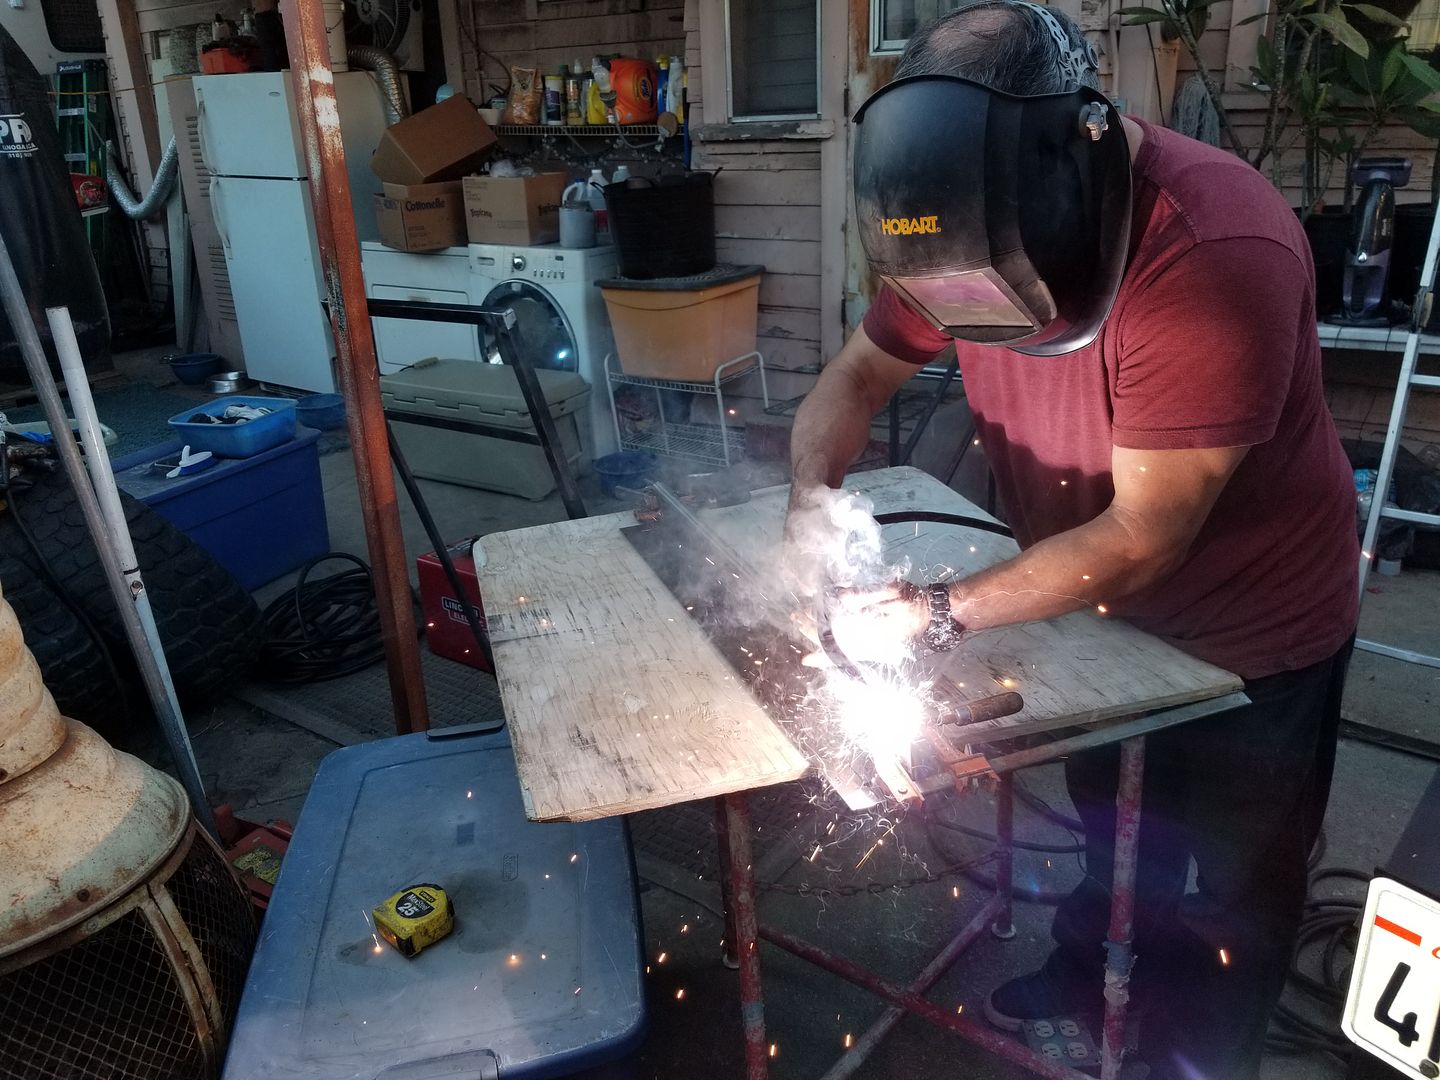
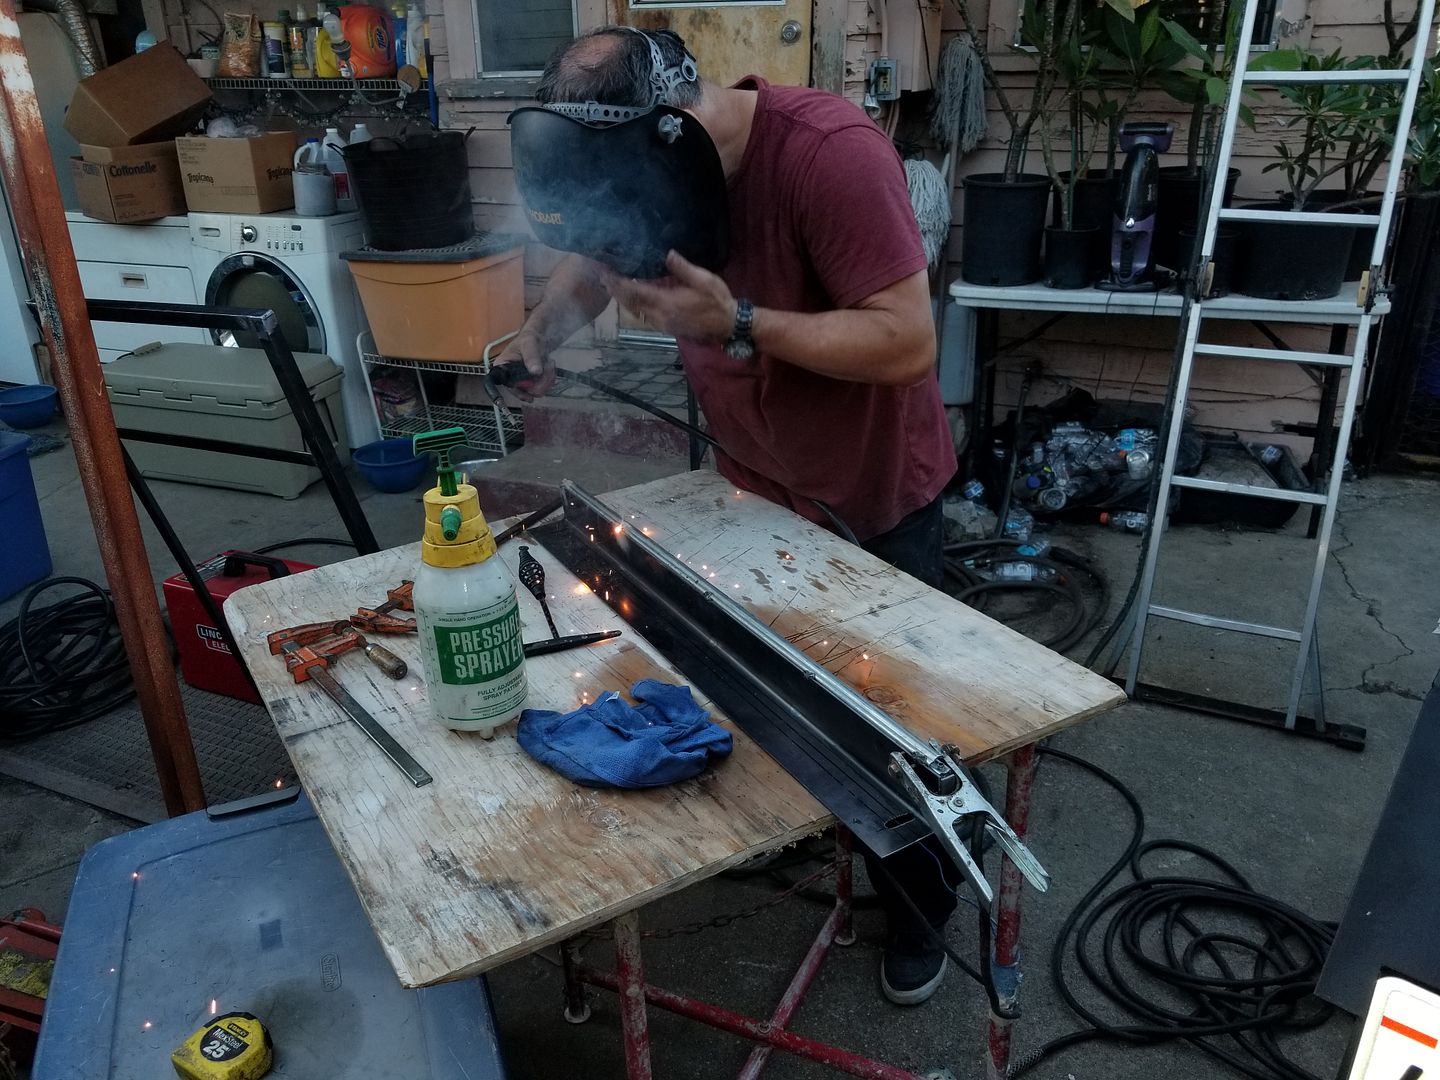
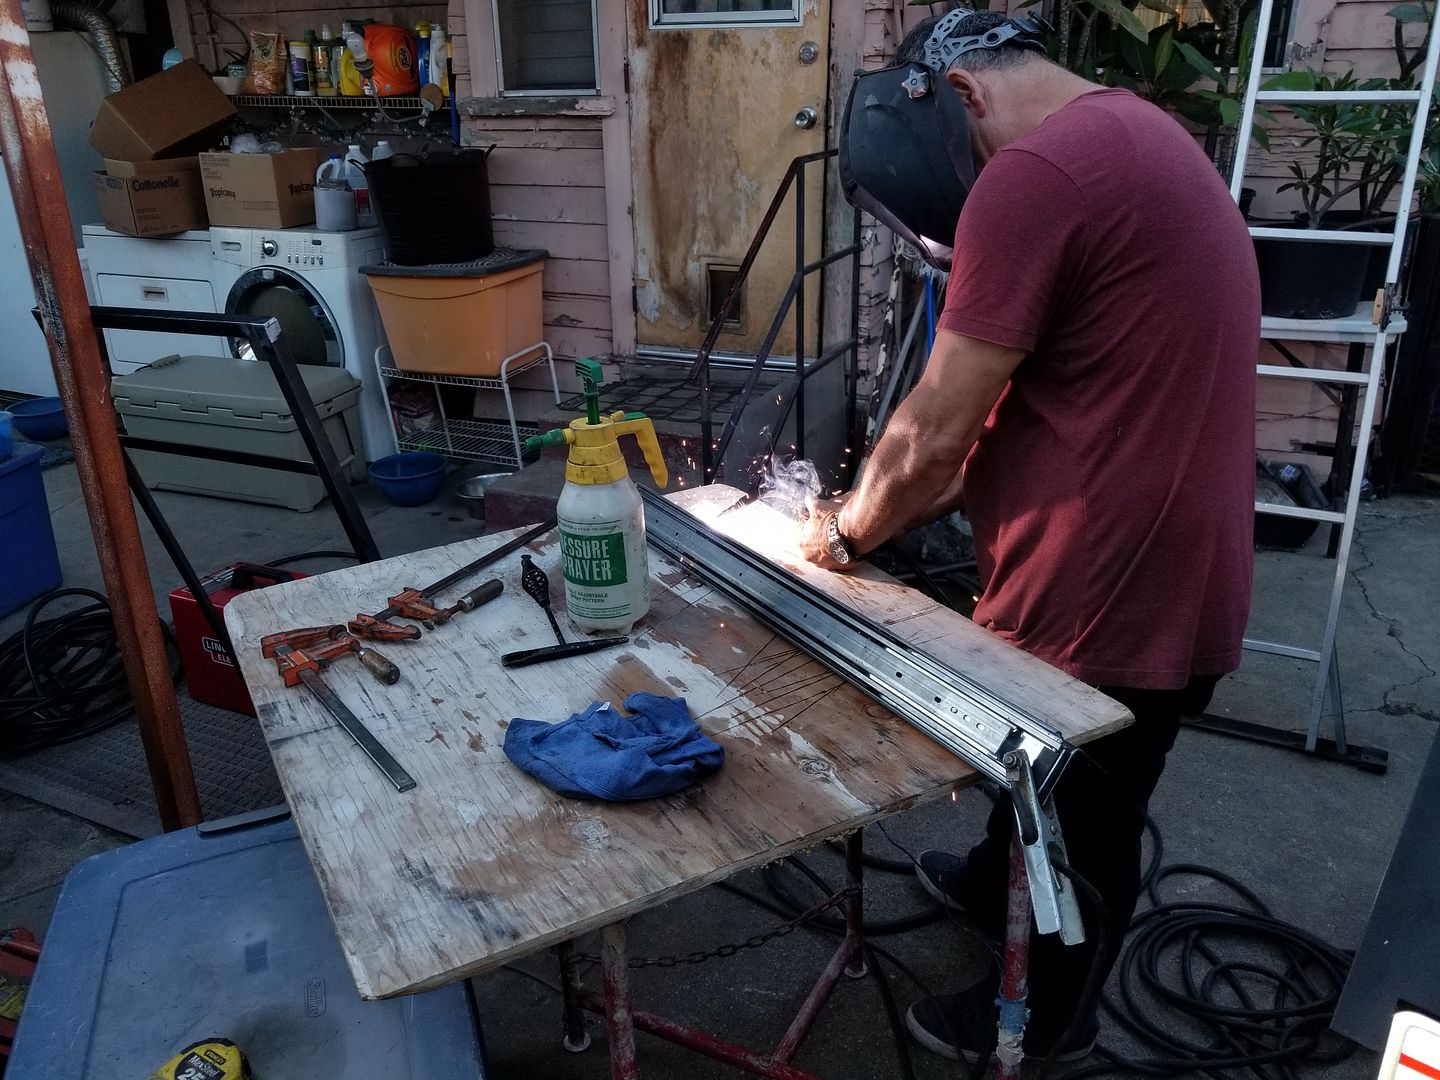
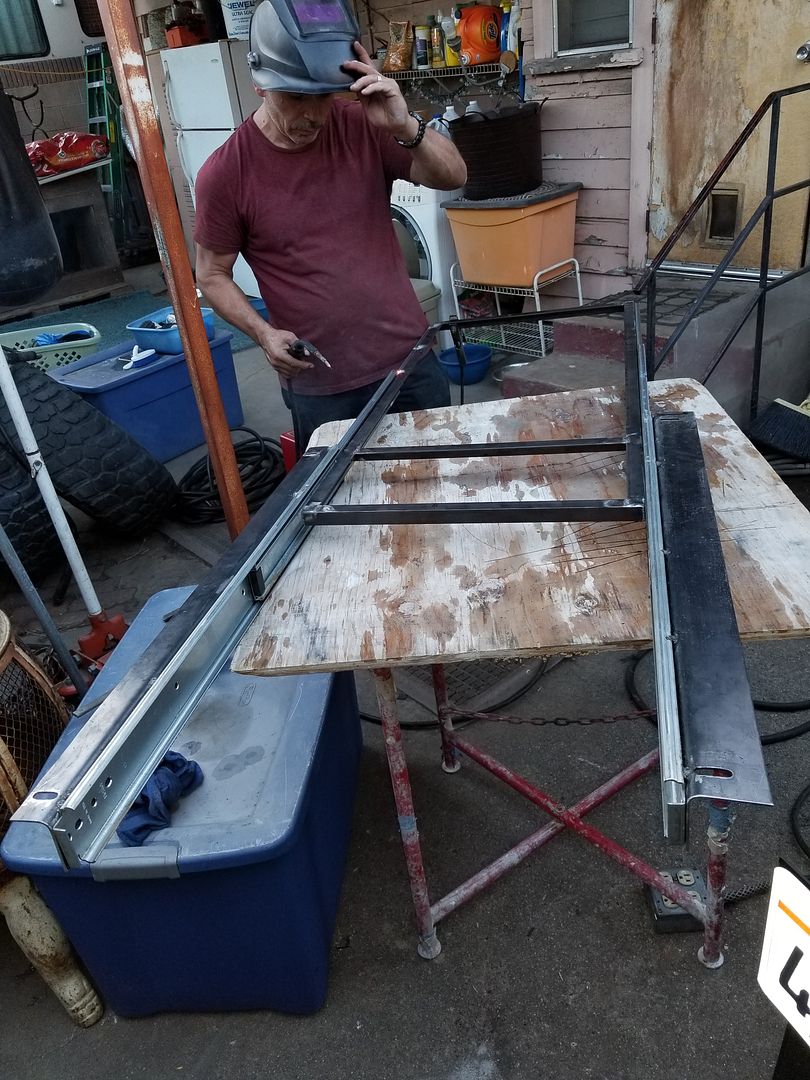
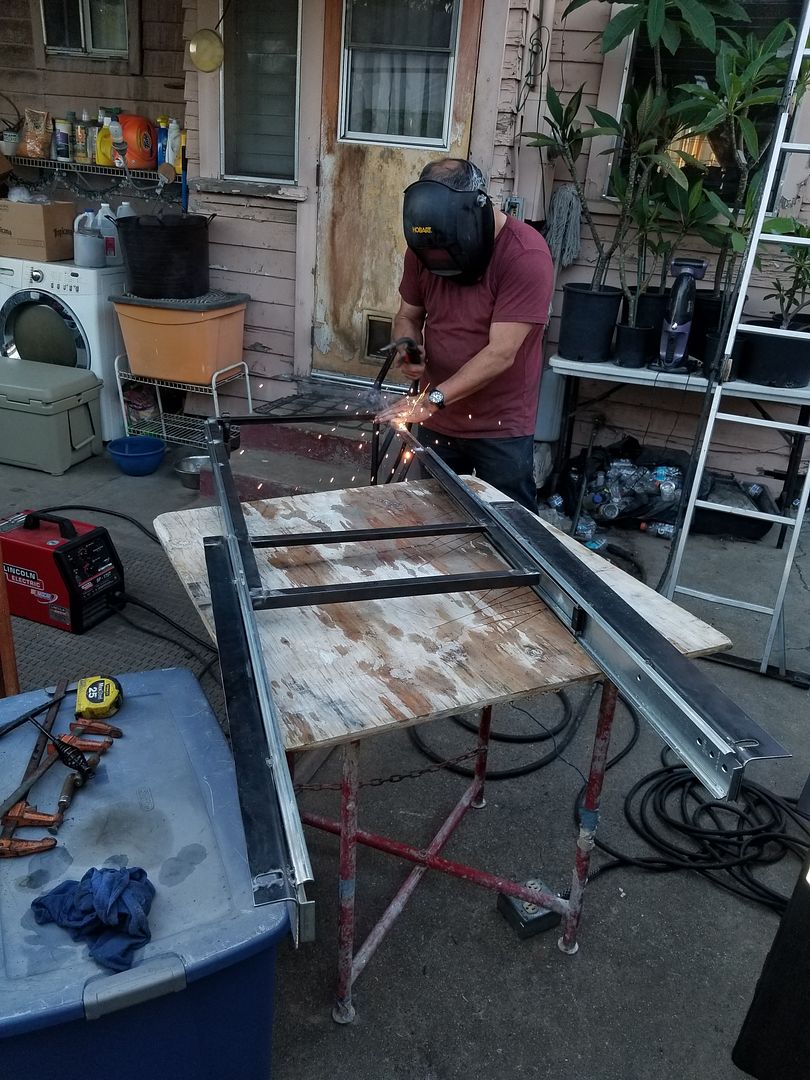
After we were happy with the fit my dad went on to welding the slides making sure not to weld on the areas where the plastic stoppers are on the back side to avoid damaging the slide out. We had a pressurized water spray bottle on stand by in case the rails got too hot which we did have to use a couple of times.
Centering up
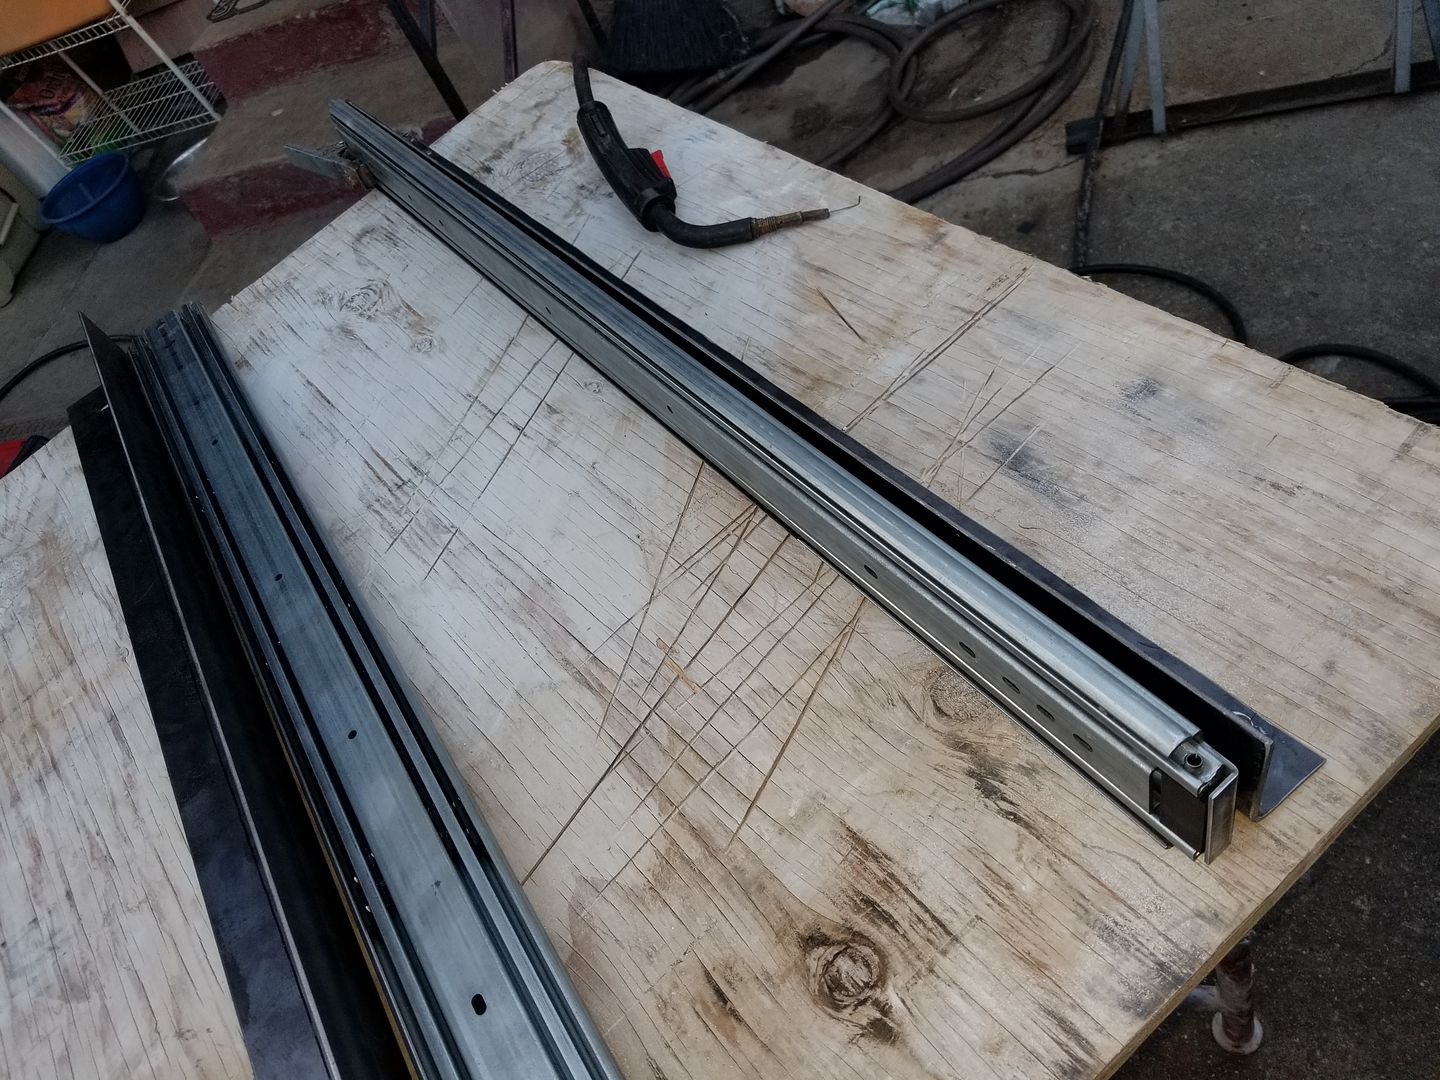
Inspecting where the plastic stoppers are
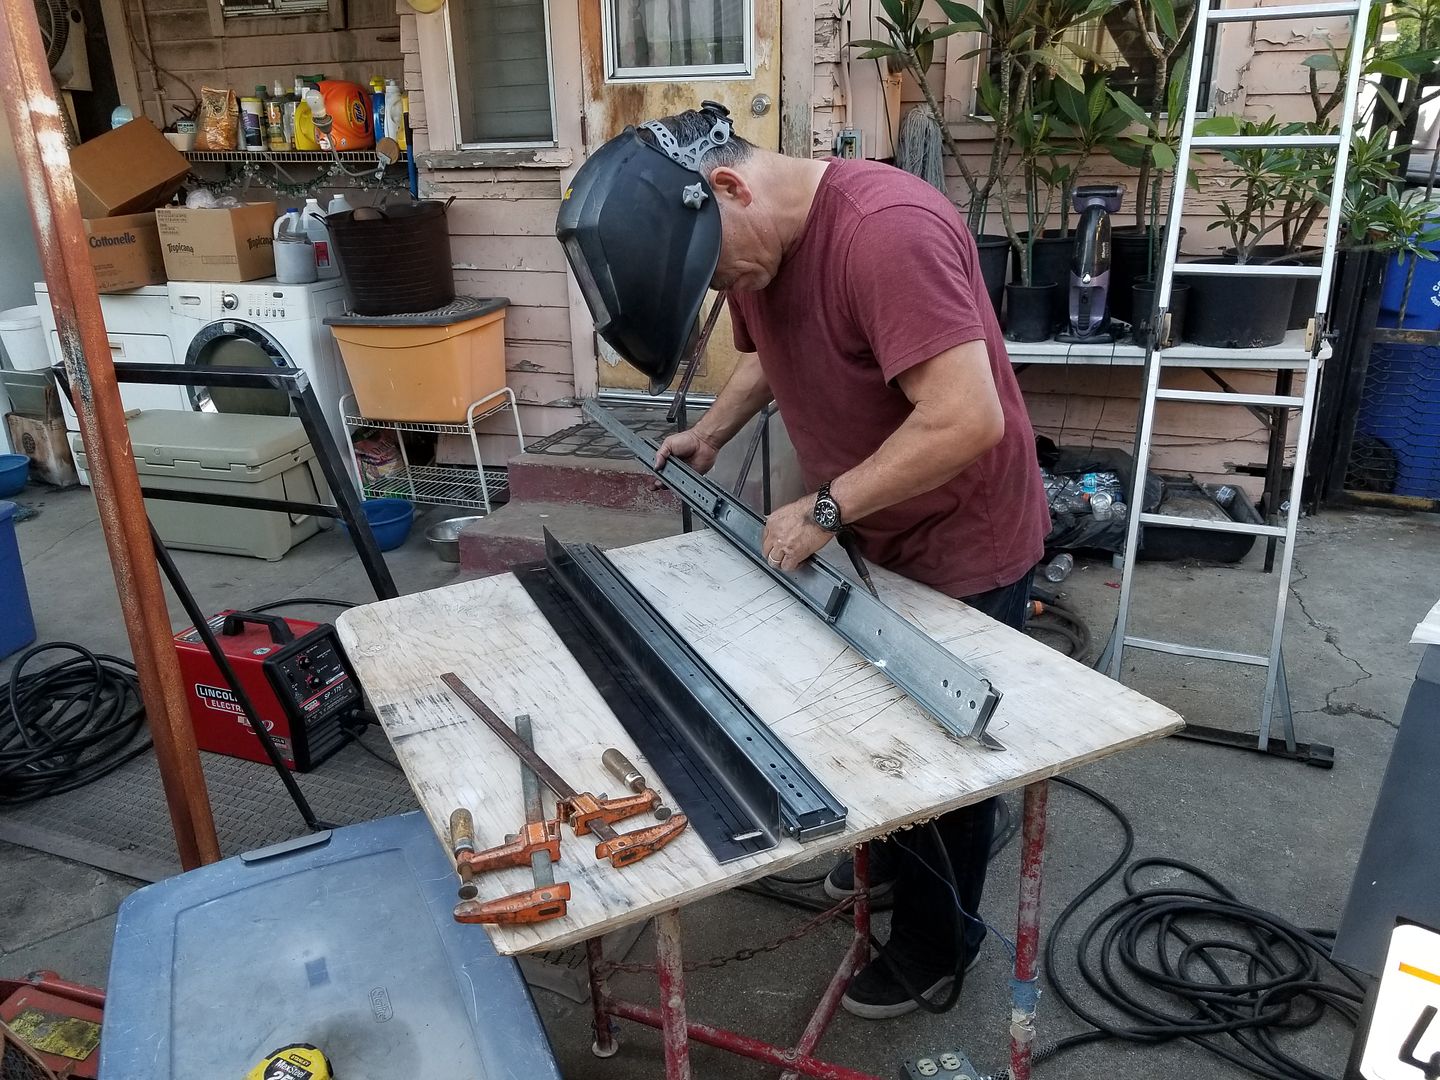
Tack tack tack
and ready for welds
 \
\
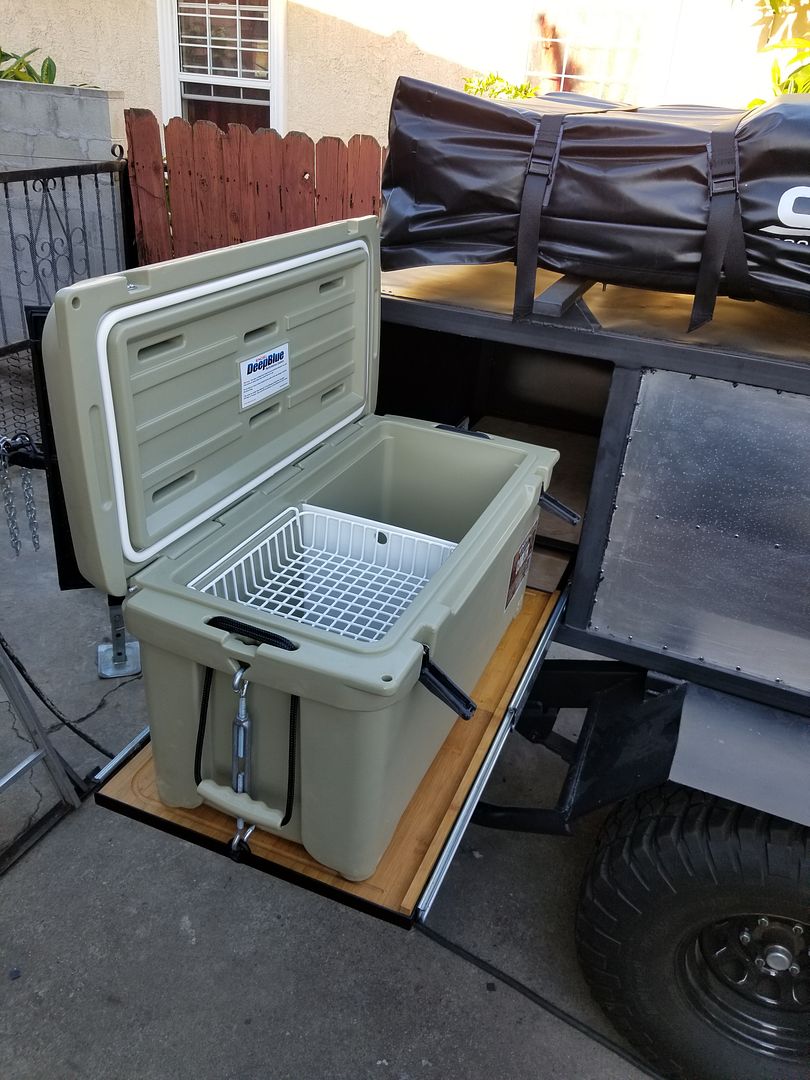
over a couple of days i primed it and then painted it. 3 days later i was ready to install. As you can see it is a pretty tight fit between the door frame. Approximately 3/16" to 1/4" spacing left on each side when you include the thickness of the slide outs. Just enough space to adjust back and forth.
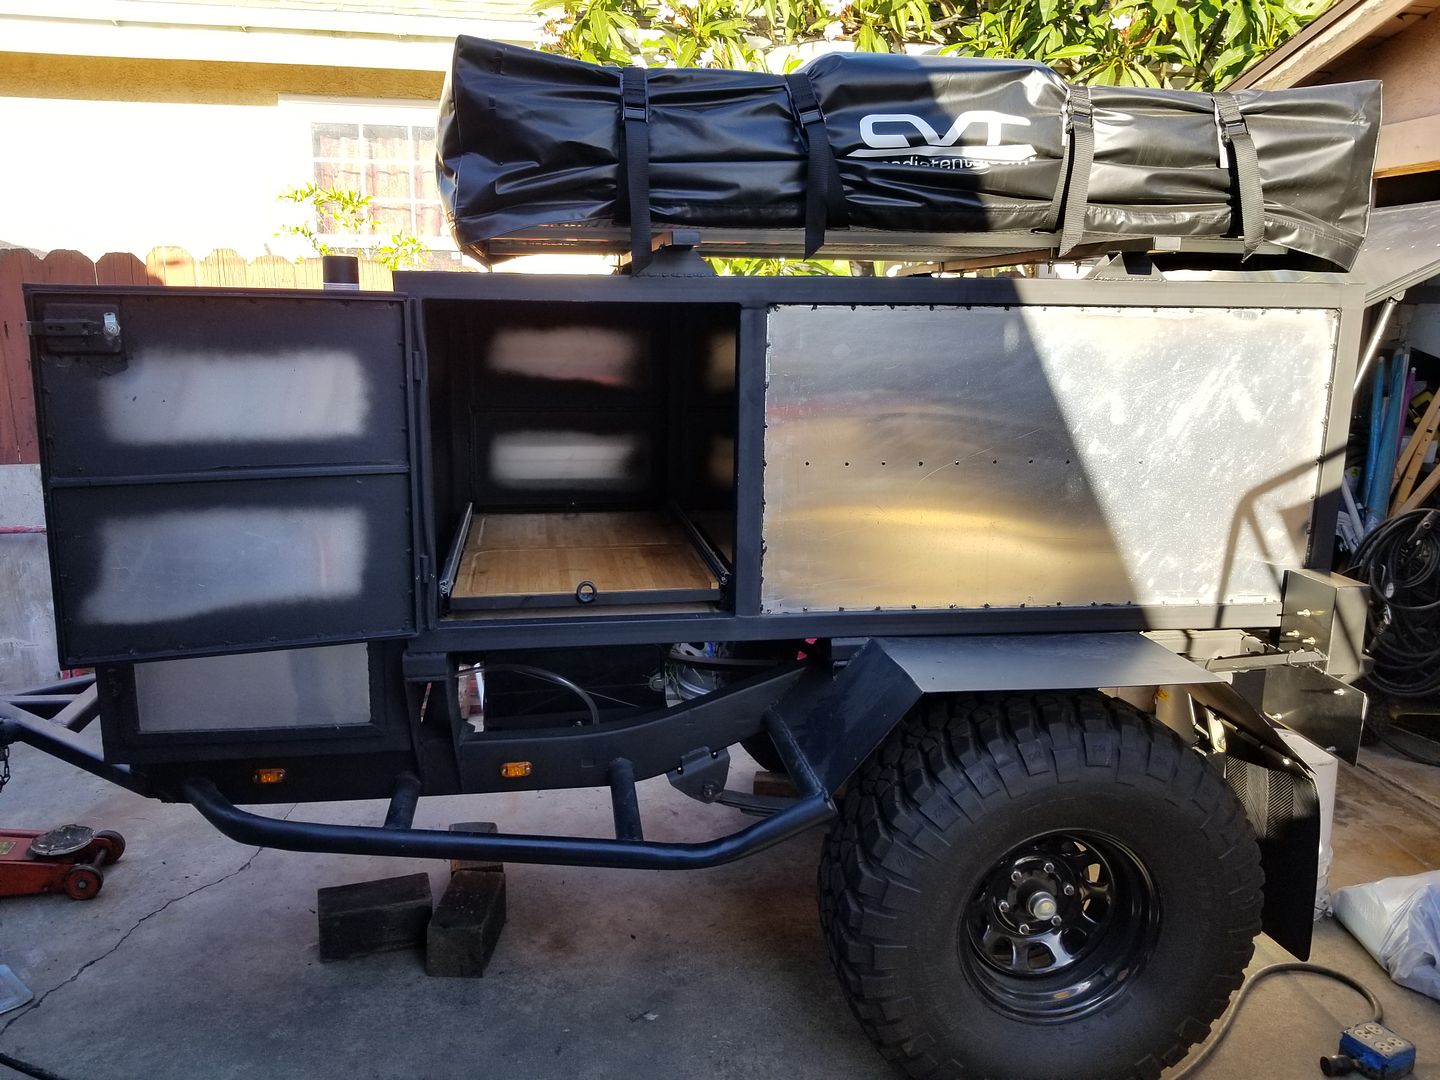
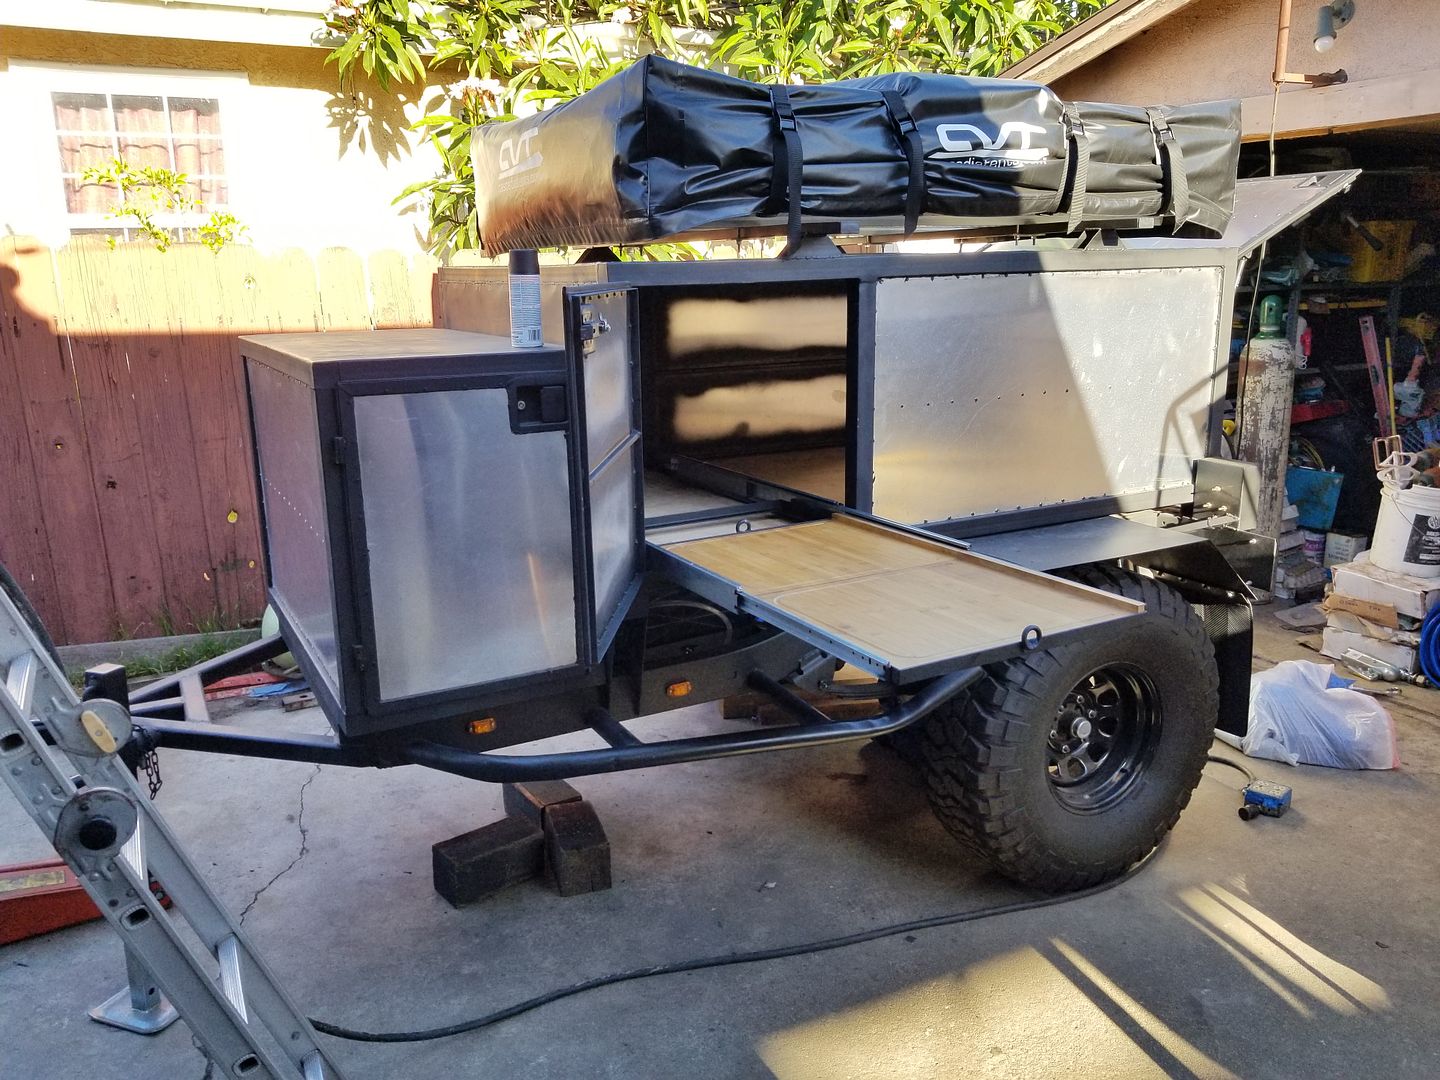
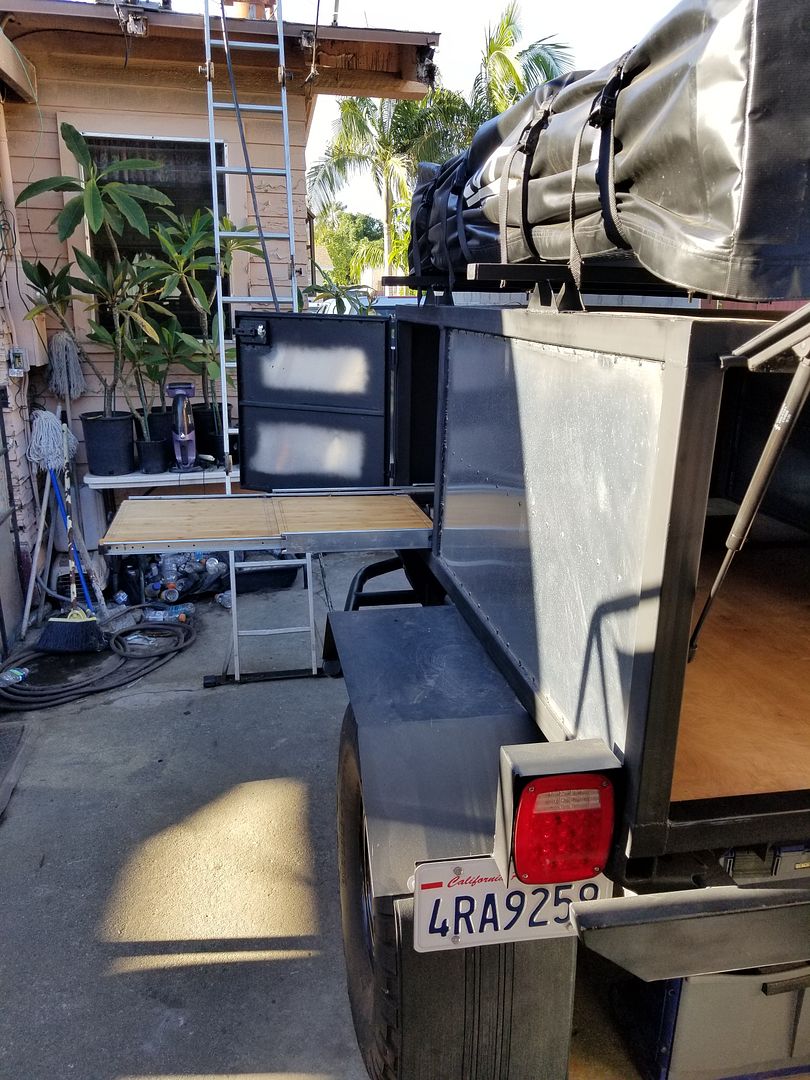
The slides only go up to that point but the remaining portion behind those brackets is going to be for a spice-rack/pantry so the end of that slide out exposes the little cabinet that will eventually be made. You can see the tray for it here on the left.
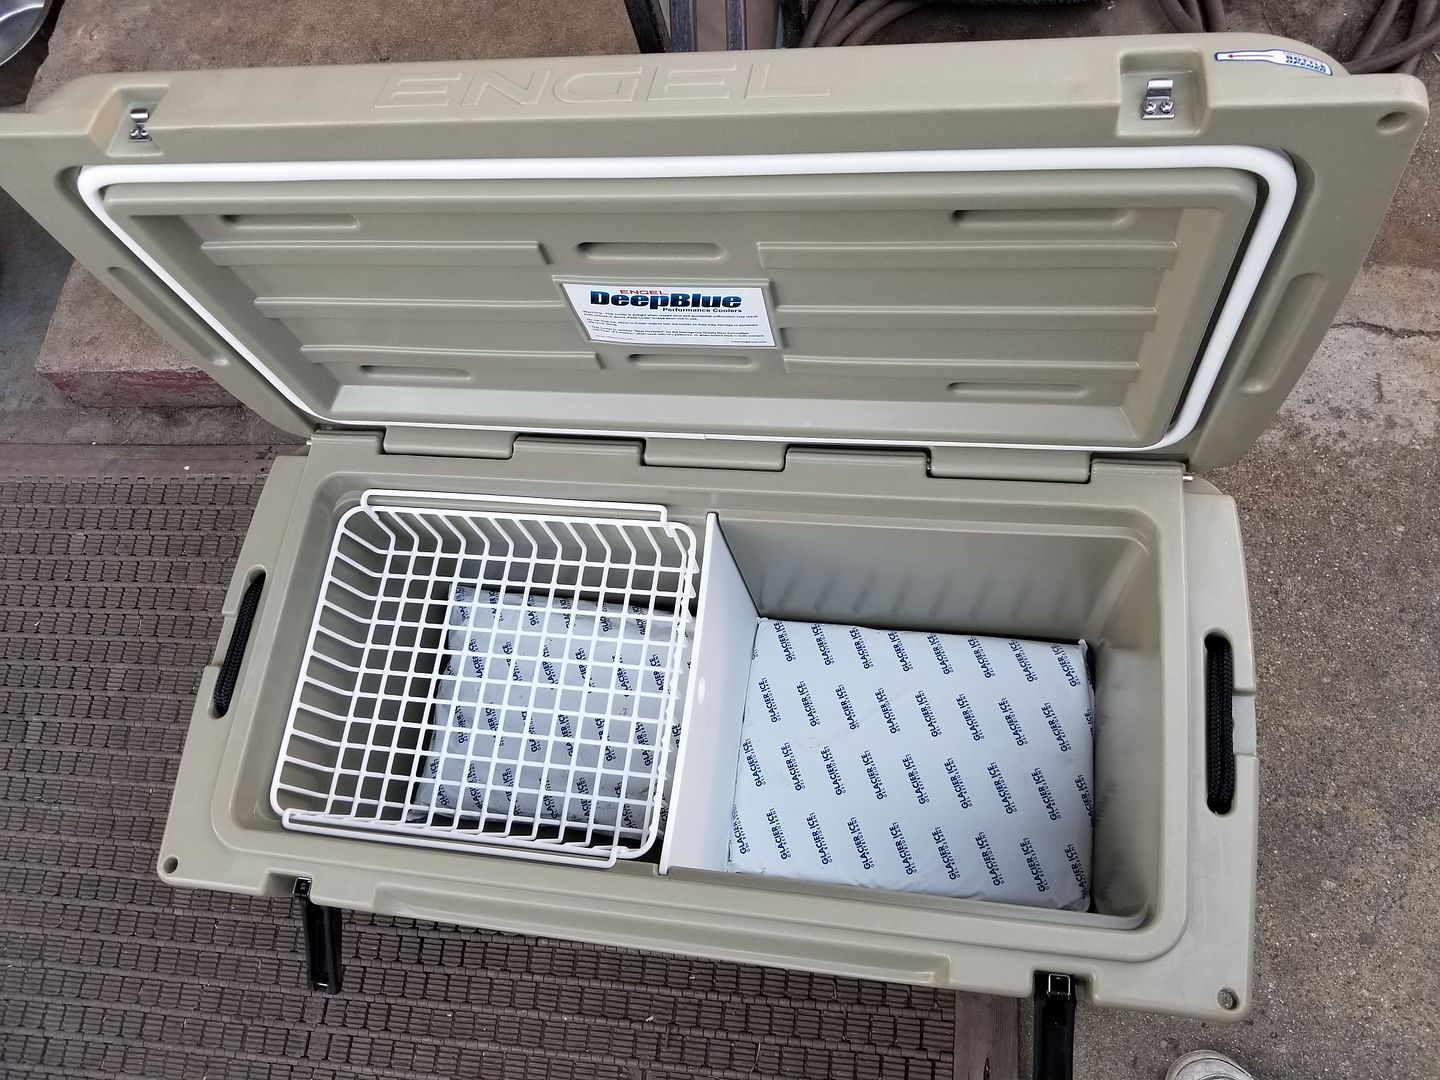
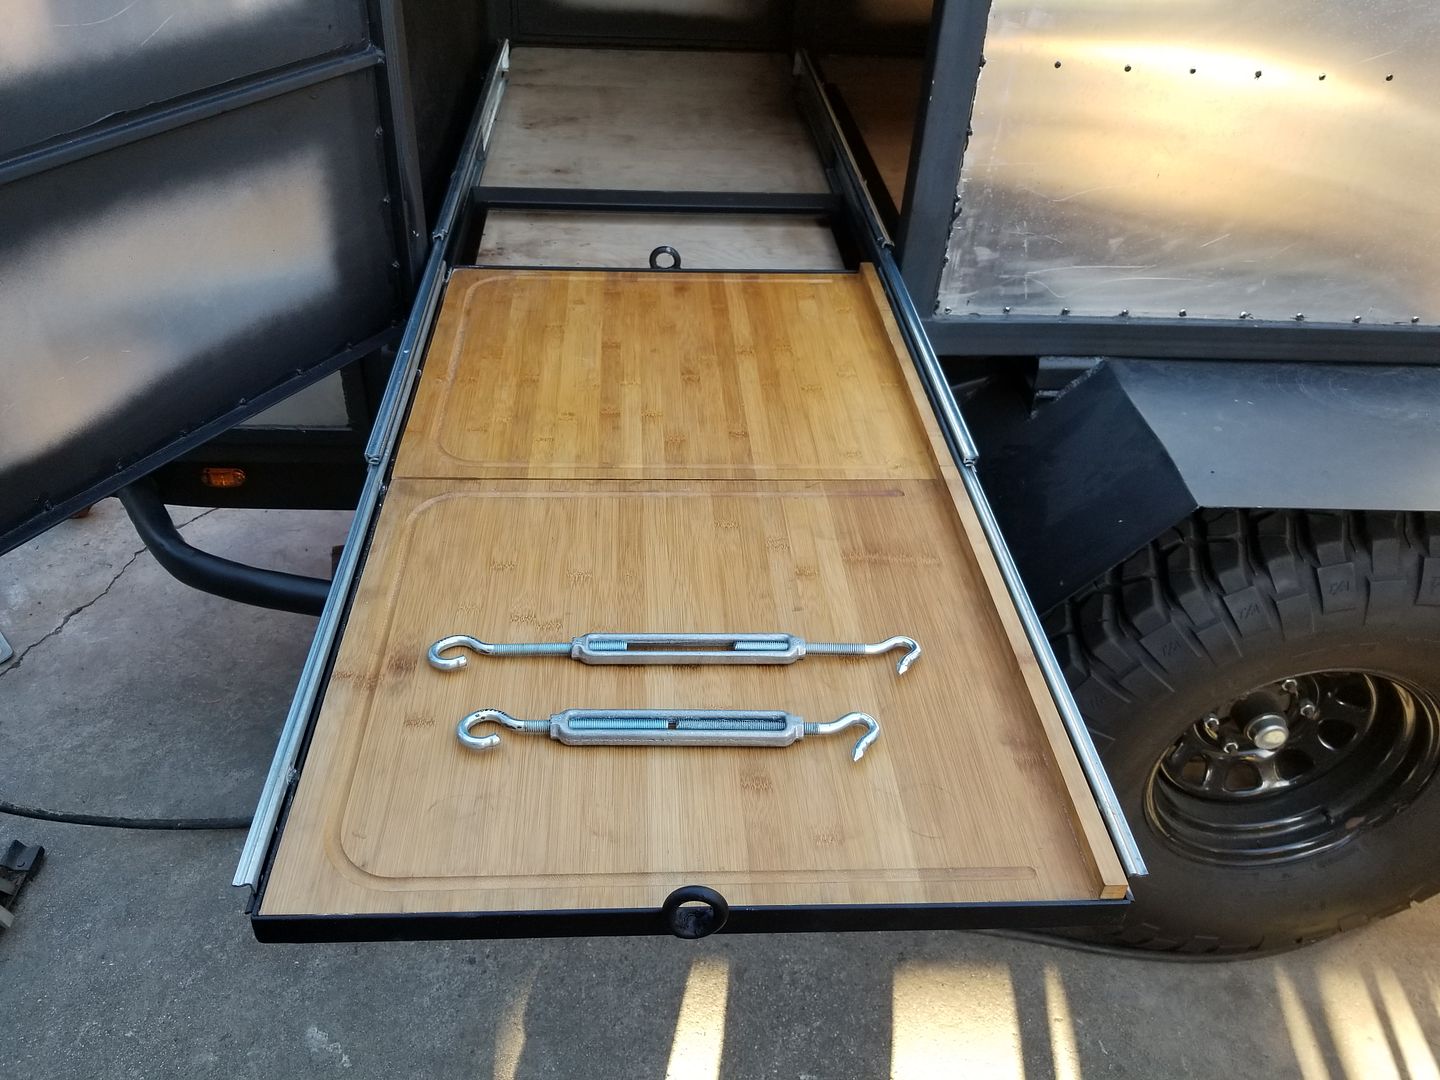
I bought these steel Hook/eye tie downs for the cooler to keep it in place while on the read, hwy, trail.
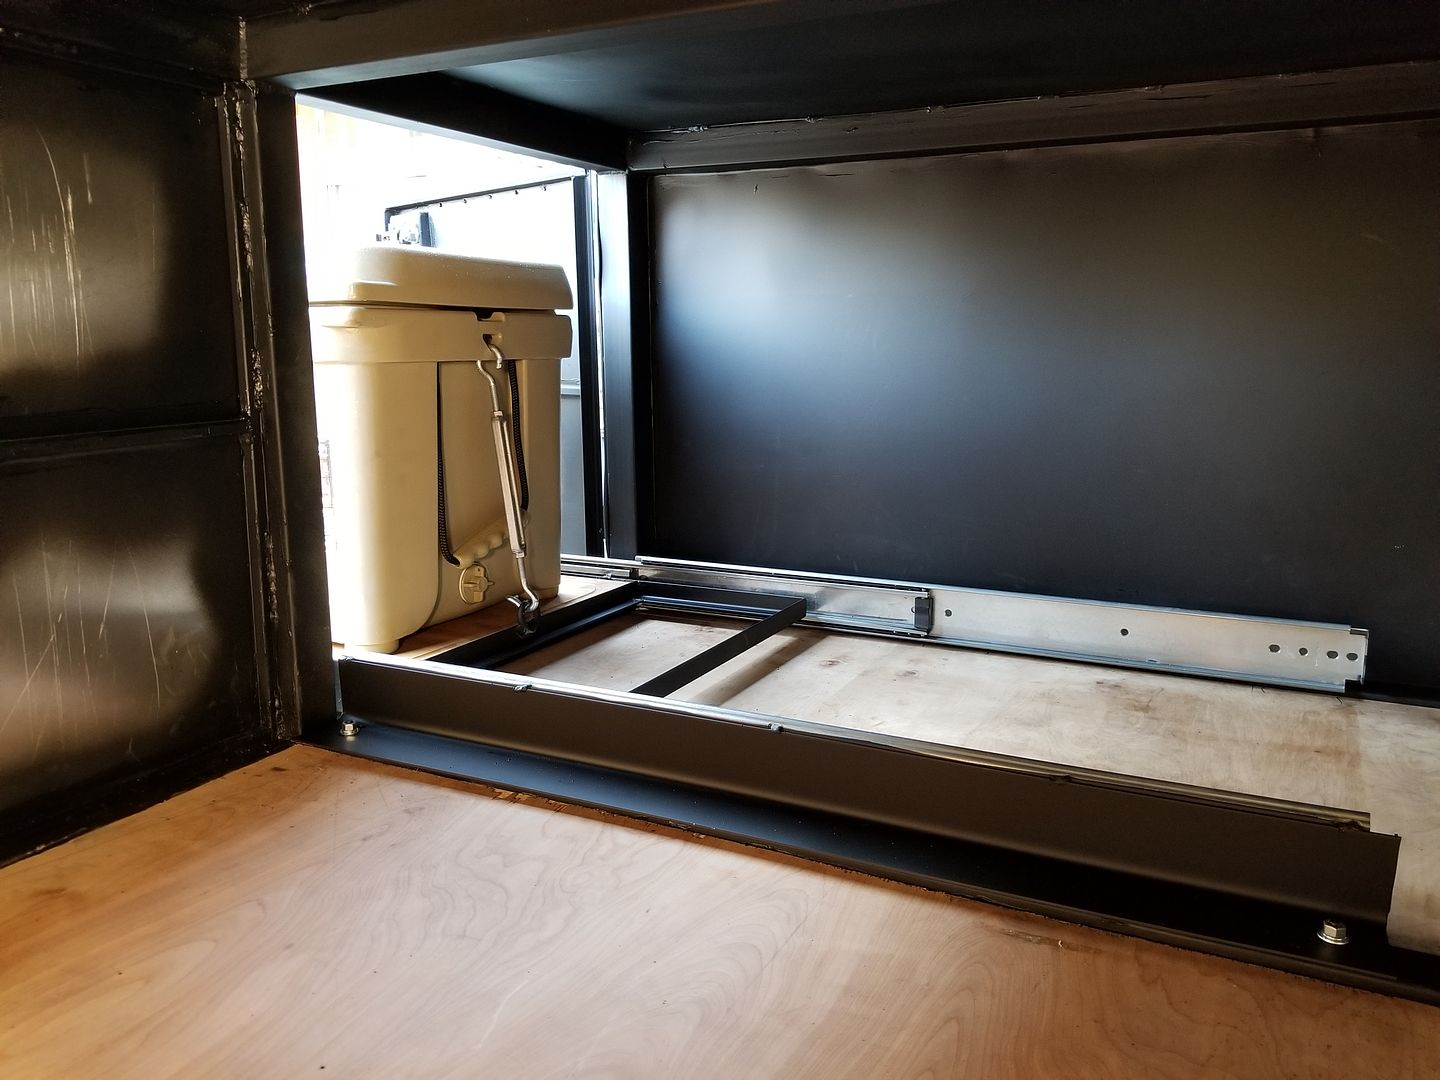


Here is the inside of the trailer. We welded the bolts onto the metal floor rails so we can use a nut on the top side of the slide out bracket to hold it in place. We achieved this by centering the tray that the ice chest would sit on first.


Here you can see how his design would make the rails adjustable.

After we were happy with the fit my dad went on to welding the slides making sure not to weld on the areas where the plastic stoppers are on the back side to avoid damaging the slide out. We had a pressurized water spray bottle on stand by in case the rails got too hot which we did have to use a couple of times.
Centering up

Inspecting where the plastic stoppers are

Tack tack tack

and ready for welds


 \
\

over a couple of days i primed it and then painted it. 3 days later i was ready to install. As you can see it is a pretty tight fit between the door frame. Approximately 3/16" to 1/4" spacing left on each side when you include the thickness of the slide outs. Just enough space to adjust back and forth.


The slides only go up to that point but the remaining portion behind those brackets is going to be for a spice-rack/pantry so the end of that slide out exposes the little cabinet that will eventually be made. You can see the tray for it here on the left.

I bought these steel Hook/eye tie downs for the cooler to keep it in place while on the read, hwy, trail.


Last edited:

