You are using an out of date browser. It may not display this or other websites correctly.
You should upgrade or use an alternative browser.
You should upgrade or use an alternative browser.
ROAM Camper build
- Thread starter Titanpat57
- Start date
")
Titanpat57
Expedition Leader
I'd like to start producing them, but I think to be viable, it needs to be substantially lighter (as in a fiberglass, one piece type pod). I love that particular frame, and have another design in the wings for a future endeavor.
I still have the inside to finish...some nice knotty pine, lightweight T&G....just finishing up some lose ends on the bathroom around the house, and I will start to prefinish the boards for installtion. Thanks for the kudos, and if your interested in a price please feel free to PM me.
I still have the inside to finish...some nice knotty pine, lightweight T&G....just finishing up some lose ends on the bathroom around the house, and I will start to prefinish the boards for installtion. Thanks for the kudos, and if your interested in a price please feel free to PM me.
Titanpat57
Expedition Leader
I like those Bargman tail lights with the LED module in them. I run those on my truck camper. The truck camper came with the Bargman tail light (it's call the model 84) in incandescent version. The first upgrade I did to the camper was to add the LED units.
I couldn't agree more, probably the single, brighest LED unit I've used...this picture doesn't lie...

Titanpat57
Expedition Leader
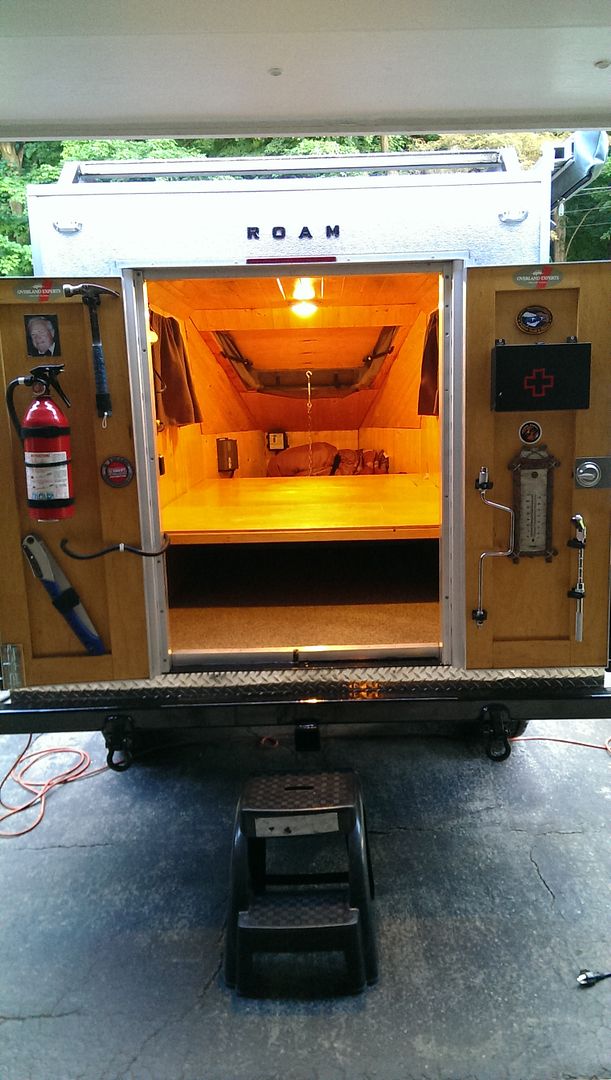
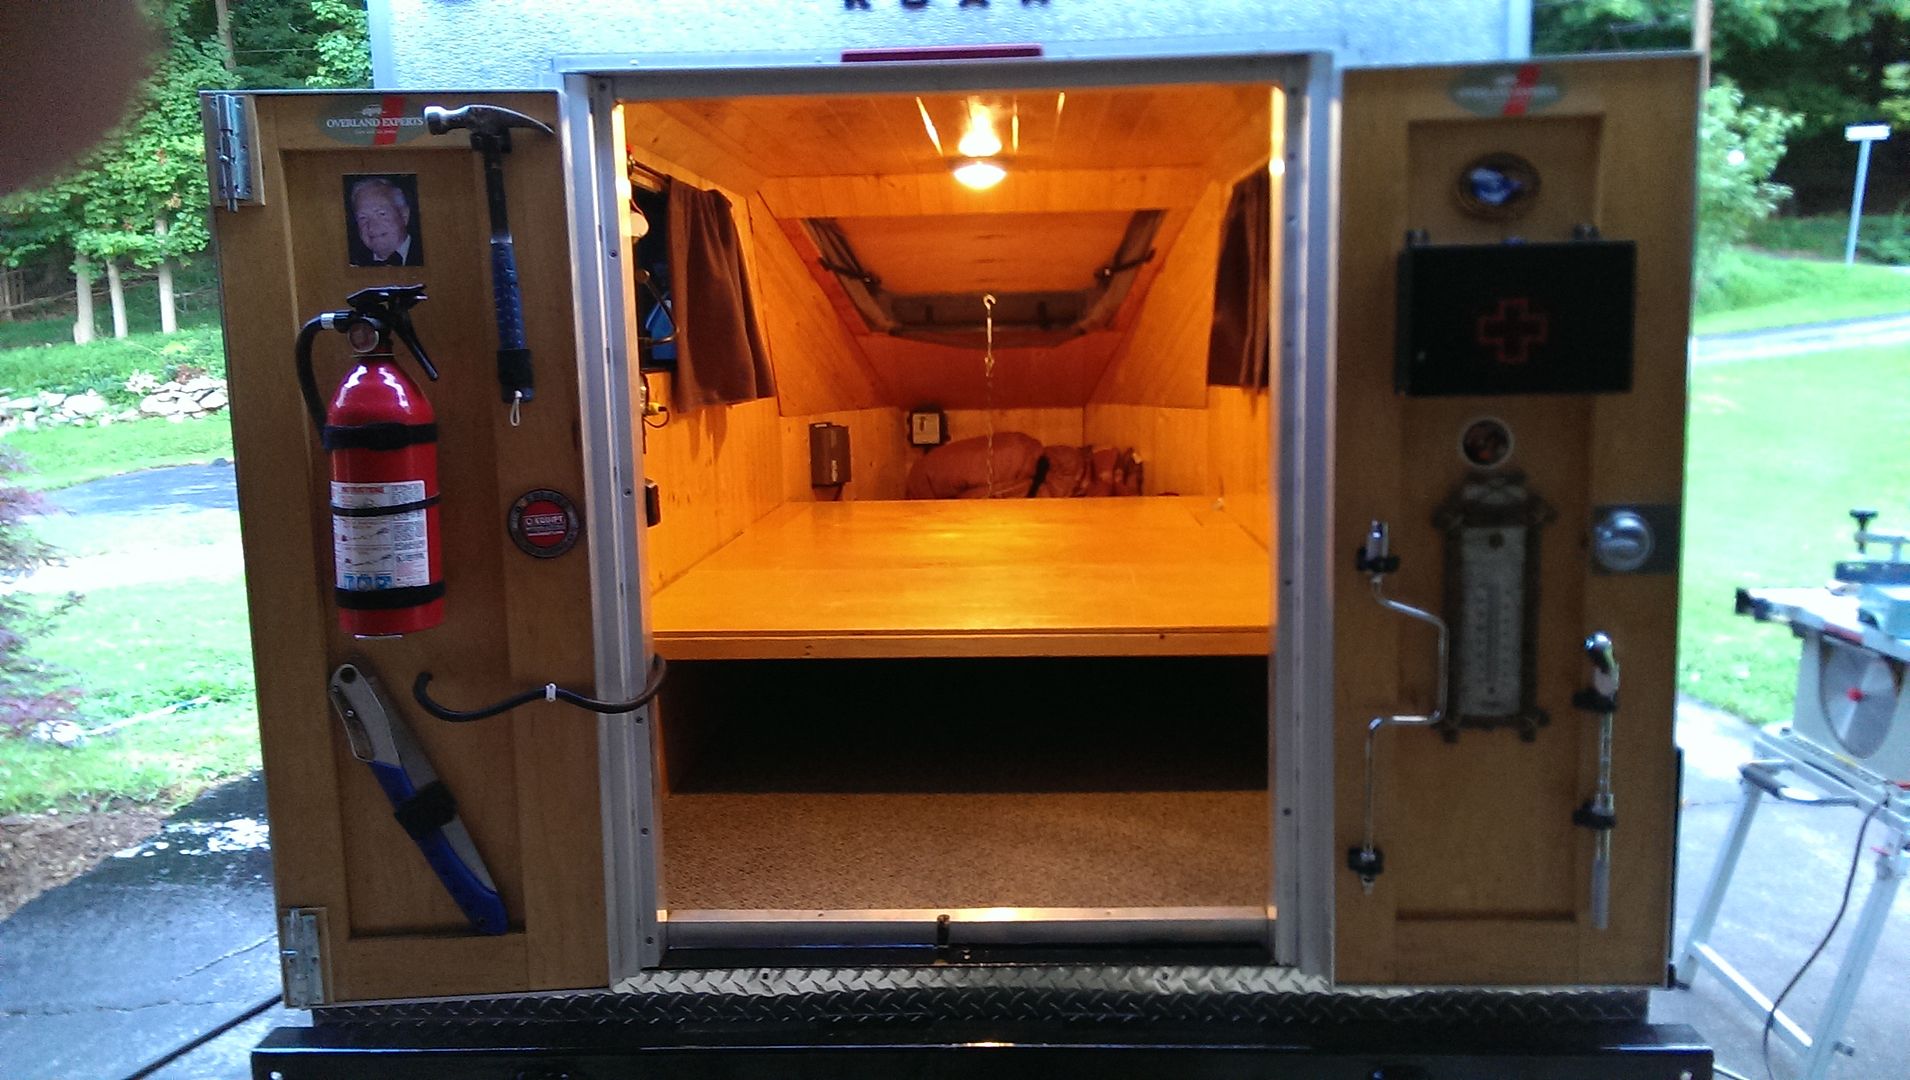
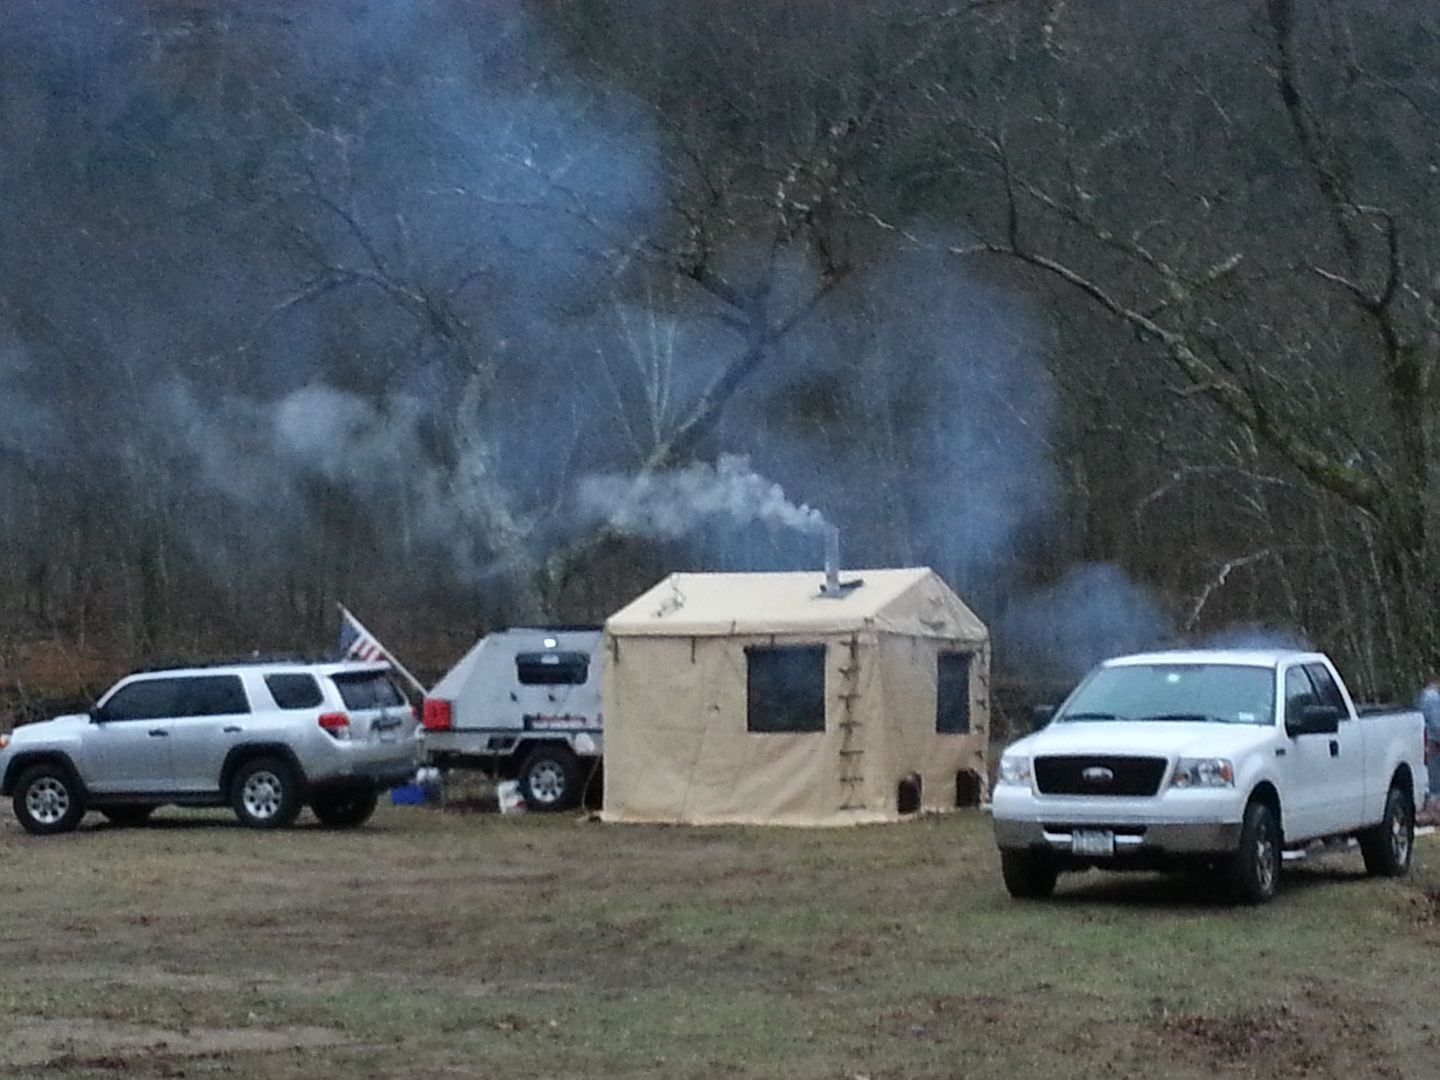
It's been quite awhile since my last update. I've been using the ROAM for almost 3 years, and switched from the RTT and annex to a spacious 11' x 11' tent off the rear of the trailer. I now sleep inside the trailer all the time, and the guest have used the tent, so far to everyone's liking. This spring trout fishing we even had the woodstove burning, and it was super comfortable, even with the April mid-30's temps, and sleet and wind,
Like everyone else, life is hectic and fast paced, so the time we do get off, I just want to relax...and working on the camper vs. using it....well, suffice it to say the relaxation part always seems to win....until this week.
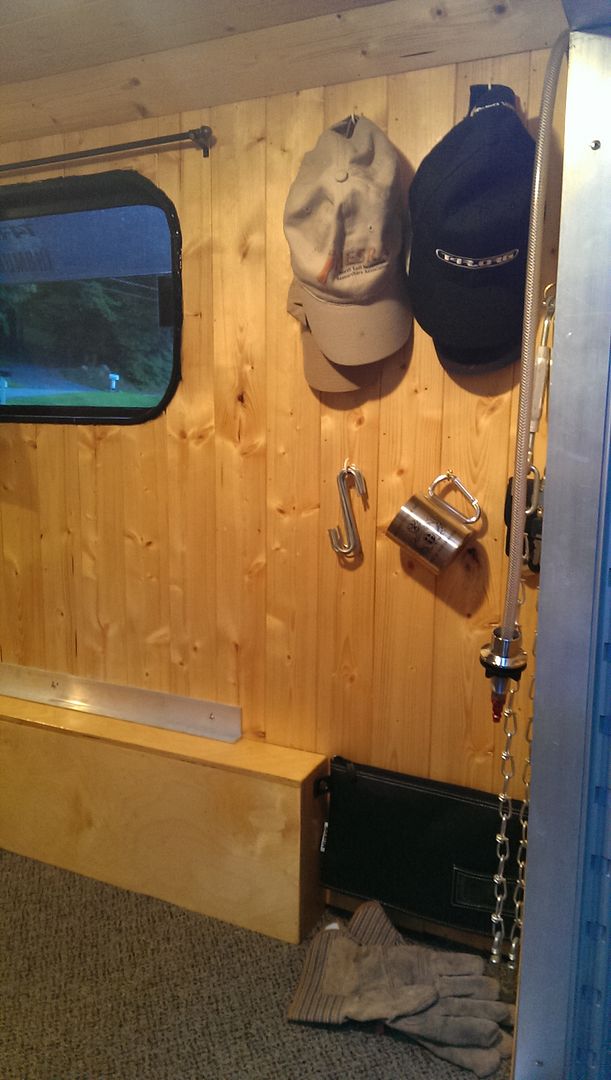
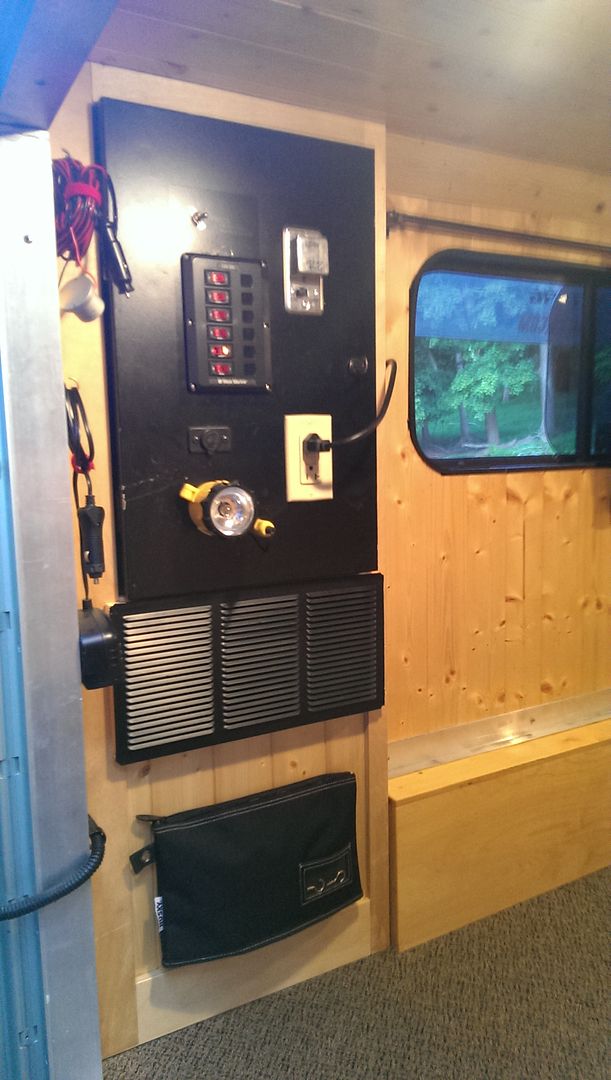
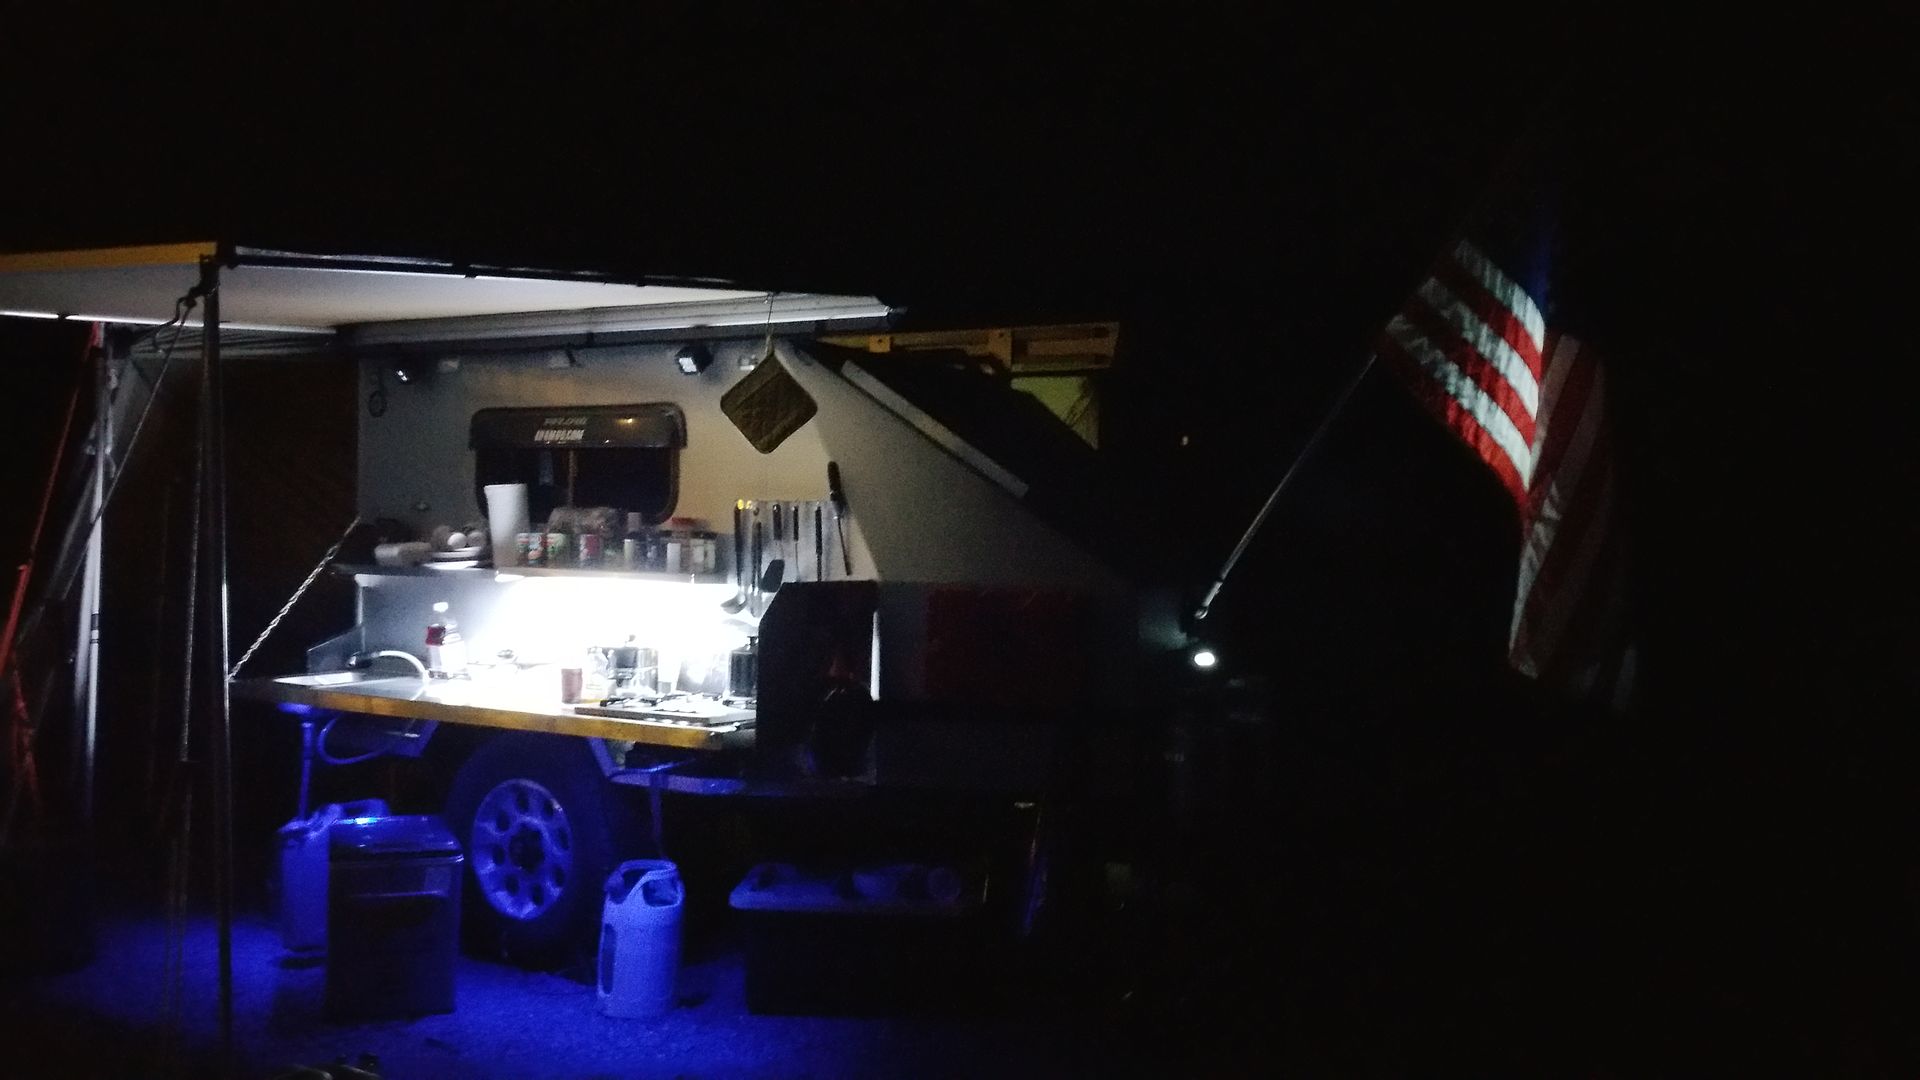
There was unfinished window trim, the electrical panel was untrimmed, it also needed a switch panel upgrade as the original junk switches I bought were giving me trouble. During the build in my haste...I had neglected to install a breaker between the battery bank and panel, so I added a 45 amp model. I also added a dual USB outlet up in the front to power the Pad or Smartphone, a light to light the flag at night. I needed to update the exterior flood lighting as well...and seeing how I have this itch for LED's..I decided to use Flood pods from OKLEDLIGHTBARS.com....and wow!...what a huge difference! I used the flood pod model, very easy to mount, and sick amount of light. The price was pretty easy to take as well.
Well enough yapping, the trim is finished and poly, as far as I can tell the electric is officially finished too. Here's a couple of shots before the it got loaded back up for the next trip.
Safe travels one and all..
Like everyone else, life is hectic and fast paced, so the time we do get off, I just want to relax...and working on the camper vs. using it....well, suffice it to say the relaxation part always seems to win....until this week.
There was unfinished window trim, the electrical panel was untrimmed, it also needed a switch panel upgrade as the original junk switches I bought were giving me trouble. During the build in my haste...I had neglected to install a breaker between the battery bank and panel, so I added a 45 amp model. I also added a dual USB outlet up in the front to power the Pad or Smartphone, a light to light the flag at night. I needed to update the exterior flood lighting as well...and seeing how I have this itch for LED's..I decided to use Flood pods from OKLEDLIGHTBARS.com....and wow!...what a huge difference! I used the flood pod model, very easy to mount, and sick amount of light. The price was pretty easy to take as well.
Well enough yapping, the trim is finished and poly, as far as I can tell the electric is officially finished too. Here's a couple of shots before the it got loaded back up for the next trip.
Safe travels one and all..


Tucson T4R
Expedition Leader
Awesome! Very nice work. It looks like a perfect little nest. Well done. :victory:
Mark Harley
Expedition Leader
Wonderful work my friend!
The envy of every camp site.
Looks great!
The envy of every camp site.
Looks great!
Titanpat57
Expedition Leader
I thought it might be a good time for an update, as things are transforming and have changed a bit. As I use the trailer, it keeps evolving.
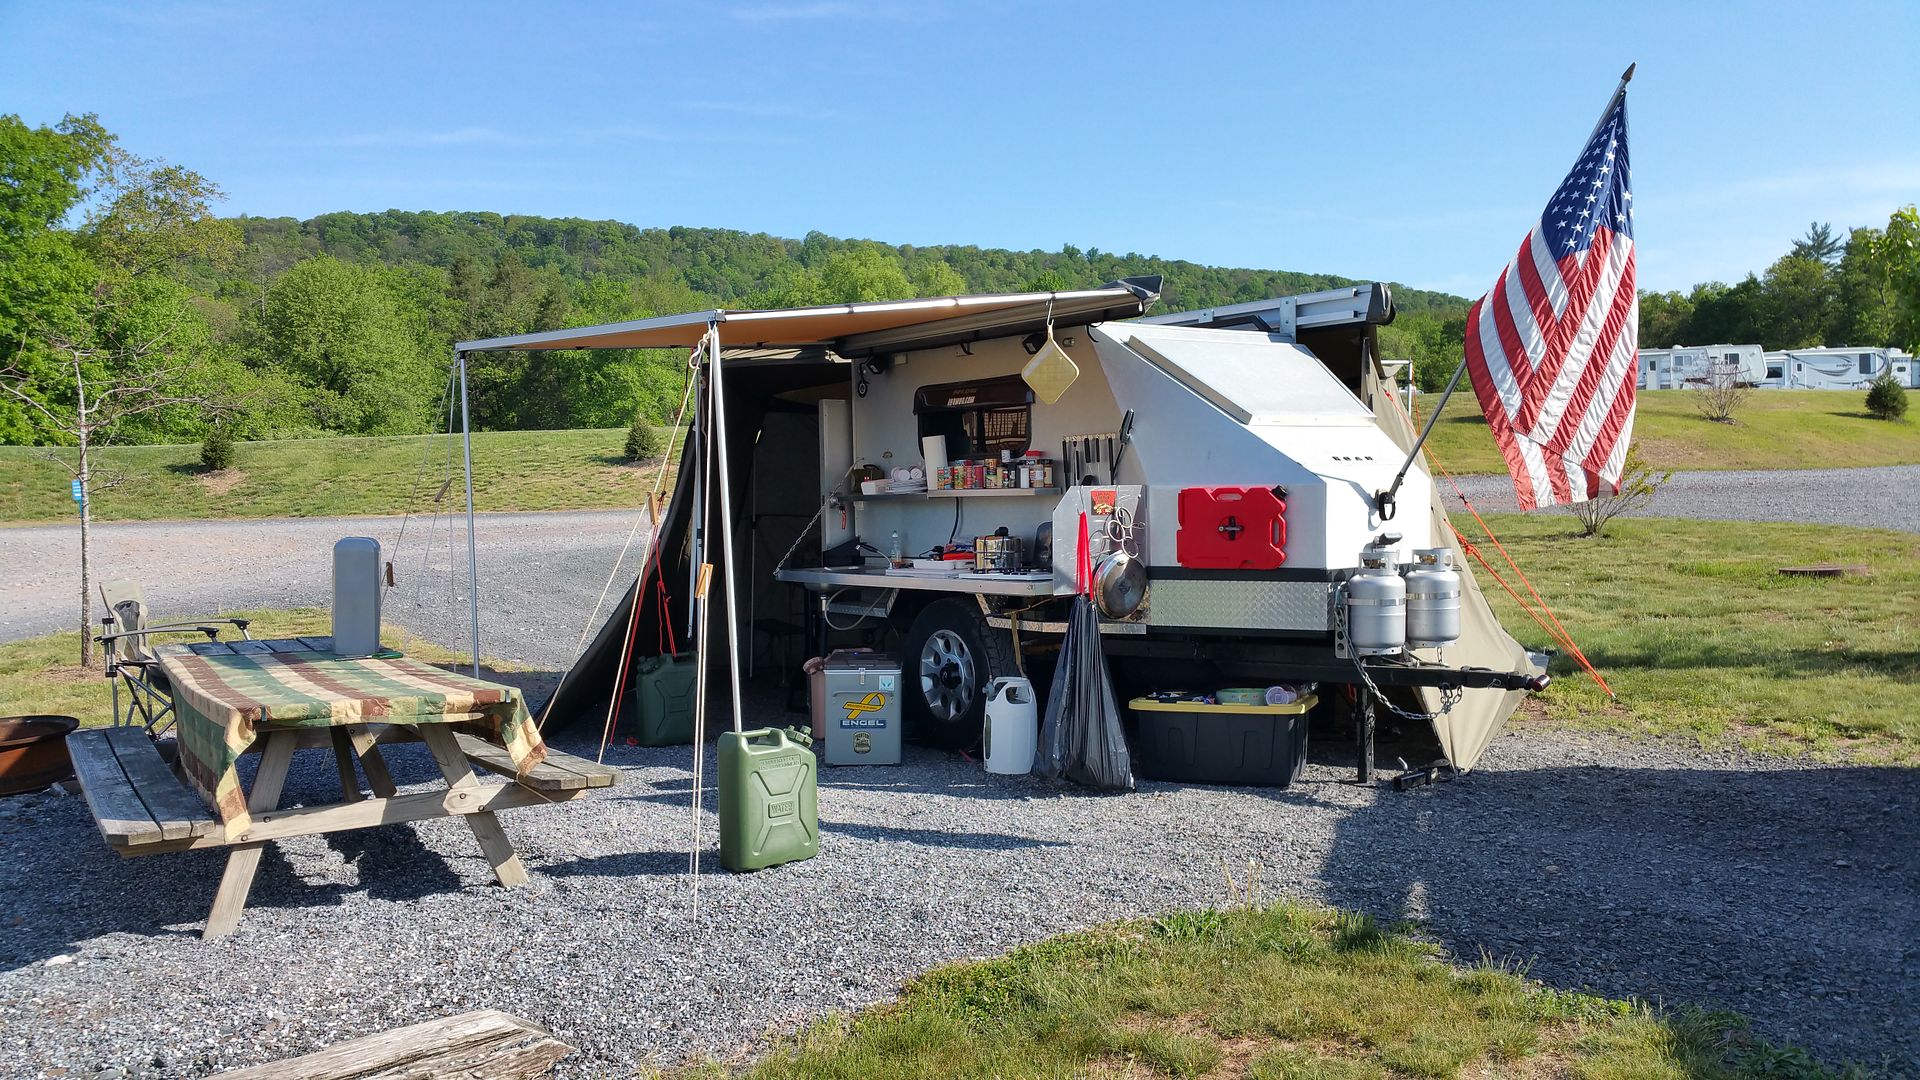
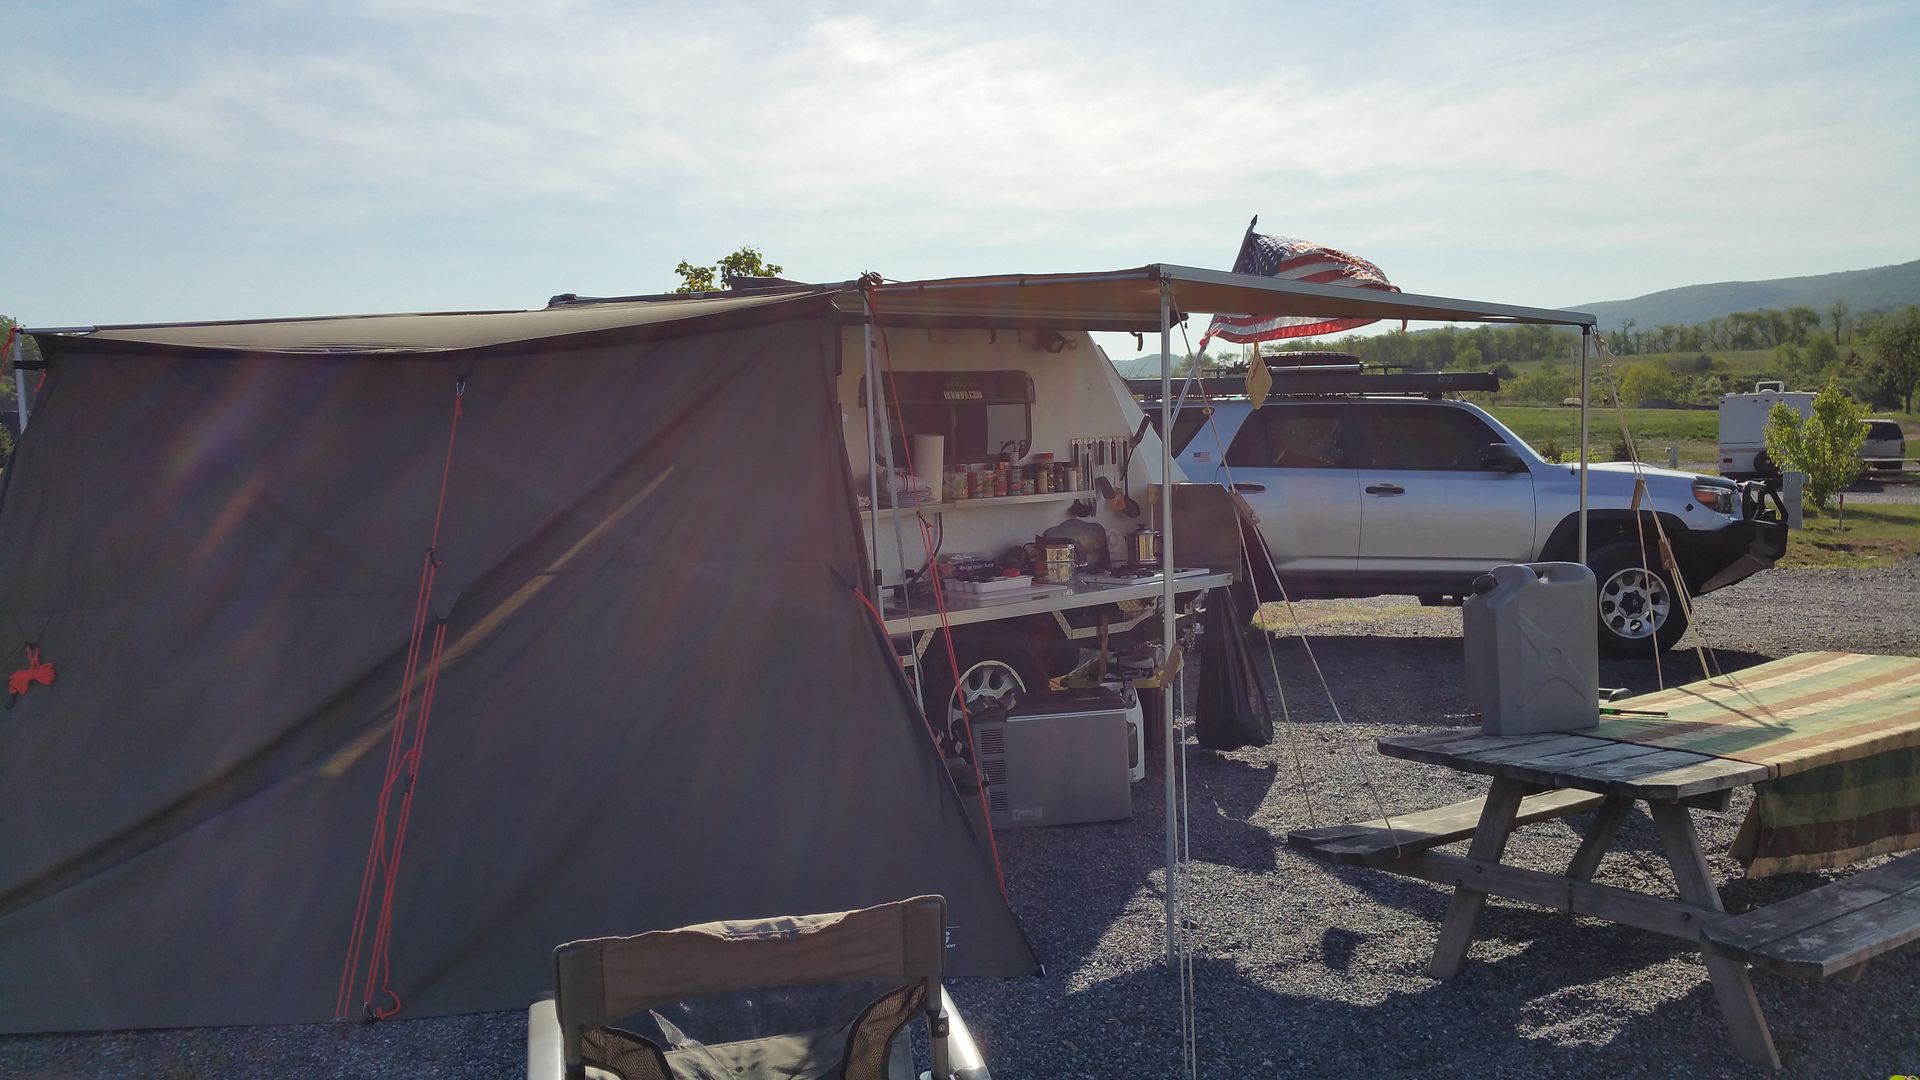
I recently added a Foxwing Awing, and purchased 4 tapered sidewalls. Having set the entire thing up for a 5 day stay at Twin Grove Campground while attending the 8th annual FJNortheasters Run at Rausch Creek, I'm thrilled with my decision to go this route. As some of you may know, the 11' x 11' military Command Post Tent I was using, is in the Classifieds section here on ExPo.
It was pretty windy when I started to set it up, so I connected a 5 gal. water can to the arms to prevent them from lifting while I set it up. Nine times out of ten I'm alone, so I figured I might as well figure out how to do it by myself. Once it is properly anchored, it's very solid. It was a nice break from the heavier fabric and frame of the other tent. It was quite windy during the entire setup, so zipping and anchoring the walls took some ingenuity. The overall quality of the walls and awning appear to be very good, and the fabric/zippers/anchor points look to be durable. I will update this if need be in future, with extended use pros and cons.
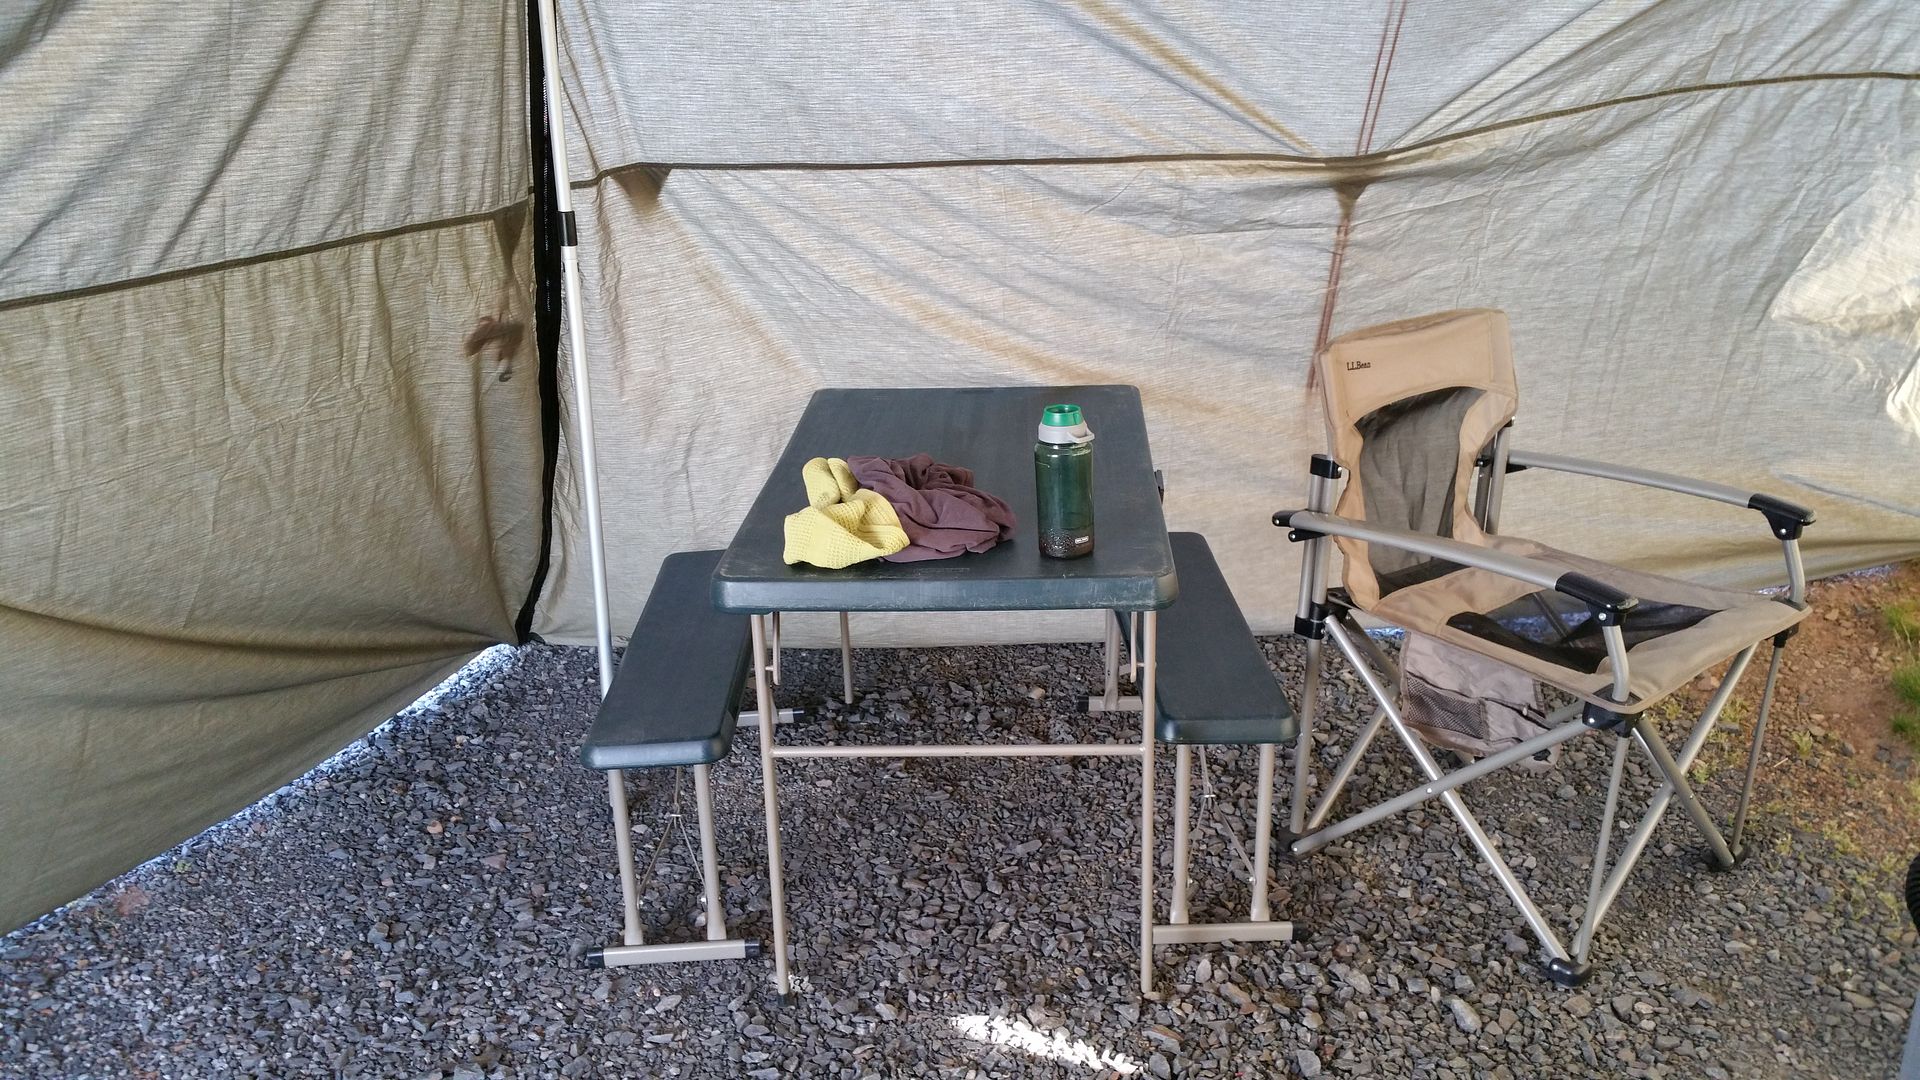
It's actually a bit bigger inside than the old setup, and the angled walls worked much better than I originally thought. The tapered walls add an additional few feet against the outside perimeter, making it even more cavernous. One down side is, it is better set up on flatter ground, as the nature of the tapered panels takes a bit of fitting to conform to uneven terrain, and because of the sheer size, it was not quite as easy to fit to a standard a pull through trailer lot designed to accommodate a travel trailer. There was a sloping hill on two sides of my lot that added a different challenge, but all in all, it worked out.
Another item that will have to be worked out, is closing up the areas between the trailer and awning at the top where it meets the camper, and addressing some sort of zippered entrance door. The way it stands right now, I entered on the kitchen side, between the drop down counter and awning pole. If the bugs were bad, it would've been hard to close up those areas. I think to do it properly, so it looks decent and actually works, I may have to purchase one more tapered wall,and a straight wall, and sew them together. Oz Tent should consider manufacturing window/screen windows in the walls, as knock off Chinese manufacturers have already come out with them.
Immediate future changes include the elimination of the front raising tent section/lid on the camper. It has been a source of occasional leaks (and with the sleeping bags and pillows stored in the nose, it will only be wet when you pull into camp tired, want to set up for bed, and go to sleep right away), and after I opened it up this year, water absorbing into the foam seal (note to self...NEVER use foam to try to create a seal with wood, ALWAYS use rubber), has caused water damage to the birch plywood on the lid, and now it's delaminating. I will fill it in solid, and install new FRP, and new aluminum arms to accommodate my solar panel. another change will be the addition of a Fantastic Fan centered in the ceiling (to make up for the ventilation lost in the front). With the replacement of the front FRP, all the seams will get a new custom bent aluminum trim. Even though the FRP was completely contact cemented, and all joints epoxied, the expansion and contraction of the various materials, make it a source of maintenance and work to keep the nose sealed. After speaking with Tom Hanagan, (who is an absolute wealth of knowledge and experience) from Four Wheel Campers I have a solution to address this, a trim piece coupled with a proper sealant to assure it will never be a problem again.
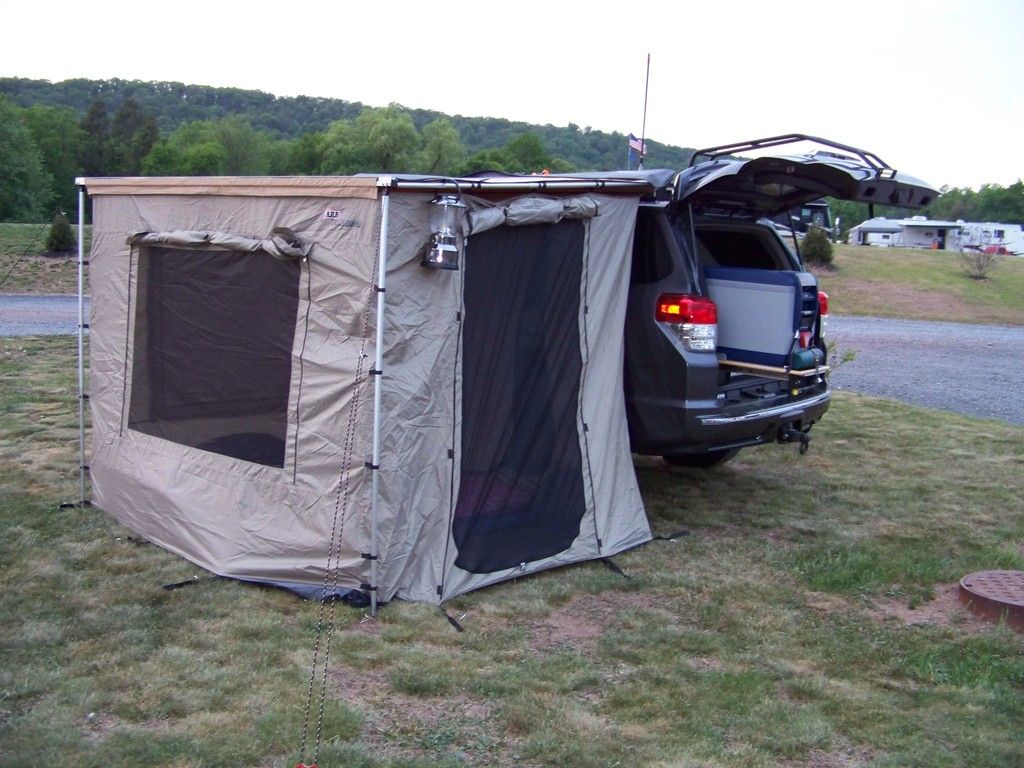
I also got a visit from my buddy Antman, who brought along his 7 year old daughter on her first big campout...what a great kid, we a good time! He brought his 4runner and his ARB awning room...worked out nicely!
Now for some pictures...and as always, thanks for looking.


I recently added a Foxwing Awing, and purchased 4 tapered sidewalls. Having set the entire thing up for a 5 day stay at Twin Grove Campground while attending the 8th annual FJNortheasters Run at Rausch Creek, I'm thrilled with my decision to go this route. As some of you may know, the 11' x 11' military Command Post Tent I was using, is in the Classifieds section here on ExPo.
It was pretty windy when I started to set it up, so I connected a 5 gal. water can to the arms to prevent them from lifting while I set it up. Nine times out of ten I'm alone, so I figured I might as well figure out how to do it by myself. Once it is properly anchored, it's very solid. It was a nice break from the heavier fabric and frame of the other tent. It was quite windy during the entire setup, so zipping and anchoring the walls took some ingenuity. The overall quality of the walls and awning appear to be very good, and the fabric/zippers/anchor points look to be durable. I will update this if need be in future, with extended use pros and cons.
It's actually a bit bigger inside than the old setup, and the angled walls worked much better than I originally thought. The tapered walls add an additional few feet against the outside perimeter, making it even more cavernous. One down side is, it is better set up on flatter ground, as the nature of the tapered panels takes a bit of fitting to conform to uneven terrain, and because of the sheer size, it was not quite as easy to fit to a standard a pull through trailer lot designed to accommodate a travel trailer. There was a sloping hill on two sides of my lot that added a different challenge, but all in all, it worked out.
Another item that will have to be worked out, is closing up the areas between the trailer and awning at the top where it meets the camper, and addressing some sort of zippered entrance door. The way it stands right now, I entered on the kitchen side, between the drop down counter and awning pole. If the bugs were bad, it would've been hard to close up those areas. I think to do it properly, so it looks decent and actually works, I may have to purchase one more tapered wall,and a straight wall, and sew them together. Oz Tent should consider manufacturing window/screen windows in the walls, as knock off Chinese manufacturers have already come out with them.
Immediate future changes include the elimination of the front raising tent section/lid on the camper. It has been a source of occasional leaks (and with the sleeping bags and pillows stored in the nose, it will only be wet when you pull into camp tired, want to set up for bed, and go to sleep right away), and after I opened it up this year, water absorbing into the foam seal (note to self...NEVER use foam to try to create a seal with wood, ALWAYS use rubber), has caused water damage to the birch plywood on the lid, and now it's delaminating. I will fill it in solid, and install new FRP, and new aluminum arms to accommodate my solar panel. another change will be the addition of a Fantastic Fan centered in the ceiling (to make up for the ventilation lost in the front). With the replacement of the front FRP, all the seams will get a new custom bent aluminum trim. Even though the FRP was completely contact cemented, and all joints epoxied, the expansion and contraction of the various materials, make it a source of maintenance and work to keep the nose sealed. After speaking with Tom Hanagan, (who is an absolute wealth of knowledge and experience) from Four Wheel Campers I have a solution to address this, a trim piece coupled with a proper sealant to assure it will never be a problem again.
I also got a visit from my buddy Antman, who brought along his 7 year old daughter on her first big campout...what a great kid, we a good time! He brought his 4runner and his ARB awning room...worked out nicely!
Now for some pictures...and as always, thanks for looking.


Last edited: