wreckdiver1321
Overlander
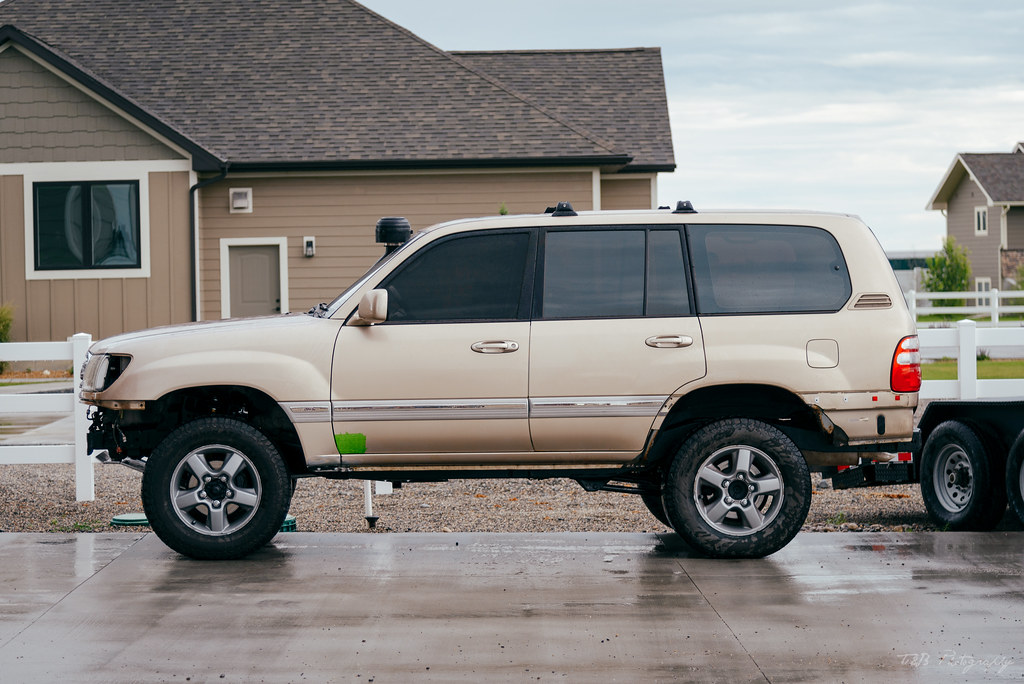
I was down to the final few steps to putting Sandy back down on her own tires, just a few quick things left.
First up was the rear sway bar. Again, I had to drill out a couple of the mounting holes, but these were tapped to accept a slightly larger bolt rather than use a nut, as all of these fittings are difficult to access. I used a slightly extended SuperPro sway bar end link kit and OE rubber bushings on the diff. Everything got a healthy dab of grease before being reinstalled.
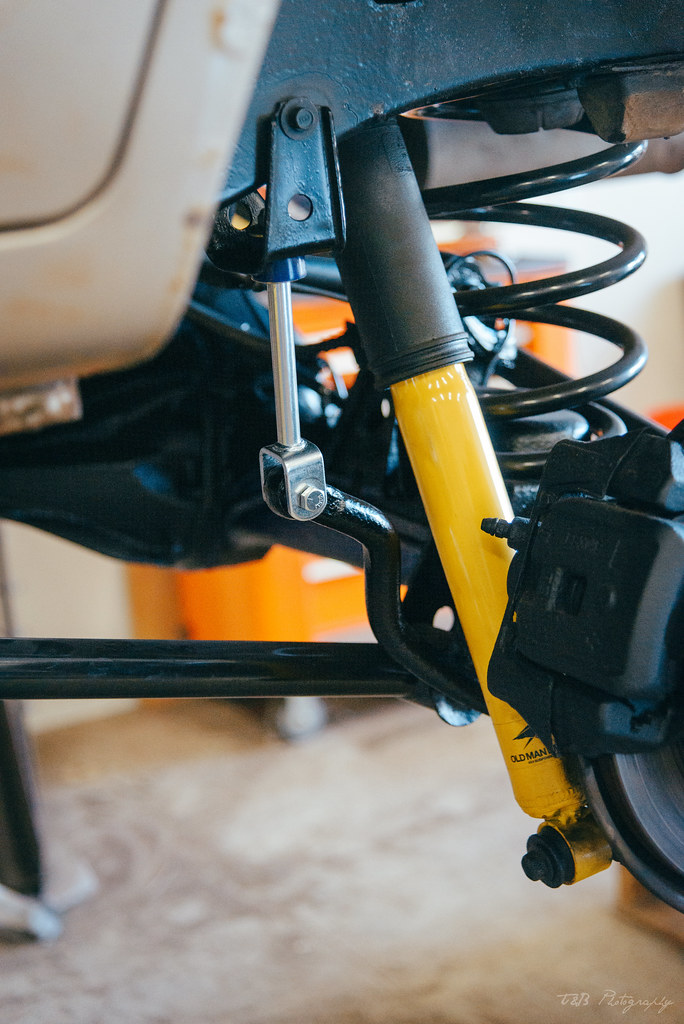
While I was at the rear axle, I also went to work installing my extended diff breather. I got the ARB kit, which I do like, though the plastic tubing is a lot more persnickety than rubber would be. I really like the upper breather though. I picked a spot on the firewall and mounted the manifold before pulling the old breather hose off and securing the new line to the rear diff. Then it was a long process of routing it up to the firewall.


With that small project done, I pulled the skid plate out and burned in the remaining side gussets, as well as finishing up some other welding.
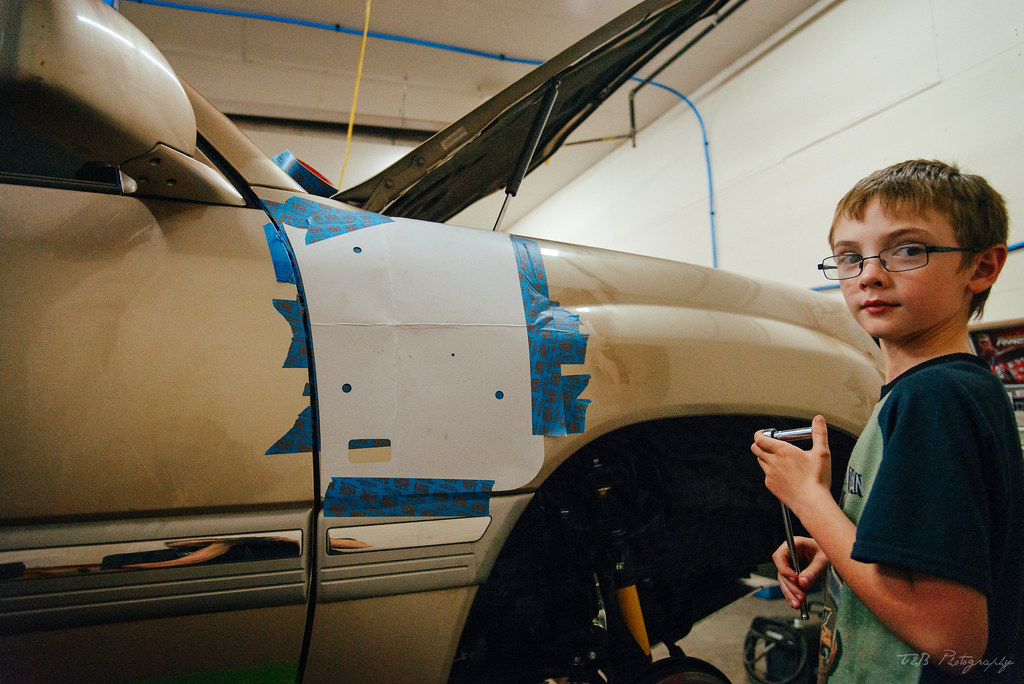
While I was busy doing that, my brother in law fixed the rust holes on my fenders using a few cut sections generously provided by an ih8mud member. Originally we were going to stitch the panel together behind the molding, but it turned out the fender pieces were very different from factory fenders, sticking out a good half inch wider on either side. So instead we just cut off the sections we needed and welded them into place. A little grinding and shaping, and we were in business.


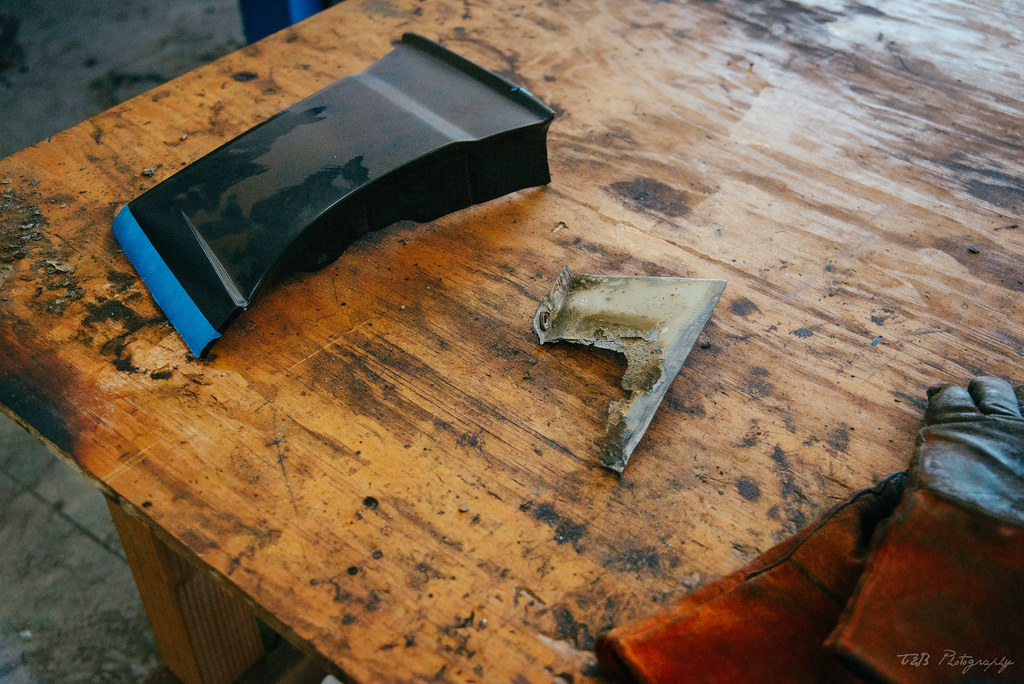
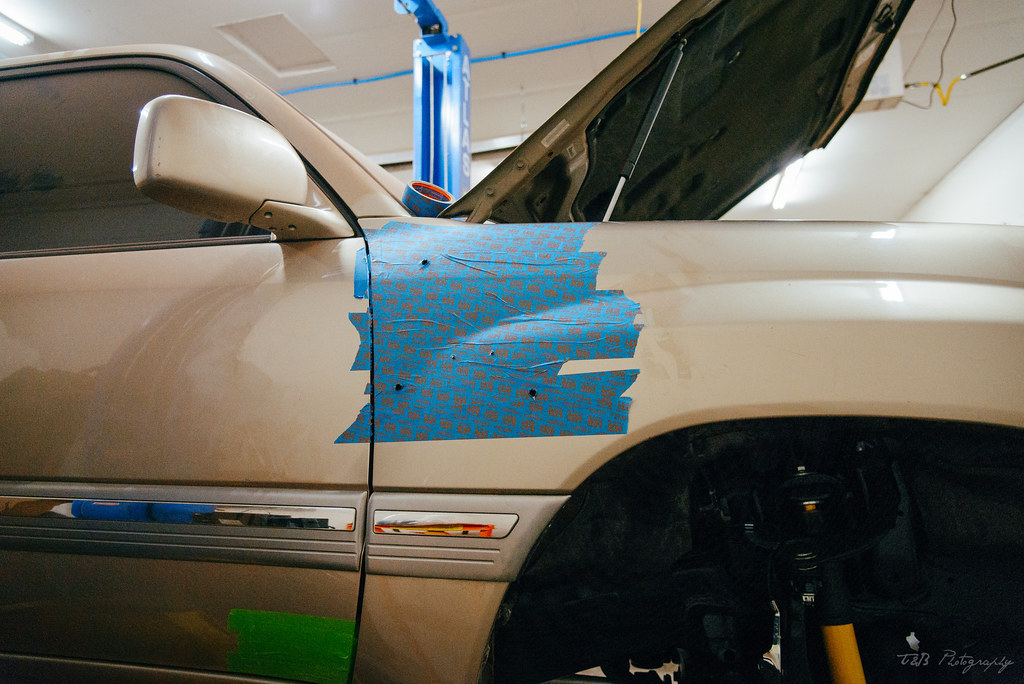
For the first time in a long time, Sandy had front fenders again! With them on the truck, we could get the patch panels properly lined up and tacked before welding.


Then, my brother in law and I switched. I handed over the welder and picked up the grinder and drill. I opened up a hole for the transmission drain plug and began cleaning up the welds while he stitched the new fender pieces on.


By the time he had both fenders all lined up and ready to go, I had finished most of the cleanup on the skid plate. I may have taken it father than necessary, but I think it looks pretty solid for my first metal working project. It should be plenty strong for what I do. Any more experienced metal workers feel free to tear this apart haha!

Then it was time to finish up the body work for the day. We mixed up a layer of filler to finish off the fenders and front of the rockers, then applied. We used Bondo Glass filler, which has been impregnated with fiberglass for better strength. But regardless, we went as minimal as possible. Then it was time to wait for that to set before sanding smooth.

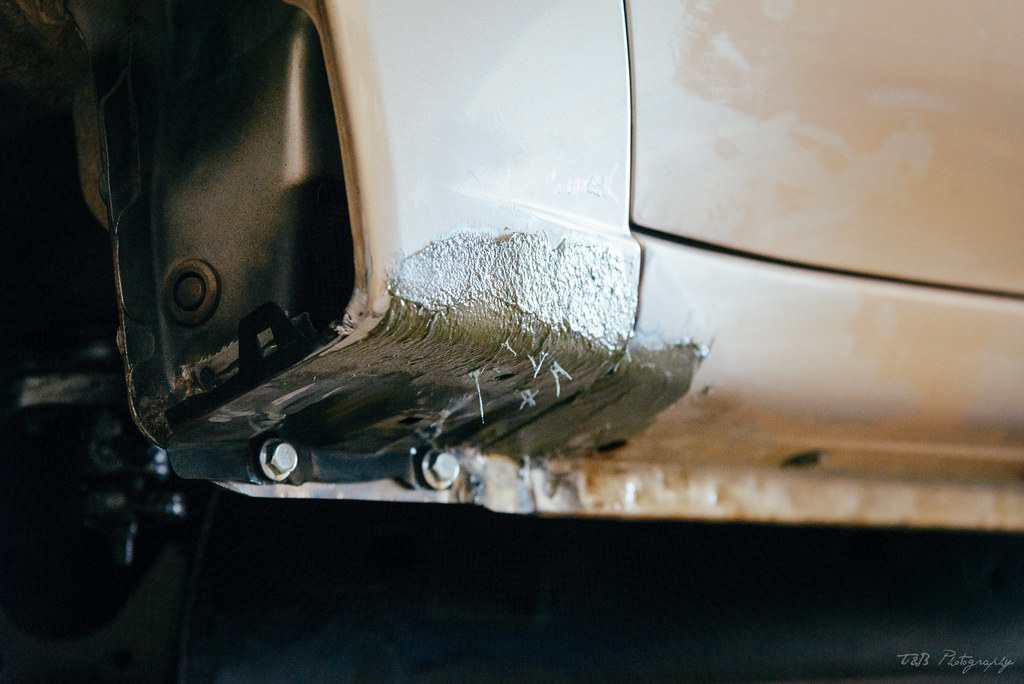
I spent the remaining hour of the evening sanding the filler back to smooth before calling it a night.

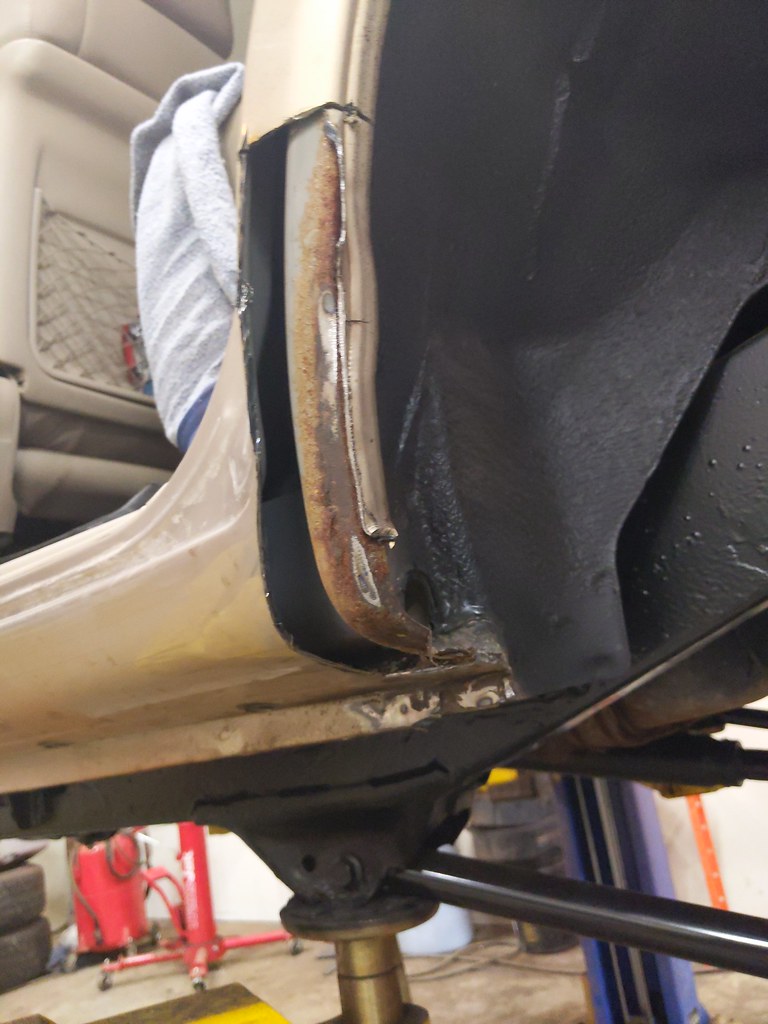
The next day was only a partial day, but it was all that was needed. We did a little bit of work on cutting out the extra rusty sections first.


First up was the rear sway bar. Again, I had to drill out a couple of the mounting holes, but these were tapped to accept a slightly larger bolt rather than use a nut, as all of these fittings are difficult to access. I used a slightly extended SuperPro sway bar end link kit and OE rubber bushings on the diff. Everything got a healthy dab of grease before being reinstalled.

While I was at the rear axle, I also went to work installing my extended diff breather. I got the ARB kit, which I do like, though the plastic tubing is a lot more persnickety than rubber would be. I really like the upper breather though. I picked a spot on the firewall and mounted the manifold before pulling the old breather hose off and securing the new line to the rear diff. Then it was a long process of routing it up to the firewall.


With that small project done, I pulled the skid plate out and burned in the remaining side gussets, as well as finishing up some other welding.
While I was busy doing that, my brother in law fixed the rust holes on my fenders using a few cut sections generously provided by an ih8mud member. Originally we were going to stitch the panel together behind the molding, but it turned out the fender pieces were very different from factory fenders, sticking out a good half inch wider on either side. So instead we just cut off the sections we needed and welded them into place. A little grinding and shaping, and we were in business.


For the first time in a long time, Sandy had front fenders again! With them on the truck, we could get the patch panels properly lined up and tacked before welding.


Then, my brother in law and I switched. I handed over the welder and picked up the grinder and drill. I opened up a hole for the transmission drain plug and began cleaning up the welds while he stitched the new fender pieces on.


By the time he had both fenders all lined up and ready to go, I had finished most of the cleanup on the skid plate. I may have taken it father than necessary, but I think it looks pretty solid for my first metal working project. It should be plenty strong for what I do. Any more experienced metal workers feel free to tear this apart haha!

Then it was time to finish up the body work for the day. We mixed up a layer of filler to finish off the fenders and front of the rockers, then applied. We used Bondo Glass filler, which has been impregnated with fiberglass for better strength. But regardless, we went as minimal as possible. Then it was time to wait for that to set before sanding smooth.


I spent the remaining hour of the evening sanding the filler back to smooth before calling it a night.

The next day was only a partial day, but it was all that was needed. We did a little bit of work on cutting out the extra rusty sections first.


