Stumptaco's has gone over to the darkside..XJ style.

StumpXJ

SE Expedition Society
What kind of glove Bill? I didnt see this until I was getting ready to do an update. I havent seen any randomly sized gloves though....what do they look like?
 

StumpXJ

SE Expedition Society
Time for an update....a picture story, if you will.

So since the last picture I have:

Gone Camping

IMG_20120210_145624.jpg


Trimmed another set of XJ Fenders

IMG_20120208_110334.jpg


Built and installed a roll bar in my Father-in-laws little fun car, the Miata. (In Japanese, Miata means - "only midgets can drive this")

IMG_20120213_122157.jpg


IMG_20120220_130046.jpg


IMG_20120220_142000.jpg


Played Daddy daycare several times due to a semi-sick kid over the last couple weeks...

IMG_20120220_162336.jpg


IMG_20120222_123457.jpg


IMG_20120223_083744.jpg


IMG_20120223_112237.jpg


IMG_20120223_120613.jpg


Fabbed up a receiver hitch on the back of Yeti_in_GA's (Steve) offroad popup camper, and modified a ammo can for his swing out gate.

IMG_20120229_134335.jpg


IMG_20120229_134921.jpg
 

StumpXJ

SE Expedition Society
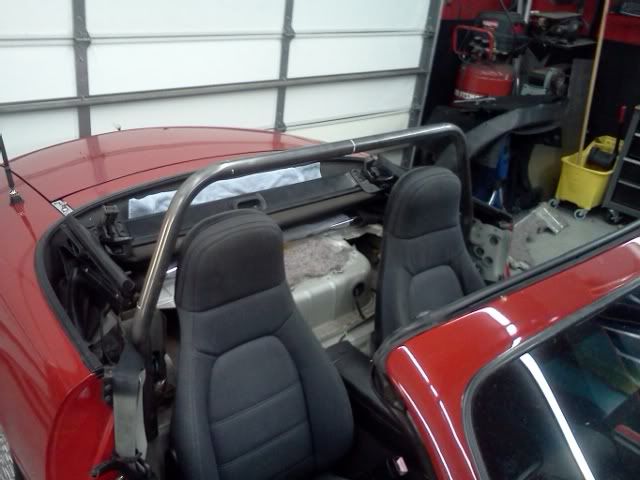
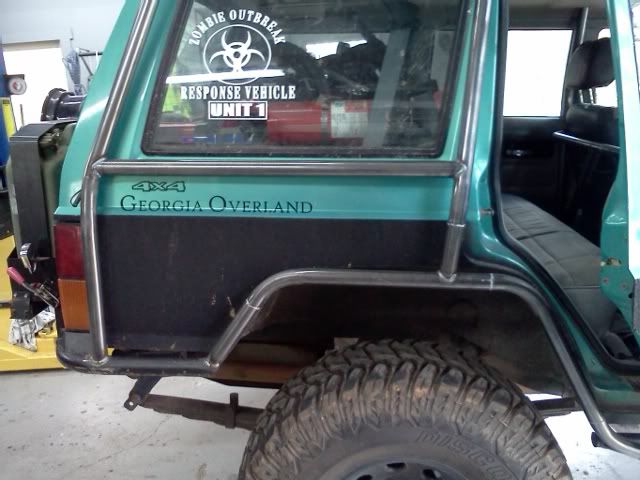
And now finally what you have clicked on this link to see, some progress on the Teal **********.

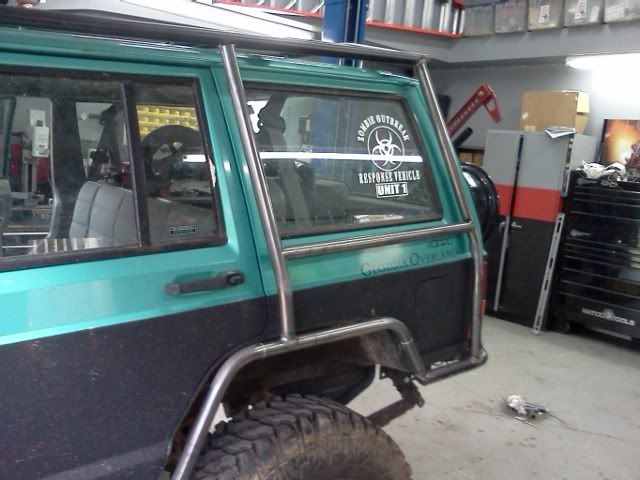
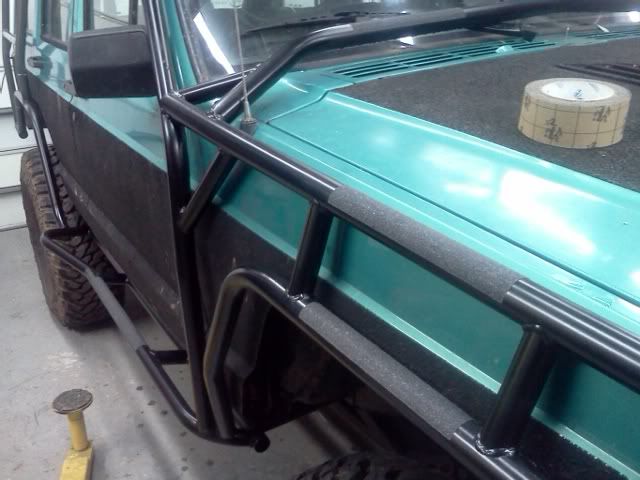
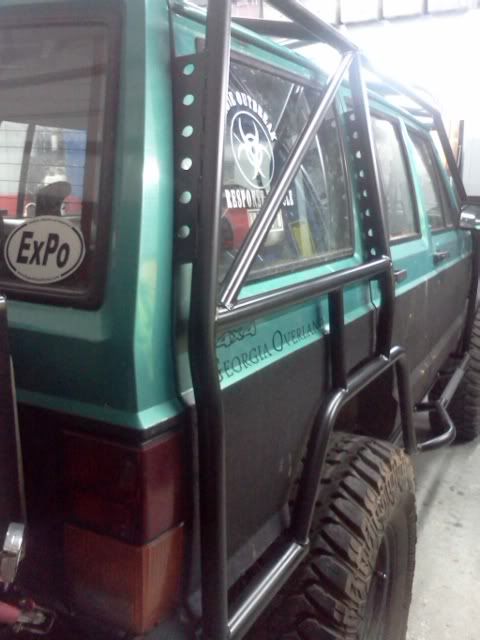
Got some more tube done on the outside.

IMG_20120221_153800.jpg


IMG_20120221_153810.jpg


IMG_20120221_153825.jpg


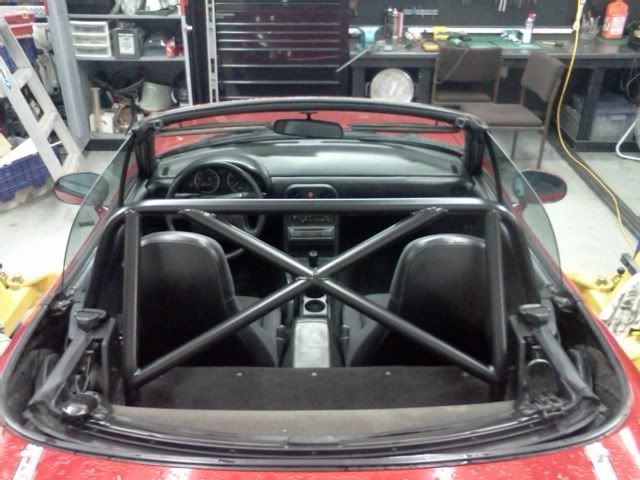
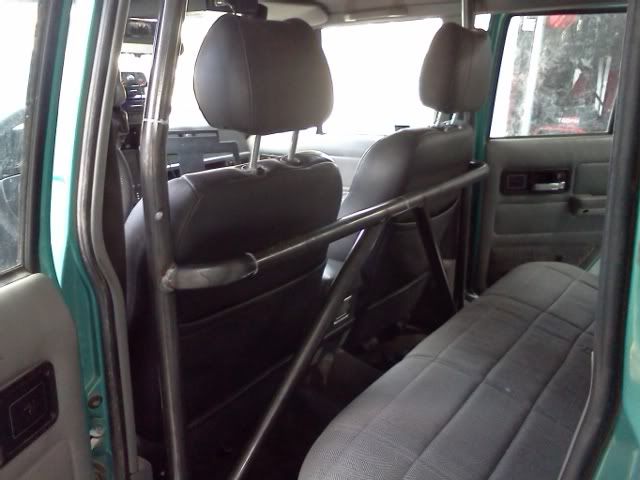
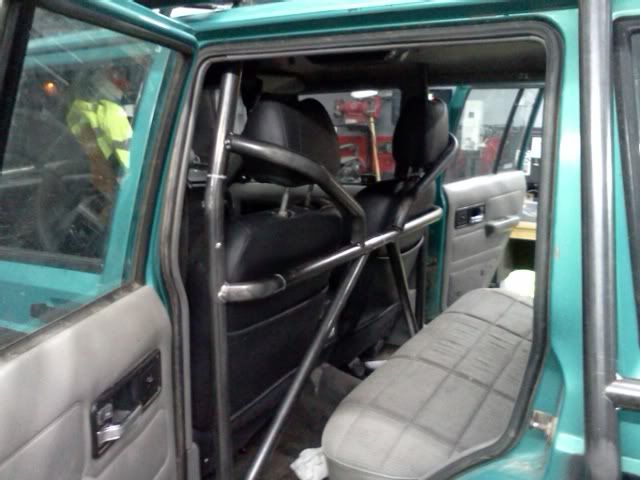
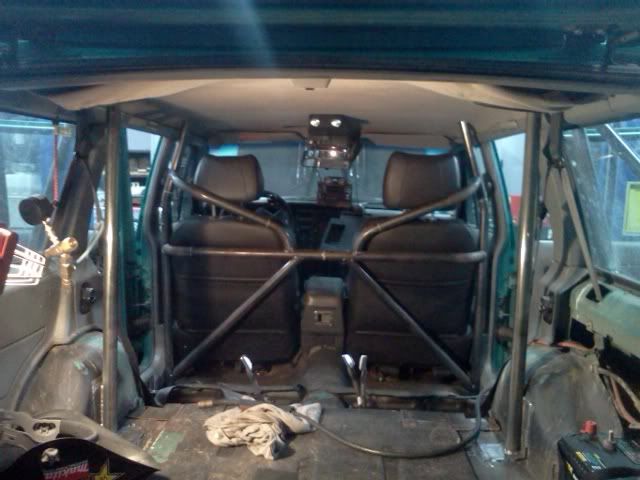
Got the majority of the B-pillar tacked in.

IMG_20120221_153745.jpg


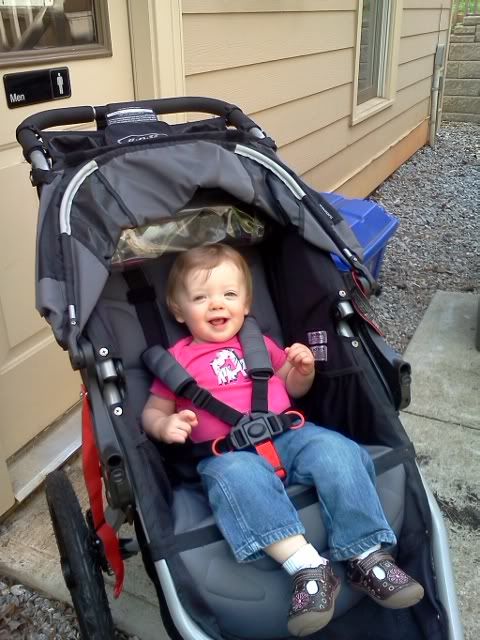
Car seat still fits in a rearward or forward facing direction!

IMG_20120222_222642.jpg


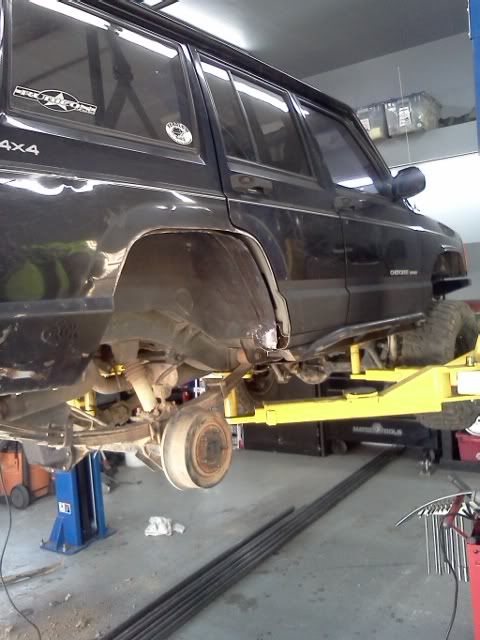
I figured I would work my way around the Jeep and do it all in sections. Finishing the welds, cleaning anything up, adding gussets etc. I am also trying to paint each section as I go. Started with the front passenger side.

IMG_20120227_145500.jpg


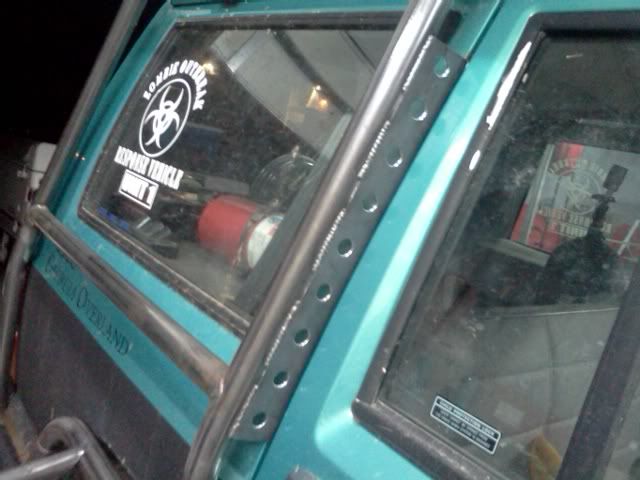
Some appropriately placed grip tape, cant tell you how many times I have had to crawl out of or on top of a vehicle to get to something, especially when winching out of deep holes/mud.

IMG_20120228_211710.jpg


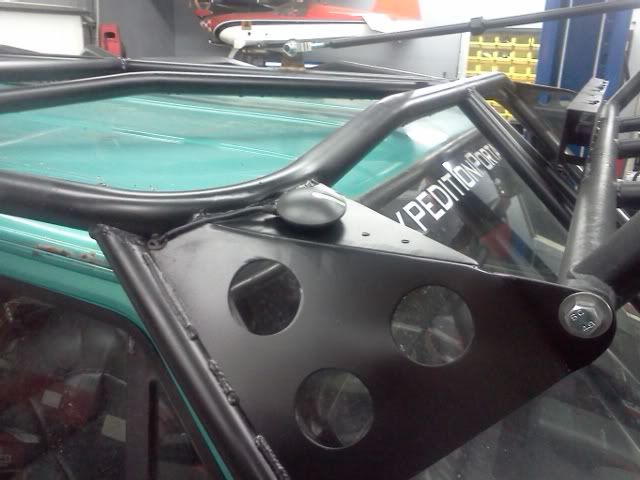
Got my GPS Receiver mounted.

IMG_20120228_205948.jpg


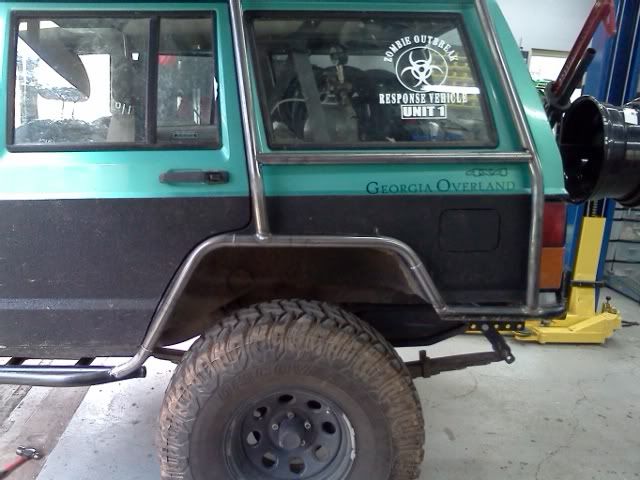
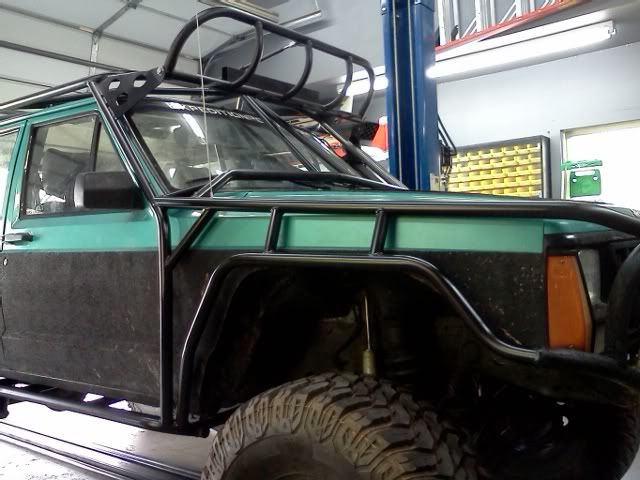
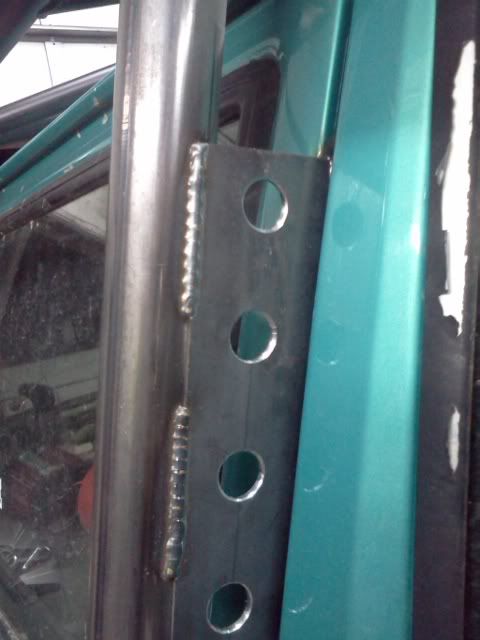
Started tying in the exo cage to the unibody. Speedholes for style points.

IMG_20120302_200247.jpg


IMG_20120302_200258.jpg


This basically is a finished (fully welded, and painted) passenger side. Note the extra tube/guessets on the rear section, as well as the D-pillar unibody tie-in.

IMG_20120302_223318.jpg


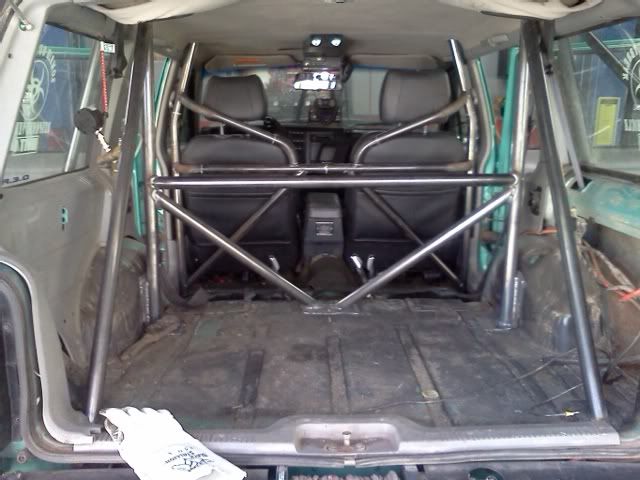
Instead of going on around the outside of the Jeep, I decided to stop in the middle and do the internal C-pillar tube, and rearward diagonals.

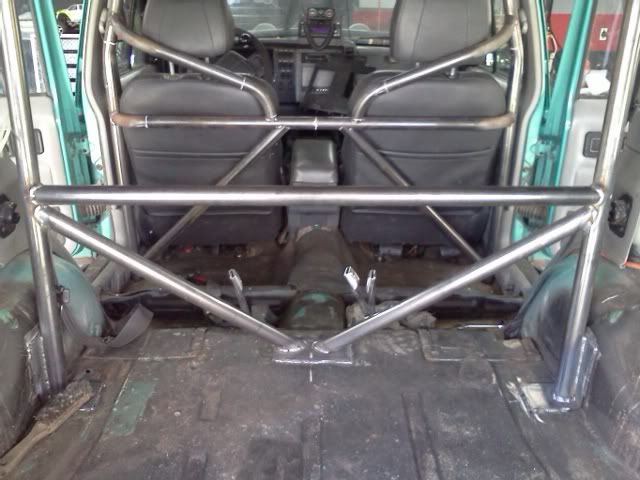
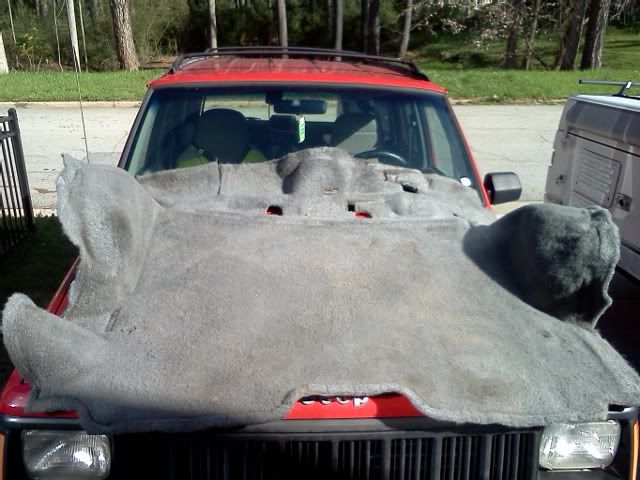
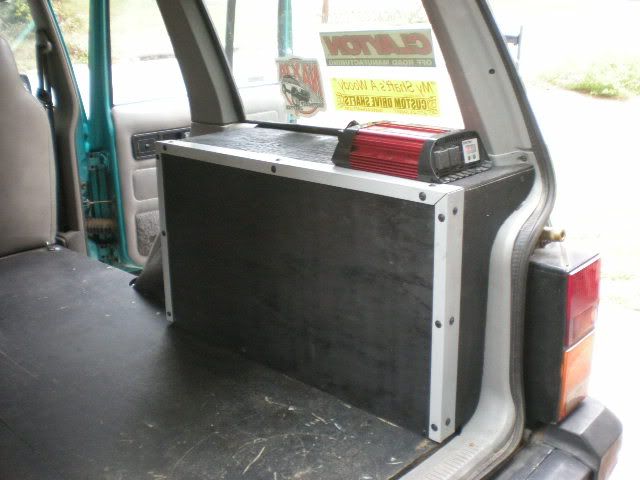
Stripped everything out of the back of the Jeep.

IMG_20120303_132127.jpg


Got the two vertical pieces of tubing in, these go through the roof an tie into the exo cage halo. They are also welded to the body via 11gauge reinforcement plates to spread the amount of force put on the thin sheet metal in a roll over.

IMG_20120303_210712.jpg


More tube going in....

IMG_20120305_114817.jpg


IMG_20120305_114806.jpg


IMG_20120305_114755.jpg


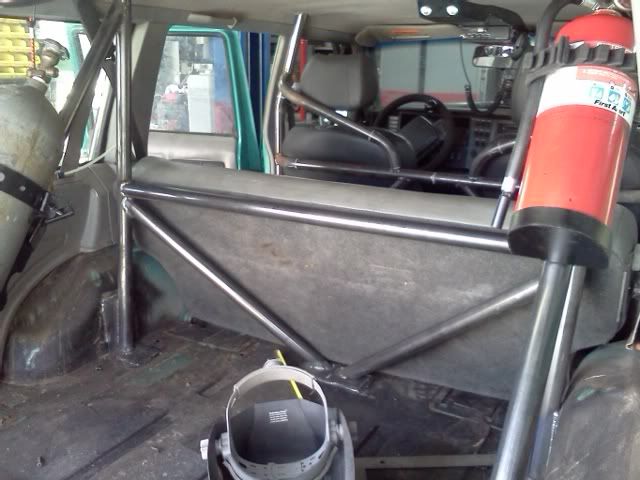
Follows the contour of the rear seat.

IMG_20120305_140350.jpg


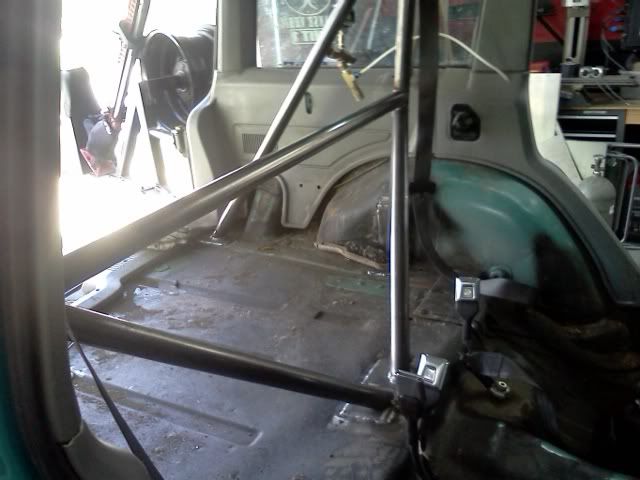
So this brings me to today...

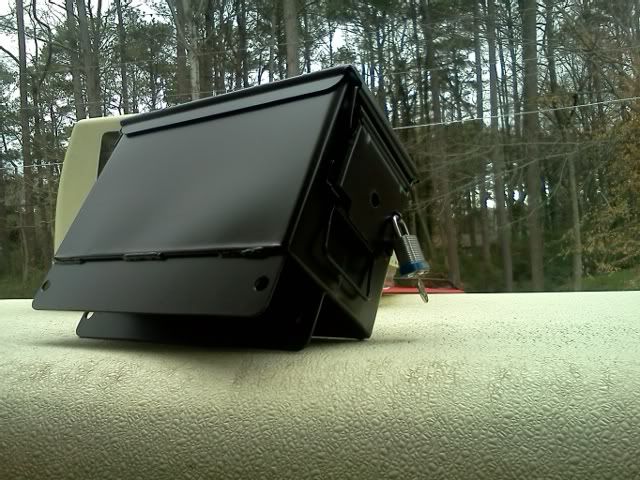
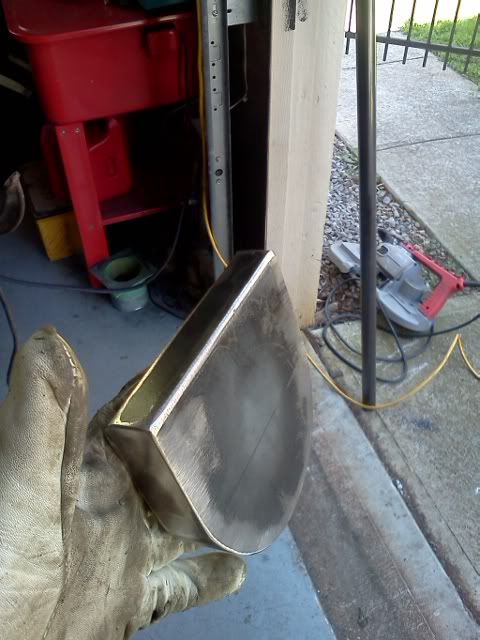
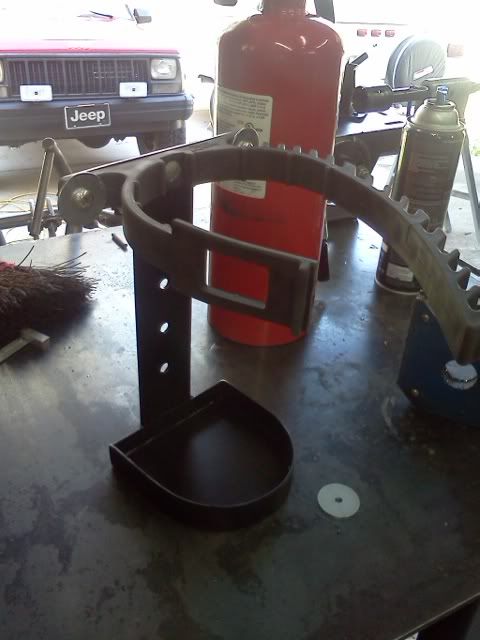
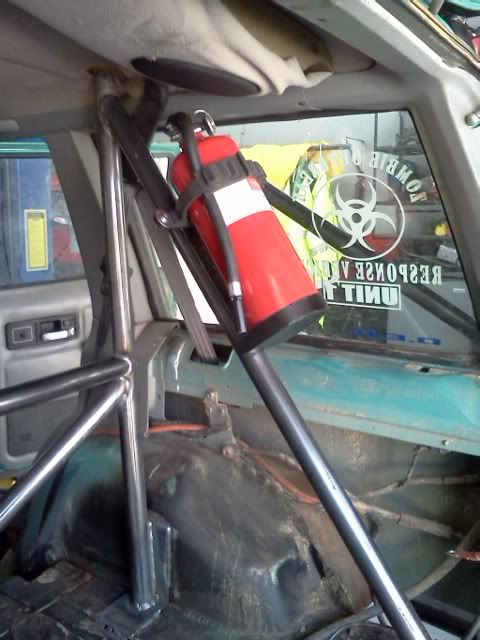
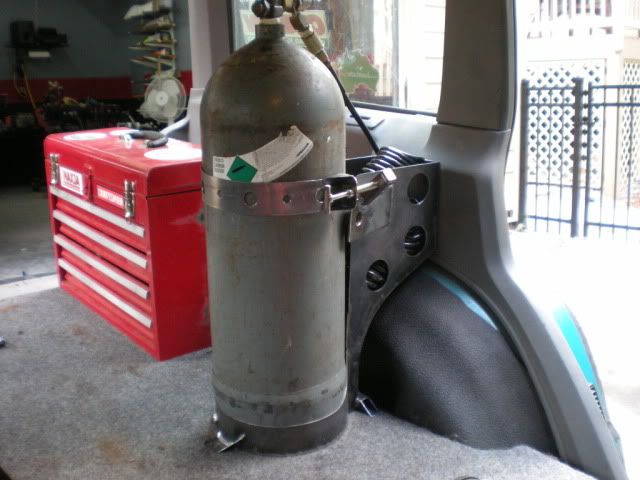
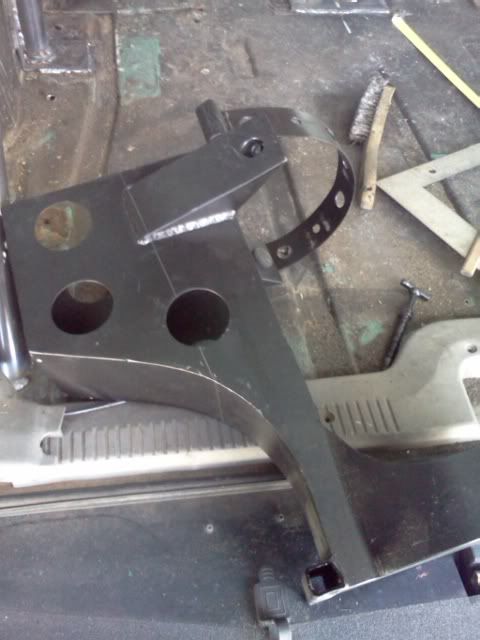
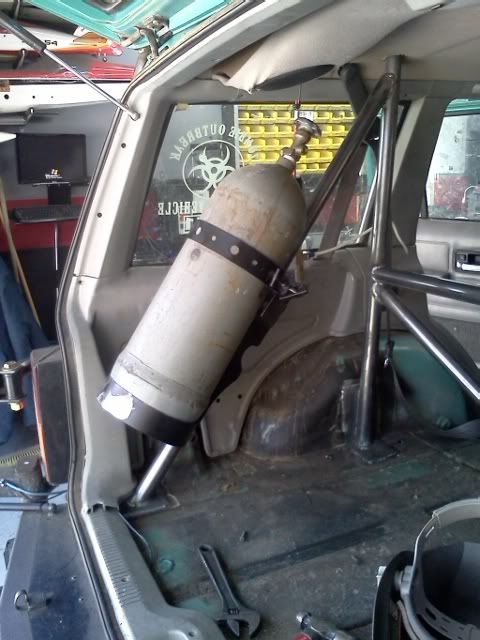
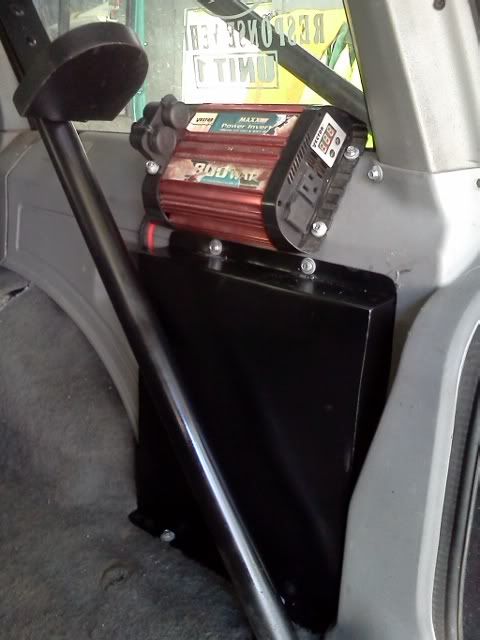
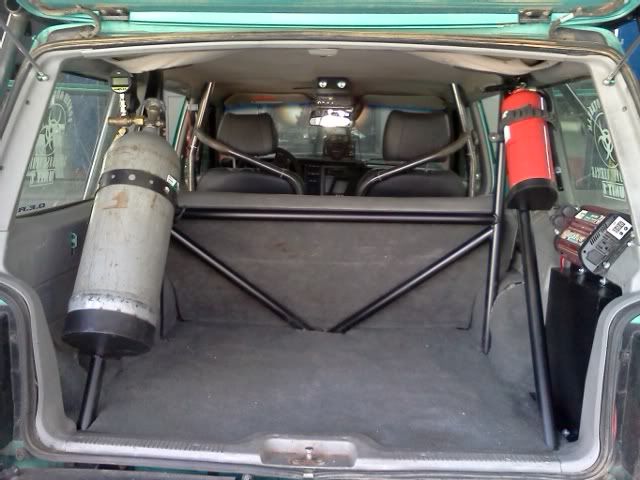
I decided to go ahead and mount my fire extinguisher and CO2 bottle on the rear diagonals so they are nice and secure. No point in building a roll cage to protect you and your family only to have a 40 pound bottle hit you in the back of the head during a crash and kill you.

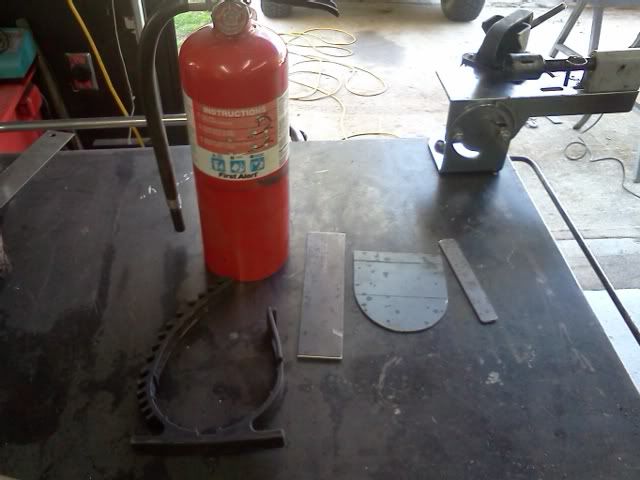
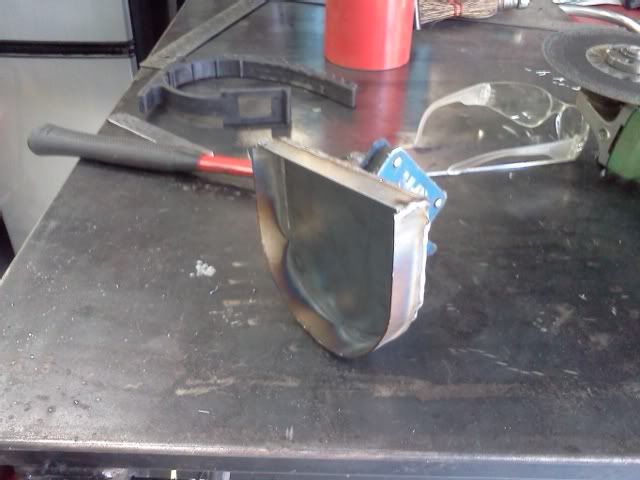
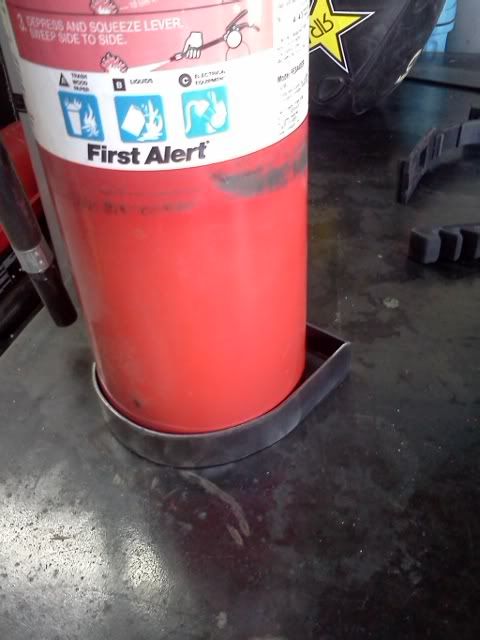
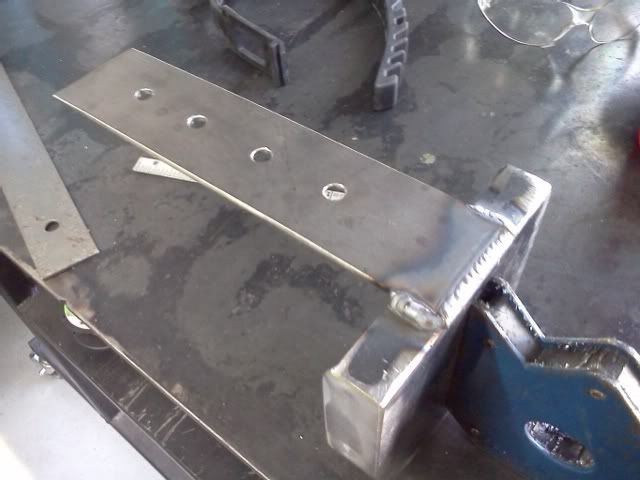
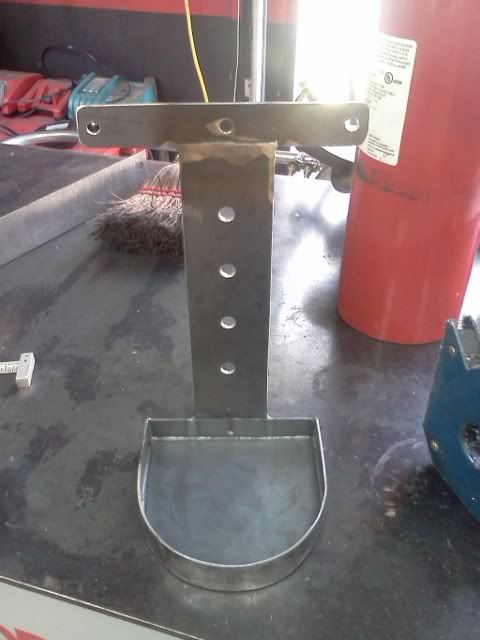
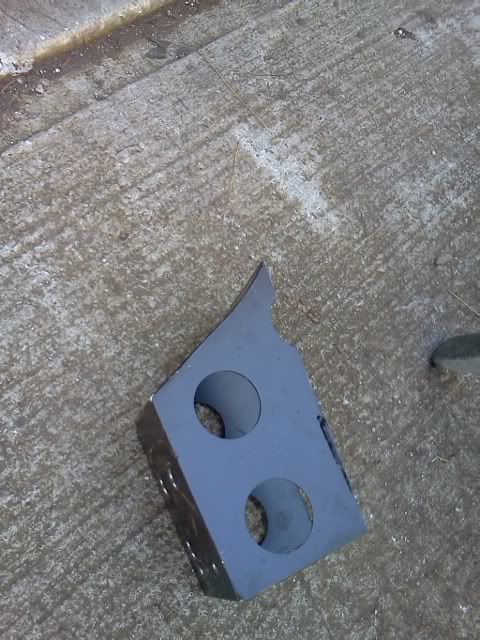
Here is the Fire Extinguisher mount.

IMG_20120305_115837.jpg


IMG_20120305_121121.jpg


IMG_20120305_121552.jpg


IMG_20120305_121814.jpg


IMG_20120305_122524.jpg


IMG_20120305_123107.jpg


IMG_20120305_124830.jpg


IMG_20120305_125548.jpg
 

StumpXJ

SE Expedition Society
Now...some of you may remember me building this CO2 mount a while back? I decided to just modify it instead of building something new. Just had to cut the back off of it, and notch it to make it fit around the tubing.

This is how it used to look/mount.

DSCN1979.jpg


IMG_20120305_131522.jpg


IMG_20120305_135027.jpg


IMG_20120305_135036.jpg


Thats it for now. More to come, this week should yield some pretty progress on the Teal B*itch.
 

fatrat

SE Expedition Society
IMG_20120220_130046.jpg


That's a great looking roll bar & definitely should give your Pa-n-Law great roll over protection (which he will hopefully never need)!
 

fatrat

SE Expedition Society
IMG_20120228_211710.jpg


The grip tape is a really nice touch.

IMG_20120302_200247.jpg


And the Speedholes should add at least 10-15 hp!
 

Hilldweller

SE Expedition Society
Nice, Stump.
We have to go get it dirty. The top part of Sheep Wallow was sorta completely washed out the last time I was there; you'll be able to rub your left side entirely against the bank asn you scale your way out of the hole. The PW almost tipped sideways in it. If I didn't have the swaybar disconnected, I think I would've quempled the fenders at least.

Maybe the glove-swapper was Mike... Mine were tan elkskin gloves lined with some sort of fleesy stuff. The substitute glove is deer, I think, and smaller.
 

StumpXJ

SE Expedition Society
Yep, definitely havent seen anything like those, I know the ones you are talking about. Still got a fair amount of work to do, but itll be ready in a couple weeks. Sheep wallow sounds fun now...
 

Black Dog

Makin' Beer.
IMG_20120222_123457.jpg
IMG_20120223_120613.jpg
IMG_20120229_134921.jpg

My little boy has that same dog and stand up toy and bouncer.

One question: How do you take an ammo can apart to paint it nicely? I've got a couple old ugly ones that I'd like to farkle up but I can't figure out how to do it so it looks professional. Getting underneath the latch and the handle is my problem, do you just paint over them then tip them on the side so they hang out and paint the parts you missed?
 

StumpXJ

SE Expedition Society
My little boy has that same dog and stand up toy and bouncer.

One question: How do you take an ammo can apart to paint it nicely? I've got a couple old ugly ones that I'd like to farkle up but I can't figure out how to do it so it looks professional. Getting underneath the latch and the handle is my problem, do you just paint over them then tip them on the side so they hang out and paint the parts you missed?


That dog is creepy, and annoying. It just starts talking for no reason... it has scared the crap out of my many times!

The ammo can was kind of a pain, I basically just painted the outside. I did it basically like you said, hung it up, and then flipped it over after it dried and did the other side. The latch I just did one side, then raised it up, and did the underside. The only reason I painted is because I raw steel on it after welding on the mounts, and lock clasp behind the latch.
 

StumpXJ

SE Expedition Society
Got the back end of this thing done...

Found some decent carpet at the local Pull-A-Part, cleaned up pretty good for a 19 year old piece of carpet!

IMG_20120306_094743.jpg


Also redid my old battery area, and gained a LOT more space. This is what it used to look like:

DSCN1339.jpg


DSCN1341.jpg


This is what I did to it today. Just made a steel panel that covers everything, and mounted the inverter and 12v plugs on the interior panel (which I also got from PAP today)

IMG_20120306_142957.jpg


IMG_20120306_143005.jpg


Forgot to take a picture of the battery area without the cover on...(Yes, its vented.)

Here she is, all done! Got the carpet in there after painting the bars and floor.

IMG_20120306_144258.jpg
 

Black Dog

Makin' Beer.
My boy has this one barn yard toy and one of the things it says is "I'm a pig. Oink oink. I like mud!" but every time I hear that I swear it says "I LIKE BLOOD".
 

Forum statistics

Threads
188,483
Messages
2,905,500
Members
230,494
Latest member
Sophia Lopez
Top